

RedneckCatter
Member
- Joined
- Feb 16, 2012
- Messages
- 9
- Reaction score
- 0
Hello everyone,
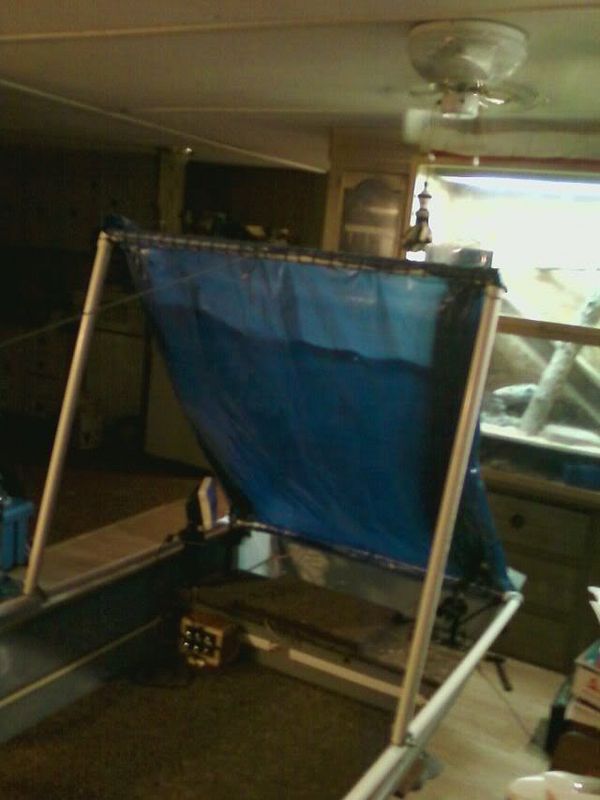
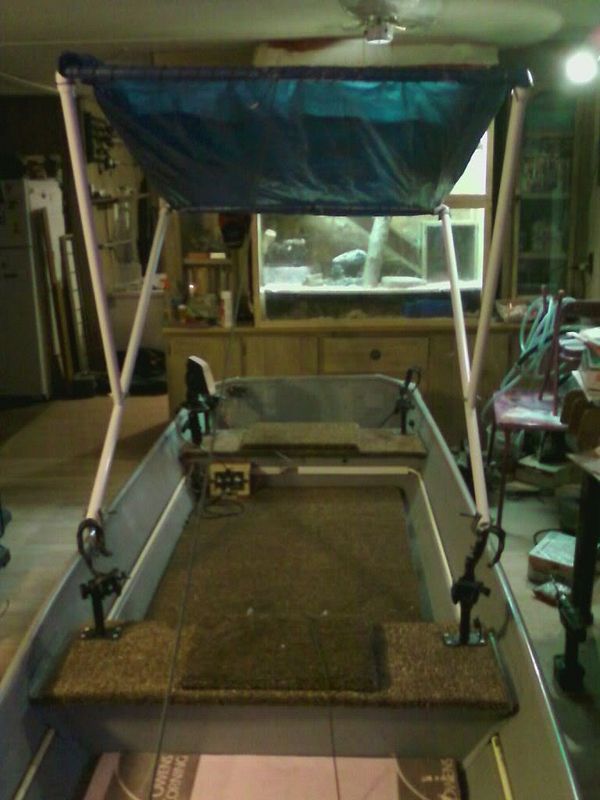
I have been checking this site with a passion. I love to do projects and decided this year i was going to work on my jon boat. Unlike most boats i see on here the Appleby 1970 14ft is tougher to mod up because it has no gun-well supports except the benches. All my supports only run across the bottom which is only 32 inches wide and 47 top beam. This boat needed some work prior to the mods because mid July here in Iowa on the Missouri and Big Sioux we had been hit very hard by the floods. At 3:30am one morning we had a motor malfunction at the worst time and took me and my fishing buddy over the Klondike Dam. We survived but barely. We are lucky to both be big on survival. We lost all our gear when the boat flipped 3 times under the dam and still have no idea what caused it to eventually spit us out. The mechanics of a low-head dam give it the name "The drowning machine". Anyways ive been taking pictures throughout my mod from beginning till now. Im almost done but not going to post all the pictures in one post as id like to explain what i did and why and also look for input as well. I had a very low budget to work with but luckily had most the supplies laying around.
Here are pictures of when i purchased the boat:


I started building the decks and stuff first only because it was way too cold outside and snowy to be able to work on the boat. LOL. I got anxious and ended up bringing the boat into the living room to work on it. At least the wife doesnt mind as she knows i do anything to get projects going. I get restless just sitting. Another note me and my buddy mainly fish Catfish on the rivers. Once i had the boat where i could work on it the first thing i wanted to do was test it for leaks as the dam took its toll. I filled it with water and marked it with marker where the leaks were. There were only 2 actual small punctures. One in a "V" channel up at the hull and the back corner was smashed in some and had a crack. I pounded the corner back out and sealed the punctures with some thick marine epoxy. Now to tackle the other leaks. I had 45 rivets leaking where the benches were attached to the boat. 3 were completely missing. I put 3 new rivets in there and thanks to this site i learned about Peening Rivets. Ill tell ya what. It worked like a charm. Took a lot of time but worth it. I then put 3 coats of rubber seal inside the bottom of the boat. Mostly as a sound deadener but im sure it will help as well to keep it sealed better.


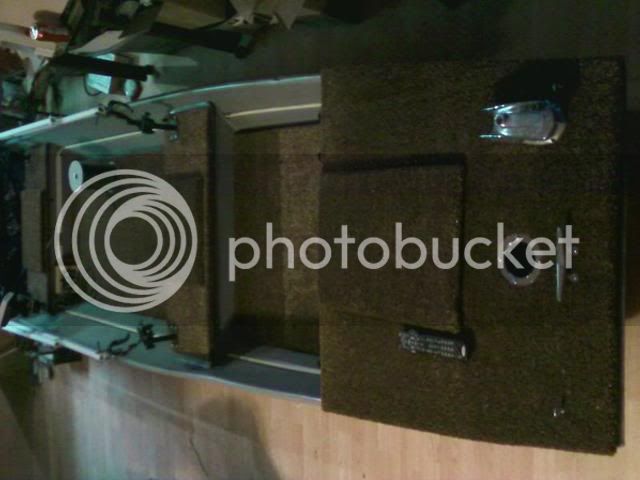
Now it was time to make bench covers. Each of my benches has a cutout in it for my batteries. I did it last year so i just kept it that way. If i hadnt already did it i would have changed it to have one battery on each side of a bench to help stabilize.


Now i built the front deck. I used to have one go from bench to bench. I learned though with the benches only being 8" tall that left me with hardly any storage space so this time i decided to build the front deck on top of the rails. I had seen another post on here that gave me the idea. And boy did it improve storage. I then took a stainless sink drain and cut the bottom out of it and sunk that into the deck behind a cleat. That is for the anchor. All the rope will be under it in its own storage and the anchor will sit inside the drain when not in use. Perfect for mushroom anchors. Mounted an old bow light i had laying around and ran the wires through the deck. I made the framing out of light 2x4's and Polyurethane them for protection.


Now a big issue i was going to have was the transom. The old one that was on it wasnt made very well. It was too short and the boat was starting to buckle lower on the transom from the motor pushing. I removed it all and cut new 3/4" that was 13" x 16" to cover more area. I thought about buying some Aluminum diamond plate but ended up finding 2 "Vehicles will be towed" sings i had laying around. These are strong and thick. I epoxied all the holes up. Put a few coats of poly on the wood and clamped them on. Drilled new bolt holes and filled them with marine epoxy before bolting it down. I put ine sign outside and one inside. It sucked the transom back into shape and is incredibly stable and solid. I was excited because before it was so bad.


Now i cut some 2x4's to the width of the bottom. I then used a table saw to dado a 3/4 x 3/4 slot in them to place over the supports in the bottom. I put some seft tapper screws through them and into the supports. Then i cute Styrofoam to fit perfectly in between them so when i place the floor in it will all be even and rest on them for support as well.


Now I needed a way to run the wiring so i ran some 1/2" pvc down the channel on the gun-well from back to front. It fit just right behind the benches as well so no need to fasten it in place. I then drilled holes in it where wiring would be entering or exiting it. I also read on this site that wiring that comes in contact with the aluminum will eat a hole fast. Dont want that. So where ever wiring went into the aluminum benches i used 1/4" plastic fridge water line and ran each wire through that so it would never rub the aluminum and cut the wire insulation. I also used some cheap wire conduit for running the wire along the benches.


Now i laid the floor in and got it set. I made my own switch box for all my components and have some extra switches for later. I wanted the box close and also easy to access wiring if there was a need. I mounted it using a hinge that allows me to run the wires into the side of it and if needed i can tip it forward exposing the wire from the back. Essentially i ran a battery to it and made a common ground post to reduce wires running all over the boat. It will look a bit better when all the wiring is permanent but im not fastening all the decking down untill weather gets better and i can carry the boat back outside and get o good cover for it. So i need to remove it all or the boat would be too heavy lol.


Now i mounted the Ram Rod holders for my rods. Ill add more soon but only have 4 for now. They are actually sunk in through the deck and 2 inches into the bench so they will not move. Had to use an 1 1/2" keyhole saw. Worked great. I also mounted my new depth finder. Most may laugh at me for this but hey i like my toys. Its the Humminbird 789ci si side imaging. eww $1100 but ive been wanting one and figured id do it right. Besides side imaging on the river will be great as ill see completely from bank to bank with just one pass. I also used a Ram Rod mount for that as well so i can maneuver it as needed.


Thats as far as i am now. What i have left is finishing the front deck by putting a front on it to cover the opening, adding the small section of flooring between it and first bench. Then i have to get her outside cleaned and painted up. And to mount the new transducer. Theres a few simple things to add as i go but ill update it as it comes along. Id like to thank everyone for posting mods and the Tinboats.com team. You all are doing the subperb job of making this an incredible place for modders to go to for valuable information.
I have been checking this site with a passion. I love to do projects and decided this year i was going to work on my jon boat. Unlike most boats i see on here the Appleby 1970 14ft is tougher to mod up because it has no gun-well supports except the benches. All my supports only run across the bottom which is only 32 inches wide and 47 top beam. This boat needed some work prior to the mods because mid July here in Iowa on the Missouri and Big Sioux we had been hit very hard by the floods. At 3:30am one morning we had a motor malfunction at the worst time and took me and my fishing buddy over the Klondike Dam. We survived but barely. We are lucky to both be big on survival. We lost all our gear when the boat flipped 3 times under the dam and still have no idea what caused it to eventually spit us out. The mechanics of a low-head dam give it the name "The drowning machine". Anyways ive been taking pictures throughout my mod from beginning till now. Im almost done but not going to post all the pictures in one post as id like to explain what i did and why and also look for input as well. I had a very low budget to work with but luckily had most the supplies laying around.
Here are pictures of when i purchased the boat:
I started building the decks and stuff first only because it was way too cold outside and snowy to be able to work on the boat. LOL. I got anxious and ended up bringing the boat into the living room to work on it. At least the wife doesnt mind as she knows i do anything to get projects going. I get restless just sitting. Another note me and my buddy mainly fish Catfish on the rivers. Once i had the boat where i could work on it the first thing i wanted to do was test it for leaks as the dam took its toll. I filled it with water and marked it with marker where the leaks were. There were only 2 actual small punctures. One in a "V" channel up at the hull and the back corner was smashed in some and had a crack. I pounded the corner back out and sealed the punctures with some thick marine epoxy. Now to tackle the other leaks. I had 45 rivets leaking where the benches were attached to the boat. 3 were completely missing. I put 3 new rivets in there and thanks to this site i learned about Peening Rivets. Ill tell ya what. It worked like a charm. Took a lot of time but worth it. I then put 3 coats of rubber seal inside the bottom of the boat. Mostly as a sound deadener but im sure it will help as well to keep it sealed better.
Now it was time to make bench covers. Each of my benches has a cutout in it for my batteries. I did it last year so i just kept it that way. If i hadnt already did it i would have changed it to have one battery on each side of a bench to help stabilize.
Now i built the front deck. I used to have one go from bench to bench. I learned though with the benches only being 8" tall that left me with hardly any storage space so this time i decided to build the front deck on top of the rails. I had seen another post on here that gave me the idea. And boy did it improve storage. I then took a stainless sink drain and cut the bottom out of it and sunk that into the deck behind a cleat. That is for the anchor. All the rope will be under it in its own storage and the anchor will sit inside the drain when not in use. Perfect for mushroom anchors. Mounted an old bow light i had laying around and ran the wires through the deck. I made the framing out of light 2x4's and Polyurethane them for protection.
Now a big issue i was going to have was the transom. The old one that was on it wasnt made very well. It was too short and the boat was starting to buckle lower on the transom from the motor pushing. I removed it all and cut new 3/4" that was 13" x 16" to cover more area. I thought about buying some Aluminum diamond plate but ended up finding 2 "Vehicles will be towed" sings i had laying around. These are strong and thick. I epoxied all the holes up. Put a few coats of poly on the wood and clamped them on. Drilled new bolt holes and filled them with marine epoxy before bolting it down. I put ine sign outside and one inside. It sucked the transom back into shape and is incredibly stable and solid. I was excited because before it was so bad.
Now i cut some 2x4's to the width of the bottom. I then used a table saw to dado a 3/4 x 3/4 slot in them to place over the supports in the bottom. I put some seft tapper screws through them and into the supports. Then i cute Styrofoam to fit perfectly in between them so when i place the floor in it will all be even and rest on them for support as well.
Now I needed a way to run the wiring so i ran some 1/2" pvc down the channel on the gun-well from back to front. It fit just right behind the benches as well so no need to fasten it in place. I then drilled holes in it where wiring would be entering or exiting it. I also read on this site that wiring that comes in contact with the aluminum will eat a hole fast. Dont want that. So where ever wiring went into the aluminum benches i used 1/4" plastic fridge water line and ran each wire through that so it would never rub the aluminum and cut the wire insulation. I also used some cheap wire conduit for running the wire along the benches.
Now i laid the floor in and got it set. I made my own switch box for all my components and have some extra switches for later. I wanted the box close and also easy to access wiring if there was a need. I mounted it using a hinge that allows me to run the wires into the side of it and if needed i can tip it forward exposing the wire from the back. Essentially i ran a battery to it and made a common ground post to reduce wires running all over the boat. It will look a bit better when all the wiring is permanent but im not fastening all the decking down untill weather gets better and i can carry the boat back outside and get o good cover for it. So i need to remove it all or the boat would be too heavy lol.
Now i mounted the Ram Rod holders for my rods. Ill add more soon but only have 4 for now. They are actually sunk in through the deck and 2 inches into the bench so they will not move. Had to use an 1 1/2" keyhole saw. Worked great. I also mounted my new depth finder. Most may laugh at me for this but hey i like my toys. Its the Humminbird 789ci si side imaging. eww $1100 but ive been wanting one and figured id do it right. Besides side imaging on the river will be great as ill see completely from bank to bank with just one pass. I also used a Ram Rod mount for that as well so i can maneuver it as needed.
Thats as far as i am now. What i have left is finishing the front deck by putting a front on it to cover the opening, adding the small section of flooring between it and first bench. Then i have to get her outside cleaned and painted up. And to mount the new transducer. Theres a few simple things to add as i go but ill update it as it comes along. Id like to thank everyone for posting mods and the Tinboats.com team. You all are doing the subperb job of making this an incredible place for modders to go to for valuable information.


![411-Piece Fishing Gear Accessories Kit, [2025 NEW] Tackle Box with Pliers, Fish Lip Grips,Tackle Storage Trays, Hooks, Weights, Jig Heads, Swivels, 21 Pre-Made Rigs – Fishing Gear for Lures Fishing](https://m.media-amazon.com/images/I/51raBrzMU+L._SL500_.jpg)


 opcorn: