Figured some of you guys might find this smoker build interesting. Some of you may have already heard of these or have even built one yourself.
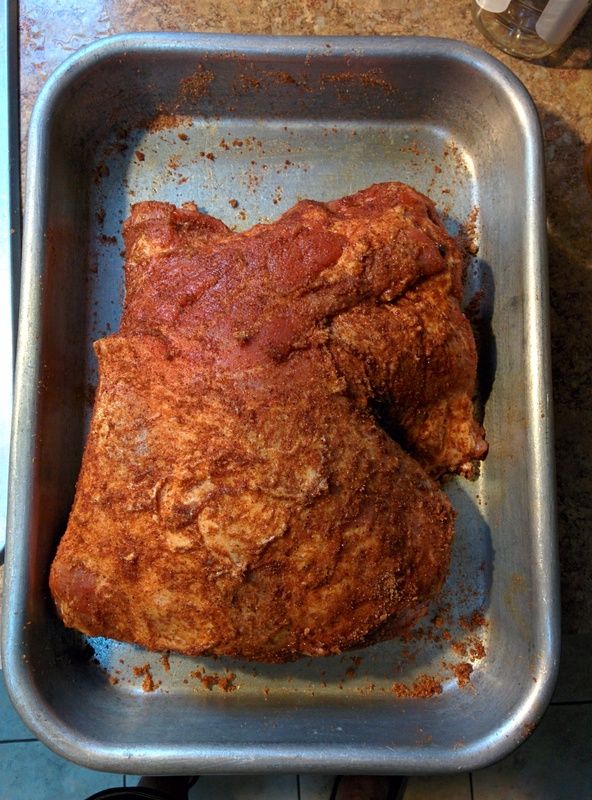
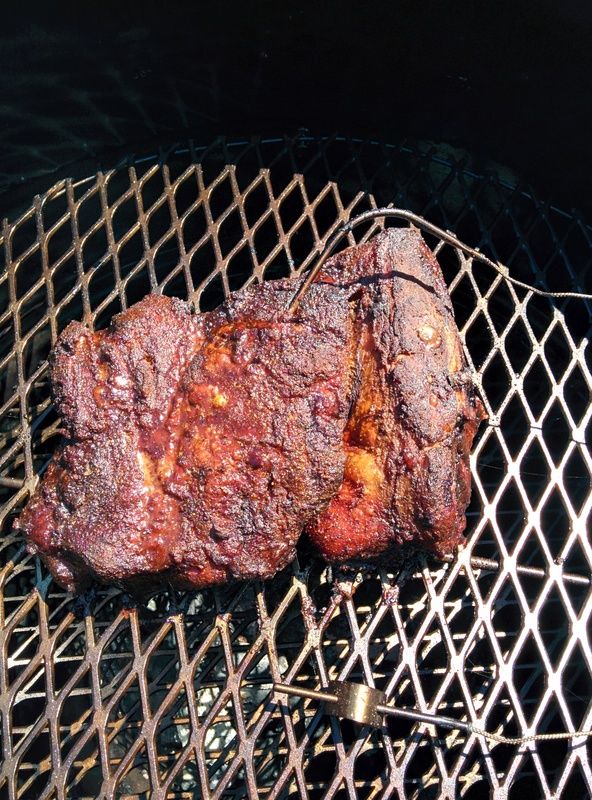
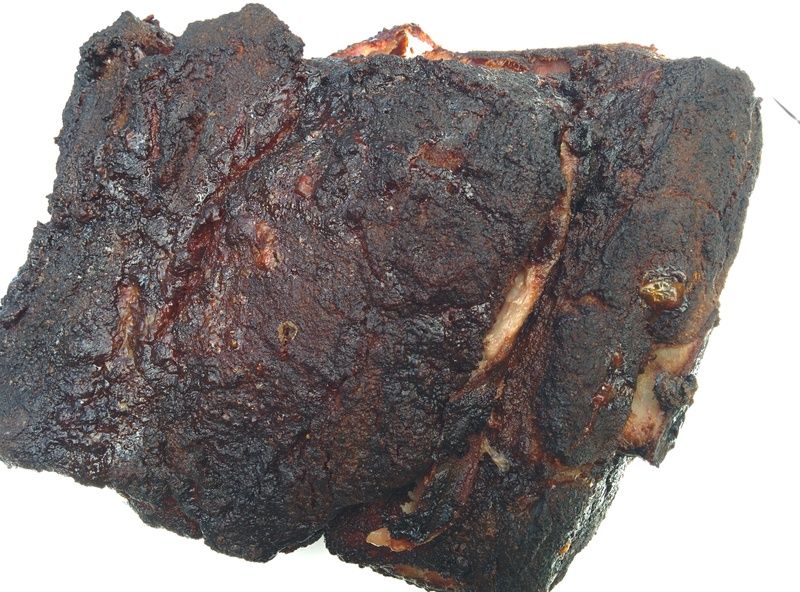
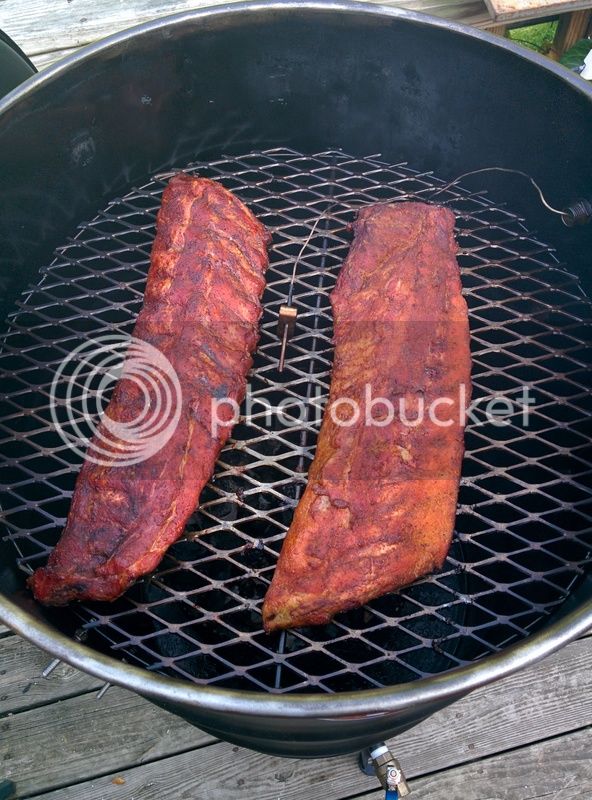
I've been smoking meat on an offset style smoker that my mother-in-law got us for Christmas for the last 2 years. Have really gotten into it because the results are great, but the offset just wasn't cutting it. Could barely fit 2 racks of ribs or 2 splatchcocked chickens on it at a time. And it heated unevenely and even after stove roping the crap out of it to control leaks, it still was leaky and didn't hold temps very well and ate a lot of charcoal. Had to pretty much babysit it while cooking. I figured I would just have to deal with it because we weren't spending the $ on a decent smoker. But then I came across UDS's (ugly drum smokers) and was very intrigued. It is basically a 55 gallon steel barrel turned into a smoker. Petitioned my buddy to help me with the welding and we ended up building one for each of us. Turned out great. Mine is seasoned and ready to smoke a pork butt this weekend. Can't wait. And the best part is we built each one for about $80 a piece. Probably be a little more if you get your hardware from somewhere like Lowe's, but I have a buddy that manages an industrial supply store, so I got all my hardware at cost. The most expensive part of the build were the barrels at $30 each and a 4' x 8' piece of expanded metal at $50.
Barrels were used food grade barrels that stored honey.
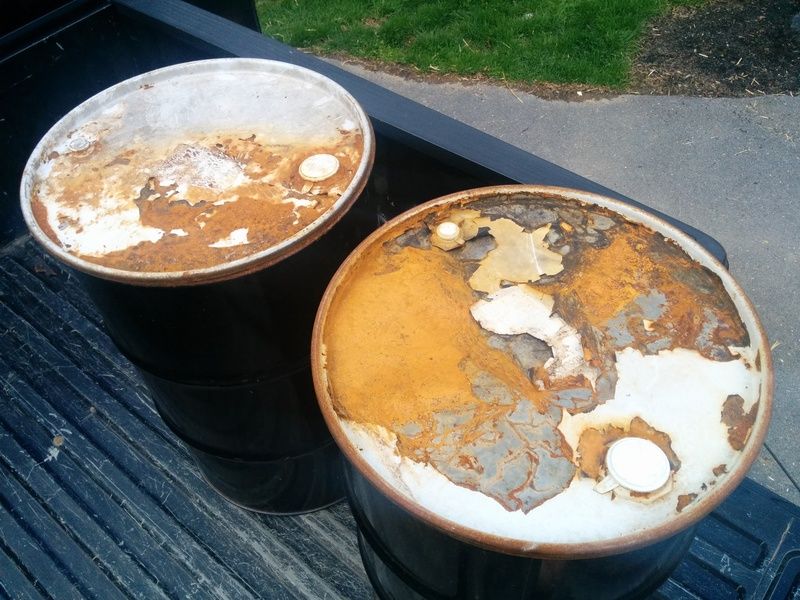
The bad part about foot grade barrels is they have a liner in them that is hard to remove. Some don't remove it, but I felt better getting it out.
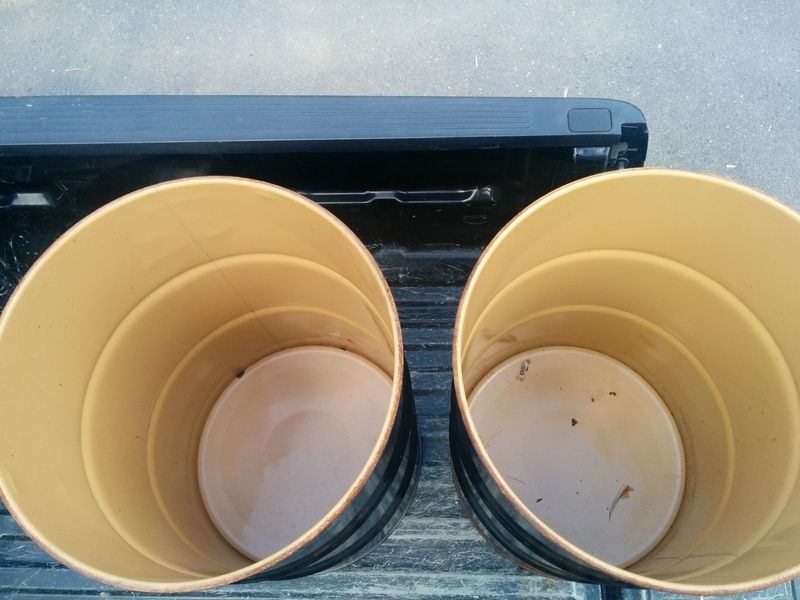
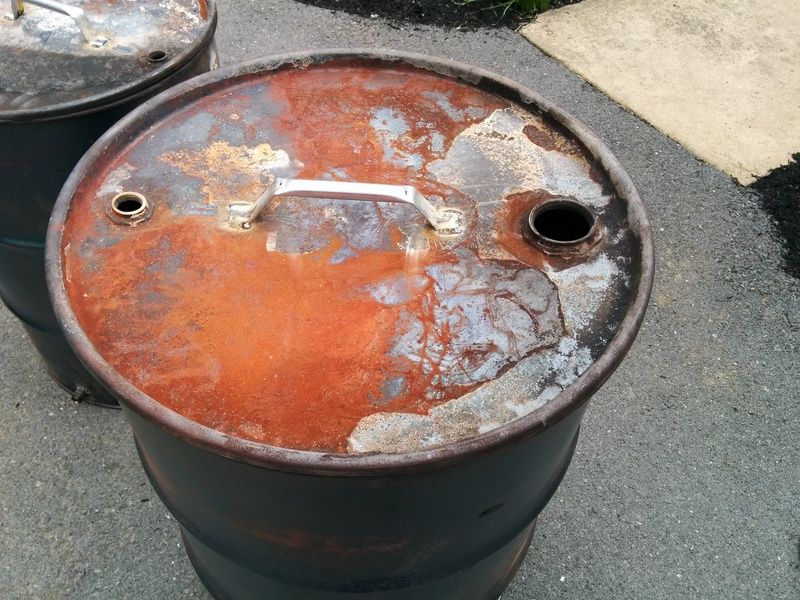
The first step is burning the crap out of the barrels. This removes the exterior paint and gets all the nasties out of the inside. The liner in ours partially came out during the burn.
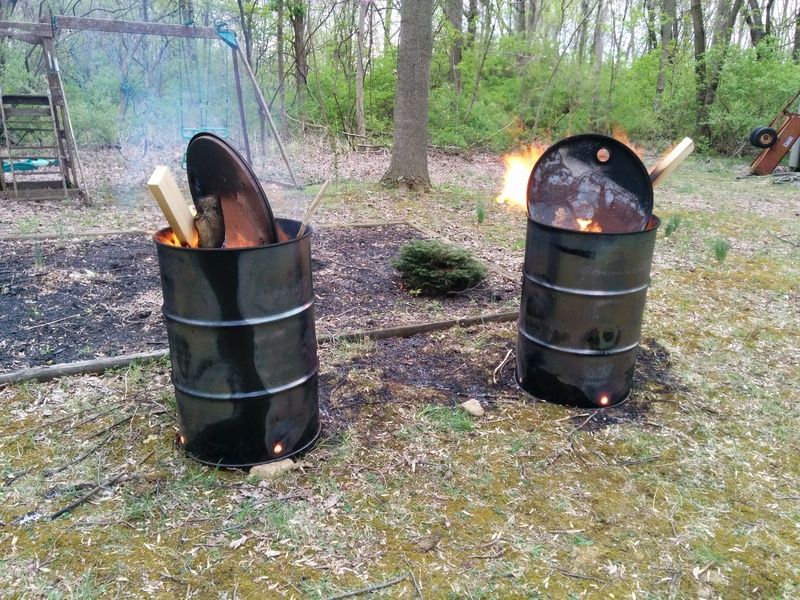
After the burn
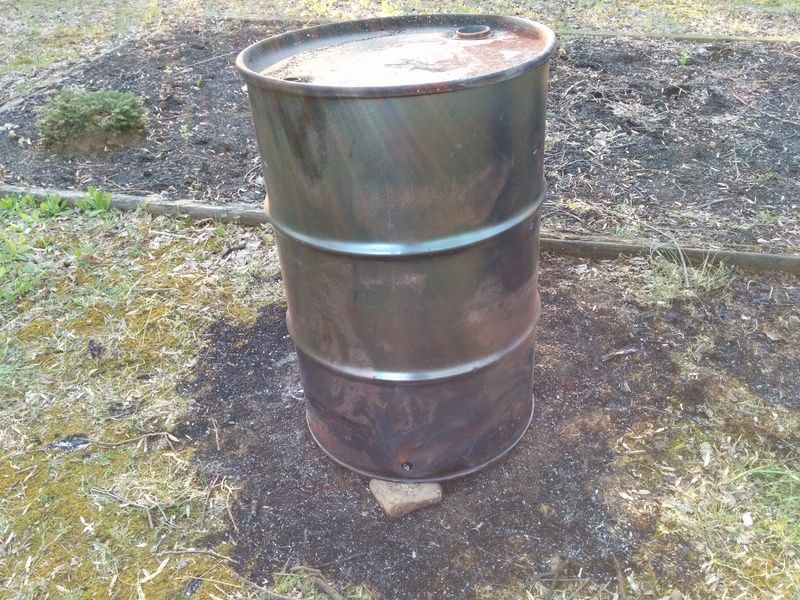
A bit of a pain getting the rest of the liner out. Used a wire wheel attached to an angle grinder to get most of it out. Figured what was left after a burn that turned the barrel cherry red and grinding the crap out of was OK to stay. 3/4 of the way through liner removal.
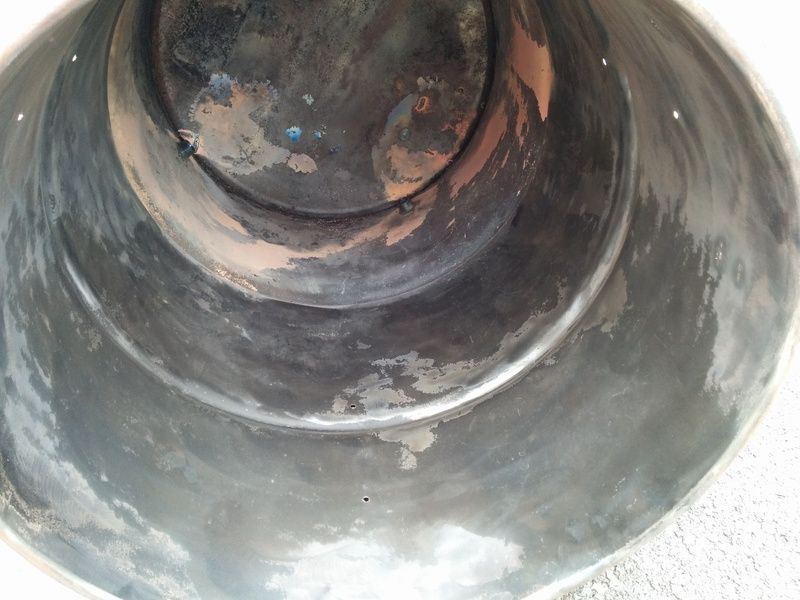
We used #9 3/4" expanded metal for our charcoal baskets and cooking grates. Each barrel has 2 cooking grates. One at 6" from the top and another at 12" from the top.
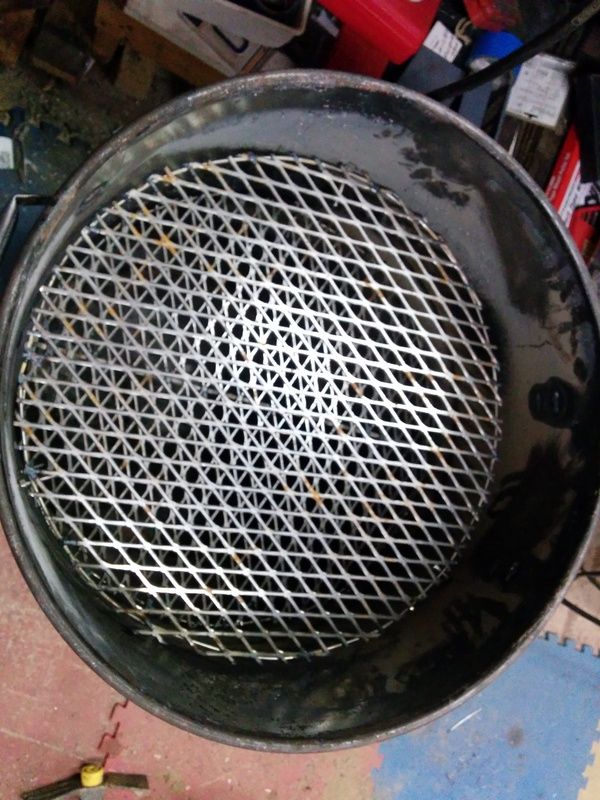
Charcoal basket. 15" diameter x 10" high. Will hold plenty of charcoal for a long cook.
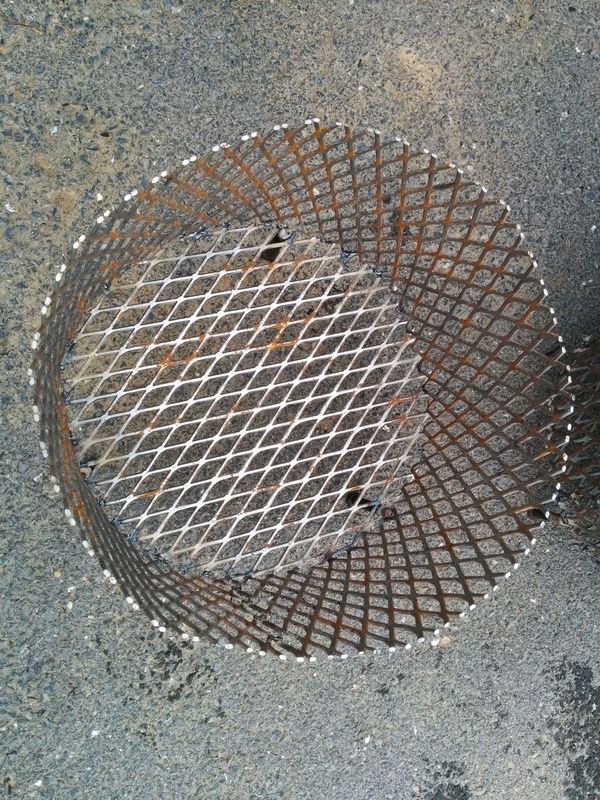
We used 1/2" electrical conduit for our handles.
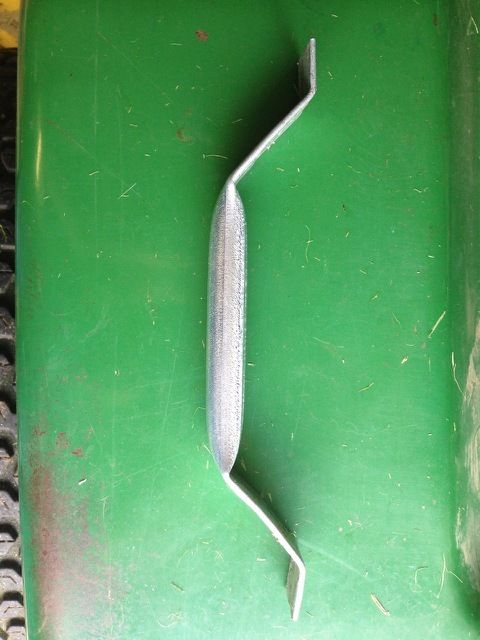
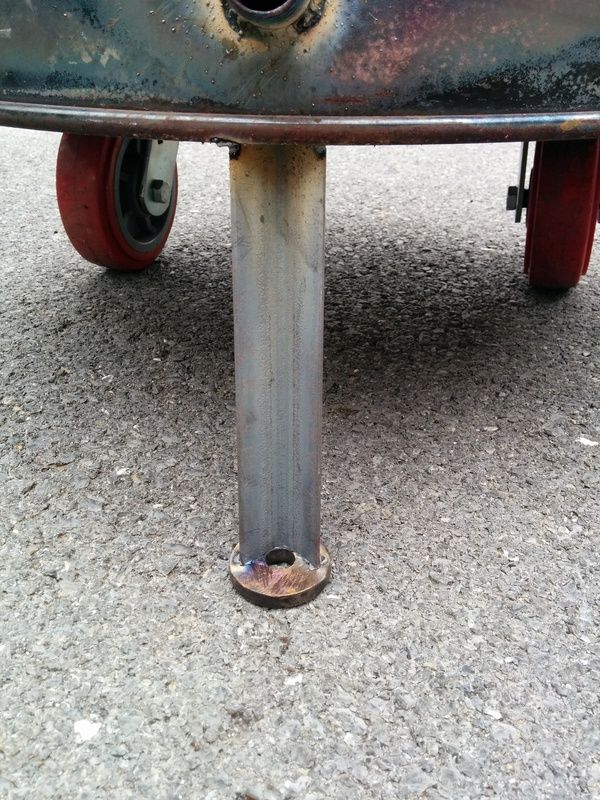
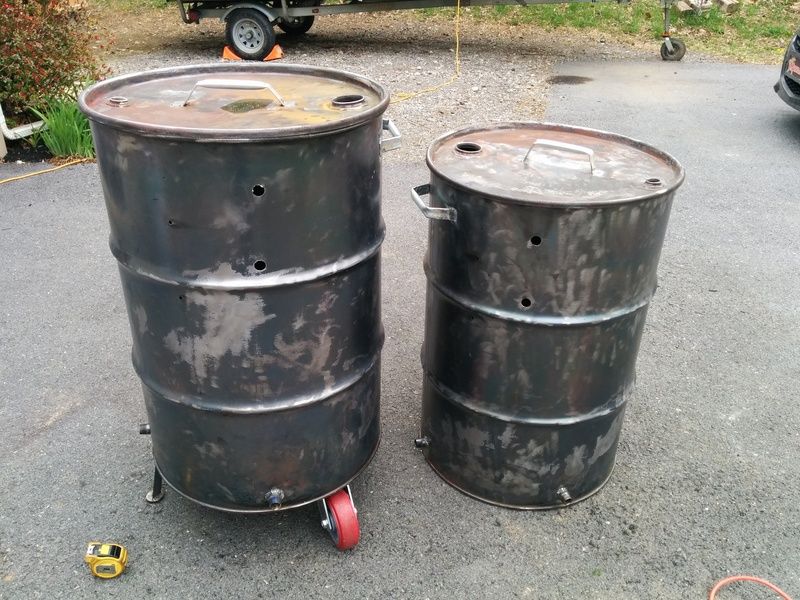
Being 6'8" I wanted my barrel a bit taller. Used 2 casters I had laying around my shed and a piece of angle iron as a front foot to raise my barrel about 7".
Prepped the barrels for paint by taking my wire wheel to the outside and then wiping down with denatured alcohol. Used Rust-Oleum high temp bbq paint through an HVLP spray gun.Turned out pretty nice, IMO.
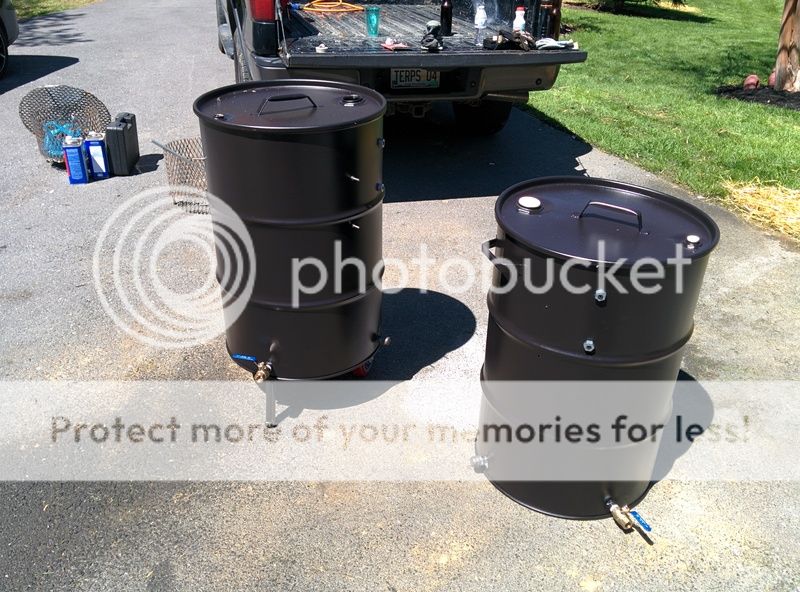
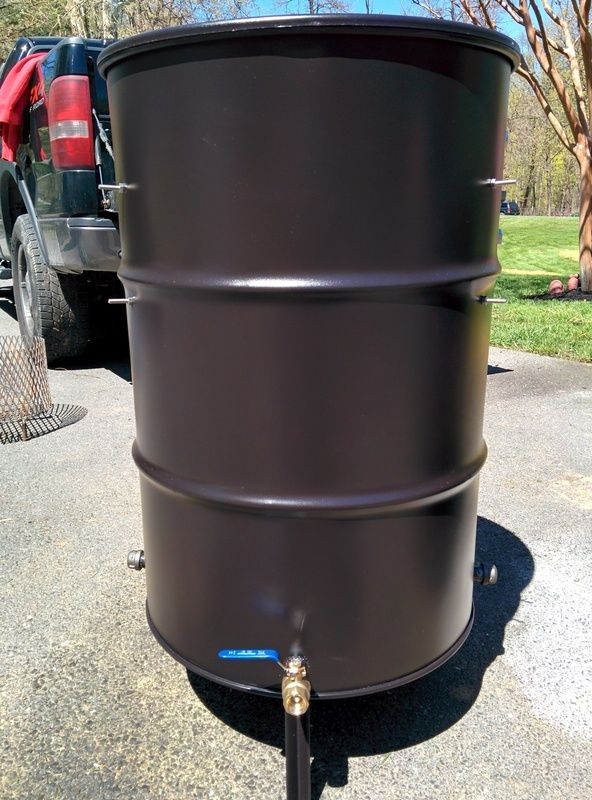
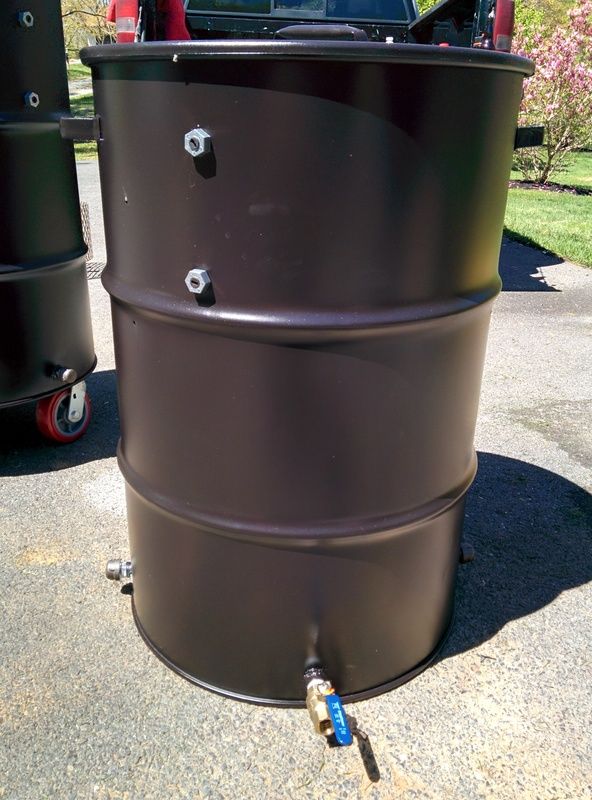
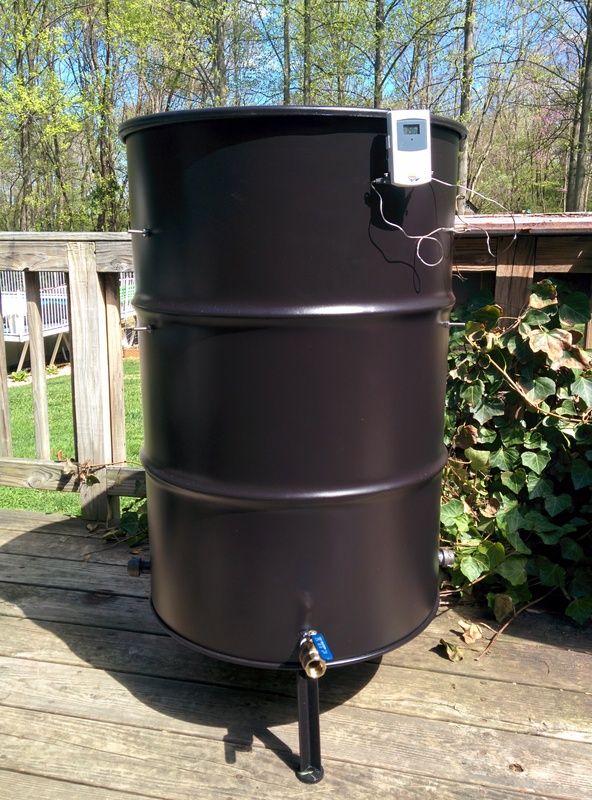
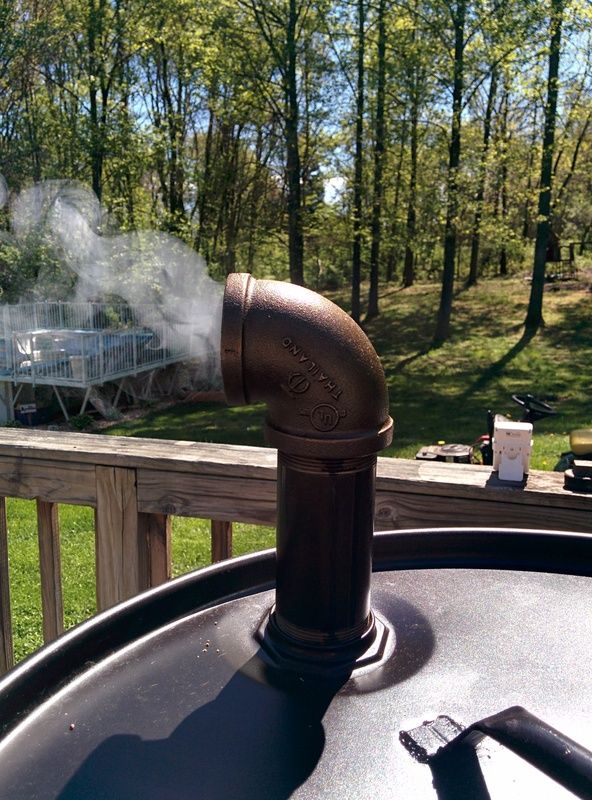
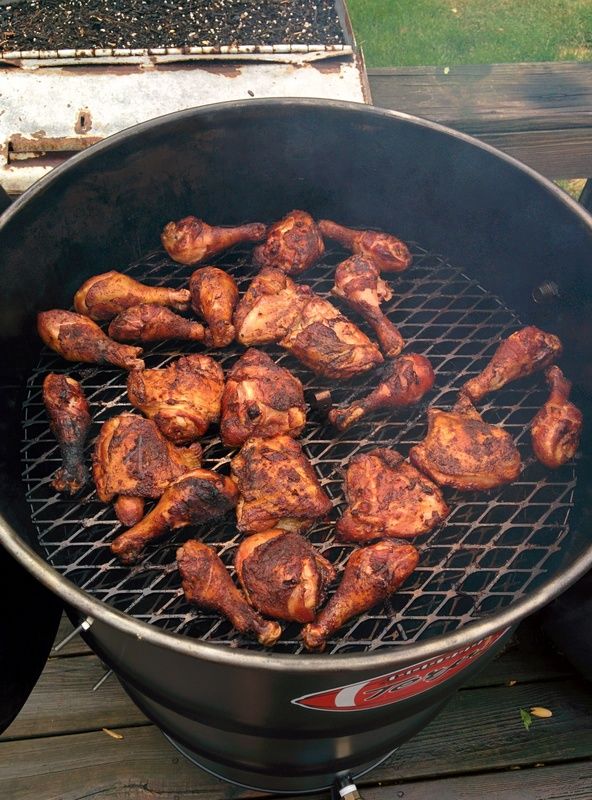
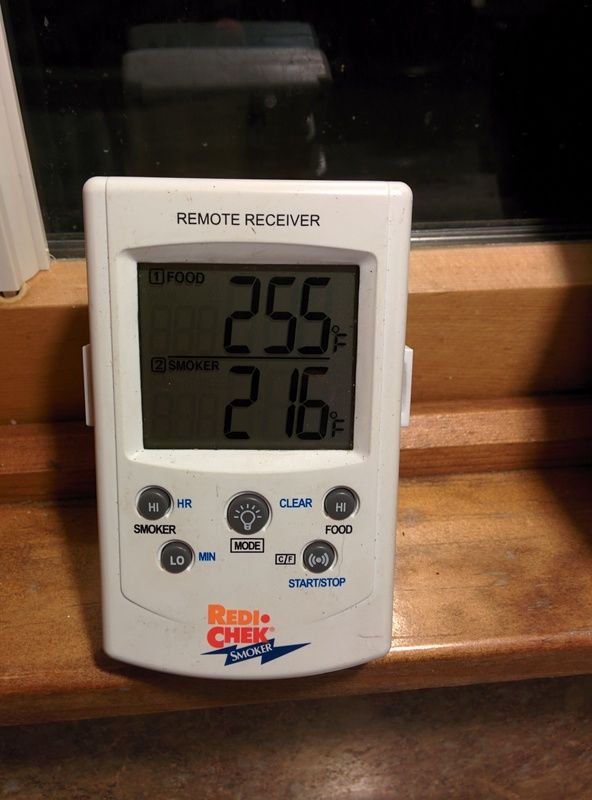
Seasoned mine with 1/2 a basket of lump charcoal and it held temperatures really well over about 8 hours. Huge improvement over my old offset. Hardly used any of the charcoal and I had less than a dust pan of ash in the bottom. Will probably fab up an ash tray to attach to my charcoal basket at some point to make cleanup easier. The UDS uses 3 - 3/4" pipe nipples on the bottoms for intakes. 2 are capped with pipe caps and the third has a ball valve attached for fine tuning your cooking temperature. Bottom grate is about 30-40 degrees warmer than the top grate. A homemade heat deflector make narrow the gap. This was at the 8 hour mark.
I've been smoking meat on an offset style smoker that my mother-in-law got us for Christmas for the last 2 years. Have really gotten into it because the results are great, but the offset just wasn't cutting it. Could barely fit 2 racks of ribs or 2 splatchcocked chickens on it at a time. And it heated unevenely and even after stove roping the crap out of it to control leaks, it still was leaky and didn't hold temps very well and ate a lot of charcoal. Had to pretty much babysit it while cooking. I figured I would just have to deal with it because we weren't spending the $ on a decent smoker. But then I came across UDS's (ugly drum smokers) and was very intrigued. It is basically a 55 gallon steel barrel turned into a smoker. Petitioned my buddy to help me with the welding and we ended up building one for each of us. Turned out great. Mine is seasoned and ready to smoke a pork butt this weekend. Can't wait. And the best part is we built each one for about $80 a piece. Probably be a little more if you get your hardware from somewhere like Lowe's, but I have a buddy that manages an industrial supply store, so I got all my hardware at cost. The most expensive part of the build were the barrels at $30 each and a 4' x 8' piece of expanded metal at $50.
Barrels were used food grade barrels that stored honey.

The bad part about foot grade barrels is they have a liner in them that is hard to remove. Some don't remove it, but I felt better getting it out.

The first step is burning the crap out of the barrels. This removes the exterior paint and gets all the nasties out of the inside. The liner in ours partially came out during the burn.

After the burn

A bit of a pain getting the rest of the liner out. Used a wire wheel attached to an angle grinder to get most of it out. Figured what was left after a burn that turned the barrel cherry red and grinding the crap out of was OK to stay. 3/4 of the way through liner removal.

We used #9 3/4" expanded metal for our charcoal baskets and cooking grates. Each barrel has 2 cooking grates. One at 6" from the top and another at 12" from the top.

Charcoal basket. 15" diameter x 10" high. Will hold plenty of charcoal for a long cook.

We used 1/2" electrical conduit for our handles.


Being 6'8" I wanted my barrel a bit taller. Used 2 casters I had laying around my shed and a piece of angle iron as a front foot to raise my barrel about 7".

Prepped the barrels for paint by taking my wire wheel to the outside and then wiping down with denatured alcohol. Used Rust-Oleum high temp bbq paint through an HVLP spray gun.Turned out pretty nice, IMO.


Seasoned mine with 1/2 a basket of lump charcoal and it held temperatures really well over about 8 hours. Huge improvement over my old offset. Hardly used any of the charcoal and I had less than a dust pan of ash in the bottom. Will probably fab up an ash tray to attach to my charcoal basket at some point to make cleanup easier. The UDS uses 3 - 3/4" pipe nipples on the bottoms for intakes. 2 are capped with pipe caps and the third has a ball valve attached for fine tuning your cooking temperature. Bottom grate is about 30-40 degrees warmer than the top grate. A homemade heat deflector make narrow the gap. This was at the 8 hour mark.


