Thorny's 14ft Alumacraft

TinBoats.net

Help Support TinBoats.net:

This site may earn a commission from merchant affiliate links, including eBay, Amazon, and others.

thorny

Member
Joined
Mar 5, 2012
Messages
13
Reaction score
0
Location
Hastings, MN
First off thanks to everyone who contributes to this forum. I have spent many hours checking out everyone's mods and ideas all winter long and there is no way I think I can attempt this with out all of the knowledge and photos that have been poured into this site. Thank you all!

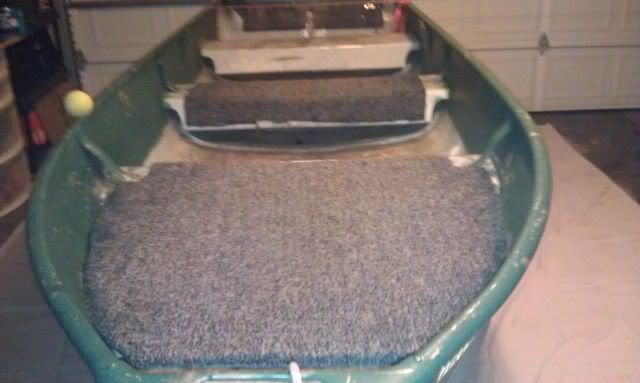
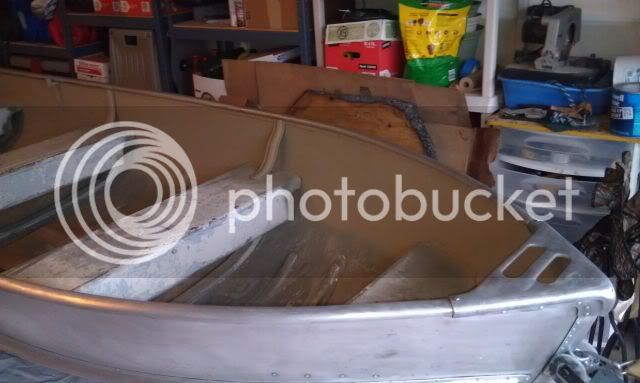
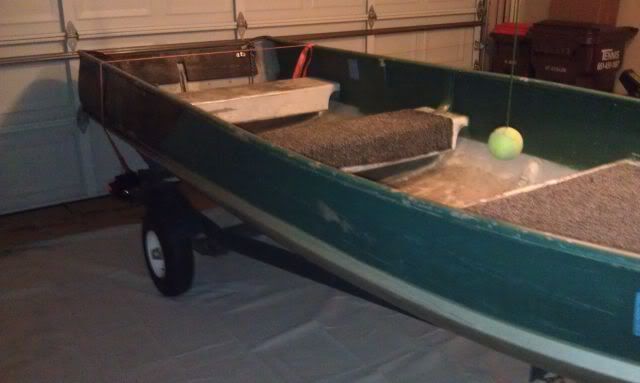
So I purchased what I believe to be a 50's or 60's model F last fall. It's a little rough but I have had it out a few times and it floats and goes. I don't think I have taken on more than a cup of water each time out so I'm not to concerned about steel flex thankfully. But I want to strip and paint along with a simple deck build with some carpet and pedestal seats.
boat7.jpg

boat6.jpg


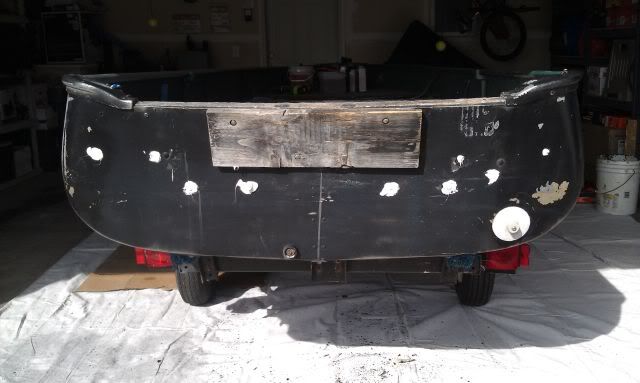
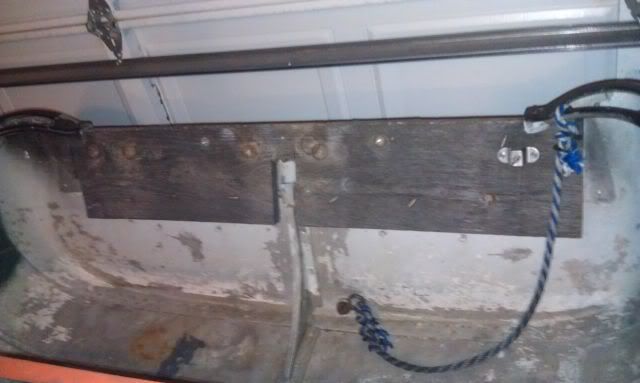
The transom is in pretty rough shape so I will have to work on that as well.
boat4.jpg
 
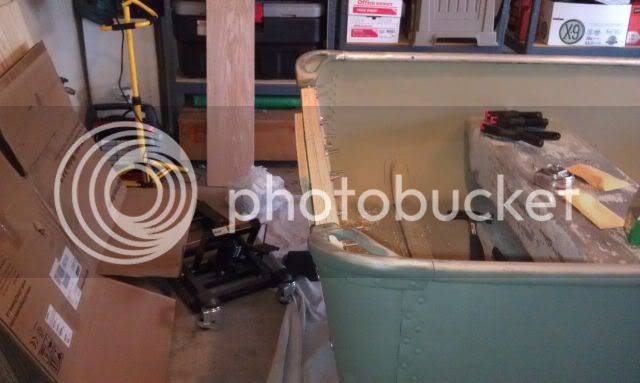
Got started a couple of days ago. Removed the old transom wood and a handful of unwanted hardware along with the old decking and carpet.

As I said the transom is pretty rough.
boat17.jpg


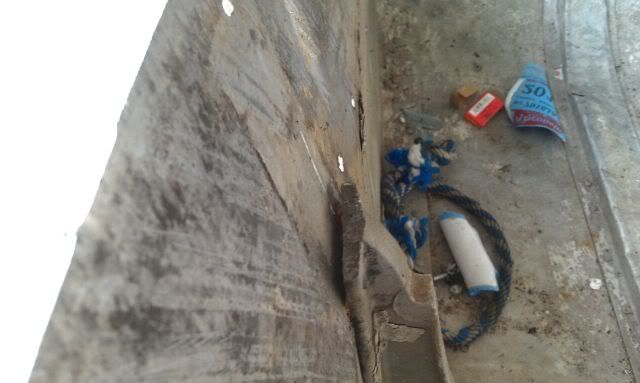
Here you can see how the transom is starting to pull away from the knee brace and it looks like the brace is busted off at the top. I'm hoping after sandwiching it with the new transom wood and some bolts I will be able to straighten it out a bit.
boat21.jpg


Plenty of holes in it.
boat19.jpg
 
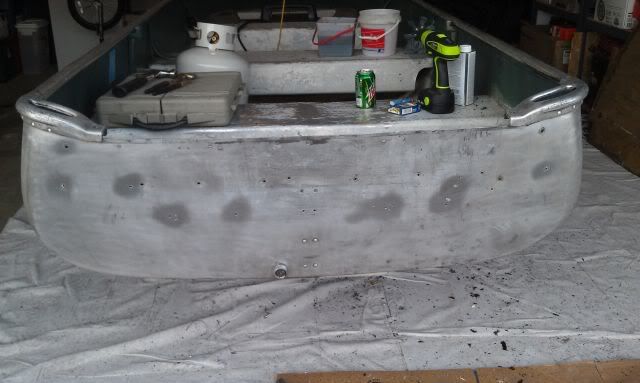
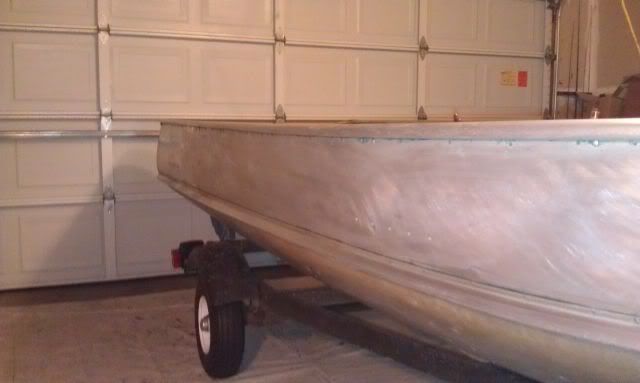
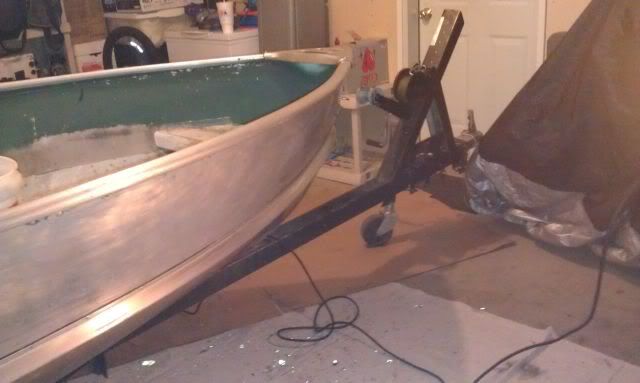
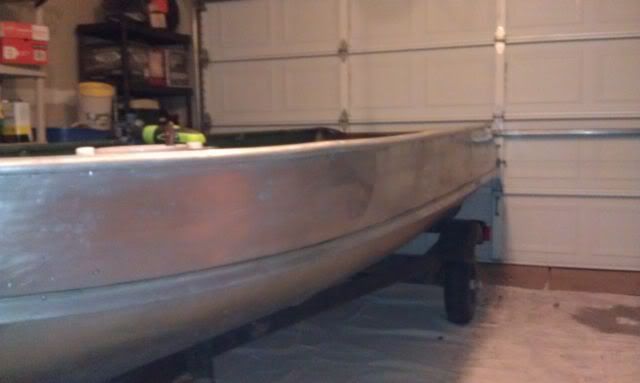
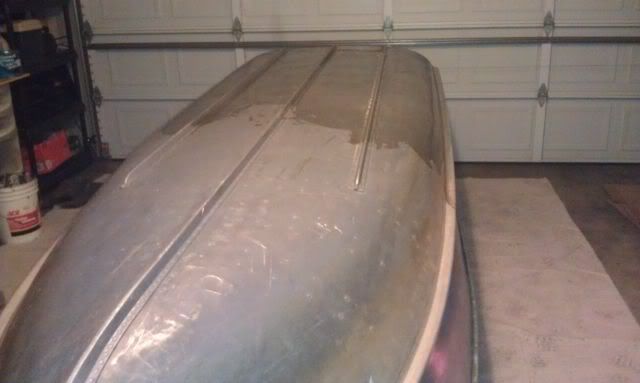
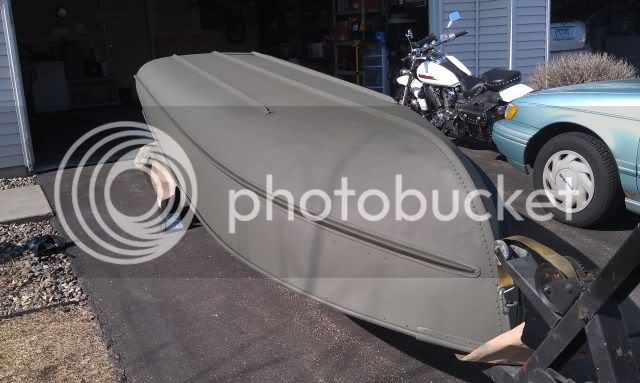
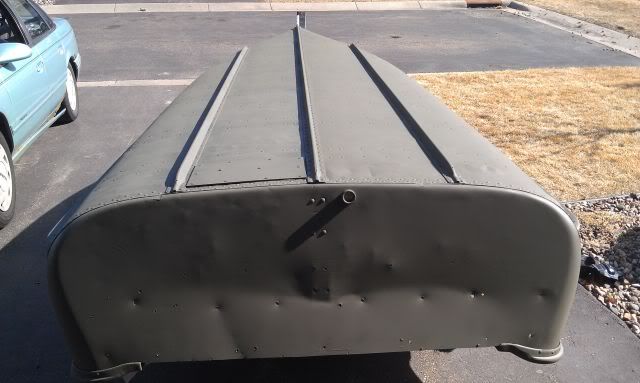
Got the outside of the hull stripped and ready for paint prep.

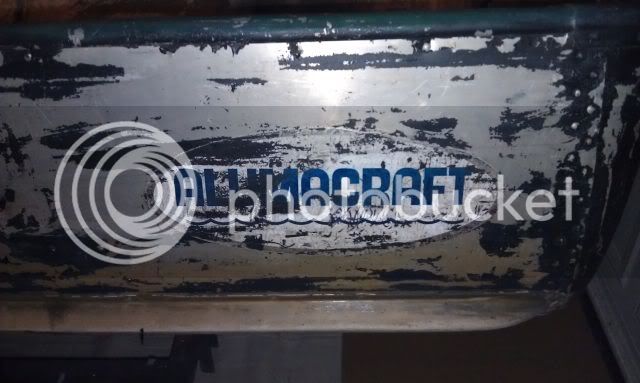
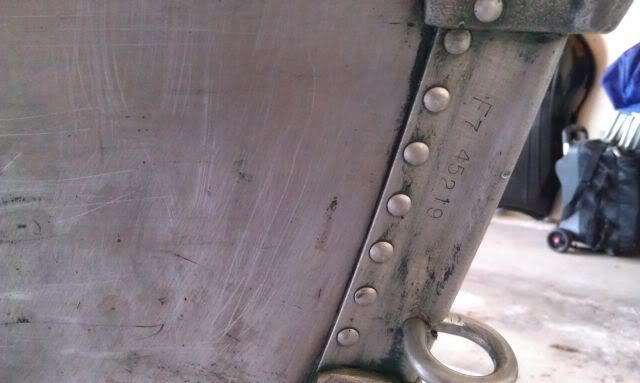
Found Alumacraft decals at the back and a hull number stamped into the bow along the way. So now I am pretty sure that it is a model F but I am still unsure of a year.
boat10.jpg

boat22.jpg


Here are some pics of the hull after a quick wet sand.
boat23.jpg

boat24.jpg

boat14.jpg

boat25.jpg
 
I picked up some self etching primer today. After I get it primed I am thinking a duck boat green. Not sold on a shade yet. Not sure if I want to go as dark as an olive drab, kinda thinking a little lighter. Rustoleum had a few shades I looked at today. I have also been tossing around the idea of painting a shadow grass pattern on it. I have a stencil kit from reel foot but I want to see how the green looks first. I'm not into waterfowl hunting but I like the look and if I decide to upgrade and sell this boat a duel purpose boat will sell quick in my area.
 
If you send an email to Alumacraft with any photos and hull numbers, they should be able to tell you the year. That'd what I did any they also gave me all the original specs for my '69 Alumacraft.
 
I used a wire wheel and about 3 small cans of Zip Strip. It took a lot longer than I planned. After I got most of the paint off I wet sanded and wiped down with acetone.
 
Ok finally got a chance to sit down and add to this post. Below is what I got done before I went back to work.
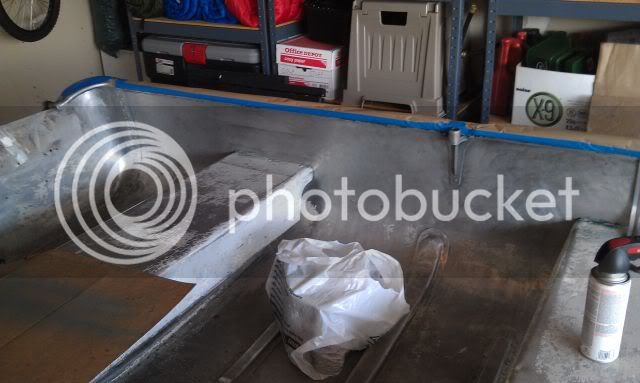
Here I finished stripping paint and wet sanding. I wiped everything down with acetone before applying primer.
boat30.jpg


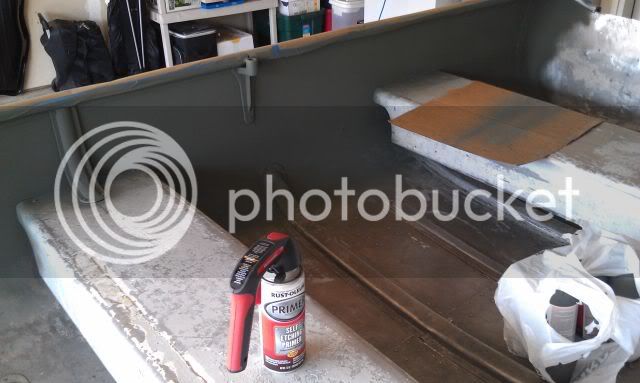
So I got started with the paint. I applied 2 coats of the rustoleum self etching primer. Grabbed one of those rustoleum triggers for spray cans. Worked pretty well.
boat29.jpg


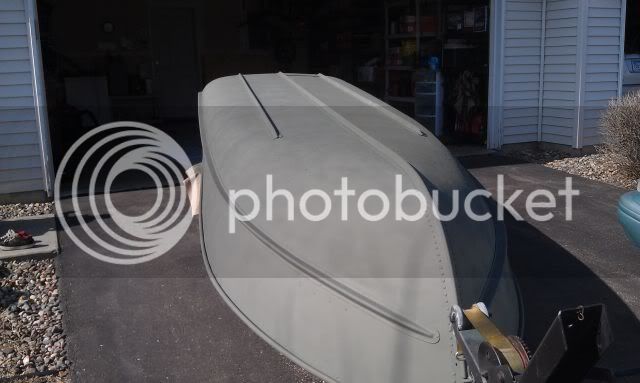
Here I put 3 coats of the rustoleum camo paint
boat31.jpg


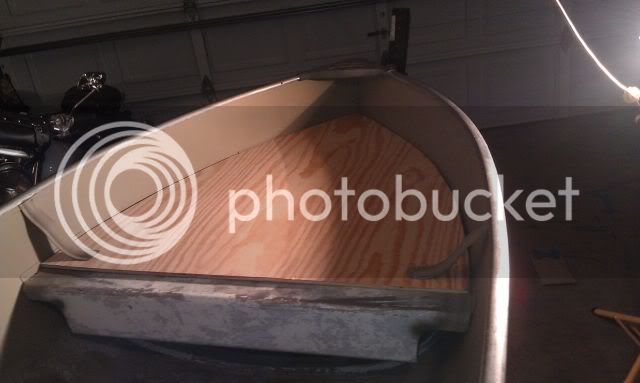
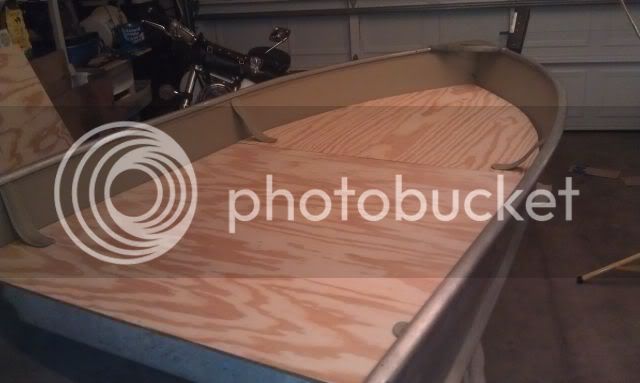
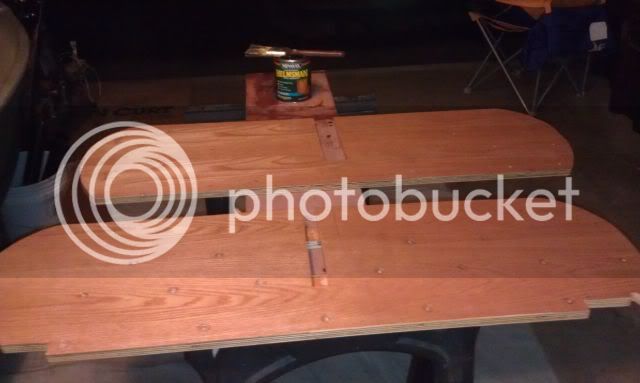
The weather got nasty so paint got put on hold due to no ventilation so I got a couple pieces of the deck cut. I picked up 2 sheets of 1/2in BC plywood and a cheap black and decker jig saw that was on sale at menards to cut the plywood. I used some cardboard to create a pattern.
boat34.jpg


I test fitted the pieces and cut a piece of gasket material to make a GO/NOGO gauge to check the gap around the sides. I found a few spots that were a little tight and had to do some touch up cutting.
boat35.jpg


So the weather cleared up and I got back to paint. Here I got 2 coats of primer done.
boat37.jpg


Thankfully it stayed really nice out for a few days and I was able to spray the color on. Put 3 coats of the rustoleum camo on.
boat39.jpg

boat41.jpg


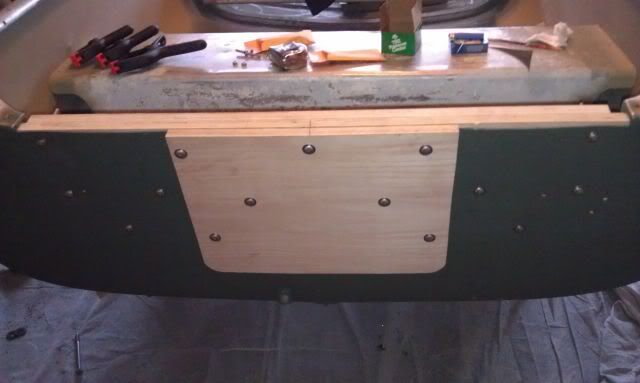
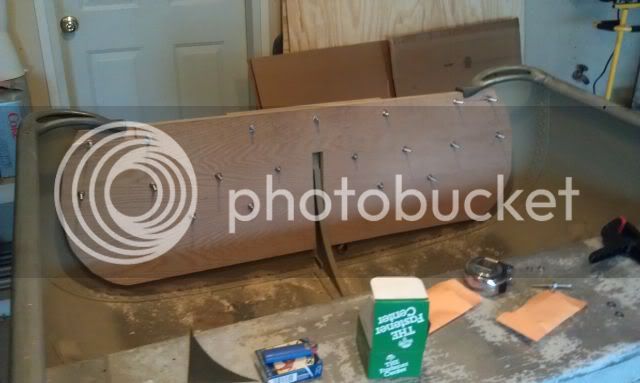
I got to work on the transom. I cut and test fitted some 3/4in oak plywood. I doubled it up on the inside.
boat42.jpg


I used a whole mess of 1/4in stainless carriage bolts thanks to all the holes.
boat43.jpg


The transom straightened out pretty well considering how bent out of shape it was.
boat44.jpg


After test fitting I sealed the wood with spar urethane.
boat45.jpg
 
Looks good but dang that's a lot of bolts in your transom! LoL..want to make sure it stays on there, eh?
 
Yeah it was a lot of hardware lol. All those holes were existing so I just stuck bolts in them to plug them. Just a lesson learned for all planning on doing this in the future, stainless steel nuts and bolts do not like to come apart once you tighten them. I found that out the hard way and wrecked a hand full of hardware. I spoke with my neighbor about it who is in maintenance and he said they use nickel nuts on stainless bolts to avoid that problem. I'm not real sure if nickel gets along with aluminum but I guess in this case the nuts would not contact the aluminum anyway.
 

Latest posts

Top