1962 Lone Star Malibu

TinBoats.net

Help Support TinBoats.net:

This site may earn a commission from merchant affiliate links, including eBay, Amazon, and others.
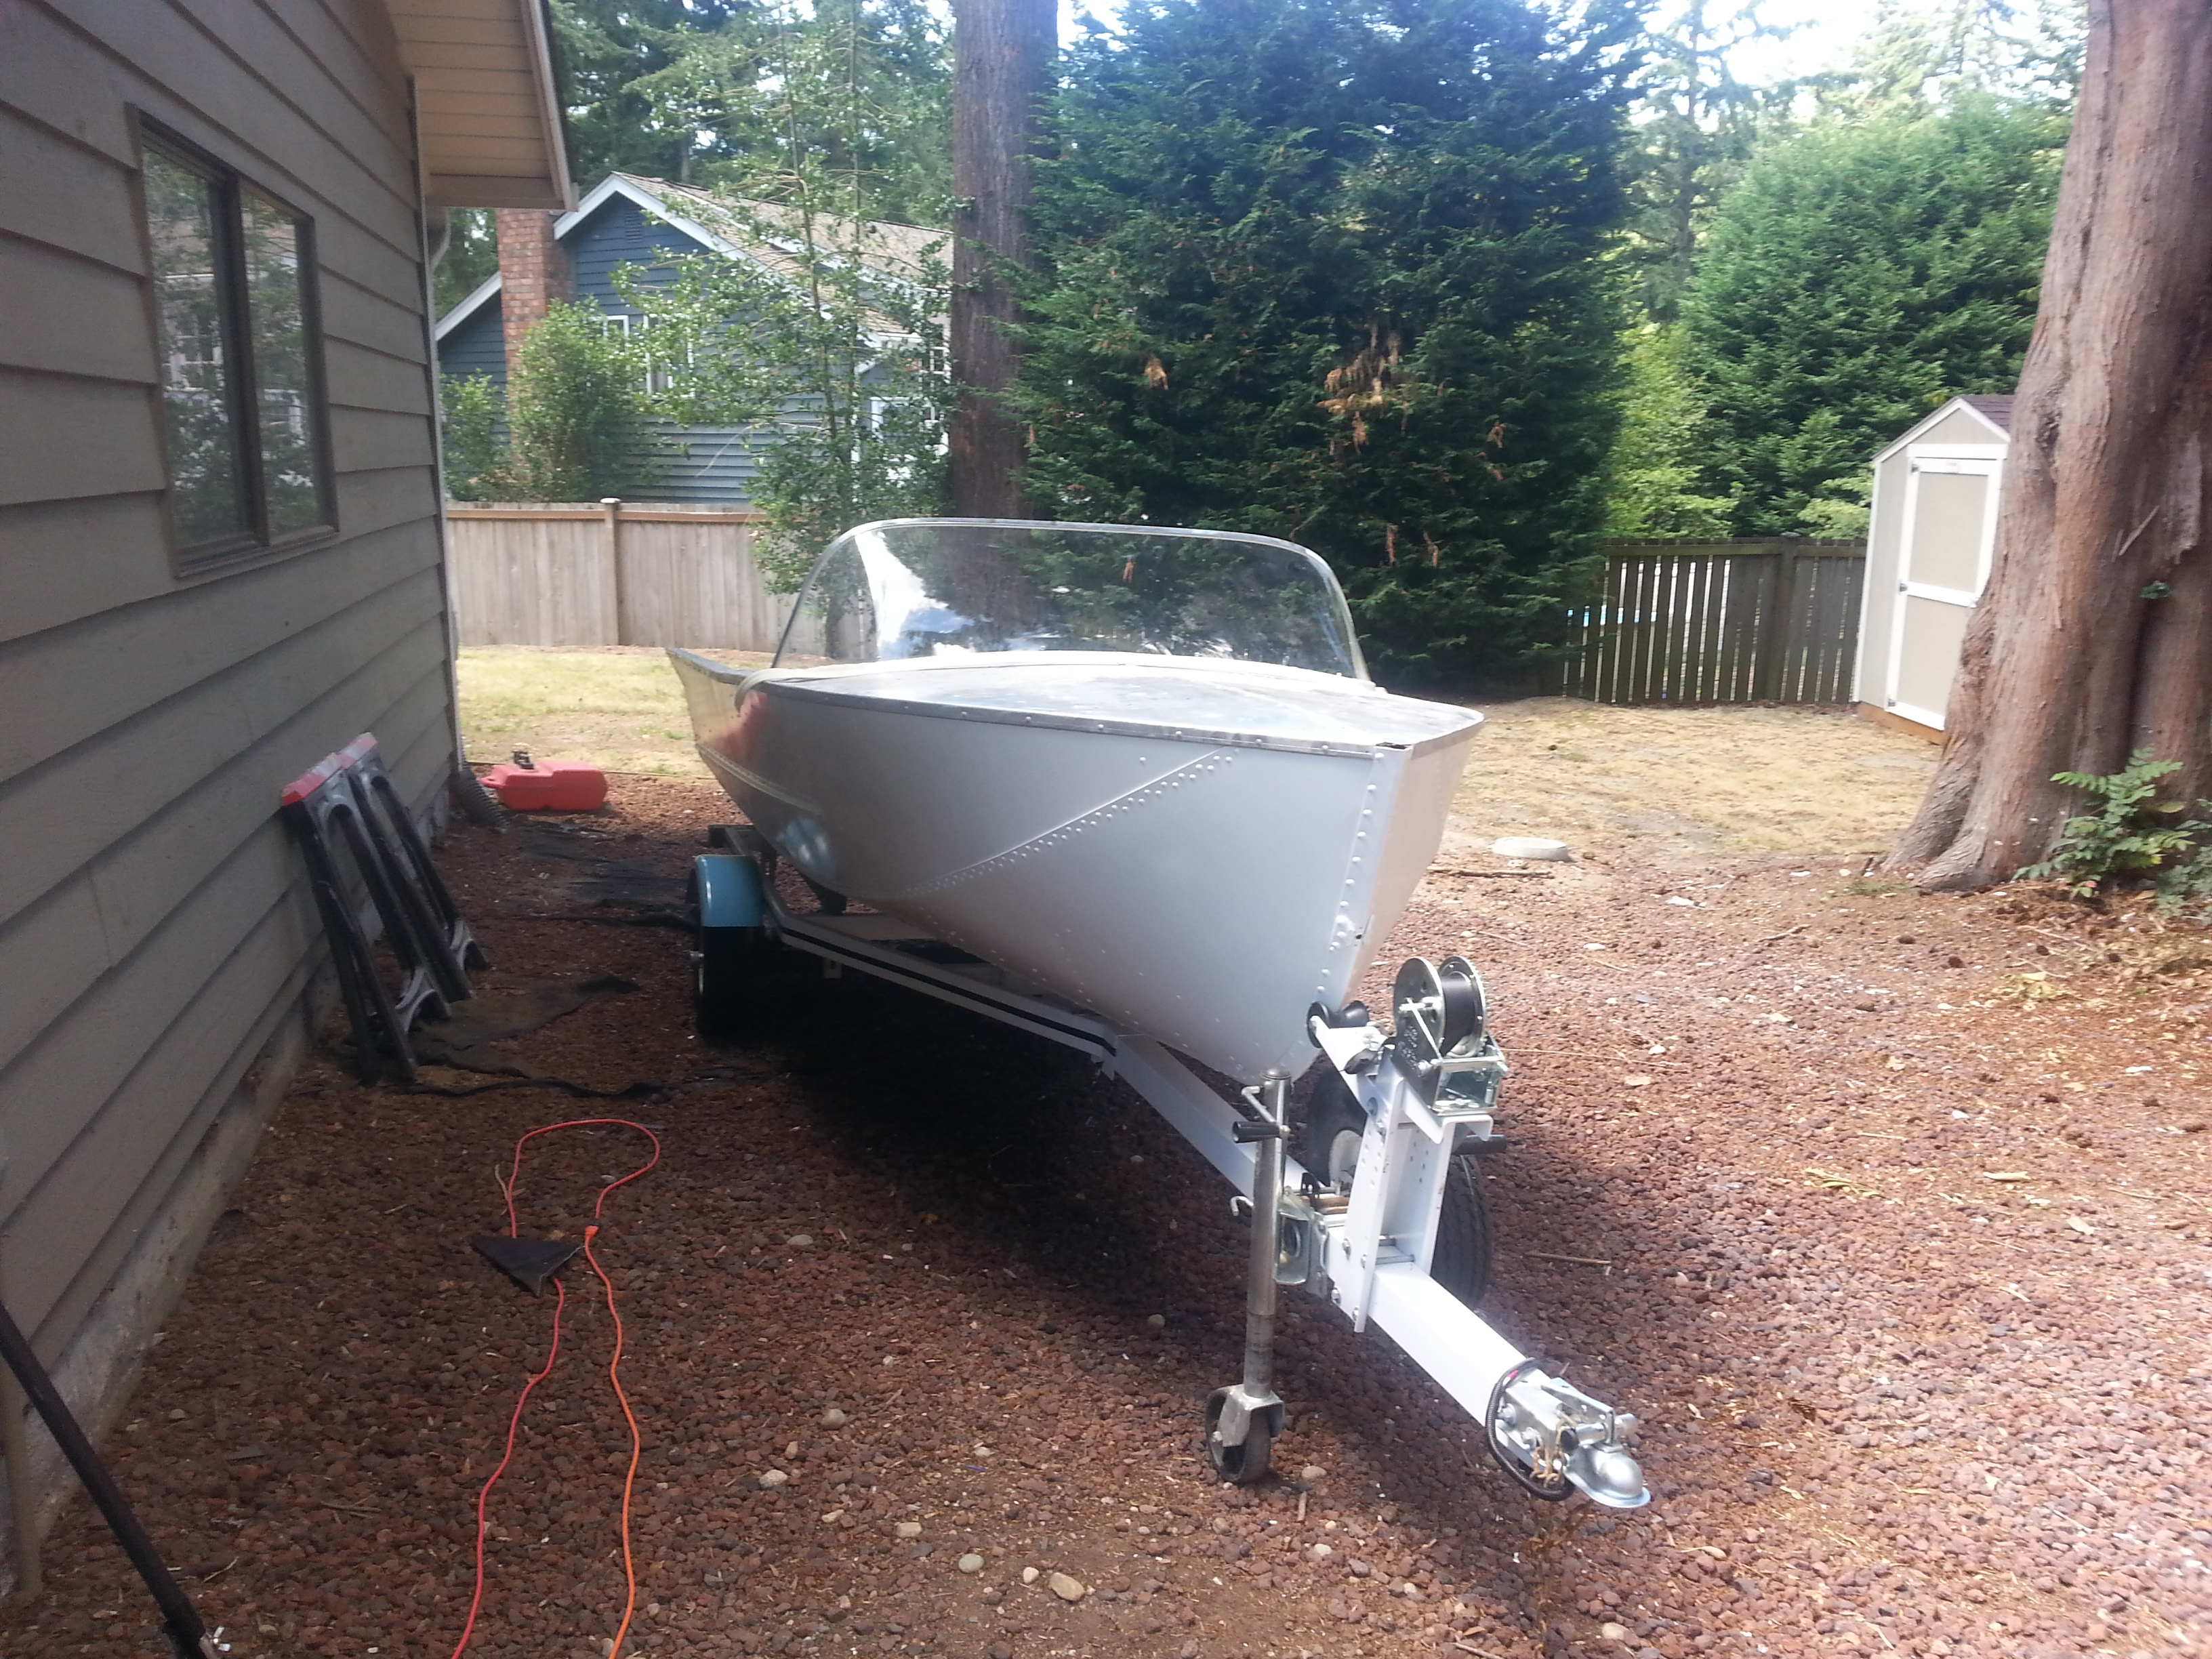
Well, I'm back after spending a week in triple digit temperatures down in Lake Powell and ready to get back to work on a boat in a more temperate climate. It did allow my hull paint to cure for about a week, and I was able to get the boat turned over and back on my trailer. So, now I'm looking at installing some flotation that it is lacking and then finishing the interior prior to painting the top deck.

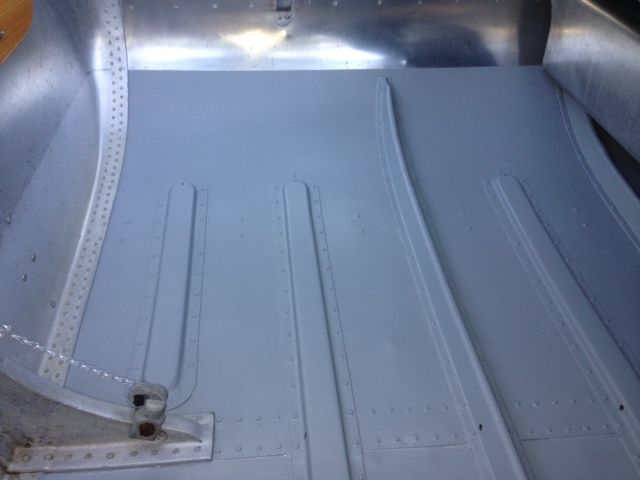
With respect to the interior, I was thinking about coating the interior with bed-liner, similar to this Rust-Oleum spray on product (https://www.amazon.com/Rust-Oleum-Automotive-253438-15-Ounce-Coating/dp/B006ZLQ8ZO/ref=pd_sim_60_7), but was wondering if anyone had any experience with that or thoughts? I figure it should be a good non-slip surface, the tan shouldn't be too hot under the sun, and it should be durable as long as the aluminum is prepped right (etched and primed). Anything I should be concerned with?
 
Johnny said:
that spray-on liner stuff is pretty permenant - - -
I would get some sheetmetal and do some
samples first - prior to putting it on your boat.
Just for your peace of mind.

Probably not a bad idea; I'll definitely give it a try on some scrap aluminum first. It's a little ways off yet, I still have to figure out how I'm going to add flotation such that it looks half-way (I hope whole way) decent. There was foam in the nose that I will replace and I'm going to replace the foam under the forward seat, but I kind of want the aft bench for storage and would like to get some flotation right back at the transom where all the weight is going to be. I've got a few ideas that I'm toying around with, but am going to have to get serious here soon to keep the project moving.
 
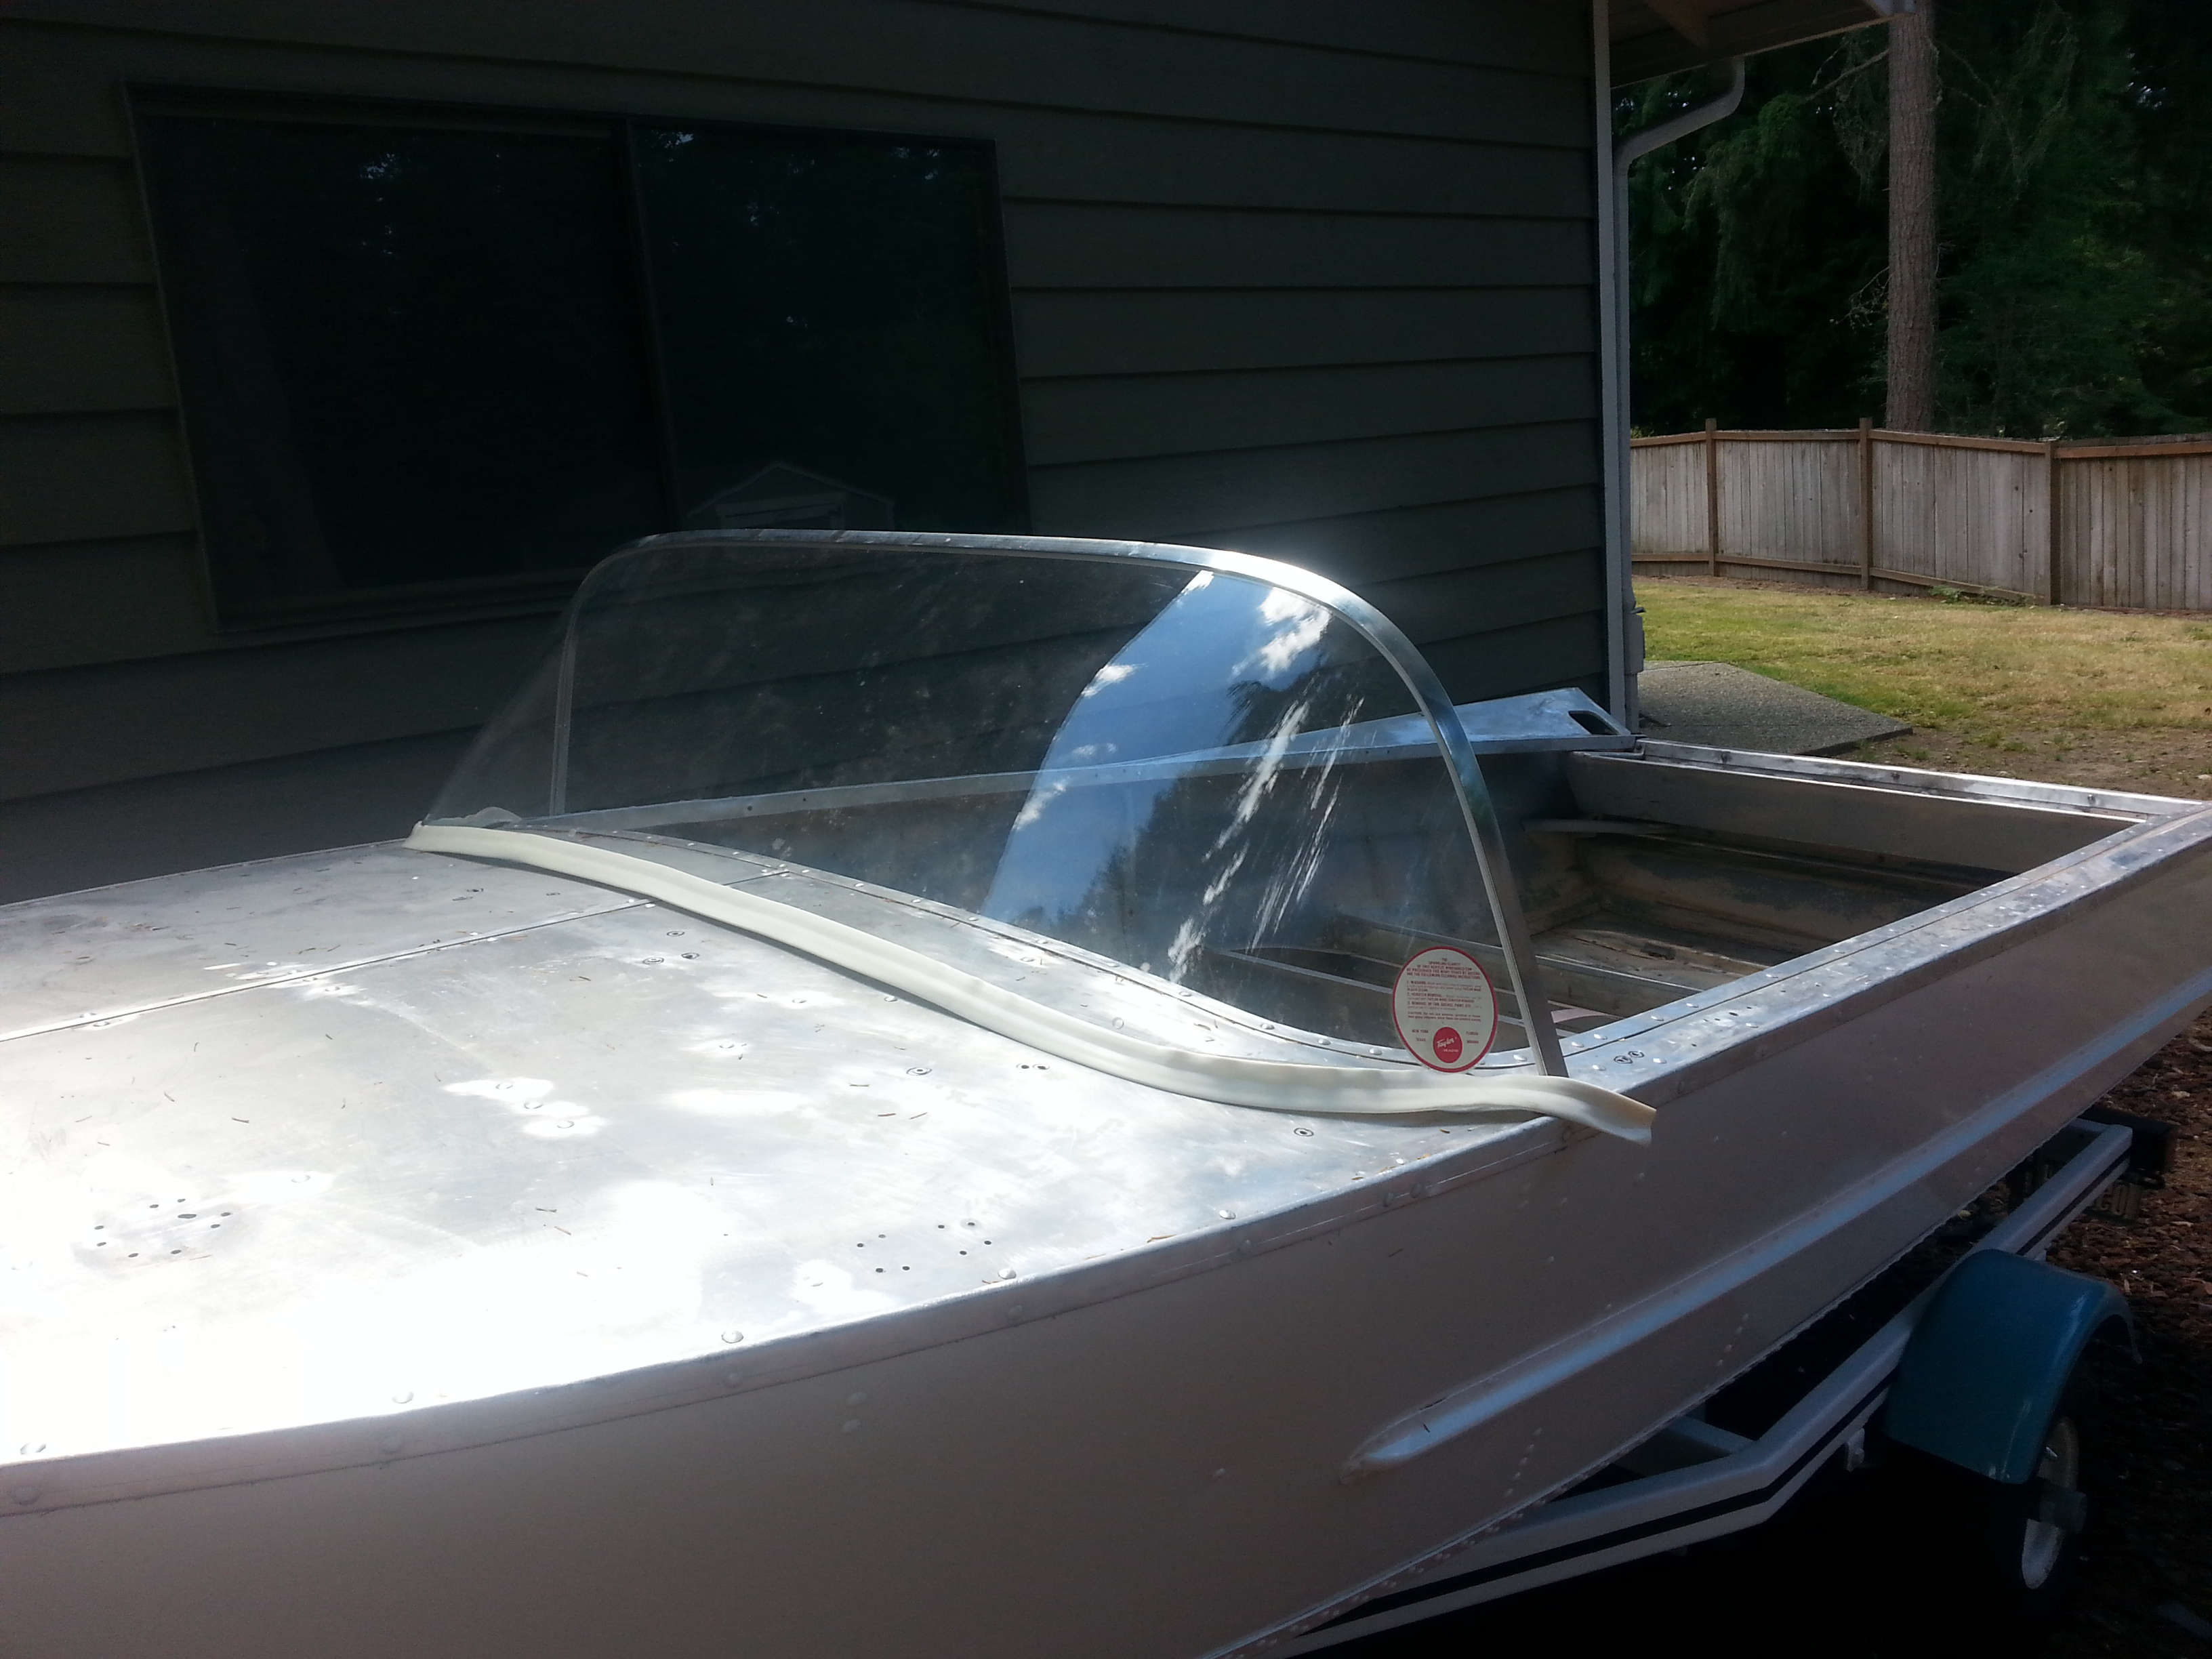
Still haven't made any progress; was planning on working on her today, but the weather isn't cooperating. I did want to show off the birthday present from my wife though. She found a NOS Taylormade windshield on eBay that includes all the mounting hardware. I'm pretty sure it isn't the same as the original, but it looks like it will fit well enough that most won't notice. When I got the boat the windshield and mounting hardware were missing, but it appears that this boat had a couple different windshields in the past, as there are a couple sets of mounting holes. I'm going to have to fill all the old holes and add some new ones.

Tyij9OO.jpg


IcnMCsE.jpg
 
Re-think that bedliner. We have a fellow in the antique outboard group that showed up with a boat he had done that with. Point blank...it was "Fugly" and heavy.
Couple of the main marine finish manufacturers have a good non-skid if that is something you are considering. I would do the white on the inside and then a top coat from the waterline down of a non-skid in an off set color. I used Petit for my Alumacraft Model R.


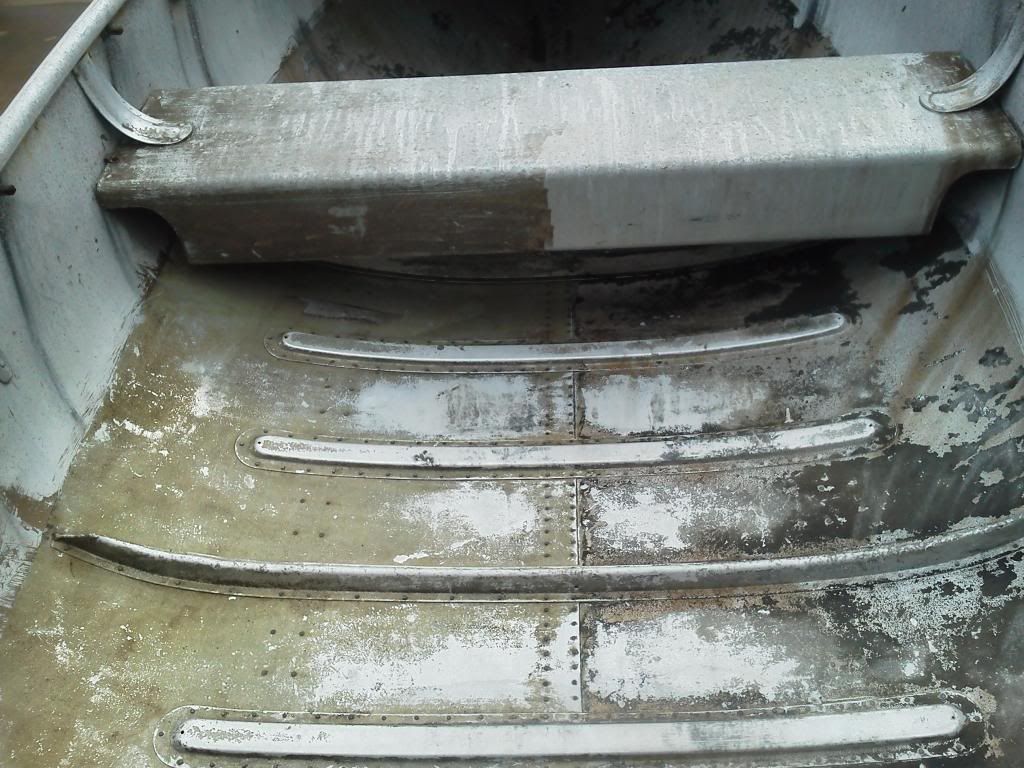
And, by the way, I feel your pain on doing the inside.......I started with this!


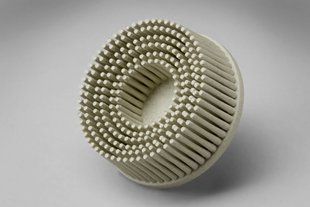
Once I removed the layers of old paint I used the 3M Rollock abrasive wheels for the area that was to be painted. They work WONDERFULLY!

 
Thanks for the advice Pappy, I will definitely look into the non-skid coatings I believe that on this Lone Star the entire interior was originally a tan with gray and black paint flecks; at least that is what I've found in presumably undisturbed areas in the nose (where it's tough to get a picture). I'd assume that there were non-skid pads glued down where you'd have foot traffic. My plan was to go with all tan interior, but I could go with a lighter tan top coat and then do the non-skid in a darker shade of tan perhaps. I did get a can of the Rust-Oleum spray on bed liner and am going to do a test panel of some sort, but I could definitely see where it might add a lot of weight and will have to factor that into my decision.

On a side note, that's a pretty darn good looking Alumacraft you have there. I love the look of those boats with the aft steering station and the separate forward seating area and it looks like you've got yours in great shape. I'm on my way and I'd like to say I'll get there, but I don't know if mine is every going to be quite that polished.
 
Actually, that final finish on the inside was done with simple SOS pads and water prior to the non-skid. More abrasive methods were used to get rid of the corrosion, such as the 3m piece pictured above. BTW - that thing is amazing around rivets...best thing I have ever used. Got rid of 100% of the paint around every single rivet almost effortlessly. At that point all I had to do was strike a waterline around the inside of the hull, etch, and paint. The waterline and etching was also super easy.
 
I used glide sticks to alleviate the corrosion issue I was having with pressure treated bunks. Believe these guys...it is a very real issue.
 
sonny.barile said:
I used glide sticks to alleviate the corrosion issue I was having with pressure treated bunks. Believe these guys...it is a very real issue.

Out of curiosity, was your hull painted or bare aluminum? Were your bunks carpeted?

I'm familiar with galvanic corrosion, but thought that the carpet, which has a rubber membrane backing, the waterproof marine adhesive, and the fact that the hull is painted would be adequate to isolate the aluminum from the pressure treated lumber.
 
Well, I've been busy, but have managed to get a few things accomplished on the boat...unfortunately, none of it is really photo worthy. I got all the remaining holes in the top cap deck filled with rivets and am working on prepping the interior for paint (I have one of the 3M Roloc disks on order, hoping it makes quicker work of this than my wire wheel). I sprayed out a scrap with the Rust-Oleum spray on bed liner and like the finish pretty well; it's much smoother than traditional bed liners but does have a good gripping surface. I think I'm going to give it a try once I get the prep work done.

I replaced the flotation foam in the nose and think I have a workable solution for mounting a cubic foot or so of it along the transom (I'd like more given the weight of the outboard, but I just can't figure out a good arrangement to get more foam at the transom). I guess if it ever sinks, it's going to float down by the stern. I'm also going to fill the front bench with foam, but am debating between pouring it full of expanding polyurethane foam or just using rigid foam.
 
enginerd said:
sonny.barile said:
I used glide sticks to alleviate the corrosion issue I was having with pressure treated bunks. Believe these guys...it is a very real issue.

Out of curiosity, was your hull painted or bare aluminum? Were your bunks carpeted?

I'm familiar with galvanic corrosion, but thought that the carpet, which has a rubber membrane backing, the waterproof marine adhesive, and the fact that the hull is painted would be adequate to isolate the aluminum from the pressure treated lumber.

My hull has a bare bottom. I fish in salt water so it may have worsened the problem. I ended up with what looked like a little gouge. I wire brushed it out with a stainless steel brush and washed the bottom in baking soda and water. I also scrubbed the bunk carpet with baking soda and water. Then I put on the glide sticks. It isn't happening anymore (knock on wood) and it makes getting the boat on and off much easier.

I believe some of the trailer companies now offer a protective plastic piece that runs the whole length of the bunk as an option.

One thing I took notice of recently is it looks like the screws that holt the bunks to the trailer clips are corroding like mad and it is spreading to the clips. Im going to be replacing the bunks and that hardware soon. I need to start researching what Im going to use before I become one of those people you see on the highway with their boat on the blacktop.
 
sonny.barile said:
My hull has a bare bottom. I fish in salt water so it may have worsened the problem.

My hull will be painted and I'll be primarily in fresh water, so I wouldn't think it would be as much of an issue, but I may get the glide sticks anyway just to be on the safe side.
 
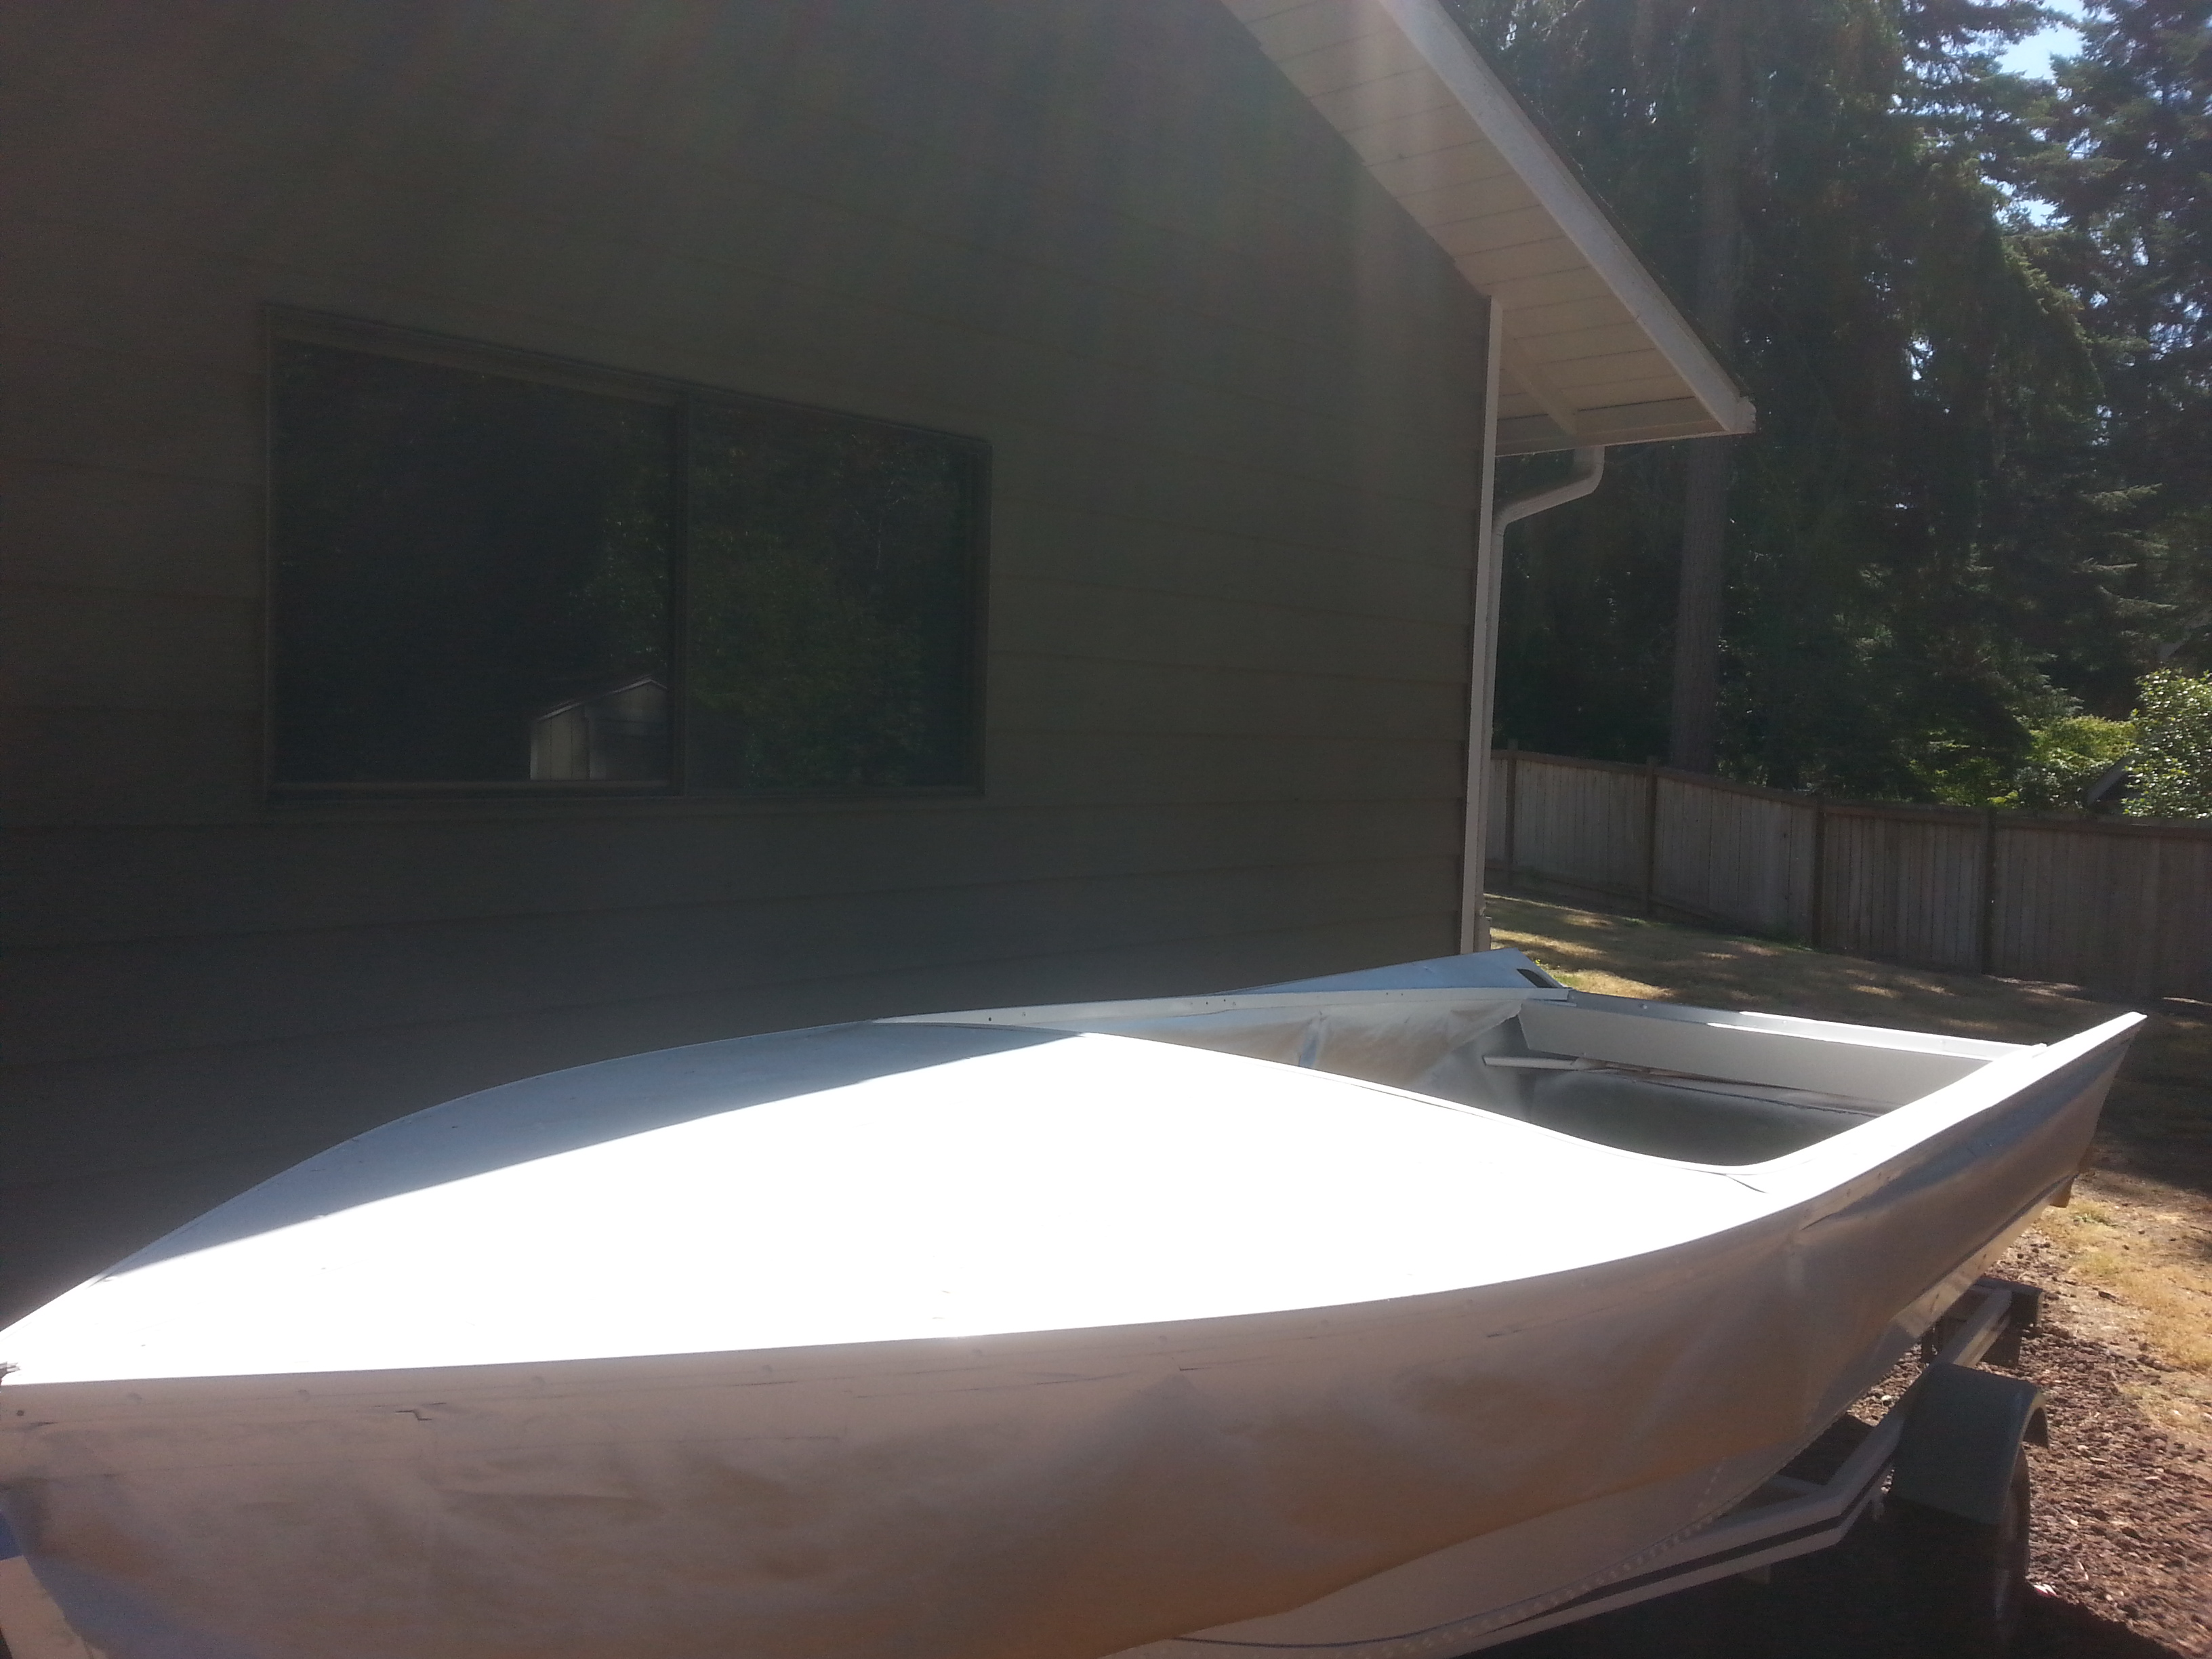
It's been a while, but I've made some progress. I decided to paint the top cap/deck before the interior and have gotten two coats of white down after vinegar wash, aluminum primer, and bonding primer. I have one final (hopefully) coat of white to put on tomorrow after the last coat has cured. Then I get to move on to the graphics, which will be identical to the original paint scheme, except that I'm going with teal/black instead of red/black.

9W3Eirj.jpg


I leak tested the boat before I started working on the boat by filing it well above the waterline and didn't find any major leaks. There was a minor leak at the rear seam below the transom, but the two side seams were bone dry. Never the less, I applied a generous coat of Gluvit to all the seams.

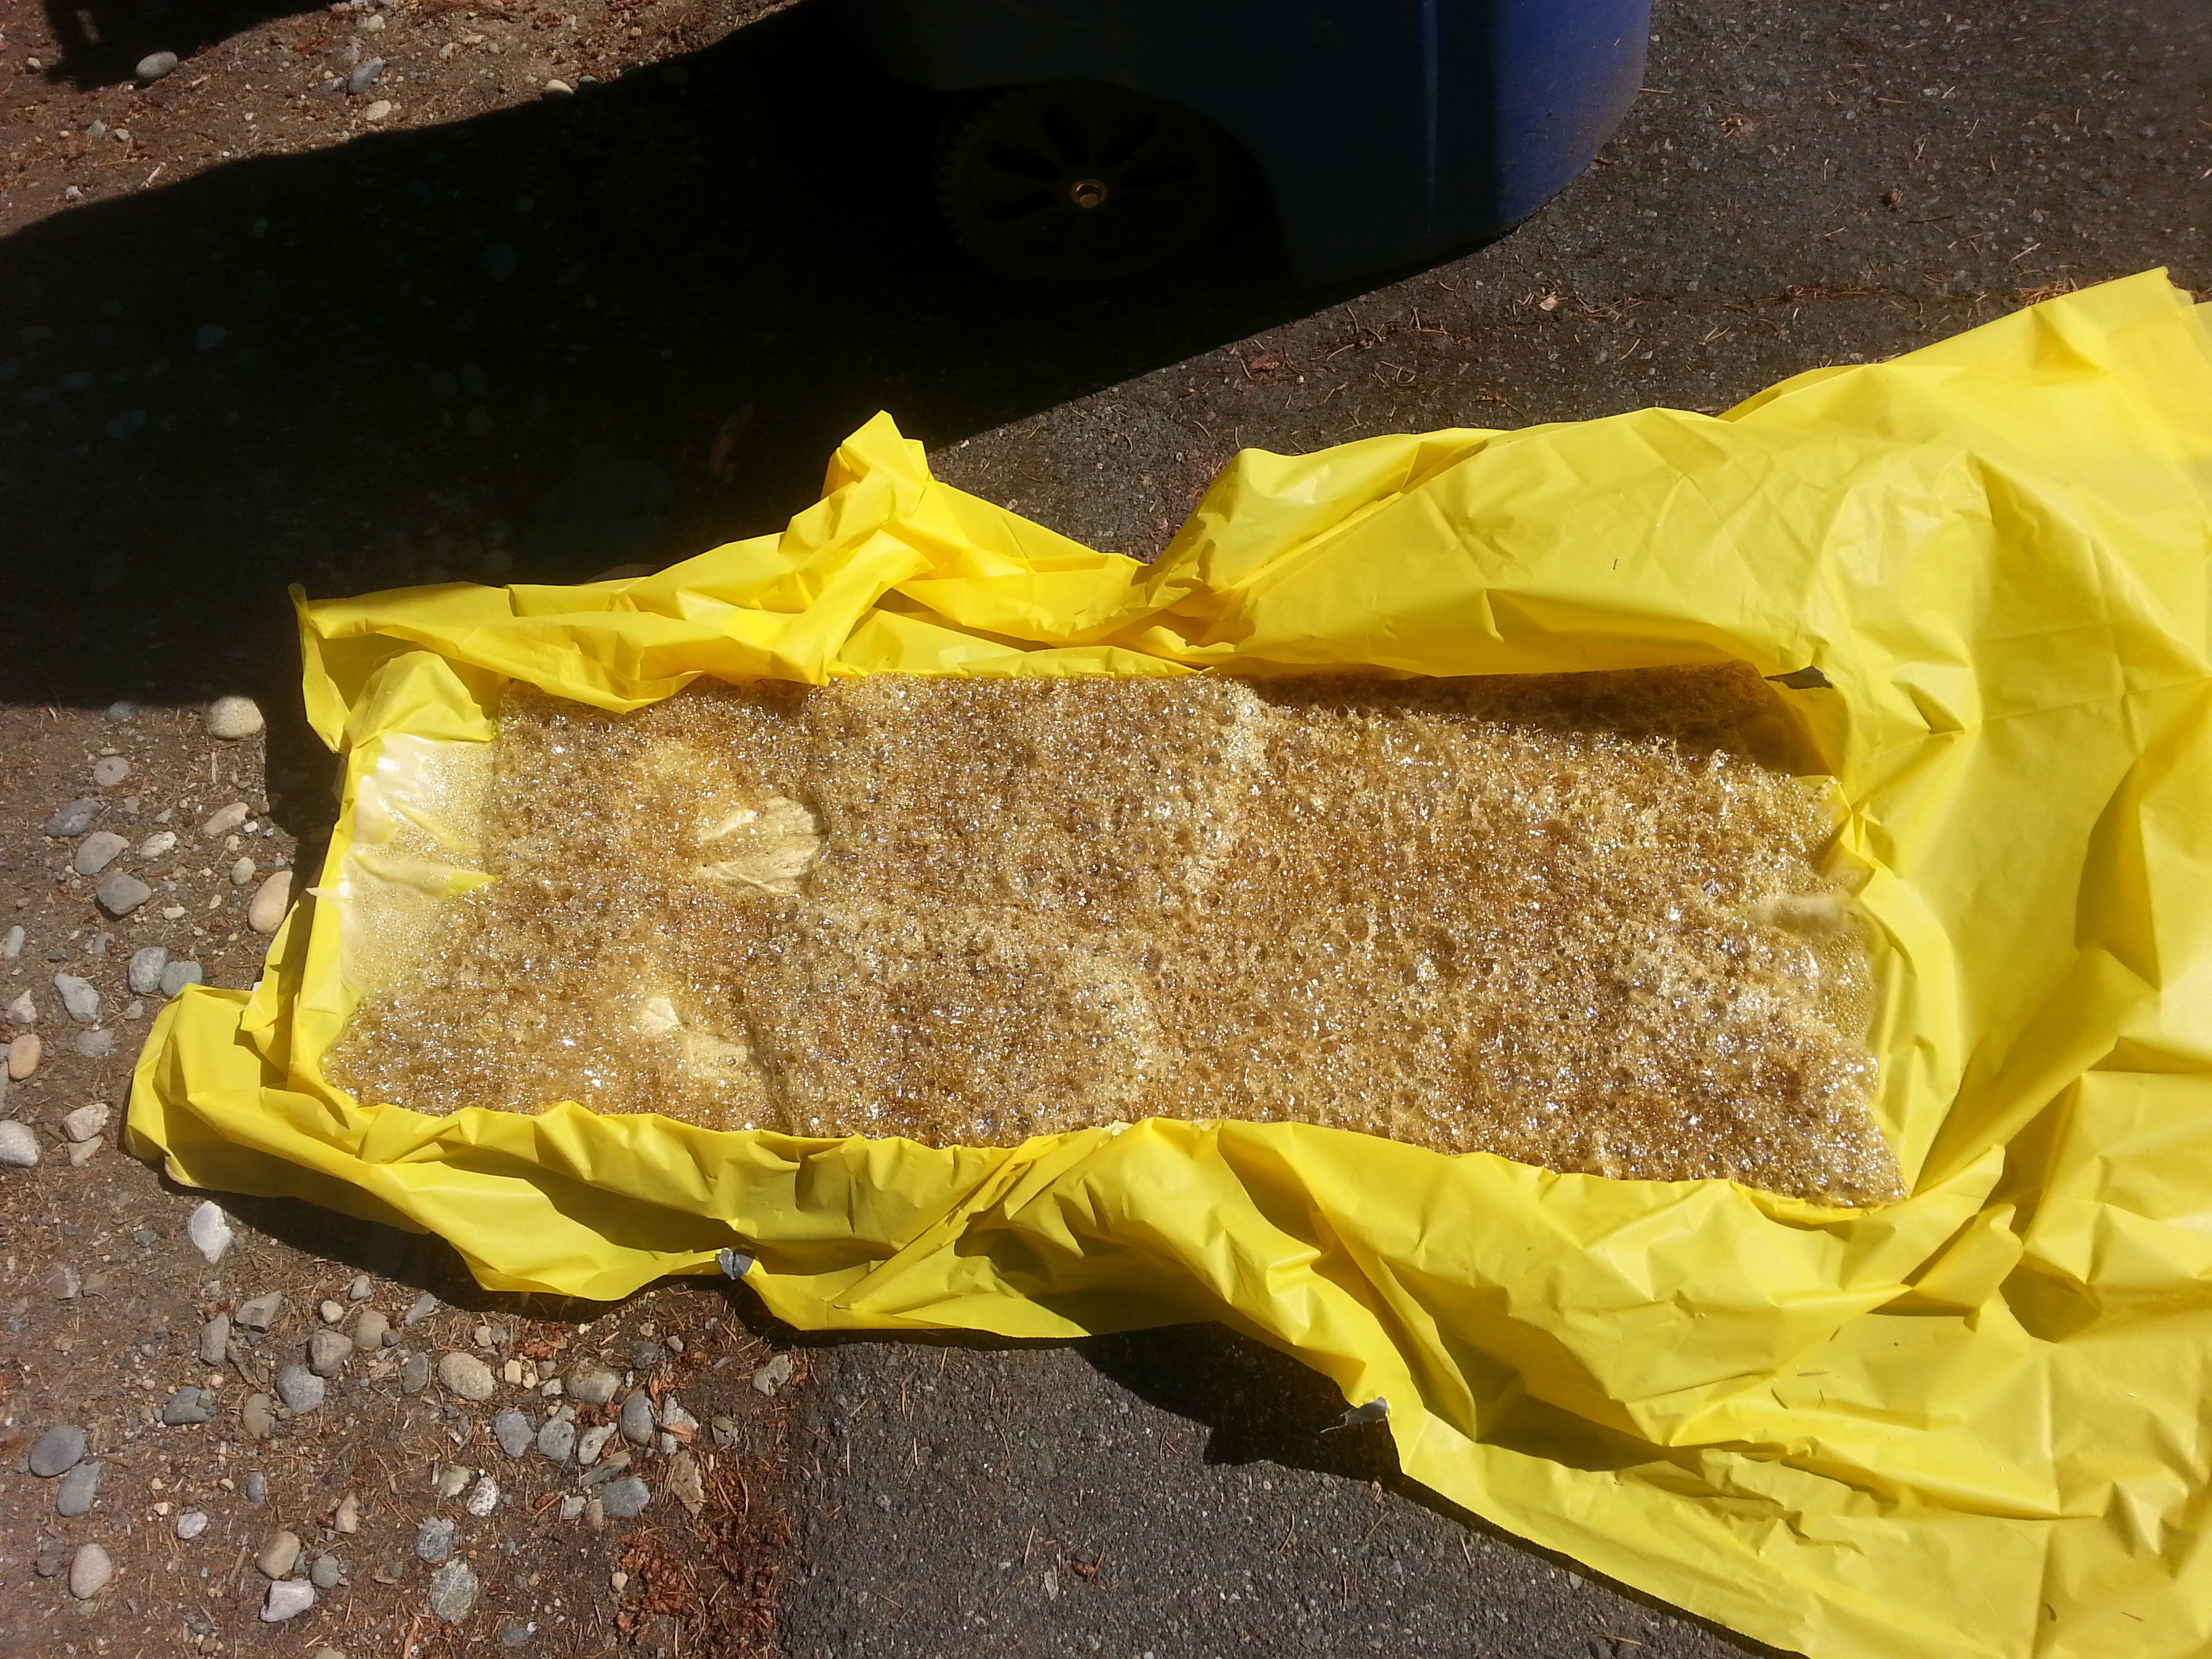
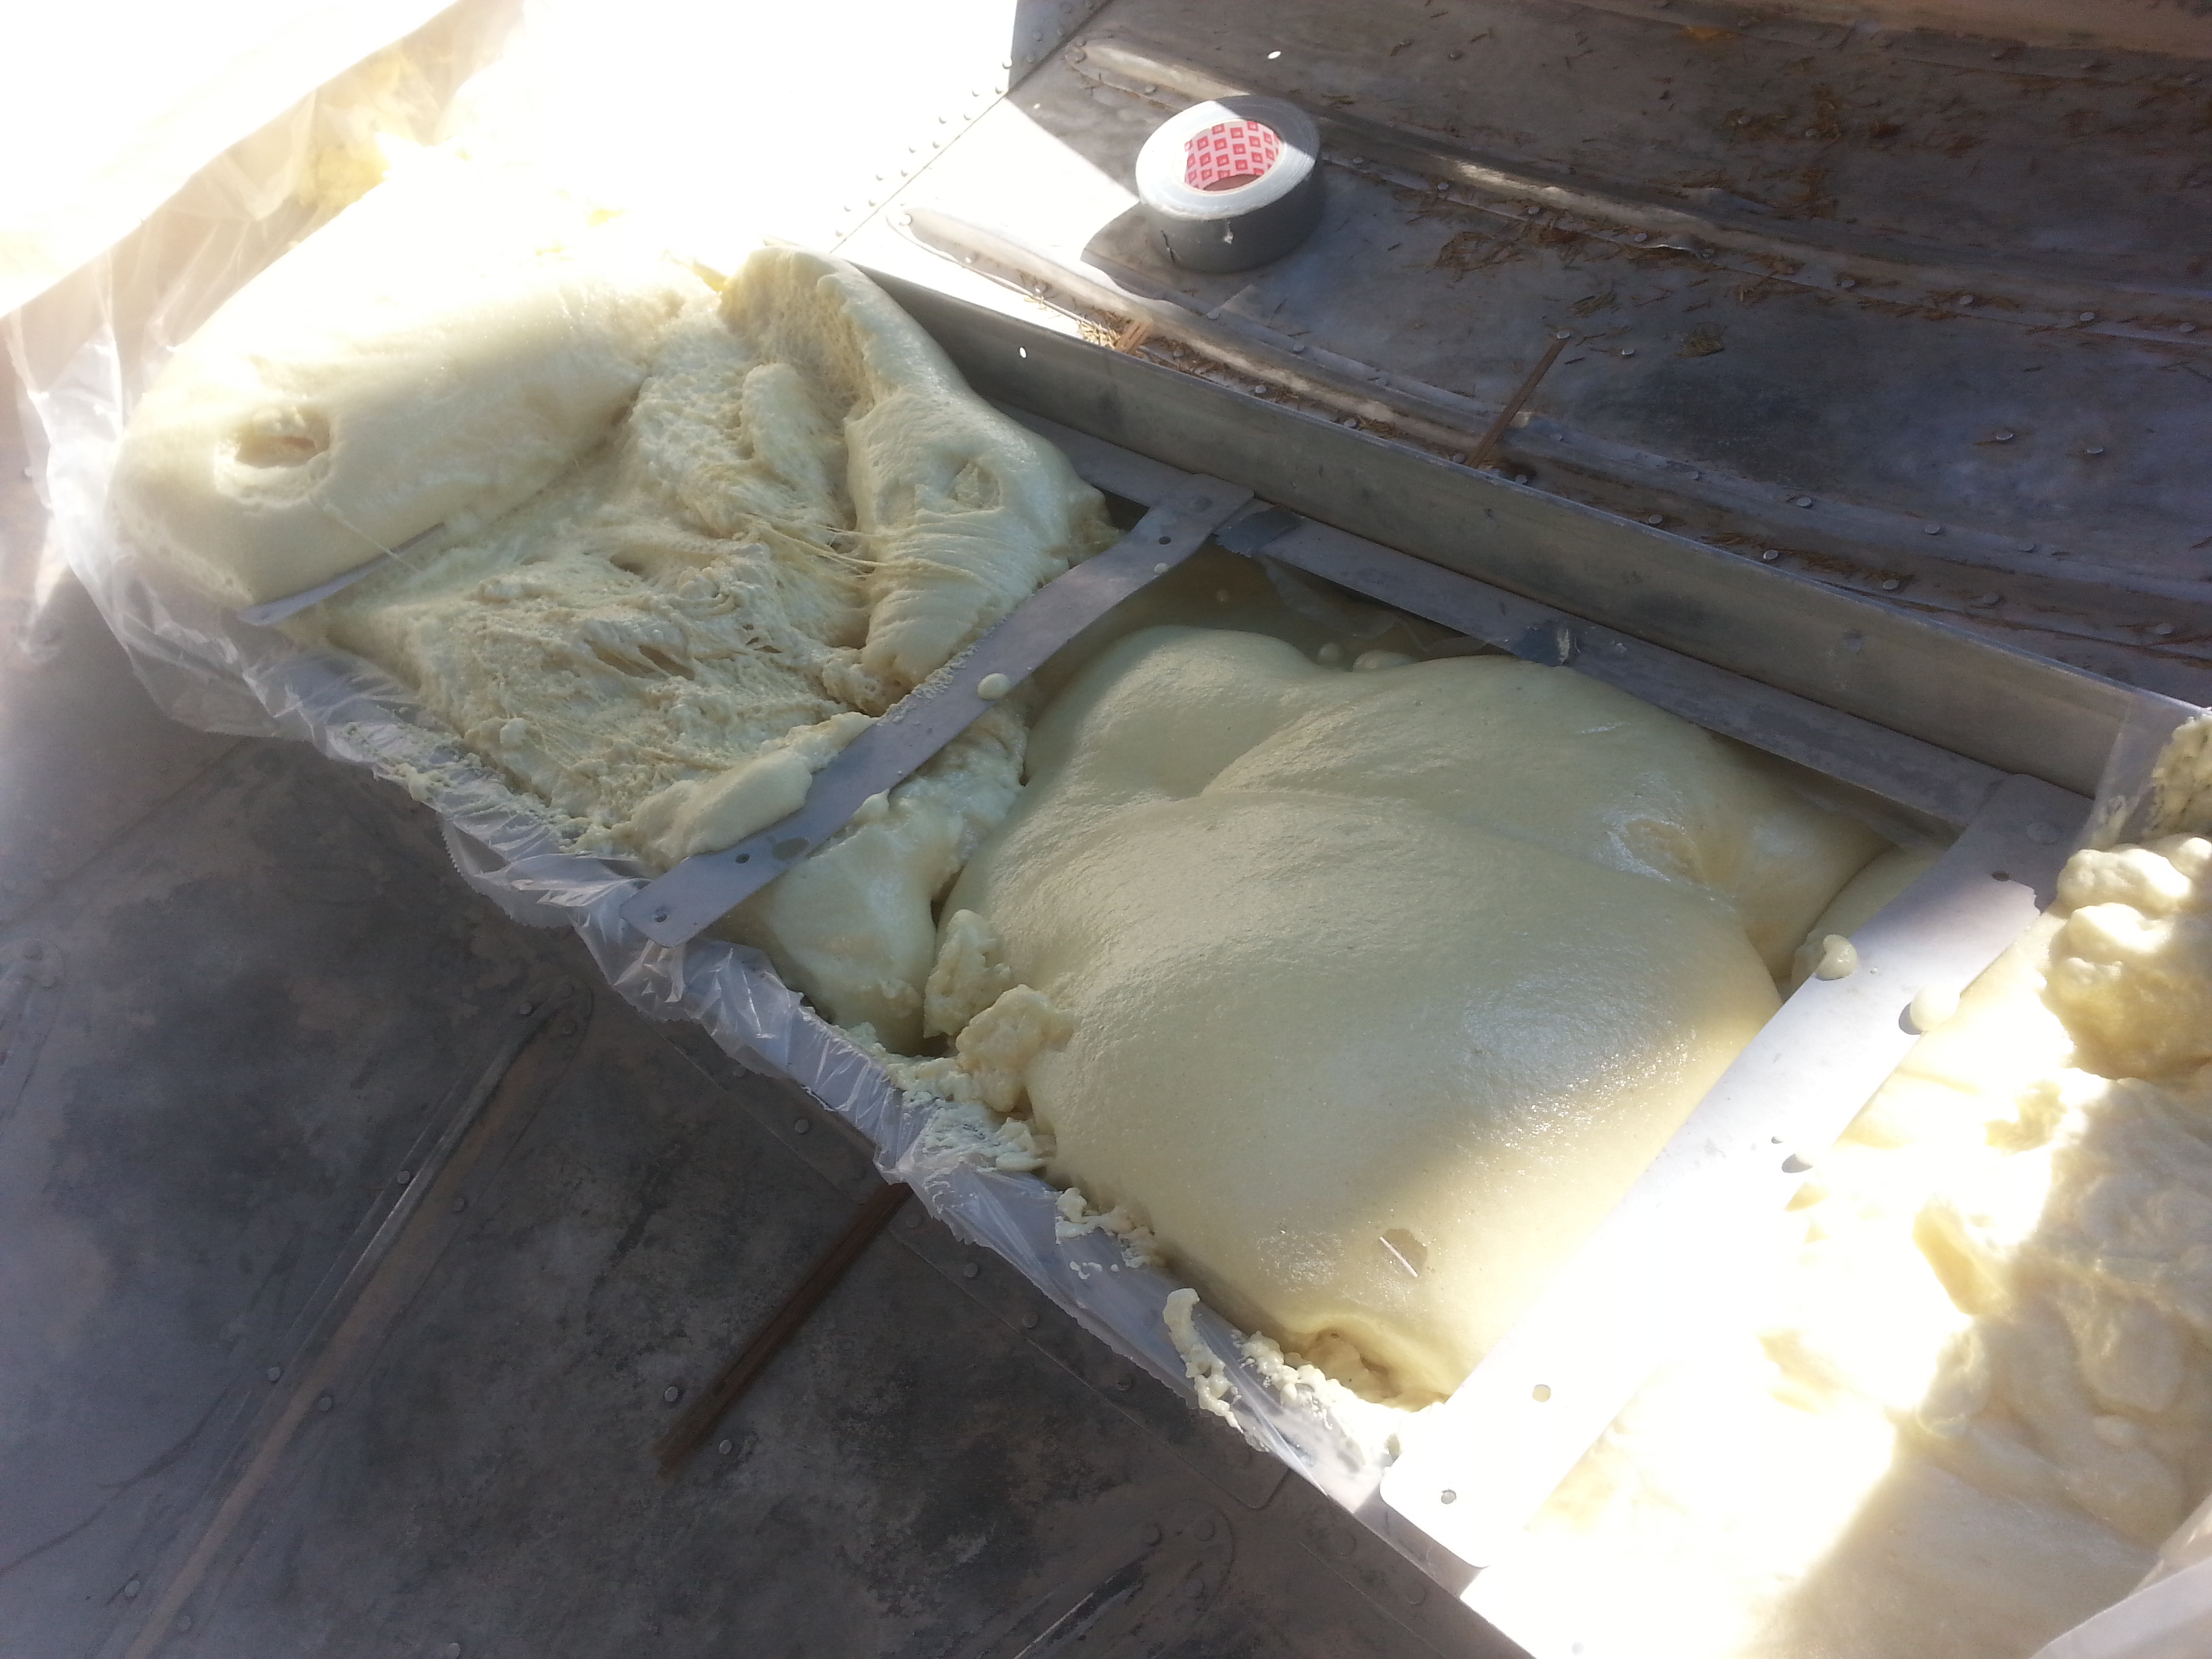
I attempted to pour expanding liquid urethane foam in the front bench, but failed to read the product literature completely. The foam I have used in the past has a shelf life of 1-year prior to being opened, but this brand, FGCI, only has a shelf life of 6-months and apparently they mean it. #-o I purchased it about 8-months ago when Amazon had a sale figuring that I would use it before the end of the summer. Anyway, I poured a gallon, which should yield 4-cuft, enough to fill the front bench with a little overflow, but only got about 1-cuft of dense "foam." Luckily, I had lined the bench with plastic sheeting (disposable table cloth) to contain it and that made removal of the failed pour a snap (just pulled it out). Now I just need to wait for my new order of foam to arrive and repeat.

3LQy5hV.jpg


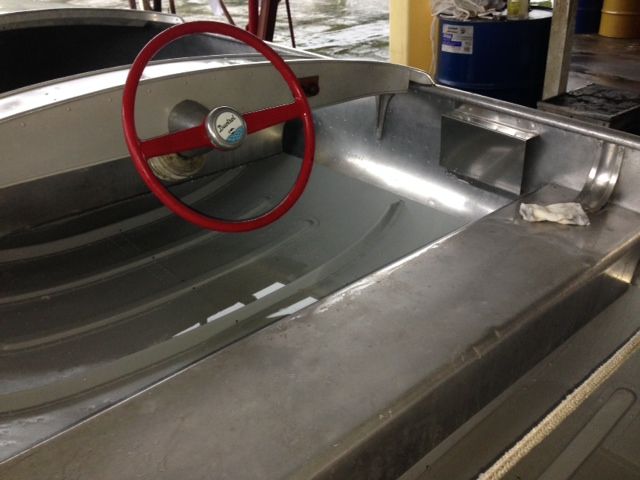
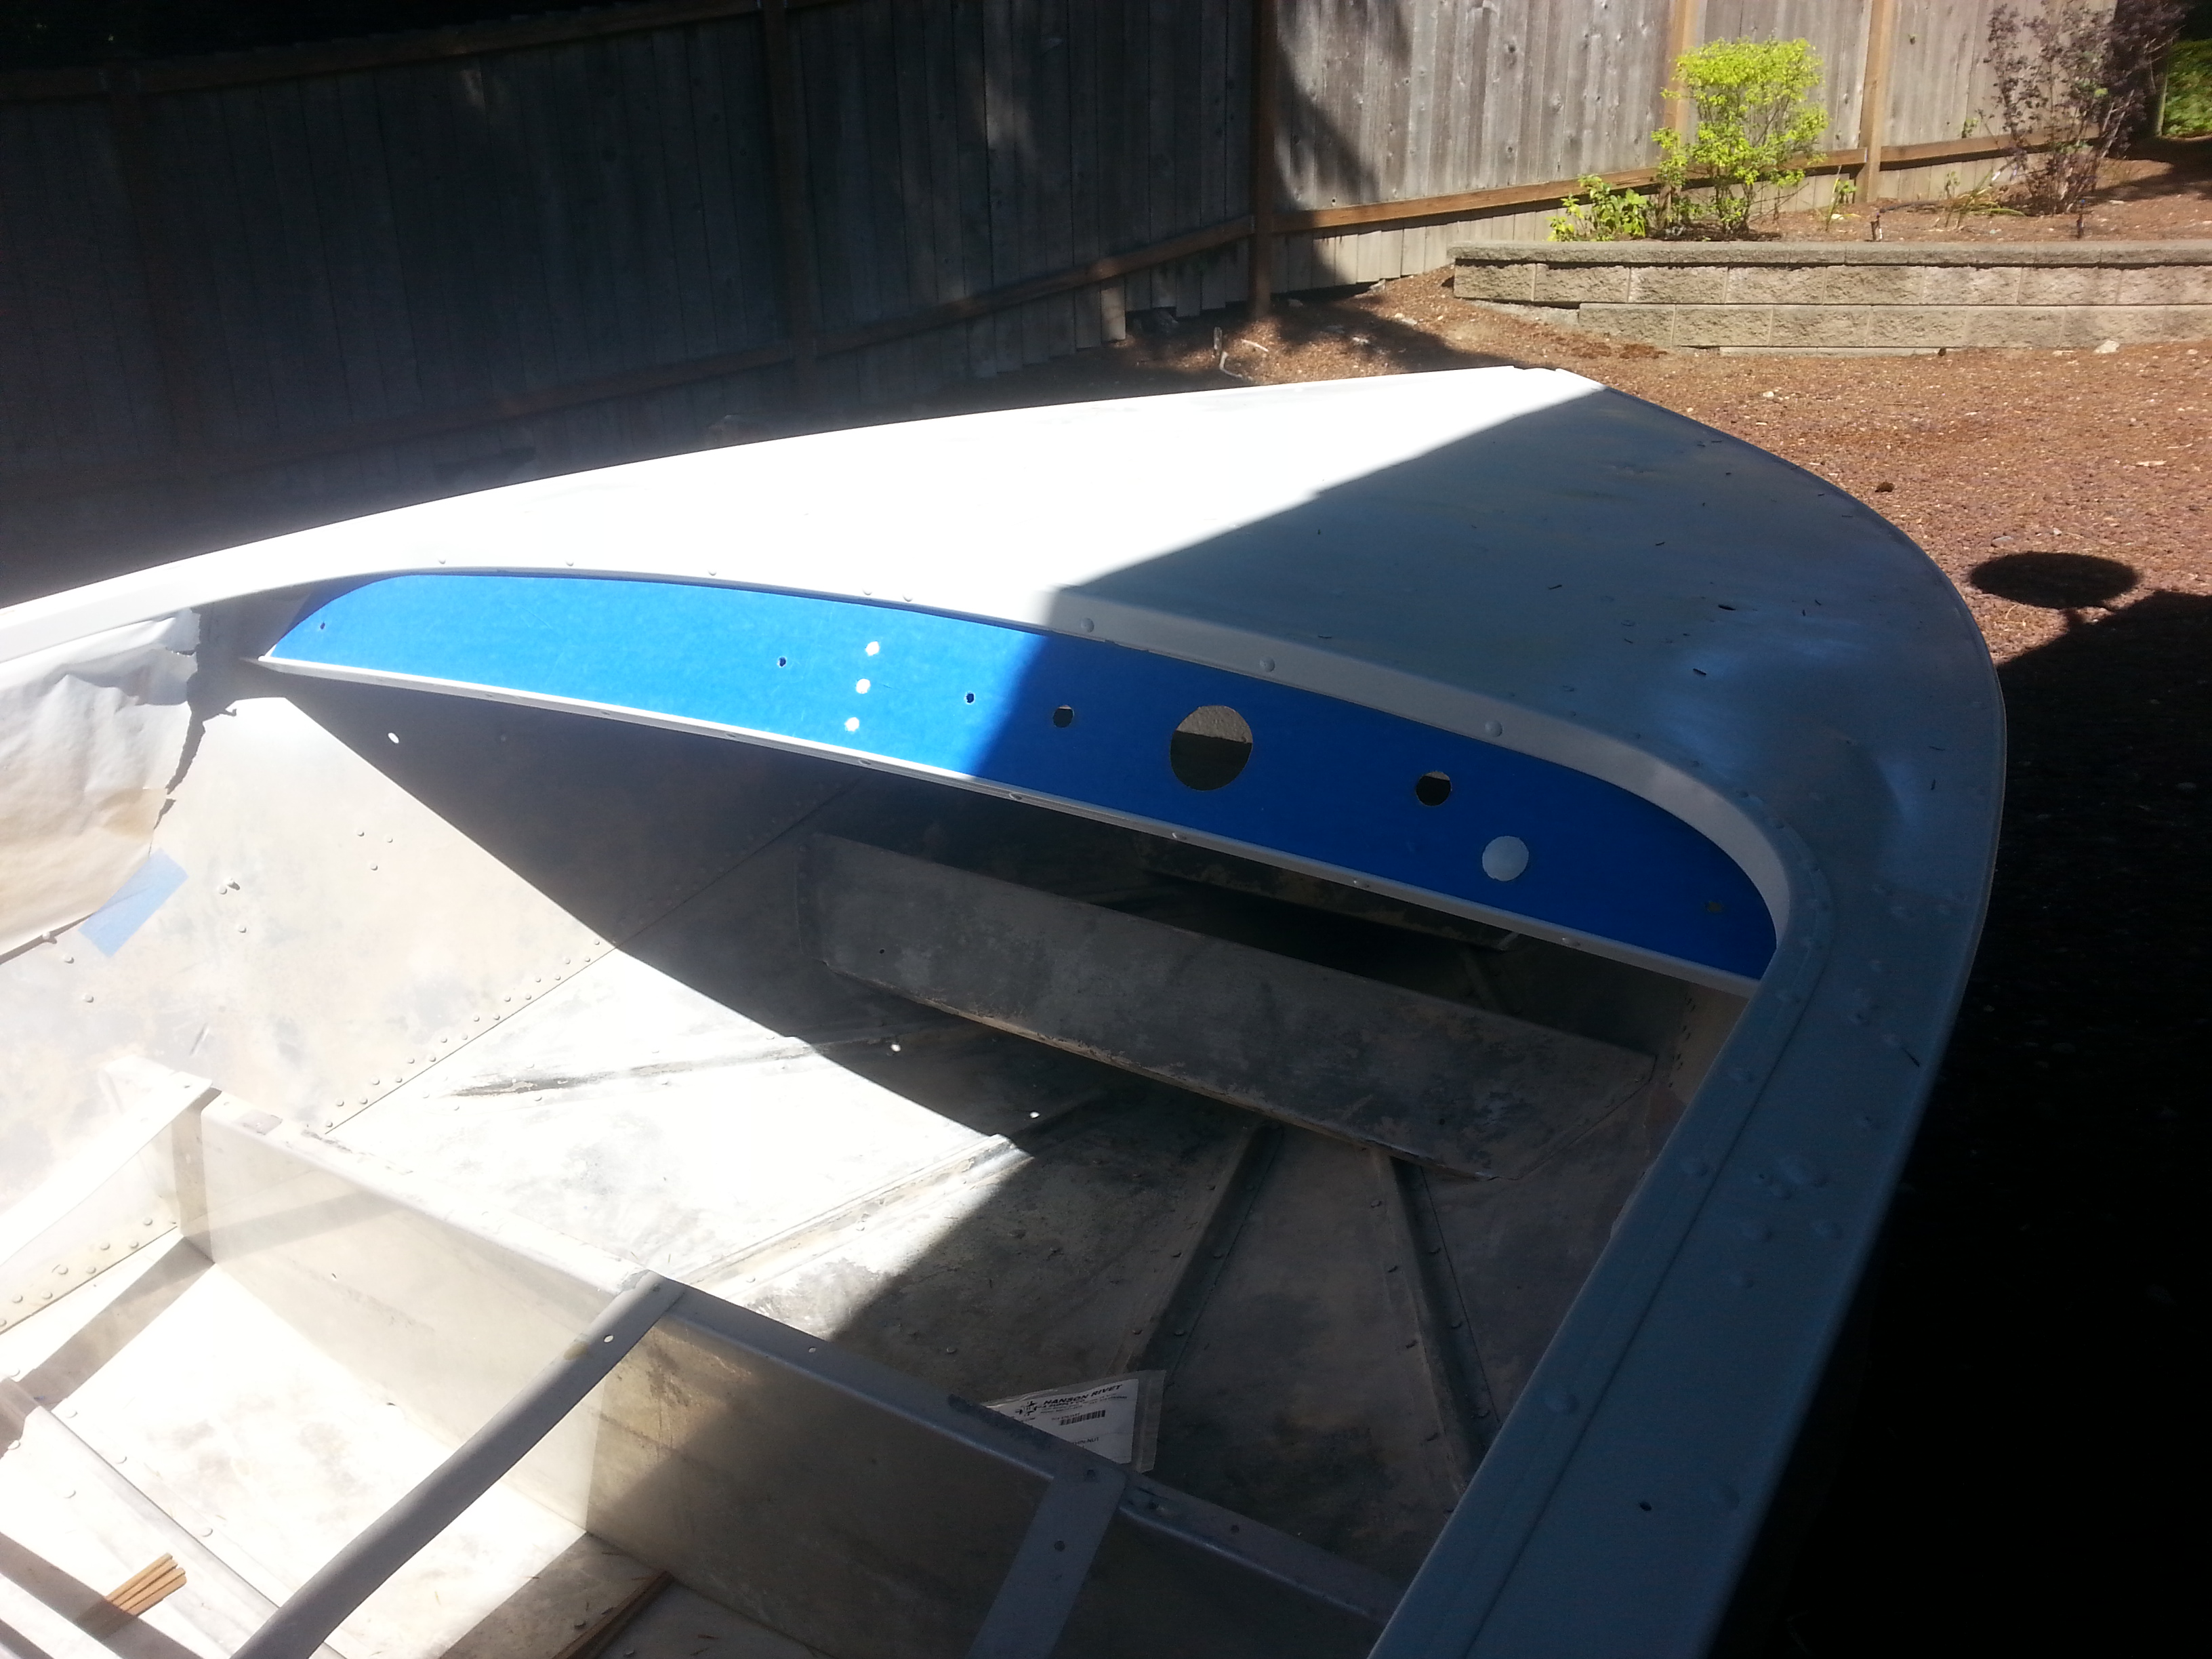
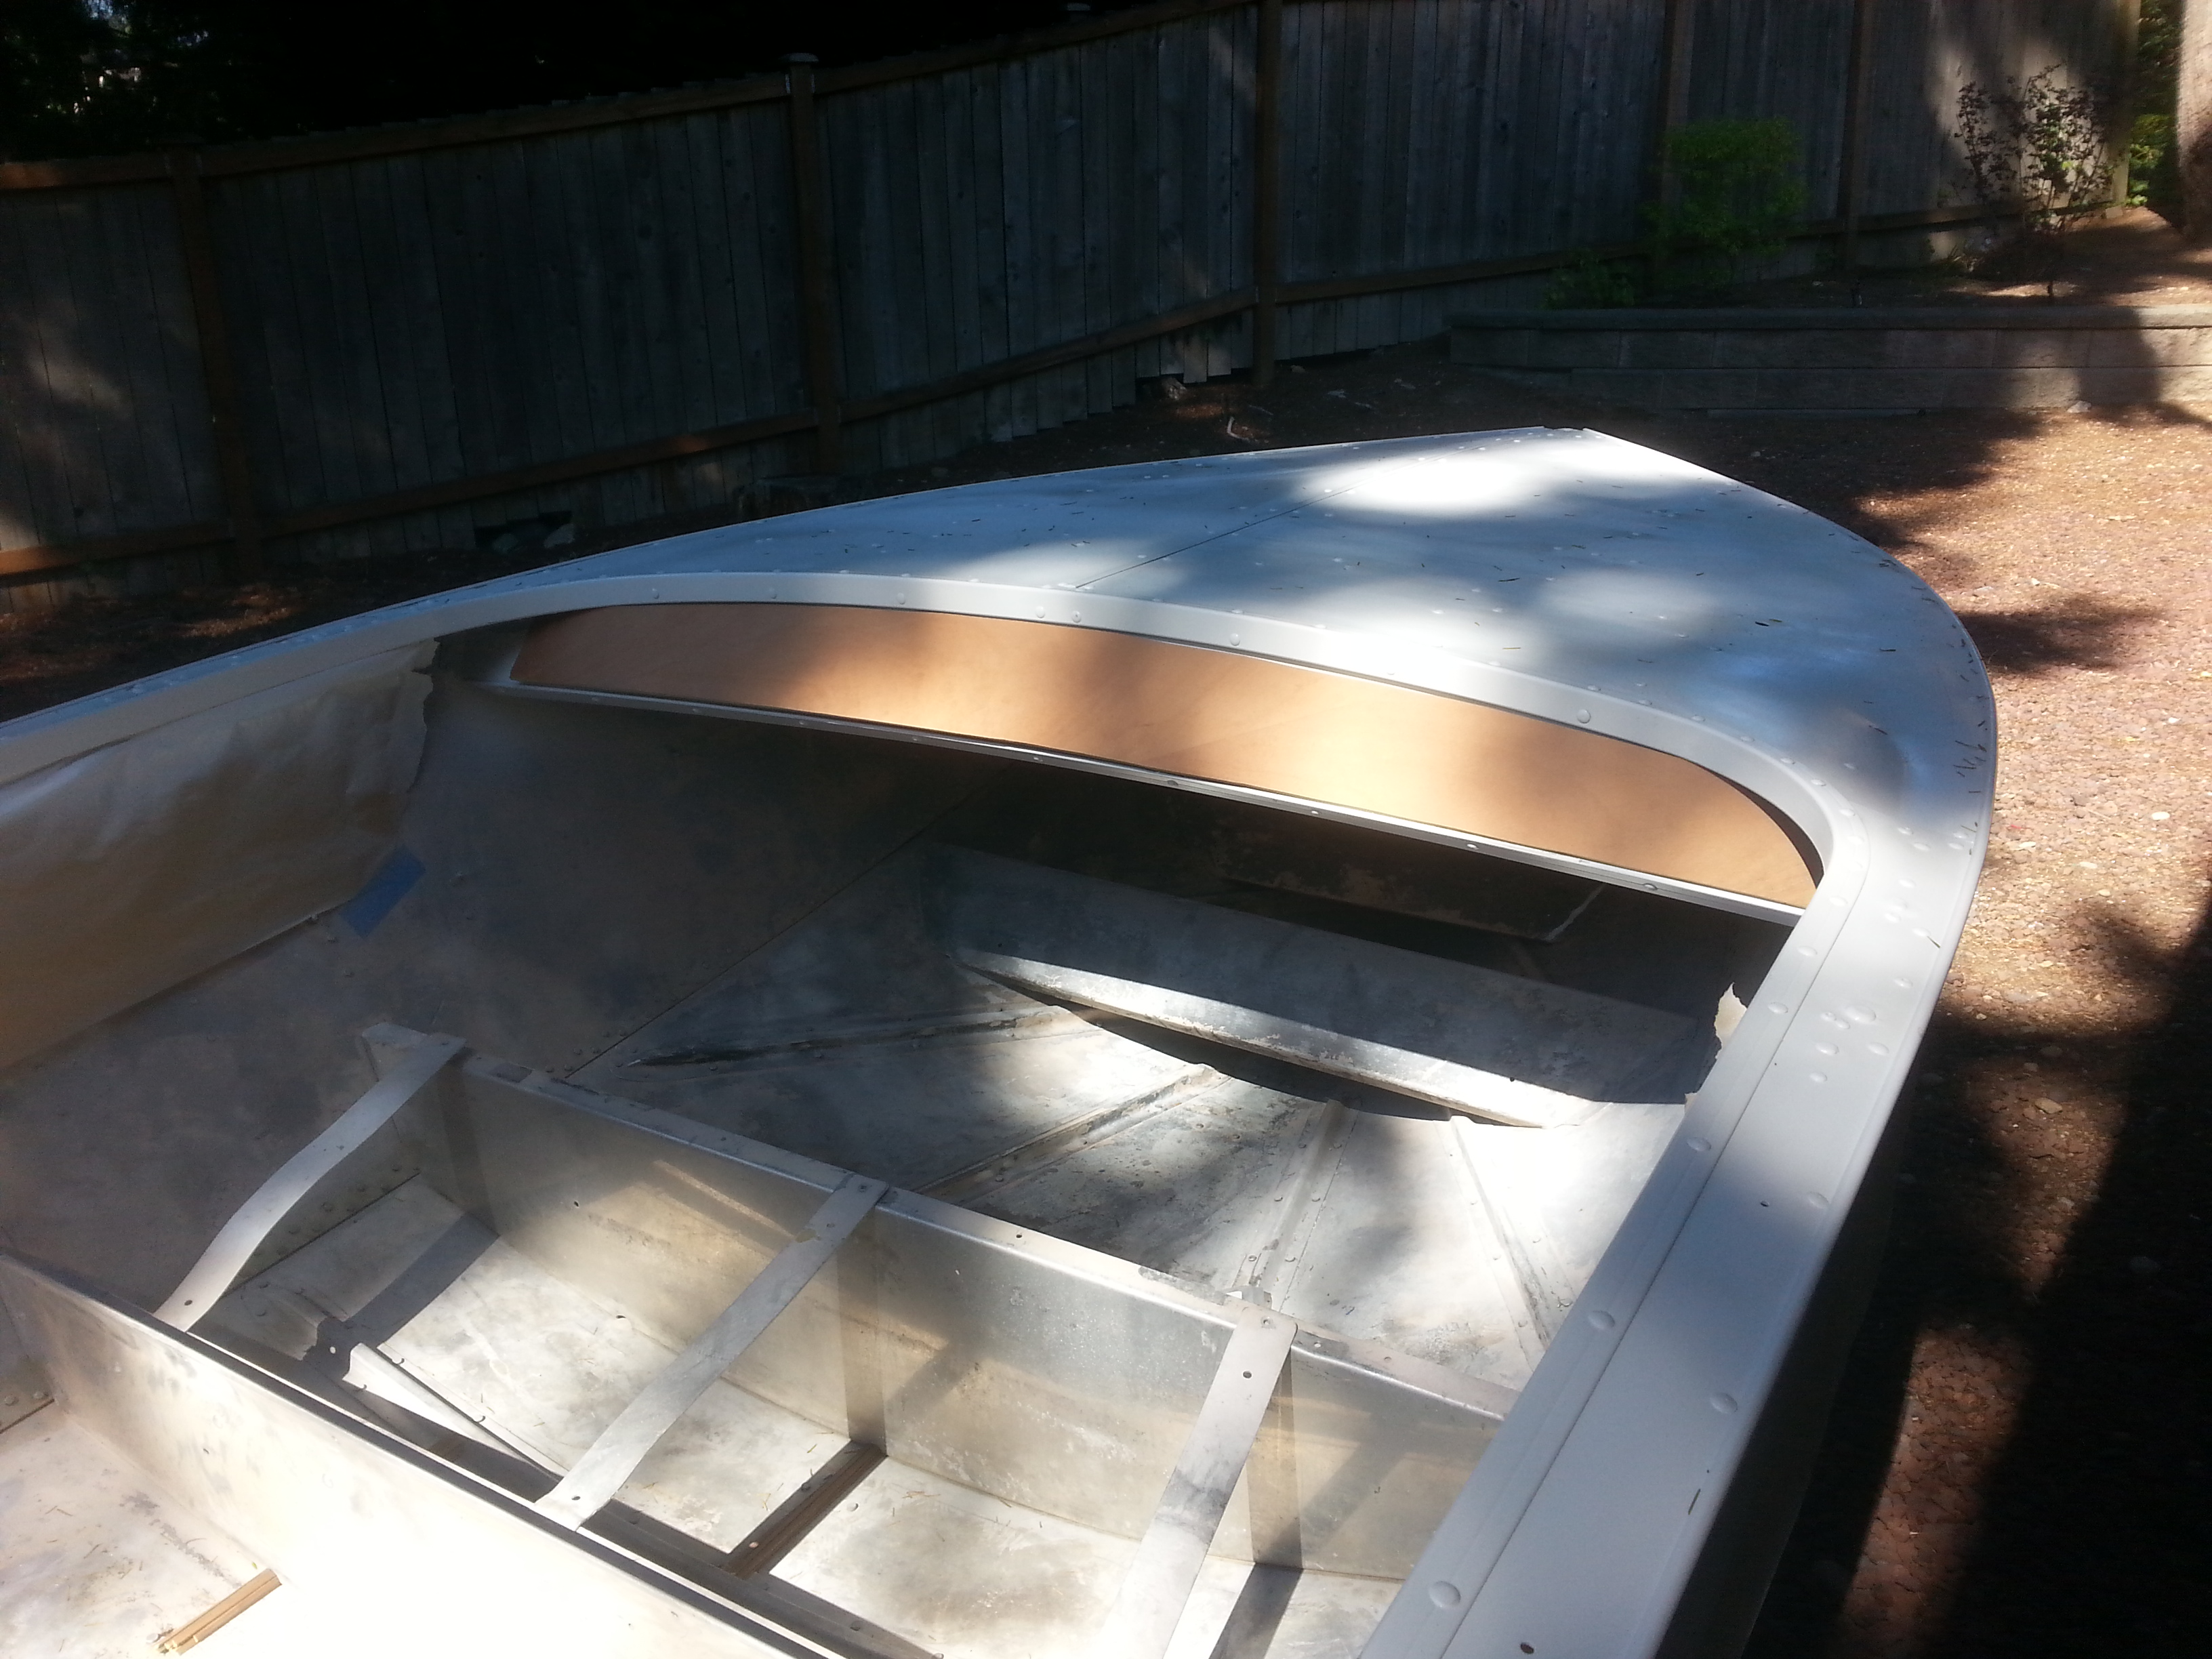
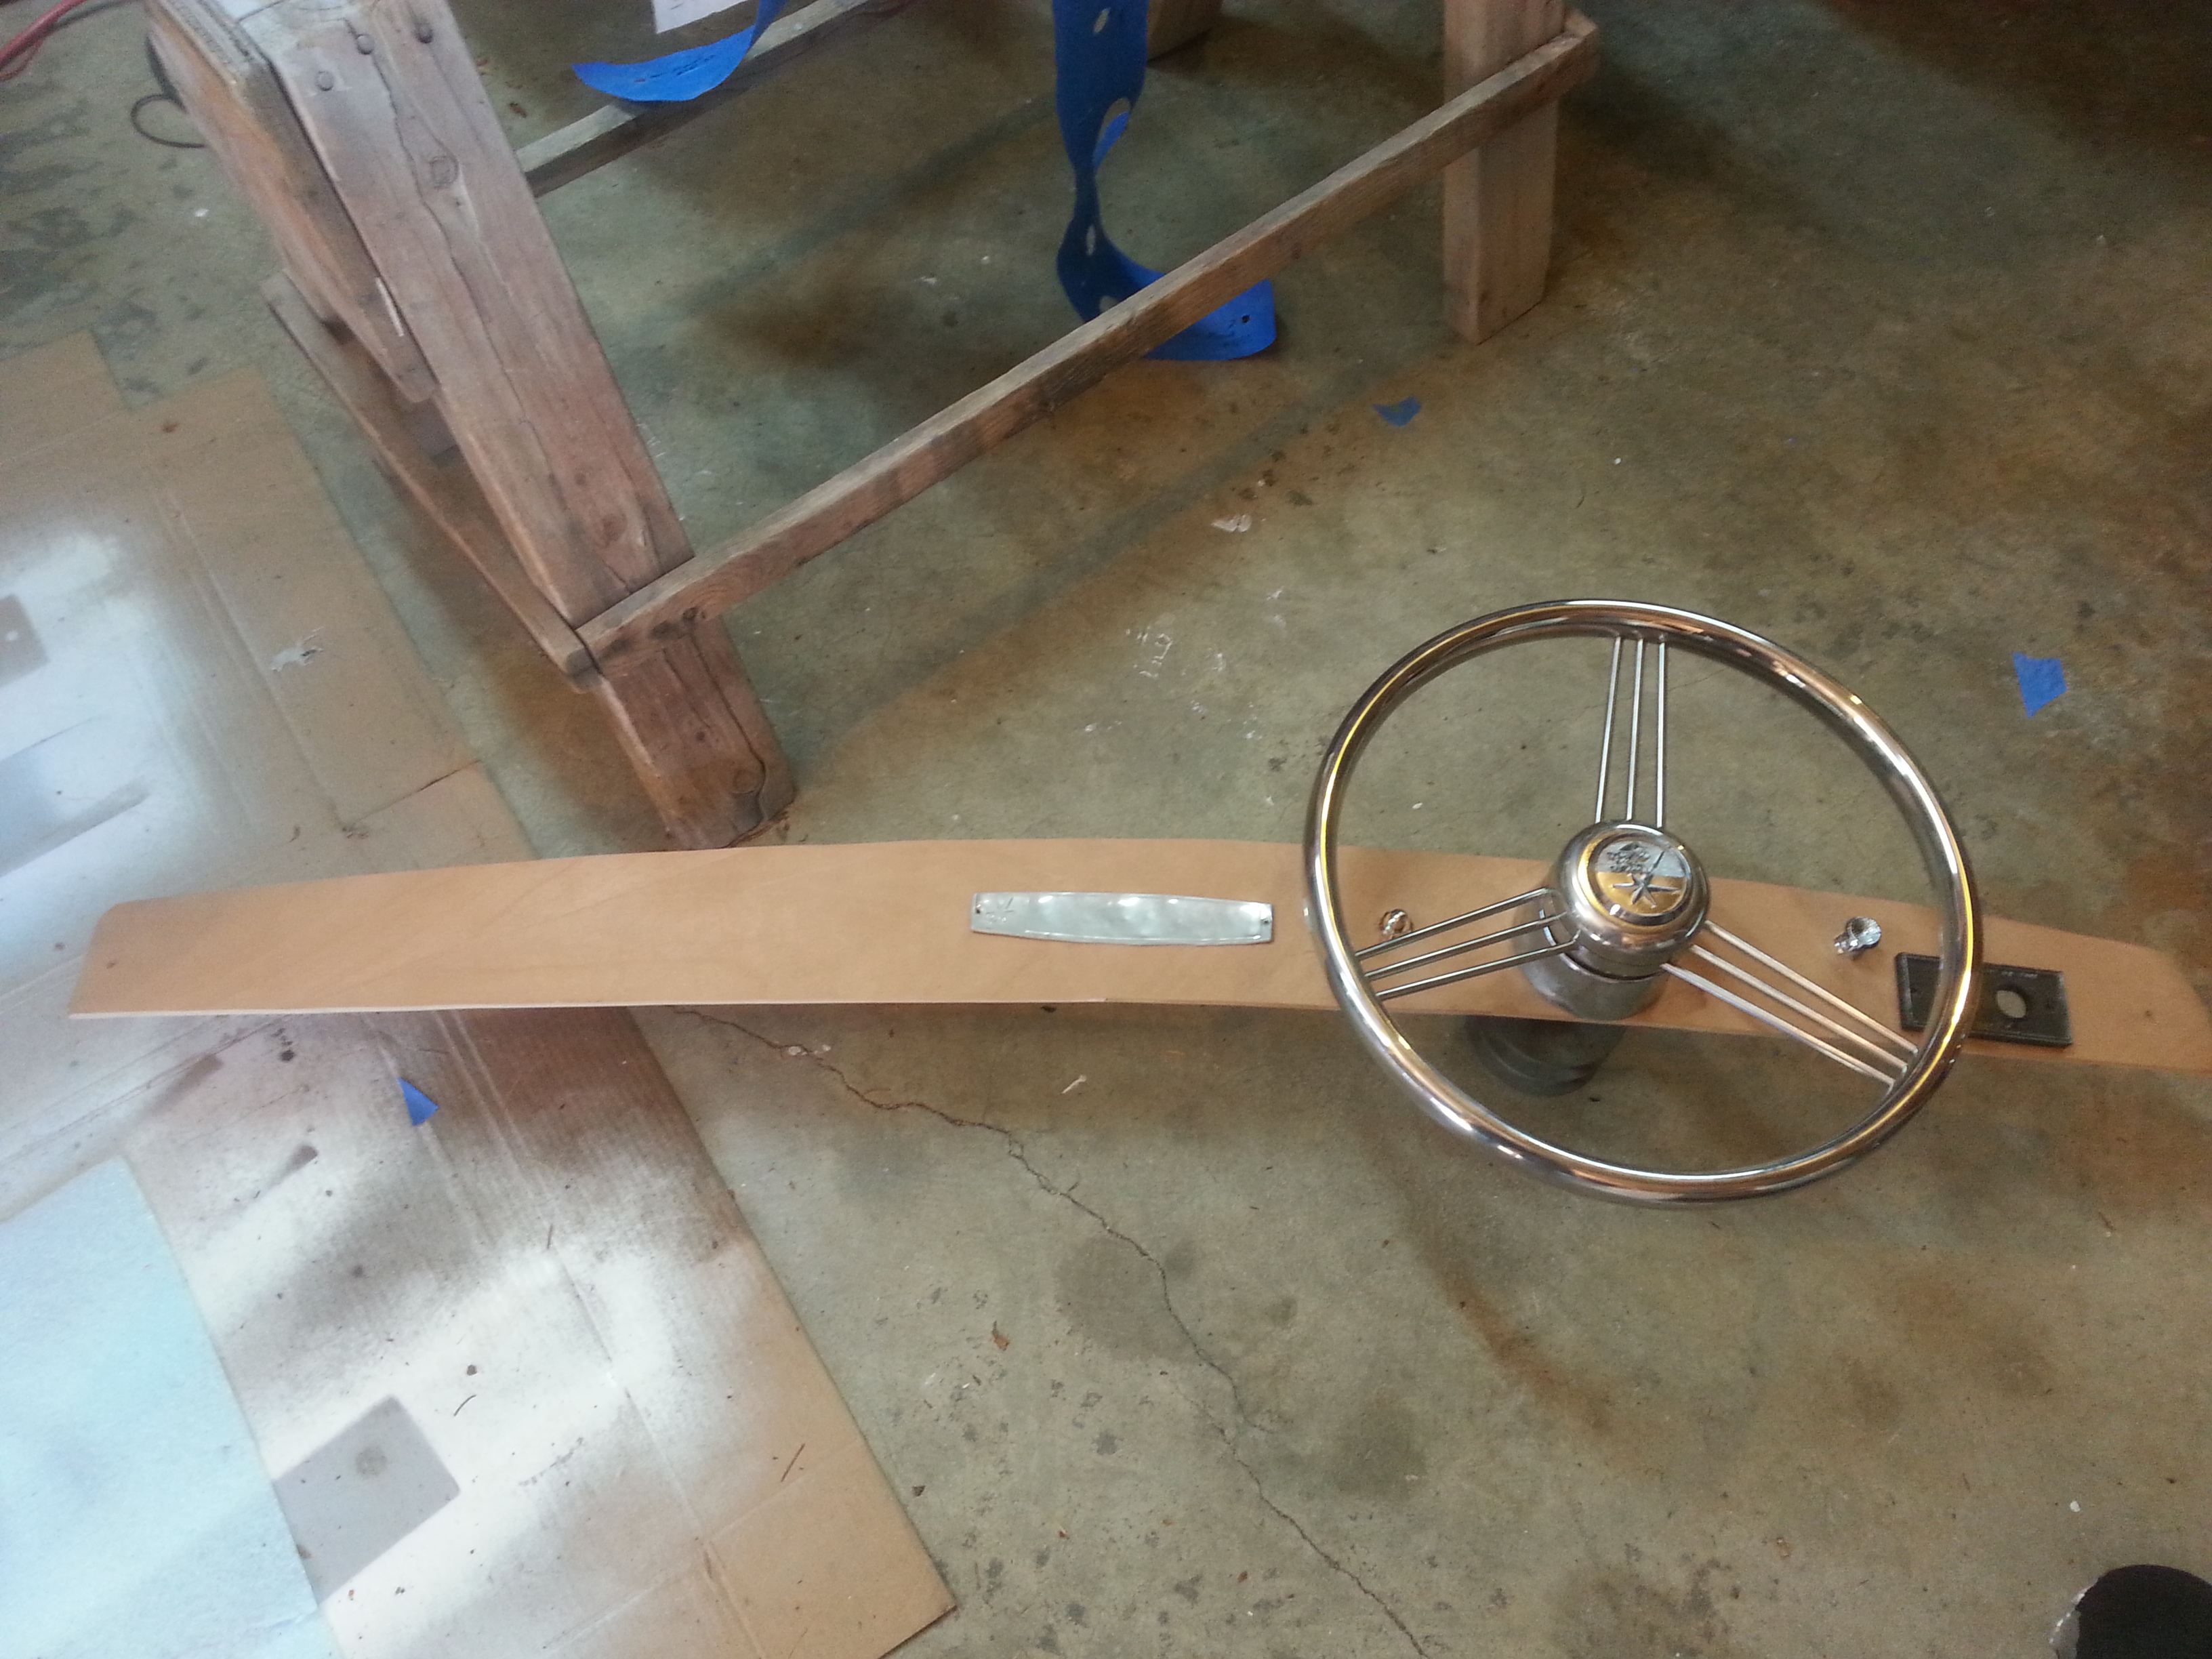
I also showed off my skills, or lack there of, in carpentry and fashioned a mahogany dashboard. I debated over adding wood to this aluminum boat due to the maintenance and upkeep that it will entail, but it adds a lot of beauty to the boat and I don't think the dash board and bench tops will be too much of a maintenance headache; if they are I can always remove and replace them in the future. I created a tape template of the dash, used it to cut the 1/8" thick mahogany plywood, and then transferred the necessary holes. I'll sand, stain, and varnish prior to installation, but I couldn't resist mocking it up on the garage floor.

XZwM6jy.jpg


fUPgITf.jpg


5LYoKYl.jpg
 
WOW - looking great !!
thank you for posting your project

oh, good save on the bad foam !!!!
if only the manufacturers of yesteryear had the forethought
of putting their foam in plastic bags to fill the cavaties
we would not be having the nightmares of today
with removing waterlogged foam !!

Awesome job so far !! Keep up the good work.
 
Johnny said:
if only the manufacturers of yesteryear had the forethought of putting their foam in plastic bags to fill the cavaties we would not be having the nightmares of today with removing waterlogged foam !!

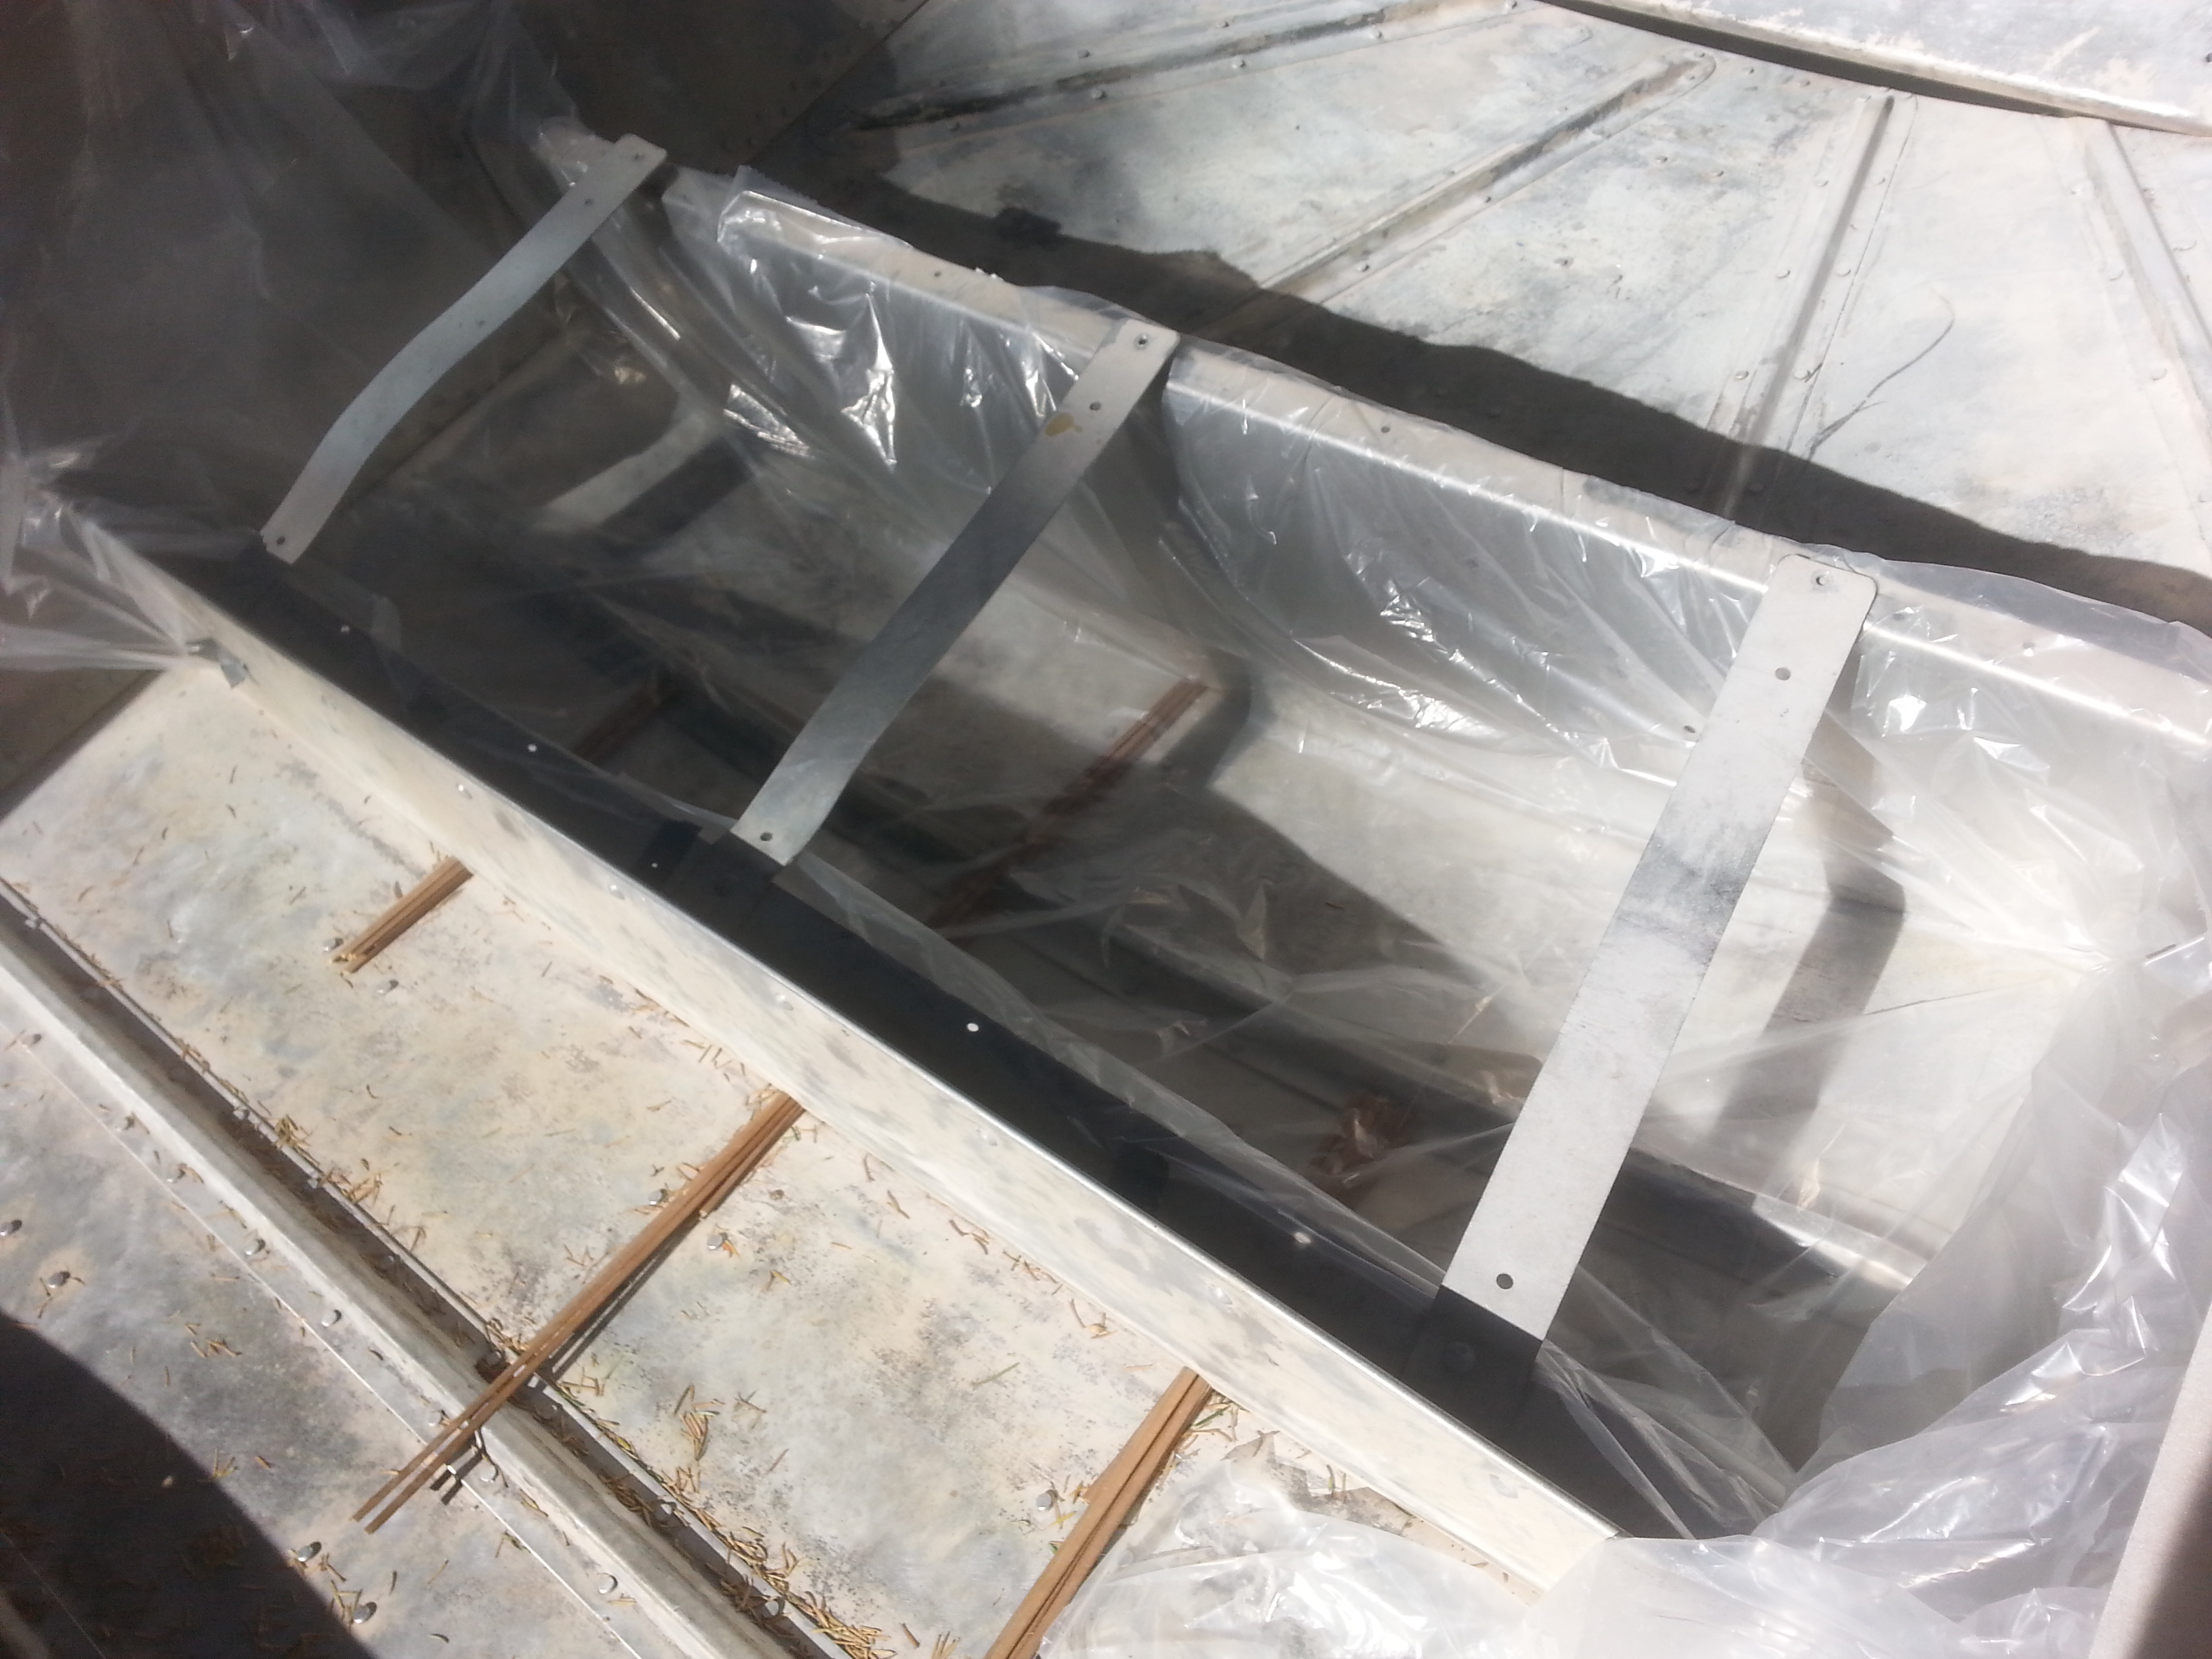
I got the idea from the expanding foam packing material (https://www.uline.com/BL_7701/Instapak-Quick) and thought it would make things a lot simpler for keeping my limber holes clear through the bench. I just poked some sticks through under the plastic sheeting and figured after the foam had expanded I could pull them out to leave a cavity for water to pass without interacting with the foam. Every once and a while I come up with a good idea.
 
daddue11 said:
Man , that's gonna look hot when you get done whith it , good job sir .
Johnny said:
WOW - looking great !! Awesome job so far !! Keep up the good work.

Thank you both for the encouragement; with luck, I'm hoping to get her on the water before the end of September.
 
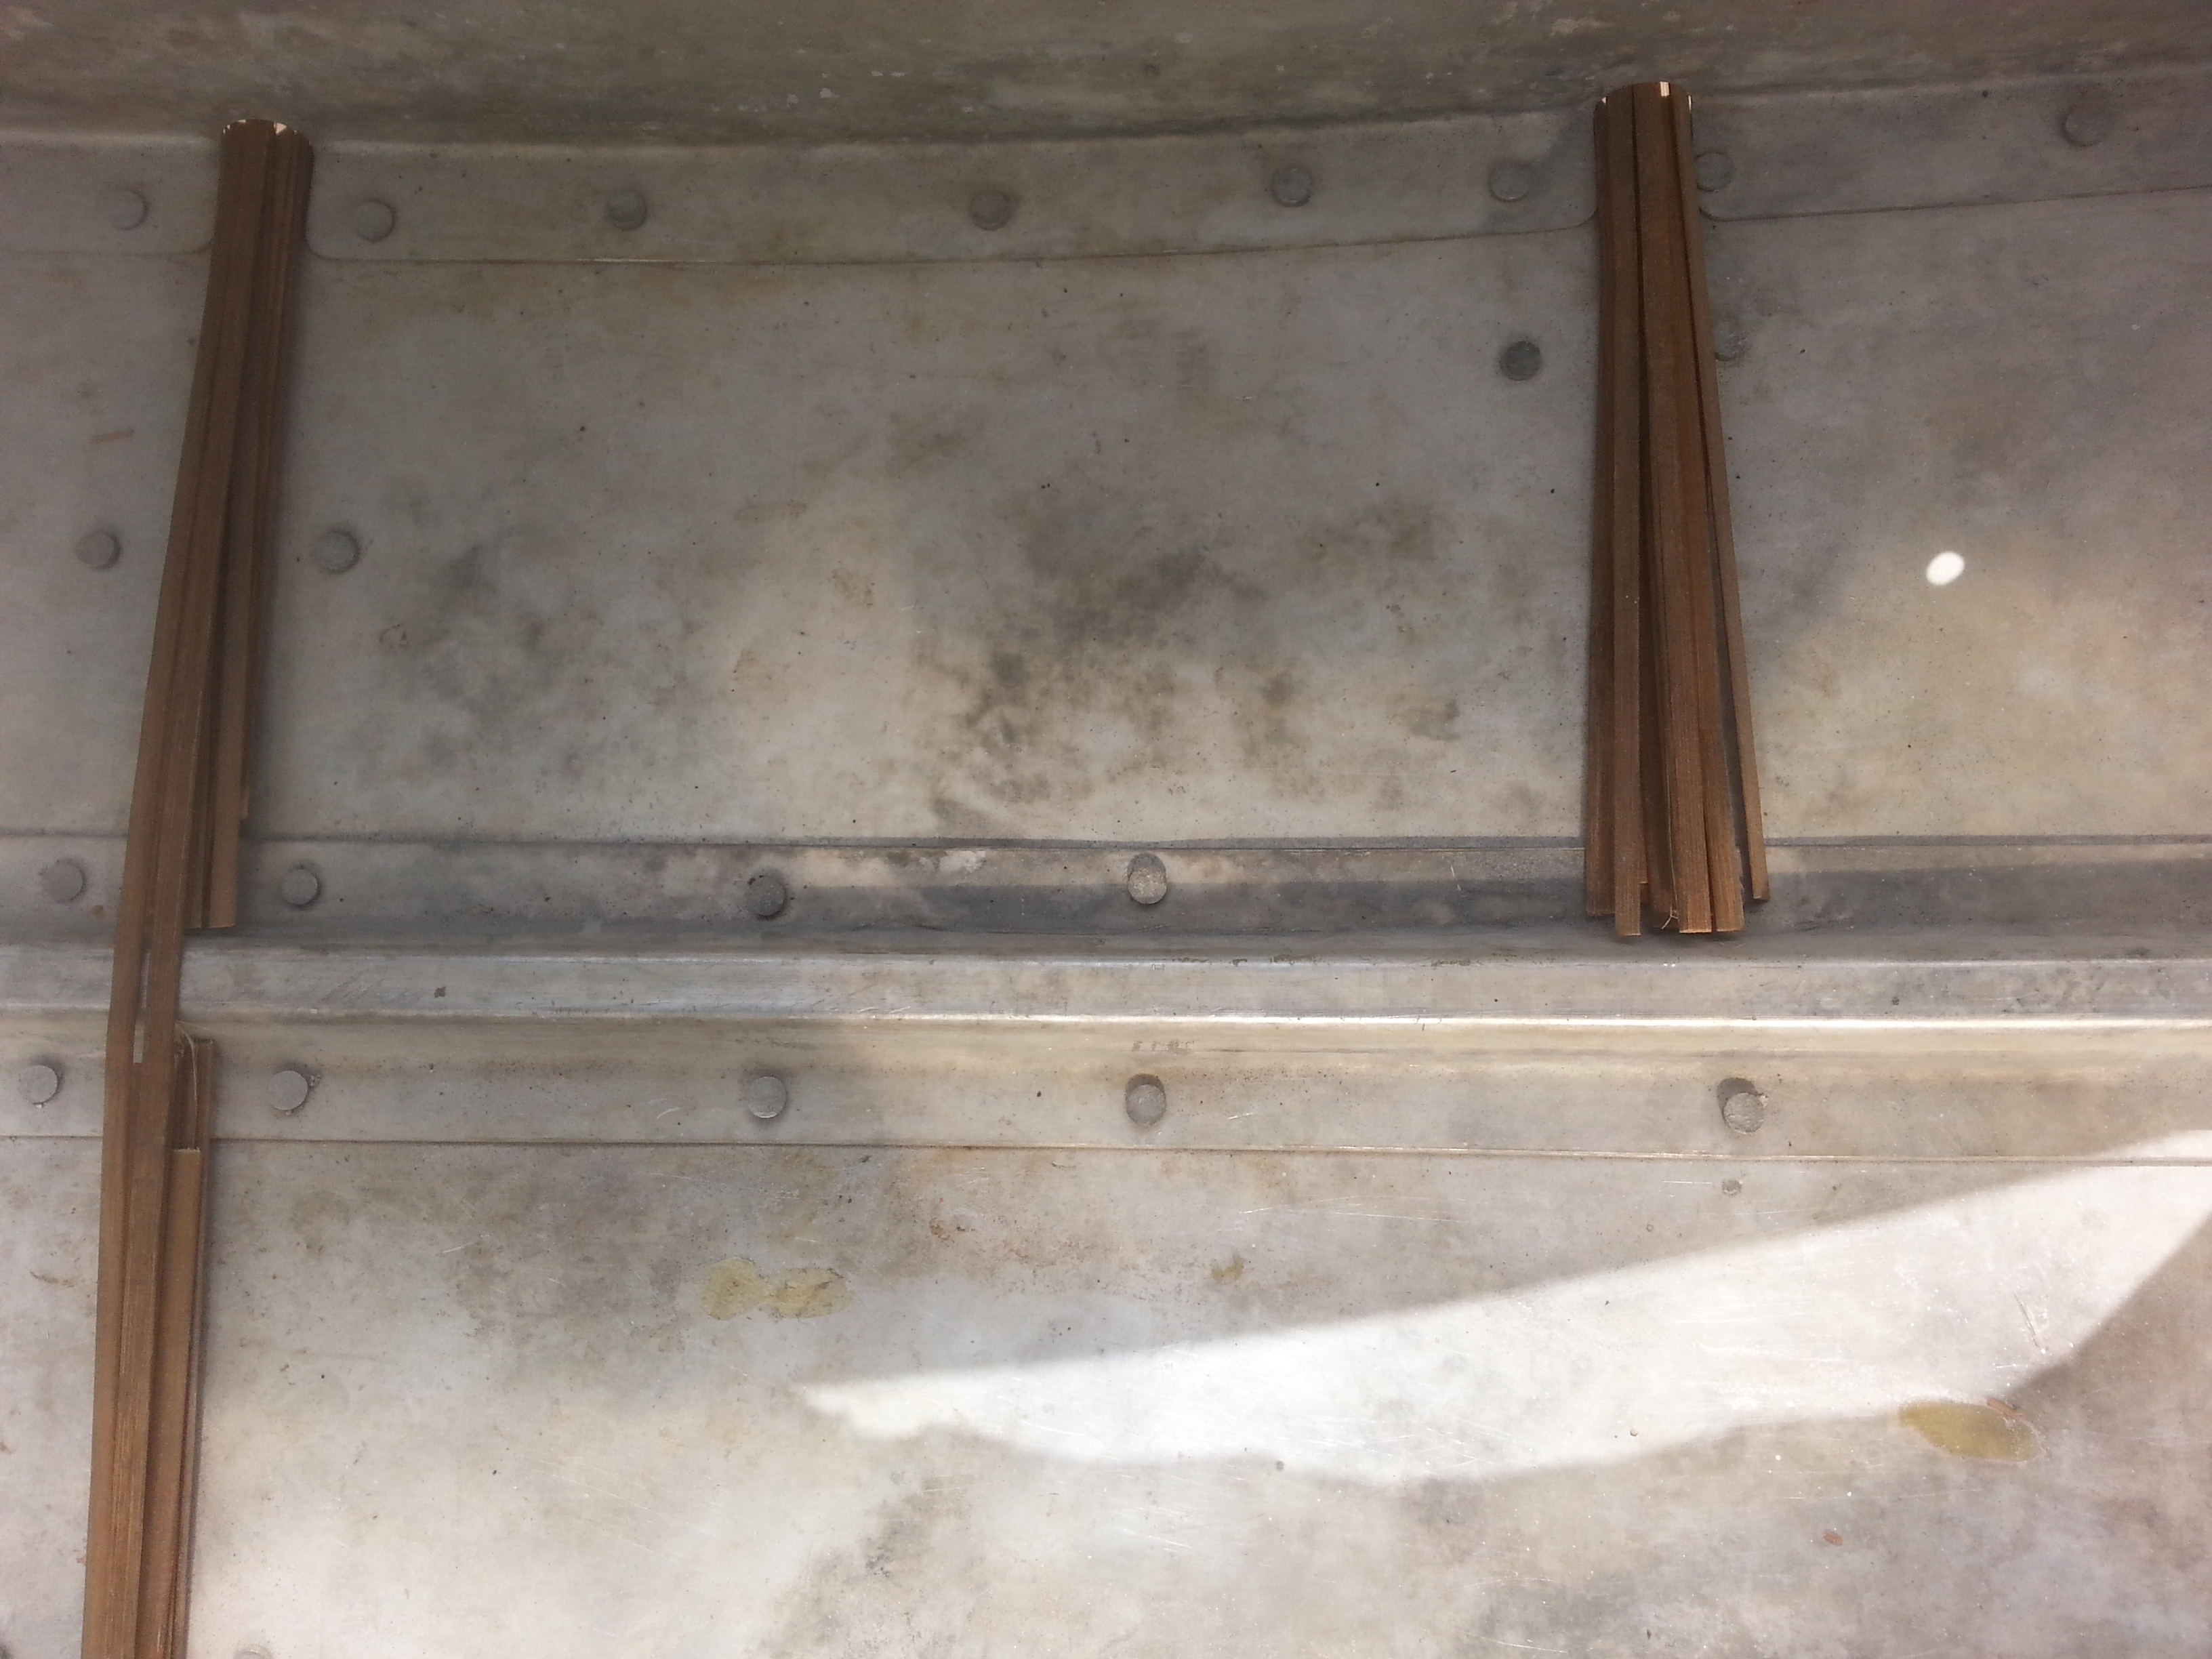
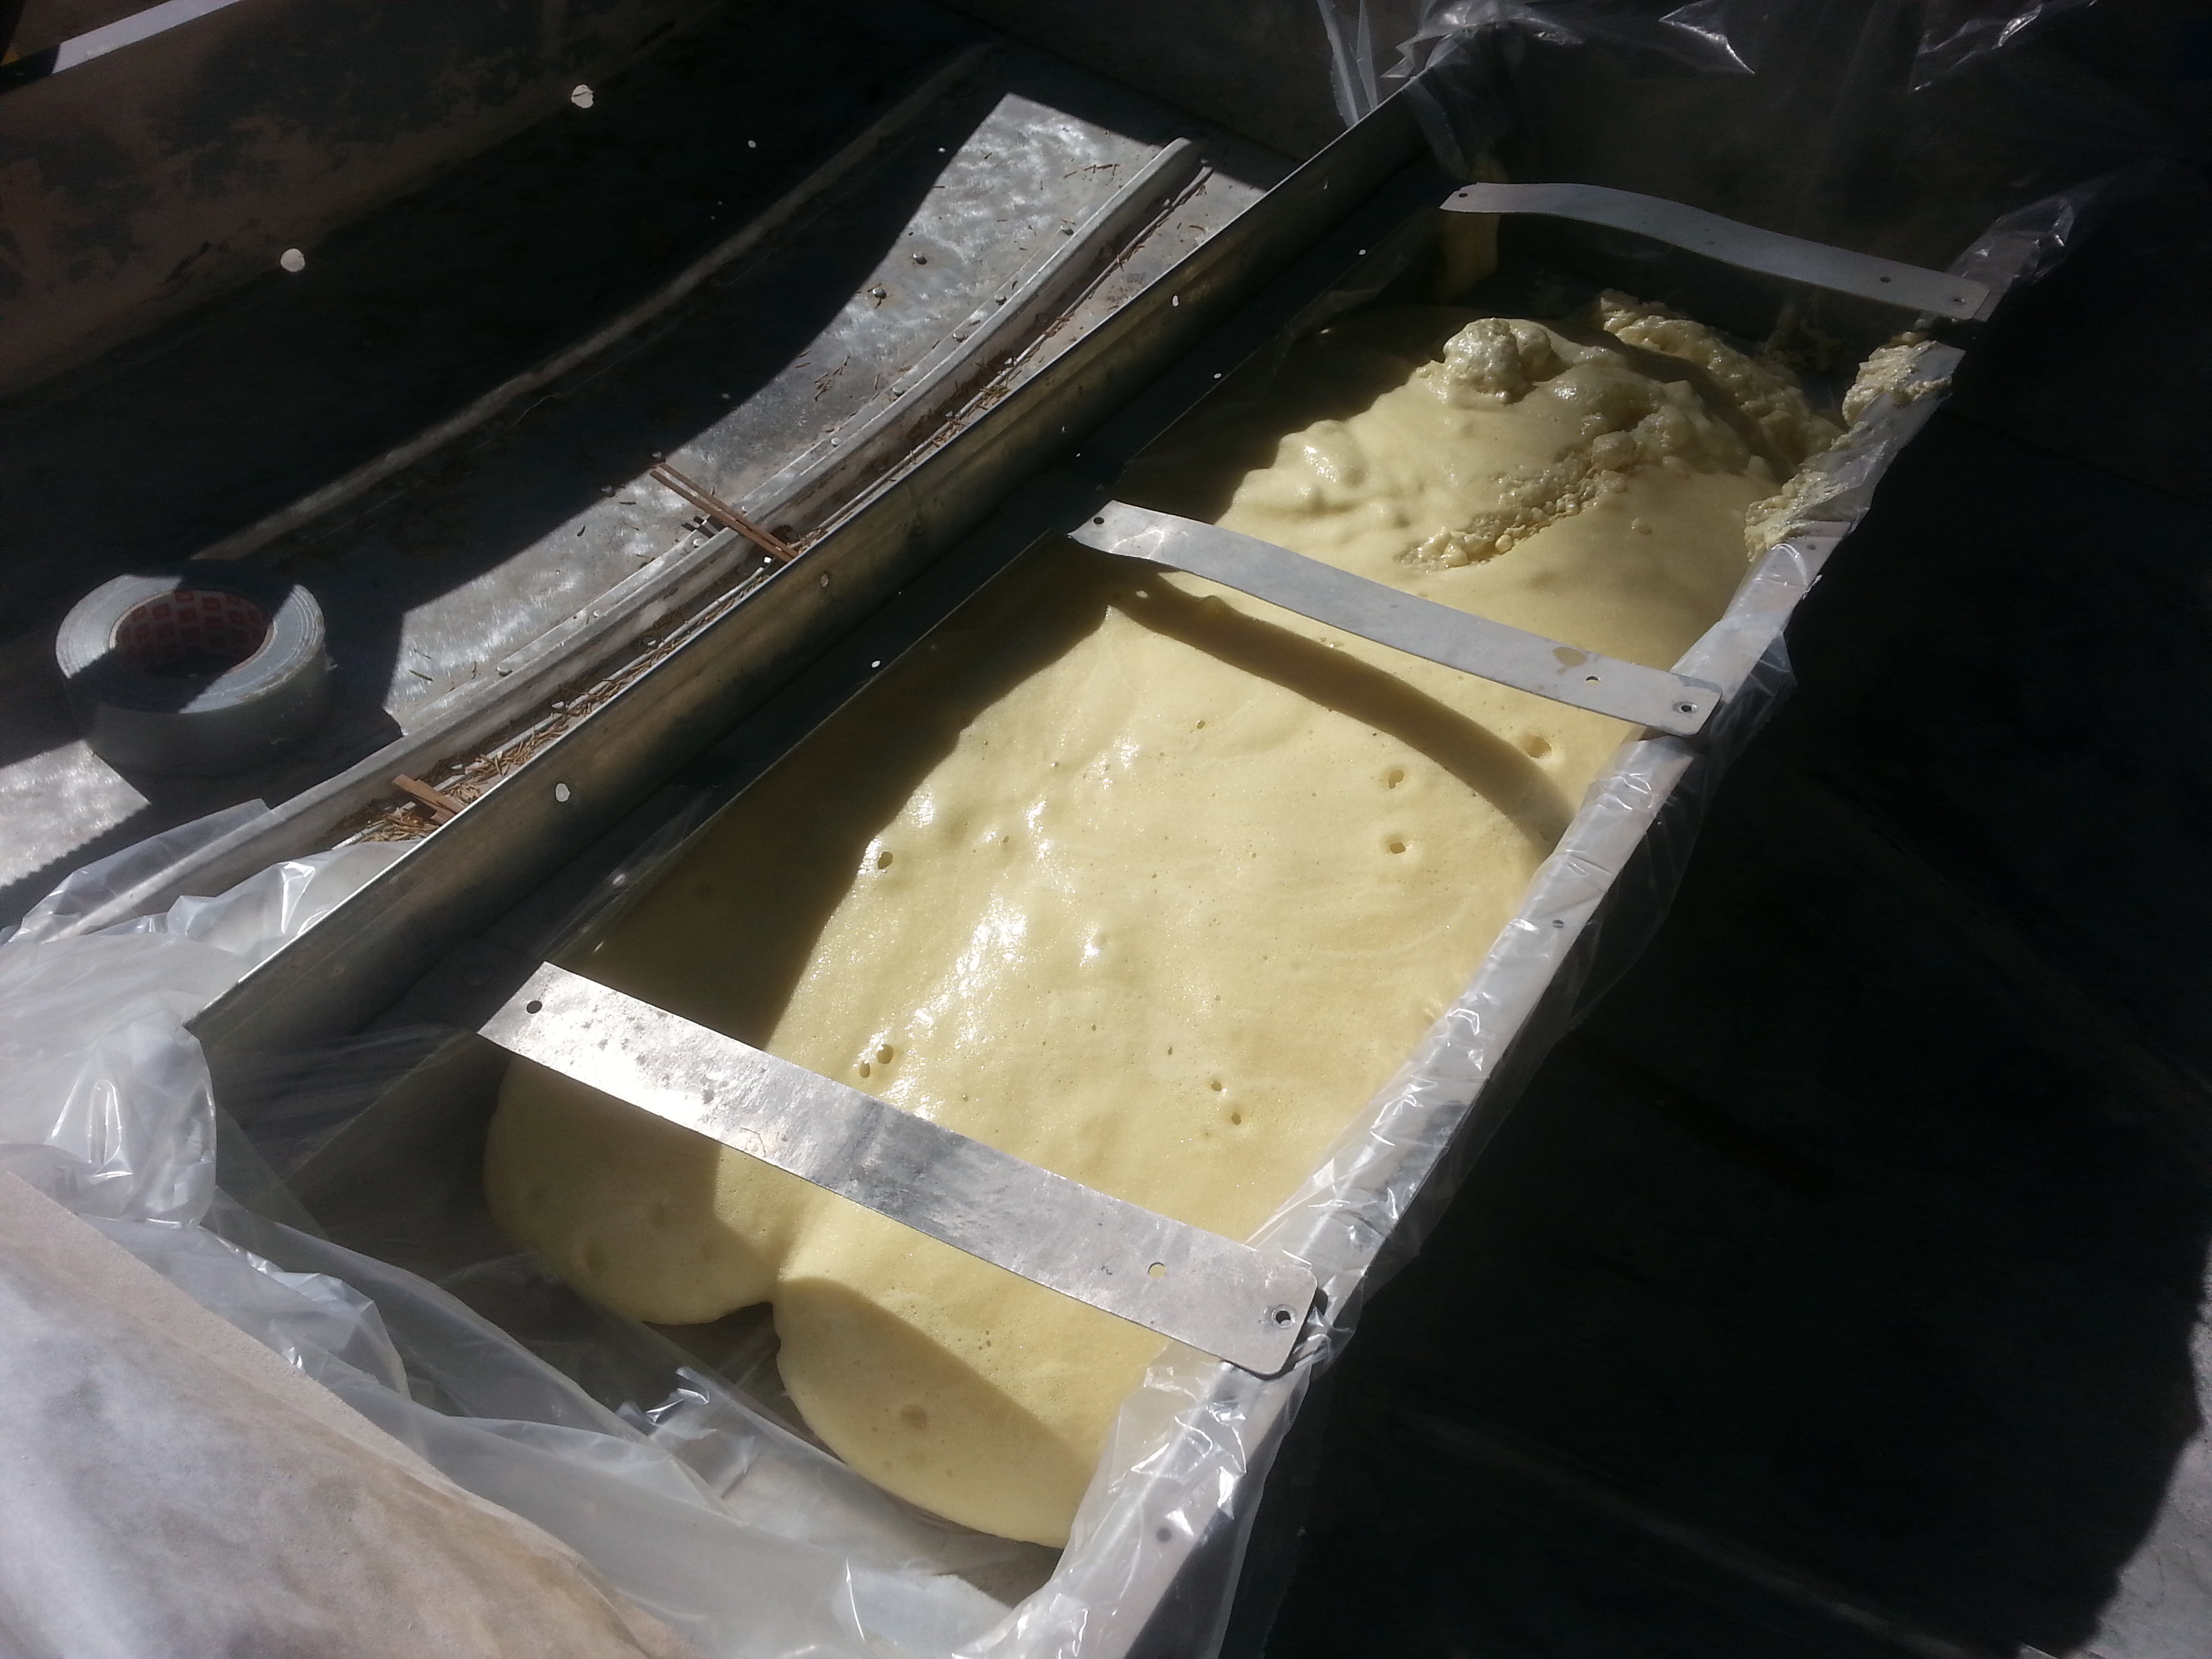
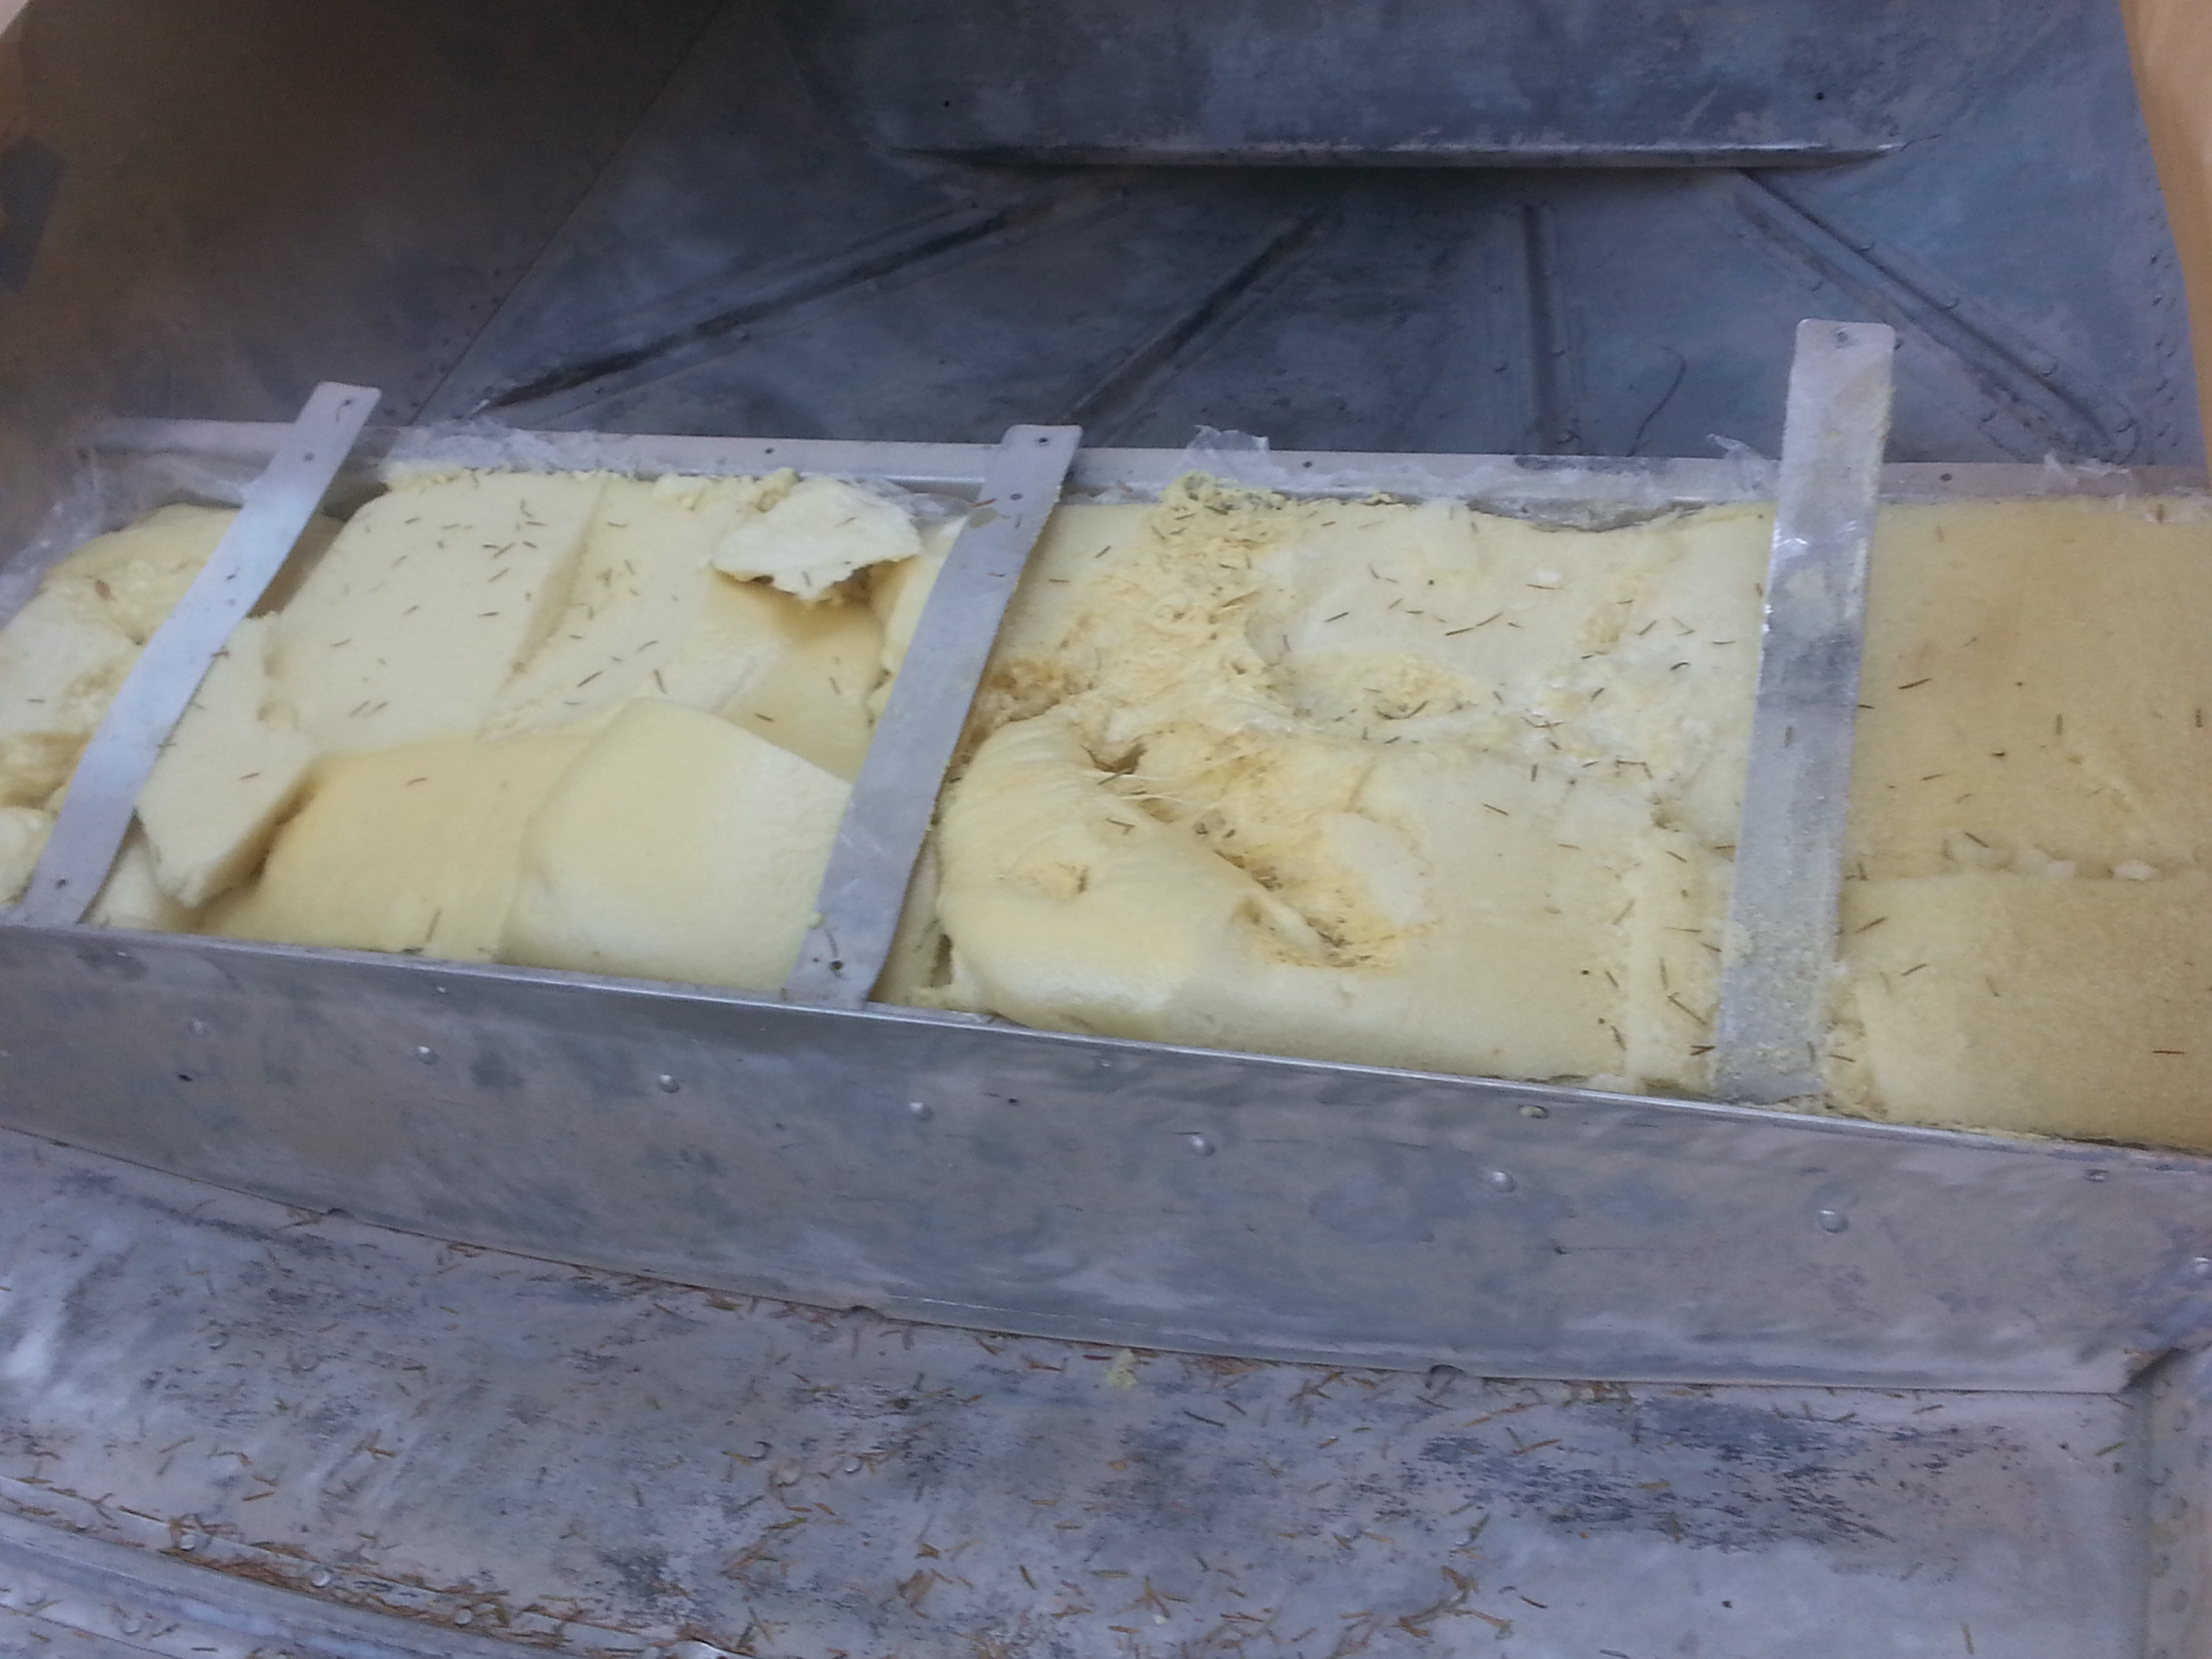
Got my new liquid urethane foam and managed to get the front bench filled. I first laid some wood stick in the bottom through the limber holes in the bench to keep them clear and allow water to flow to the back. I then laid in my plastic sheeting and poured the foam in two stages. I may have gotten a little over zealous with the second pour, but nothing a serrated knife couldn't fix.

D1D7Agn.jpg


FyZulQW.jpg


eRdDHLG.jpg


9OReJPU.jpg


GXhQekX.jpg


Next I just have to finish painting the graphics and then finish up the interior. After that I can start putting it all back together. Slowly, but surely.
 

Latest posts

Top