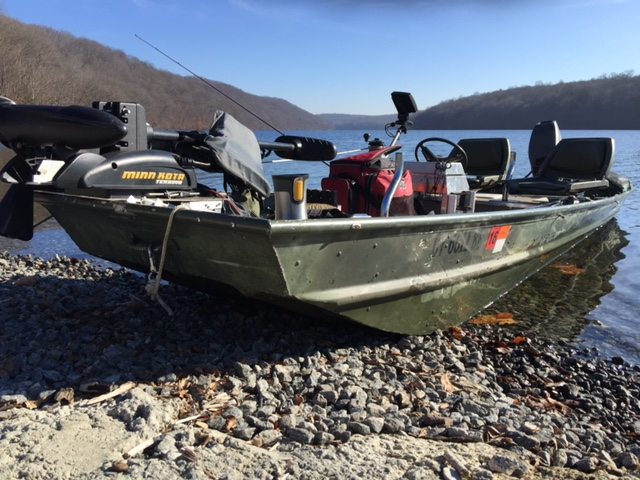
Alumacraft 1436LT Conversion

TinBoats.net

Help Support TinBoats.net:

This site may earn a commission from merchant affiliate links, including eBay, Amazon, and others.
appreciate the rare instance when a business actually tries to understand and address your issue rather than just make a quick sale.


I've been fortunate enough to run into a few of these guys, and count them as my blessings.

They may be less rare than we think; these days I'm on guard so much I may not give some vendors a chance.

dunno.


Glad you got a deal. Hope it works to your satisfaction.
 
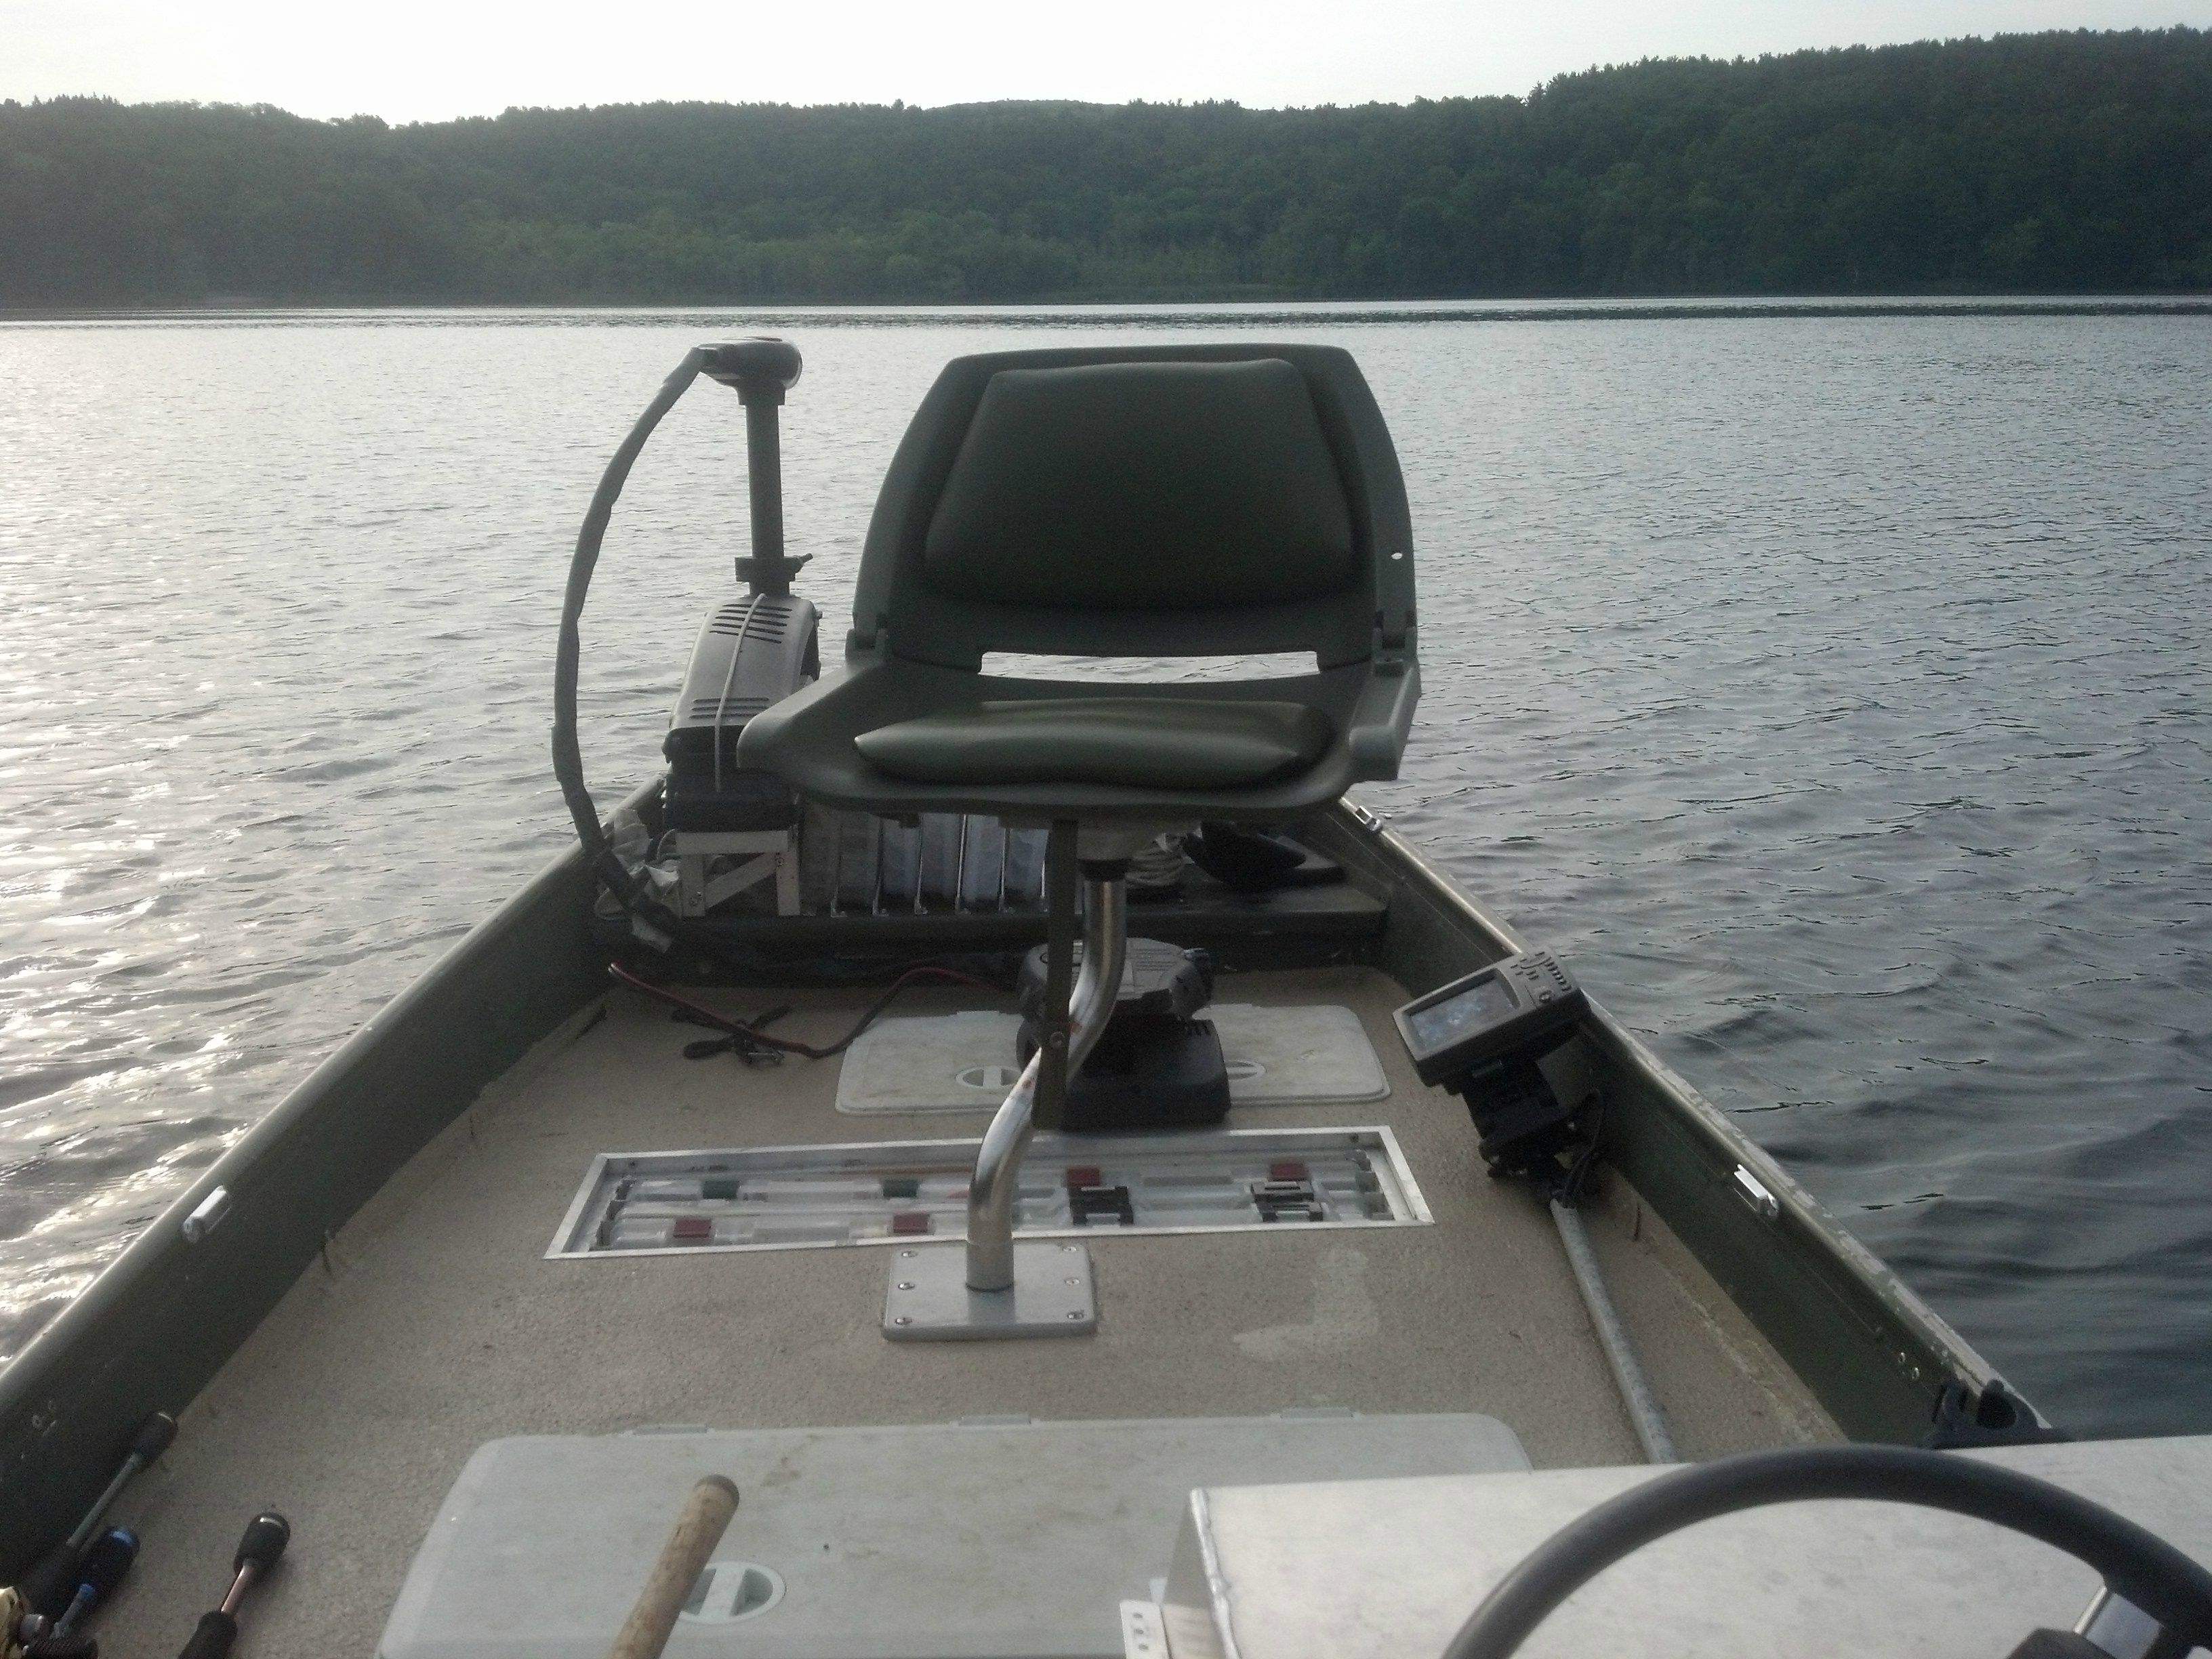
Pretty sweet set up. I had a 1436 a couple years ago and found that they're not nearly as tippy as everyone makes them out to be. I wouldn't stand on the gunwhale by any means but I would easily walk front to back and even fish off of that little "deck" that's built into the bow from factory without any hesitation as long as there was a bit of counterweight in the back (9.5 evinrude on the back did the trick). So how do you like your lay out so far? I'd love to see some pics of this machine on the water! Great job on the build!
 
I'm taking it out tomorrow - I'll try and get pics/video as I'm absolutely thrilled with the way it's come out. I haven't tested it at a carry-launch since finishing it, but I haven't added much weight since the last time I tried, and actually I didn't have to remove the trolling motor last time so just by doing that it will more than make up for the weight I've added.

I've had a few people out on it so far who asked how thick the plywood was that I made the decks out of as there is no flex. I laugh as I get to showing them it's foam with a piece of FRP on top.

1436's probably get a bad rap from people who aren't familiar with small boats and try one out for their first experience. I've been on small boats since I as a kid, I didn't get out on a bass boat until I bought mine when I was 28, so I'm well accustomed to being mindful of my balance and keeping my weight low and centered. Even my fishing partner last night who was a pretty big dude, 300lbs+/- was fine & the boat was nice & stable so long as he kept to the center-line. I could move around as needed without a problem, though he was pretty well confined to the rear by the effects of age on his knees.

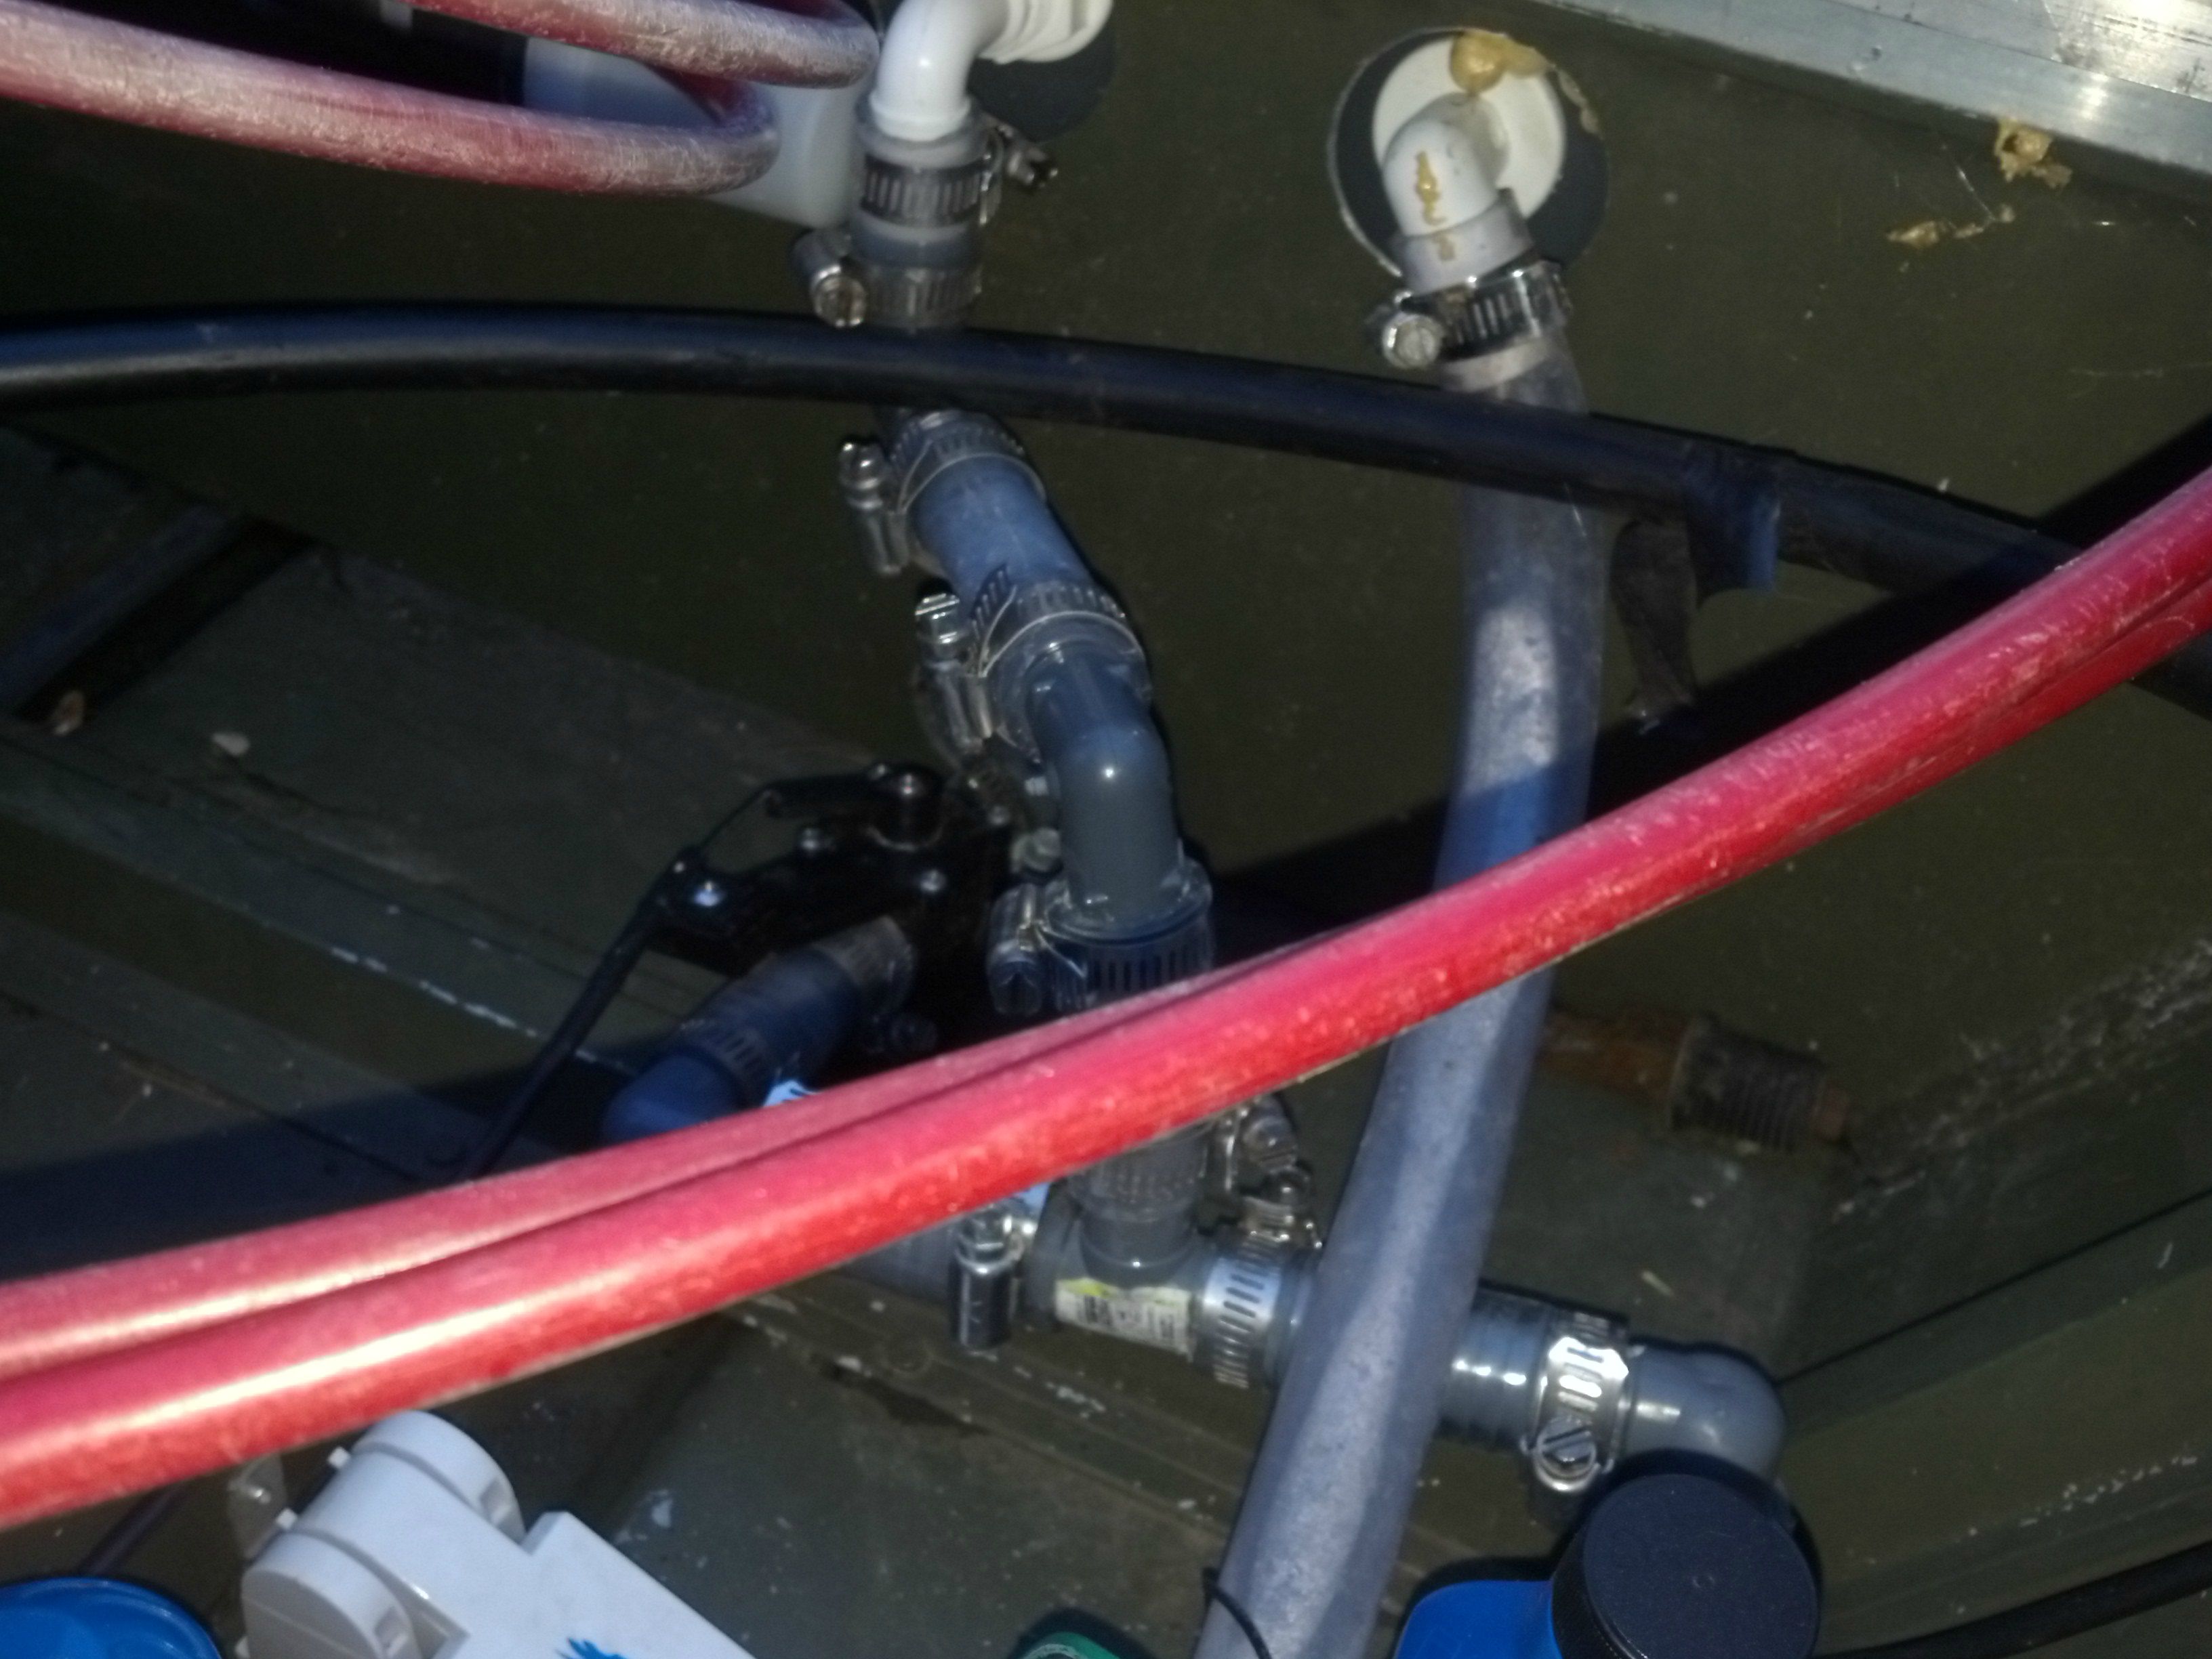
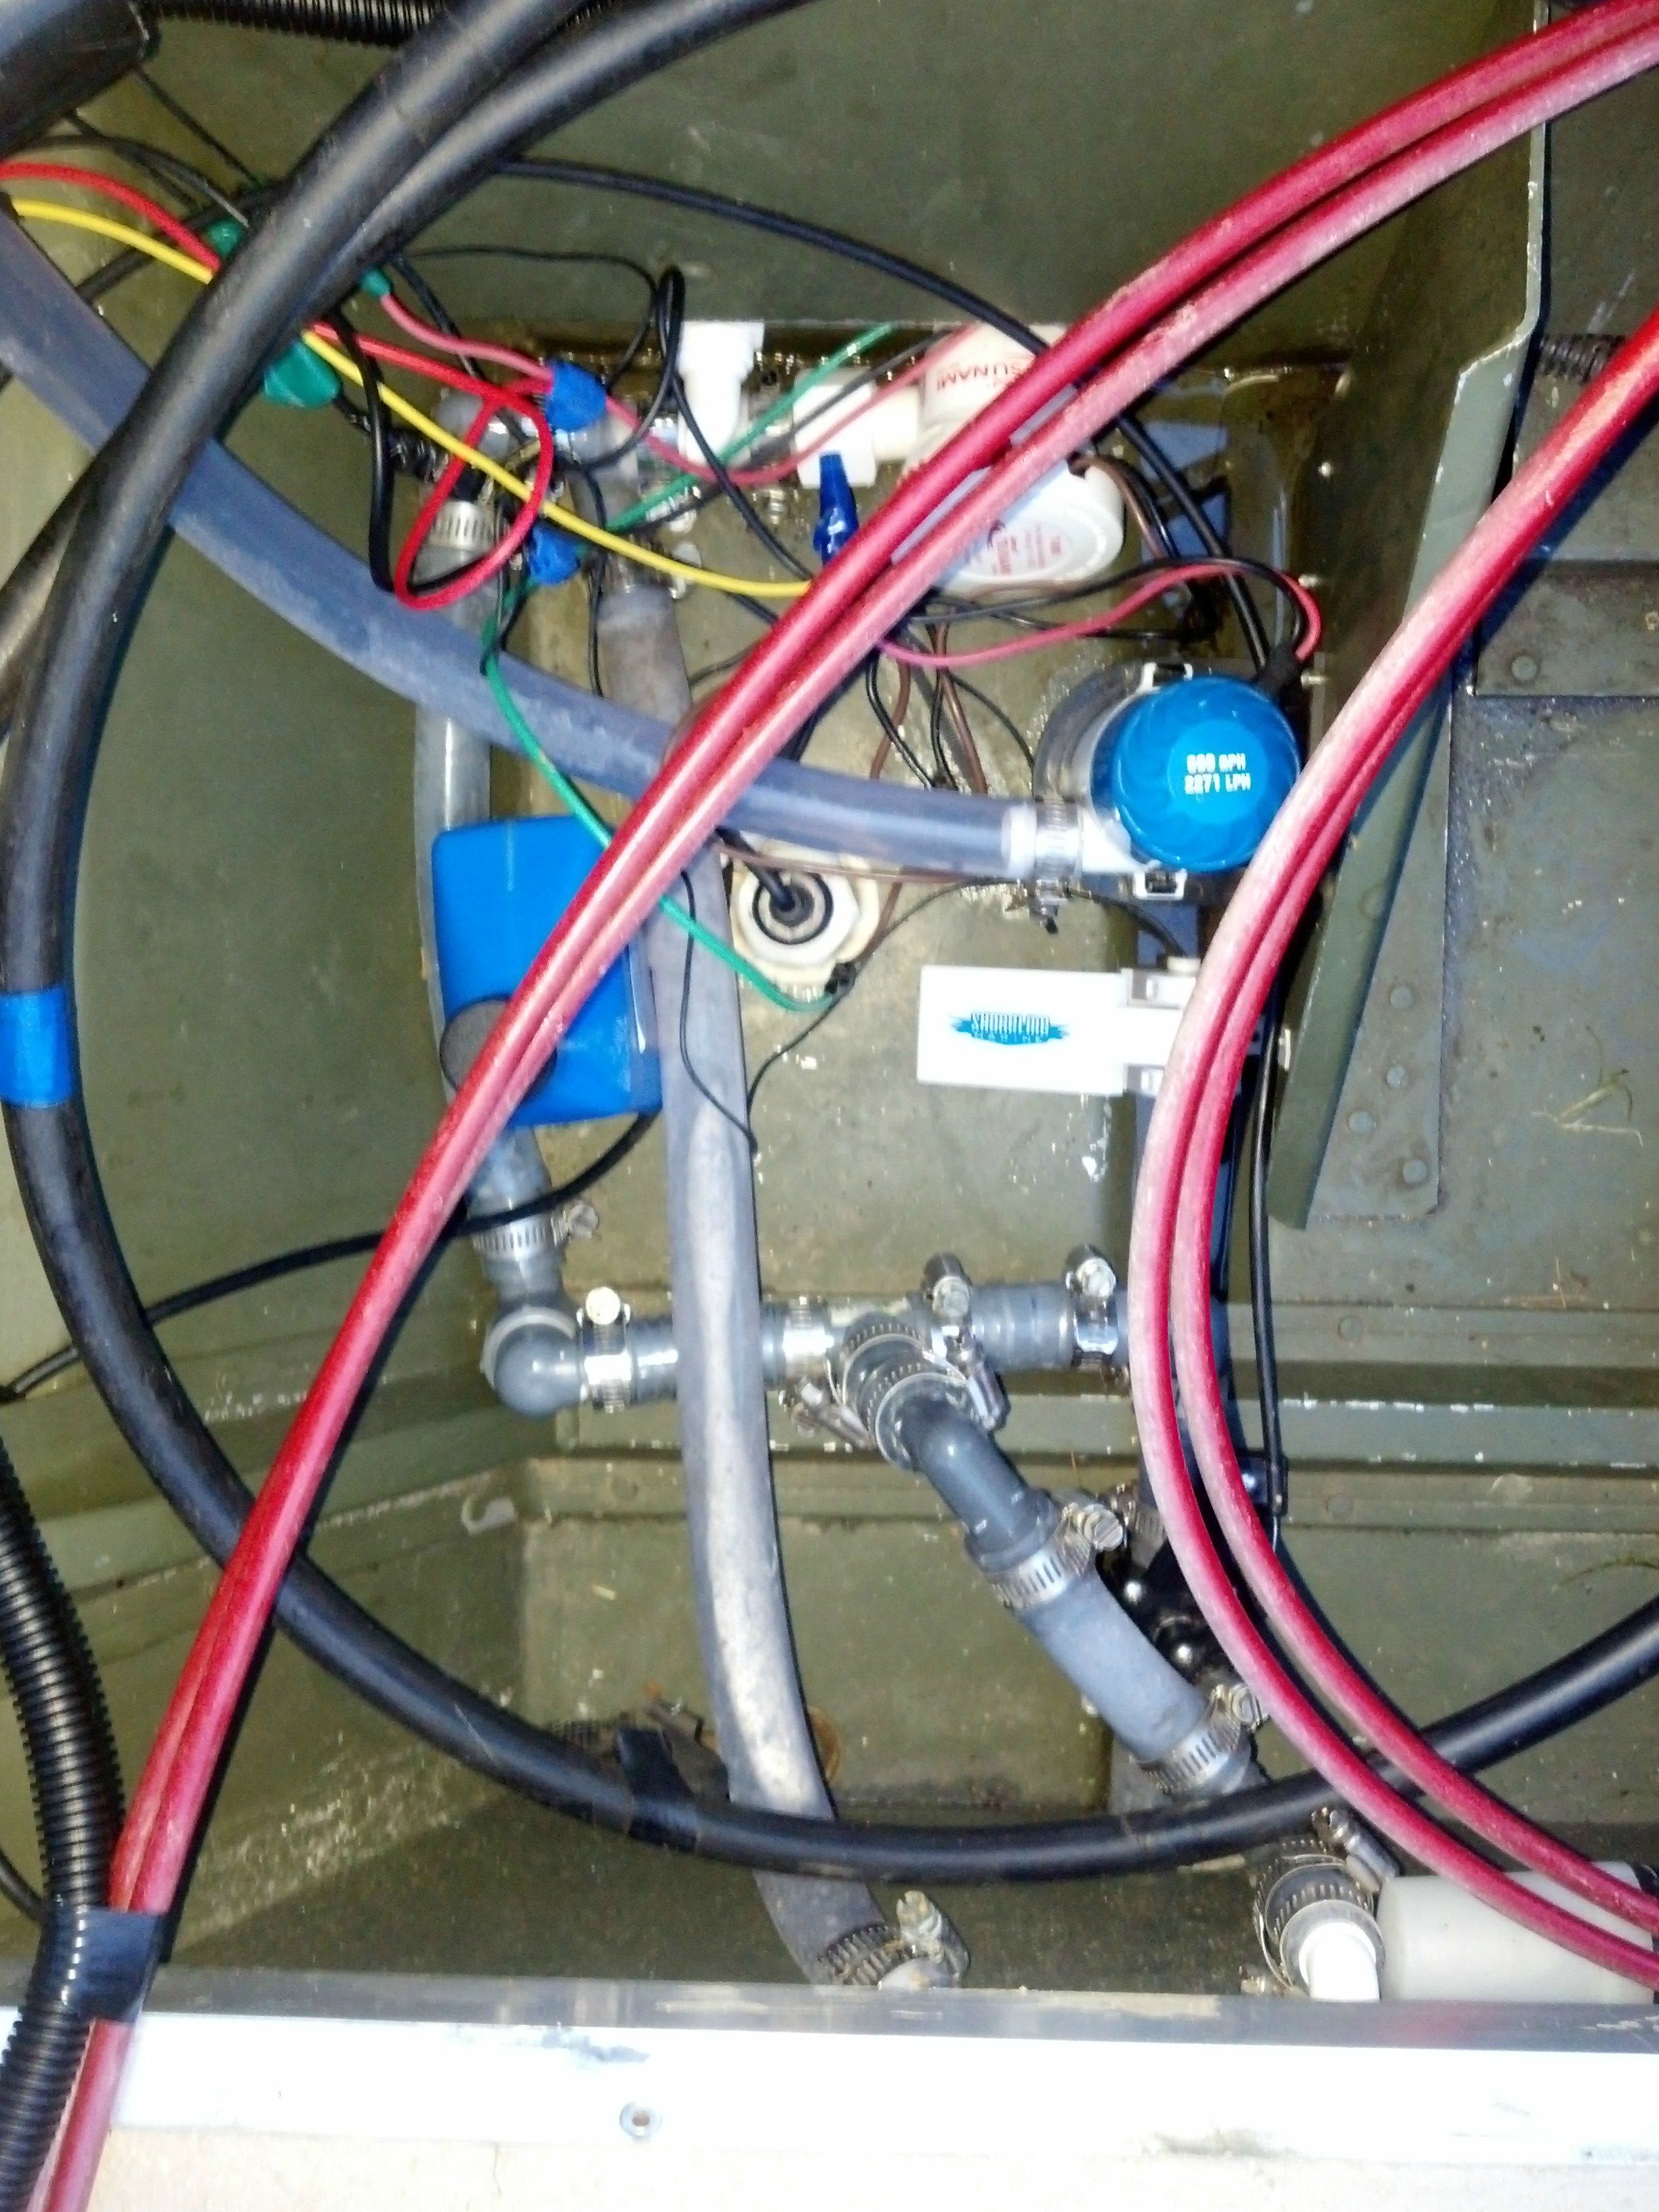
The only thing that I've done wrong was not installing the livewell pump so that the water flow coming out of the pump travels straight up - it catches air in the impeller housing and needs to be bled sometimes to get it started. I found that if I just release the Tsunami pump from the base and let a few drops of water to seep through that's all it takes to get the air out of the way and the pump functions great from then on out until the intake comes above the water line and reintroduces air to the pump. Perhaps I should have mounted the intake through the floor and not used a screen filter on it - but it's functional and having a livewell through the entire rear bench has been very nice saving floor space.


fPFcvMxl.jpg
 
Awesome. I do agree about people just not being used to smaller boats. Though my current rig is a 14 v hull and I'm not super thrilled with it. It's a bit more tipsy up in the front end but it still gets me to the fish in relative comfort. Thanks for sharing your build. It's cool to see a small boat so decked out
 
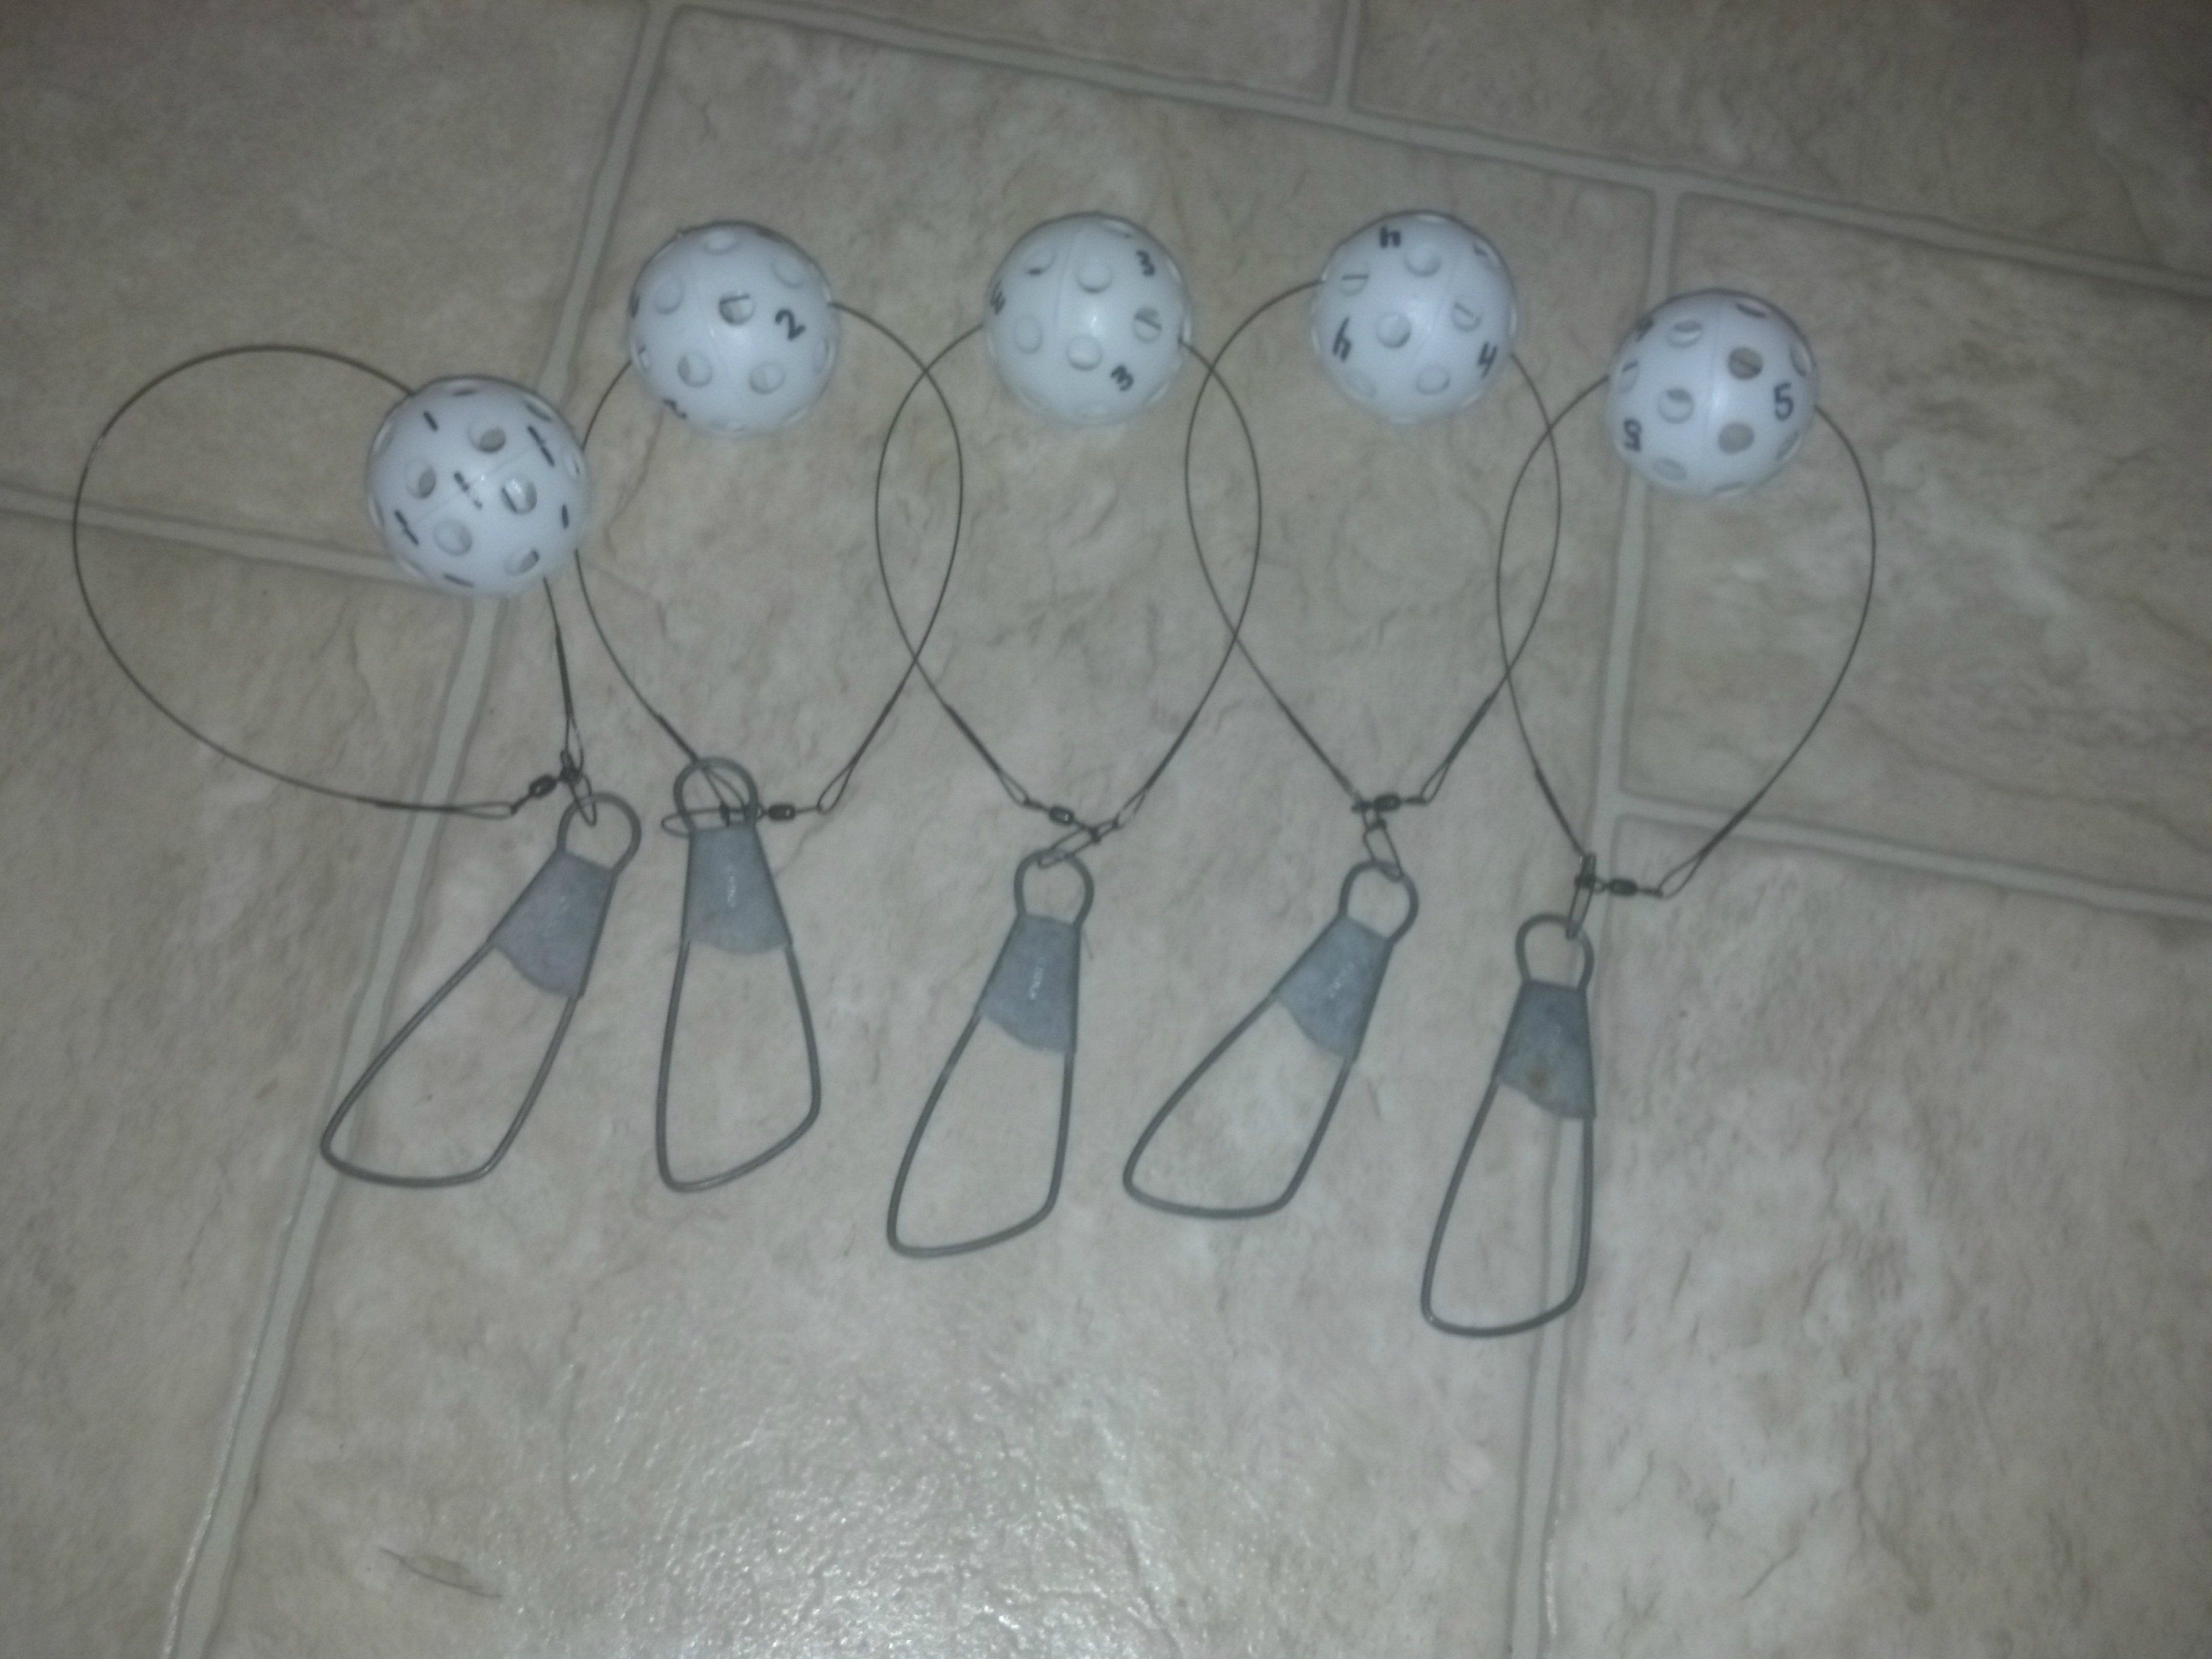
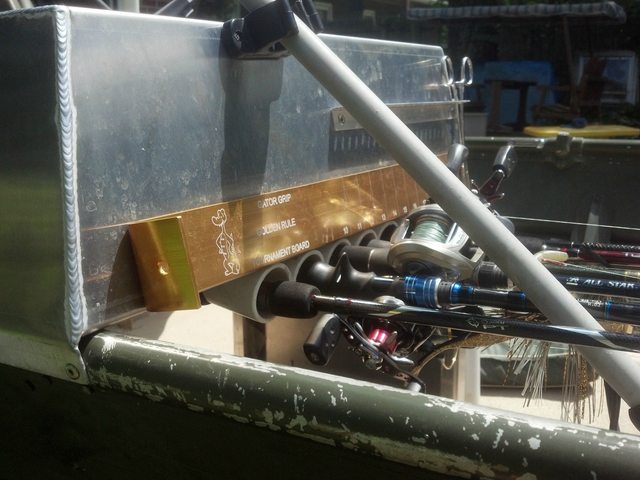
Made up a culling system using the clips off of my old stringer, some wire leaders courtesy of an end of season super clearance at Kmart (sticker says $0.50 bit I'm pretty sure I got them on an additional 60% off so $0.20 for 3 leaders, needless to say I stocked up for a lifetime) and some practice golf balls numbered with a sharpie.

My stringer stopped seeing use after I found what a wonderful tool it is for feeding crappie to snapping turtles on one vacation to a friend's lakehouse up in the southern Adirondacks...we ended up leaving a stringer full tied to the dock when we ran out to the store and came back to one and three quarters fish spread across 3 of the 7 clips.

cSYWz59.jpg
 
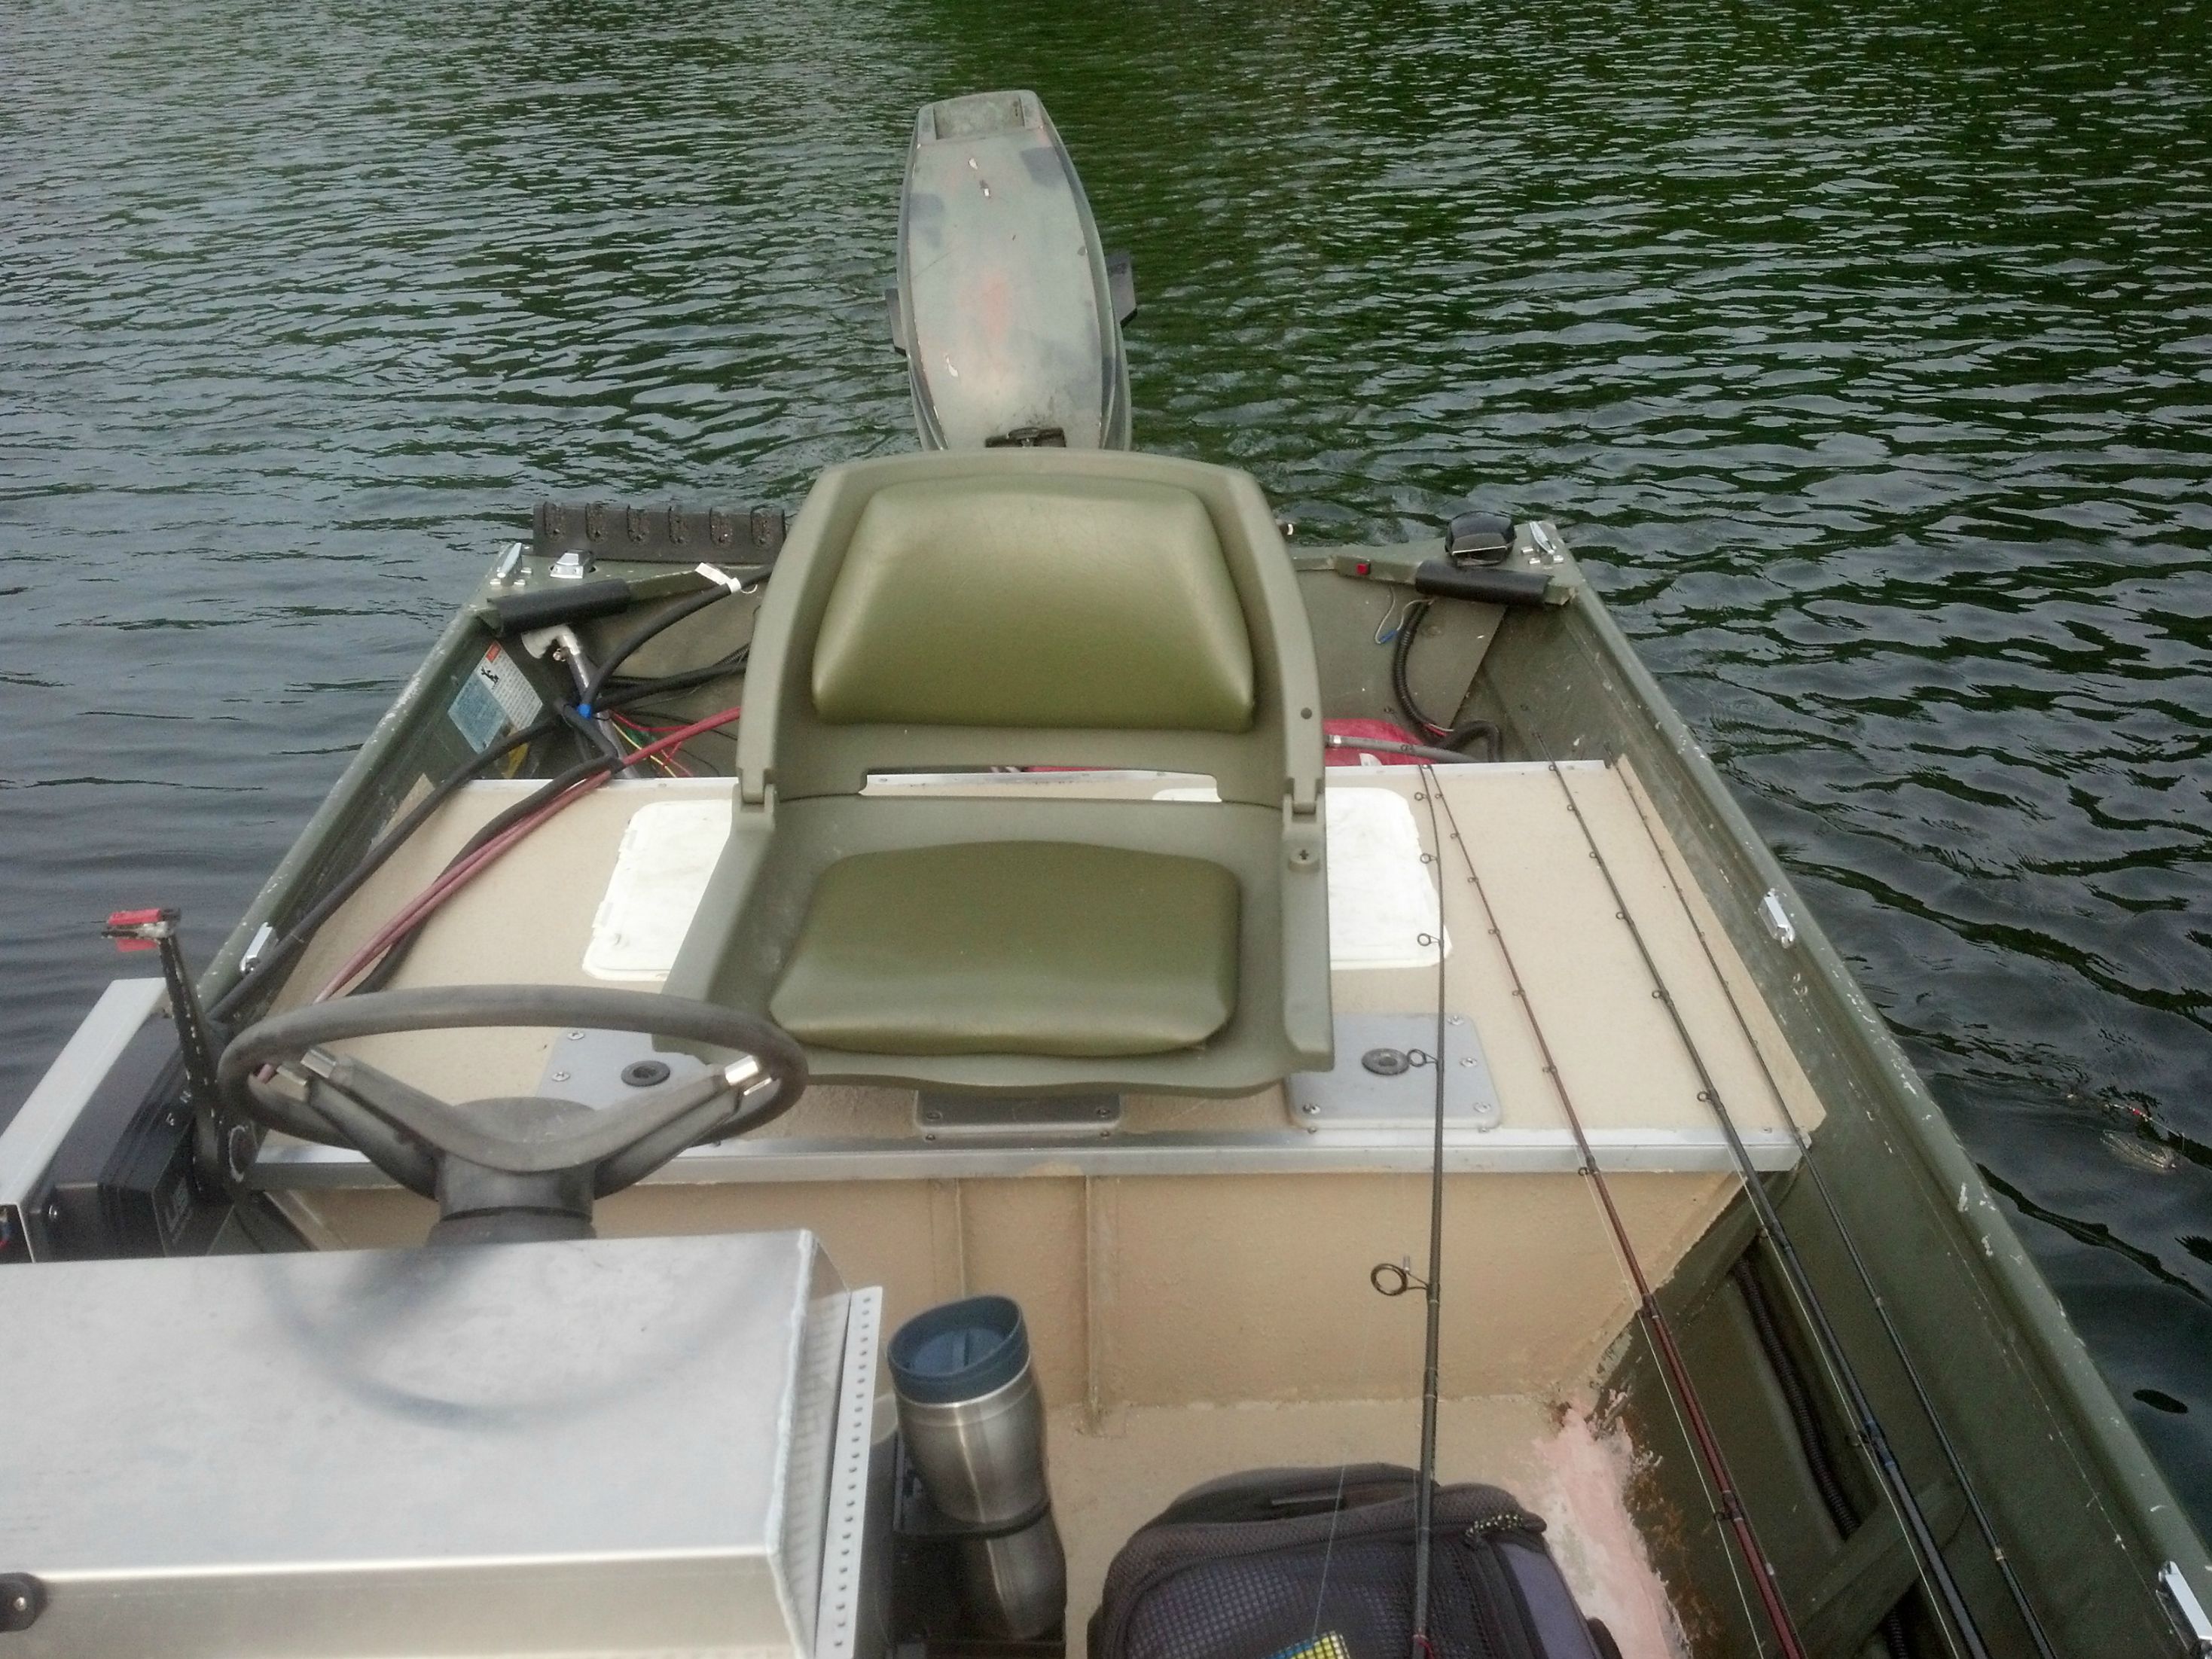
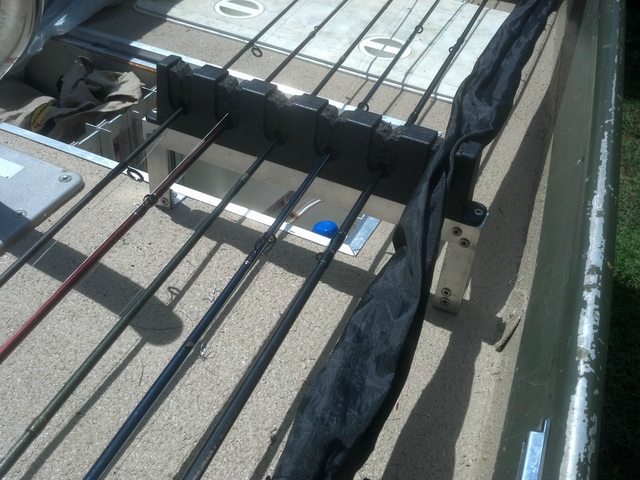
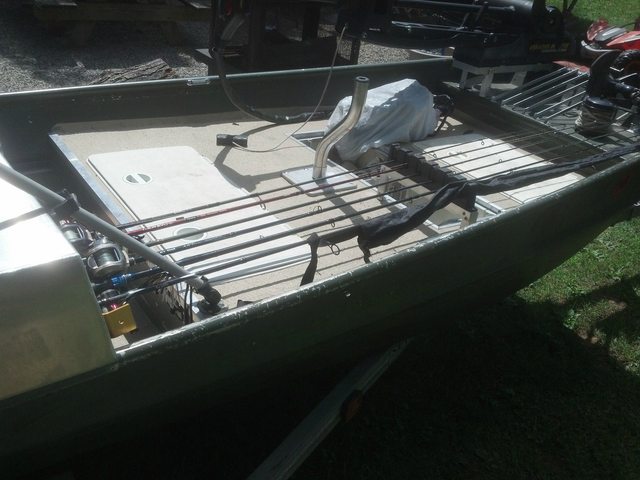
FINALLY!!!! Figured out how to store the rods horizontally over the front deck - not ideal, but good enough for transportation & to then move them elsewhere once I settle into fishing.

Xl3jCoRl.jpg


o24RqYZl.jpg


C7GtHIwl.jpg
 
I have been storing my rods like that the past few trips and I think Im going to do the same as you when it comes to making it more of a permanent set up. Nicely done
 
Thank you sir - I stumbled upon the layout when I was out Friday and it dawned on me I could suspend them from under the console using what worked out to be 2" sections of PVC pipe and I could keep them above the front bench but below the gunwale if I made a bracket for the berkley horizontal mount to attach to & lifted the rods up a few inches. It's enough I can slide my worm bags under the rods in transit.

I also had my propeller cupped this weekend - though the weather has skunked me out of getting out to test it tonight. I'm hoping it will give me back some of my lost speed - as I was still getting full redline RPMs out of my motor so I'm generating more torque than I'm able to use in the water. Hopefully it isn't a result of too small a prop & the $35 fee for the cup won't be in vain.
 
Good idea on the rod storage, I have something similar but less permanent. When I move spot to spot I have a few rod holders to hold them upright that are permanent but nothing for poles I'm not using that won't get in the way.
 
Getting out on the water the horizontal arrangement for the first time last night some of the rods interfere with the tackle tray storage and hatches, but if I pull the rods out of the tubes and just clip them above the grip to the rod holder the tips are forward out of the way and high enough up that they're not tangled in the anchor on the front...worked very nicely. It is especially nice to not have the rods in the truck above the kids, so I'm happy with the result.

As far as the prop, mixed results. The craftsmanship and turnaround of the shop was excellent, dropped it off Friday afternoon and picked it up the following morning...not even 18 hours later!!! $35 fee for the work was more than reasonable too. The owner's son/nephew (two brothers own the shop) did as kids do and didn't look at the prop or the receipt and originally handed my prop off to a different customer. It took over an hour and a half for the ***-hat yuppie in the brand new truck to mosey on back to the shop and bring me back my prop - I'm actually far more angry with that customer than the shop - my prop is 10" in diameter, his was 19"!!!!!! How did he walk away with a propeller half the size of the one he dropped off and not scratch his empty head wondering why it looked/felt differently for some reason?!?!?!! Were he not one step away from drooling on himself ******** there was no way he would have left with my prop in the first place.

The cupping did exactly what it was supposed to do, give the prop more bite, but I ended up losing speed rather than gaining it (was previously able to hit 20.5, now I'm maxing out at 18.5 with 2 people in the boat). More importantly though, my RPMs which were between 5900 and 6100 (with a 6000 redline - i.e. no good) have dropped to 5800, so the most important goal of protecting the motor from RPM spikes due to the prop slipping/starting to blow-out has been achieved. There is also several inches more bow lift at speed, which is also a positive (though not something I was concerned about when looking to have the work done) so over all I'm 2-3 on the modification -- I'll take it.
 
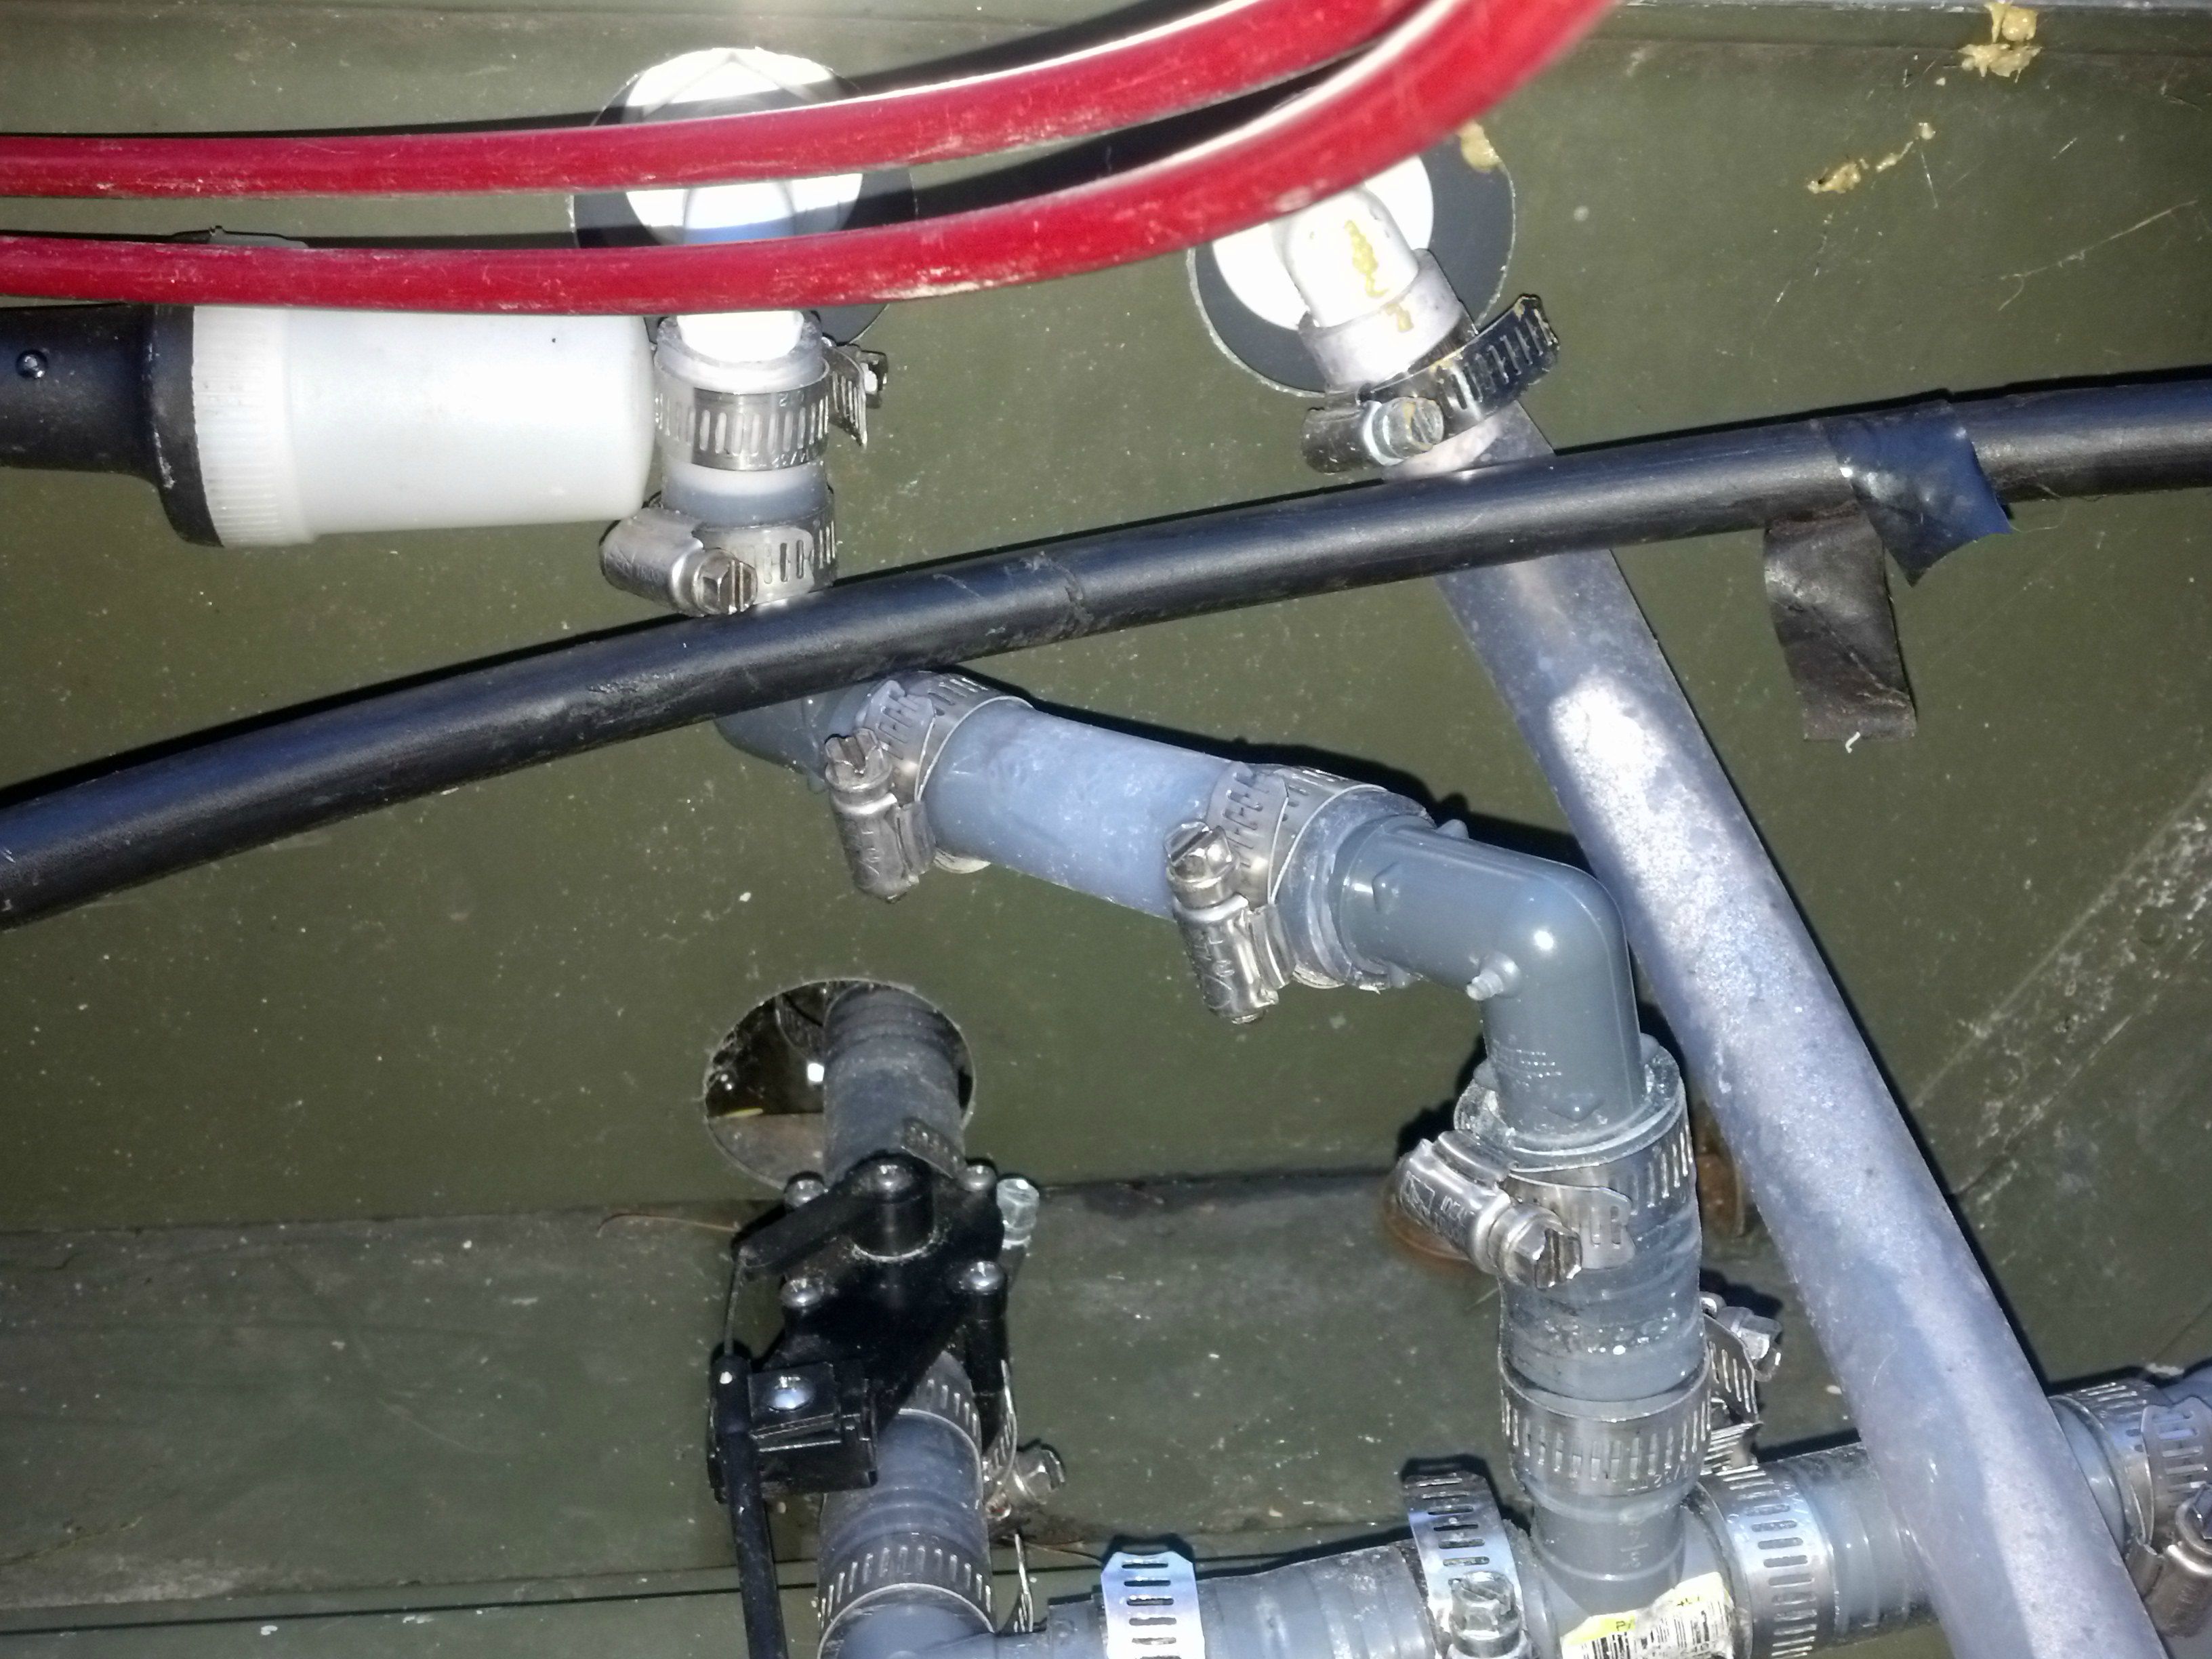
Some close up pics of the livewell and other rear plumbing i took for someone else's post & figured they'd help on here too. Very busy back corner!!!

IkcncEt.jpg

DmgnONz.jpg

WNXxWiv.jpg
 
AHHHRRRRGGGG this never ends...always something going wrong. The cheap plastic shift cable terminations aren't nearly as long as they should be, and as a result I didn't have enough threads attached to the shift cable & I stripped the connector. Picked up a scrap piece of 1/2" aluminum bar stock to make a quality replacement tonight.

In other news, the mount for the trolling motor is exerting too much stress on the aluminum sheet used to make the little front lip bench, and is forming stress cracks which will require some attention. I'm probably just going to add a piece of angle cupping the lip of the bench under the TM mount and attach the TM mount to the angle to prevent additional flexing / cracking...

I got the boat uncovered and noticed the cracks just in time for a storm to form up on the backside of the ridge behind my house and send me running back inside. I'll post pics to night of the stress cracks.


EDIT - This wasn't due entirely to the cheap plastic cable connectors - the bushings that came with the remote components were shot. I was able to finally track some down & when I replaced them this year (2016) everything is in tight working order & shifts perfectly forward & backward.
 
Making the shift & throttle connections from a 1 foot piece 3/8"x1/2" bar aluminum from https://www.onlinemetals.com cost a whopping $1.18 before shipping and has worked beautifully - no more stripped connections.

I played with the angle of the motor on the transom after the initial test with the cupped prop and now I'm able to get up to 23mph, which is close enough that it isn't worth additional $$$ to gamble & try to best 25mph. Found stress cracking in the aluminum bench to which the trolling motor mount was attached so I had to swap the 80# 24v motor out for the lighter 55# 12v option - still handles the boat just fine, but it also allows me to shed the weight of a size 29 battery, so I'm ~ 90lbs lighter. Not sure if it will run any faster now that it's a bit lighter in the bow & mid-section, I'm hoping it will. If I ever plan on fishing a full day in high-wind I can always throw the 2nd battery back in the boat.

I also installed the side-compartment hatch from fish-on fabrications - beautiful work, nice & strong! Everything is built now as I'd like it, so next year I'll pretty up the cosmetics & get the rest of the tuff-coat down. I may have to first tear out the middle section of floor and reset it with bigger drains & aluminum plate, the side drains are just not enough to be worthwhile & clog way too easily so I'm not getting the water to the bilge in the back when it rains.

Sadly I haven't had much time for fishing this summer/fall. Sunday should be my second time out on the water in the past three months. Oh well, cold water is my favorite time of year, and though we're having the wierdest fall on record here in CT (November 13th and the water is still 55 degrees when normally its 40+/-) I'm itching to get back out & have some fun.
 
Bit of good news, while fishing was slow the last two weekends I'm finding the motor starts & runs beautifully despite the cold temperatures (45 degrees last weekend & 35 degrees the weekend prior). I had so many issues with the 150hp 2stroke on my old 18' that I was terrified this would be a bear to start in the cold but it's been awesome.
 
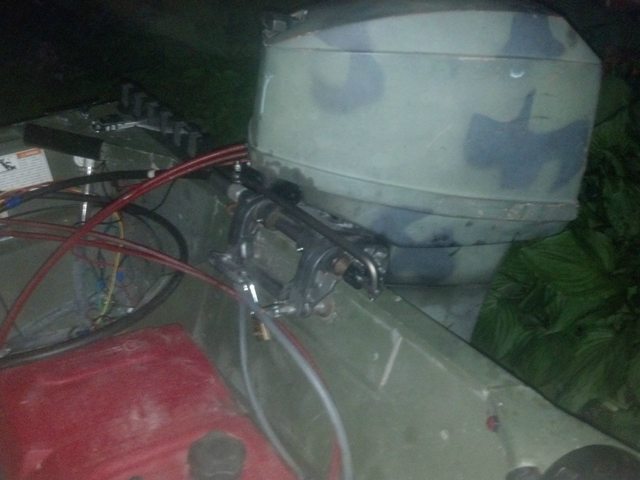
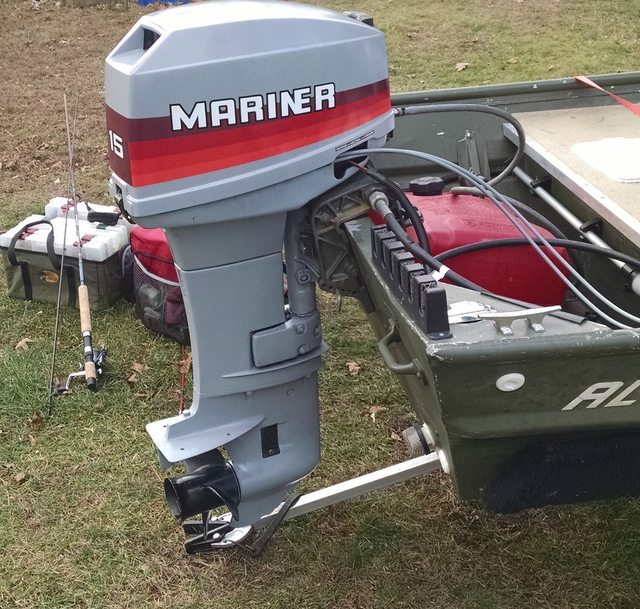
Had to replace the throttle & shift cables & correct the sh!tty design for securing them that came factory on these motors. In doing so I had to pull the motor hood and cowling apart to get to the components, so it looked to be as good a time as any to repaint & put the new badges on the motor. The transom bracket will get sprayed once I pull the motor for the winter.

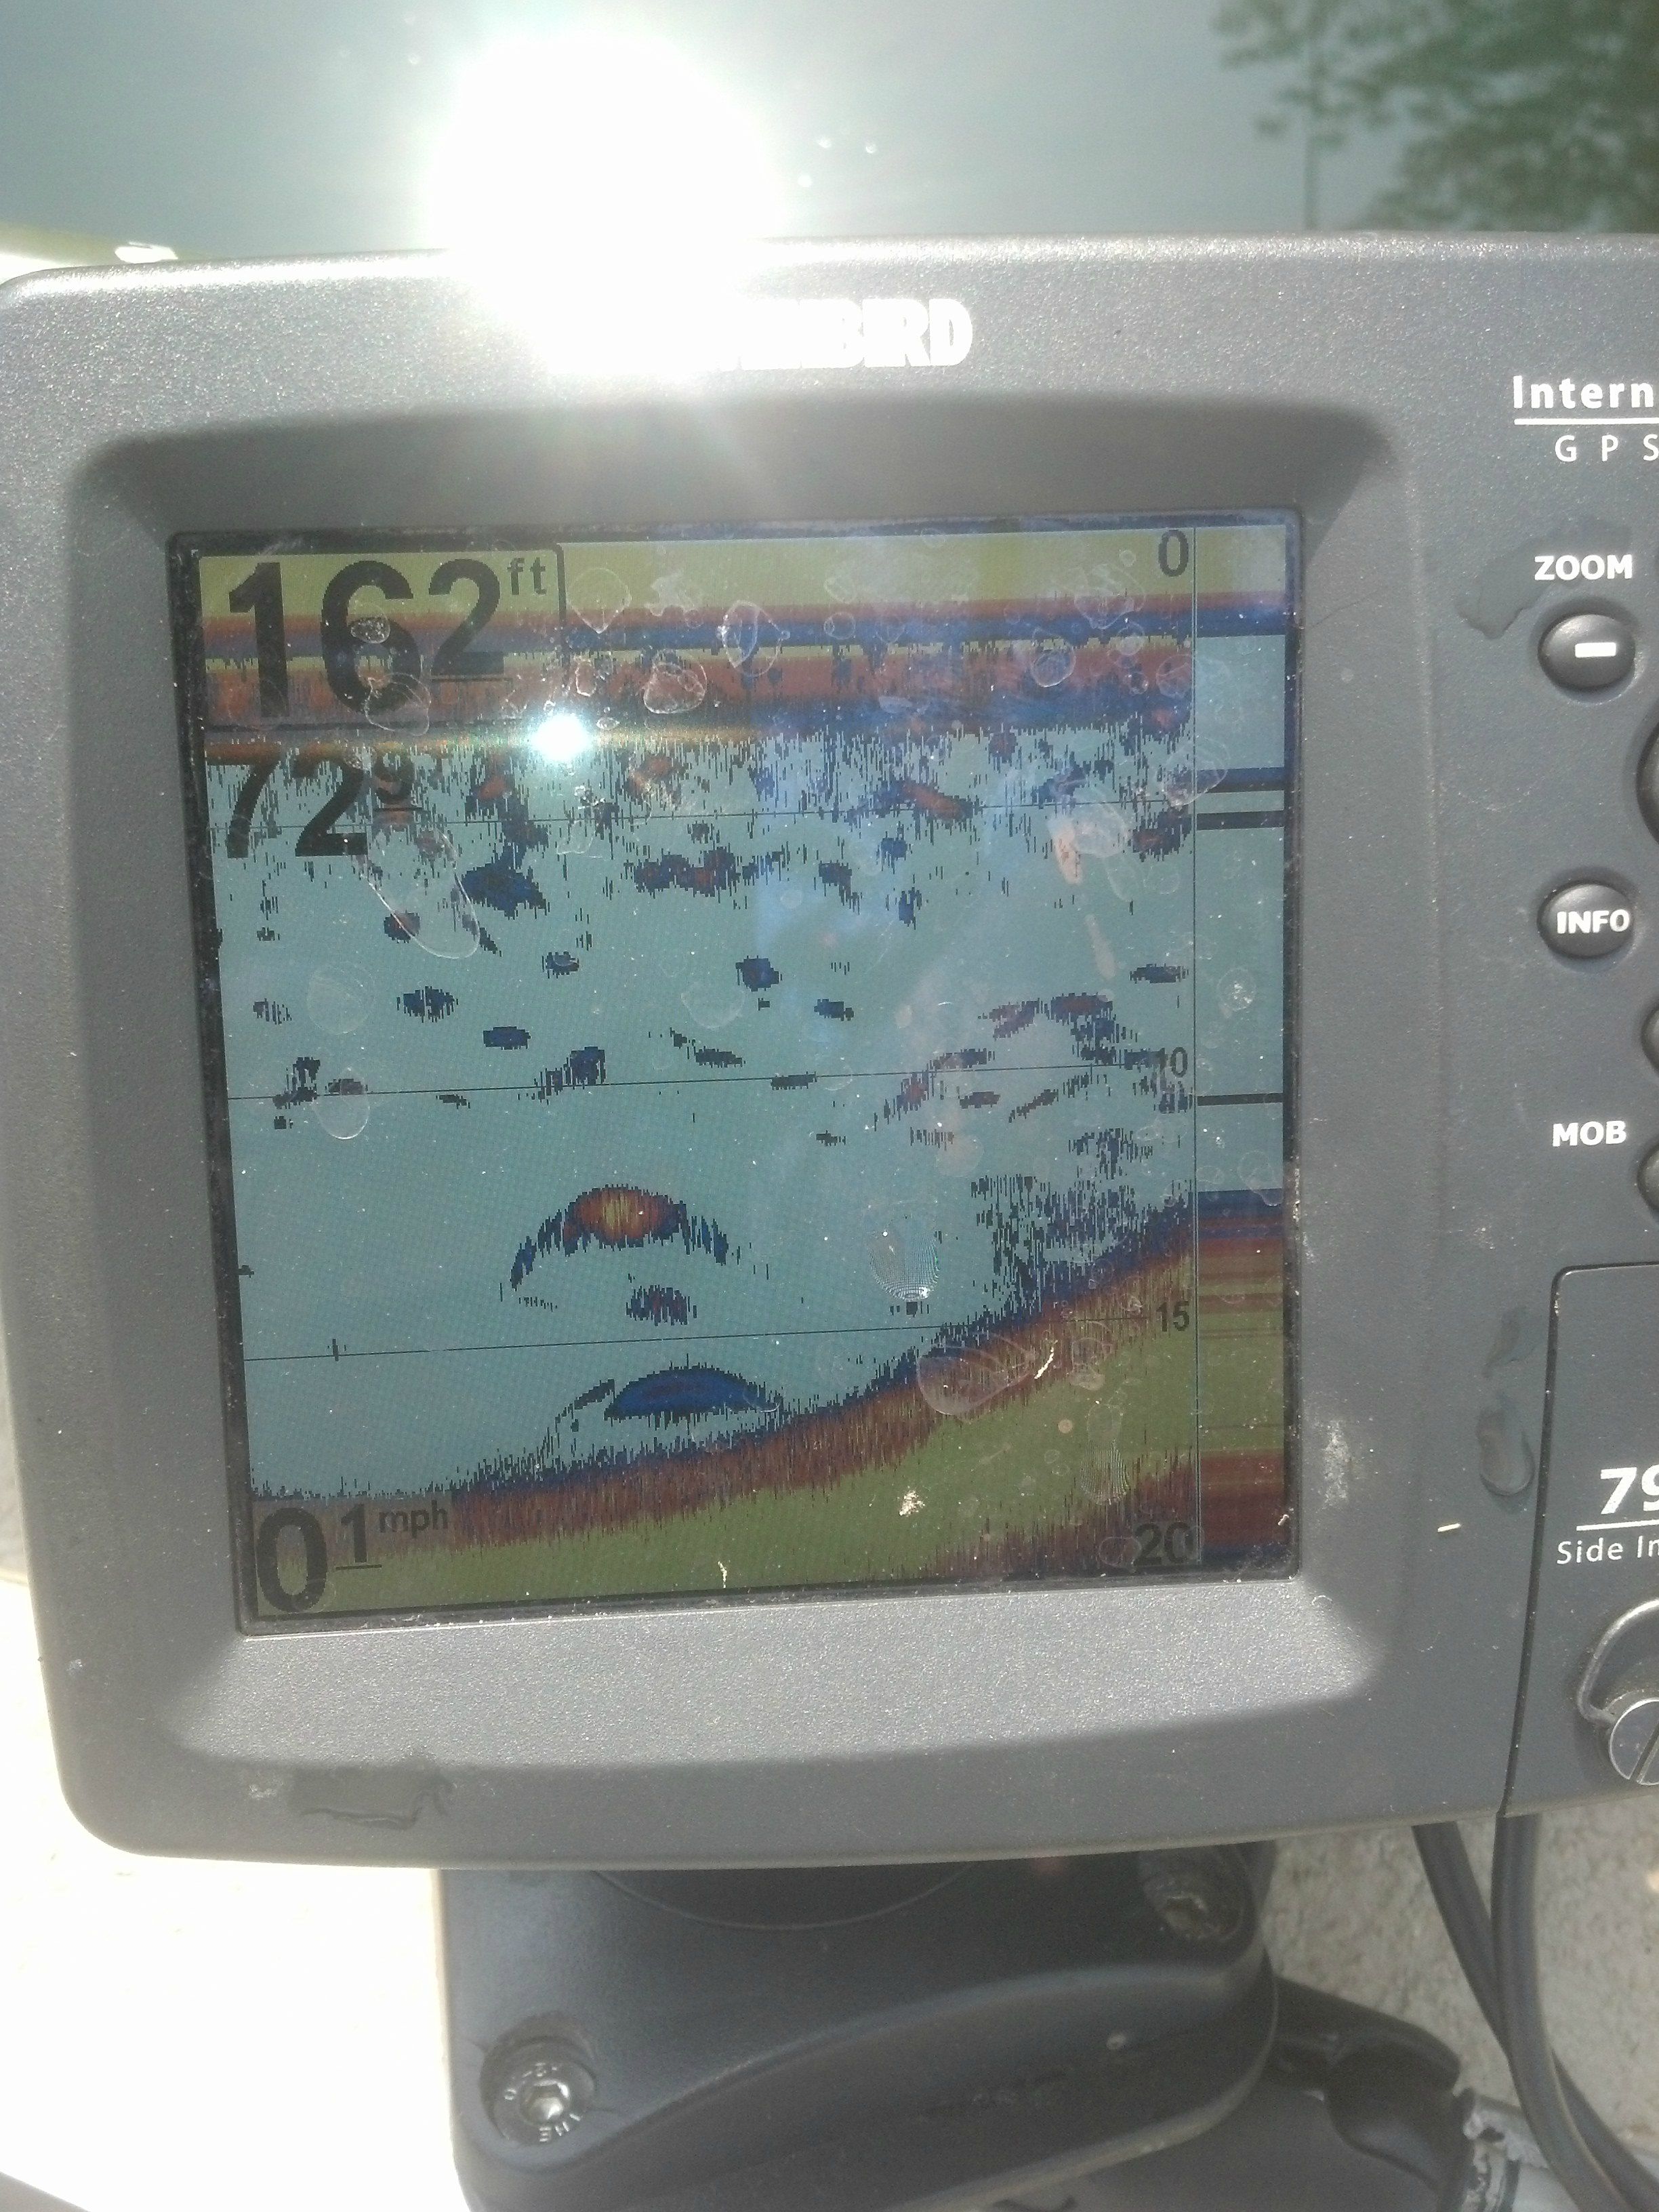
I pulled the hydrofoil off in the process and I don't think it will be coming back. I tested it on the lake Sunday without the foil & I now top out at 27mph & change vs. 22 mph by myself before (both measured on the GPS on my humminbird 798). Hopefully that means I'm hitting 25mph with a guest (used to max at 20mph with the foil). No noticeable difference in bow rise on acceleration, though acceleration response is much better. Shame on me for not testing the boat before drilling holes in my cavitation plate.

Before:

h5QUiyDl.jpg


After:

wDJIaasl.jpg


New throttle/shift cables are the proper length, steering cable is functional coiled around as is - though I will replace it in the future with a properly sized cable should it ever fail.
 
Plan is to repaint the boat come spring - between the scrapes all over the gunwales and the new side console it's due. I'm probably going with something other than std. green, though with the tan interior I'm not sure what might end up looking clean.
 
That's going to be awesome! Wish mine was that far along. Still hoping the scoring isn't to bad in the cylinders...

Sent from the dust in front of you!
 

Latest posts

Top