AlumaCraft 1448 Re-design "Fishyfingers"

TinBoats.net

Help Support TinBoats.net:

This site may earn a commission from merchant affiliate links, including eBay, Amazon, and others.

Darrin

Active member
Joined
May 30, 2012
Messages
25
Reaction score
0
Location
Iowa
Hey guys, I love this site! So many ideas, so much talent :beer:
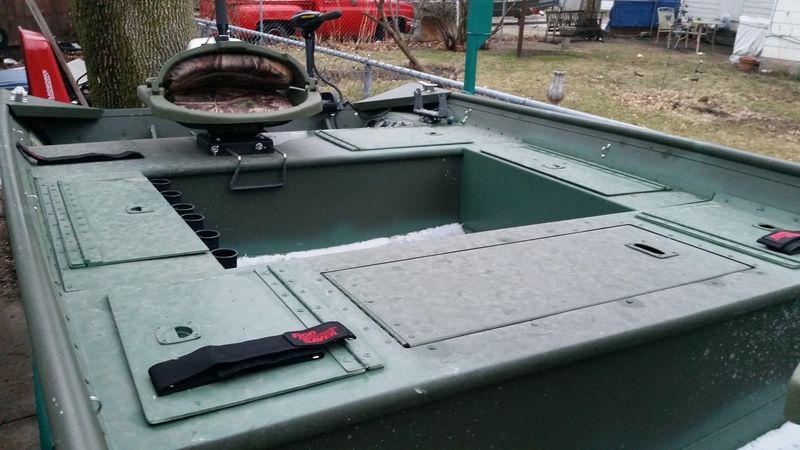
Here's my project, I have a 2008 1448 Aluma Craft that has been modified with some pretty nice features already!
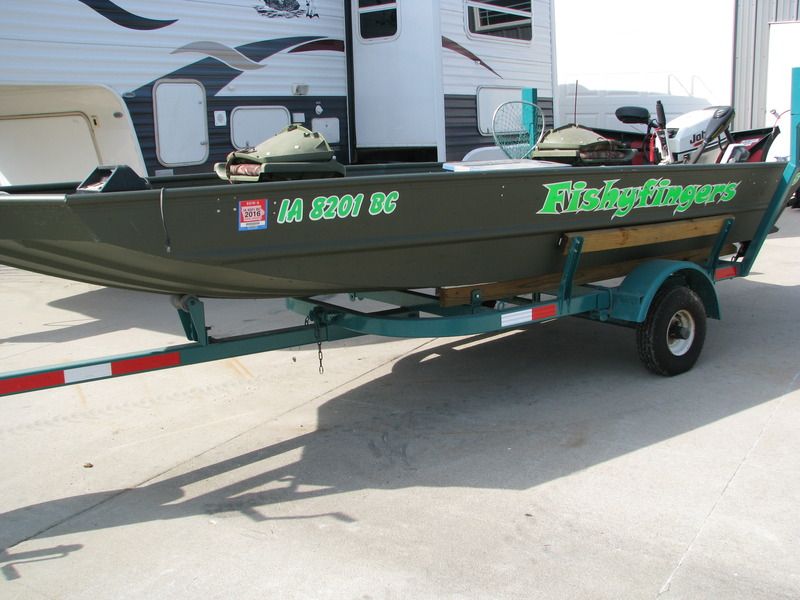
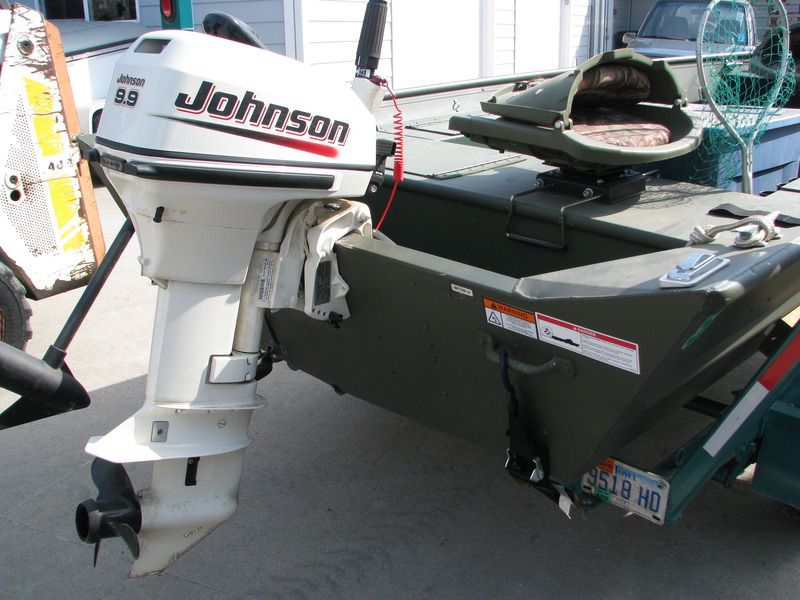
  • Aluminum floor
    Battery storage cut into the middle bench seat (port & starboard)
    Gas tank cut into rear bench (port)
    Storage between the two bench seats (port & starboard)
    Custom switch panel
    Fully plumbed live well
    Bilge pump
    Fold away tongue
    No wood, ALL aluminum construction =D>

IMG_0804_zpsz2z21q9h.jpg


IMG_0805_zpsddnxwtgu.jpg


20150323_185635_zps9ofkhytd.jpg


20150323_185623_zpskiif8n7r.jpg


20150323_185606_zpskqcjkij5.jpg


I'm a bass fisherman, so I need to convert this rig to suit that style of fishing. You know, bow mount troller, casting deck, etc. I started work on this a few weeks back and here is where I'm at with it so far...

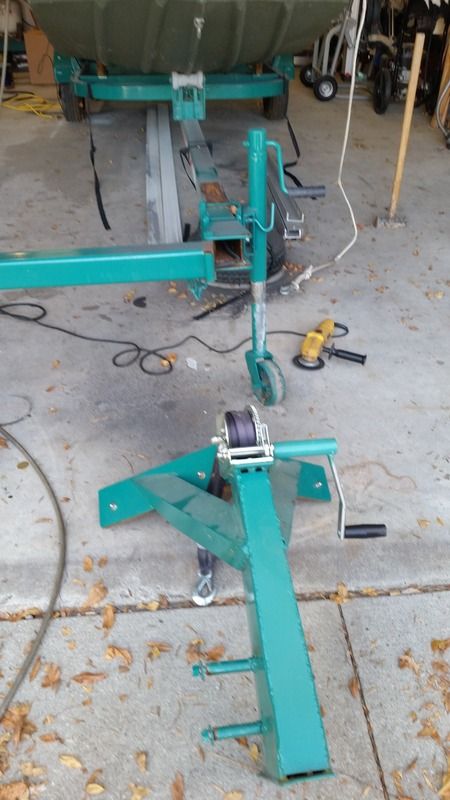
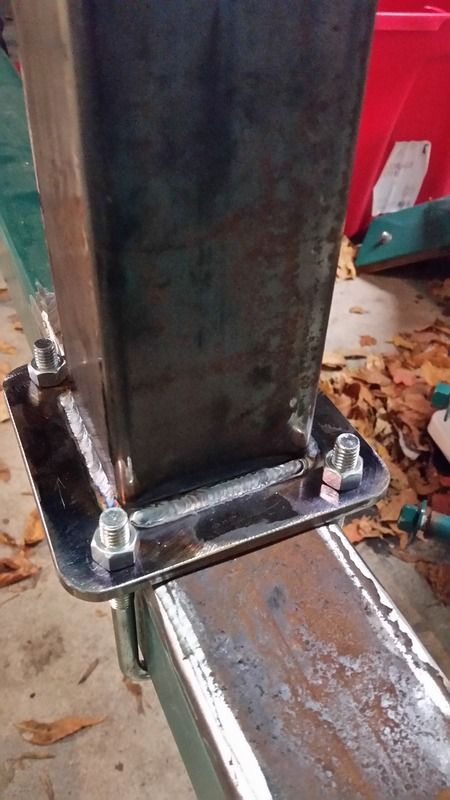
First I needed to remove this 50lbs of winch stand so that I could even mount a troller up front.
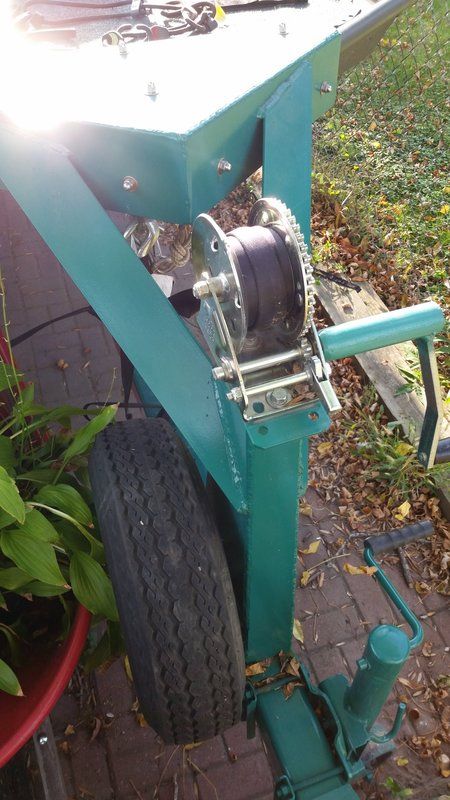
12119594_10153243348883651_663438463_o_zpsdvdlbfw3.jpg
20161022_161611_zps5lou64cs.jpg


I made a new, much lighter one....J/K :lol:
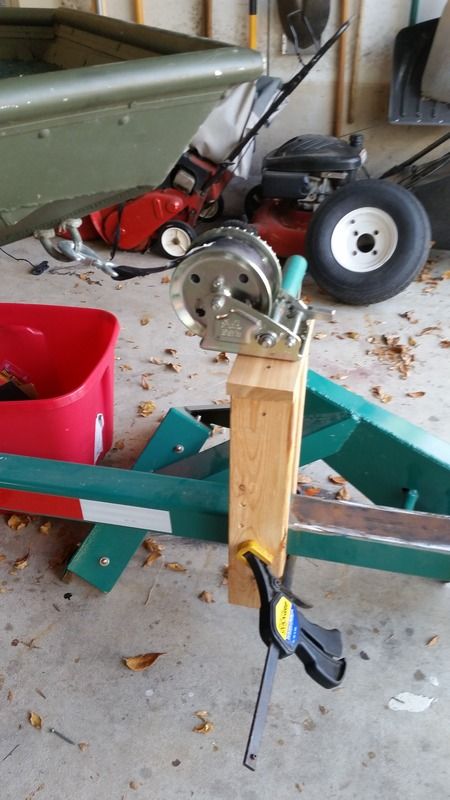
20161023_145826_zpslhyfhl2s.jpg


Actually, I drew up the plans in Mastercam to copy the winch stand on my glass boat...
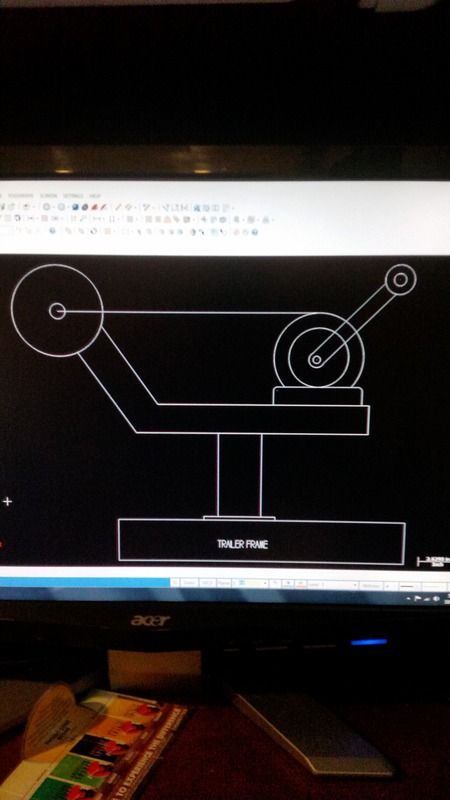
20161024_171742_zpsmqauxlxz.jpg

The new stand needs to be finish welded, sandblasted and painted.
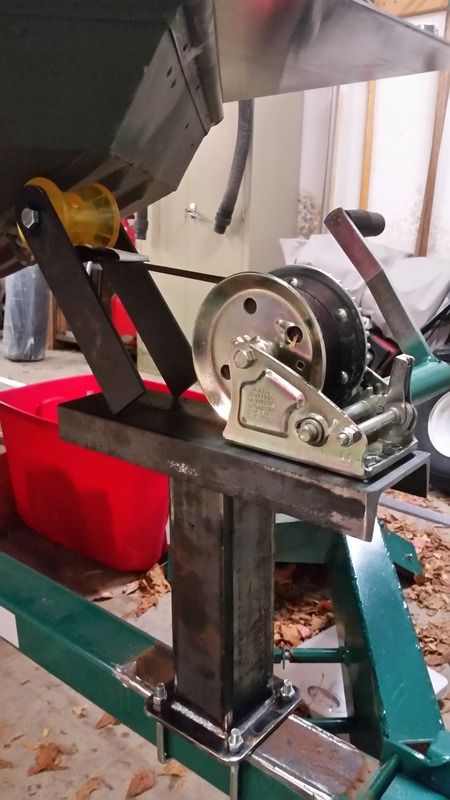
20161028_182204_zps6bhegmnt.jpg
20161028_182009_zpshzk5mibs.jpg


I'm basically switching from operating the boat from the back to the front. So I removed all of the original wiring, which is kind of a shame because it was done very well. But at least I'll be able to salvage the wire and save $$
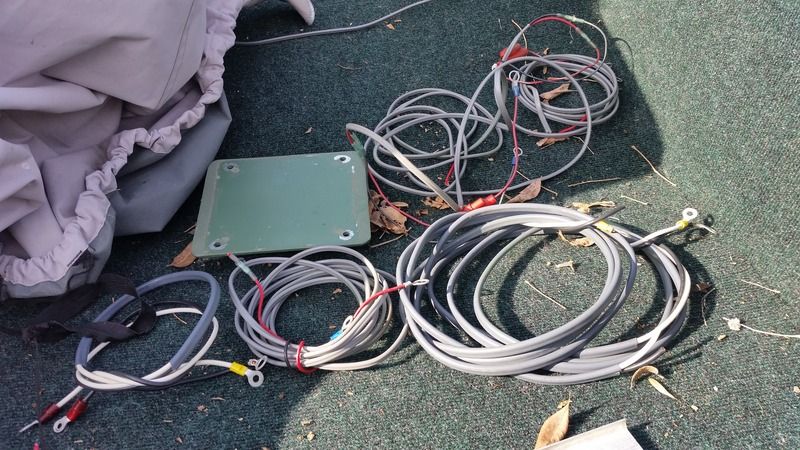
20160306_151020_zpsxlatqp0n.jpg


Next, I'll start building what I'm going to call the front cap. This is where the trolling motor will mount, along with the depth finder, nav light and custom made switch panel. I'll be using 3/16" plate aluminum for this. Yes, it's a little overkill perhaps, but I prefer that than under doing it. :!:

Mocking it up, taking measurements.
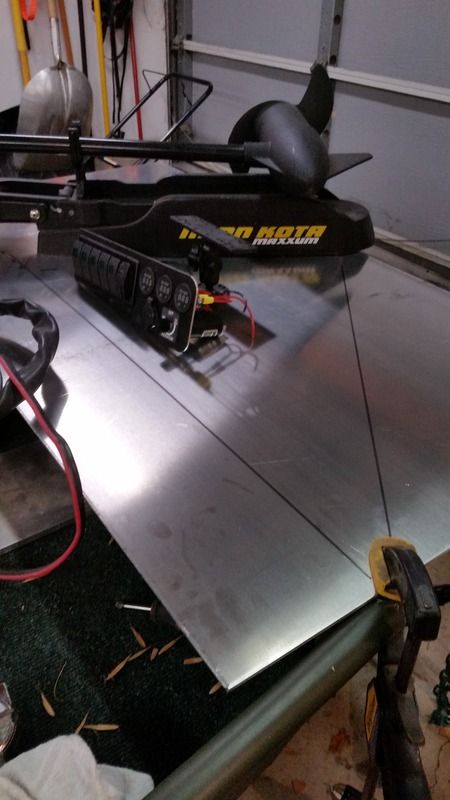
20161024_195127_zps90yfxmb2.jpg


I had no way to cut this plate other than my jig saw, but with the proper blade it cut surprisingly well.
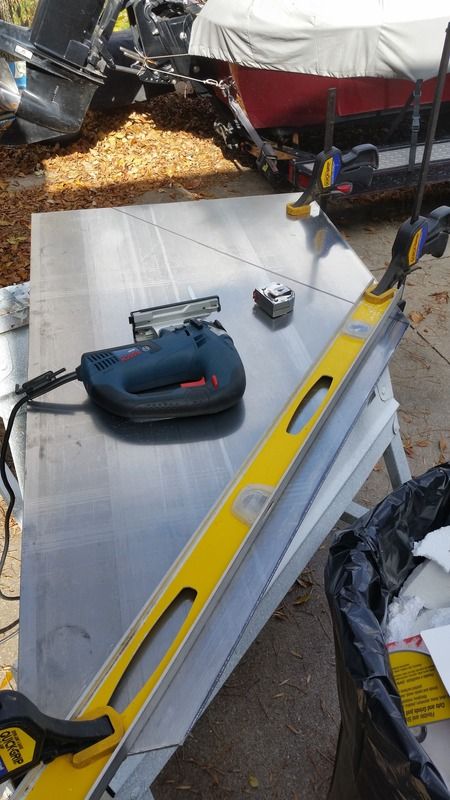
20161030_121251_zps3bsdhc9l.jpg


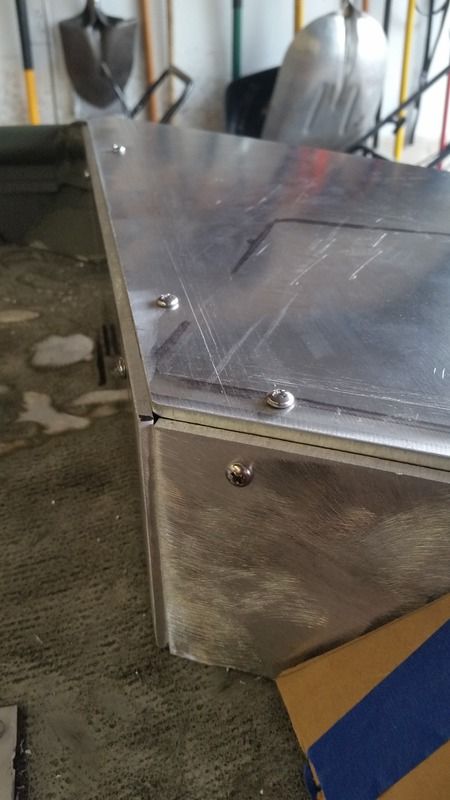
Here is the shape that I've come up with for the cap. You can also see custom foot pedal tray that I made.
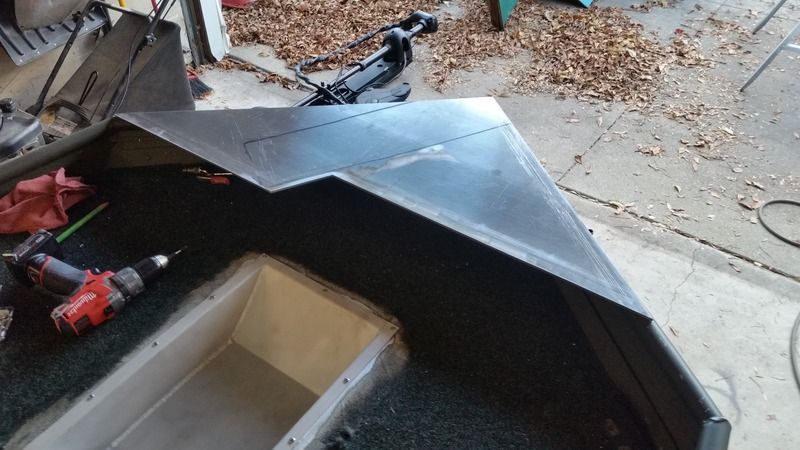
20161030_144728_zps5di7k5tv.jpg


The cap is basically ready to be welded up, I'll save that for my brother, he's a welder by trade :wink:
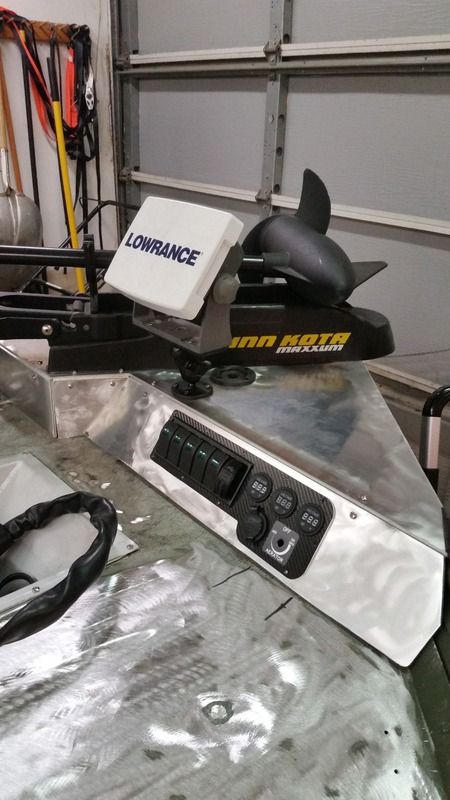
20161105_202847_zpsjluzjaly.jpg
 
Super nice job. If you don't mind how did you bend the sheet metal. Was it a primitive way or did you have a break. I have to bend some myself I'm not sure the best way to do it without having a break.


Sent from my iPhone using Tapatalk
 
gatorglenn said:
Super nice job. If you don't mind how did you bend the sheet metal. Was it a primitive way or did you have a break. I have to bend some myself I'm not sure the best way to do it without having a break.


Sent from my iPhone using Tapatalk

Thanks!
I did not bend the plate as it's .1875 thick, what you see is 4 separate pieces that will be tig welded.

20161101_160145_zpsqmekp4ff.jpg
 
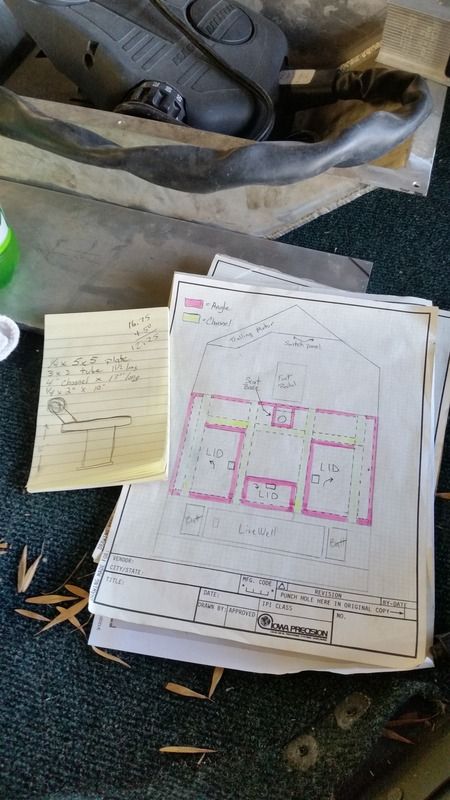
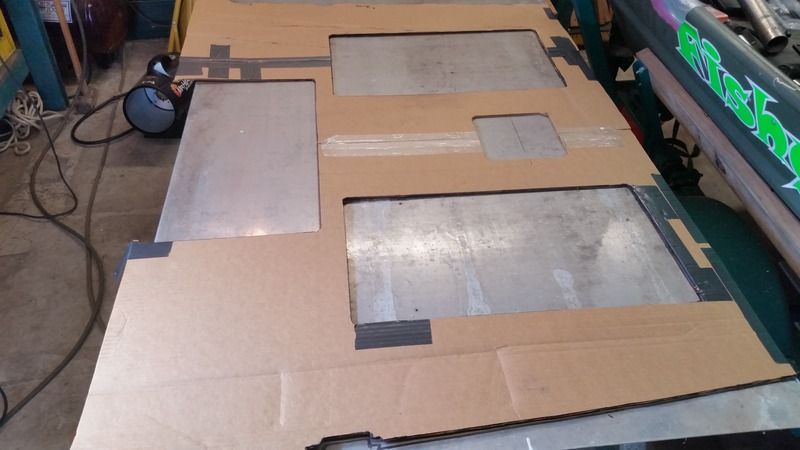
Next I want to build a deck from the factory front deck to the middle bench seat. I have some aluminum channel that I have had for at least 20 years that I just knew there would be a day I could use it :mrgreen: It's a little heavier than I need, but I'll be able to cover the span without any vertical supports. This will leave the underneath wide open. The channelis 1.5x3", it has .200 legs with .100 top.

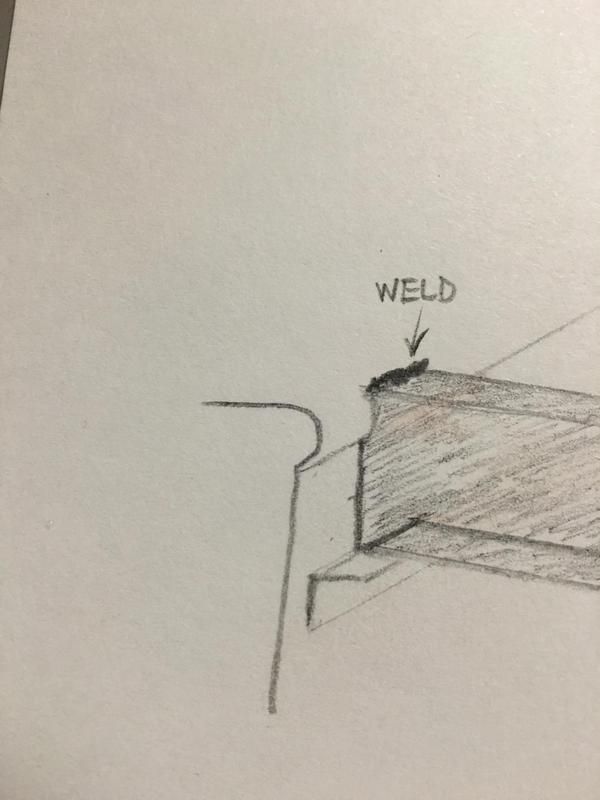
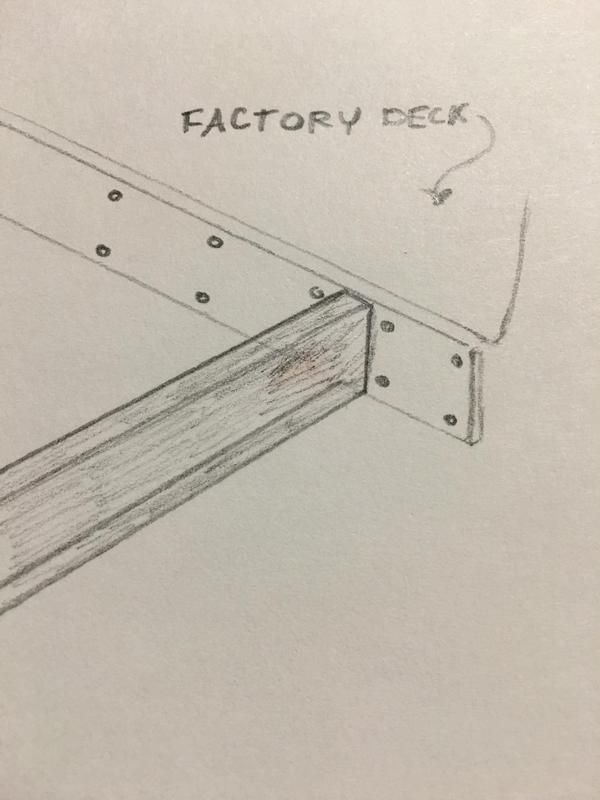
These are the original sketch ups of how to attach the channel.
12228061_10153299351703651_761208048_o_zpsxklesw2f.jpg


12242713_10153299351903651_1994457700_o_zpseie7lwfy.jpg


I ended up using a combination of both the above drawings with .125 flat and .125" x 1" x 1" angle

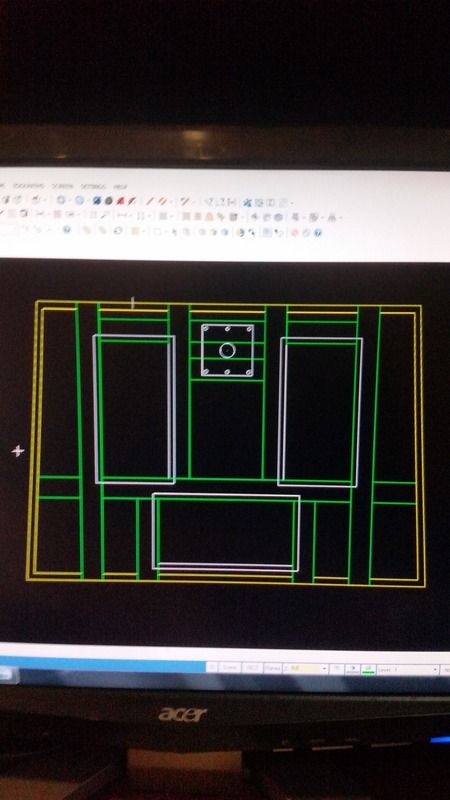
Sketch up of deck layout.
20161023_163526_zpsljclxnp6.jpg


Again, I took advantage of having Mastercam available to me and drew up a scale sized drawing.
20161030_100410_zpsju0rfuzt.jpg


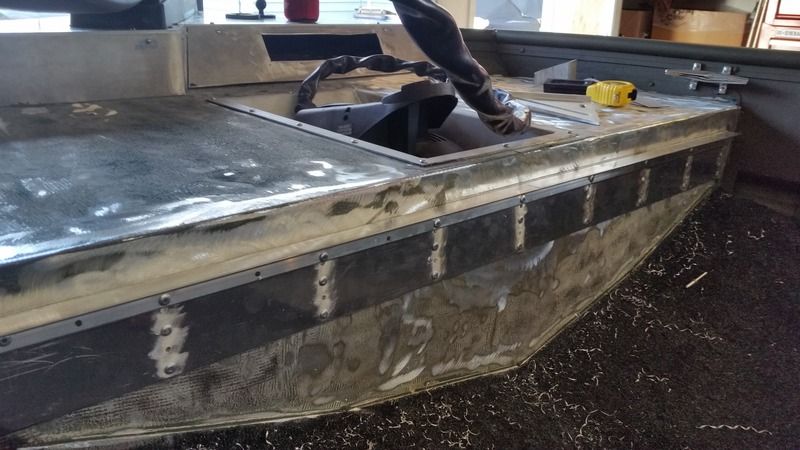
Moving along with the deck supports.
20161105_140152_zps9l3a8bcc.jpg


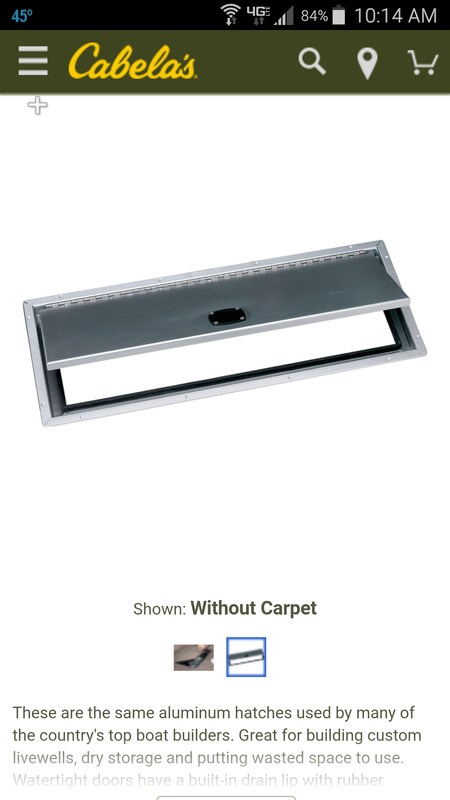
Ordered 3 hatches from Cabelas.
Screenshot_2016-11-03-10-14-17_zpseh1mthxz.png


I got all of my channel cut for the framing and have it temporarily riveted together. It will all be welded in the end.
20161113_132435_zpsvr46ym7f.jpg
 
OK thanks. If you were bending 5052 what would you say is the best way if you don't have a break thanks


Sent from my iPhone using Tapatalk
 
gatorglenn said:
OK thanks. If you were bending 5052 what would you say is the best way if you don't have a break thanks


Sent from my iPhone using Tapatalk
I'm not sure if there is a good way? Depends on the thickness of the material and the length of the bend.
 
Yes, I'm finding it difficult for sure thank you


Sent from my iPhone using Tapatalk
 
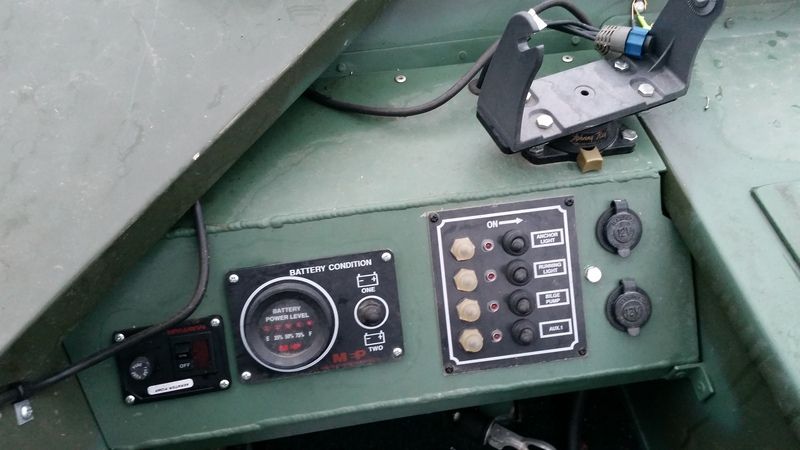
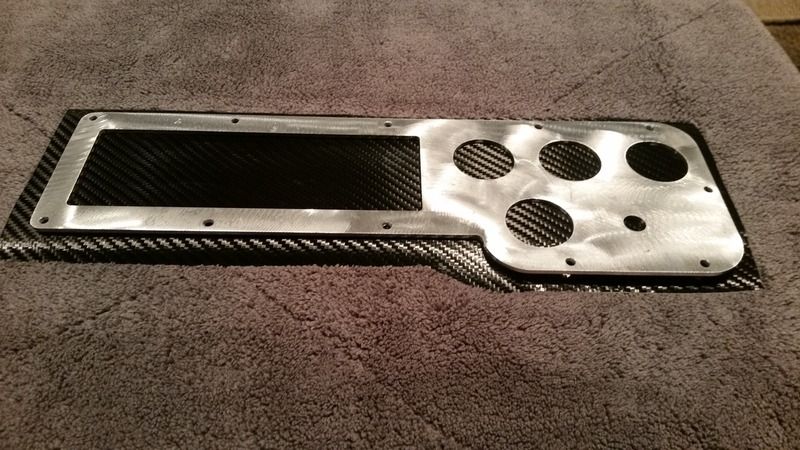
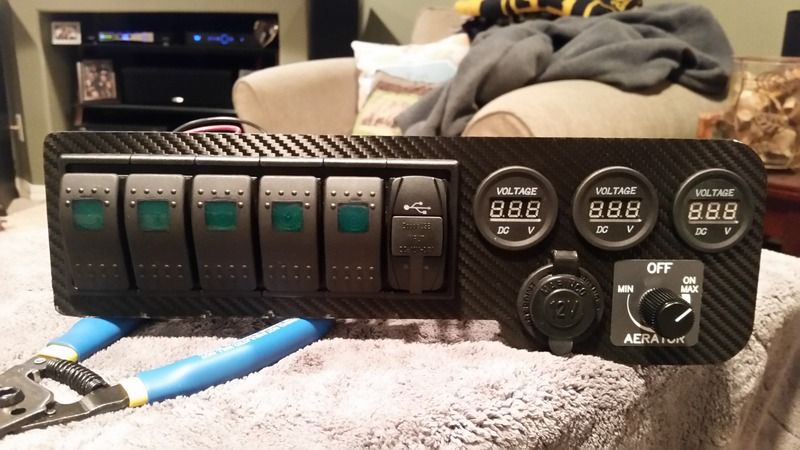
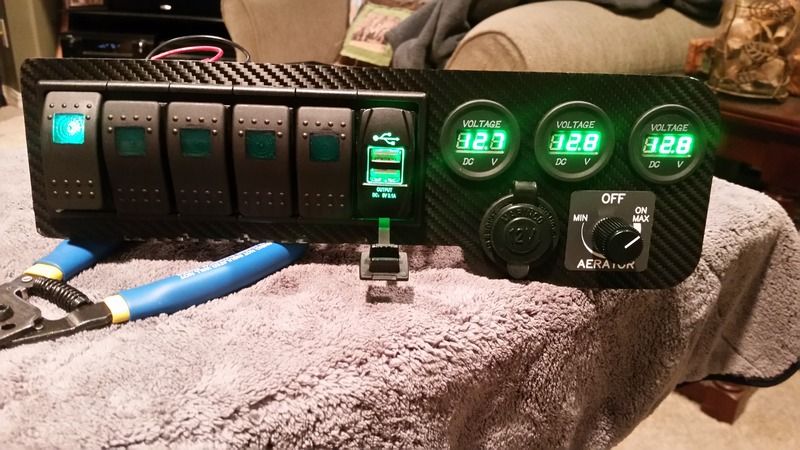
The very first thing that I made for this mod was the switch panel. It's an odd place to start, I know, but it was something that I could get done without ever taking the cover off off the boat :idea:

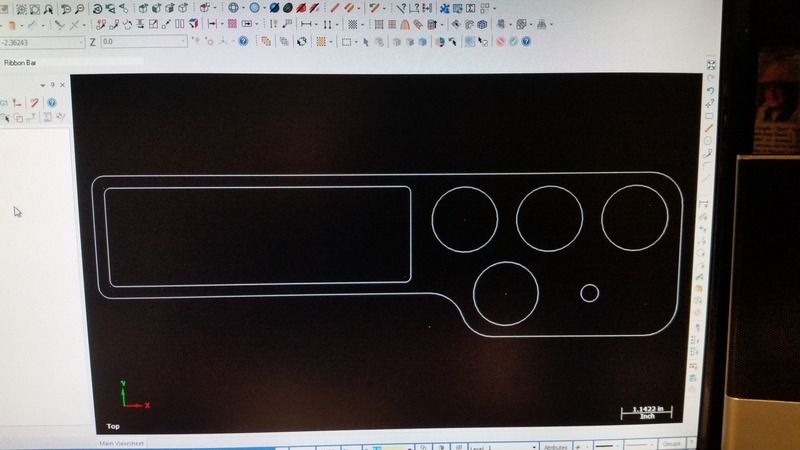
I'm a machinist by day, so it's really nice to have the resource to make your own custom parts.(at lunch time of course :) ) So I was able to draw it up, create the program and spit out a gauge panel :D I covered it with some leftover carbon fiber vinyl from another project
20160314_181350_zpslnzaw3a6.jpg


20160321_175440_zpspnudsh9c.jpg


20160322_202838_zpspjkztn18.jpg


20160322_200544_zpstbrprk4u.jpg
 
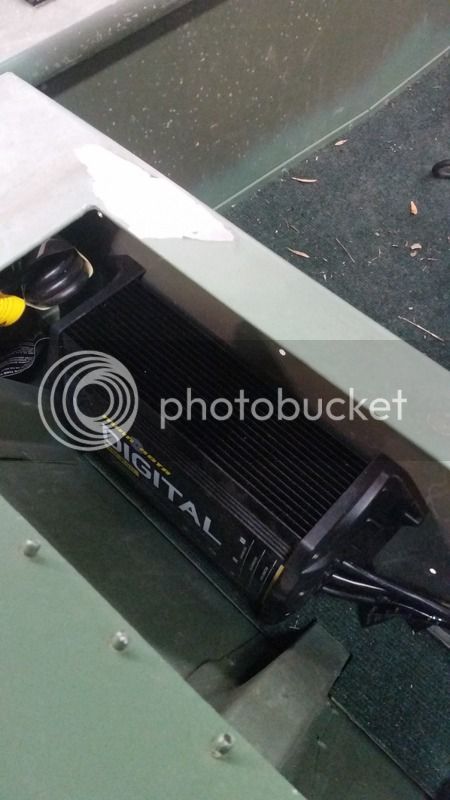
With the pre existing side storage, it made it super simple to have a place to mount an on board charger. I'll mount it on the starboard side to offset a little port side weight from the trolling motor.

20161113_155716_zpskjve2s3w.jpg
 
Winter blues here!! :evil: No heat in the garage, so she's just sitting there :cry: Hope to get back on track before I go crazy!
 
Man your build looks incredible, I am getting a lot of inspiration from this. That front cap with the trolling motor looks perfect, consider that idea stolen!
 
Darrin said:
The very first thing that I made for this mod was the switch panel. It's an odd place to start, I know, but it was something that I could get done without ever taking the cover off off the boat :idea:

I'm a machinist by day, so it's really nice to have the resource to make your own custom parts.(at lunch time of course :) ) So I was able to draw it up, create the program and spit out a gauge panel :D I covered it with some leftover carbon fiber vinyl from another project
20160314_181350_zpslnzaw3a6.jpg


20160321_175440_zpspnudsh9c.jpg


20160322_202838_zpspjkztn18.jpg


20160322_200544_zpstbrprk4u.jpg


Love the dash! Great job


Sent from my iPad using Tapatalk
 
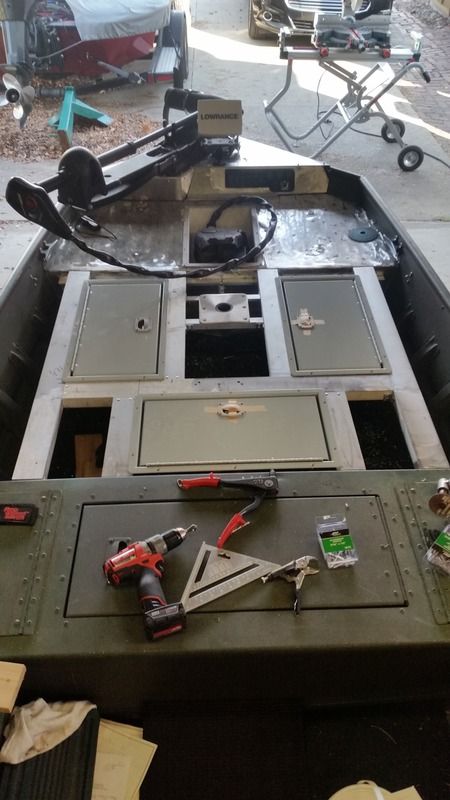
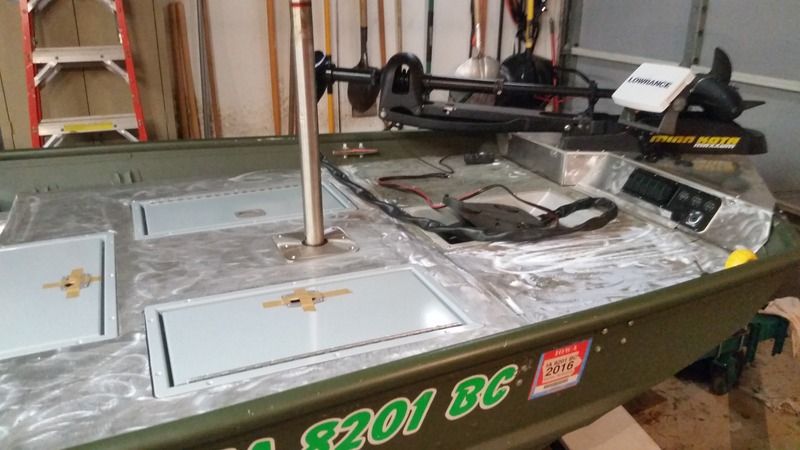
Well, what do you know...we had some crazy warm temps the last few days which allowed me to get a little work done 8)

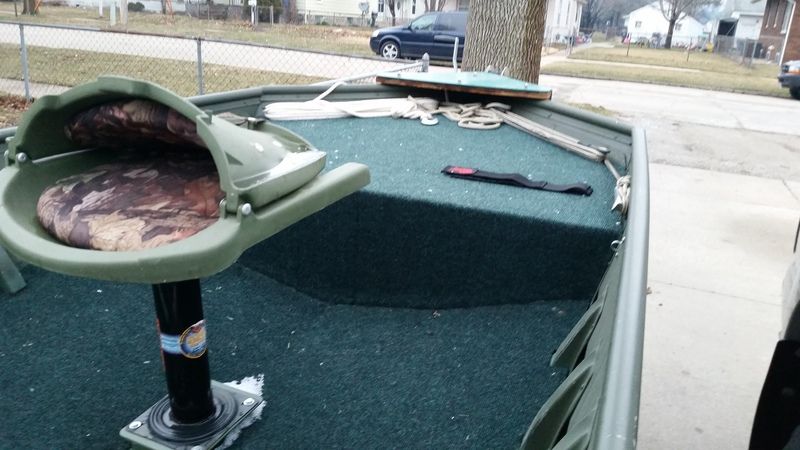
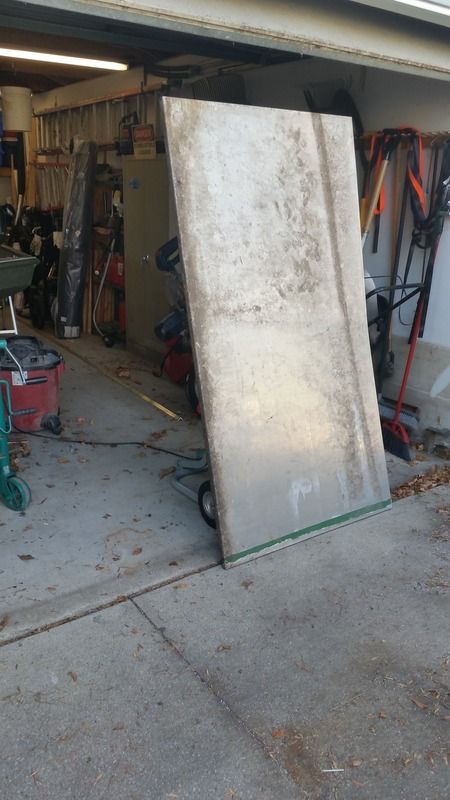
Deck floor...14g aluminum re-purposed from an old shower stall that was in the basement of the house I currently live in. I've held on to this aluminum for over twenty years :D

20161113_140816_zpskostufr2.jpg


20170218_122103_zpslvd41jke.jpg


20170220_183902_zps9hdxf4ra.jpg
 
It's been quite awhile since I've updated. I'm slowly gaining ground and can see the light at the end of the tunnel :D
These pics are in reverse order, but you get the idea :mrgreen:
 

Attachments

  • 20170401_153255.jpg
    20170401_153255.jpg
    47.3 KB
  • 20170331_173445.jpg
    20170331_173445.jpg
    60.4 KB
  • 20170401_161157.jpg
    20170401_161157.jpg
    56.5 KB
  • 20170402_153559.jpg
    20170402_153559.jpg
    55.7 KB
  • 20170409_204439.jpg
    20170409_204439.jpg
    41.6 KB
  • 20170409_183201.jpg
    20170409_183201.jpg
    47.5 KB
  • 20170415_144615.jpg
    20170415_144615.jpg
    36.7 KB
  • 20170422_123319.jpg
    20170422_123319.jpg
    35.8 KB
  • 20170424_094857.jpg
    20170424_094857.jpg
    52.3 KB
  • 20170424_165809.jpg
    20170424_165809.jpg
    53.4 KB
Top