Eddie Spaghetti's 1979 16.5’ Lund "Mr. Pike"

TinBoats.net

Help Support TinBoats.net:

This site may earn a commission from merchant affiliate links, including eBay, Amazon, and others.

Eddie Spaghetti

Well-known member
Joined
Oct 9, 2010
Messages
45
Reaction score
0
Well, a few years ago I stumbled onto TinBoats, and was amazed at the talented people that are out there! There are some folks on this site that possess some great talent for this stuff. I followed a couple of re-builds, and was very impressed. Well about a week ago, I was on line, and stumbled on to Pweisbrod’s 18’ Mr Pike re-build. It’s a 79, just like a little bigger than the boat I purchased in 2010. So, I’ve tried to pass on to him anything I could to help him complete his re-build. Also,I was a little inspired to document my Lund re-build. But first, I have to say, I’m a bit of a closet perfectionist. That is why it’s taken me so long. :lol: Here goes.

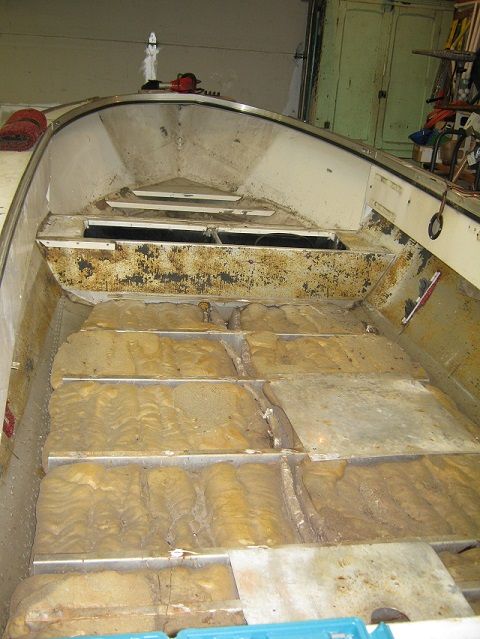
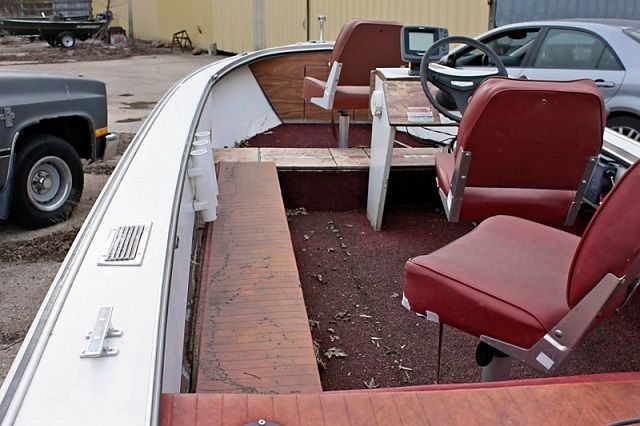
I’ve always loved Lund boats. I’m not sure why exactly, but since I was a kid, I’ve always wanted one. Maybe a sign of good advertising. Well, in 2010, I started searching for the right project boat. Unfortunately, there really is not a selection of good project Lund boats for sale here in Western PA. I spent a lot of time on the net – Craigslist MN specifically –just looking. As luck would have it, in May of 2010 I came across a decent candidate on Craigslist Pittsburgh. The “current” owner lives only ½ hour away. Funny thing was, a year earlier, I purchased a canoe from the same guy. I make the call, and go to look at it. It’s a 1979, 16.5’ Lund Mr. Pike. The guy that owned the boat bought it for the motor only. He was looking for a motor, and found this boat/motor/trailer on Craigslist MN. Roadtrip! So, he goes to MN and purchases the complete rig. Brings it back to Western PA, pulls the motor, and puts the rest up for sale. Well, after some back and forth, I take the plunge. I think the wife got tired of me talking about it. LOL. I buy the boat and trailer. Here are a couple shots from where the boat sat in MN. This will give you an idea of the shape the boat was in.
Aspurchased02_zpse525f55f.jpg

Aspurchased01_zps5feba2ae.jpg


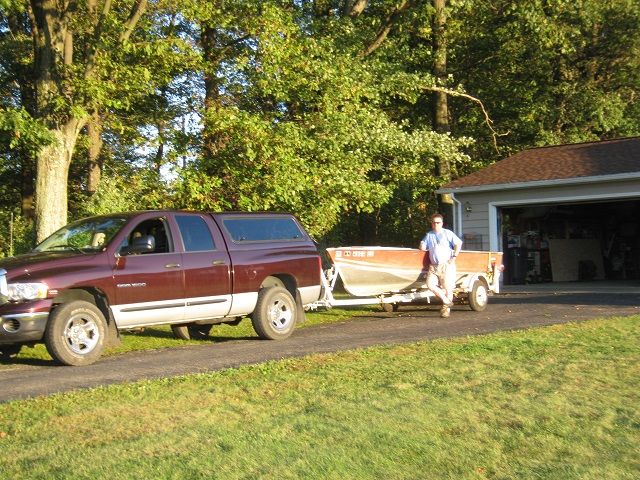
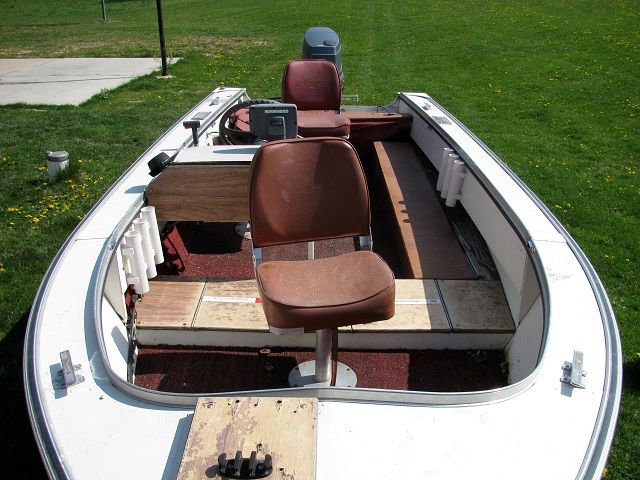
One more shot from when he brought it home.
Aspurchased03_zps19e2706f.jpg


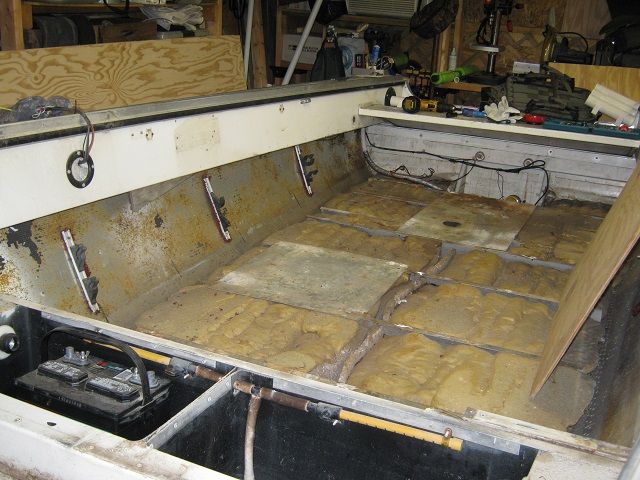
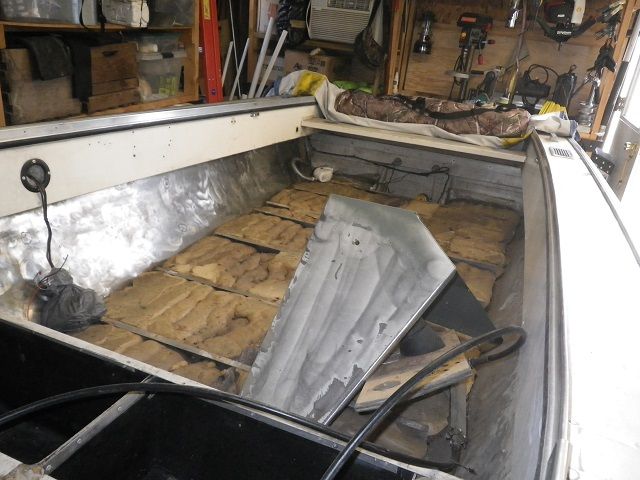
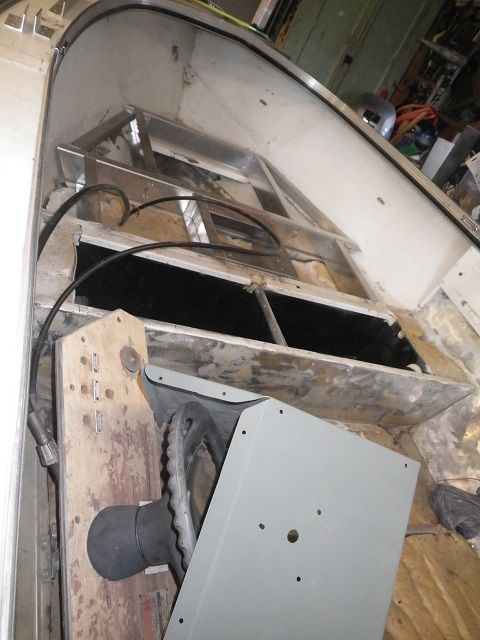
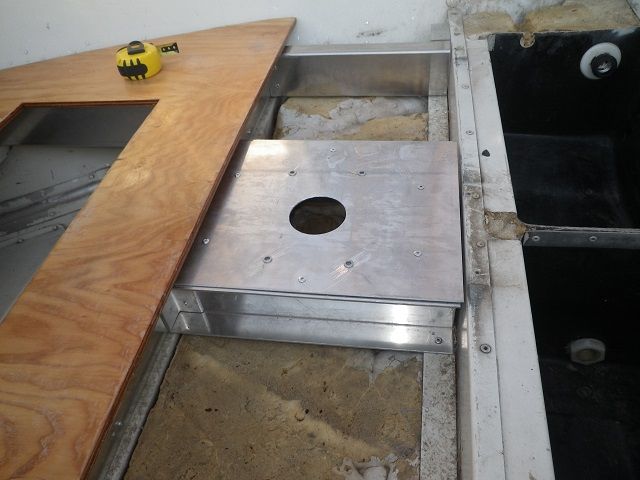
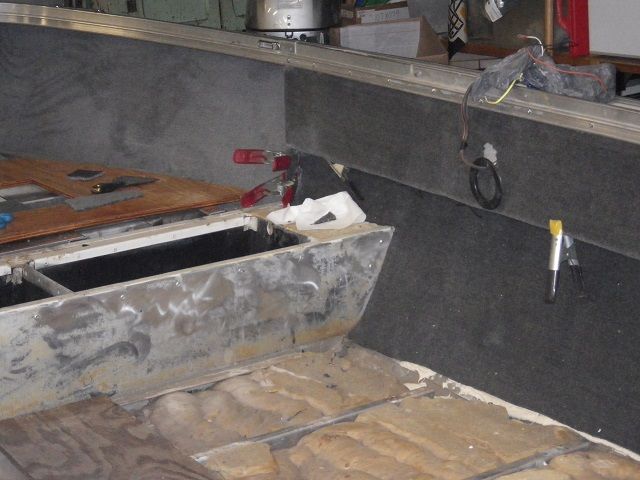
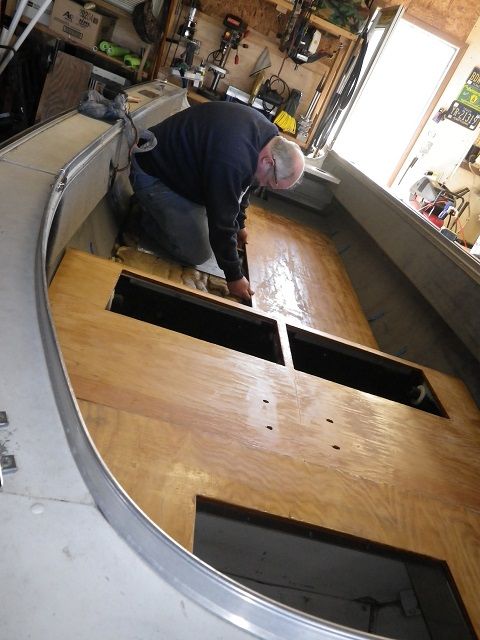
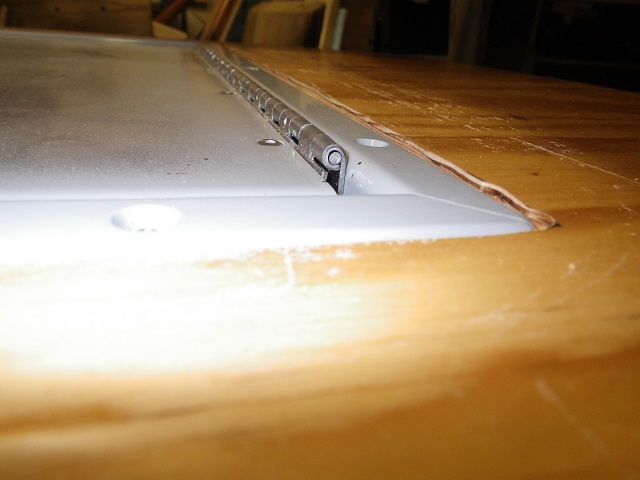
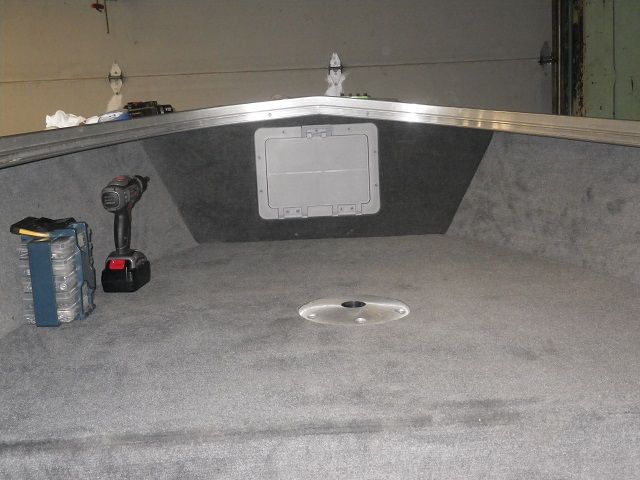
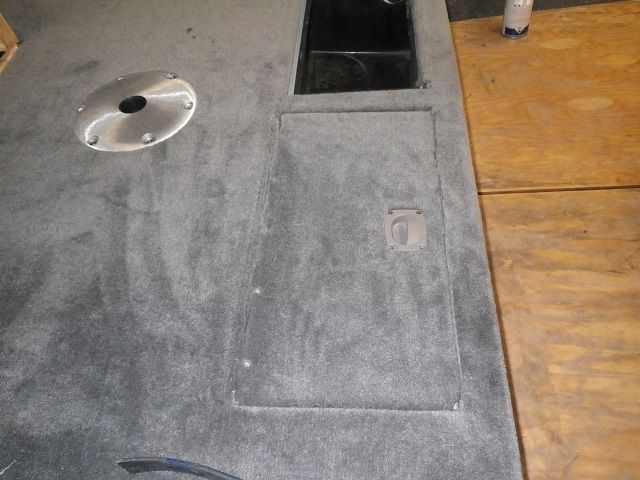
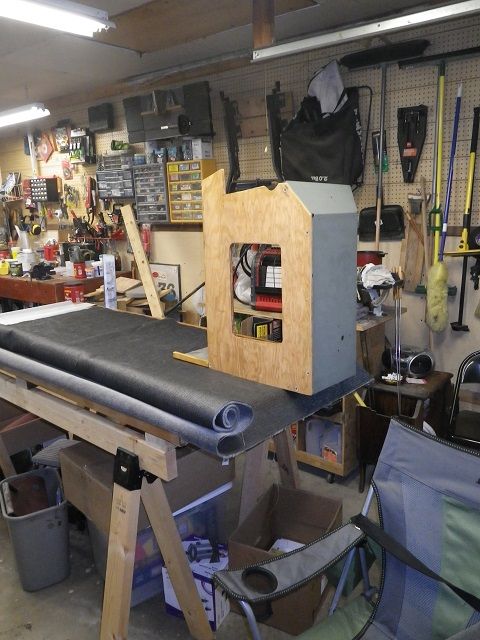
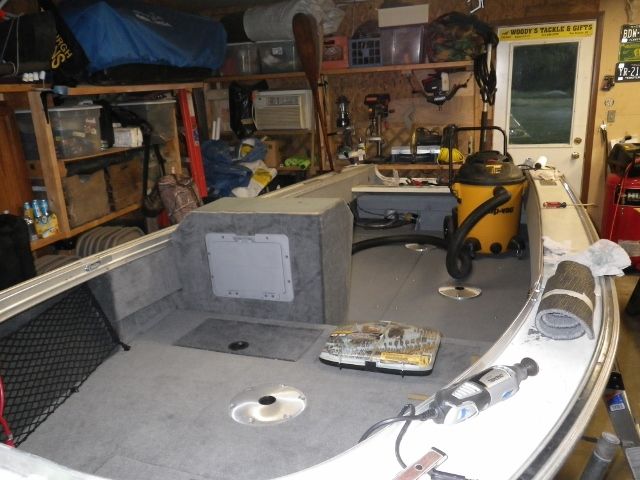
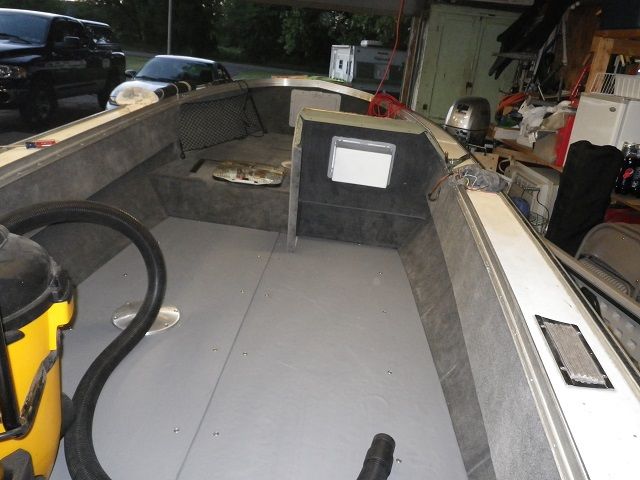
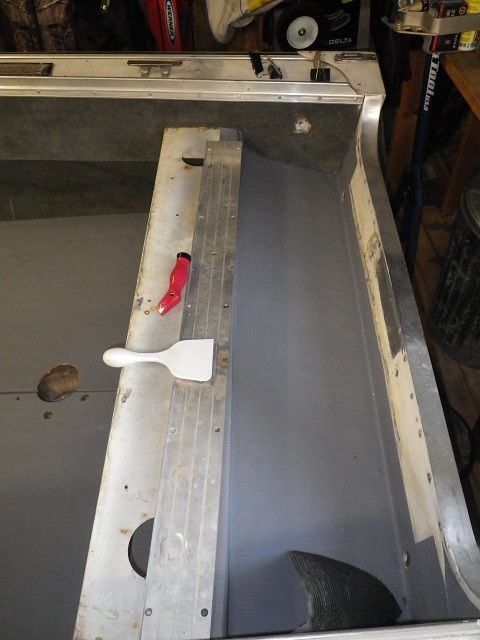
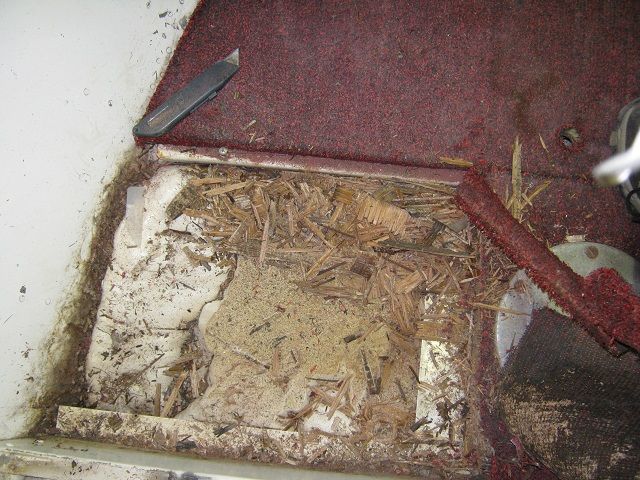
At first we thought just a portion of the floor needed replaced, but once we started digging into it, I decided to replace the whole floor. The fella I bought the boat from was more than gracious in letting me use his garage, tools, and adult beverages.
Aspurchased06_zpsadfbc19b.jpg


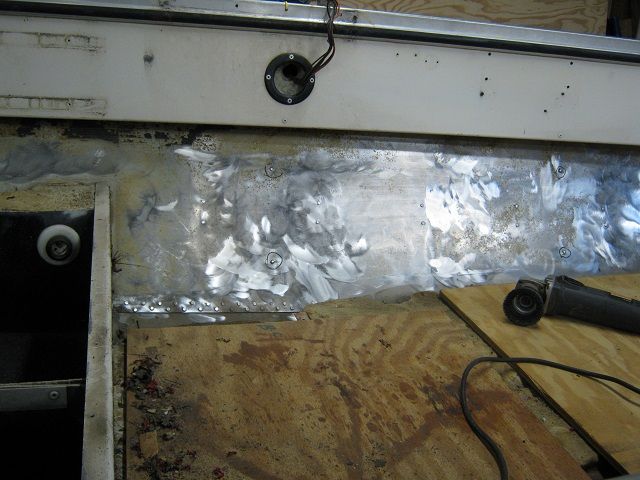
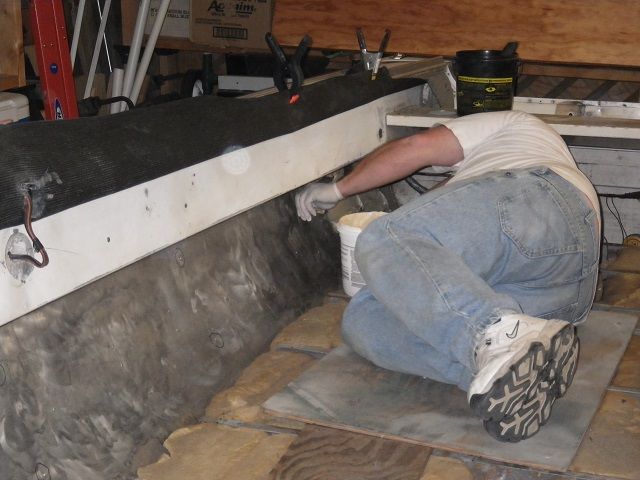
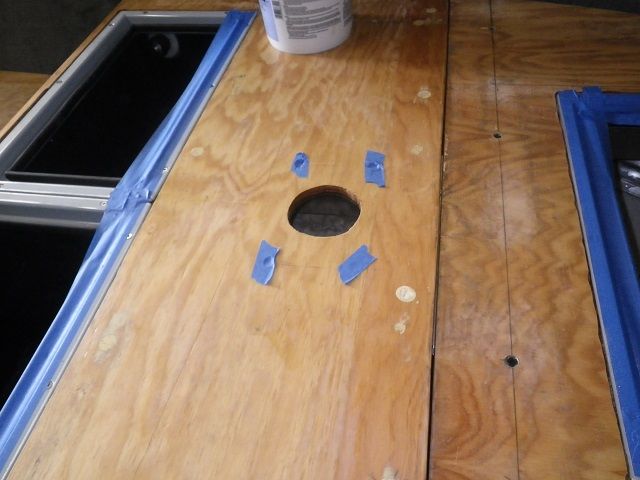
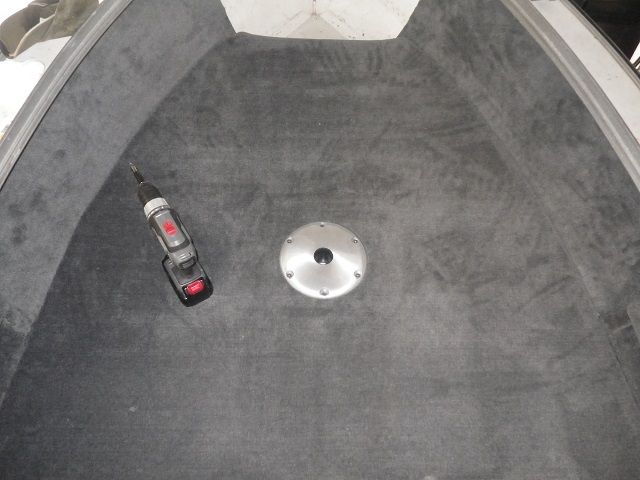
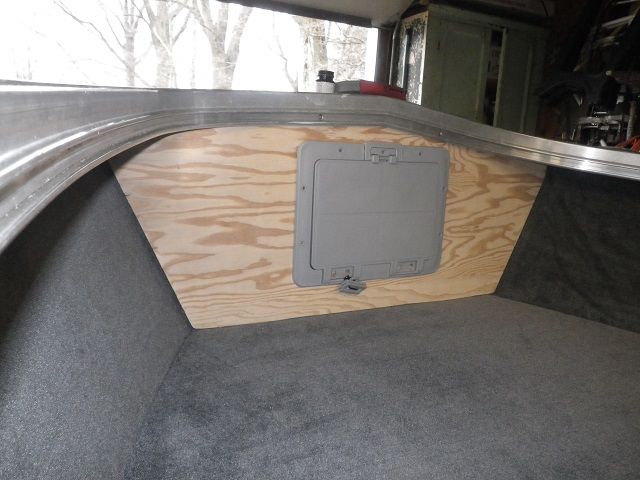
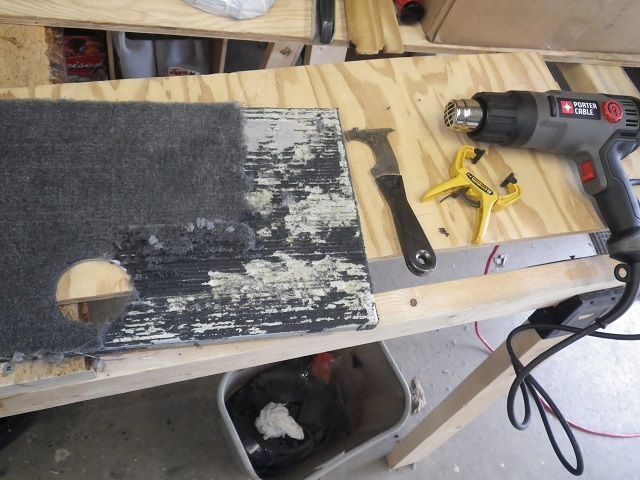
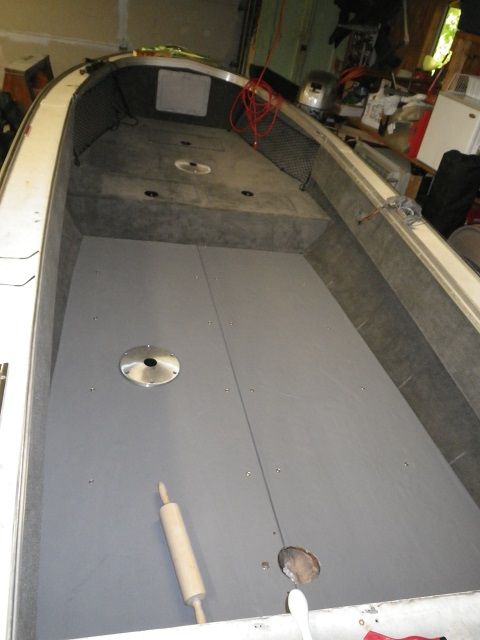
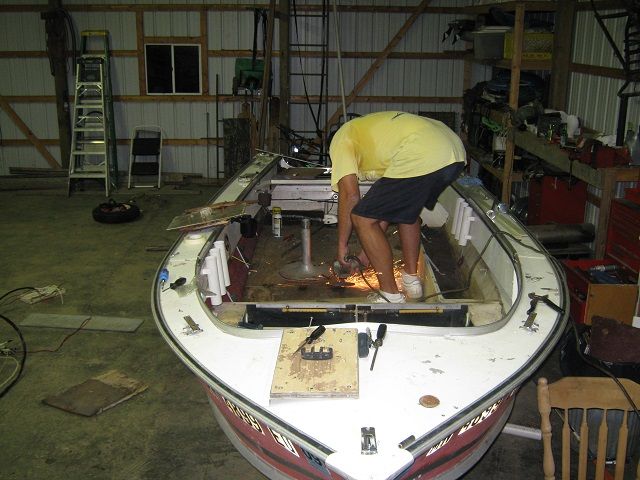
We got things started.
Aspurchased07_zps61e10289.jpg


More in a moment.
 
Here I am the day I brought her home.
Aspurchased08_zpscd4be4ba.jpg


The floor and console have been removed.
Aspurchased10_zpsfb8ed601.jpg

Aspurchased09_zpsc0381924.jpg


Getting her back down to bare metal.
Aspurchased11_zpsa607e6eb.jpg

Cleanedout02_zpsc367b4a3.jpg


Now, it was about this point, I got a little side tracked. I wanted to raise the front casting deck up to the same height as the livewell. I couldn't find the material I was looking for, so I had some made up at a local fab shop. About $40, and several rivets later, this is what I came up with.
Cleanedout01_zps7ee4715f.jpg


I got the floor rough cut, and I sealed the marine grade plywood with Boaters Choice fiberglass resin. What a treat. I should have figured out the correct recipe of this stuff prior to digging in. I had a couple sections that never really dried between coats one and two. Two things. First, follow the directions! Second, this is something best done outside. Dude this stuff is wild. :mrgreen: Lastly, it's best not to try and apply this resin on a hot humid day. But, I got it done. Things kind of went on hold for a while, as life got in the way.
 
I forgot to mention above, when I pulled the old rod holders off of the inside of the boat, it left 2/3's of the rivet - the outside head, and most of the barrell. Prior to installing the carpet, a buddy and I "flattened" them back to close the holes back up. They should be above the waterline, so I don't anticipate any issues. At this point, you'd think I'd move on and get the carpet laid. Well, I was hung up on the best way to mount the seat bases. I mean, they have only been using screws forever. Right? Well, at some point I had the bright idea to use rivnuts.

My rivnut "tool".
Rivnut01_zpsd3f7f0de.jpg


Installation into one of the plates.
Rivnut02_zps1e33b3e5.jpg


The finished plate mounted up on the casting deck.
CastDeck01_zps59111589.jpg


The rivnuts are probably overkill. It also required a little more planning than I gave it. When "dry fitting" the seat bases, I had to enlarge several holes in the floor to find the nuts. But, the plates for four seat bases were installed, and it was time to start the carpet. I'm putting carpet on the upper casting deck and running it up the sides of the boat. I'll install deko dots on the main floor, and splashwell. Here's my buddy slopping on the Henry's carpet glue.
Carpet01_zps229ee1db.jpg

We got a lot of work done that first night.
Carpet02_zps7aa3ab65.jpg

And we were dry fitting the floor sections on Sunday.
Floor01_zpse2974ecf.jpg
 
I had a Cabelas gift card, and turned that into a couple of their large aluminum hatches. There will be three up on the front casting deck, so I had to rout out the profile.
Floor04_zps88a8f677.jpg

Here, I'm ready to slop on a little glue to lay the carpet.
Floor05_zps9efd1c02.jpg


The casting deck carpet was laid, and I let things sit overnight. Then, the first seat base was installed.
Floor08_zpsc405d8a8.jpg


Next I made a bulkhead for the front of the casting deck. I purchased a couple hatch covers from Tempress, and thought it turned out pretty nice.
CastDeck03_zpsc67e83c0.jpg


CastDeck04_zps395940a9.jpg


I installed one of the hatches next.
Floor09_zps77547d97.jpg

But I hated the look, so I pulled out the heat gun.
HeatGun_zps3e1226e0.jpg


Luckily, I'd left enough carpet to cover the hinge. I thought it turned out ok. I think you can see them here.
Floor12_zpsb8f03f15.jpg
 
Wow, that looks great! Way to go Eddie. Thanks for posting up, you are encouraging me to do a decent job instead of a crappy one! :D
 
Pweisbrod said:
Wow, that looks great! Way to go Eddie. Thanks for posting up, you are encouraging me to do a decent job instead of a crappy one! :D


Ah, don't worry about what others think. It's your boat, do what you want. I'm just trying to give you a little inspiration. You'll notice in that last pic I posted, all the hatched were installed, and circular pulls replaced the rectangular pulls supplied by the mfg. These all lock now. I plugged my live wells, and will use them all for storage. If I'm going to keep any fish, I'll just lug a cooler along. You'll also notice in that last pic, I face screwed the main flooring. SS screws and a finish washer. There was no way screw the decking down, and then install the decko dots (like you can with the carpet).

Ok, so the next part of the project was the console. Unlike the original look, I wanted to enclose the front, and add a little storage. Installing the wood panel.
Con01_zpsfc0bbe0f.jpg

The "almost finished" view from the front.
boatre-hab059640x480_zpsebfcee3b.jpg

And from the back. I don't think the insert will be in the way while at the helm.
Con03_zps25868383.jpg


Again, I purchased from Tempress (I believe) these plastic hatches and inserts. They should be nice for tackle storage or whatever.
 
I could have painted the splashwell, but decided to go with the decko dots. I'm not sure it'll last, but it's installed.
splash01_zpsdace3174.jpg

Here it is with the motor bracket and reinforcement installed.
splash02_zps6eeda925.jpg


Now, I had to go to work on the "mechanical" end of the boat. I painted the area under the splashwell with a couple coats of Rustoleum. I installed brackets to hold two batteries, and a couple 6 gal poly fuel tanks. I decided that a couple small tanks were better than a large tank due to Ethanol, water, and whatever else finds it's way into the gas. I also added an inline gas filter.
Mech01_zpsda017974.jpg


I rerouted all the lines to come up thru the back of the boat. Here is a shot of the finished splashwell with the gas line routed thru the splashwell.
splash03_zps5eeff072.jpg


I also had to manufacture some covering for the "seating" area above the splashwell, and to close off the battery/gas tank area. I purchased the material from Gary's Upholstery. I made the seat covering, and had the cover for the gas tanks/battery area made. I put the two together, and this is what I came up with.
splash04_zps3d35ff6c.jpg


The cover snaps into a bracket mounted on the floor. Just like the original.

I think you are pretty up to date. Hopefully, this will help you along when you get to those days when you are thinking "why did I get myself into this?" I still have to manufacture a dashboard, re-run the wiring, and hang the 20 horse Honda. I should be able to get on this in the next week or two (LOL). I want to be fishing in another month or so.
 
PS - Eddie, is that flooring vinyl rough enough that you would really scrape your knees up if you went down on it? I might be interested in putting something like that down on my boat floor. It looks nice.


Did you do your floor in three pieces?
 
Pweisbrod said:
That looks awesome, and you need a bigger motor! :mrgreen:

=D> =D> =D>

We have several 20HP or less lakes here in PA. Once I get a little time under my belt, I may look for something bigger (as a second motor). There are a couple lakes close by that a bigger motor would be nice. I doubt I'd try to conquer Lake Erie, but maybe on one of those real nice days, who knows?
 
Pweisbrod said:
PS - Eddie, is that flooring vinyl rough enough that you would really scrape your knees up if you went down on it? I might be interested in putting something like that down on my boat floor. It looks nice.


Did you do your floor in three pieces?


I'd just say that it might be uncomfortable. In a hunting situation, I don't think you'd notice anything. In the summer, lipping a bass, you might end up with imprints in your knees. :LOL2: I think the Decko Dots are no longer made. Lookinf at Gary's site they have something different. https://www.garysupholstery.com/ntomarfloor.html It might not be as bad as the dots? You can get samples from Gary. BTW, I'm not affiliated with Gary's Upholstery in any way. I found them on the net, and am a very satisfied customer. =D>


I did lay out the floor in three pieces. I really wanted to hide the back seam, but it just didn't work out. The spacing between the ribs in the back of the boat was kind of screwy. This is what I have- approximately. The part under the splashwell is about 22" back to front. The two longer panels are @ 7' long. So, you're probably looking at two full 8' sheets, and maybe something @30". That's my guess anyway. I mounted the sheet in the back first. Got it in the way I wanted. Then, I worked out from there. I did try to make any adjustments on the straight side. I think the bevel on the outside was 30 degrees. I have a battery operated saw with an 8" blade that made the cutting on the outside easy.
 
Here's a quick update, and a few pictures. Other than hanging the motor, the boat is basically done for now. I'd like to paint it, but that can wait. I worked on the trailer over the weekend, replaced some lights, and got everything working. All the paperwork is in the mail, and hopefully PENDOT will approve it, and send me a title. I need the plate!

Ok, so here is a couple shots of my new starboard dash:
boat012_zpsfc7027db.jpg


boat007_zps71dceed1.jpg


Custom light storage under the con:
boat008_zps2de8adf4.jpg
 
Top