bguy
Well-known member
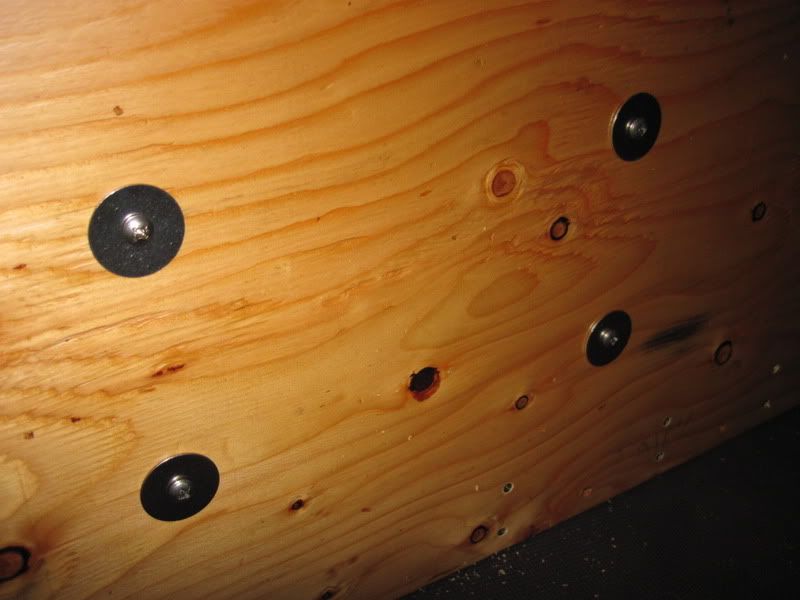
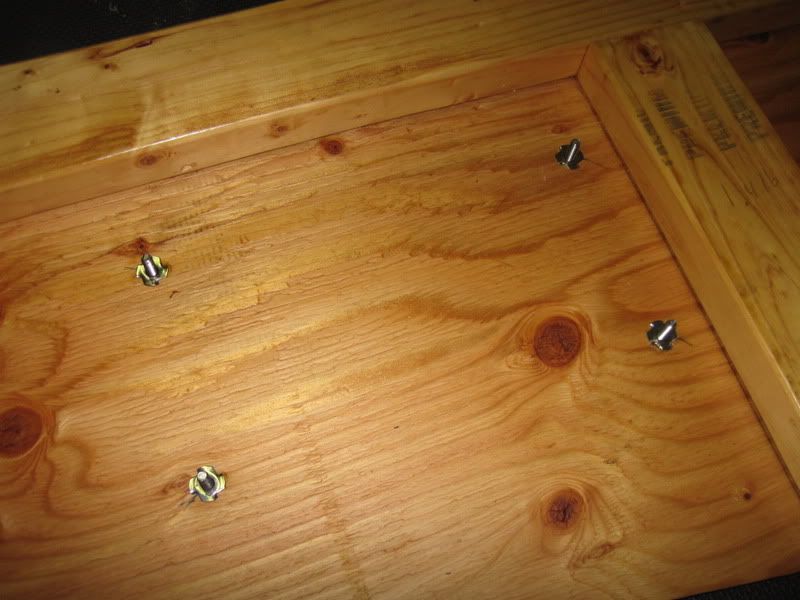
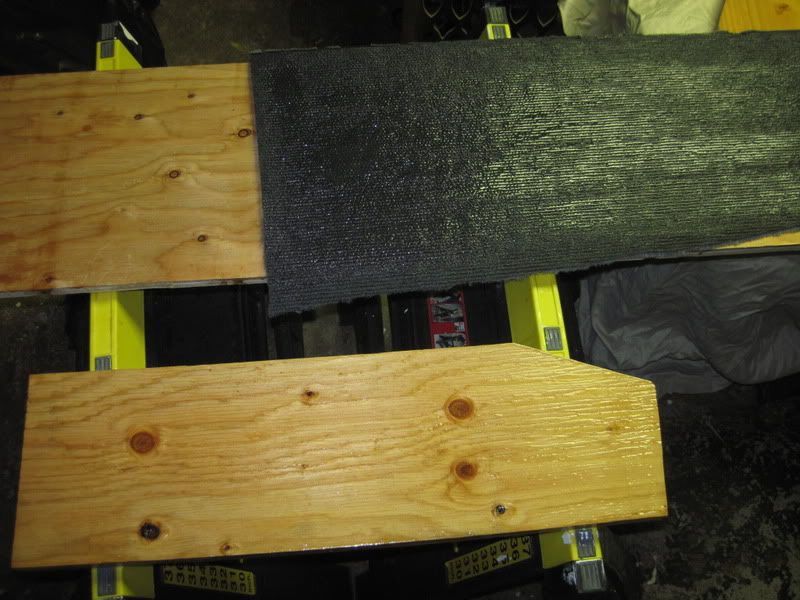
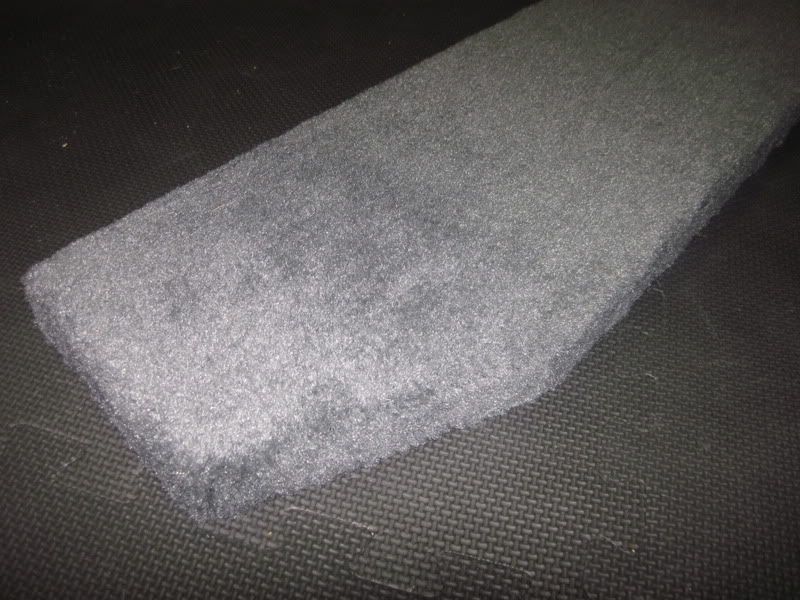
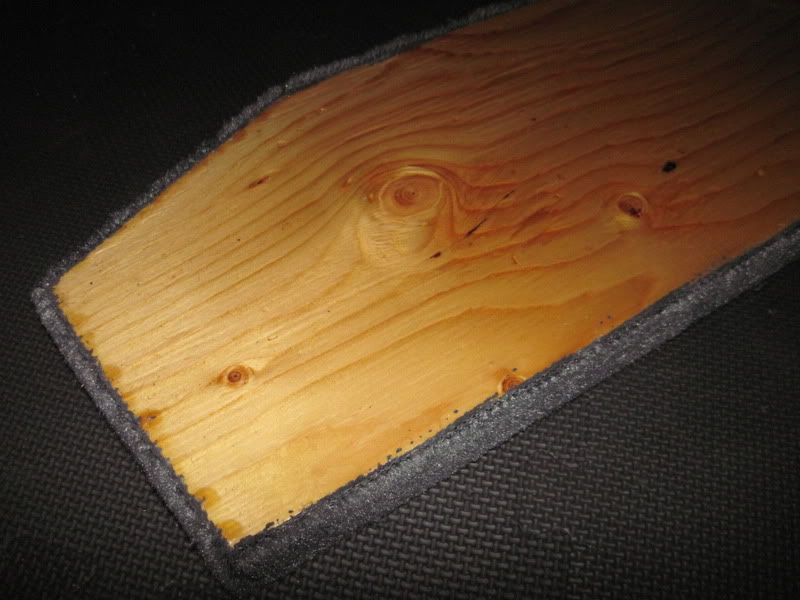
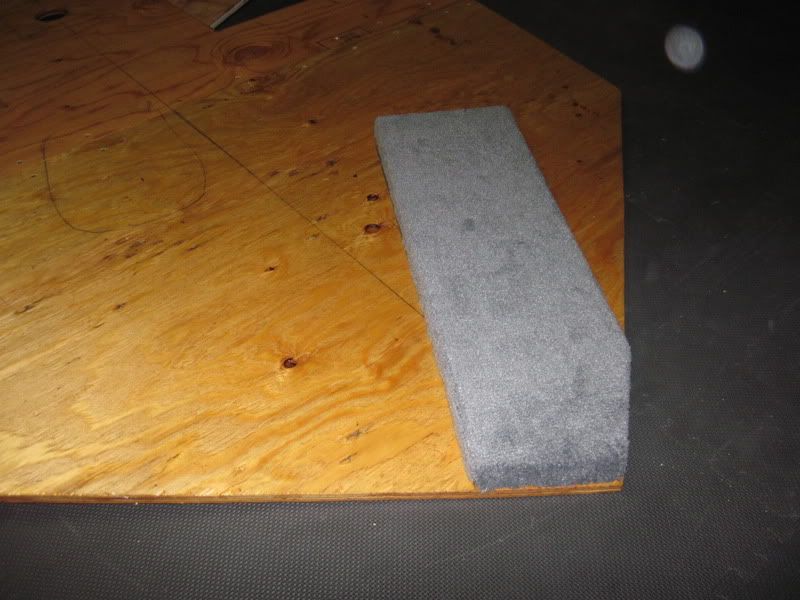
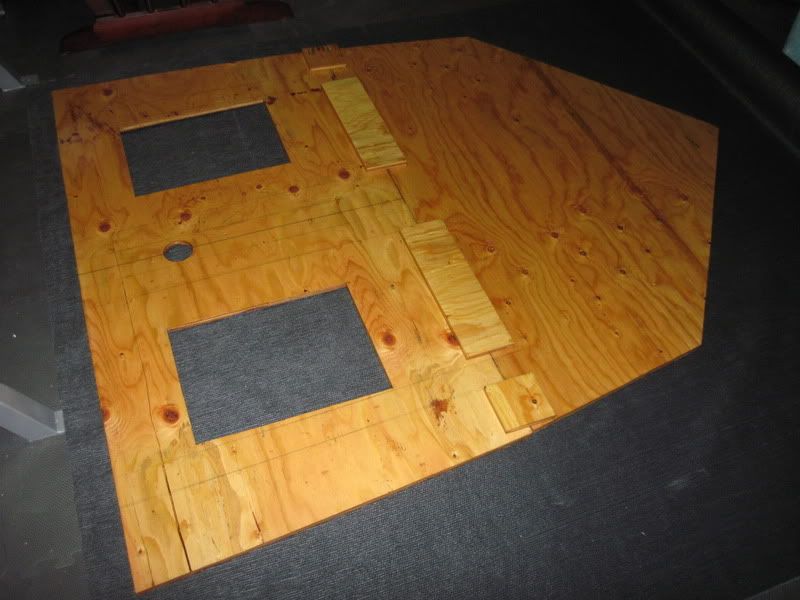
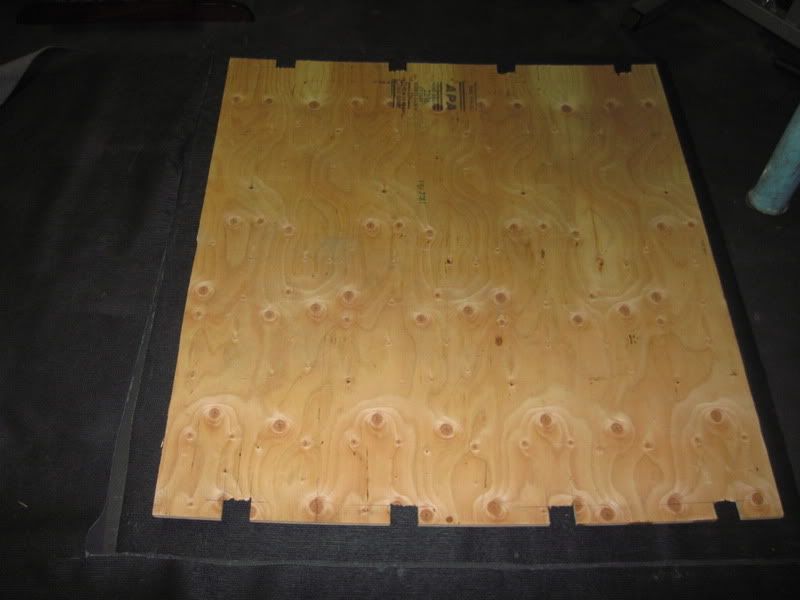
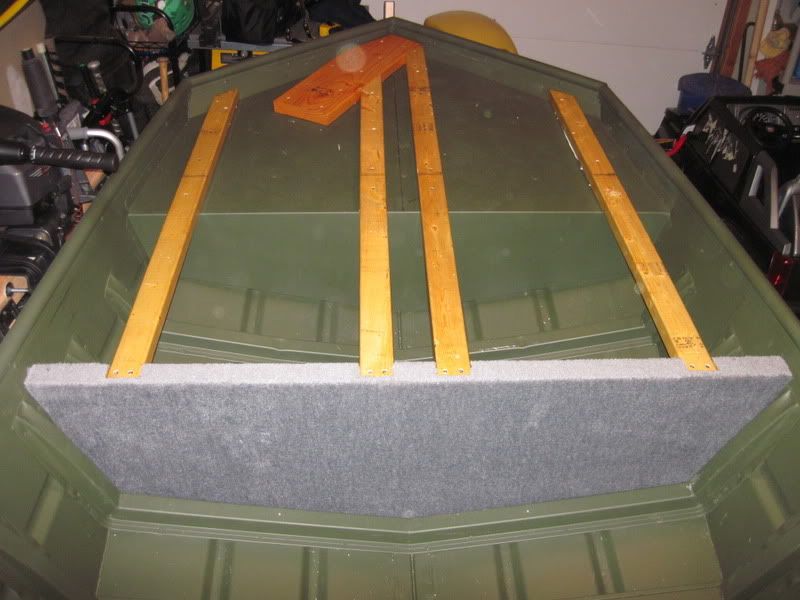
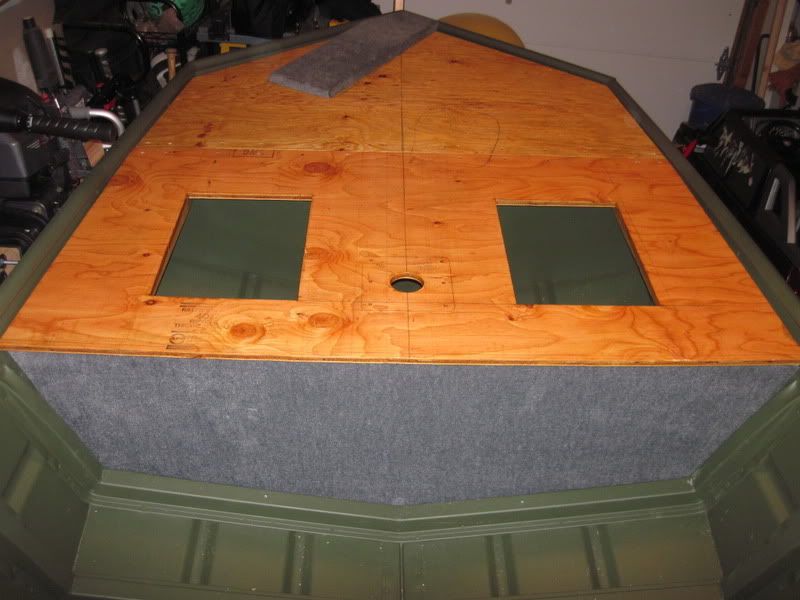
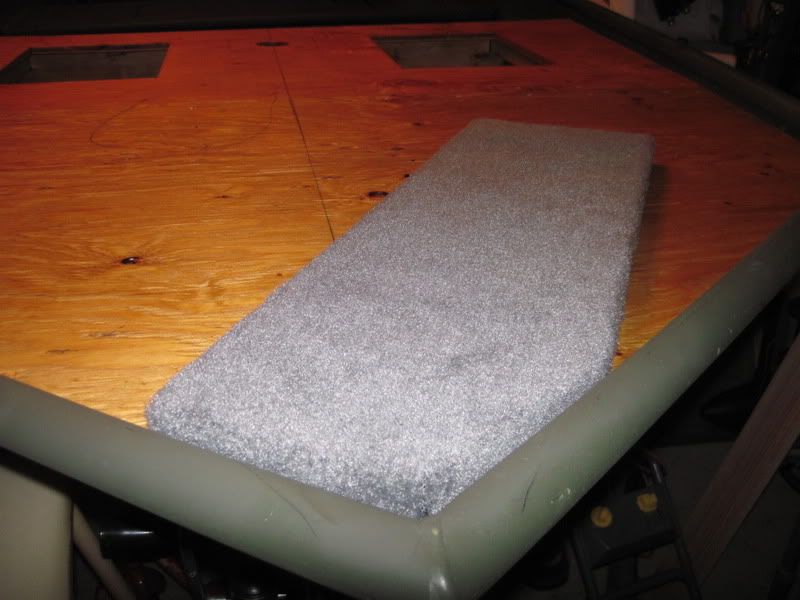
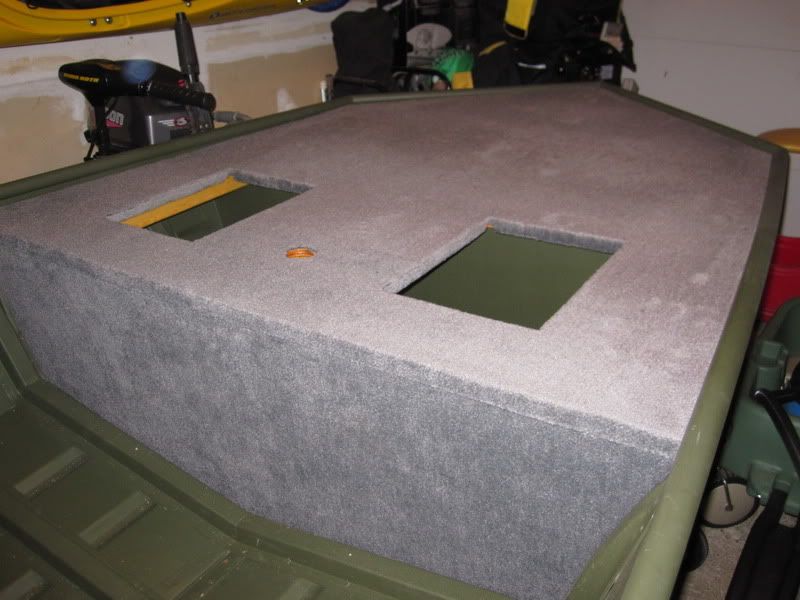
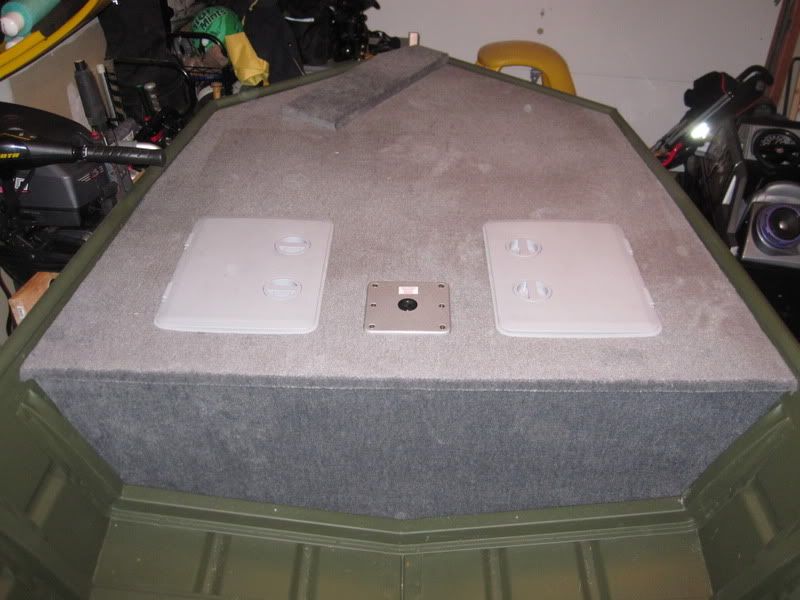
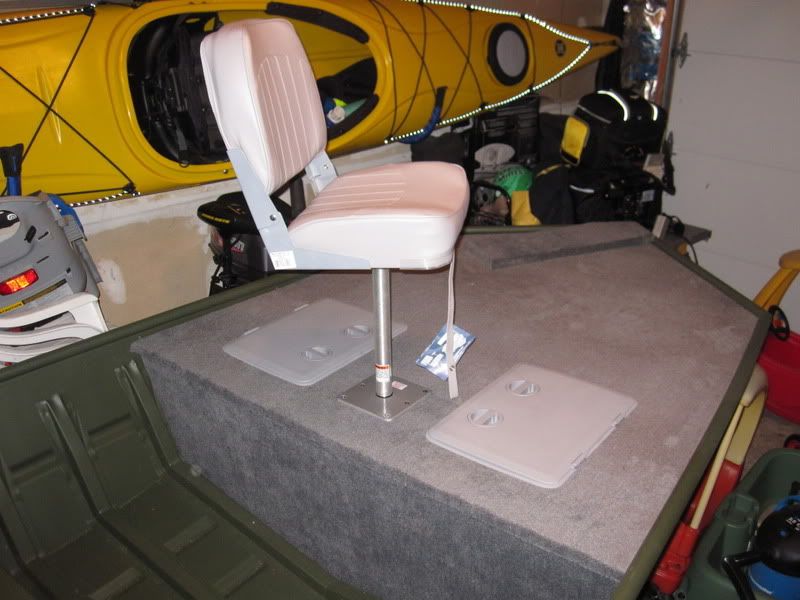
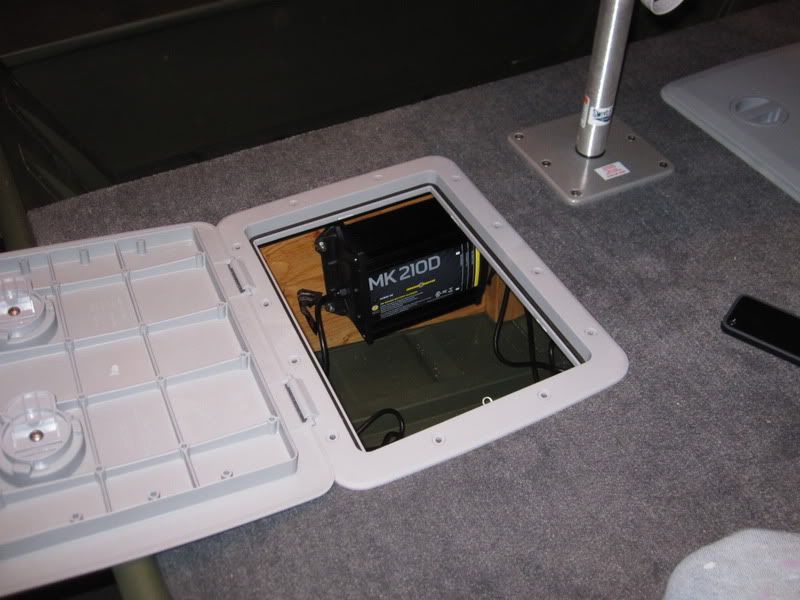
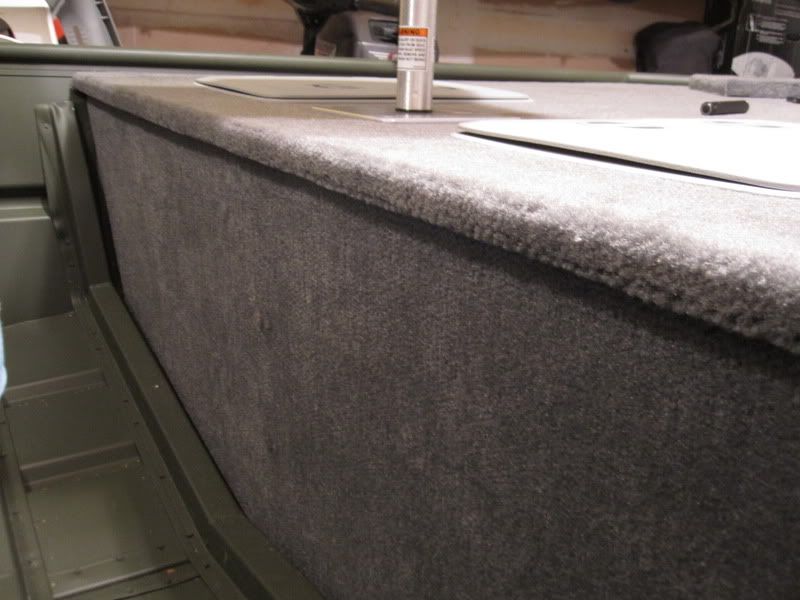
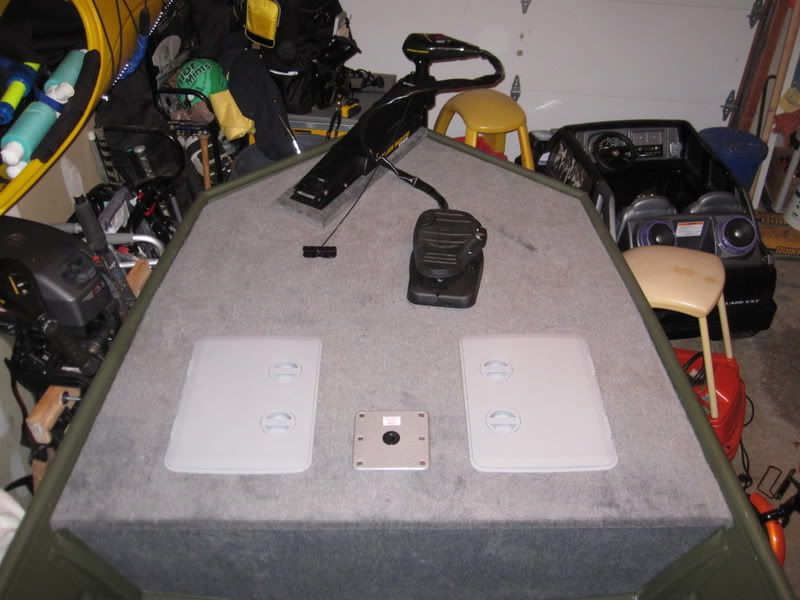
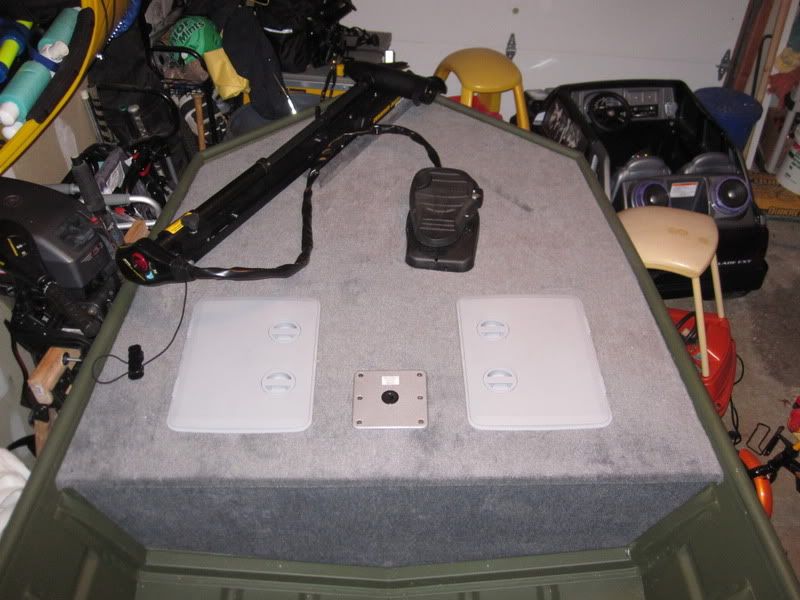
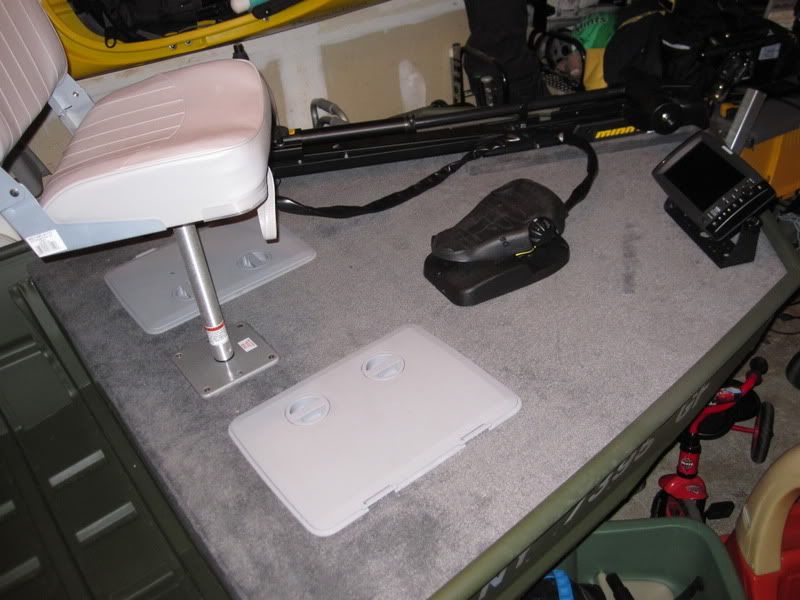
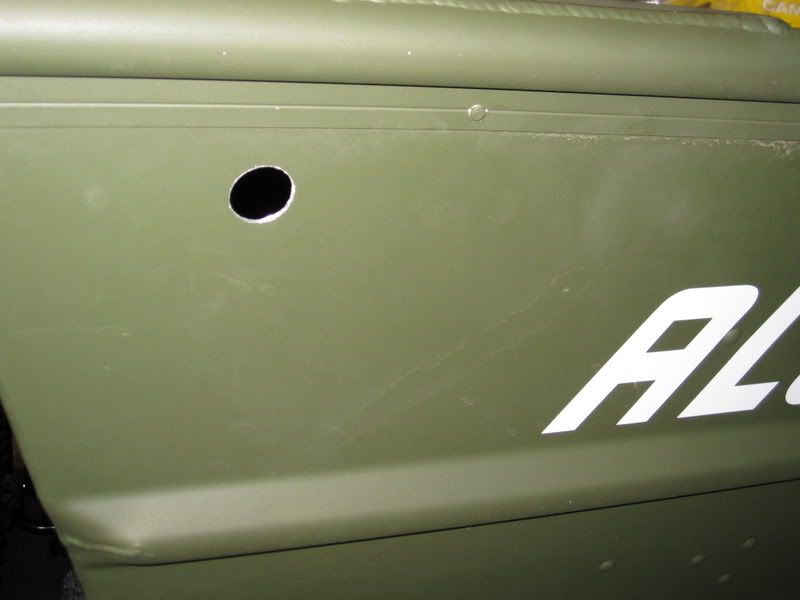
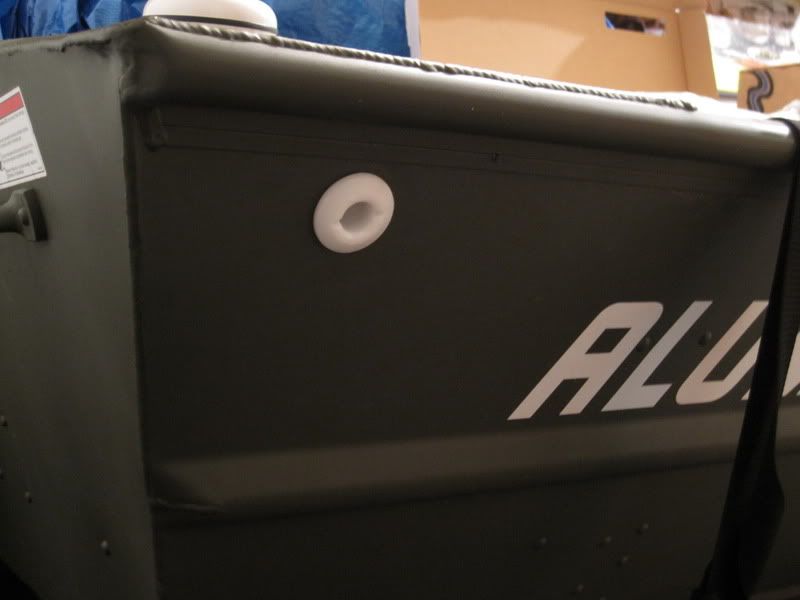
i would be glad to have you stop by. im trying to work on it a little at a time. i was just checking out your 2 doors and seat mount just the other day. what thickness did you use for your deck? here is what im working on. red is 2x2 , yellow is 2x4. black is seat location.