Landau 1470 Rebuild: Aluminum Frame Casting Deck & Floor

TinBoats.net

Help Support TinBoats.net:

This site may earn a commission from merchant affiliate links, including eBay, Amazon, and others.
onthewater102 said:
Such beautiful craftsmanship - can't wait to see the end result.

Johnny said:
I agree with OTW - very nice craftsmanship !!!

are you going to treat the plywood in any way ?
or just lay the carpet on raw wood.

Thanks guys. I like to make sure I get things as right as possible the first time.

I'm planning to use Kilz primer/sealer on the plywood after I get all holes drilled in it before applying carpet.
 
if you use oil base KILZ - dilute the first coat way down
for adequate penetration of the wood.......
this stuff dries really fast and will seal the surface but down deep where it counts.
my experienced rule of thumb is first coat - 50/50 primer/mineral spirits and the
second coat 25% then forward to a sealing paint of your choice.
I would not just use Kilz alone. then proceed to the covering such
as vinyl or carpet. Kilz must be top coated for maximum performance.

you have put way way too much of your time and effort into this beautiful project
to cut corners now - where it matters the most........ time consuming, I know.
But like Dale says: do it right - do it once.

jus my Dos Centavos


.
 
Johnny thanks for the tip. What is the reason you wouldn't recommend using Kilz alone? Glue adhesion, durability, sealing,...? Is there something better that would do what I need in a single application?

The original floor was over 10 years old (all of it stored outside, a large portion uncovered) and had made it this far with no treatment, so I was thinking just the primer sealer would be a huge improvement.

I appreciate the help, I have only minor experience with wood staining and sealing with none of it for marine usage.
 
It has taken me over 50 years to learn all these tips and tricks
through my own trial and error or watching other tradesmen
work their magic..... shortcuts can come back to bite you later.

yes, bare plywood or one coat of primed plywood will last a very long time
IF kept in a garage all its life . . . outside covered traps moisture and will
slowly degrade any wood you may have. (over time).
I use quite a bit of Kilz for different projects so I have become very familiar
with the product...... it dries fast and does not really seep into the wood fibers
on plywood. On tight grained lumber, such as pine, spruce or douglas fir,
the surface primer is all that is needed for a good weather-proof finish.

woodworking is my forte' - preservation and finishing is my passion.
all I can do is share the information with you. It is totally
up to you as how to proceed in your project.

again - awesome craftsmanship !!! job well done.


This is a 4'x6' sandblasted wood sign made of Florida Cypress I made 20 years ago.
it was properly primed with oil base primer with the 50%, 25% and 10% formula.
It has been cleaned and repainted a few times over the years but it is still sound
with no rot. The secret to a successful exterior project is equal coats of coatings
on all edges, front and back.

HDU sign-10.jpg
HDU sign-09.jpg


.
 
Johnny said:
woodworking is my forte' - preservation and finishing is my passion.
all I can do is share the information with you. It is totally
up to you as how to proceed in your project.
I'm not one to ignore sage advice, it's how I've gained a lot of my knowledge, so I'll definitely try out your application method.

What topcoat would you recommend?
 
stay within the same family types.: oil primer with oil topcoat paints.
exception: if you do the 50%/25%/10% primer formula, (or even 25% then 10%)
I would be comfortable with a few coats of exterior grade latex paint AFTER
the primer has fully dried and cured within the wood.
In my sign shop, it often took more than a week just to prepare
one plywood sign panel for outside use.
since you are going to carpet it anyway, color is not an issue.
go visit a Sherwin Williams, Benjamin Moore or similar paint store
and try to snag a gallon of mis-matched exterior grade paint.

while you are working on your project, get a 2'x2' piece of plywood and
try the diluted primer formula and see how you like it before going whole hog on it.


Read, Understand and Follow the instructions on the label of the products you use.

looking forward to see the rest of your journey !!


.
 
Some progress from over the weekend.

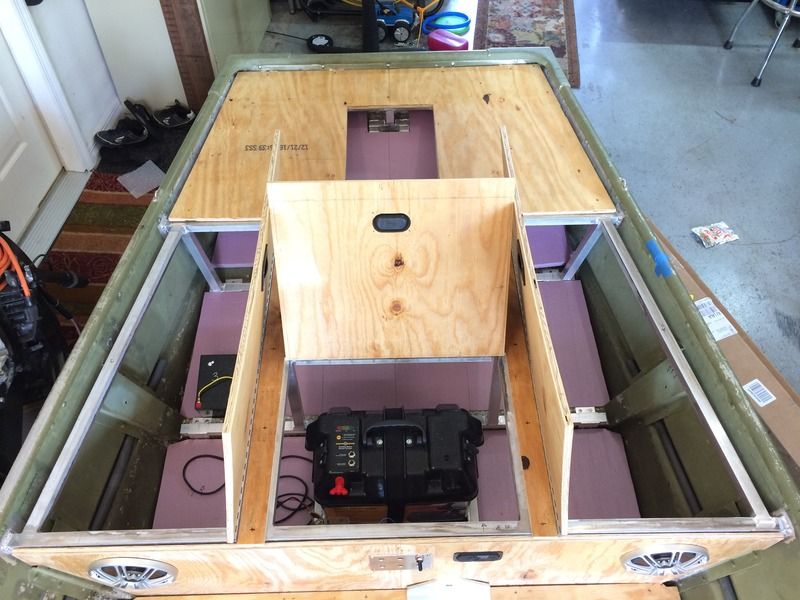
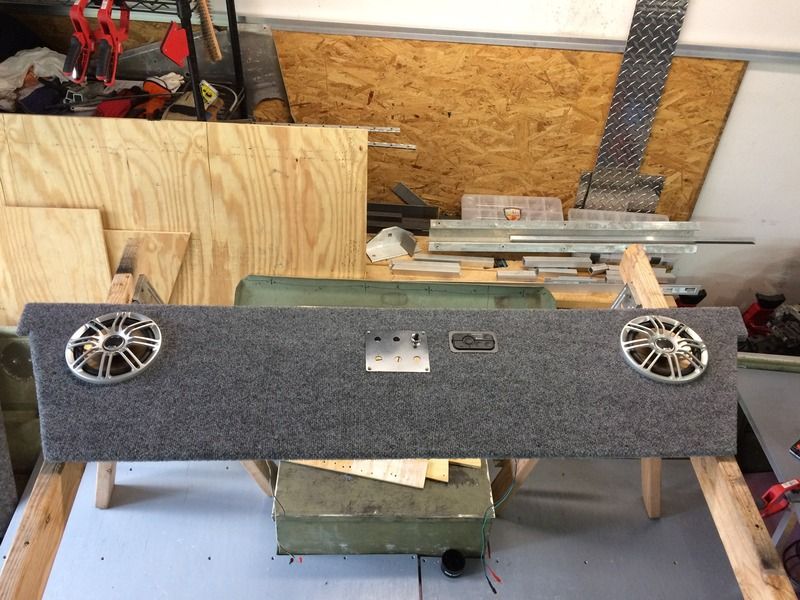
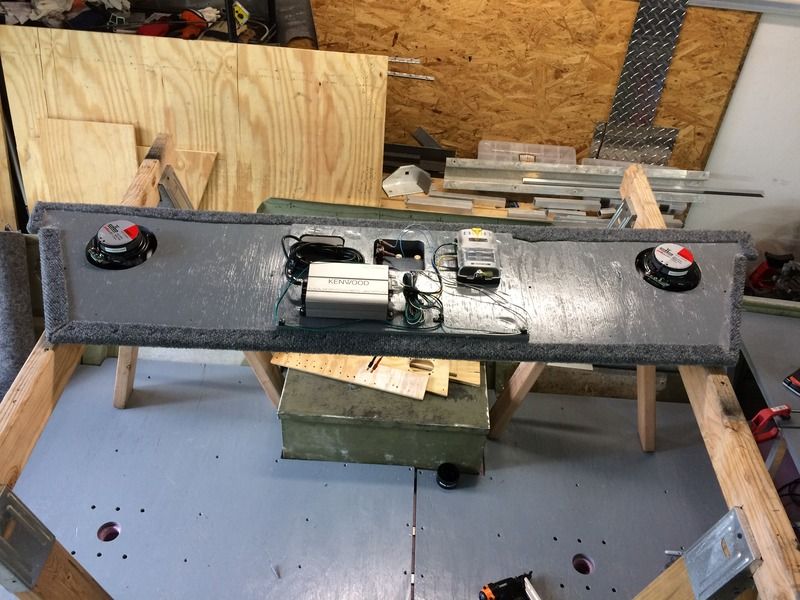
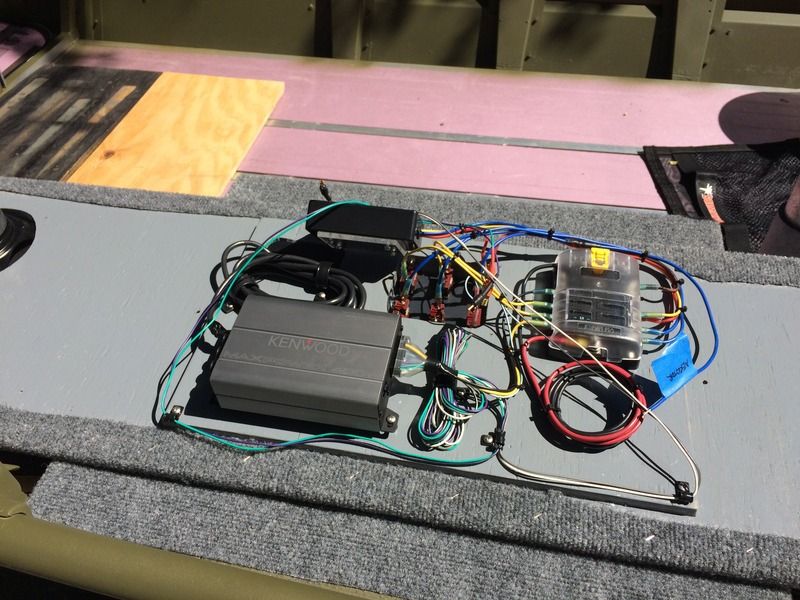
Got the switch panel & stereo control mounted in the deck face. Also have the fuse panel and amp mounted to the backside in the battery hatch. If you look close you'll see all the hinges are mounted as well. I used a 1-1/16" wide SS hinge w a 3/32 pin. It will be just right with the carpet I am using.


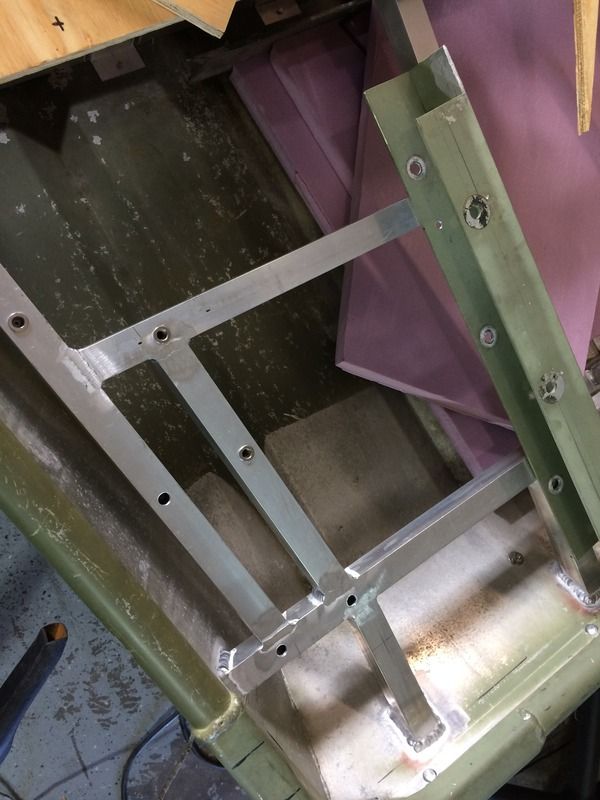
I also modified the trolling motor mount and installed the rivnuts in the frame.


Here's the layout.


I'm in the process now of painting all the wood.
 
I'm liking this build. Looking forward to the seeing the finished product.


Sent from my iPhone using Tapatalk
 
Been busy, but haven't updated progress in a bit.

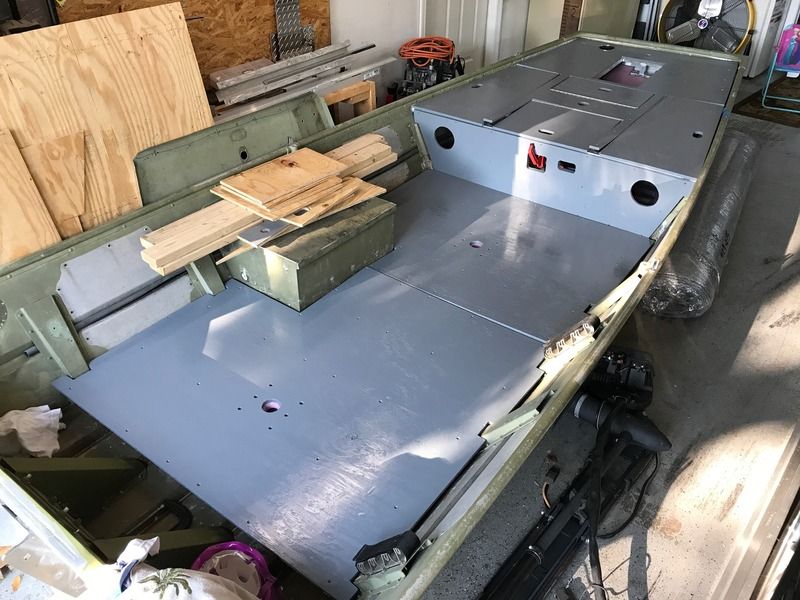
Decking all painted w/ Rustoleum Professional Smoke Gray Gloss.


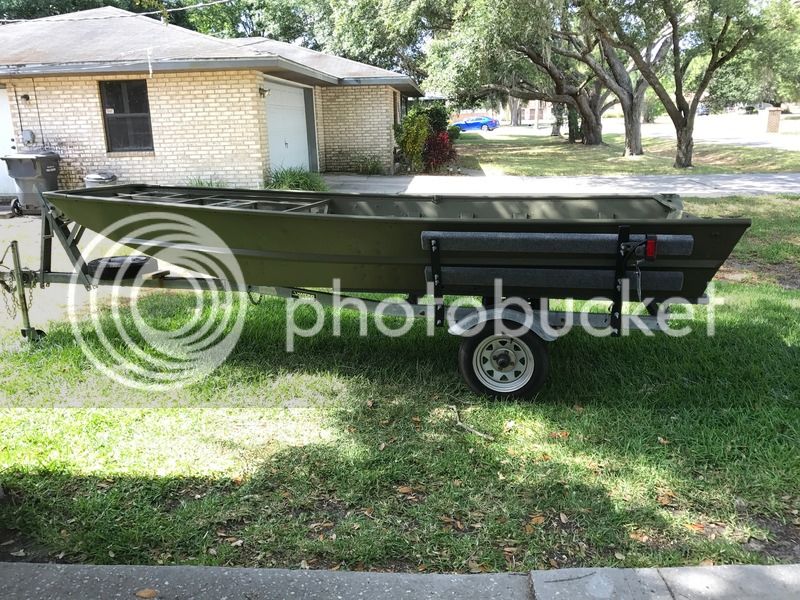
New bunks for trailer.


Front and rear of deck face.


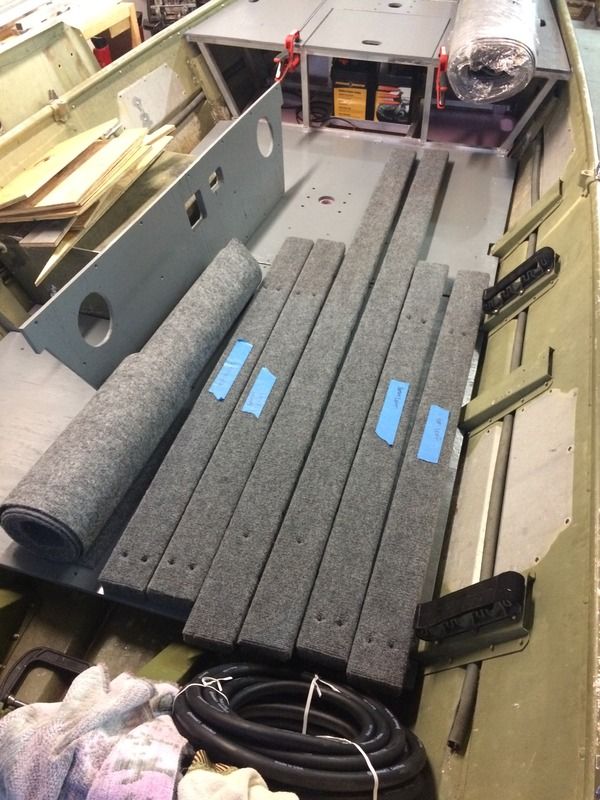
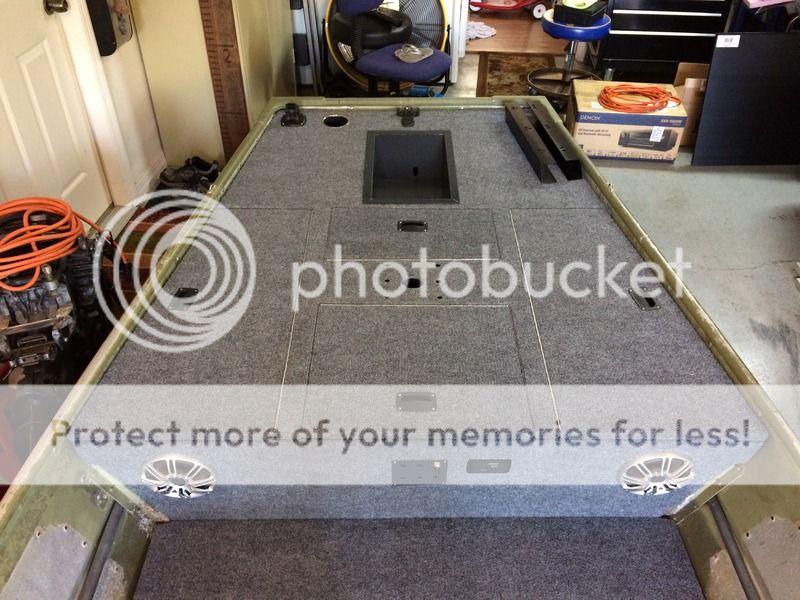
Everything carpeted and laid out. I know a lot of guys use the glue in a bucket, but I used 3M Super 90 contact adhesive spray. Its what I used on the previous build and it works fantastic. I used a pneumatic stapler to secure the wrapped edges on the backside with Arrow 1/4" Stainless Staples.


Here's how the deck is laid out.


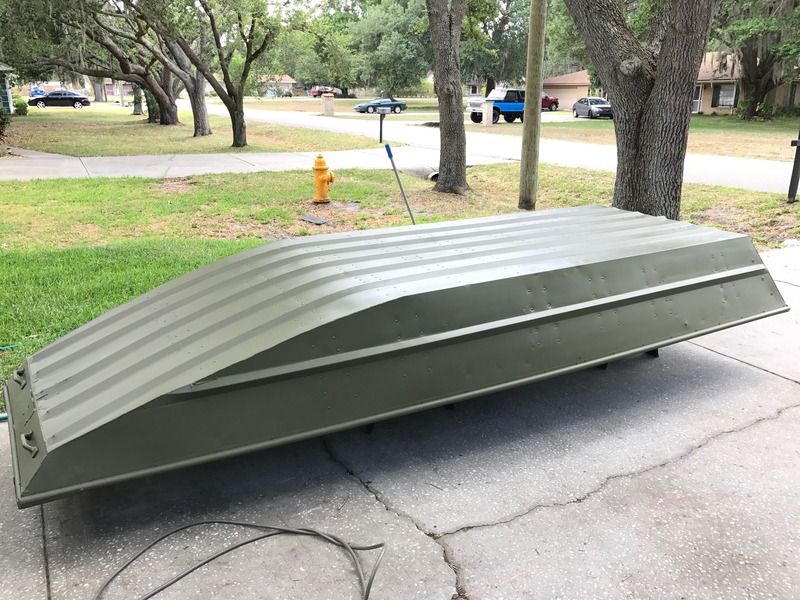
I spent the day yesterday prepping & painting the hull with Duralux Aluminum Boat Green. I'll update with more pics later today or tomorrow.
 
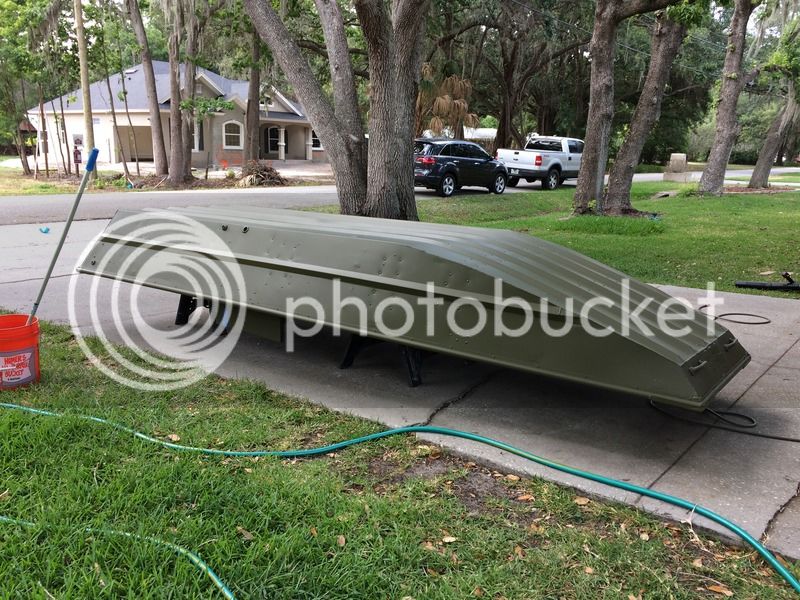
Painted the hull this past weekend with Duralux aluminum boat green thinned with acetone and sprayed through a cup style gun. Very happy with the results! I laid it on heavier than most paints and it smoothed out so nice and dried super fast. Coverage was great and as long as it's as durable as most reviews I've read it should be worth the price.

Before


After


Back on the trailer! 8)

 
The10Man said:
Nice work! That looks like a brand new boat.
Thanks man! I updated the thread title because when I first started out I was just going to do the deck and floor. It's turned into a full blown restomod!

I've been working on wiring and I hope to have it all finished up by end of this weekend.
 
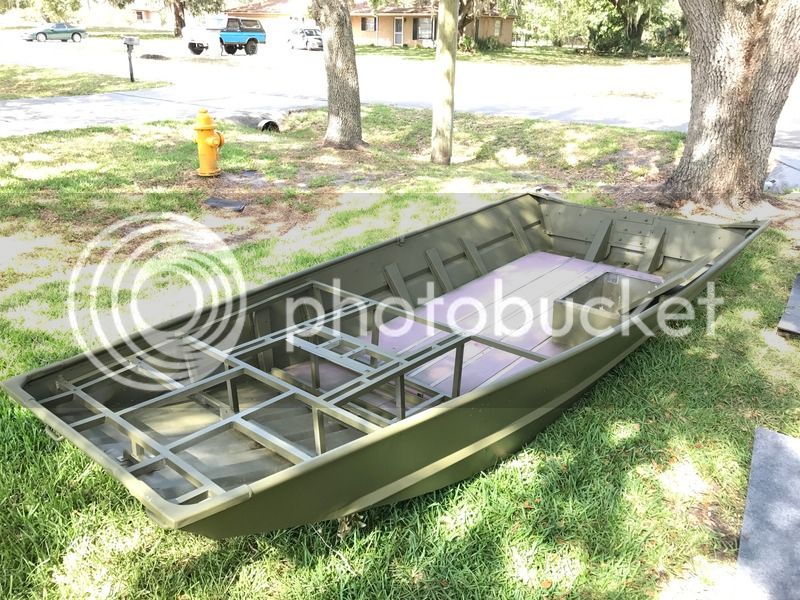
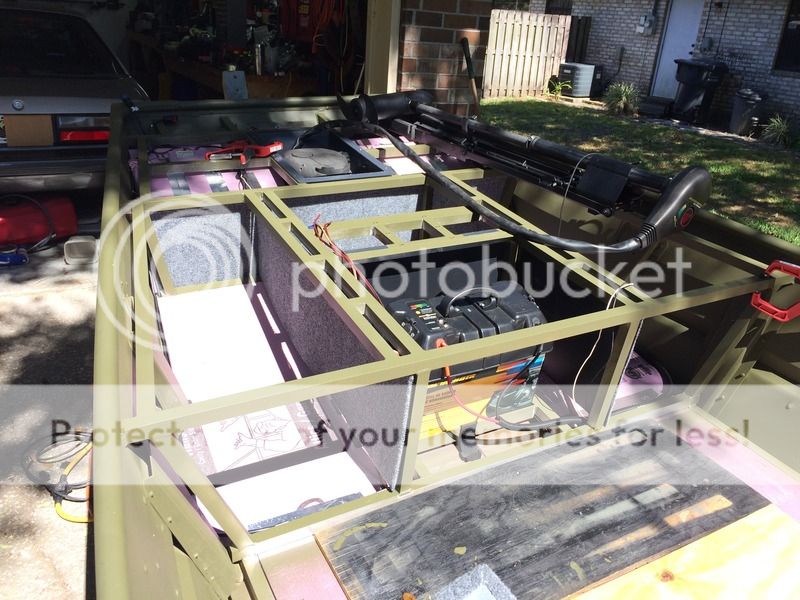
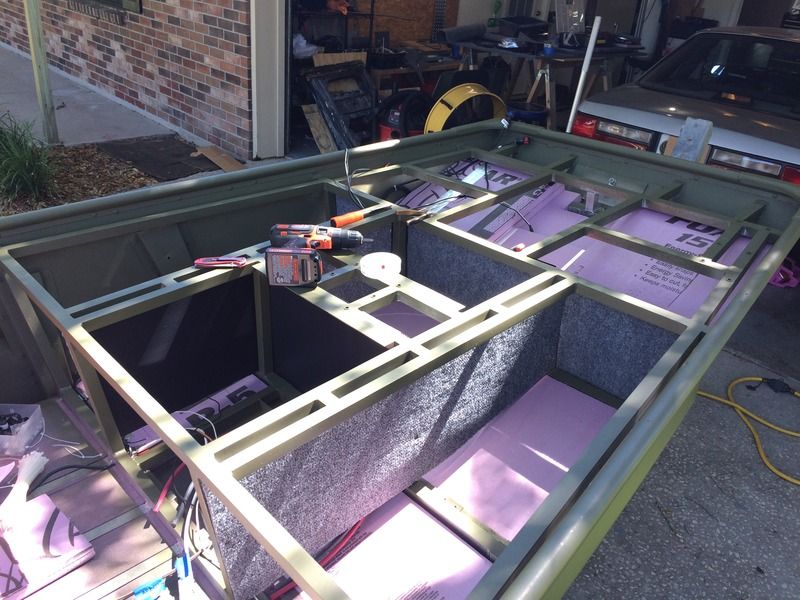
Finished up all the wiring, filled the front deck with foam board, and installed all the decking.

Fuse panel, switches, amp, aerator timer


Front deck w coroplast sheet lining the compartments


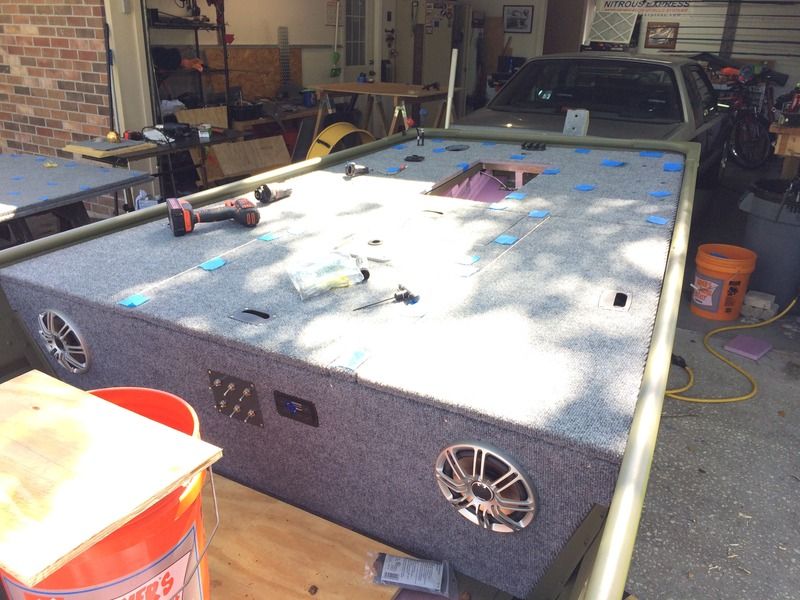
I marked all the deck pieces with tape over the predrilled screw holes.

Front deck


Deck in place and shooting screws


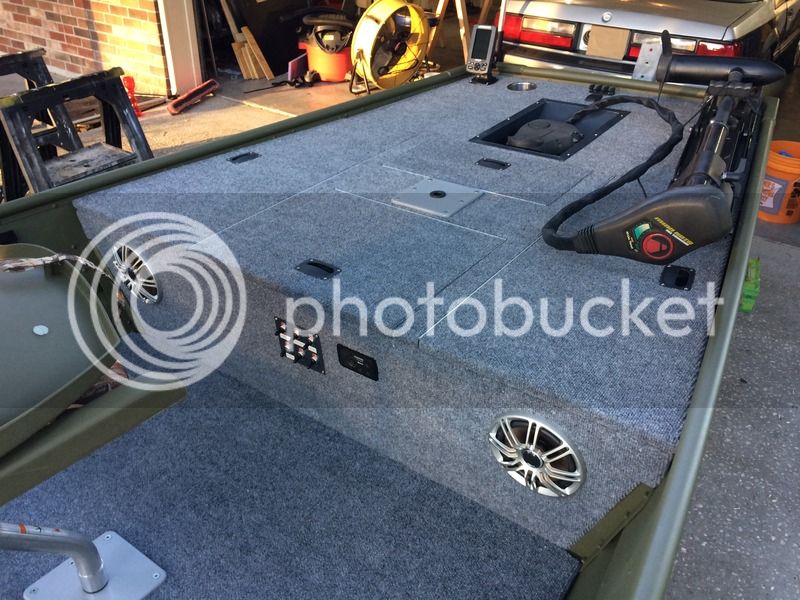
All buttoned up w/ everything installed.


Rear floors in place


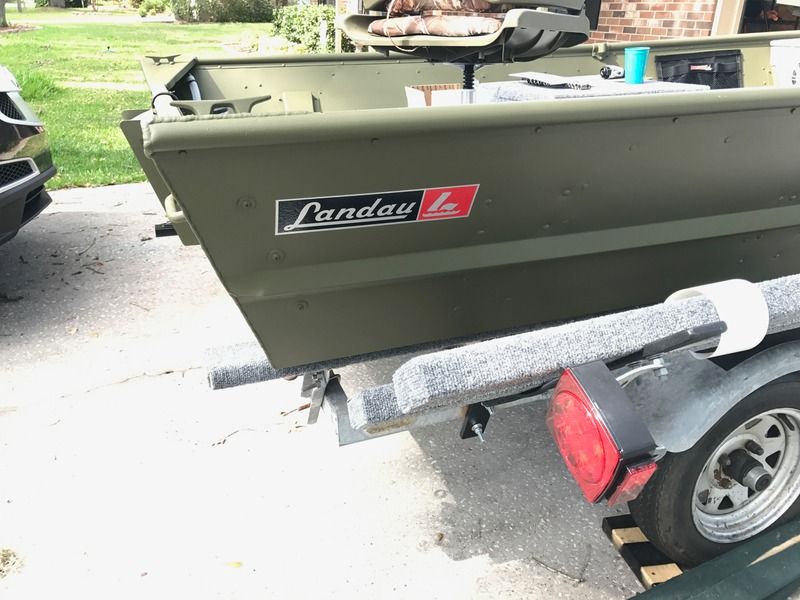
Getting real close. Installed new decals and hung the outboard on it this afternoon. Should be able to get it out this weekend!
 
Johnny said:
that thing is a TANK !!! Very nice work !!

Thanks Johnny. Even with all the structure it still came out 30+ lbs lighter based on final weights of everything that went in the boat vs what I pulled out. I should be able to get out on it this weekend so I will see if moving the battery forward really hurts holeshot or the ride.
 
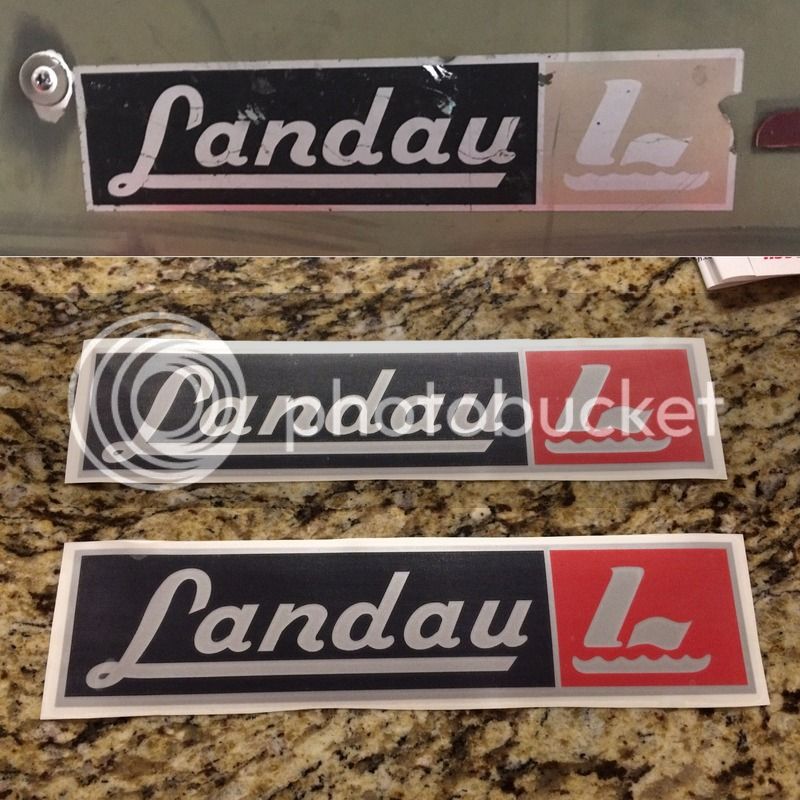
Here are the decals from Vinyl Approach (https://www.vinylapproach.com). I sent in a pic of the original and he made a perfect recreation from the picture. Very happy with the results.

AB740864-B583-4985-8758-E16EF09FBC18.jpg


Decals on the boat.


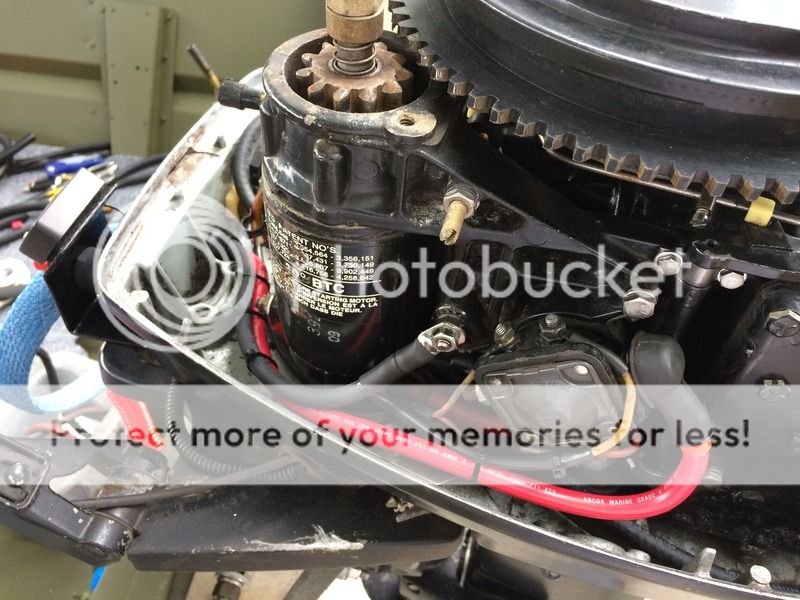
I also rewired the starter cables on the outboard. The originals were 8 gauge and causing a slow start. Replaced them with 4 gauge wire and connected to the stud terminals on the transom.


And FINALLY, out on the water last Sunday.


Had an awesome day. The boat jumped up on plane, ran flat and smooth with no porpoising and topped out at 29 mph. It was so much nicer to fish out of with the extra storage, large fishing deck, & recessed troll tray.

Check out my youtube video for final assembly, fishing trip clips, & a walk around of the boat.

https://www.youtube.com/watch?v=eHFmlaoosqI
 
Those decals turned out perfect!

Your build is awesome! I like that you painted the entire boat inside and out. A lot of builds it seems that guys don't paint their sub structure under the decks and have the raw, shiny aluminum below the hatches. Having the support structure the same color of the rest of the boat makes it look seamless and original.

Where did you buy all of your aluminum from? I live in Central Florida as well and have a 1454 Landau. It's not as wide as yours but it's a great boat. Some time in the future I might cut out the middle seat and build mine In a similar way as yours.

I really like the videos you put together as well. It helps add a little more to the build and see some extra details of the boat.
 
Super job dude, and I agree with The10Man painting the inside makes a huge difference. If I understand you right in the video. You weighed the stuff that came out of the boat, and the new construction , you came up lighter. That's pretty darn good.


Sent from my iPad using Tapatalk
 
The10Man said:
Those decals turned out perfect!

Your build is awesome! I like that you painted the entire boat inside and out. A lot of builds it seems that guys don't paint their sub structure under the decks and have the raw, shiny aluminum below the hatches. Having the support structure the same color of the rest of the boat makes it look seamless and original.

Where did you buy all of your aluminum from? I live in Central Florida as well and have a 1454 Landau. It's not as wide as yours but it's a great boat. Some time in the future I might cut out the middle seat and build mine In a similar way as yours.

I really like the videos you put together as well. It helps add a little more to the build and see some extra details of the boat.
Thanks man, I was very pleasantly surprised with the decals. I purchased all my aluminum from Mine & Mill industrial supply in Lakeland. There's another place in town I've purchased from before but they don't sell to the public. I bet there's a place in your area, maybe try calling Airgas and see who they'd recommend. I'm glad you liked the videos. I did a lot of searching around the internet when I first started the project and the videos were most helpful.

gatorglenn said:
Super job dude, and I agree with The10Man painting the inside makes a huge difference. If I understand you right in the video. You weighed the stuff that came out of the boat, and the new construction , you came up lighter. That's pretty darn good.
I figured if I was going through the trouble of painting I might as well do the whole thing, haha!
You're correct on the weight. The key was the design of the front structure, all the members under bending stress are the thicker tube while the vertical pieces are thinner gauge. The rear floor stringers are the thin gauge as well. The front frame and recessed troll tray weighed 26lbs.

Thanks for the nice comments guys. It took quite a bit of thinking, planning, sketching, & scrapping designs but it paid off.
 

Latest posts

Top