Quackrstackr
Well-known member
wyodeputy said:Are we still talking about waterproofing a few rivets?
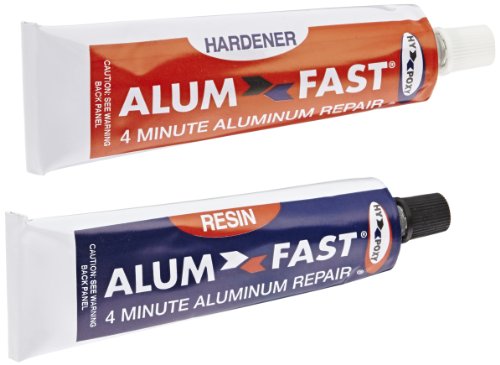
I am talking about the twelve 1/4" rivets that appear that they will be below the water line, yes.
If the studs pull through those as they are apt to do, it could be the equivalent of pulling the drain plug. Worst case scenario that will probably never happen in a million years but I would rather have something with a little more substance than camoclad film sealing holes in my boat. Especially if it has a surface drive mud motor strapped to it.


")