Lurker Turned Poster.. and a remodel of a remodel

TinBoats.net

Help Support TinBoats.net:

This site may earn a commission from merchant affiliate links, including eBay, Amazon, and others.
Joined
Nov 4, 2010
Messages
13
Reaction score
0
Location
Blue Springs, MO
Greetings-

I've been wandering around this site for quite a while now and must say that there is an absolute ton of valuable information throughout these threads and I want to thank everyone for their posts and explainations with their projects. Nice Work!

Now, its time for my project...er... a project of my project.

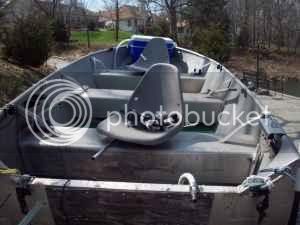
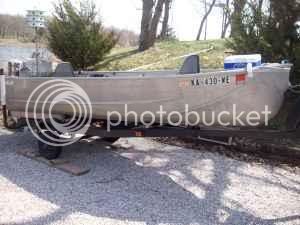
I have a 1973 Lowe 14v that I got off a guy in exchange for doing some welding work for him... not a bad pick up for 4 hours of my time I would say. :lol: The transom was extremely spongy, the floors were just as bad, the guy had a cooler up front for a livewell, and not that that is an issue, its the fact that he just bolted a bent piece of stainless on the back of the transom, stuck a bilge pump on there, and ran 20' of clear tubing up to the front of the boat. The "wiring" was nothing more than every hot and ground wire ran to the back of the boat with ring terminals (no fuses anywhere) to attach to the battery... There were probably 12 wires going in all different directions in the back of the boat. The trailer was in decent shape, other than only having one light that worked, bearings that sounded like a deck of cards in the spokes of a 10-speed, and dry-rotted tires where the spare was the best of the three.
BOAT.jpg

boat2.jpg


Not a horrible looking machine, but it needed some love all the same. My next post will show how it currently sits...
 
I pulled everything that wasn't bolted down (and somethings that were, but were too stubborn to come out, so Mr. Sawzall gave them a lesson in cooperation :D) and began to survey the situation. Now, normally I would plan this out to the smallest nut and bolt, but it was already the first week of April, the white bass were starting to head the King's River (Table Rock) to spawn, and the crappie wouldn't be too far behind, so time was my enemy.

I removed the old transom wood, getting enough of it out in one piece to make a template for my new part. I used treated ply (without sealing it,) and I know that I'll get some people rolling their eyes at that, but I'll be tearing it out again this winter and doing it the right way this time. After the board was cut to size and test-fit, I TIG'ed up the small crack in the center of the transom and a few "excess" holes from the aforementioned livewell pump bracket, old transducer mounts, etc.

Completed Transom
100_0063.jpg

I then moved on to the floors, again attempting to use the old pieces as templates and cut new plywood to replace the rotten wood. However, unlike the previous owner, I made stringers out of treated 2x4"'s to help spread the load a little more evenly across the deck, rather than having it sit on top of the beads where the sides meet the bottom of the boat. And after an over-estimation of carpet glue, but a great deal on outdoor carpet, I had new floors as well.
100_0065.jpg


It was then time to turn to the trailer. I replaced the old 8" wheels with new 12" Wal-mart specials, replaced all the bearings/seals, didn't like how high it sat, so I flipped the axle to the top of the spring, replaced all the lights, replaced the winch cable (yes, cable,) with a strap, added a trailer jack, and added an extra ground since its a hinge-trailer. By this time, it was all legal, and I could get it out of my grandparents' shed and home so I could do the less machine-intensive work.
 
Once home, I ran 3/4" electrical conduit under the floors to the bow, where my control panel would be. I pulled two 10ga supply wires to the front and two stainless terminal strips so I could keep it simple. I also ran (though not inside the conduit for space reasons) two 8ga wires for the trolling motor.

I bought one of those $60 BPS fused switch panels, a ton of heatshrink tubing and dielectric grease, a light socket (for a now removable bow light :) ,) and some other odds and ends for the wiring. The lighting is ran off the front switch, but splits so that one lead goes back to the stern for the light back there, and I put a switch on it so I can turn it off so I can fish at night and not attract every bug within a two-mile radius.

The picture also shows a small LED courtesy light from Wal-mart (with which I have been very pleased) and the livewell timer that I added here recently for my livewell (based on the project on the main site :))
100_0062.jpg

I also installed my sonar unit, and correctly wired the 12vdc socket that was already there (and by correctly wired I mean added a fuse.)

I ran the sonar cable on the other side of the boat to prevent any possible electrical interference.

I fabricated a plate to go over the cast aluminum piece on the bow to give me more mounting (and easier welding) surface area for my trolling motor mount. It is attached to the top rails with 3/8" head tek screws. I added a plastic industrial-style battey plug so I could disconnet the trolling motor easily for service, charging, getting it the hell out of the way, or whatever else.

I'll get some better pictures of that stuff specifically if anyone want it.

By this time, she was water-ready and I fished most all of the rest of the summer with it like it was. Very stable little boat, the 9.9 left a little to be desired, but I have plans for that.

More soon...
 
So, work and the family have kept me pretty busy lately, but I've been able to get out and do some work on the old silver duck.

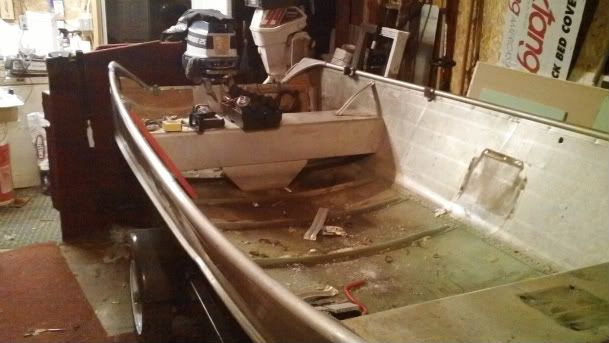
After removing the floors, TM, tank, battery, etc. I set my "new" motor on the transom for mock-up reasons, before I decided to shell my original rear deck idea.

I also removed the center seat, giving me a blank floor plan to work with. I'll replace the missing strength by fabricating some struts out of 1-1/2" aluminum angle that will tie the gunnels into the bottom ribs. The sides don't flex hardly at all (maybe 1/16 - 1/8") but I'd rather play it safe. Hopefully I can get the boat to the shop sometime soon so I can TIG up the holes left by the rivets on the sides and bottom and the excess holes made by the previous owner.

Stripped down, center seat removed:
100_0058-1.jpg


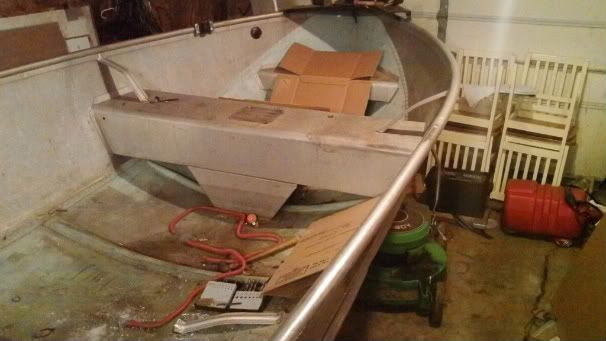
Facing forward:
100_0060-1.jpg


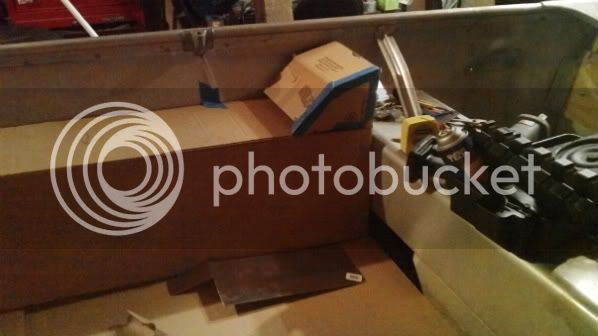
Using some slip sheets, I layed a makeshift floor to start taking measurements and getting a better picture of how I'm going to remodel this project. I plan on doing two long boxes along each side, one for general storage, the other would be modified for a rod locker. On the starboard side, I started mocking up my "command center" where the kill switch, key switch, couple of needed toggles switches, etc. will be mounted.
100_0062-1.jpg


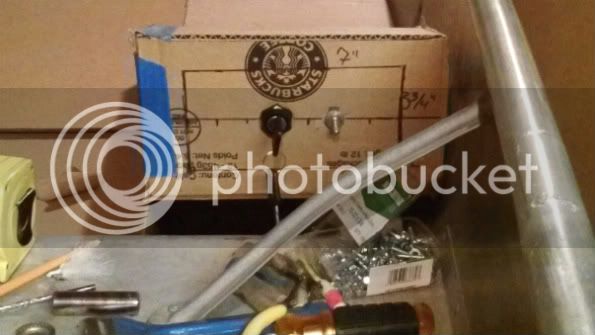
Close up of the command center. The switches will be inset in a handmade aluminum switchplate that will sink the control faces in an extra inch from the edge of the box to help keep the water off of them... or so they don't get knocked around as bad.
100_0061-1.jpg
 
So, if anyone happens to see this, what do you all think about an aluminum floor covered in carpeting? I'm trying to save some on weight, and after pricing marine grade ply with the same size sheet of alloy 5052 1/8" aluminum plate/sheet I was curious if anyone has done anything like this.

We've put punched aluminum floors in some skinny water boats we've built before, but they become one big drum the second you drop your pliers or a split shot weight. I was planning on filling some of the void beneath the floor with foam, and putting rubber on top of my aluminum framework I'm building to try and keep the noise down.

Thoughts?
 
my 1987 lowe bass boat has the aluminum floor covered with carpet and foam in between. I think it's fricken excellent, zero maintenance, water flows very smoothly to the rear and not noisy at all
 
So, its been quite a while, and quite a ride since my last post. I was all ready to go and get really rolling on this project, then I found out that I have a kid on the way, so pretty much the budget got slashed from very little to pocket change..

But, after a second job (not only for the boat, but to help save for the baby, but its nice to have it for the boat too :twisted: ) and some great timing by my boss to start scrapping every piece of metal around the shop that isn't new stock, I might be able to pull this off before the crappie start moving shallow... I'll probably miss the white bass, but I can live with that for now.

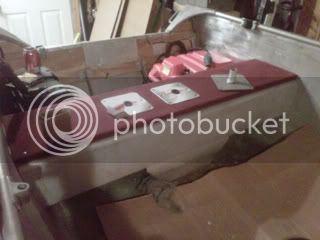
I have the front deck done aside from the carpet and the hardware for the access hole (which should be here tomorow (thank you McMaster-Carr,)) the board that will cover and help brace the rear bench is cut and is currently in the process of being hacked up for the two pedestal bases that will sit atop it, and the front pedestal base is drilled and also waiting on tomorrow's hardware.

I hope to get some pictures, since I'll have to pull the front deck off and everything else that isn't riveted in place, seeing as how I still need to flip it to TIG up the holes left from removing the center bench.

And now, back to the fun.
 
Ok, so now its been awhile and its time for an update :D.

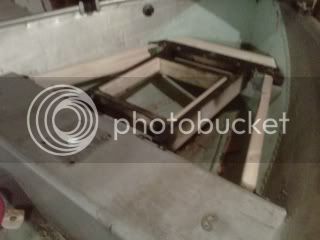
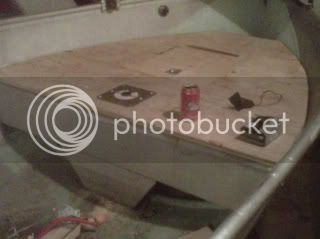
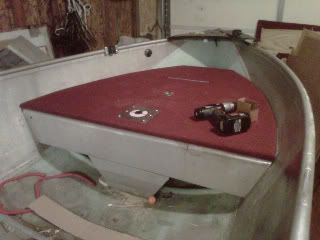
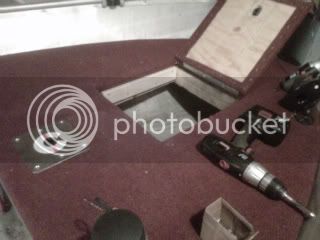
Below are some pictures through the process of building the front deck and the rear bench.

IMG00026-20110306-1250.jpg

IMG00022-20110301-2051.jpg

IMG00028-20110306-1309.jpg

IMG00030-20110306-1321.jpg


Rear bench..
IMG00027-20110306-1250.jpg


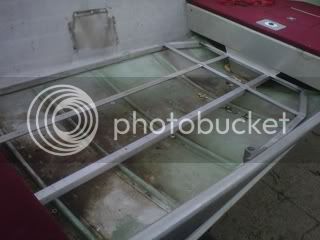
I've also been hard at work with the aluminum floor, this is the basic framework that now has supports for the center pedestal base, and bracing for the rod box and livewell. I should have pictures up soon!
IMG00033-20110318-1850.jpg
 

Latest posts

Top