My 16' MirroCraft

TinBoats.net

Help Support TinBoats.net:

This site may earn a commission from merchant affiliate links, including eBay, Amazon, and others.

Dialtone

Member
Joined
Apr 28, 2011
Messages
12
Reaction score
0
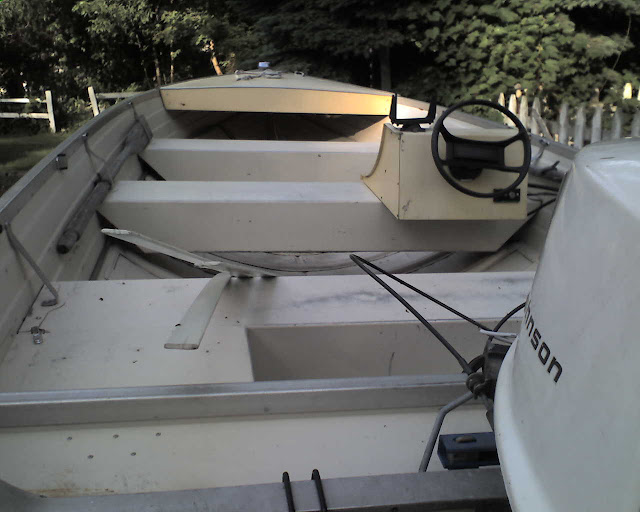
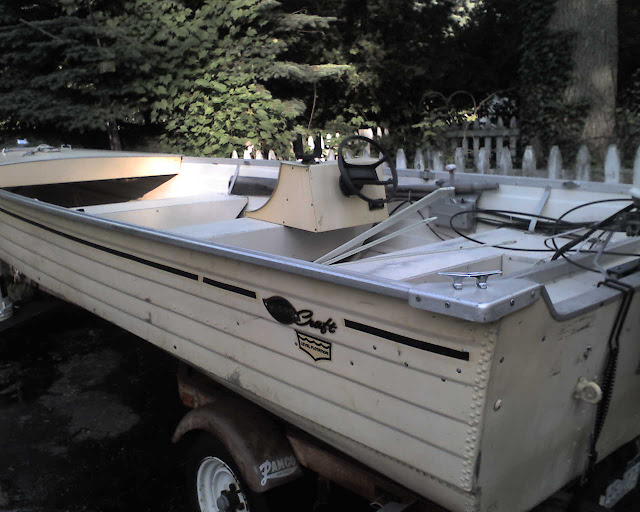
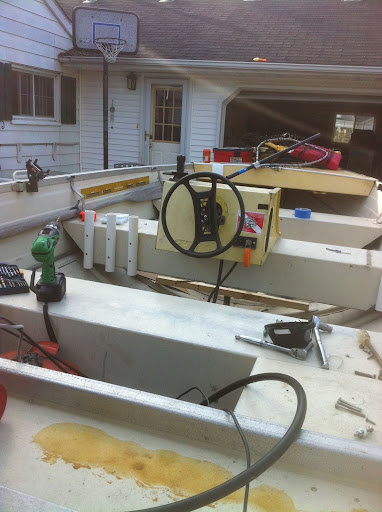
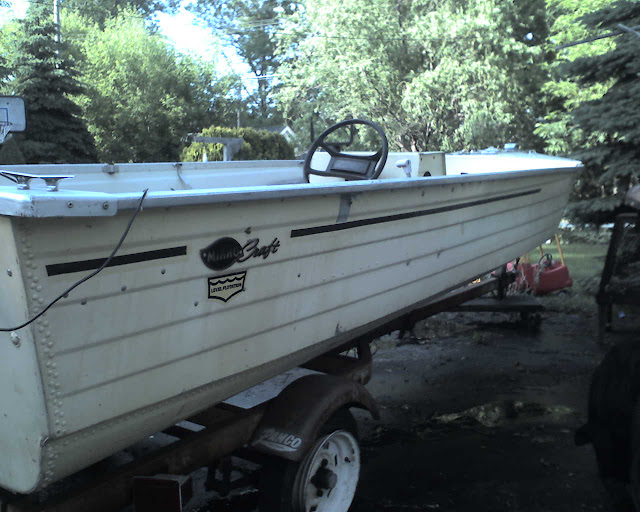
I got this boat about 2 years ago and primarily use it on the St. Clair river in Michigan for walleye fishing. It is very confortable even in the larger bodies of water in Michigan but still perfect for smaller lakes and rivers. One of the biggest complaints I have is the floor is tough to walk on in the front and the fact that it is very light in the front. I use this boat alone alot so I also want to move the console to the center. It'll make the ride a little better. I have removed the console and am working on rotating the steering mechanics. All of the cabling will come out of the bottom of the console instead of the side. I have about 2/3 of the floor frame completed and I'll post pics tomorrow. I am probably stupid for doing this during the spring because the walleye fishing is about to get hot and heavy. But we had a hard winter here in Michigan. So anyway. I'll be posting more pics but here is how she started. Thanks for looking!
img101.jpg

img102.jpg

img098.jpg
 
Welcome to the site DT.

Great looking rig you got, and sounds like you've got a good plan.
 
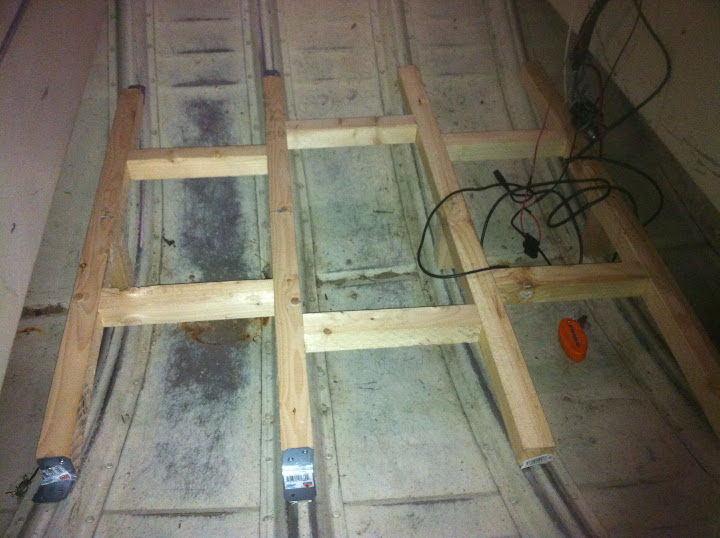
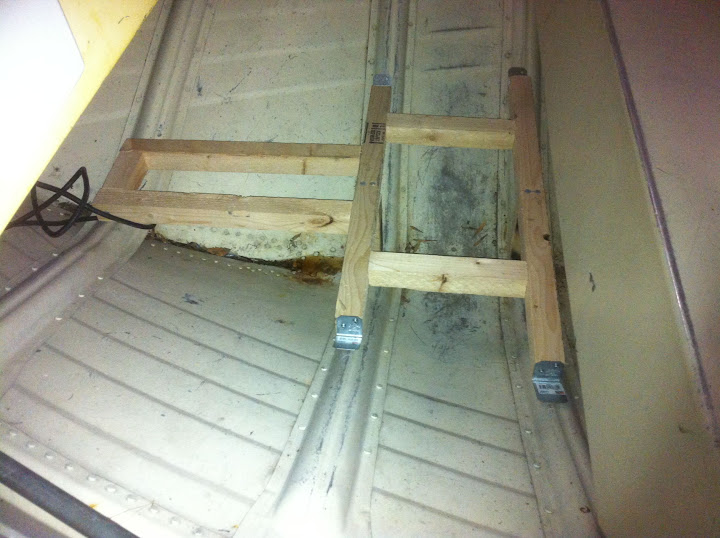
Here are the floor supports I came up with. I spent a lot of time looking at many of the designs on this site and tried this layout. The 2x2s seem really strong and the supports on the bottom of the boat seem like a good spot to attach to. The only thing I keep scratching my head about it what to do with all the space that will be left when I lay down the plywood floor. There will be a decent gap between each of the supports on the bottom of the boat. Thoughts? Is this common?

P38269800.jpg

P38270301.jpg
 
You'll have to take a small hit on the space, best bet is to fill it with foam. Adds floatation just in case and also helps keeping things quiet.
 
Ictalurus said:
You'll have to take a small hit on the space, best bet is to fill it with foam. Adds floatation just in case and also helps keeping things quiet.
+1 i have 14' mirro i put foam board up and made a "cubby" with the 2 part foam put a hatch in and had some storage space added
 
What I was thinking is that the plywood will hit the aluminum ribs on the bottom to the boat. Those ribs are higher than the boat bottom. So fill that gap with foam is what you are suggesting? That just might work!
 
Dialtone said:
What I was thinking is that the plywood will hit the aluminum ribs on the bottom to the boat. Those ribs are higher than the boat bottom. So fill that gap with foam is what you are suggesting? That just might work!


If you do that were would the water drain?
 
Dialtone said:
What I was thinking is that the plywood will hit the aluminum ribs on the bottom to the boat. Those ribs are higher than the boat bottom. So fill that gap with foam is what you are suggesting? That just might work!
I WAS GOING TO DO THE SAME WITH THE BOTTOM OF THE PLY BUT THE WATER WOULDNT DRAIN, WHAT EVER YOU DO MAKE SURE TO NOT BLOCK THE LIL COVE IN THE BOTTOM CENTER OF THE FLOOR (THE LIL DEPRESSION UNDER THE RIBS) THATS HOW THE WATER FLOWS OUTTA THIS BOAT
 
Dialtone said:
Here are the floor supports I came up with. I spent a lot of time looking at many of the designs on this site and tried this layout. The 2x2s seem really strong and the supports on the bottom of the boat seem like a good spot to attach to. The only thing I keep scratching my head about it what to do with all the space that will be left when I lay down the plywood floor. There will be a decent gap between each of the supports on the bottom of the boat. Thoughts? Is this common?

P38269800.jpg

P38270301.jpg
WHAT I WAS SUGGESTING WAS NEXT TO THE 2 X 2 SUPPORTS YOU HAVE IN THE FRONT TO BOX IT OFF WITH FOAM BAORD FROM LIKE HOME DEPOT OR LOWES BUT JUST USE IT AS A FORM THEN POUR IN YOUR 2 PART FOAM SO IT LEAVE A NICE SQUARE PART WITH NO FOAM IN IT THE IN YOUR FLOOR MAKE A HATCH TO ACCESS THE SPACE YOU HAVE LEFT OPEN ILL TRY TO PUT UP SOME PICE OF WHAT I DID FOR YA!!
 
Bob350RX I like that idea! Sounds really cool.
So do I need to anchor the plywood down somehow? I have read many people against it incase something falls through to the bottom. But don't want the boards to bounce around. Not going to carpet it. Really want to try using no skid paint.
 
Dialtone said:
Bob350RX I like that idea! Sounds really cool.
So do I need to anchor the plywood down somehow? I have read many people against it incase something falls through to the bottom. But don't want the boards to bounce around. Not going to carpet it. Really want to try using no skid paint.
I WOULD MAKE SURE YOU USE SOME SPAR URETHANE TO SEAL THE WOOD OR IT WILL ONLY LAST ABOUT A YEAR! THE CUBBY UP FRONT WOULD BE A GREAT PLACE FOR AN ANCHOR, I USED THE TUFF COAT FROM CABELAS, AND IM VERY HAPPY WITH IT CUT DOWN ON THE SOUND AND FEELS PRETTY GOOD UNDERFOOT! IF YOU GO THIS ROUTE I WOULD SUGGEST GOING TO TUFF COAT PERSONALY, ITS CHEAPER I BOUGHT THE LONG BED TRUCK KIT (HAS 2 GAL OF COATING) FOR MY 14' I ALMOST GOT 1 GAL LEFT BUT I DIDN'T COAT THE ENTIRE INSIDE BUT I THINK YOU WOULD HAVE ENOUGH TO DO YOUR BOAT WITH COST ME $170 FOR THE KIT HAS PRIMER, COATING, AND A SPRAY GUN. YOU CAN ROLL IT ON BUT I THINK SPRAYING IS THE ONLY WAY! GOT A NICE RIG THERE, SORRY FOR THE LONG POST....
 
I just finished sealing the wood last night using the spar urethane. I'm going to anchor the supports down tonight and start making my cardboard templates for the plywood. Not really looking forward to that part. I have a feeling that part is gonna be tough.

I screwed down the supports to see how they would hold and they are solid as a rock. Need to push through the next few days and be productive because the walleye are starting to bite!
 
You may run through some of the v-hull mods and see if you can find any tips/tricks on making your templates.
 
Dialtone said:
I start making my cardboard templates for the plywood. Not really looking forward to that part. I have a feeling that part is gonna be tough.


You are right - it is a PITA

We started with the templates idea on my 16' MirroCraft and then went to a grid on the plywood idea - we got them to fit tight but it was slow work for sure
 
Hmmm never heard of that. Going to search around for what that's all about. Unless someone can explain? [-o<
 
Dialtone said:
Hmmm never heard of that. Going to search around for what that's all about. Unless someone can explain? [-o<
I USE A CENTER LINE ON THE BOAT AND USE 1-2" "GRID" MARKS (KINDA LIKE LAYING TILE)TO LAY OUT THE PLYWOOD IS A SLOW AND TIDEOUS PROCESS, BUT IT DOES PRODUCE, THE CARDBOARD METHOD WILL WORK, ITS A PAIN NO MATTER WHAT YOU DO!!, GO WITH WHAT YOURE COMFORTABLE WITH TAKE YOUR TIME... GOOD LUCK
 
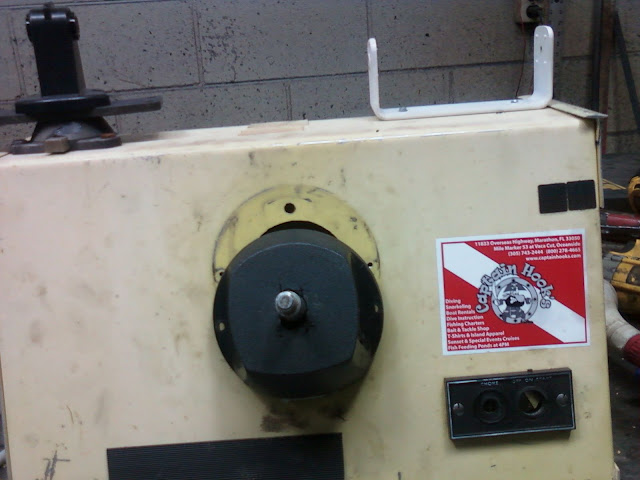
In order to move the console to the center, the wires and steering wheel cable need to come out of the bottom instead of the right side of the dash. The steering mechanism is oval shaped so turning it 90 degrees it caused it to not fit right. I had to drop the steering wheel mech about an inch or so. Tonight I will be reconnecting everything and mounting it back onto the boat. After I see if everything fits I will be adding a new piece of aluminum to the front covering up part of the old hole. My dad suggested finding a nice piece of teak to cover the whole front. We'll see.

P62163900.jpg
 
Mounted the center console, reconnected cables, and now I need to mount the throttle and shifter assembly. I am very pleased to have it mounted in the middle.

P63832802.jpg
 

Latest posts

Top