SO I haven't been on here in a long time and it's mainly due to my boat and problems with it. Hurricane sandy damaged the boat and I had to redo more than half of it. About a month after I finished redoing all the work, the boat was damaged yet again in a bad storm. We had over a week of rain and 2 chipmunks decided to get into the boat, drown and then block off the drain hole causing the boat to become a swimming pool. If that wasn't bad enough, a tree came down, didn't hit the boat but one of the large branches broke off on its way down and took out the decking in the front. I pretty much drained the water, took the branch out and the boat sat until last week behind my shed, I just had no desire to work on it. Well until now.
To start, I ripped out the entire front decking and decided to go with aluminum sheeting instead. 0.062" 5052 aluminum, was able to get a 12'x8' sheet for $105 which was great. Ran into a small problem, the company told me they deliver to residential, only to get a call a few days later that their small truck was in the shop so I'd have to come pick it up, had to deal with renting a truck to pick it up.
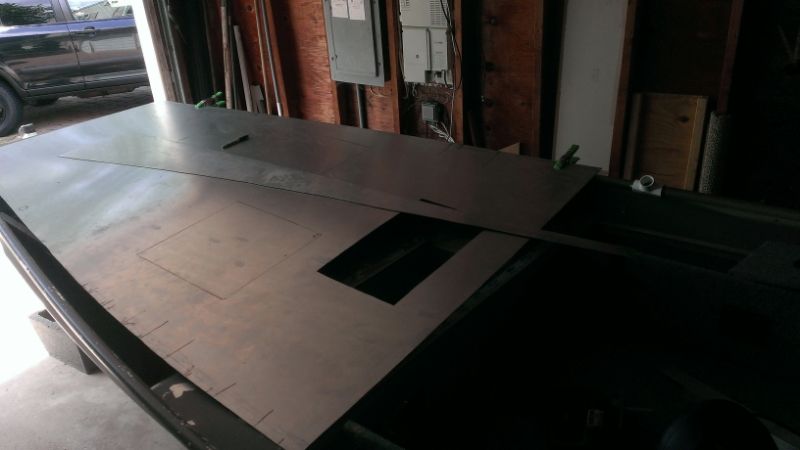
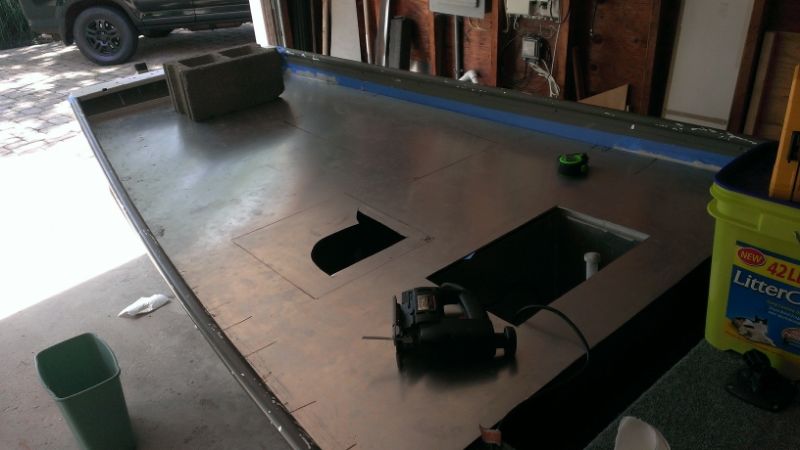
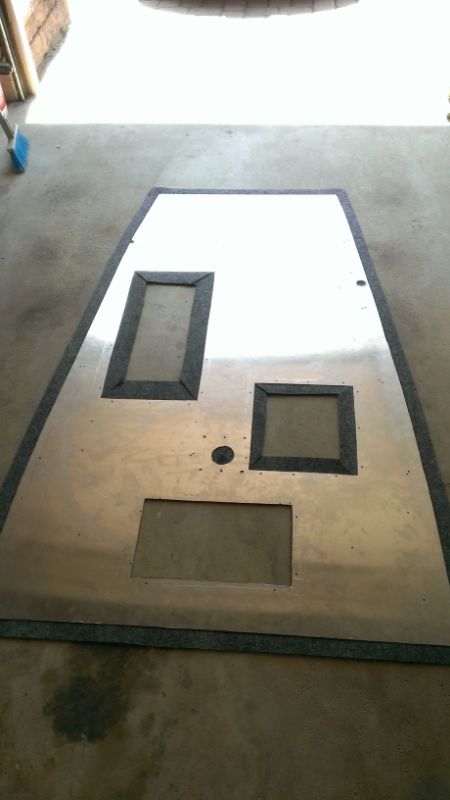
Got it home, measured it, drew the deck pattern and cut it to shape:
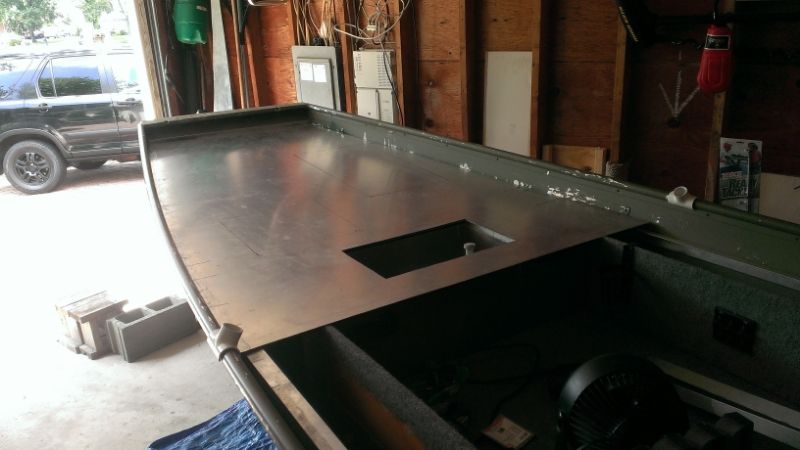
got the other side lined up and cut, fits like a tight glove:
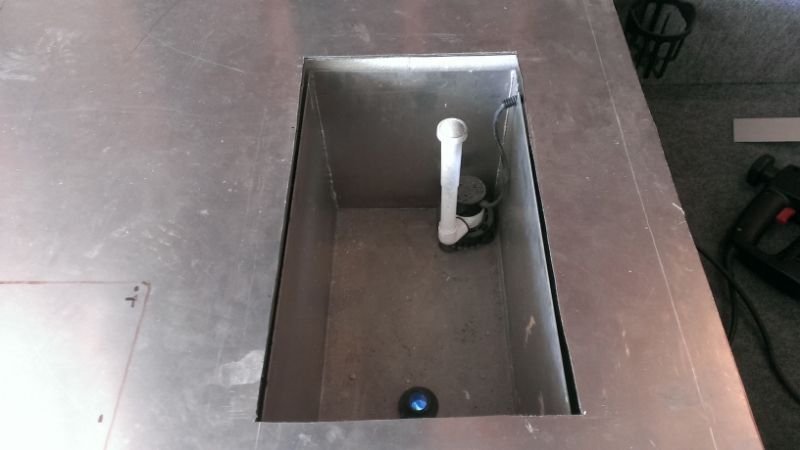
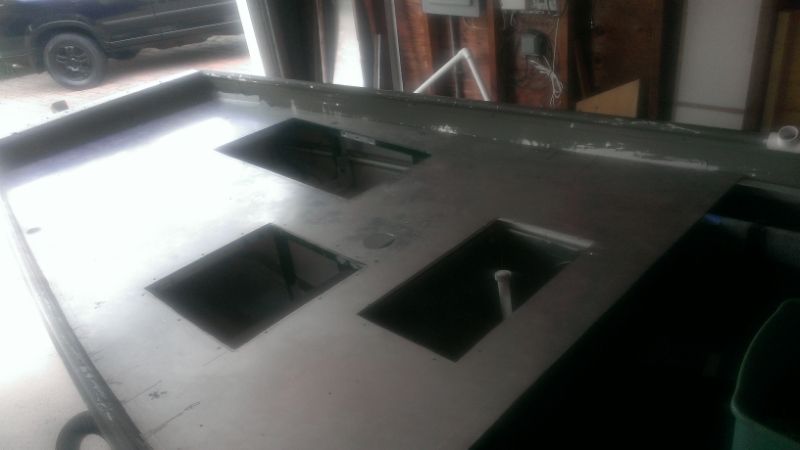
Live well cut out lined up perfectly.
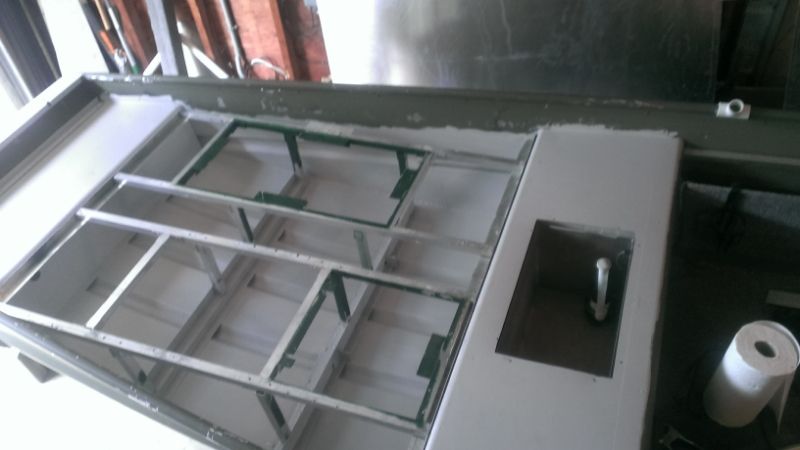
With the aluminum sheeting, the edges were a bit flimsy, I had to add in another support towards the walls to support it, I also used some DTM marine paint to repaint the inside as most of the factory paint had chipped off over time:
once the supports were in, I decided it's time to cut the doors out, jigsaw cut like a hot knife through butter:
Once the doors were cut out, I clamped it in place and began drilling all the holes for the rivets to lock it down, I also move front seat back about a foot and a half:
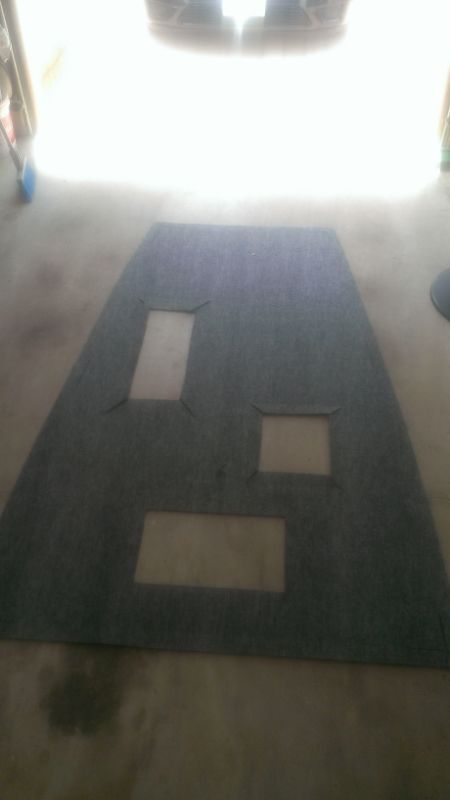
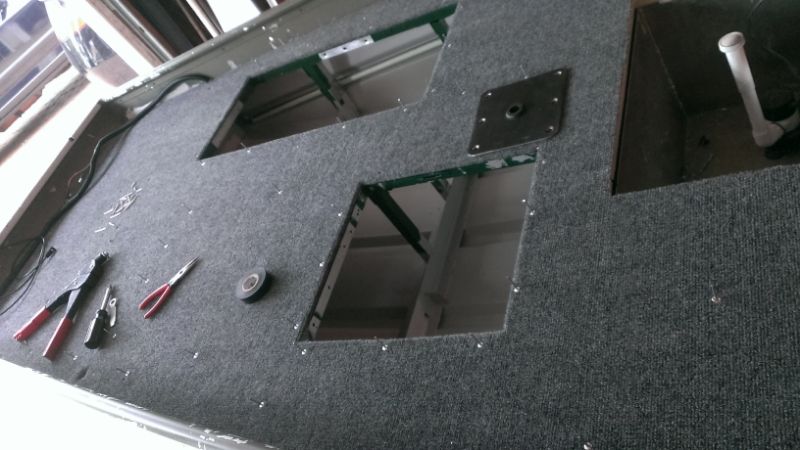
Measured and cut the carpet with 2" on each side to be folded over, I used locktite spray adhesive to glue the carpet to the sheeting, it works incredibly well.
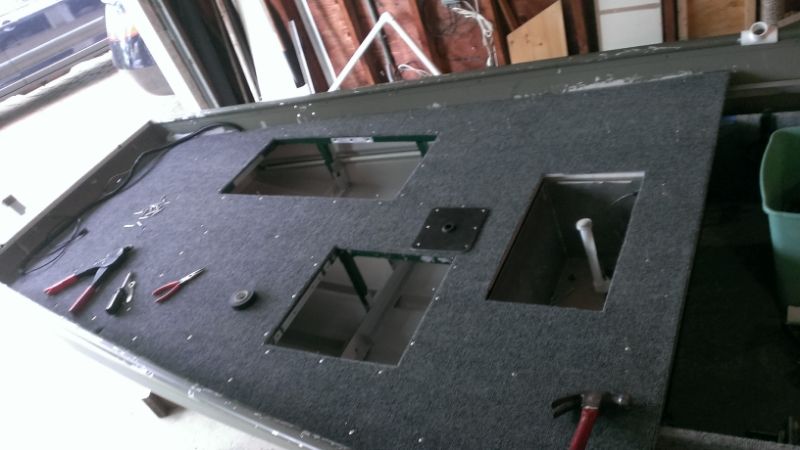
After the carpet was fully glued I placed the sheet into the boat, and began putting the rivets in place, tried to space them out and not over do it:
Unfortunately my rivet tool (arrow brand) broke half way through and wouldn't eject the rivet mandrel or it would break the mandrel half way, got fed up and had to buy a new rivet tool, went with the one from stanley.
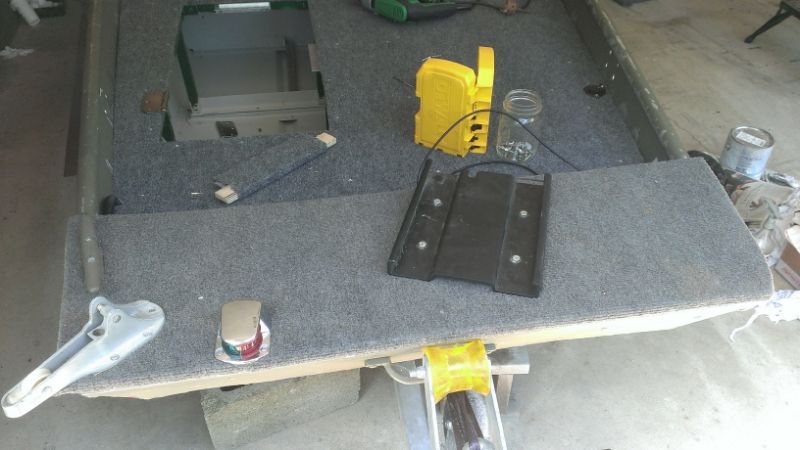
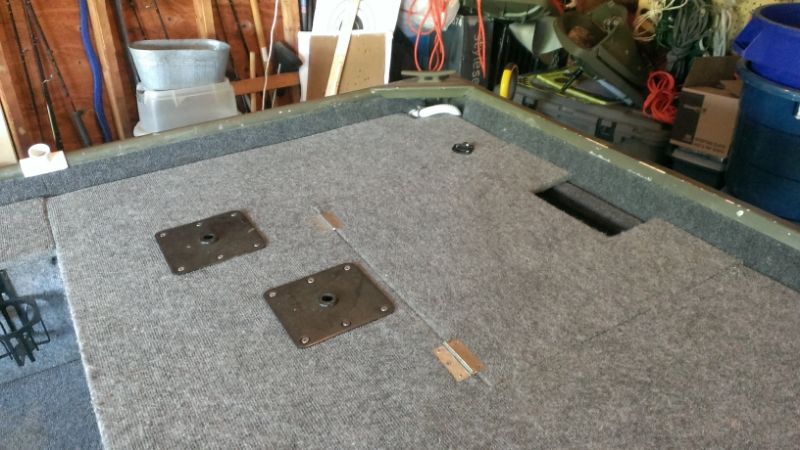
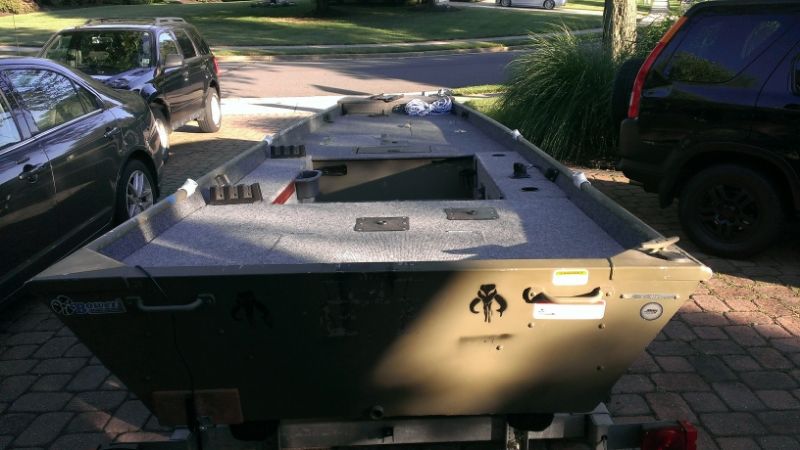
Once the decking was in place I put the front platform back in place, I had originally made this platform so that my trolling motor was level with the front rail. I plan on replacing the navigation light as the trolling motor blocks the red portion of the light. I will probably go with a green LED strip and a red LED strip and mount them on the sides of the boat. The small outlet in the right of the image is for the bow trolling motor which is an 80# MK Terrova, circuit breaker, wiring and 2 deap cycle batteries are hidden underneath.
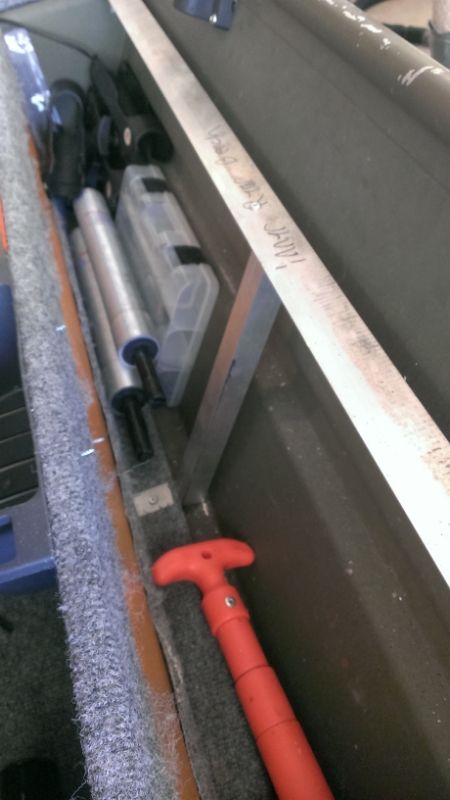
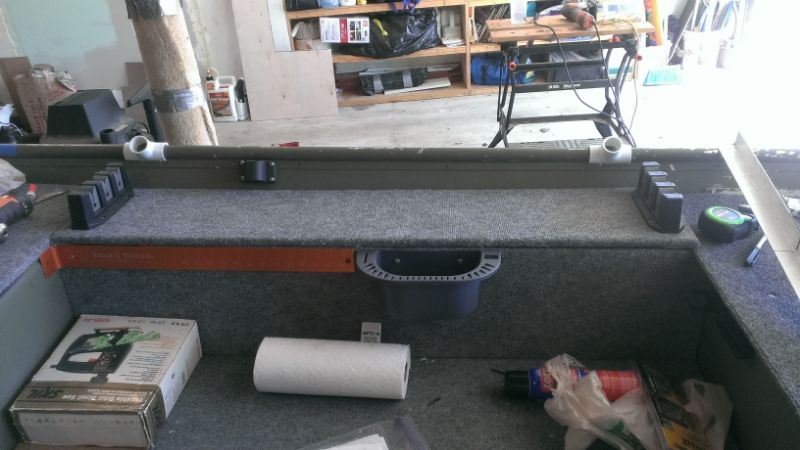
Next up was the side boxes, I had to replace them as well, and I also decided to reinforce them with a vertical support so that the boxes can be utilized as benches as they were a bit flimsy before.
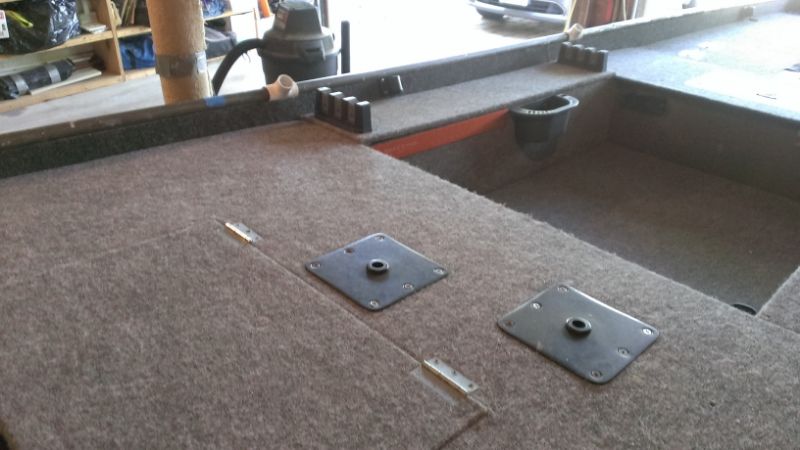
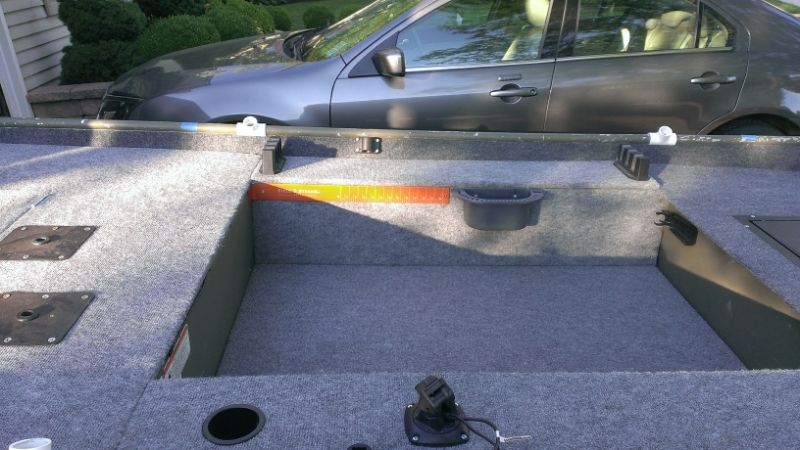
complete view of one side box, even added pole retainers, a small ruler and a utility box to hold pliers, knife, etc.
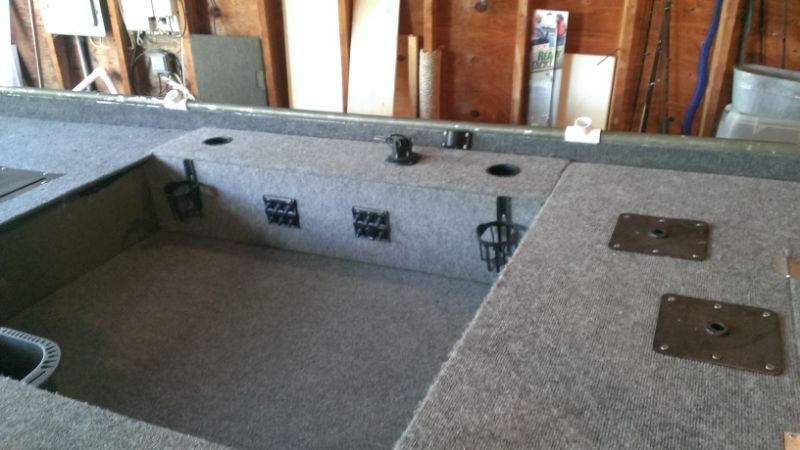
The other side box, has 4 cup holders, 2 clip on and 2 in the lid. Unfortunately the 2 in the lid won't hold cans so I had to go with the clip on ones, gotta have the beer sitting somewhere safe.
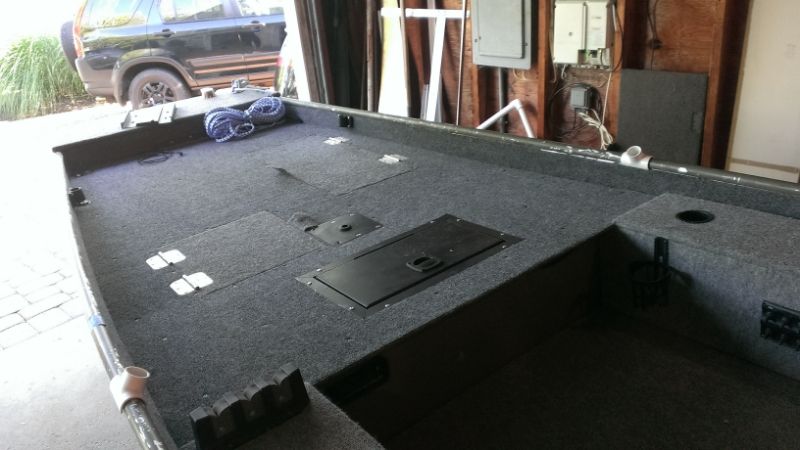
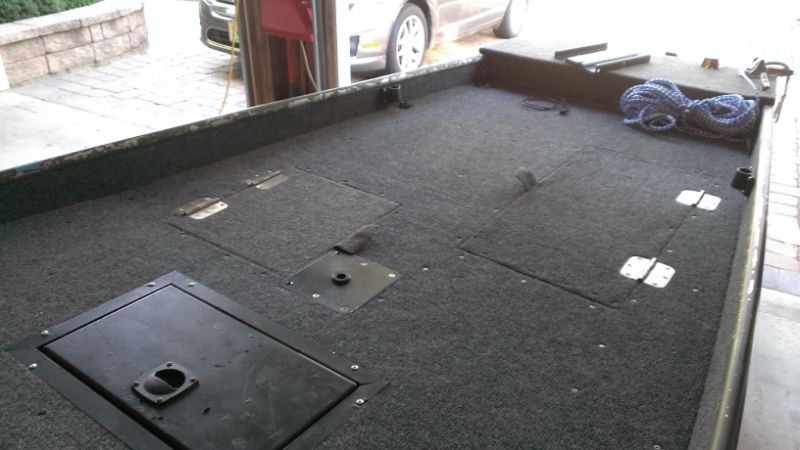
Installed the new doors and the live well lid, rivets made the installation incredibly quick and easy, and it looks much nicer. I also decided to carpet the interior walls above the decking, it looks much more professional and more aesthetically pleasing than seeing the bare metal.
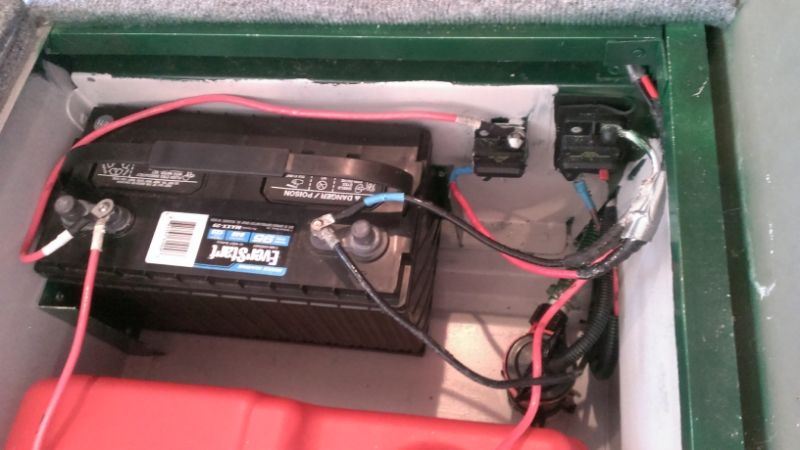
The rear electrical compartment, the smaller circuit breaker (left) goes to the rear trolling motor which is a MK 55# endura C2. The larger circuit breaker (right) powers the rest of the boats electronics which is: Humming bird piranha max 170, lowrance mark 5x dsi, navigation lights, bilge pump (seen below), aerator in live well, accessory outlet, and soon to be the interior lights and exterior black lights along with the horn.
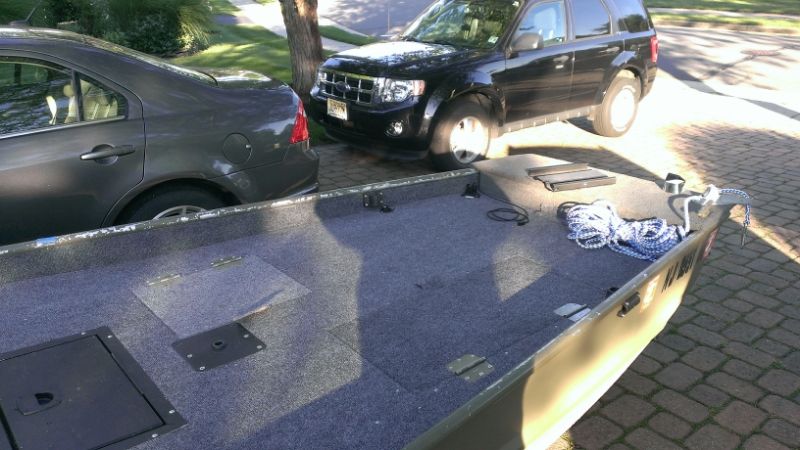
More shots of the carpeting around the interior:
And now it's done, well almost, just need to install the interior and exterior night lights.


