nicdicarlo
Well-known member
Ok, so taking advantage of the relatively nice weather, I decided it was time to begin work on laying out the new floor in my Crawdad. I few weeks ago, I gutted the whole boat of all the undesirables: trolling motor bow mount, original floor boards, some floatation foam and other plastic that was just getting in the way. I left the transom mount I built a few years back, but may just replace that as well since I have a lot of scrap. I took measurements of all the important dimensions, and came up with a scaled diagram for my floor layout...

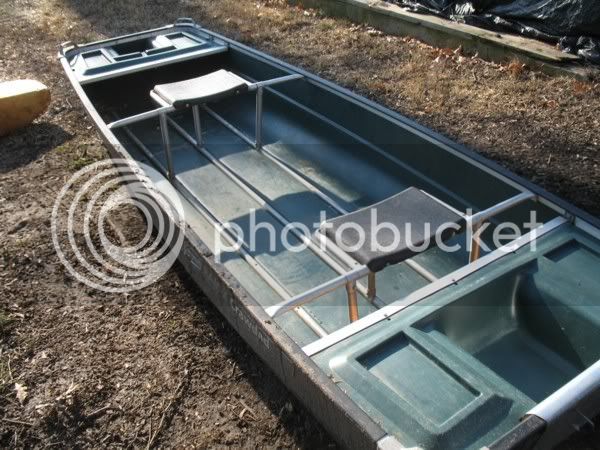
Here's what she looked like after the gut...
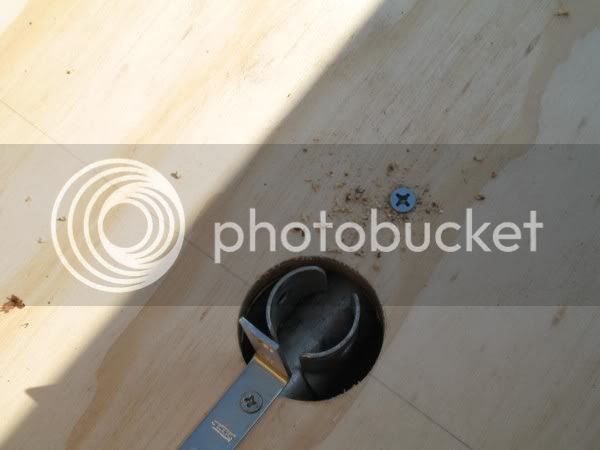
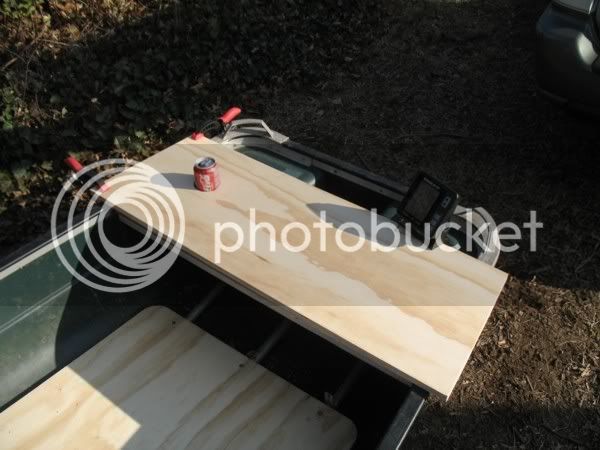
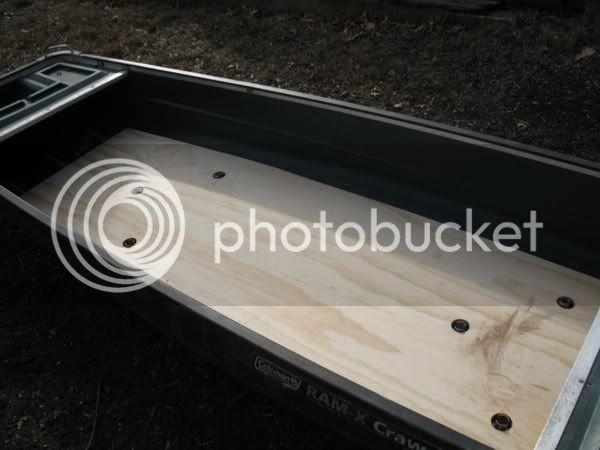
I wanted to do one continuous piece of plywood from front to back, fitting around all of the seat posts. I got the idea to remove the seats, make measurements to the center of the seat posts, use a hole saw to cut holes for the posts, install the wood, and reinstall the seats. This would give me a stable platform, as well as minimizing the surface area of ply edges that would result from installing multiple floor panels around the seat framework. All cuts were made with a cordless circular saw. The hole saw cuts were 2.25" in diameter to give me some breathing/mistake room. My measurements were pretty accurate. We'll see how it fits when I button everything up. Here's how the wood fit...
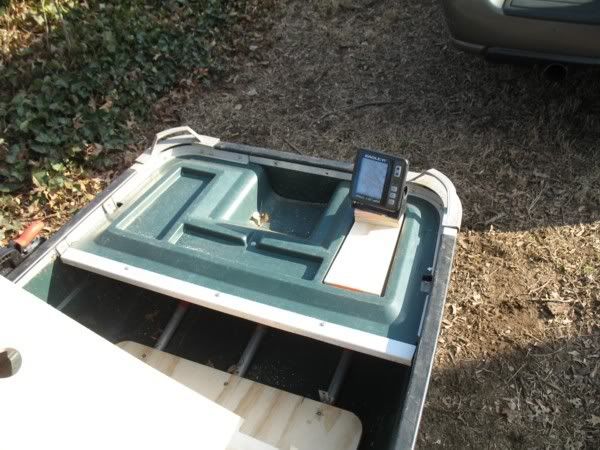
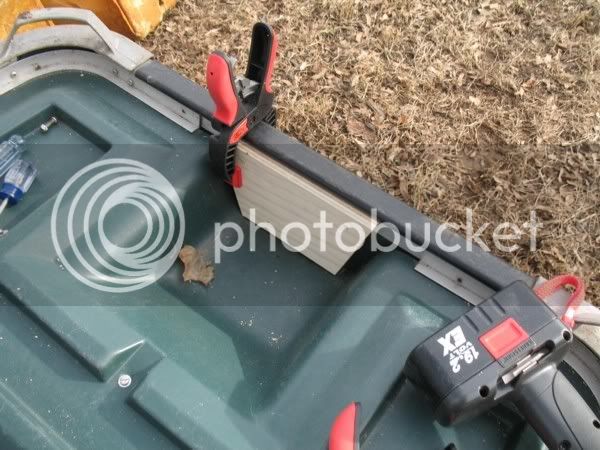
While waiting for my batteries to recharge, I had a nice lunch of leftover Ravioli and meat sauce. There’s always a nice pasta creation in the fridge at my mom’s house, the Crawdad’s current storage grounds. Next I laid out the new pieces for the trolling motor bow mount. I basically recreated what I had previously built, but bulked up the front section slightly to tie the mount into some additional frame screws and add room for some eyelets if I want....

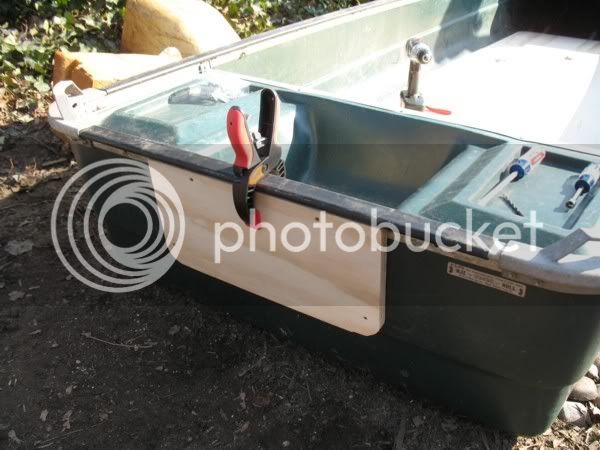
Here's how the motor mount will look installed....

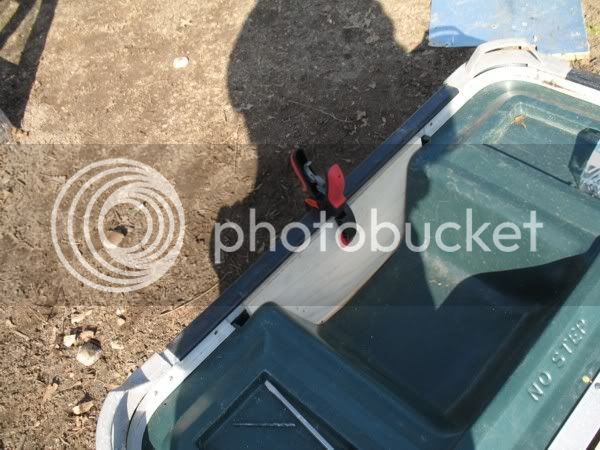
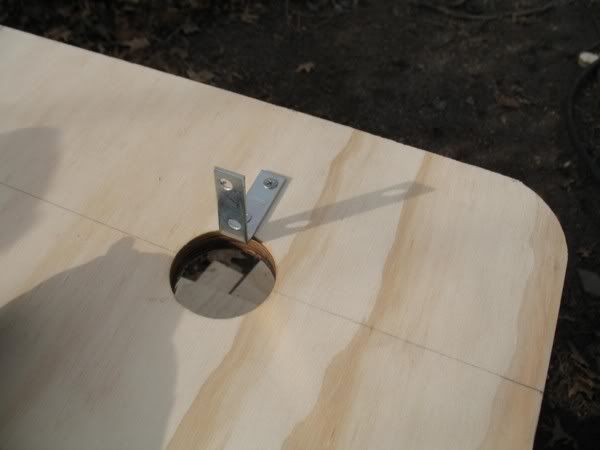
The next step was to round of the corners of the floor and motor mounts with a jig saw. I wanted to reduce the number of sharp corners for rope, line, etc. to get snagged on...
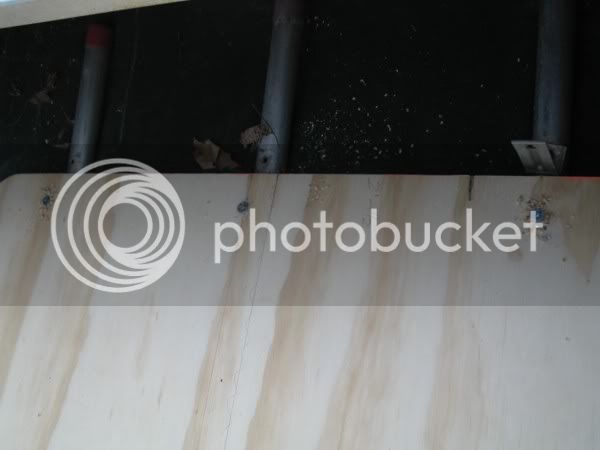
Finally, I installed "L" brackets to the ply. The brackets will be secured to the seat posts with self tappers. This will reduce the number of fasteners I will have to use to secure the ply to the bottom frame work. I didn’t want to go with a floating floor, since the boat will be store upside down quite a bit....
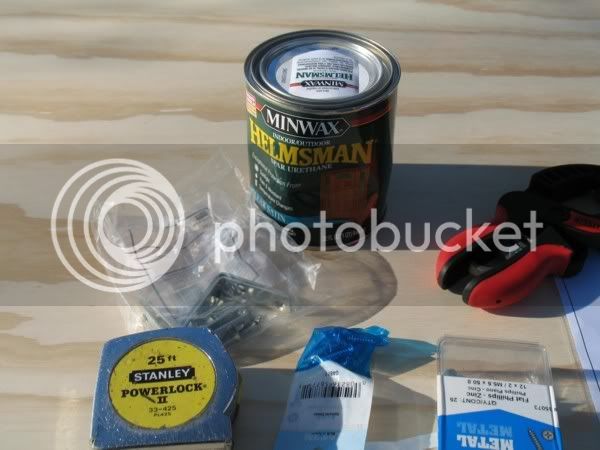
The next step will be some final sanding and applicaiton of the polyurethane coatings. I will then apply some grip tape to the high traffic areas. Here's what I purchased for the sealant (Helmsman Spar Urethane)....has any one ever used this product?...
Next, I admired my creation….

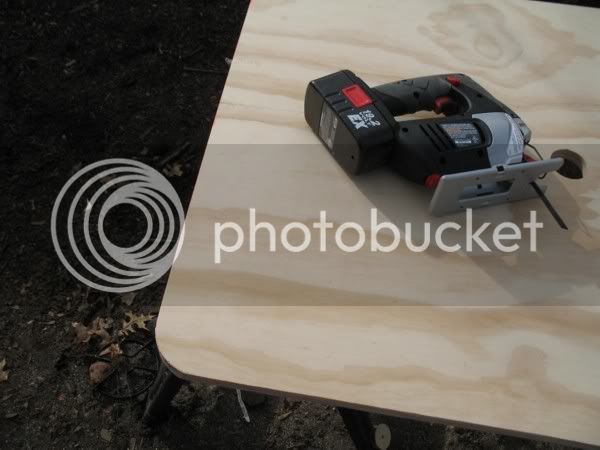
I used two new tools for this project: a cordless 19.2Volt 5.5” craftsman trim saw and a cordless 19.2Volt craftsman jig saw. I was very happy with both tools. Both saws cut through the plywood with ease, especially the circular saw, and the laser guides were a big help since I was unable to find a suitable straightedge in the basement. I would highly recommend these items. I'll probably finish up within the next couple of weeks. I'm pretty happy with the first phase. Updates soon!
Here's what she looked like after the gut...
I wanted to do one continuous piece of plywood from front to back, fitting around all of the seat posts. I got the idea to remove the seats, make measurements to the center of the seat posts, use a hole saw to cut holes for the posts, install the wood, and reinstall the seats. This would give me a stable platform, as well as minimizing the surface area of ply edges that would result from installing multiple floor panels around the seat framework. All cuts were made with a cordless circular saw. The hole saw cuts were 2.25" in diameter to give me some breathing/mistake room. My measurements were pretty accurate. We'll see how it fits when I button everything up. Here's how the wood fit...
While waiting for my batteries to recharge, I had a nice lunch of leftover Ravioli and meat sauce. There’s always a nice pasta creation in the fridge at my mom’s house, the Crawdad’s current storage grounds. Next I laid out the new pieces for the trolling motor bow mount. I basically recreated what I had previously built, but bulked up the front section slightly to tie the mount into some additional frame screws and add room for some eyelets if I want....
Here's how the motor mount will look installed....
The next step was to round of the corners of the floor and motor mounts with a jig saw. I wanted to reduce the number of sharp corners for rope, line, etc. to get snagged on...
Finally, I installed "L" brackets to the ply. The brackets will be secured to the seat posts with self tappers. This will reduce the number of fasteners I will have to use to secure the ply to the bottom frame work. I didn’t want to go with a floating floor, since the boat will be store upside down quite a bit....
The next step will be some final sanding and applicaiton of the polyurethane coatings. I will then apply some grip tape to the high traffic areas. Here's what I purchased for the sealant (Helmsman Spar Urethane)....has any one ever used this product?...
Next, I admired my creation….
I used two new tools for this project: a cordless 19.2Volt 5.5” craftsman trim saw and a cordless 19.2Volt craftsman jig saw. I was very happy with both tools. Both saws cut through the plywood with ease, especially the circular saw, and the laser guides were a big help since I was unable to find a suitable straightedge in the basement. I would highly recommend these items. I'll probably finish up within the next couple of weeks. I'm pretty happy with the first phase. Updates soon!