14' Deep V 1978 Sea Nymph project

TinBoats.net

Help Support TinBoats.net:

This site may earn a commission from merchant affiliate links, including eBay, Amazon, and others.

mah437

Member
Joined
Apr 24, 2011
Messages
7
Reaction score
0
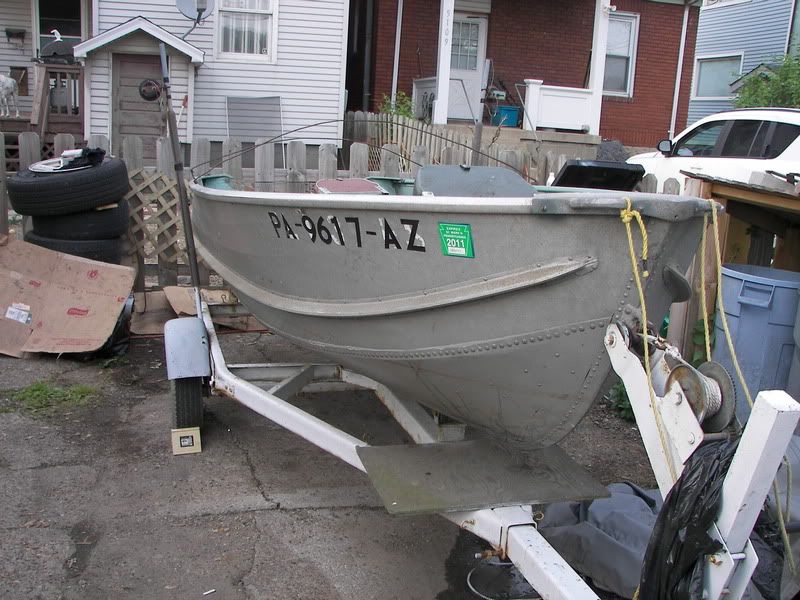
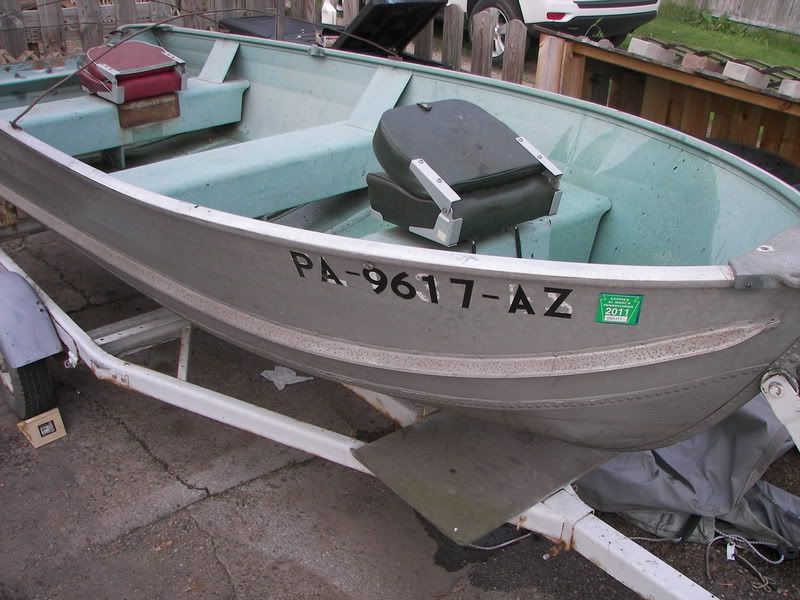
Ask my wife, I always have some kind of project in the yard or driveway. I can not own anything and just leave it alone. So when my father passed away last September I became the owned of the boat that he had bought when I was 10. I found this site and started to get the ideas flowing here is what I brought home. I had been sitting for the past two summers, dad was to ill to take it out.
100_8772.jpg


100_8771.jpg

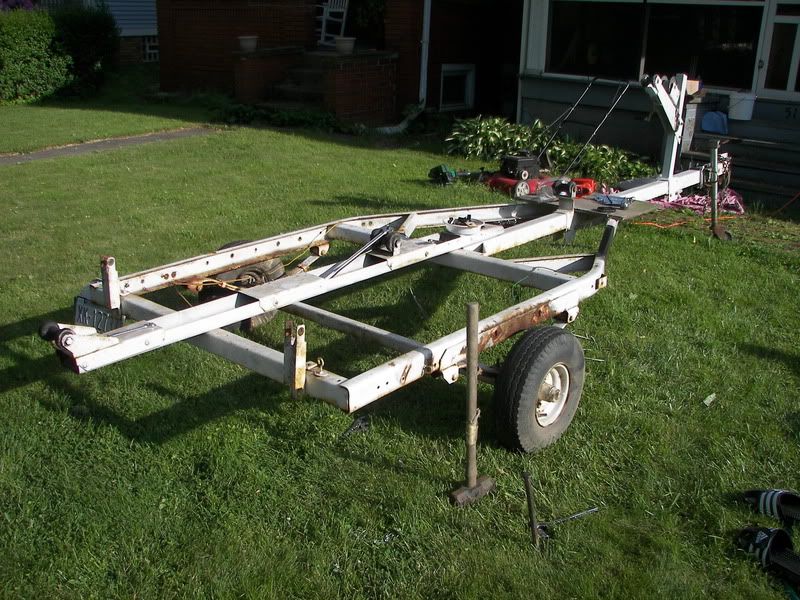
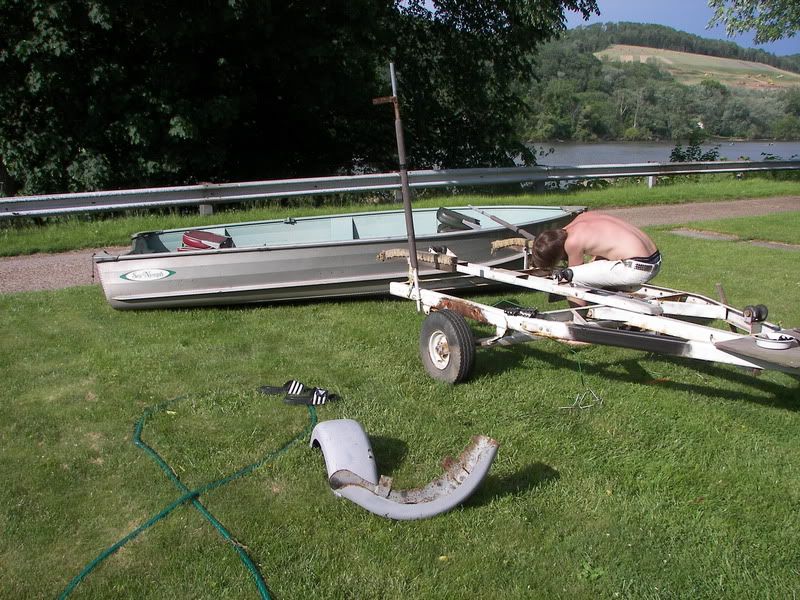
Started with the trailer, removes every bolt and extra parts that would come off.
100_8776.jpg


100_8792.jpg


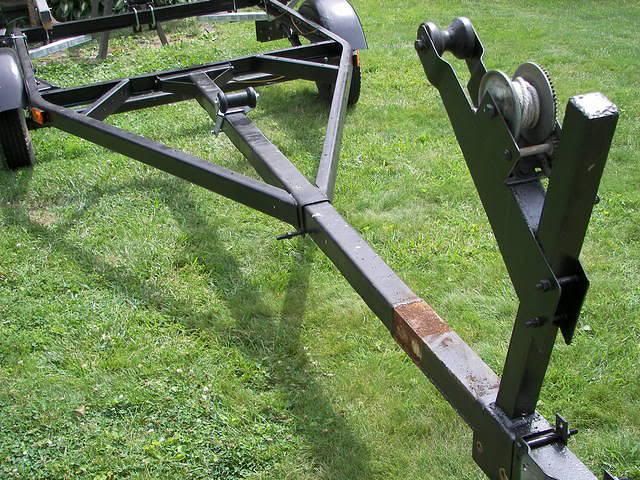
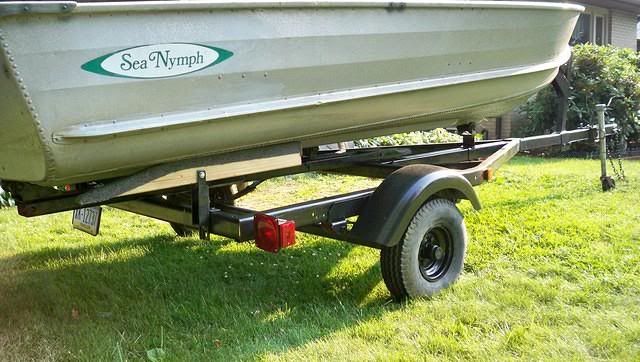
Trailer sanded and painted, new wiring and lights, One thing I didn't like how high the boat sits on the trailer and how much it hangs off of the back.
100_2335.jpg

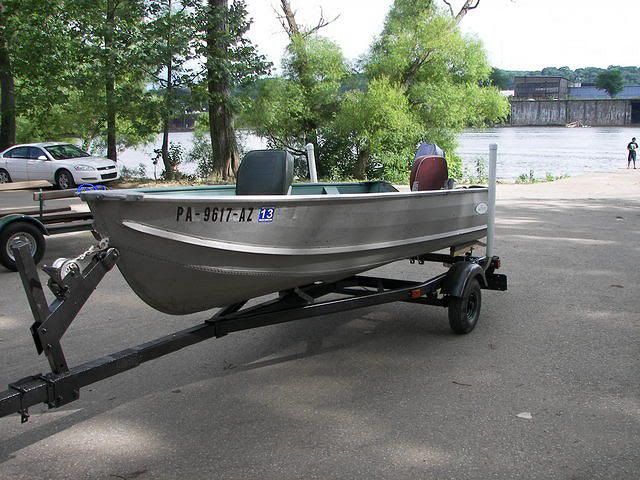
removed the center channel, new rollers and brackets, dropped it close to 4 inches. (New Longer bunks next)
slid the front post forward a bit also.
I like the way it sits on the trailer now.
100_9341.jpg

100_9340.jpg


OK, on to the decking.
100_9387.jpg

This all started in June, the last Pic was early July, getting late now. Will continue the posting of pictures tomorrow. (tomorrow I may actually be finishing up the boat. or phase 1)
 
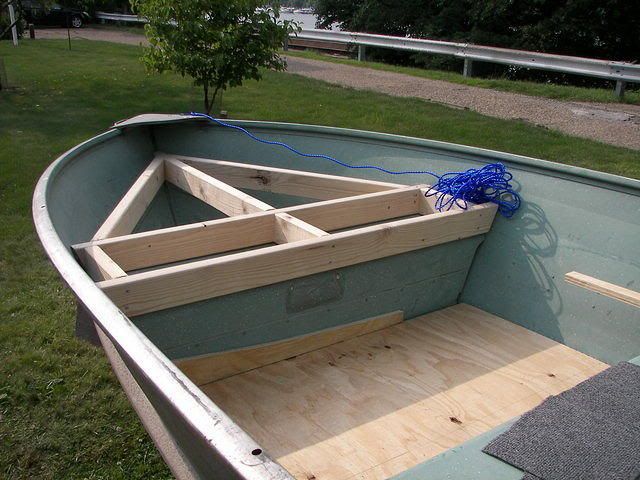
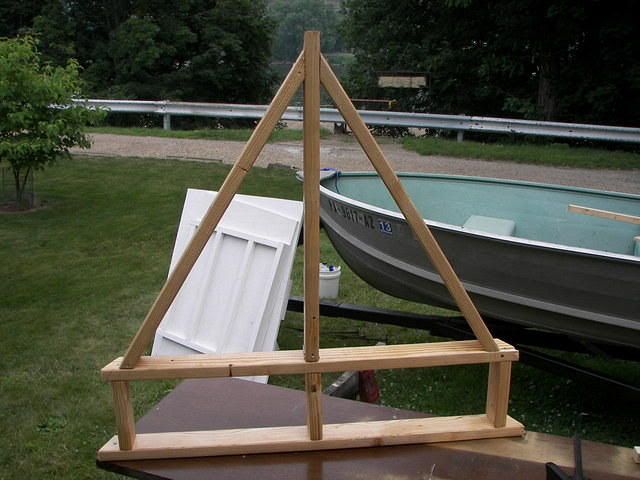
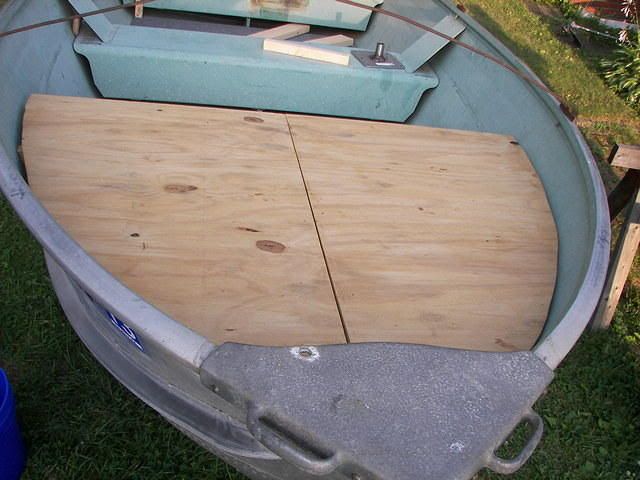
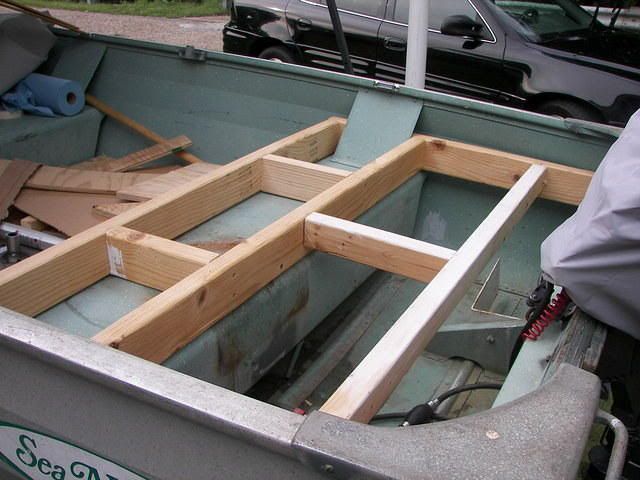
Here is the bow framing, getting ready for a coat of epoxy, in the background are the floor pieces.

100_9394.jpg


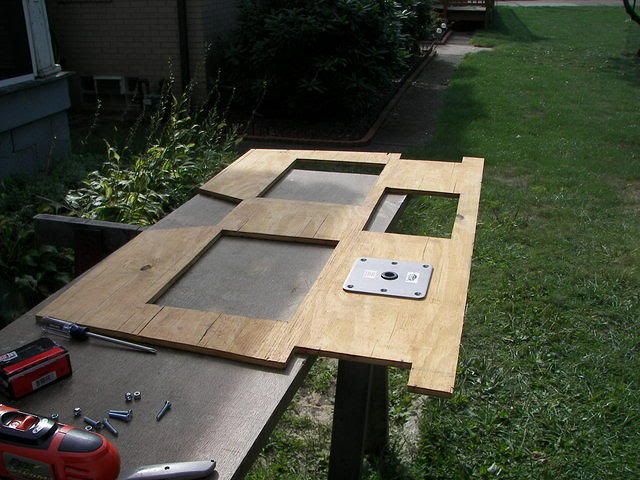
The bow deck was done in two pieces.

100_9586.jpg


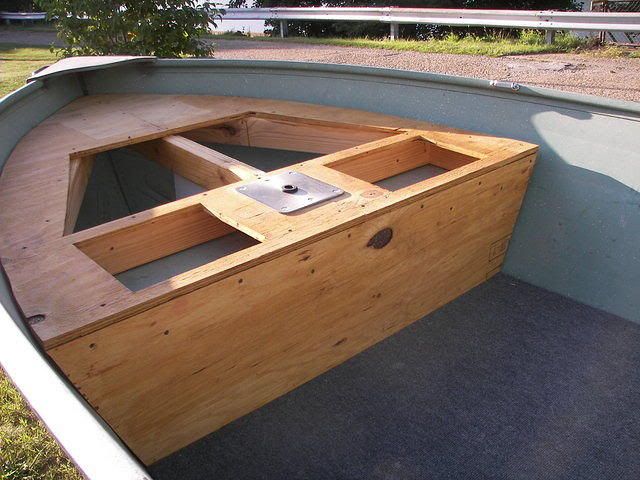
missing a few pictures. the front deck piece is held in place by two pieces of plywood that cover the front bench seat. It is a nice tight fit.

100_9817.jpg


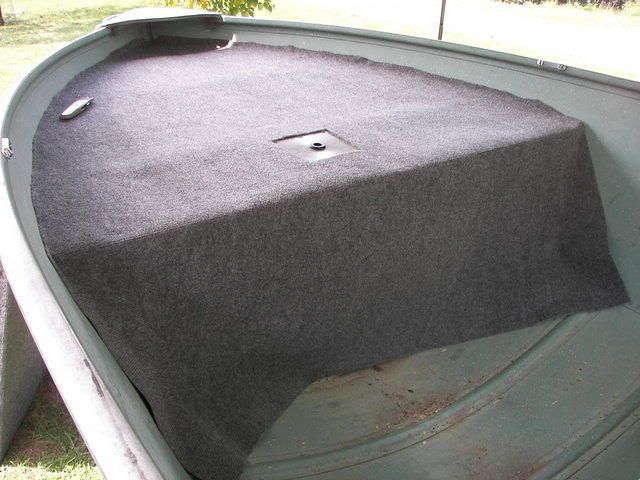
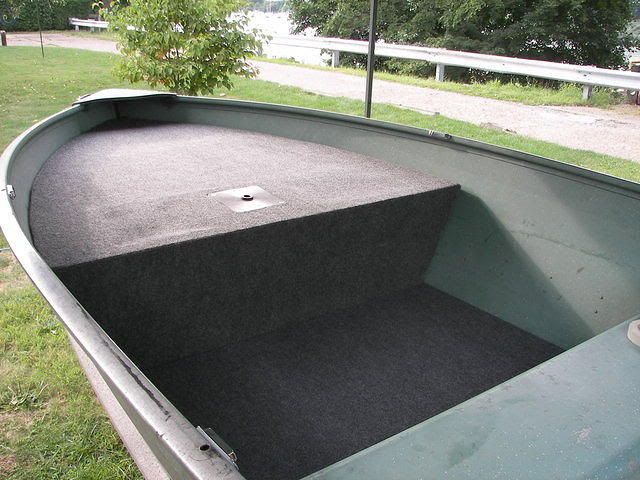
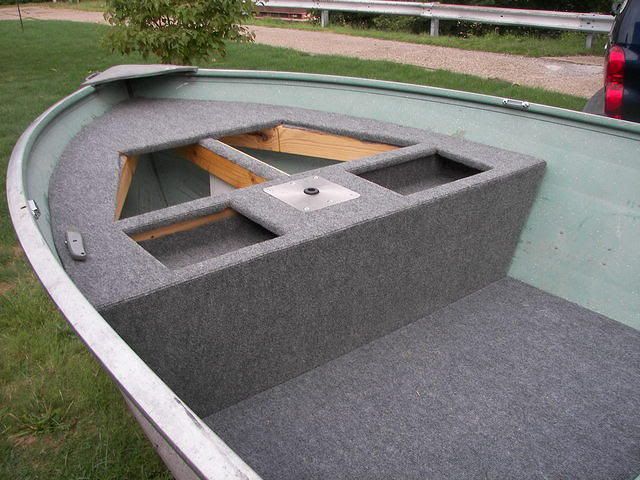
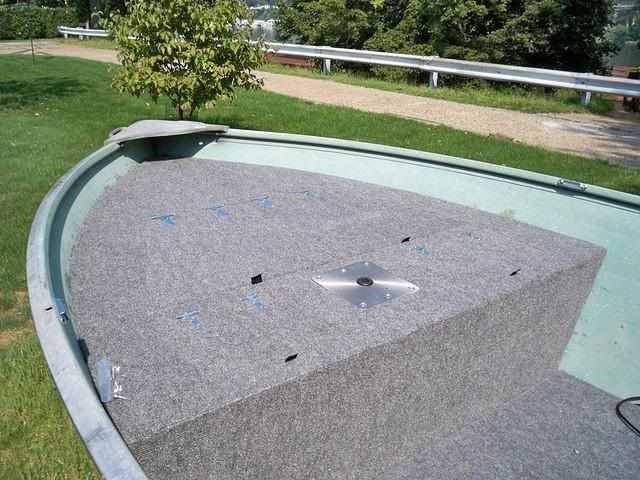
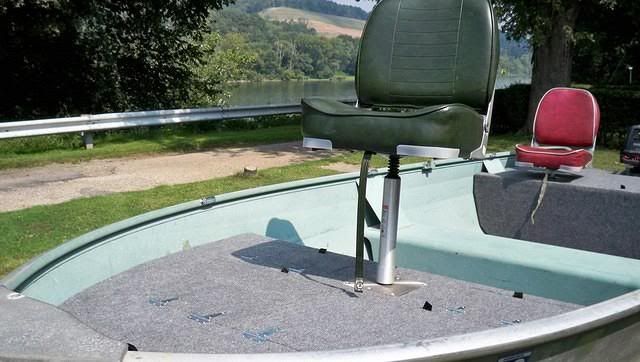
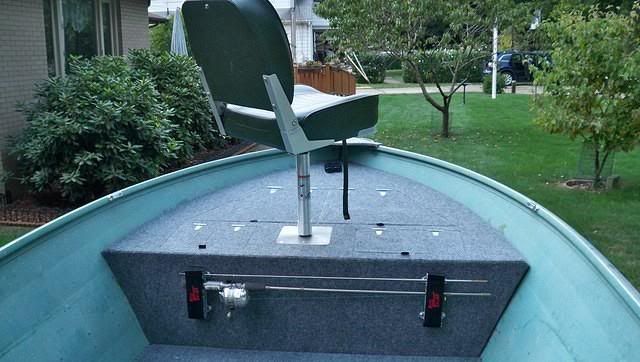
here I have the floor carpeted, the deck in place with the hatches cut our and the plywood facing. Have the seat mount secured also.

Carpet installation on the bow.

100_9820.jpg


100_9827.jpg


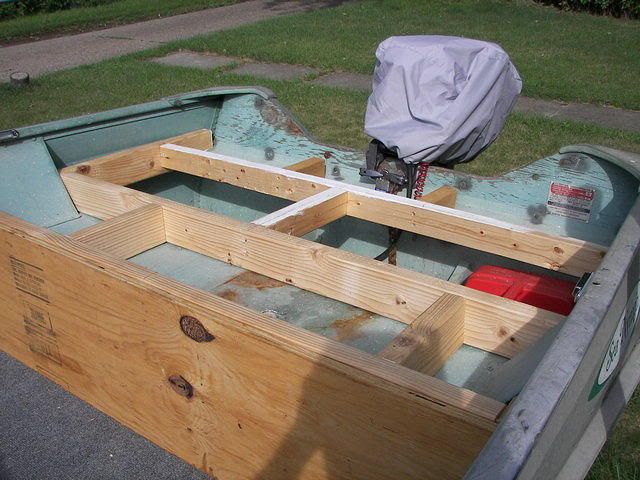
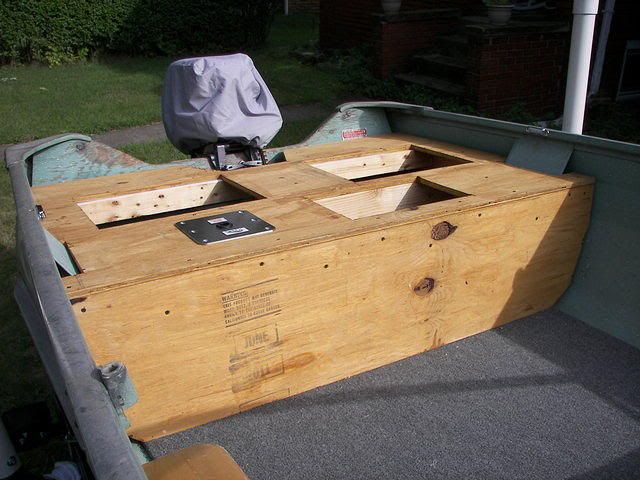
Rear Deck framing,

100_9832.jpg


100_9835.jpg


100_9834.jpg


100_9843.jpg


100_9847.jpg


100_9853.jpg


100_9856.jpg


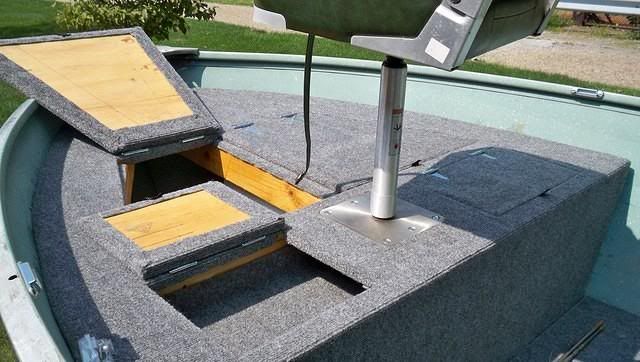
Front hatch covers installed.

100_2479.jpg


OK had to pause today for a shot of a few nicer boats cruising by the house. (I live on an Island in the Ohio River)

100_2481.jpg


100_2488.jpg


Larger front hatches, room for anchor, life jackets...... the right side has a plywood shelf sized for the battery. (moved some weight up front)

100_2490.jpg


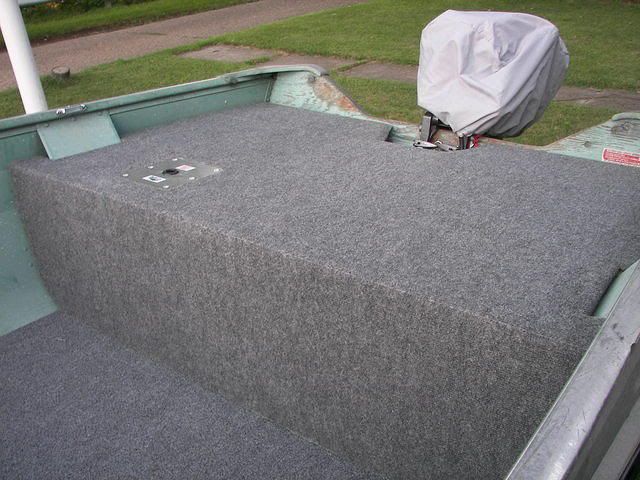
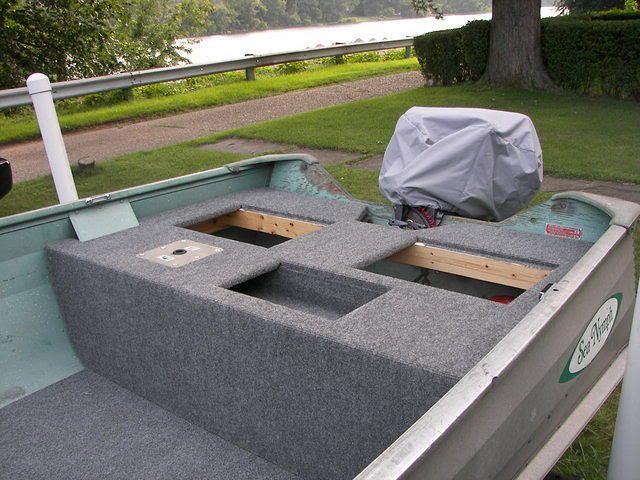
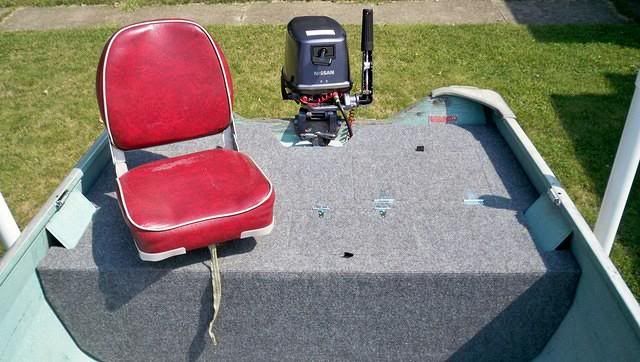
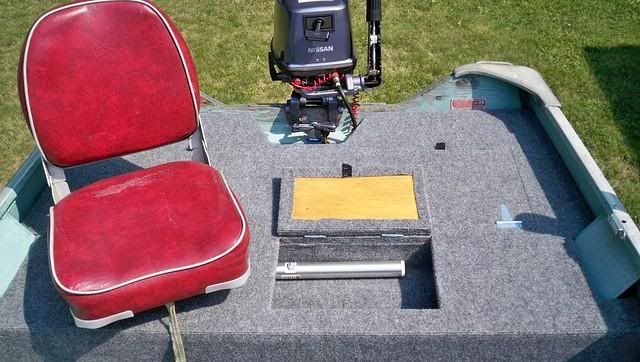
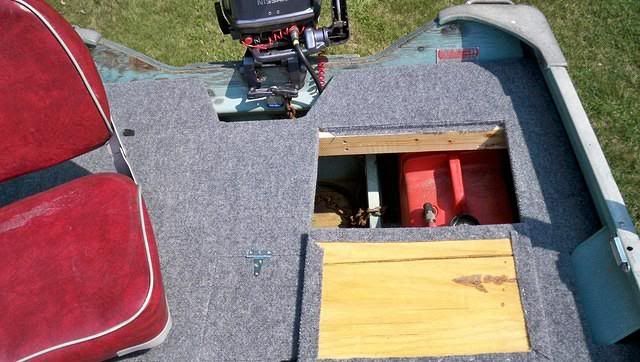
The rear deck also has a left and right hatch, the gas tank will end up on the side behind the seat.
Then a smaller hatch next to the seat.

100_2491.jpg


100_2492.jpg


100_2493.jpg


100_2496.jpg
 
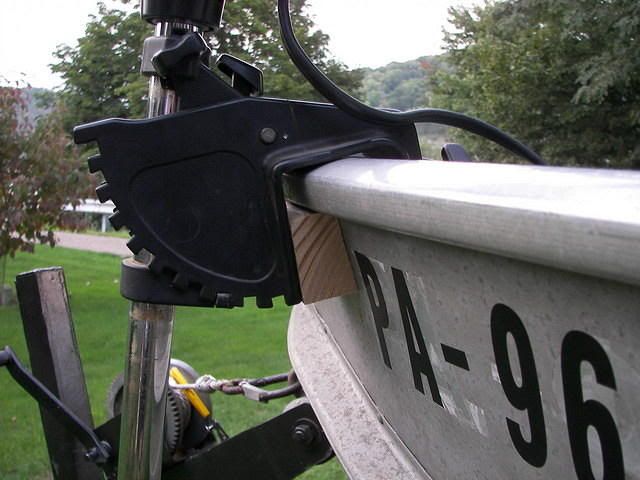
any opinions? my wood block does need some adjusting, there is another block on the inside of the boat.

100_9953.jpg


100_9951.jpg
 
Dude, looks awesome =D> =D> Plus, dad can keep an eye on you on the water :wink: What are the dimensions of your boat (bottom and beam) and what HP is that sweet Nissan? If you find it a little tippy, try centering the battery and fuel tanks. My opinion on the TM would be to find a nice 1/4" x 4" aluminum angle, slap some 3/4" ply on the inside and mount it up close to the vee. One more question, is your front seat base off center?
 
The bottom is about 42" and the beam is 63". The motor is a 9.8, would like to have a 15 or 20. I am still messing around with a front mount. I need to keep it as low as I can. my TM is a bit short.

Yea the front seat post is maybe an inch off center.

The way it is now The battery is on the right side in the bow, gas tank on the left in the back. I should have placed the battery on the left side because I have the rear seat on the same side as the battery now. Will have to see.
 
I have a quick question as I am in the planning stages of a similar mod to a 1987 Lund Mr Pike for a rear deck/storage. Did you have to vent those storage compartments for the gas tank?
 
Hey nice lookin boat man! I am trailing just behind you with my 12' deep V. Curious as to why you made a frame for the deck, I just put the deck right on top of the existing seat mounts. I will support at the bow with a ledger angle rivited to body. Hopefully it was just preference. I dont know much about this stuff but I think I'm gettin' somewhere.


Slypike, the trapezoid cutout at the motor is open to the entire compartment. Also there will not be anything in that space (electronic or wiring).

aeviaanah - built it up a bit for some more height and also for a bit more of storage space.

I have not had it in the water yet, the load rating of the boat is 1,000lb passengers and gear. The weight of the wood is about one person (a big person, lol) Just have to get the weight distributed well.
 
mah437 said:
Slypike, the trapezoid cutout at the motor is open to the entire compartment. Also there will not be anything in that space (electronic or wiring).

aeviaanah - built it up a bit for some more height and also for a bit more of storage space.

I have not had it in the water yet, the load rating of the boat is 1,000lb passengers and gear. The weight of the wood is about one person (a big person, lol) Just have to get the weight distributed well.
Right on...coming along nice my friend. I got a bit done today...including body work. I also refinished the material that finishes the top of the boat....the runners that go from transom to bow, i think they are called gunners. They were painted and I like the aluminum look. I took the bow bracket off, refinished that as well...replaced rusty hardware with stainless steel.

How did you attach carpet to underside of plywood? What kind of glue did you use?

What do you know about weight distribution? Do you just try to equalize it around the boat, taking motor into consideration or not?
 
Very nice work indeed. One thing if i may...hindges, shouldn't they be stainless...what i see in the pictures appear to be regular galvanized gate variety. And the plywood..it it a marine type grade ?...or just an exterior construction grade, the carpet is it UV stable ?... just my $ 0.2 :) you put in a lot of work into this project and i'm sure you'd want to make it last.
Dan
 

Latest posts

Top