1958 Cadillac 14' Daytona Rebuild

TinBoats.net

Help Support TinBoats.net:

This site may earn a commission from merchant affiliate links, including eBay, Amazon, and others.

nlb34

Member
Joined
Jun 3, 2023
Messages
9
Reaction score
26
LOCATION
Sioux Falls
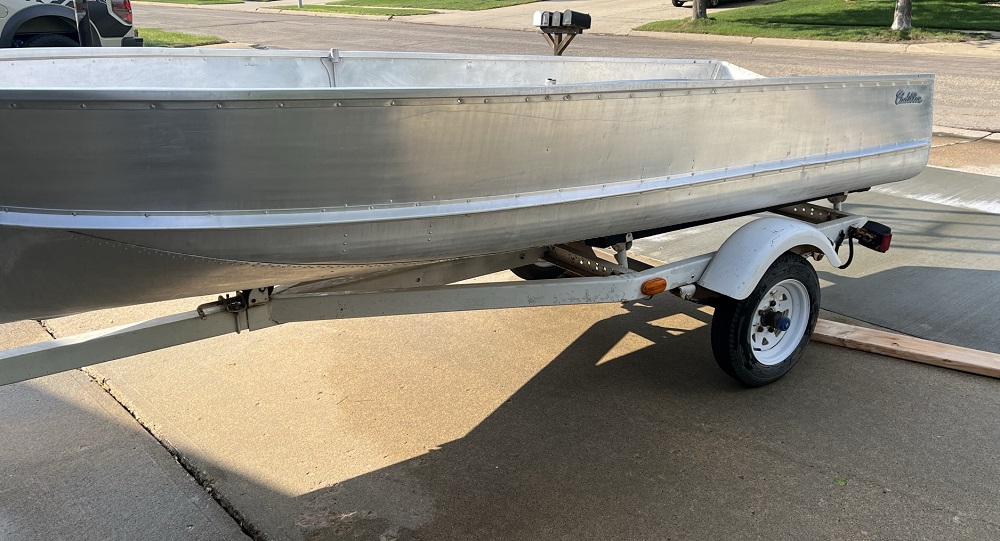
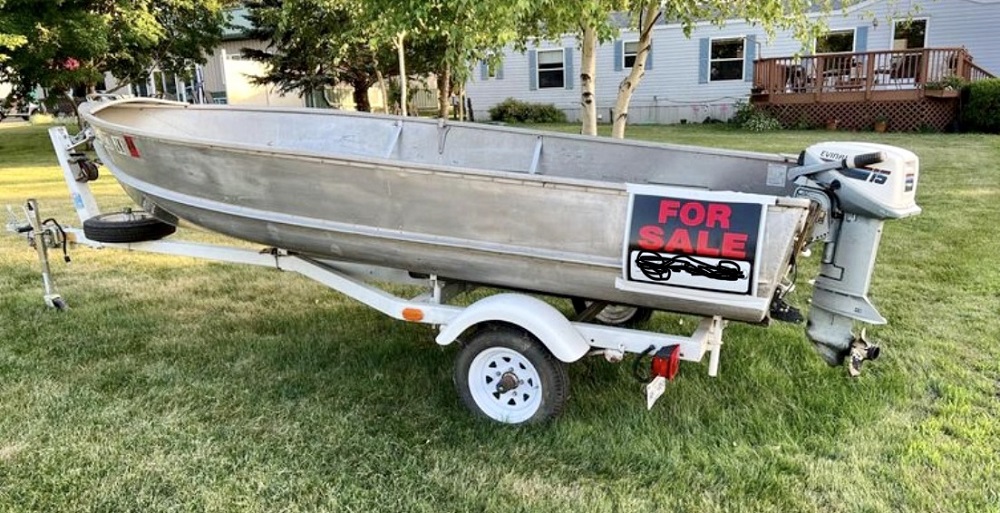
Last summer I purchased a 14' Cadillac boat, which included a trailer and Evinrude 15hp outboard. It was a slow drive home to keep the wheel bearings cool but got it home. Immediately installed new wheel bearings and seals. Fast forward to fall, the engine would not run so ultrasonic carb cleaning & carb kit, new fuel lines & pump. I made it out to the lake for the maiden voyage/test run and deemed the boat a keeper.

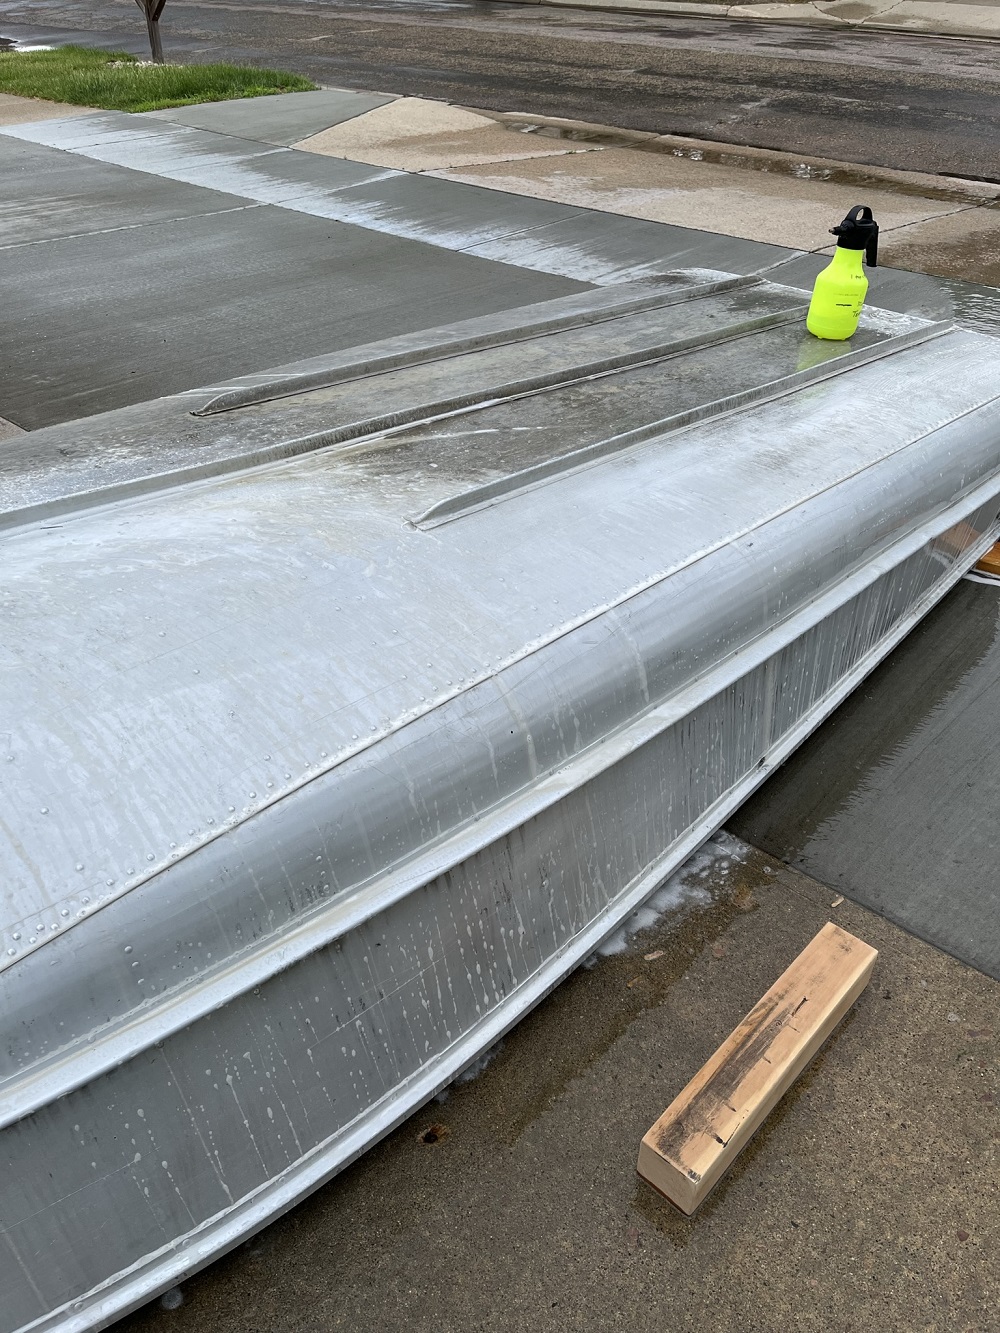
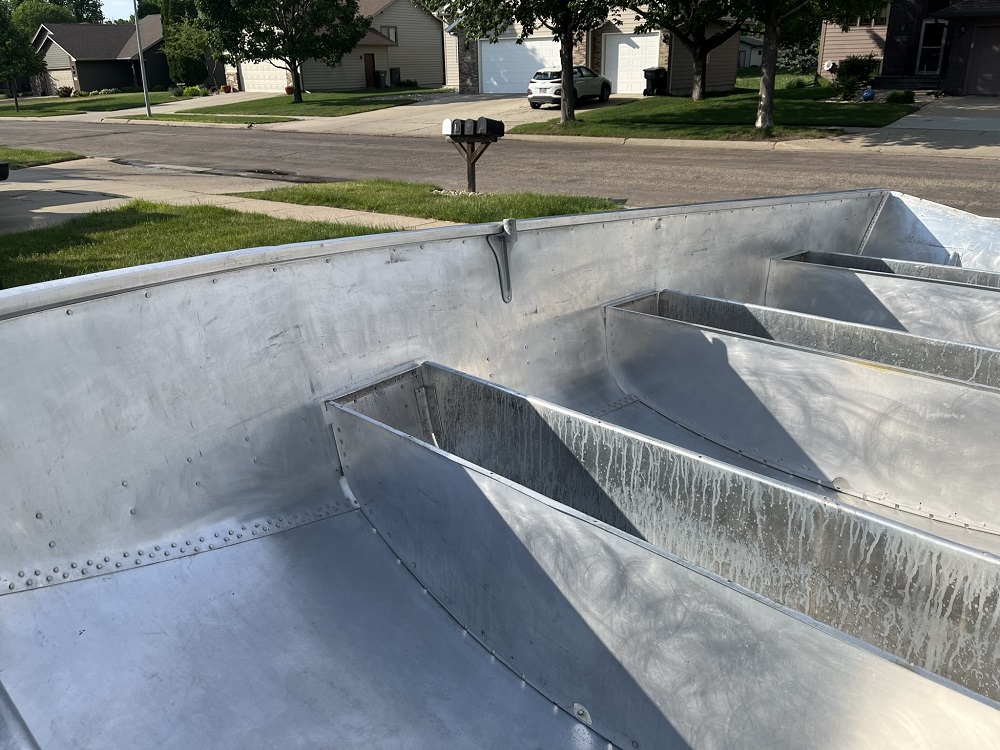
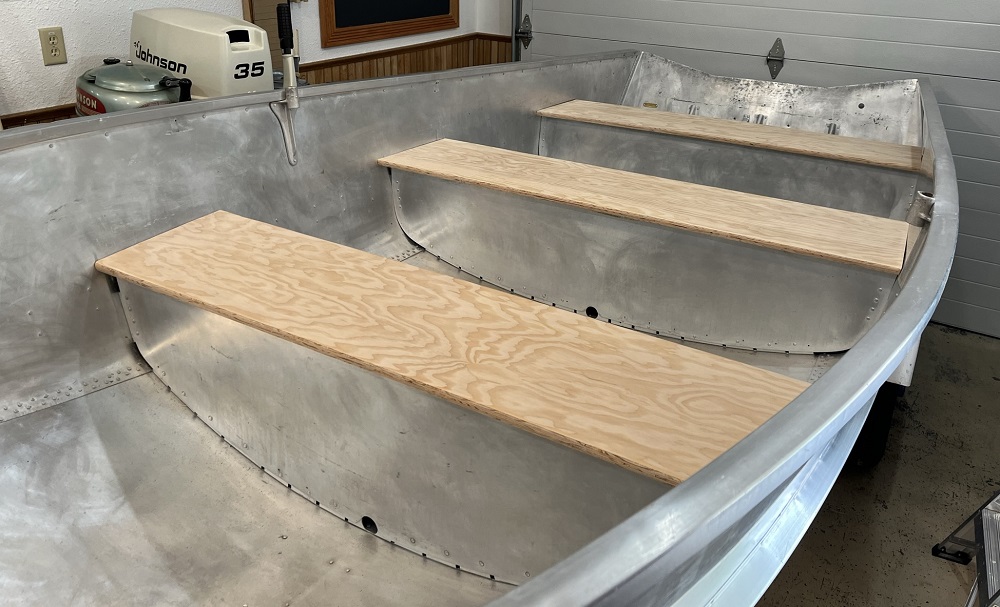
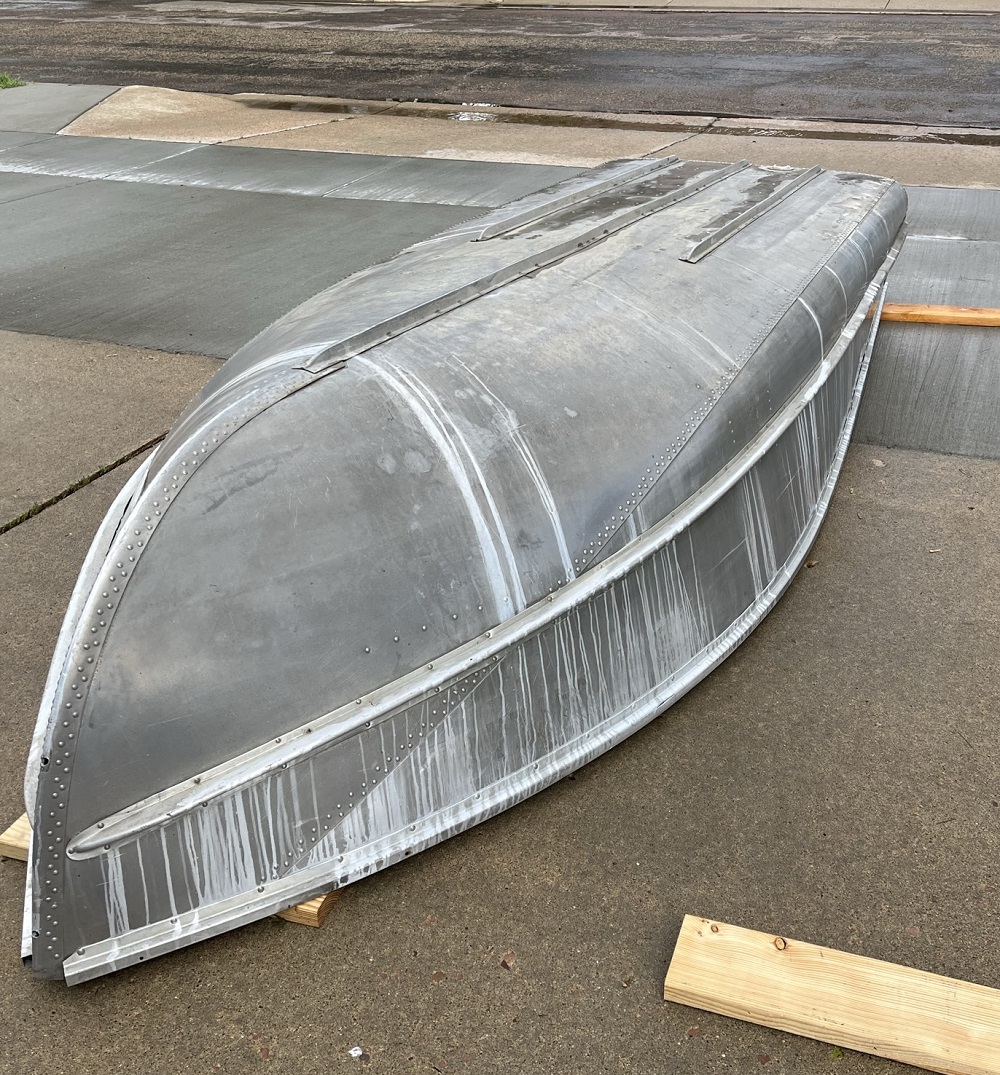
After a long pause and now with summer here I began working on the boat. In looking for ideas and advice I quickly found this great forum, thank you everyone. First job was to remove all of the hardware to include the seat tops as I really wanted to see the condition of the floatation foam. The floor looks to have originally been painted with a textured gray paint but luckily 90% was worn off, Jasco premium paint remover took care of the rest. Finally removed lots and lots of stickers; DNR rules, fish rulers, fish id charts, registration stickers over old registration stickers. With a bare boat I cleaned the entire boat with aluminum brighter from NAPA, wow this stuff is amazing. Lots more work to come, no questions yet but I am sure there will be some.
RqFYbmY.jpg


7TL4yEE.jpg


FxfAsGU.jpg


NDWKMT4.jpg


RBEajnP.jpg
 
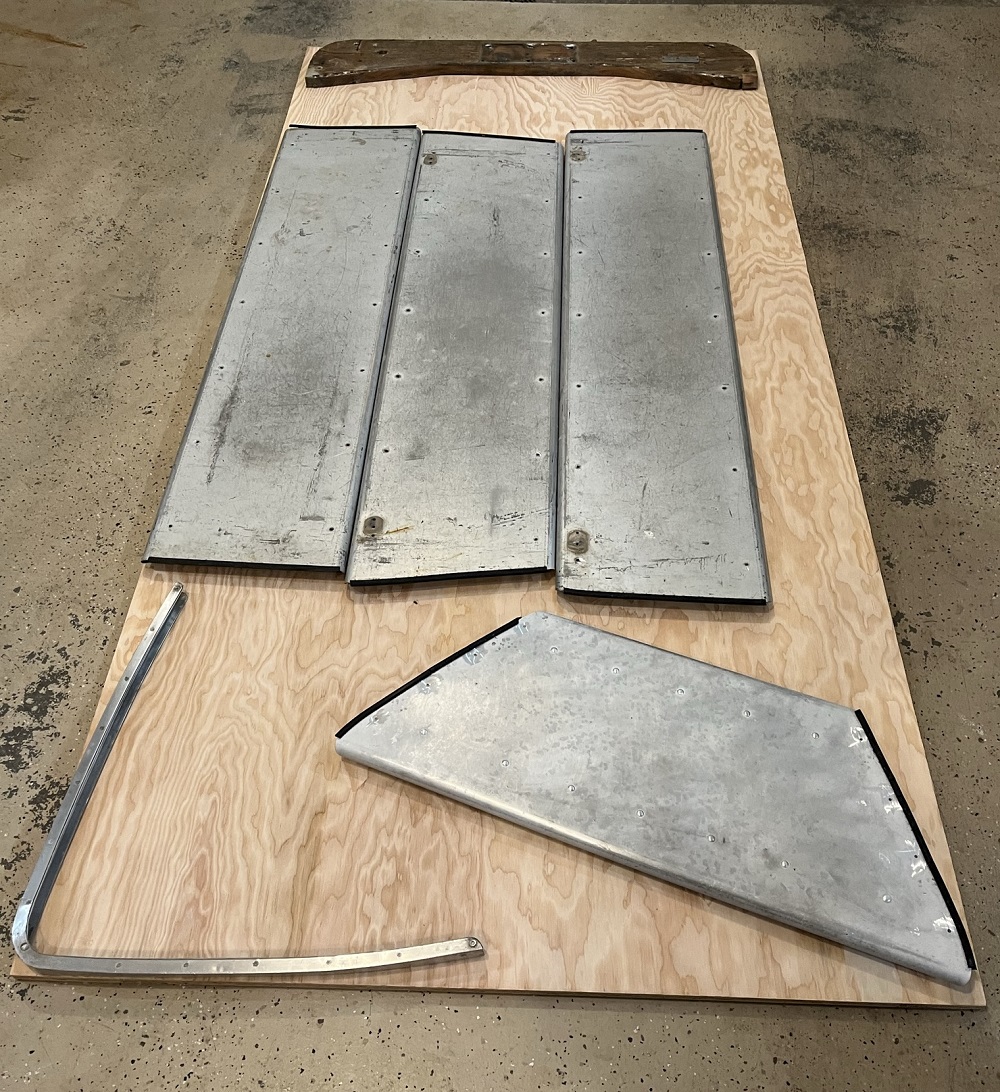
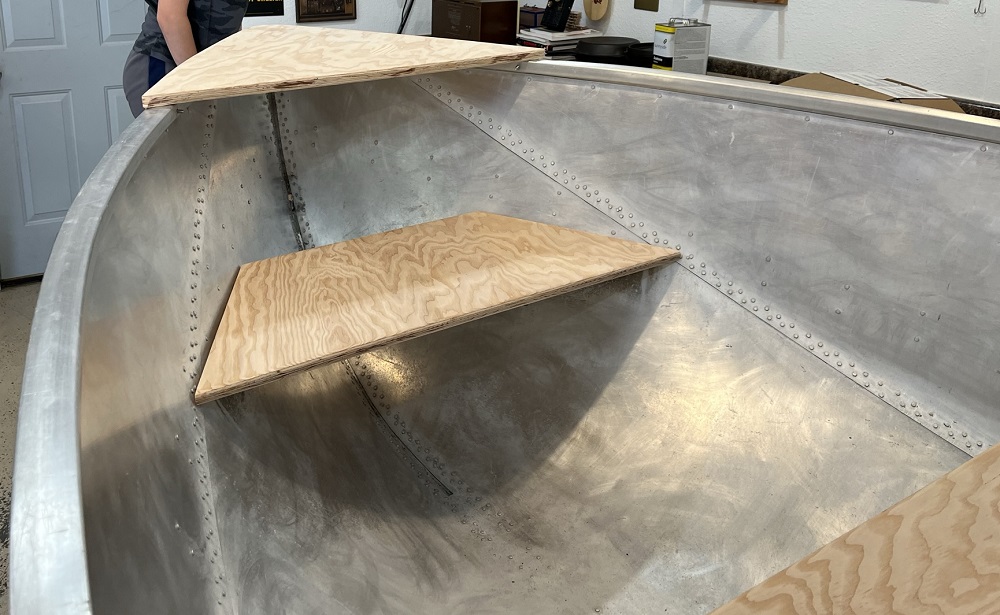
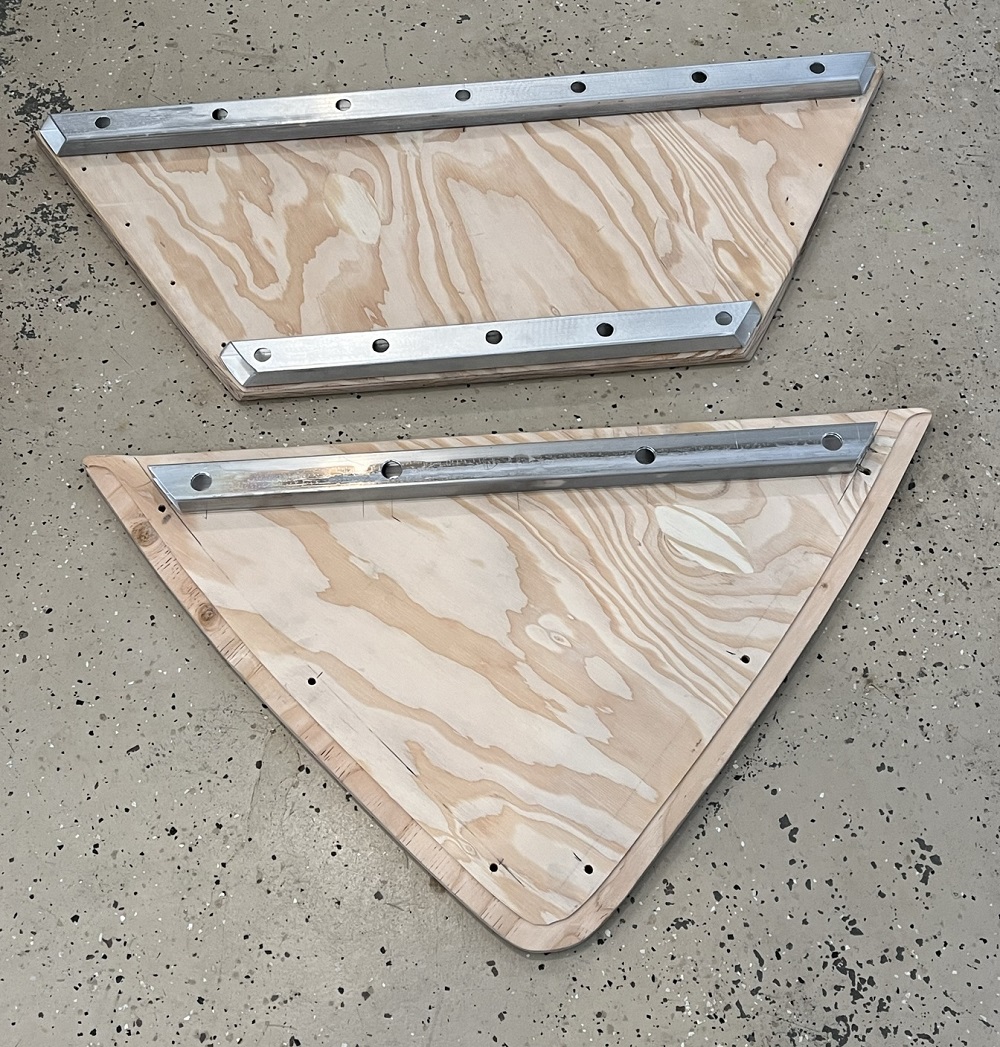
I was able to fit all of the parts needed onto 1 sheet of 3/4" marine plywood. The original transom was 1" thick hardwood, this will get replaced with 2 layers of 3/4" plywood. Also fabricated some aluminum rectangle tubing to strengthen the front seat and nose section.

tUL76go.jpg

9SEMUBh.jpg

KLoQc42.jpg

56vQE69.jpg
 
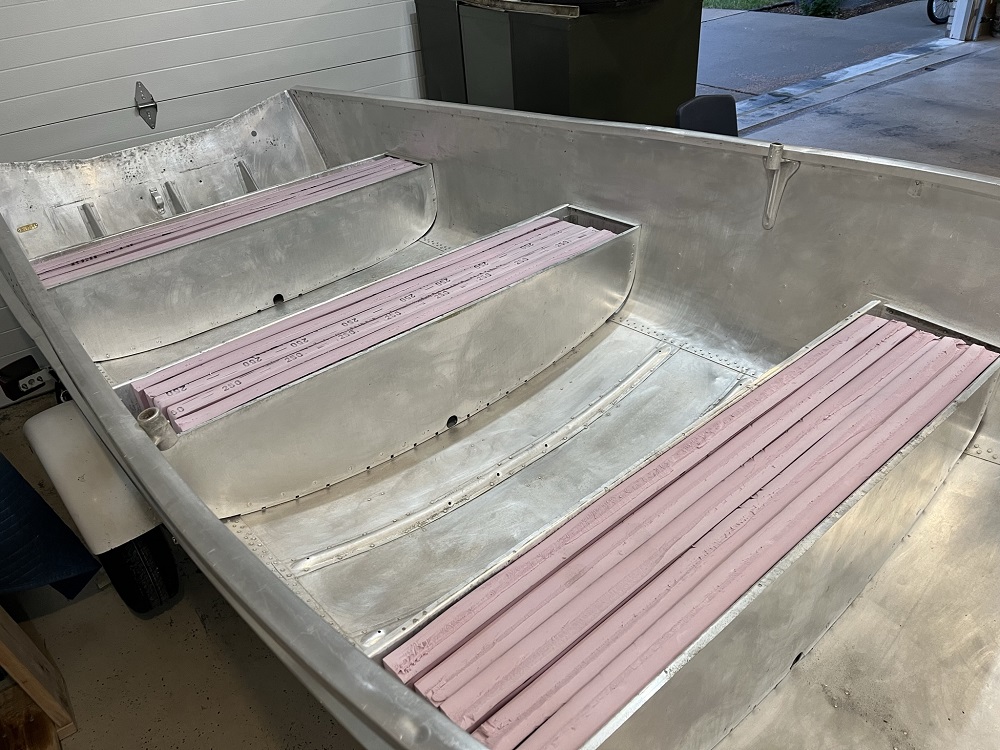
I was a concerned about the floatation foam being 60+ years old which lead me to opening up the seats. Under each seat was a sold chunk of foam that pulled right out, maybe pre-molded and dropped in or maybe shrank over time. For others with these boats it would appear that the foam was still sound. I did not try a soak test but the foam was solid and not crumbly, also it was several inches off the bottom which would have keep it from sitting in water over the winter.

Lots of reading here and elsewhere about mixing two part foam vs using foam insulation. Lots of videos showing boats with water logged flotation foam suggesting that over time pour in foam degrades, others suggested the make-up has changed and the new foam is better, all said it was easier to cut up foam insulation, also the seats were exactly 10" wide which fit 5 pieces of 2" foam perfect. Rough math says I have 475lbs of flotation which will cover the boat, engine, and 100+lbs of gear.

QeFu0Bc.jpg
 
Looking good. What are your plans for that freshly cleaned aluminum?

Is there a treatment you can apply that will help retain that look?
 
While I am tempted to paint the boat it was originally bare aluminum so I will keep it that way. My plan is to seal the aluminum with Sharkhide. Lots of reviews and YouTube videos showing this stuff works and can be applied with just a cloth. For the bottom I am planning to prime with acid etch primer and then paint on textured Durabak, the plywood parts will then get smooth Durabak.

Before all of this I need to fit the new transom wood along with some other small misc. item. The end goal is to have the boat and a Johnson 35 outboard that I am rebuild all ready for a fall fishing trip.
 
I was a concerned about the floatation foam being 60+ years old which lead me to opening up the seats. Under each seat was a sold chunk of foam that pulled right out, maybe pre-molded and dropped in or maybe shrank over time. For others with these boats it would appear that the foam was still sound. I did not try a soak test but the foam was solid and not crumbly, also it was several inches off the bottom which would have keep it from sitting in water over the winter.

Lots of reading here and elsewhere about mixing two part foam vs using foam insulation. Lots of videos showing boats with water logged flotation foam suggesting that over time pour in foam degrades, others suggested the make-up has changed and the new foam is better, all said it was easier to cut up foam insulation, also the seats were exactly 10" wide which fit 5 pieces of 2" foam perfect. Rough math says I have 475lbs of flotation which will cover the boat, engine, and 100+lbs of gear.

Another reason to like your approach is future repairs or changes will be a heck of a lot easier than dealing with the pour in foam.
 
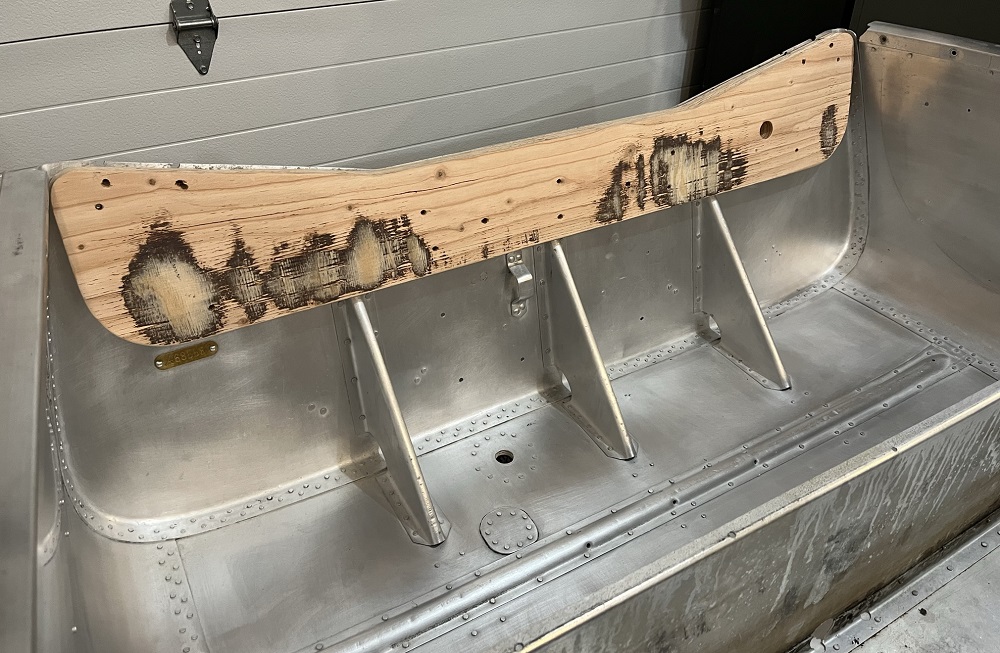
Not a lot of progress to show but definitely lots of fitment work to get the transom rebuilt. The original 1" thick wood is now replaced with two layers of 3/4 marine plywood.

The boat had and additional square of plywood bolted on the back of the transom, it was clearly done by a previous owner and sadly must have been treated plywood as there was some but luckily mostly cosmetic corrosion. In looking at other Cadillac boats it's not clear if some boats came with extra strengthening wood on the back or if this was something owners would have added over time as the transom wood slowly rotted. I decided to further strengthen the transom by fitting a 1/4" aluminum plate on the back. To get the plate flush to the transom I drilled out small pockets on the back side of the plate to make room for each rivet.

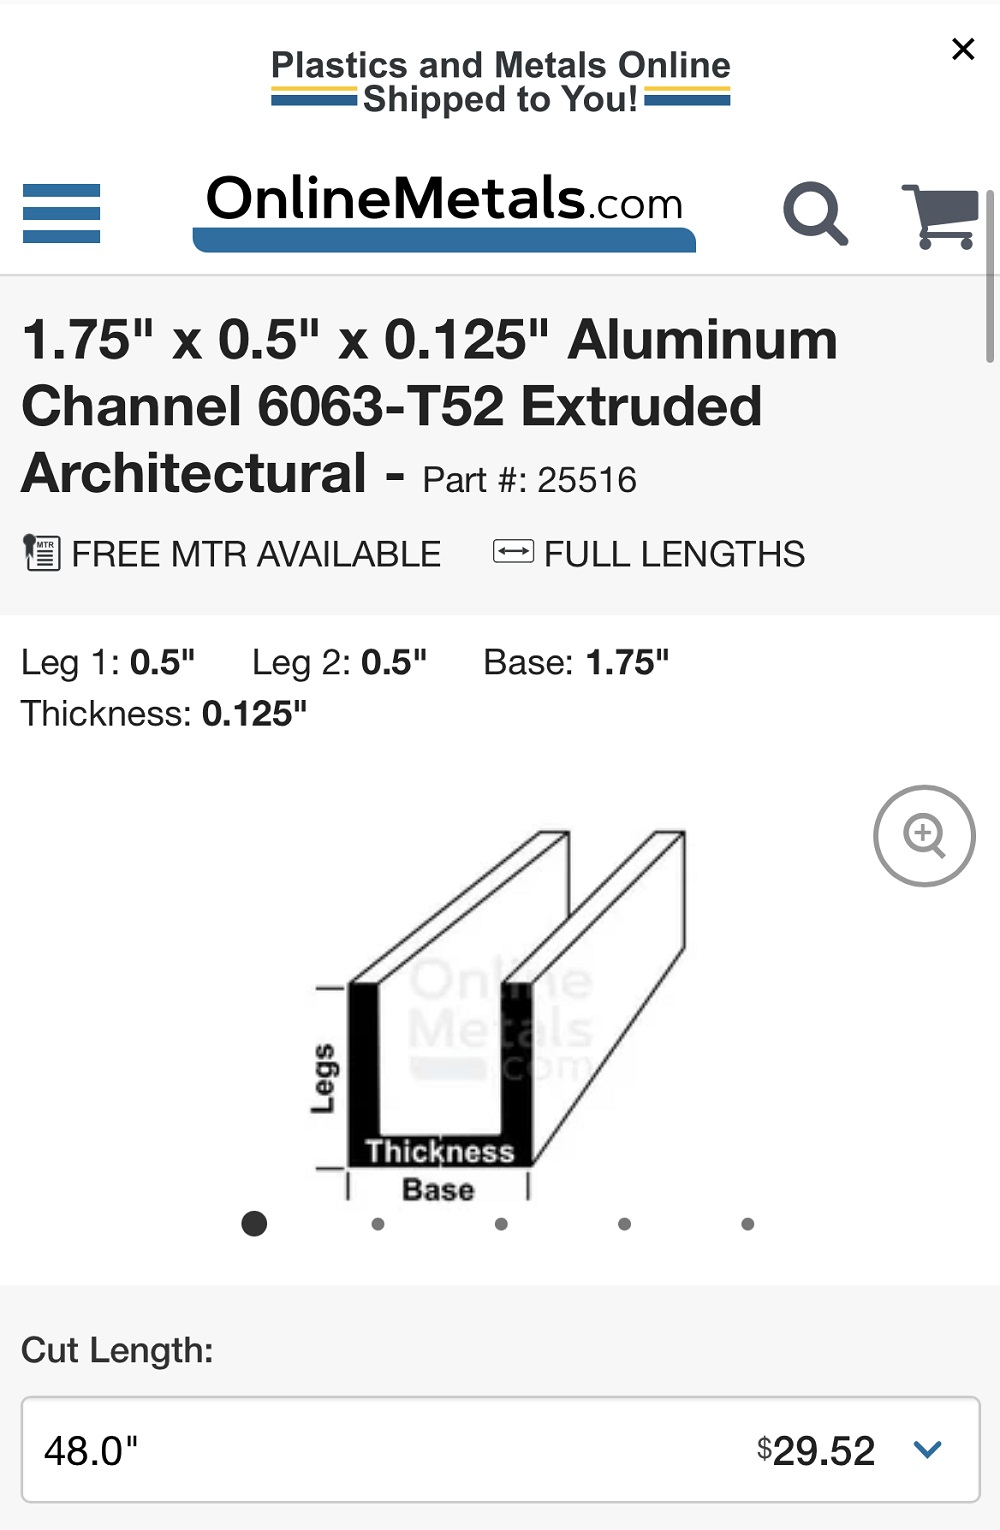
The aluminum so far came from a salvage/scrap yard but for the transom cap I ordered specifically 1/8" x 1.75 deep c channel which fit over the transom almost perfect. I did shave the plywood down about 1/16" to get the transom cap to fit.

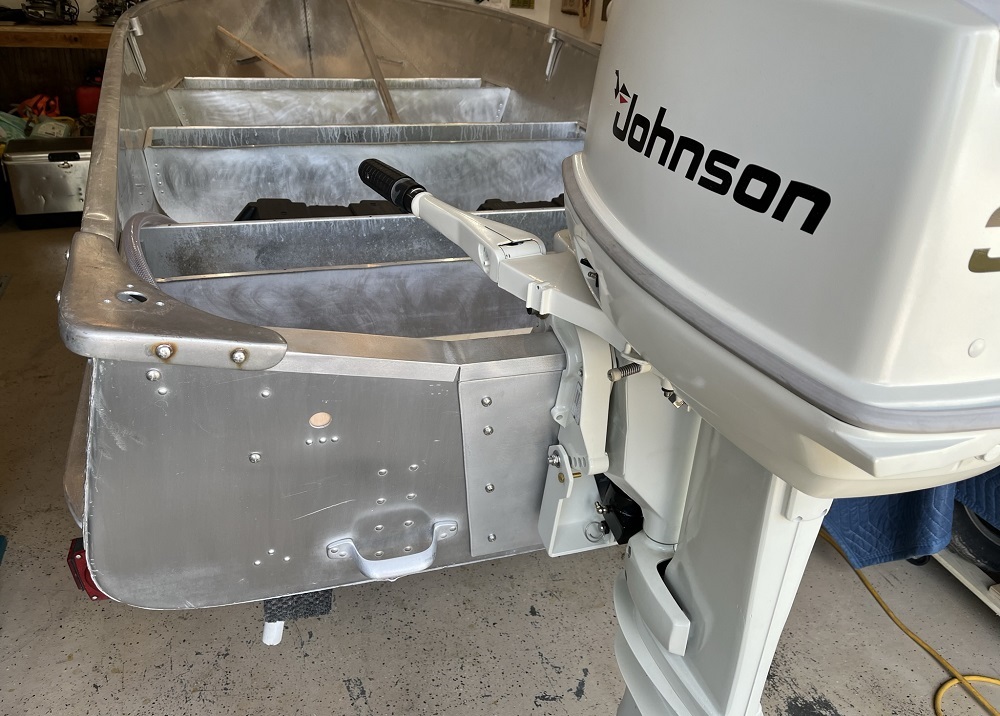
In parallel I am rebuilding a 1979 35hp Johnson outboard which I believe is ok as the sales literature for the boat lists up to a 35hp outboard. The boat has 3 solid braces from the transom to the floor and now has what should be stronger transom materials than from when it left the factory. I have no plans to "upgrade" but I assume some caution might be needed with the new 4 cycle engines as their weight is much heavier vs what engineers had designed when setting specifications decades ago.

07tVVJr.jpg

Vk6IYsQ.jpg

a7zwjt4.jpg
 
That’s looking nice. Good job!

I suggest you apply 3M 5200 or equivalent to every part you permanently attach to this boat.

It should be between the wood transom and the aluminum skin, and between the engine plate and the skin.

Emery fastener should be dipped or brushed with 5200, prior to installation. This is called a “wet installation” and will strengthen the structure, minimize vibration and aid as a corrosion inhibitor. It’s a win win.
 
Axhammer, thanks for the advice. My initial thought was to seal the plywood transom on all sides with Durabak paint and simply bolt it together. I will now also seal and bond the transom wood and plate with 3M 5200 to the transom.

My question, on the wood transom side that mates to the aluminum transom should I leave this bare and use 3M 5200 sealant to both seal and strengthen this joint, or does the wood still need to be painted before applying 3M 5200?
 
Whatever you plan on using to treat or preserve the wood, it should be done to every side and edge, even inside any holes. Let it cure and treat it a second time, every edge, side or nook & cranny. Let it cure a second time.

When installing the wood (or the aluminum plate) to the aluminum boat, the 5200 is applied to the two mating surfaces only, this is called a “fayed surface”.

Each mating surface should be scuffed or roughed-up for better adhesion. Hand scuffing with 80 grit, or grinding with a flap wheel, whatever you are comfortable with. After both surfaces are scuffed, they both need to be cleaned with acetone. Clean everything getting sealed or bonded with acetone.

Apply and spread the 5200 heavy enough to get 100% contact with a little squeeze-out.

Dip, roll or brush 5200 on each fastener prior to inserting the fastener into each hole.

If you do this, you will have a very strong air/water tight repair…the best you can get in my opinion.

I found a YouTube video showing how to make a live well. The way this person sealed his live well, is a good example of how EVERY permanent repair should be installed when repairing a tin boat, in my opinion. I took a screen shot of what I am talking about.

Just to be perfectly clear, when I repair and assemble my 1751 project, unless it is welded, every permanent part will go together wet with 5200 or equivalent. If it’s not permanent, and may opened-up occasionally, then don’t seal it with 5200.
 

Attachments

  • 846044AE-B695-4BB0-9A9A-49497B51DFE2.jpeg
    846044AE-B695-4BB0-9A9A-49497B51DFE2.jpeg
    106.7 KB
I was a concerned about the floatation foam being 60+ years old which lead me to opening up the seats. Under each seat was a sold chunk of foam that pulled right out, maybe pre-molded and dropped in or maybe shrank over time. For others with these boats it would appear that the foam was still sound. I did not try a soak test but the foam was solid and not crumbly, also it was several inches off the bottom which would have keep it from sitting in water over the winter.

Lots of reading here and elsewhere about mixing two part foam vs using foam insulation. Lots of videos showing boats with water logged flotation foam suggesting that over time pour in foam degrades, others suggested the make-up has changed and the new foam is better, all said it was easier to cut up foam insulation, also the seats were exactly 10" wide which fit 5 pieces of 2" foam perfect. Rough math says I have 475lbs of flotation which will cover the boat, engine, and 100+lbs of gear.

QeFu0Bc.jpg
veeery interesting.jpg

I would like to replace the foam in my tinny also. I have a ton of extra foam board at work from an insulation job we did. What brand/spec board did you use? I have the owens corning "pink board." Albeit the one I have is 1" thick, but I think I have enough to do the job. How did you cut it to shape? Did you glue the pieces together? More details please! :giggle:

Thank you!
 
I used Owens Corning Foamular polystyrene 2" thick foam board insulation, the pink stuff. It cuts very easy with a sharp razor blade, I marked and cut each side which was deep enough to snap each piece apart. Any shaping was done with the razor blade as well. A saw would have just made a big mess. No glue needed for my boat as each seat holds 5 sheet perfectly tight. Note I did leave about a 3" gap off the bottom which will keep the insulation from sitting in water and also allow water to run under each bench seat.

While I am sure other insulation would work I read that polystyrene should hold up over time both to water/ice and also wont break down and leave little white beads all over the boat.
 
nlb34: Nice work, and a really well-kept 60 year-old. My 1958 BlueStar 14 looked very similar, but not so pristine. Cadillac formed the chines like my BlueStar, by "hickeying" them in a press brake. Having rounded chines makes the boat almost silent, sneaking thru a marsh flat.
I removed my center seat, and cut the tops of the front and back seats out to remove the ancient, deteriorated foam, also. I used a dozen medical styro coolers, cut into flat pieces and completely filled the seats, plus, I put a deck over them that is 2-1/2 inches above the seats, so more foam there. I calculated that I added 375 pounds of lift. I had a structural failure of my deck joint in a huge square-wave sea in South Padre Island, and the boat swamped. It floated just about deck level, even with a 110 pound outboard. After a rescue, I added 75 more pounds of lift in the stern, to ensure that my engine won't sink below the saltwater. I have every confidence that it won't sink next time, and I hope there isn't a next time!
With a 15 HP Yamaha 4-stroke, mine runs a bit over 20 MPH, and is a great flats skiff. I wanted a Technical Poling Skiff, but couldn't afford one, so I made my "Low-Tech Polack Skiff"! No poling tower, as my balance at my advanced age of 77 is gone, and I'd be in the water in a heartbeat.
When I go to a launch ramp, I always have lots of lookers, and I'm sure you will too. There are pics on this Forum of my skiff, TIN STAR. Good luck, TexasJim, on the Texas Riviera
 
Top