2001 SeaArk 1548DK DuckHawk Conversion Project

TinBoats.net

Help Support TinBoats.net:

This site may earn a commission from merchant affiliate links, including eBay, Amazon, and others.

timebak

Active member
Joined
Jun 9, 2011
Messages
31
Reaction score
0
Location
Northern Missouri
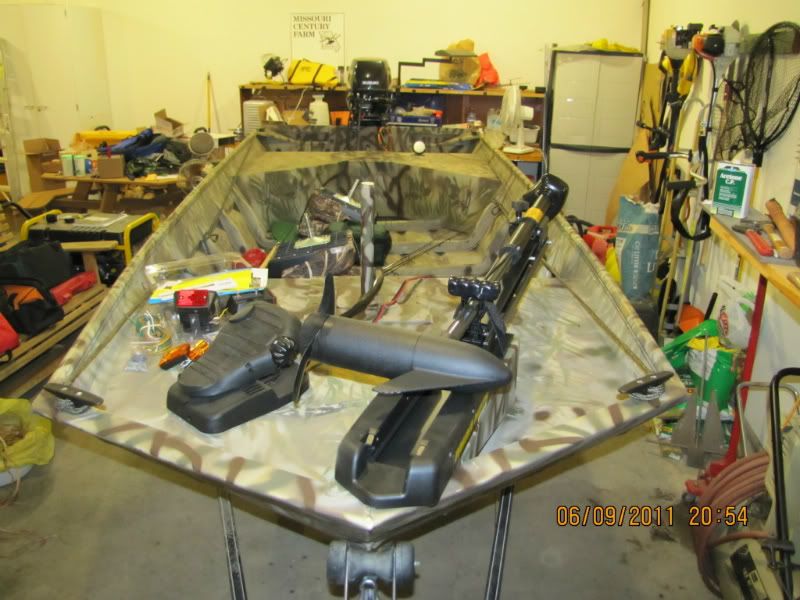
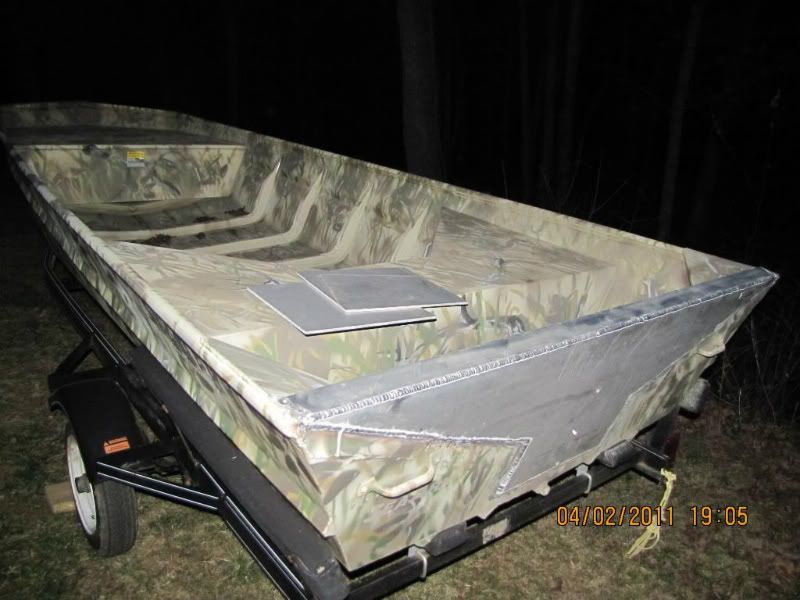
When I was buying my present home, back behind it this boat was sitting on a trailer. It had been there so long that the tires were sunk into the ground to the axle and the hitch dolly wheel was completely sunken out of sight in the dirt. Upon my examination, it was obvious this boat had never been used or in the water. I asked the owner about it and he said he bought it at a Waterfowl event down in Arkansas in 2001 and had never used it. Just never got around to it.

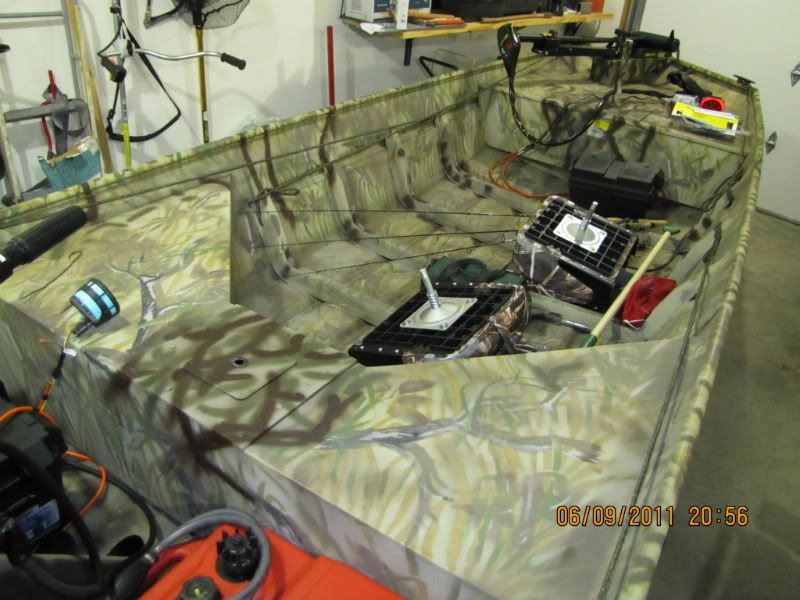
I asked him if he would consider selling it to me. We dickered and settled on 700 bucks, as is, trailer and all. It's a SeaArk 1548DK DuckHawk, a heavy duty boat with all welded hull. But it had a 15" transom.

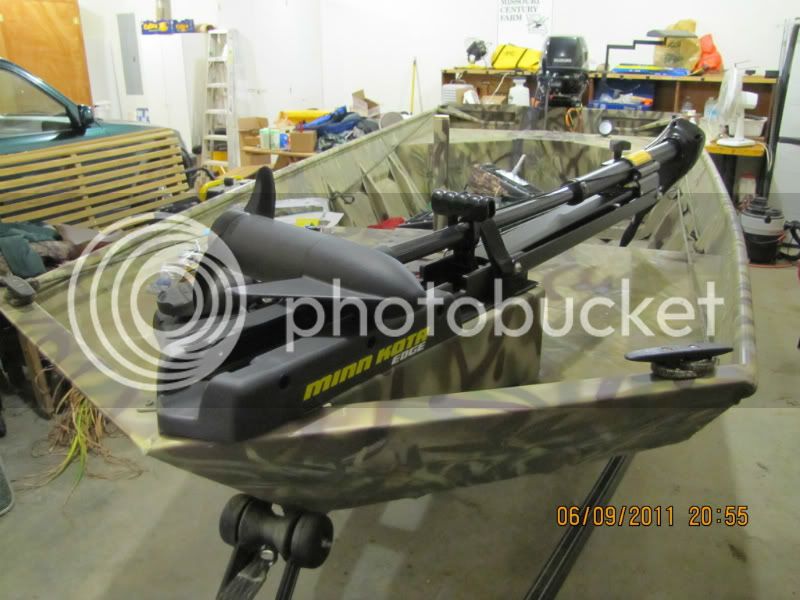
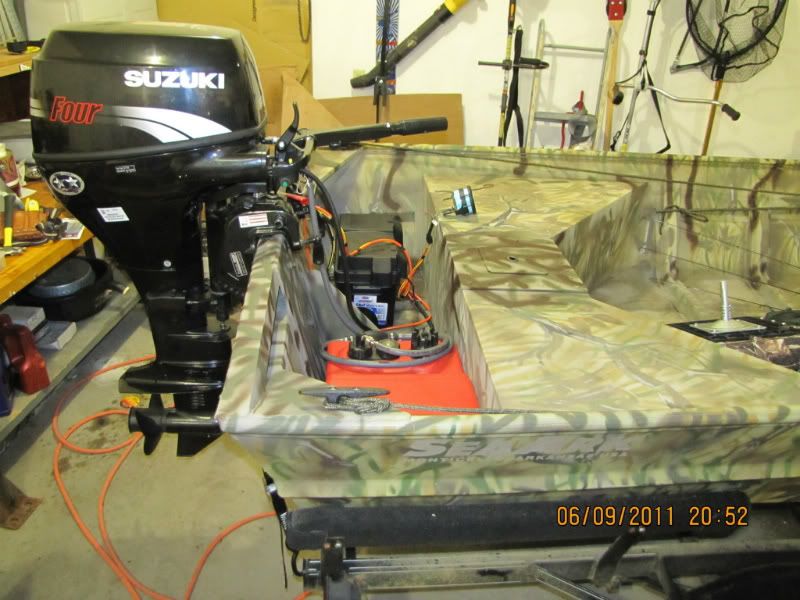
I started shopping for a good outboard and came across a 2001 Suzuki DF30 30hp long shaft, with power trim and tilt, and electric start, built for remote control, but had no controls with it. It was a display model out of a dealership up in Wisconsin and had virtually zero hours on it, but they were getting rid of it because that model had been discontinued. I struck a deal for $1600 after a thorough inspection of it.

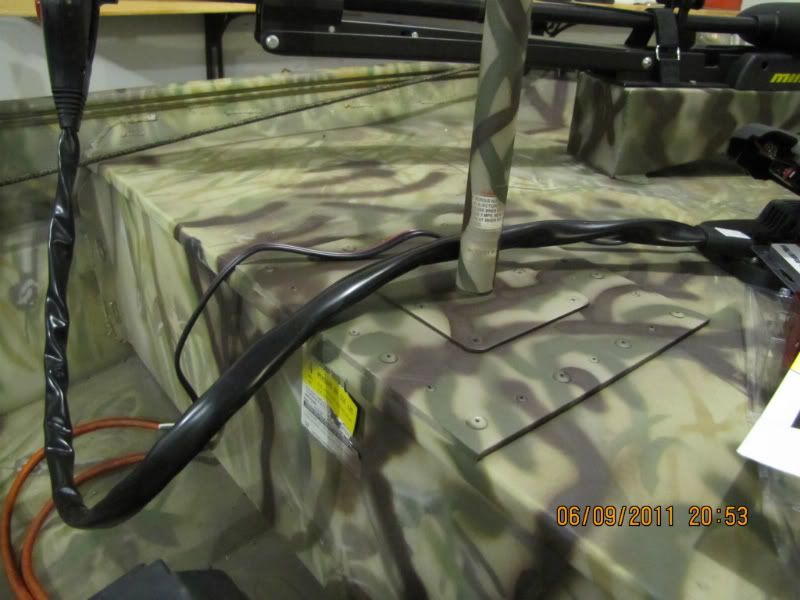
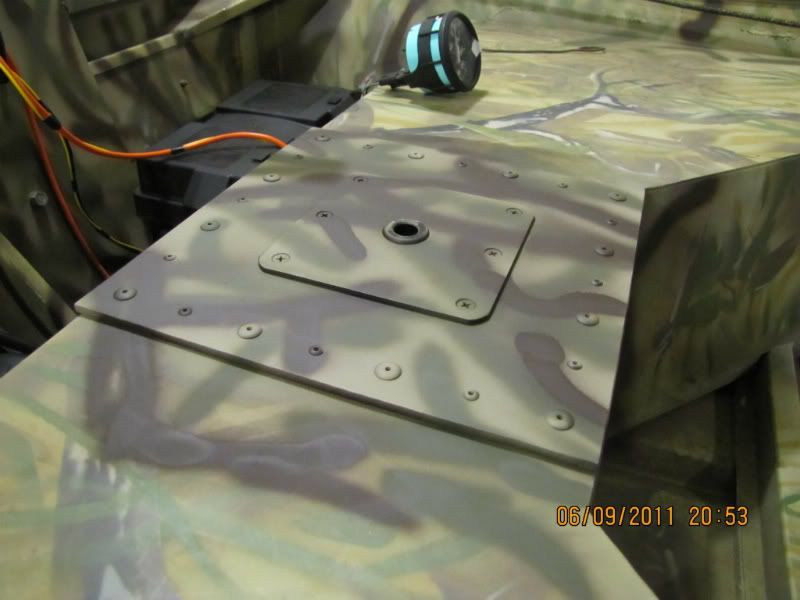
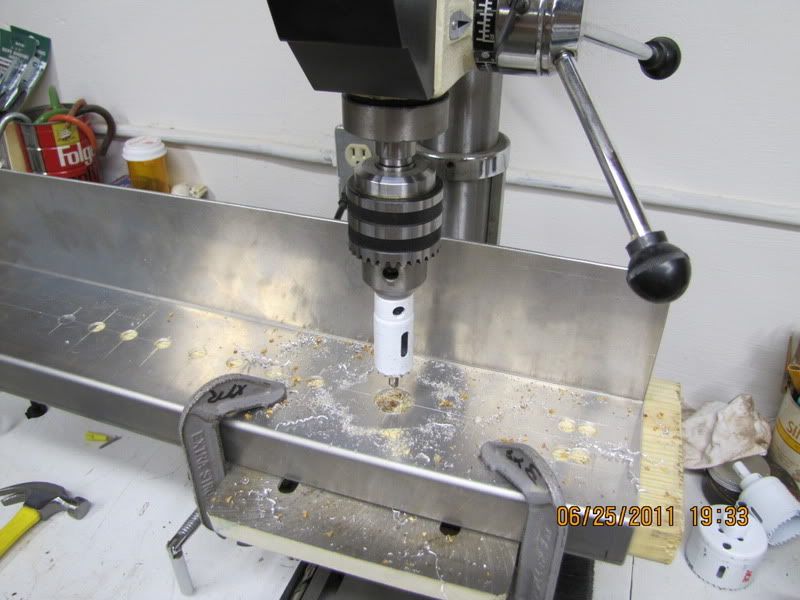
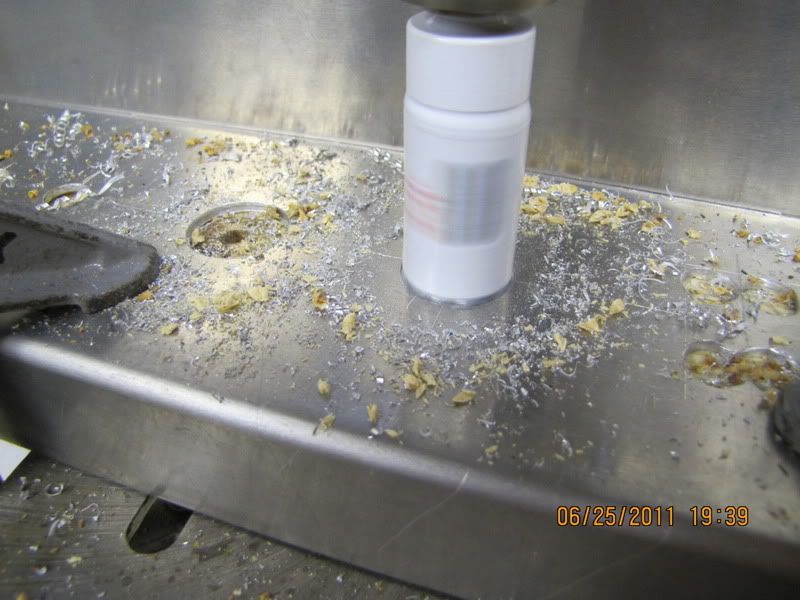
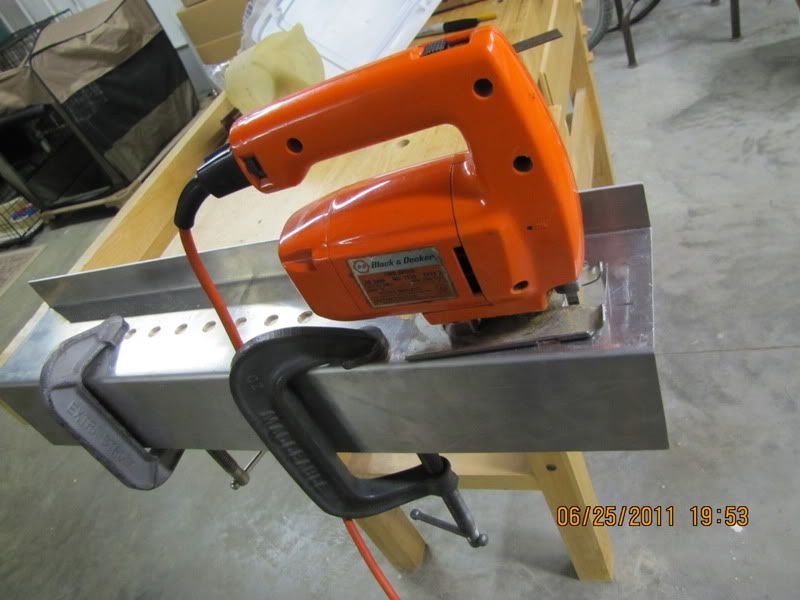
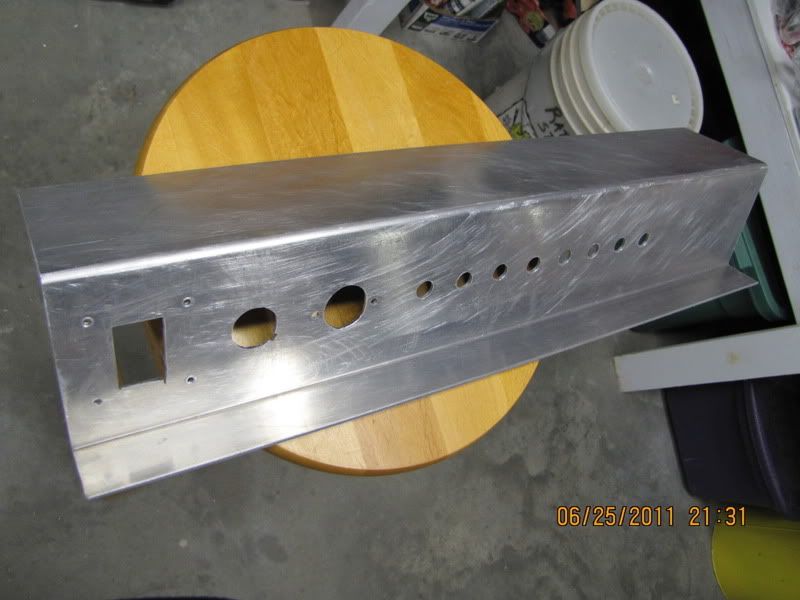
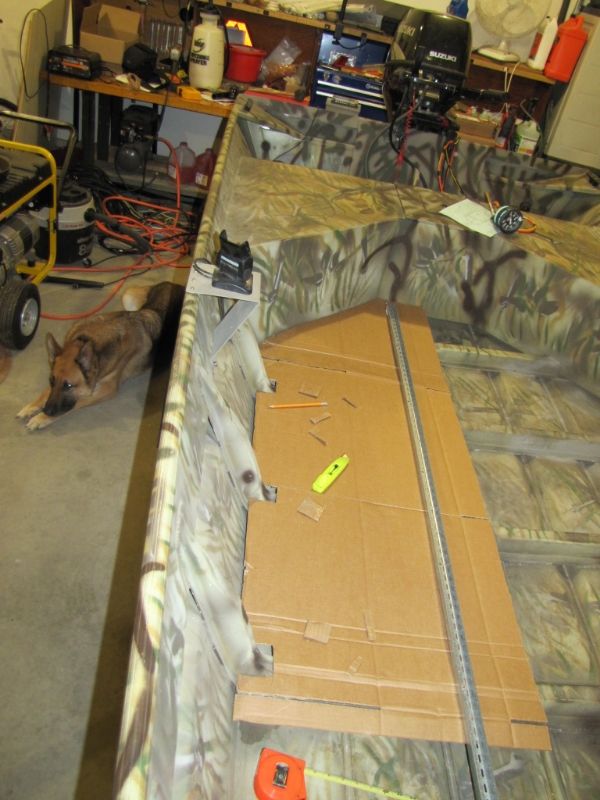
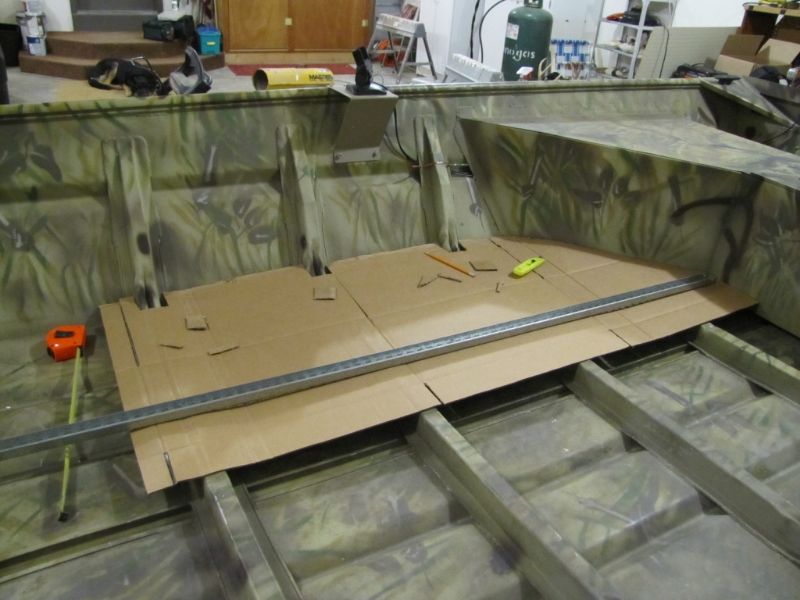
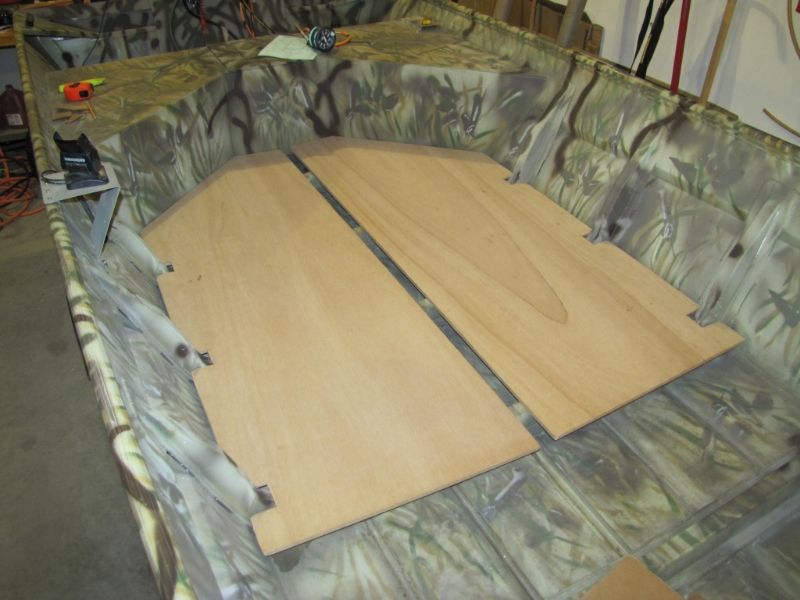
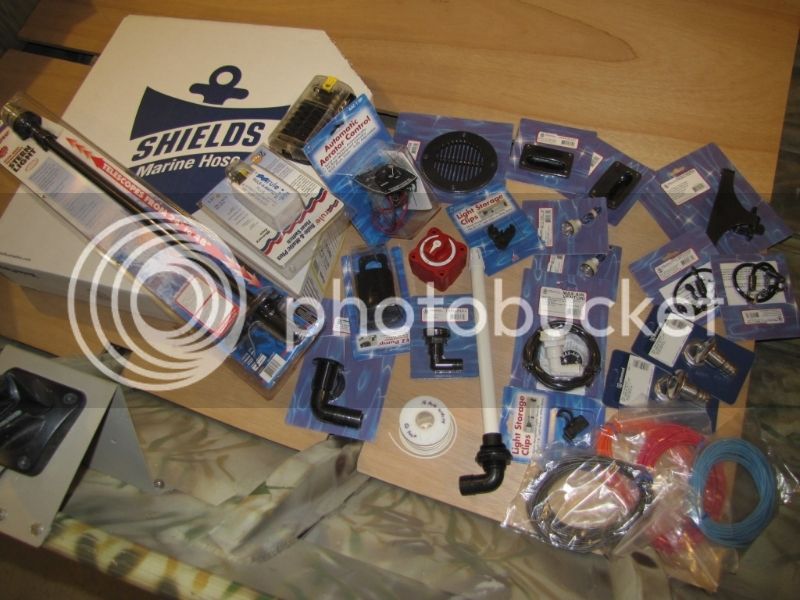
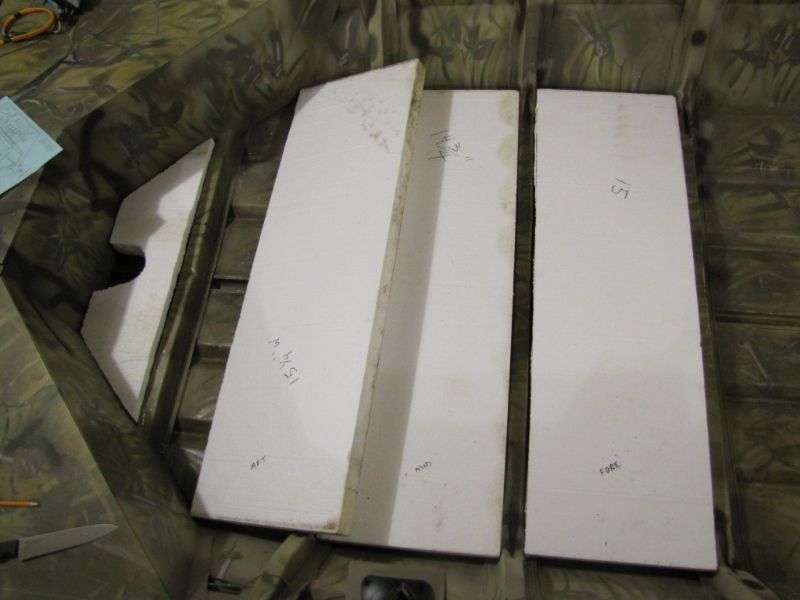
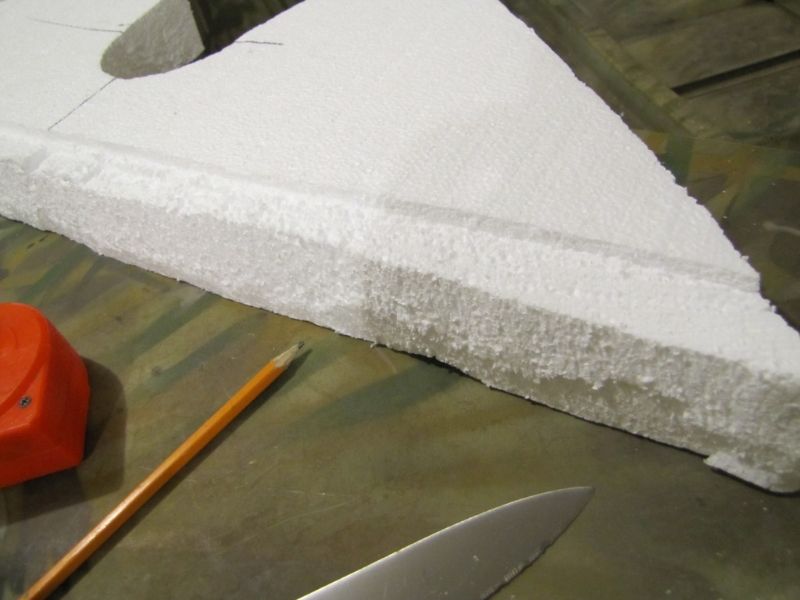
First modification: Build up the transom to 20". Those aluminum plates laying on the back seat are my doubler, or reinforcing plates for where I'm going to install pedestal seats.

IMG_1152-1.jpg


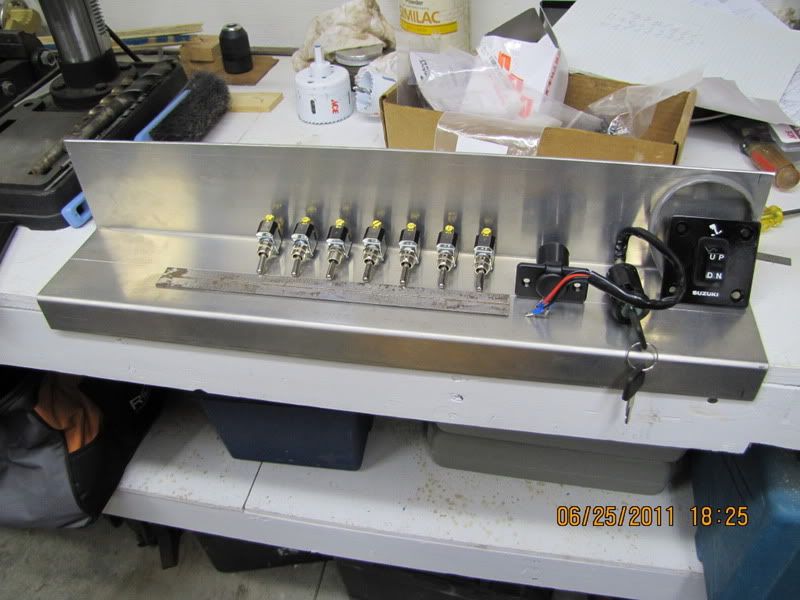
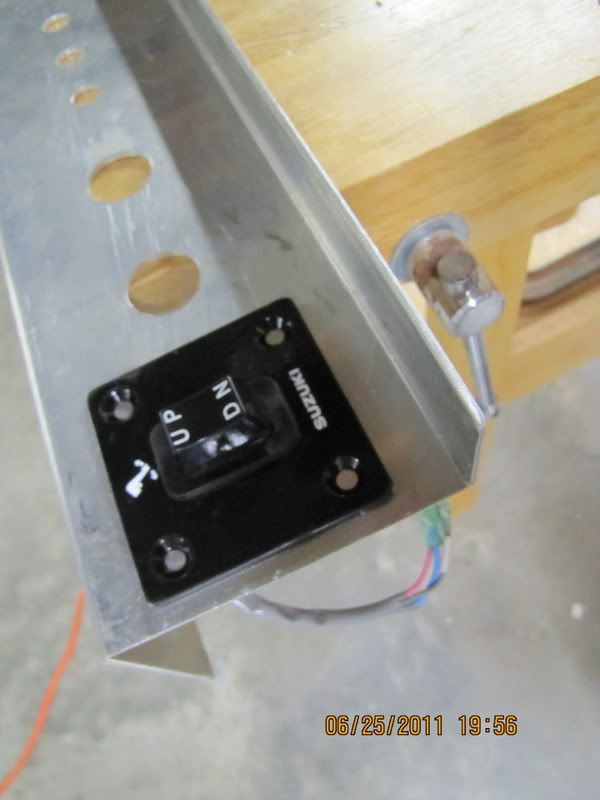
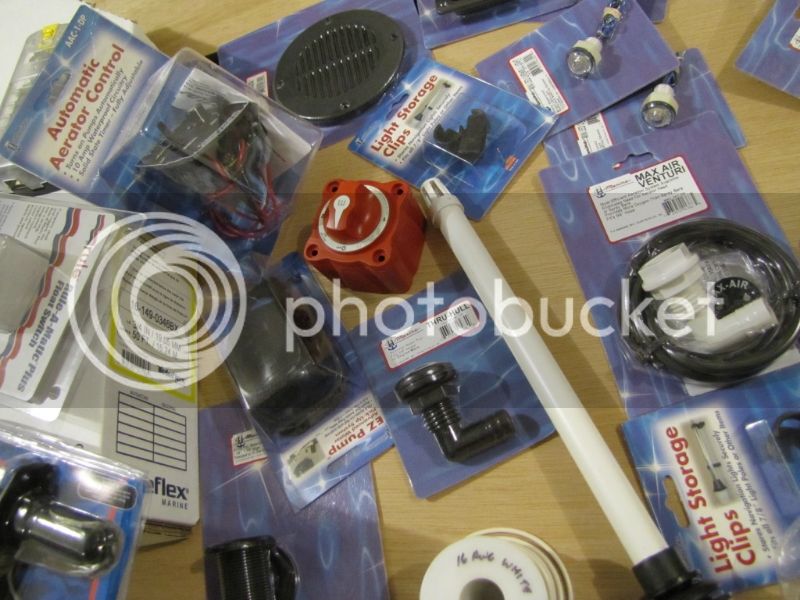
I found a great deal on a tiller steering kit at the local Suzuki O/B dealer, and installed it myself and modified the wiring harness so everything will work great with tiller steering. I mounted the motor myself.

IMG_1231-1.jpg


More pictures to follow.
 
Zum, Wish I could weld like that, but I can't. :cry: 
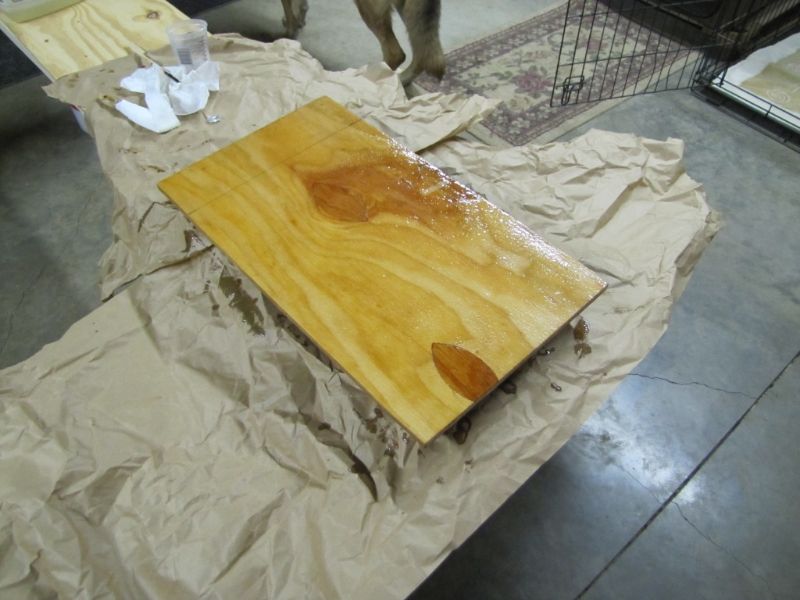
BUT, there's a guy down the road that is terrific at it and I got him to do it. He did a heck of a job, didn't he?

Anyway, here's the next set of pics:

After mounting the motor, I ordered a trolling motor mounting bracket from a nearby SeaArk dealer. Dang thing arrived two days later! Talk about fast shipping! Installed it by through- bolting it to the bow gunwale with stainless machine screws and riveting it down to the deck with 3/16" heavy duty wide head rivets I bought at Fastenal. Then I painted it with my home brew camo pattern and mounted a Minn Kota Edge 45# thrust trolling motor on it. Found the TM on Craig's List in Iowa at a dealer going out of business, still in the sealed box from the factory with full warranty for $200 cash.

IMG_1236-1-1.jpg


Next thing I did was mount my pedestal seat bases and reinforcement/backer plates. Decided to use the Swivl-Eze 3/4" Lok'n-Pin system. First pre-drilled all holes in backer plates, and used the plates as the pattern to mark the holes to be drilled in the front deck and rear seat. Then used stainless flat-head machine screws and nylock nuts to attach the swivel bases to the backer plates, then laid on a base coat of khaki camo paint. Then used twenty-four 3/16" rivets around the perimeter of the backer plates to attach them to the front deck and rear seat. Then applied my homebrew camo job over them. Also camoed the posts.

IMG_1234-1.jpg


IMG_1233-1.jpg


Then I mounted my dock-line cleats, one at each corner of the boat and installed camo dock lines on each. They can be seen in some of the pics. I also bought a pair of camo folding seats and the seat swivel base pins and put those together. They can be seen laying in the bottom of the boat.

IMG_1237-1.jpg


IMG_1235-1.jpg


Next thing to do is install gauge and switch panels, fuse blocks, depth finder, transducer, and wire everything up.
 
You can find the deals,nice trolling motor.
Sturdy mods for sure,nice job.
 
OK, I've started fabricating my switch panel and gauge (or instrument) panel. Switch panel is going to be on starboard side of rear seat, against the gunwale, and gauge panel will be on port side, against gunwale. Fabricated from 1/8" aluminum. I did all the drilling for both panels on my bench-top drill press. The small size of the drill press made setup for the drilling a little more challenging than on a larger machine. I did all the drilling from the back side of the panels and scribed and center-punched at every hole location before drilling.

Here I'm playing with my switch layout and spacing.
IMG_1342.jpg


All laid out and holes locations center-punched and ready to drill.
IMG_1344.jpg


Drill press setup. Notice that I supported the panel on a piece of 2x6 to keep it level and load distributed for easier handling and so I could clamp it securely.
IMG_1346.jpg


Just drilled first 1" hole using hole drill. Note panel is clamped securely to drill press table for much safer and smoother drilling.
IMG_1348.jpg


More pics to follow.
 
Here, I'm drilling the hole for the ignition switch, using a medium speed on the drill press.
IMG_1352.jpg


Squaring the hole for the trim/tilt switch. I started to just use a SPDT, momentary contact, spring-return-to-center, toggle switch to match the others, but I had a factory Suzuki switch I picked up on E-bay, so decided to use it here. The action of that Suzuki switch is smooth and easy compared to the Carlon toggle switch. Will still use a Carlon switch at bow, and maybe at transom too.
IMG_1353.jpg


After a little bit of filing to remove rough edges, trial fitting of the Suzuki trim/tilt switch. Perfect fit!
IMG_1354.jpg


Here's the complete switch panel, sanded, degreased, and ready to paint.
IMG_1355.jpg


Painted with two coats of Krylon khaki camouflage paint. This panel will be mounted to the gunwale and rear seat on the starboard side of the boat so that when I'm running the boat, they will naturally be right at my right hand. My boat is tiller steer, so there's no console to install the switches and instruments into. By the way, that's the Quality Control manager and official Boat Buddy in the background.
IMG_1356.jpg
 
Here's a pic of my setup to drill the larger holes for the instrument panel that will be mounted on the port side of the boat, to the gunwale and the top of the rear seat. Even though I had everything dogged down good and tight, I was still getting chattering and dragging from the hole cutter bit, so right into the cut, I added a few drops of "Tap Magic" two or three times while cutting each hole and things ran a LOT smoother.
IMG_1362.jpg


Here's a pic of the setup for cutting the hole for the tachometer. My hole saw is only 2 3/4" and the tach needs a 3 7/16" hole, so I used a compass and scribed a 3 7/16" circle on the aluminum before cutting the hole, and then I'll go back and jigsaw and rat-tail rasp the hole to final size.
IMG_1363.jpg


More pics to follow later when I'm wiring and installing these.
 
Wow Timebak that is a great looking boat! Looks like your taking your time and building it right. I guess we could trade my trailer for your motor. :lol: I might even throw in my 73 rude. I like all your mods why the tiller conversion instead of a console? Just wondering. I like your switch/gauge panel you've been working on. I learned the hard way not to use stainless steel for gauge pod material. I made a stainless dash for my jeep and it ate some hole saws up real quick. Finally I learned to use cutting oil before the bits start smoking. Aluminum is nice to work with. The guy did a clean job on your transom I wish I could weld aluminum that well. Steel no problem but not enough hours on aluminum yet. Probably by the time the boat is done I'll be pro. Keep up the good work I'll be tuned in.
 
Flatbotm: There's two reasons I didn't go with the console: #1) Money, or lack thereof. #2) The SeaArk DuckHawk has a sorta "V" shaped rear seat that sets you at a 45 degree angle that makes it really comfortable to steer with a tiller, and also makes it difficult to install a console unless you do a lot of mods that take a lot of floor space that I want to use for other things like possibly a livewell. Here's a pic of the floorplan: Mines an older model that has a higher front deck and no storage bin up front.
99601100_1167928076.jpg


And, yeah, you gotta have cobalt steel bits and stuff to cut stainless very well, and even then you gotta take it slow.
 
Ok, I've FINALLY gotten back to work on my SeaArk conversion. I'm installing a floor in the boat, a rod locker along the port side of the boat, a livewell as an extension of the front deck, a battery/storage locker just abaft of that and somewhat lower so that it acts as a step-down from the front deck and livewell lid, and a splashwell cover that will be an extension of the rear seat. I'm also installing the instruments and controls that I started working on last year. In addition, after a year of fishing with the boat, I've decided to relocate the trolling motor closer to the port gunwale so that I've got more "working room" on the front deck. I'm also going to reinforce the front deck to hopefully eliminate a very annoying loud popping of the sheet metal as you move around up there.

These first few pics are of the cardboard template that I made for the floor. The livewell and forward battery/storage compartment is going to take up around 28 or so inches of the present main floor area, so that meant that the raised floor that I'm adding only has to be 66" long, hence the short template and floorboards that I cut out of 1/2" BS-1088 Meranti Hydrotek marine plywood.
IMG_2572_zps6d353009.jpg


IMG_2574_zps6de93a35.jpg


IMG_2575_zps9d131853.jpg


Flipped the template over and trial fitted it on the port side of the floor and it fit perfectly, indicating that the hull is build square and that the ribs are square with the hull.
IMG_2576_zps5edb008c.jpg


IMG_2577_zps8b4b6bc2.jpg
 
The next step was to transfer the outline of the template onto the marine plywood and very carefully cut it out using my old skilsaw with a good carbide tipped plywood blade and my old jigsaw, with a new Bosch blade good for plywood. Before starting that, I checked both saws over carefully to make sure that everything was adjusted correctly, squared, and tracking perfectly. This was a good thing, because both saws needed some adjustment (the skilsaw, quite a bit). Because of the flare of the sides of the hull, the width on top of the ribs worked out to be 50", so cutting from a standard 48" wide sheet of plywood left me with a 2" gap in the middle, which I'll fill in later.
IMG_2581_zpsa0f40b3d.jpg


I had to do some hand trimming and fitting of the pieces to get them to fit up around the ribs, because of the way SeaArk forms their ribs out of one solid piece of aluminum. I had to make the bottom of the plywood match the profile and radius of the ribs to get the floorboards to match up closely with the sides of the hull. The slight gap that's left will be covered and hidden by carpeting that will be installed later. I found the easiest thing to do the trimming and fitting with was a utility knife with a sharp blade. I'm using Lenox blades with the gold edge. They seem to hold up a little better than some cheaper ones.
IMG_2579_zps12d4cbd4.jpg


IMG_2580_zpsb1599542.jpg


IMG_2582_zpsdbd62085.jpg
 
Looks good,

I can see you’ve been off this project for a while. Your last post before this one was back in June of 2011.
Anyway slow and steady wins the race. Nice boat, nice build.
 
Now it's time to start installing stuff, so I gathered up all the stuff that I've been buying over the last year, and ordered everything for plumbing the boat and livewell. Ordered most stuff from JMSOnline Marine, BoatStoreUSA, and Wholesale Marine and some from Cabela's and C-Mee Marine. Ordered all my wiring from GenuineDealz, a site I found on eBay. He was a great guy to deal with and excellent prices too. Ordered all my piano hinges, aluminum angle, stainless steel screws, rivets, and new rivet gun from McMaster Carr. Several packages got to my house this past Monday and Tuesday. It was like Christmas opening them all together last night, and this ain't all of it!
37858c9c-b4bb-4650-8368-920533bc9eee_zpsc872d533.jpg


IMG_2584_zpsf47c9553.jpg


Next, I cut out and fitted some 2" thick styrofoam that will add floatation and go under the new flooring that I'll be installing. I got the foam for free from a commercial roofing company that works in our area. It was left over off of a job they did on the building next door to where I work. I experimented with several methods of cutting the styrofoam and found that a fine-toothed serrated blade kitchen knife did the best job. I have a couple different ones, but this one from Cold Steel was by far the easiest to use. Again, I had to do some trimming on the foam to make it fit tightly around the ribs on the hull.
IMG_2586_zps37844bba.jpg


IMG_2587_zps60ff957d.jpg


IMG_2589_zps88e0fd97.jpg


All work is being performed under the watchful eyes of at least two members of my Quality Control Department. They also handle security arrangements around here.
IMG_2590_zps453add41.jpg
 
Well, this sorta surprised me. I thought that the first thing that I would be spreading epoxy on would be the flooring, but as it turns out it was this 12"x18" piece of plywood that I'll rivet to the the back of the rear seat. This wood panel will be where I mount the Blue Sea fuse panel and the battery switch. I want to be able to crank the boat and run the instruments off of either or both of the two batteries that I have on board. Normally, like on most boats, I use one battery exclusively for cranking and one for the trolling motor. But I had an incident last year after a long night of fishing in timber and using spreader lights and spotlights, and I ran down my cranking battery. Having no jumper cables on board, I had to disconnect and take the trolling motor battery to the back of the boat and reconnect things so I could crank the outboard. That was a PITA, so the battery switch should eliminate that problem, plus give me the ability to partially recharge the trolling motor battery on longer runs.
IMG_2594_zpsfdc810ca.jpg


Here's the epoxy that I'm starting off with. I really like the MAS brand because it doesn't "blush" when it cures, so no sanding and wipedowns between coats, as long as recoats are done within 72 hours. The MAS brand is rather expensive (but available nearby), so I'm also trying a much less expensive, basic "no blush" epoxy that I've ordered from www.epoxyUSA.com. It's about half the price of the MAS, but not as resistant to UV degradation as the MAS. But epoxyUSA also sells a "Premium No Blush" epoxy that's UV resistant like the MAS, but it's still a lot less expensive. I figure that the basic, less UV resistant epoxy will work just fine because it will be hidden under carpet or under decks or lids or inside of storage lockers.
IMG_2595_zpsb44827fa.jpg


The wife saves yogurt tubs and other small plastic containers for me, that I use for mixing small batches of epoxy. Really handy and much cheaper then using the premarked measuring cups that you can buy at most epoxy supply places.
IMG_2596_zps1ec9324f.jpg


More to come soon!
 
Top