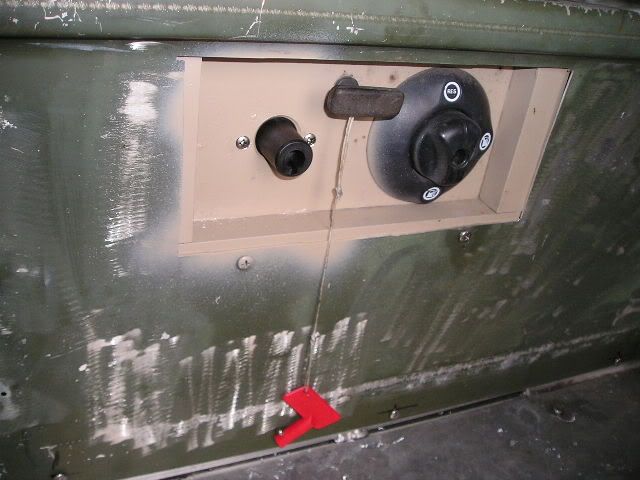
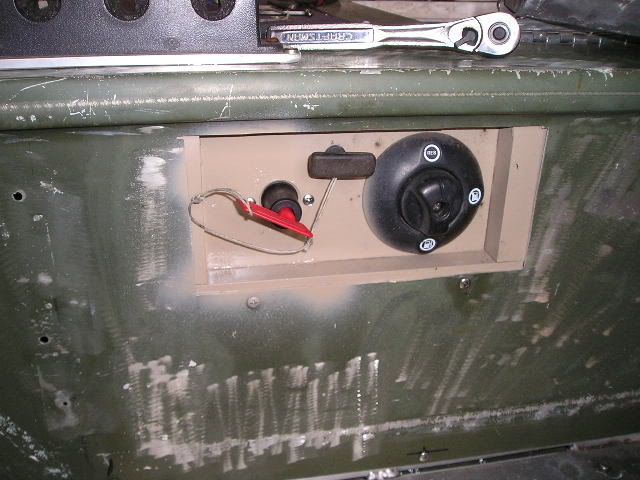
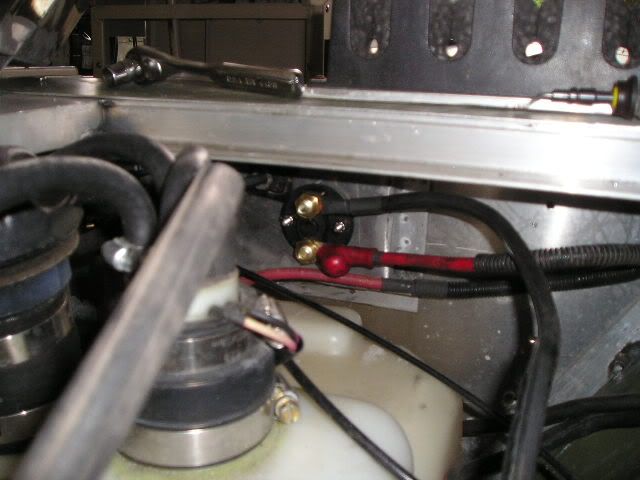
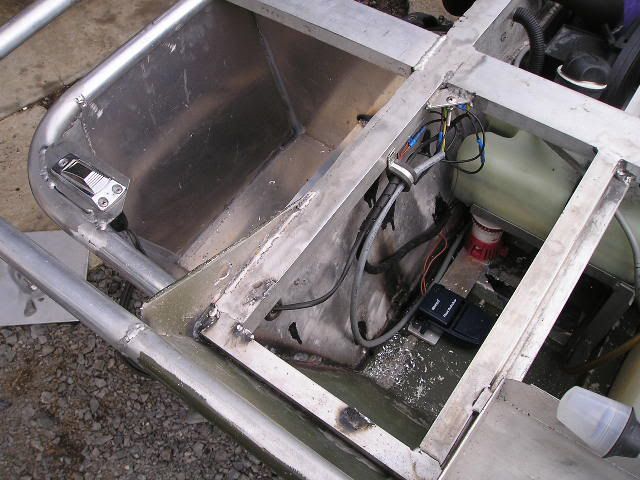
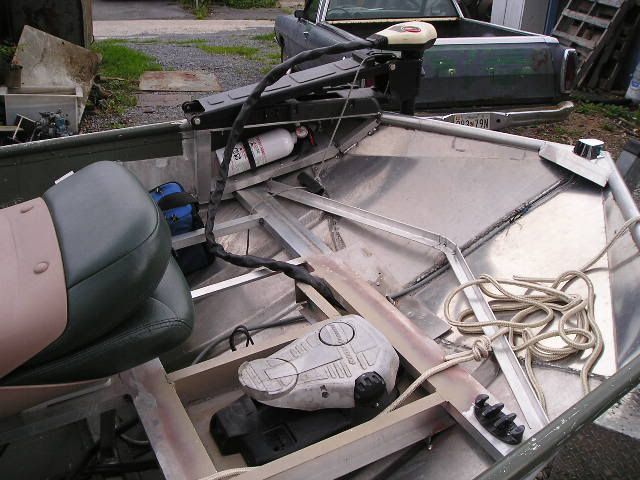
Got my battery disconnect in the mail so now it's mounted. It's the cheep Chinese one so I hope it doesn't smoke after a year's use, but for $7.50 including shipping it's hard to beat. Supposed to be good to 100a..
What is the purpose(s) of battery switches? The on/off ones, not the battery selector ones. I know what it does technically speaking, but why is it needed? To keep battery drain at bay? To enable a safe way to work on the boat's electronics by shutting off power? My boat has them (installed by the previous user) and they are looking pretty beat. I am not sure if I should proactively replace them or not. They are working fine I guess but the knobs have come off. This is the only reason I have considered replacing them.
KRS

")