Alumacraft MV1448 Seadoo IB jet, Still jetting

TinBoats.net

Help Support TinBoats.net:

This site may earn a commission from merchant affiliate links, including eBay, Amazon, and others.
Thanks for the compliments. Baitcaster, I just mounted my first hatch over the engine so I can understand. PITA trying to guess the gaps needed for the carpet to fit nicely.

Jamie
 
Finally got to work on the boat some more, instead of just fishing out of it. Youngest wanted to go so now I need to add a third pedestal seat. We put a step stool on the middle bench and it worked out for positioning so I'm thinking about getting another pin base for the livewell hatch.

Here's some pics of another road sign that was recycled into a pair of rear deck hatches. Feels good to be making progress again.

DSC06928.jpg


DSC06929.jpg


Here's a pair of pics of the little one and the 14" cat he caught on his spidey rod with a F7 Rapala during a Mayfly hatch.

DSC06925.jpg


DSC06926.jpg


Jamie
 
Just found this thread, you have me fired up to finish mine faster.

If I can get anywhere near that power I will be VERY happy.
 
let me know next time you are going out, i want to see this thing run, quazy man
 
I hope to go out tonight after hopefully selling my big boat, if not Friday and maybe Saturday evening before dark. If you go by riverbottom and there's a black '68 Ranchero with an empty trailer there it's a good sign. :)

Onto the boat. I brought some more salvaged road sign into work and got it bent up for the rest of the hatches. Sadly I misjudged the bend and need to trim one for the oil tank and weld two sides back on. Since the little one wants to go I decided to get another pin base seat setup at Wal-mart and picked up some fly rod lures to see if I can get lucky at the next Mayfly hatch.

Jamie
 
Ok, too whooped after taking the big one out and yes, selling it. Funniest part was usually I unhook it and back in until the rear rises. This evening at a busy ramp with the potential customers there it slid off the trailer and we had to swim about thirty yards after it due to an offshore wind. Luckily it started right up but then didn't want to go out of gear. It hadn't been run in two years so I expected some bumps. I didn't expect that one of the bunks had rotted away while the boat was on ot. Luckily there was enough meat left to support the boat. Still, I now have $2500 to get this one further along. Plan on ordering the carpet this week.

Jamie
 
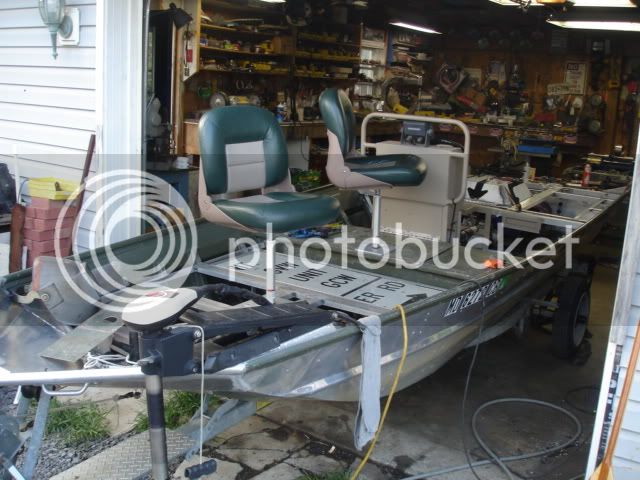
Big update time. Spent pretty much the whole day working on the boat (except the part that got over 92` in the garage...)

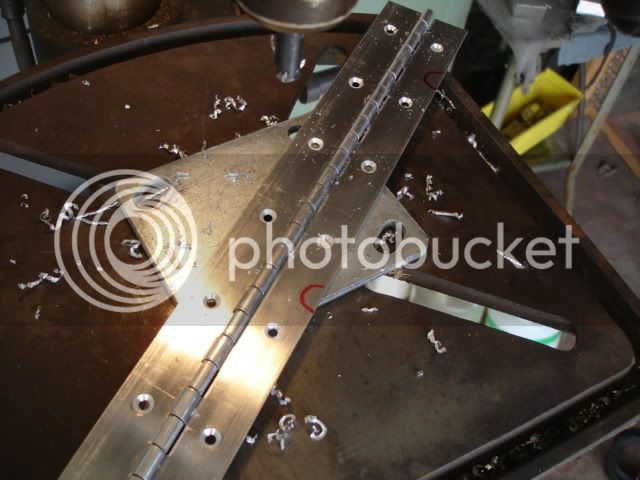
We'll start out with the piano hinge that I sourced from eBay, 1" per side with pilot holes every 2". With shipping I got 18' for around $38. Since I wanted to be able to take the hinges off to put the carpet on I decided to use button head screws instead of rivets. In order to use the button heads I had to countersink the hinge panels.

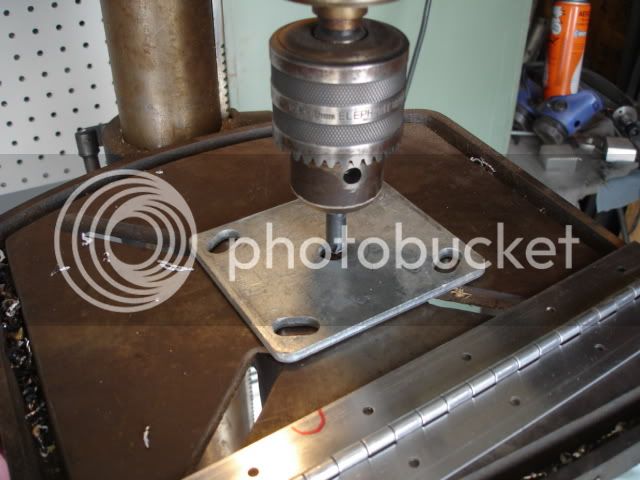
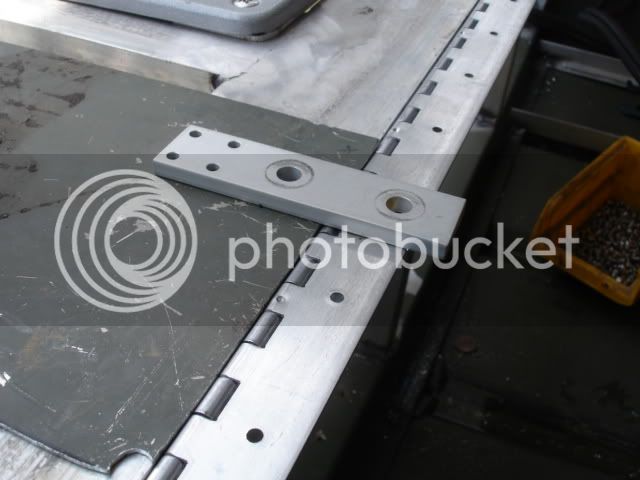
Made this little jig for the drill press.
DSC06944.jpg


Countersunk all the holes on both sides so the button head wouldn't keep the hinge from closing.
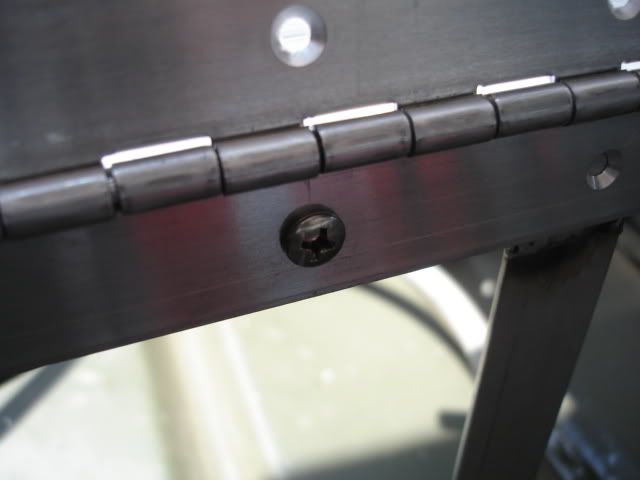
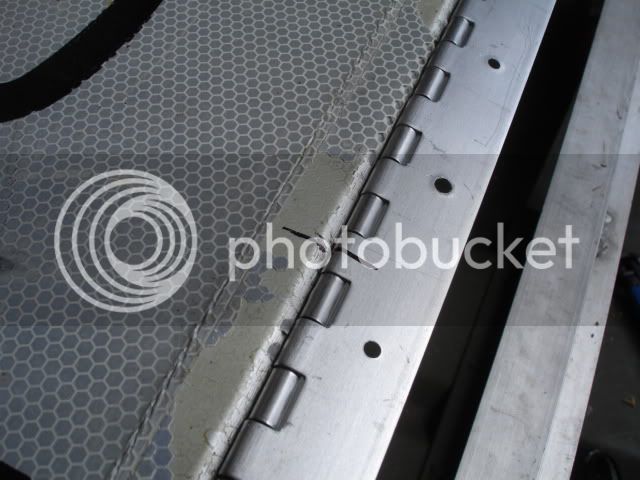
DSC06945.jpg


Mounted...
DSC06937.jpg


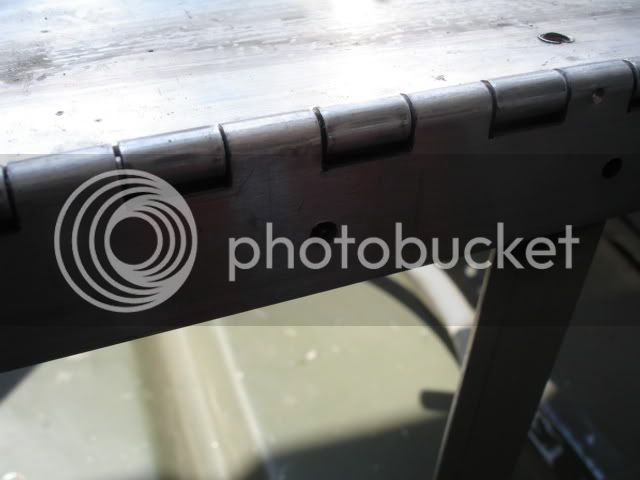
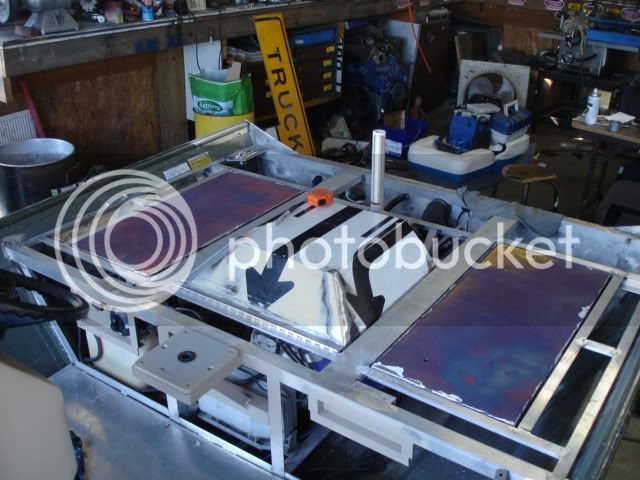
Closed... Yes a worthless picture, but you get the idea.
DSC06938.jpg


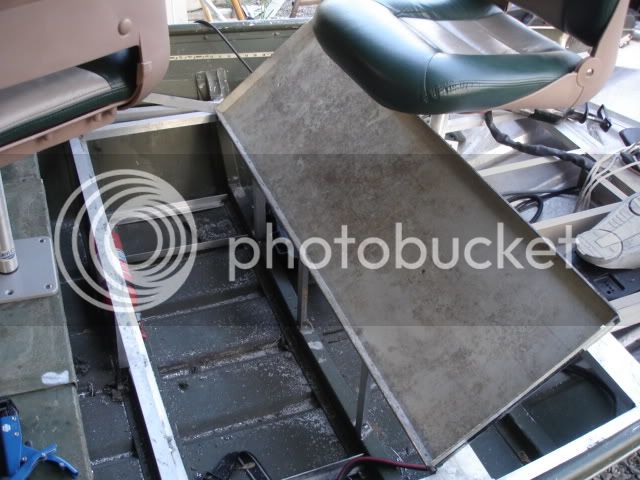
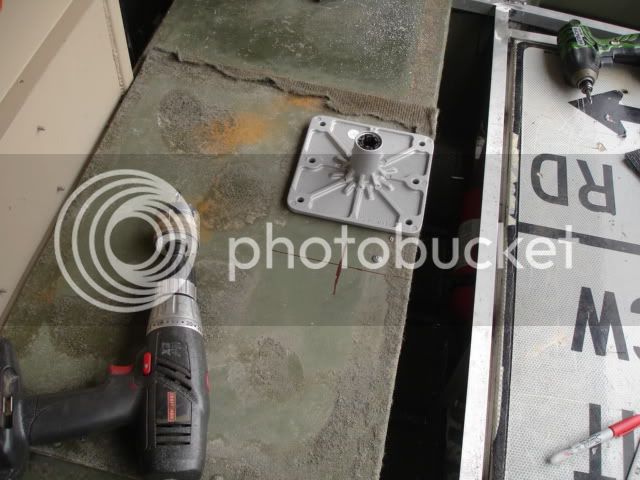
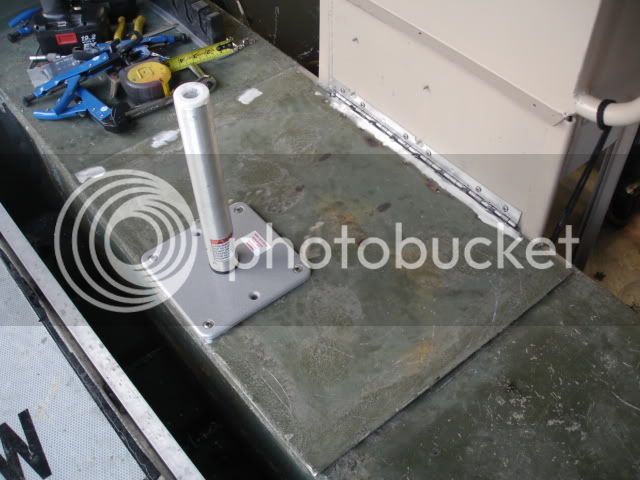
Now to set the hinge height I mocked up a peice of scrap decking and a plate to set the height. You don't want the hinge too high or two low. Too high and you'll burn your footsie or stub you big toe. Too low and the hatch may not close right.
DSC06939.jpg


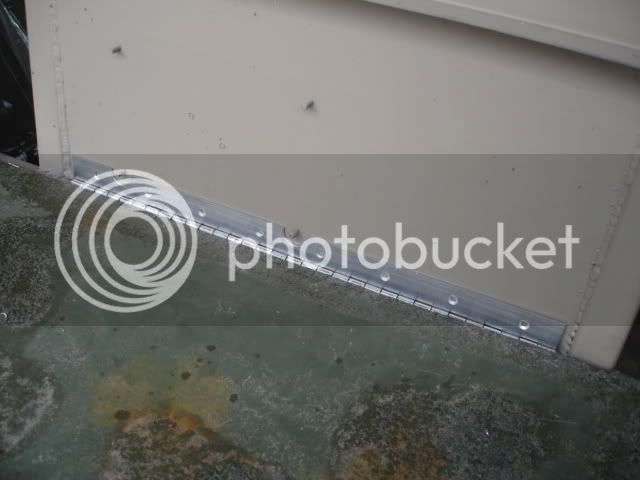
I used about a dozen vise grips to hold the hinge level onto the frame and then drilled and tapped every other screw hole in the hinge and placing a screw every couple screws to keep the hinge from moving while tapping.

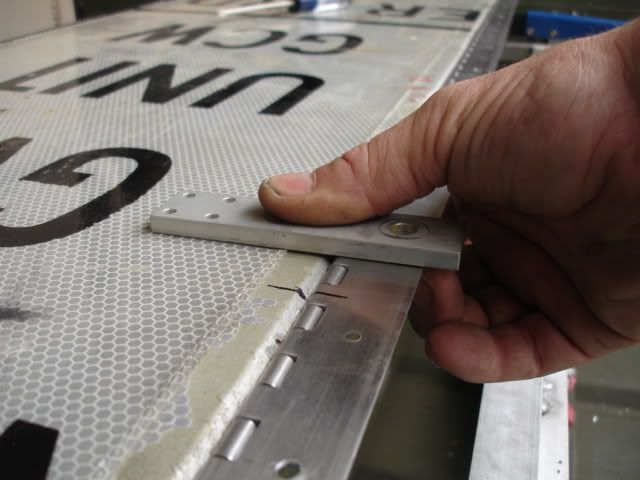
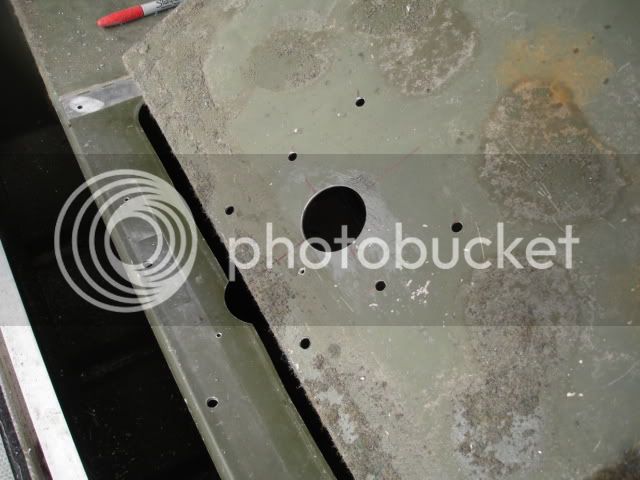
Then I placed the hatch into the hole and marked the hinge and hatch. Pic taken after removing the hinge from the framework.
DSC06940.jpg


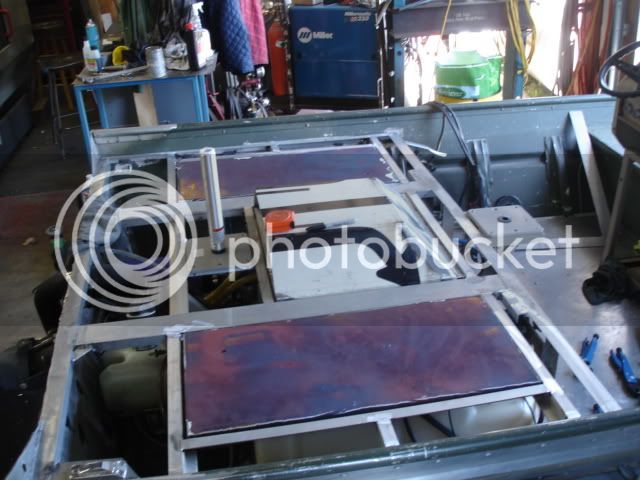
Set the height, then clamped and drilled the empty holes vs. the framework.
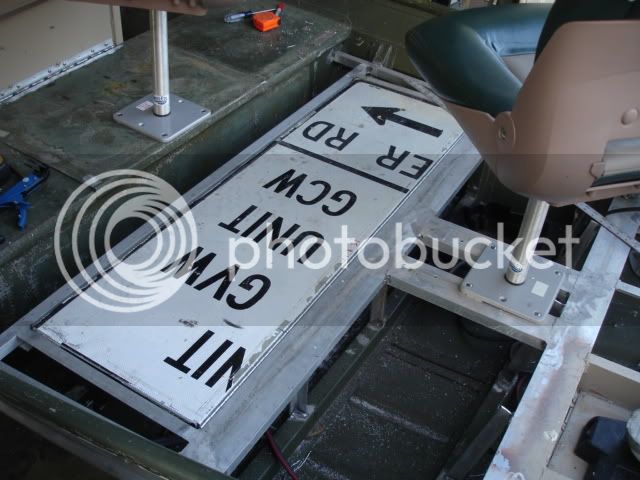
DSC06941.jpg


And, closed
DSC06950.jpg


Open
DSC06951.jpg


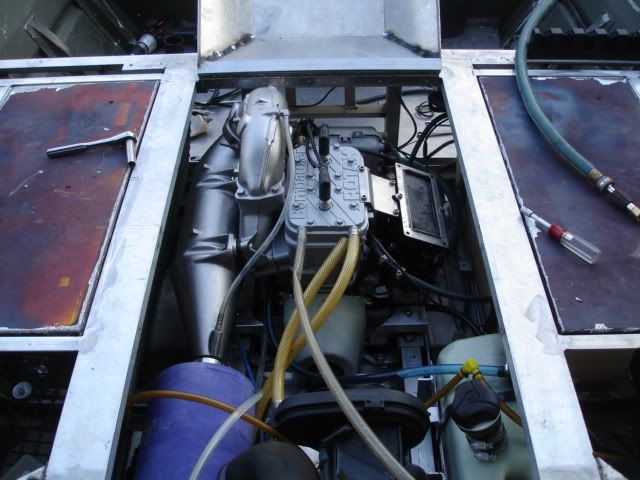
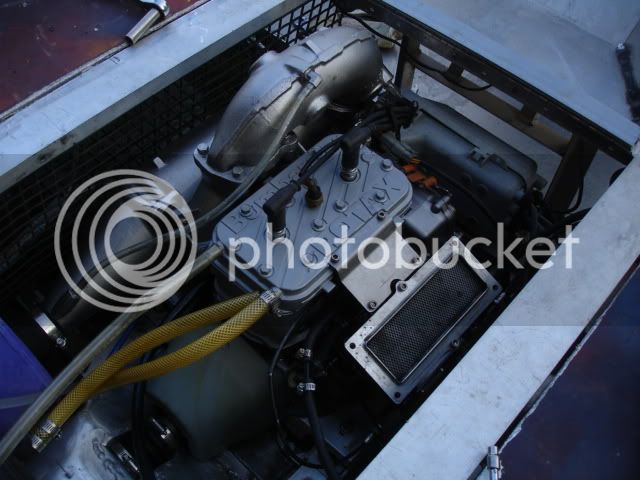
One side note, I asked for carpet samples before getting the hatches bent up. 1/4' clearance on the sides and roughly 3/8 at the hinge will give a comfortable fit with 16 or 20oz carpet.
 
Part two of today's fun was getting a seat post and the hinge / hatch setup done for the middle bench so the little guy isn't sitting on a step stool to fish out of.

Did some basic mocking up and decided that if I dress the seat post all the way out the seat would pivot nicely. That little self tapper scew keeps everything together while I drill through both layers. Kept the drill tilted to the front so it would cut the seat top before cutting completely through the hatch.
DSC06942.jpg


The front two holes eventually got opened up to around 5/8" with a step bit so the hardware would fit through them.
DSC06943.jpg


Here's a picture of the hinge. I used the mill to notch around the electrical box screws.
DSC06947.jpg


And finally together. I did add two 1" angle stringers front to back to support the back sets of seat post screws and I opened the seat top to the size of the livewell opening. Ironically it's just dry storage.
DSC06948.jpg


And done. The seat post feels good and sturdy. I did move the front seat up another set of bolt holes and actually like the way the trolling motor drive feels now underfoot.
DSC06949.jpg


Now, four more days of work before I can take it back out.
Jamie
 
Well, been busy, no pics yet but there is a new reman engine from SBT sitting in the garage. The base gasket blew out again and I had cash from selling the big boat so... I've been spending the day stripping the old chipped up paint off my engine parts that get swapped to the new motor so I can paint them to match the newer Seadoo color. I also have carb kits to install that hopefully will fix the fuel problems that I think killed the old gasket. I was at Lowes today and bought some Rustoleum professional enamel in stainless steel (7519) that matches the Seadoo color pretty darned good.

I still have my old engine on the cradle so I can redo the mounts to try and minimize the vibration.

I'll take some pics tomorrow, I have a lot to do...

Jamie
 
Good day. Got 95% of the old paint off and said to hell with the rest of it. Painted the bits and started assembly of the new engine and also rebuilt the carbs.

My little homebuilt pop off tester / setter rig. Both carbs are set to 21psi pop off.
DSC06969.jpg


Oil pup primer setup. Used the hose from the filter to engine and filled it with oil and drove the 10mm nut with a drill to prefill the lines. Used zip ties double wrapped to hold the lines onto the fittings. Worked well last time.
DSC06970.jpg


The old engine on the boat motor mounts. I'm waiting to get the new motor finished before doing any fab work and blowing metal crap all over the place again.
DSC06971.jpg


Stripping paint. Aircraft stripped had trouble with the roatx white and purple but cut right through the silver on the muffler. Real PITA to strip these parts down.
DSC06972.jpg


Carb side done. I also lucked out (I hope) on the stator plate. I never thought to mark it but found a stamp on it while cleaning it up. The PTO is also stamped. Torqued the PTO to 81ftlbs and the Mag nut to 107ftlbs. with green locktight on everything (wicking with the same hold as blue, it's all I had left)
DSC06973.jpg


Tomorrow I hope to have the exhaust side done and the starter on. Probably do the motor mount rework and maybe get it sitting in the hull again. So far everything has been slow, steady and really smooth going together. I guess it pays to read the forums and study the manual before starting something like this.

Only real gripe so far is the new block has the pulse line coming off of the PTO jug instead of the MAG jug so I need a longer pulse hose.

Jamie
 
Good day overall, but not without some drama. Got the engine back together and even in the boat and aligned. Had a terrible time getting the alignment right because I had to shift the motor in it's cradle to get the cradle bolts to align with the rubber mounts. Second bit of misery was the oil lines, knocked one below the level of the oil in the tank while setting the engine in the hull and soaked my sneaker via the hull drain. I like the clear line because I can see if the oil system is working or has air in it but it leaks really easy...

This evening found the engine in the hull and everything hooked up. Hit the starter and got the starter click and nothing else... Checked the battery and it was about dead. It's just been hooked up, hoping the Mpem isn't draining it. Fifteen minutes later the battery was juiced up and the engine turned over fine and after about ten seconds it pulled enough fuel to fire off and man does it sound different vs. the old engine. Nice ting ting ting from the pipe. Hooked up the water and ran the engine in over a couple four minute runs. Carbs are smooth and the engine revs clean. wanted to hit the water this evening but I'm out of time and want to take my time checking this thing out before ripping on it.

Only issue so far is the expansion pipe coupling is leaking which figures because it went to gether really nicely.

Some pics from the day...
DSC06974.jpg


DSC06975.jpg


DSC06976.jpg


DSC06977.jpg


DSC06978.jpg


More to come, hope to hit the water tomorrow afternoon for some swimming and slow timing the engine.

Jamie
 
I see that there is this type of engine with the shaft driven pump and there appears to be another type with the engine and pump combined/together. Do you think, in hindsight, that the engine/pump combo might be easier to work with? I am following everything that you are doing, and think I can manage everything except the shaftseal.
Great work, my stepdad has an old seadoo he's wanting to give me and I may take him up on it...
BTW, upgrade that old sn92 and the stang will be screaming. I had the upgraded race impeller in my sn and it ran 11.72 through an automatic, but now it has a T70 turbo and I'm hoping for the 10's with AC and power steering:) Hit me up on this screen name on corral.net if you want to BS about mustangs.
Jesse
 
Jesse, hindsight is pretty good and I'm happy with how this one turned out with the lineshaft. The one peice hull / intake setup would limit what I could do to resolve any cavitation issues. It may have worked great the first time or...

The shaft seal wasn't that big of a deal. As you can see in the build it was kind of an eyeball thing for the original hole and then I had to redo some of it to get the carbon seal to work out right.

That little SN92 is doing really good. It's up over 170k miles without blowing apart. 5psi in the summer is enough and even though I'm leaving a good bit on the table the engine is still running fine. I built the engine to hit 400rwhp and last a long time and so far it's done a pretty good job. I want to junk the fox and put the driveline in my '64 Tbolt fairlane.

Jamie
 
As for the one piece, couldn't you just rely on the intake design from the factory and make a spoon, much like you and the other poster did? I'm just trying to broaden my options when the time comes.
Also, with the deck, is your decking going to be the same thickness metal as your lids so that it will be a level surface? And you are going to carpet over the hinges?
Jesse
 
I could have used the original Seadoo hull, I could have used (I think,) a tigershark all metal intake / pump support and just mounted my engine to the stringers. I read a lot and watched a lot of Youtube videos. and from what I've seen and read these setups either work excellent or they suck air and cavitate over 25mph. Most V hulls with at least 6` of deadrise do pretty well. Most squarenoses with less than 4` of deadrise and manufactured strakes will trap the air and cavitate. If you look at a H4 ('92-96 XP) Seadoo hull, it's short and the whole thing is spoon shaped. That spoon shape help keeps the intake loaded.

One of the biggest reasons I didn't want the doo hull grafted into my hull was I fish and run shallow ridge filled waters where you have to be on plane to clear the ridges and the you can feel the hull lift from bottom compression (under 8" of water below the hull in my setup). The fear of whacking a ridge at speed with a 2'x4' chunk of fiberglass glued into the back of my boat is an issue.

Besides, I have the mill and welder and this really is fun, especially at the ramp and going up river. Fishing stops, swimming stops, kids point and old men gawk. :)

The decking will be covered in 20oz carpet and the decks should end up pretty close the level. I have .063 and .080 for the deck and the hatches were .100 or .130 depending on what showed up. I need to order the carpet and move forward once the engine is running 100%.

I'm pretty sure the wife is getting a HD camcorder for her birthday... so we should be able to get some video of this thing posted soon.

Jamie
 
Do you think installing a say, 6"x 10"x 2-3' tunnel would've helped you at all? Or would it have made it too much of a PITA to set the motor in? Trying to get some ideas so I can do everything at once on mine. You definitely sold me on the console idea, looks like it clears up a lot of room compared to my fiberglass CC in between the benches.
Jesse
 
Jesse one of the goals on designing this build was a motor that wasn't obstructive. No doubt you've seen the tracker jets with the 18" tall dog house with a seat on top, I wanted the engine low and the whole driveline flat in the hull to get as much thrust as I could out the back vs. aiming down (engine higher, pump lower). If you think about it I do have a tunnel and using the spoon I get the benefit of Mr. Bernoulli's effects to help draw the water up into the pump.

Read some of this on hydrocynamics about the principles, don't even look at the equations...

https://en.wikipedia.org/wiki/Fluid_dynamics

https://en.wikipedia.org/wiki/Bernoulli%27s_equation

There's reams of good info out there but sometimes it's hard to weed through the chafe to get at the kernals of knowledge.

Here's some good video on western racing jet boat hull repair and race prep. Pt 6 is where I did the screen capture for my inlet redesign. Pt 7 nozzle design is something Ive been thinking about on and off...

https://www.youtube.com/watch?v=Qzjas9NJmzE

I love the console. The handrail is, well handy, for when the kid and I swap positions. Everything on the boat was done as cheeply as possible. The console it there instead of further forward because that's as long as the cables were. In fact the steering had to have a shaft to the floor since the cable was short. That was a design constraint that worked out well. The CG underway is good. The oldest at 14 sits in the front and the 8yo in his seat in front of the console. The oldest can put his feet up at the bow to brace for impact and the little guy has a soft seat right in front of him. Of course I'll eat the console but I tried to avoid any sharp protusions on it, wanted a short windshield but... I keep the rods on the right hand side and travel the port side.

Another great thing about the console is it's a great place to put the camera, phone and wallet and the top is great for the tea jug and the hook pliers.

I ordered the carpet yesterday from boatcarpetcentral, 8.5' x20' for $185 or 170 sqft at just ove $1/ft.

Jamie
 

Latest posts

Top