fender66
Well-known member
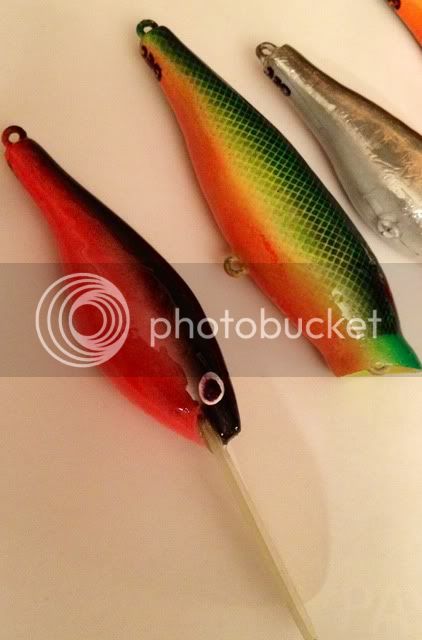
Still....I'm impressed. =D>


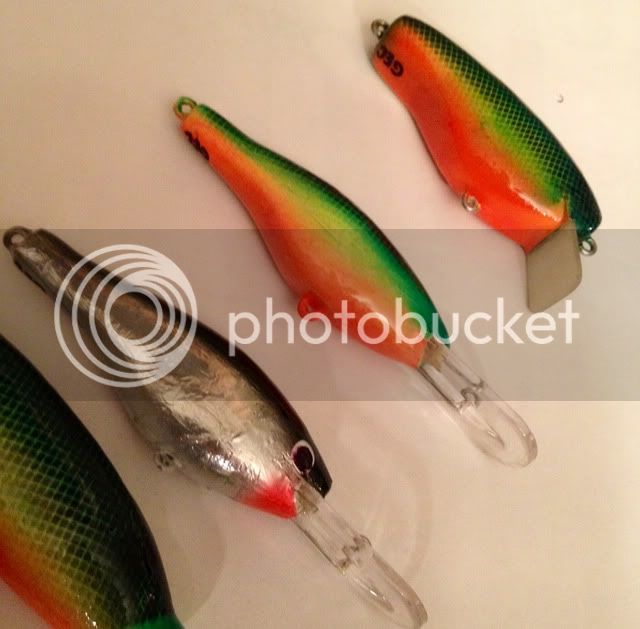


richg99 said:Great looking...hope the fish agree!
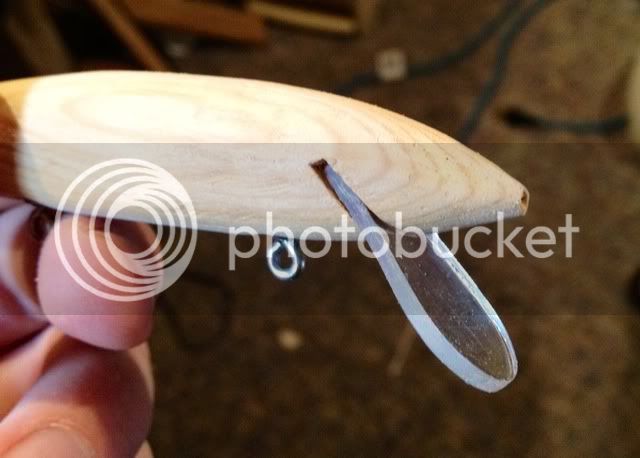
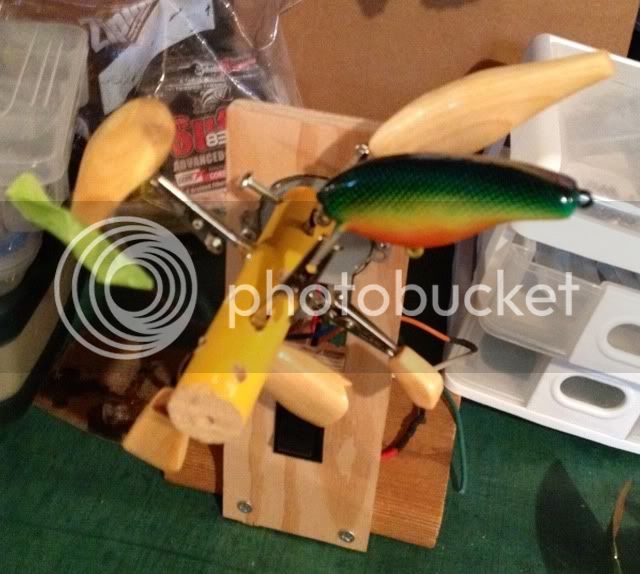
What wood are you using...and how did you get that neat cross-hatch pattern on there?
As far as smoothing out the epoxy...I know that rod builders rig up a verrryyyy slow moving lathe type device to keep the rods turning and turning until the epoxy dries..maybe something like that would help?? I've seen where some of them used a rotisserie from a cooking grill to power the device.
regards, rich
Where to start...aeviaanah said:This is interesting, seems like a new hobby Im ready to jump into.
Can anyone provide me with some resources on how to get started? I have a scroll saw, band saw, belt sander etc. Id like to work with wood over the casting for now. I took a look at the blogs and you guys are making some nice stuff!
fender66 said:I'm looking forward to seeing one of these snagged in a fish mouth.
Enter your email address to join: