Fisher Water Rover complete rebuild - MISSION ACCOMPLISHED!

TinBoats.net

Help Support TinBoats.net:

This site may earn a commission from merchant affiliate links, including eBay, Amazon, and others.

Skipjack

Well-known member
Joined
Dec 29, 2016
Messages
47
Reaction score
1
Location
Maysville, AL
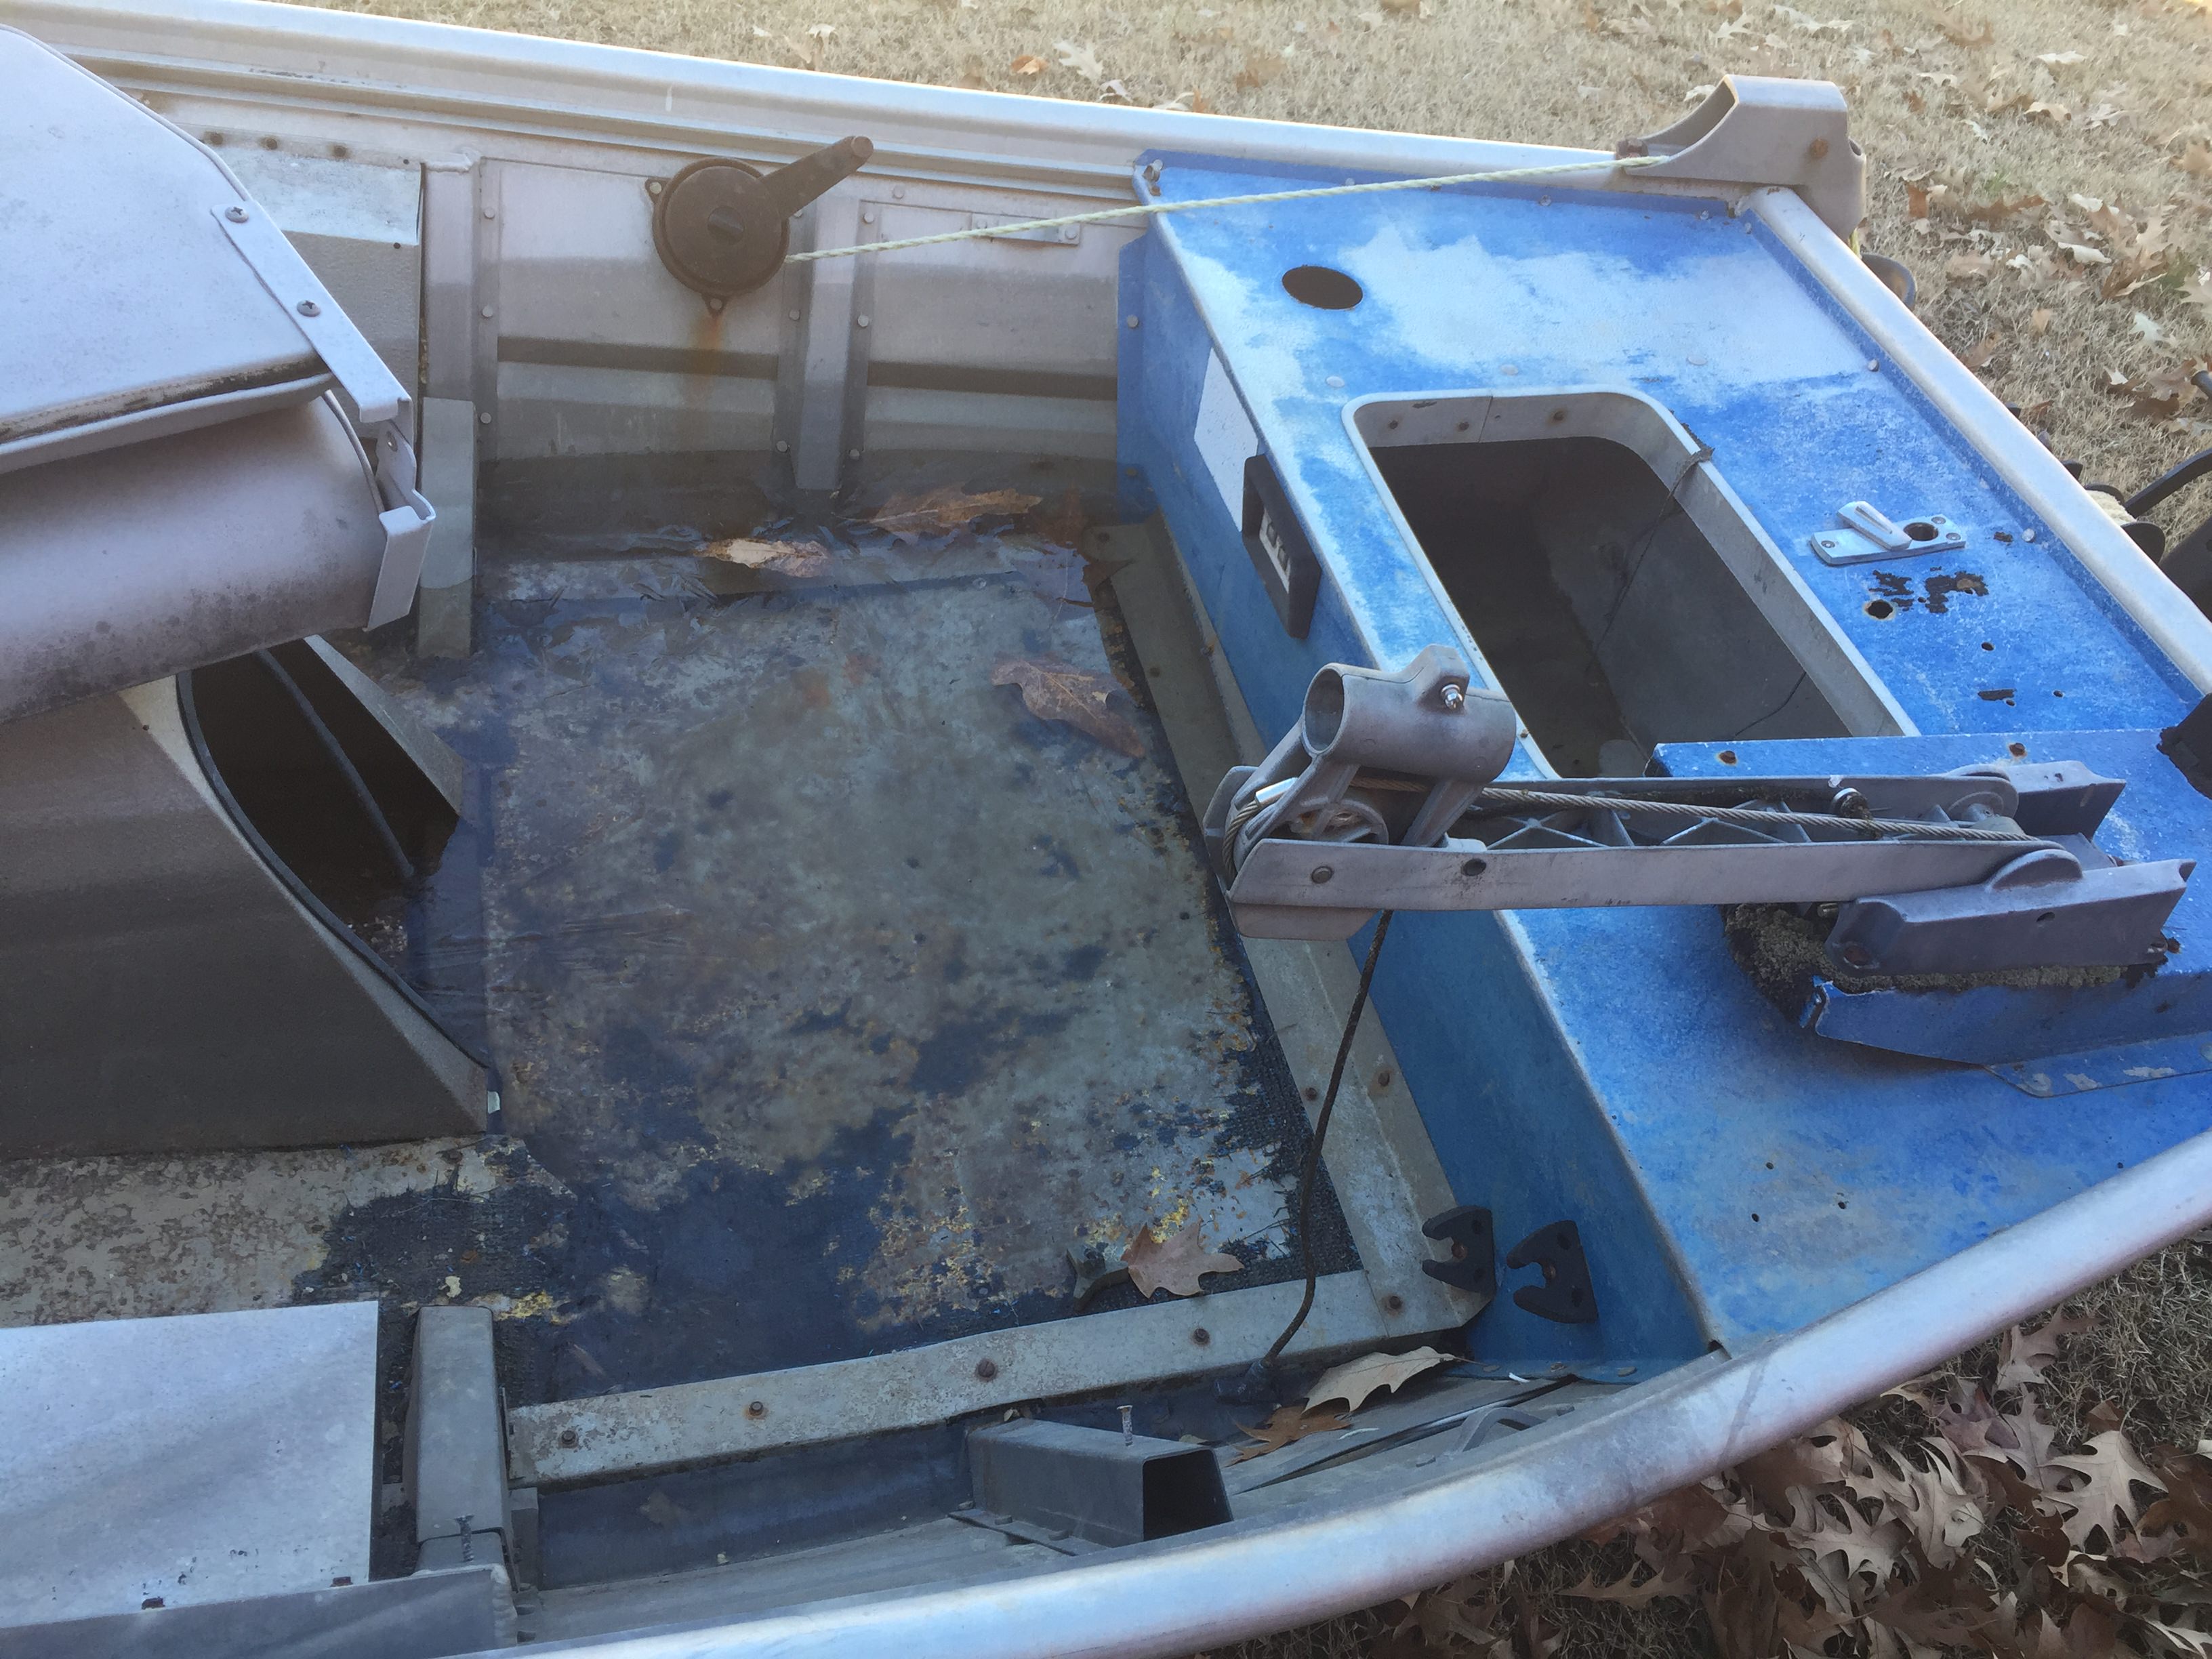
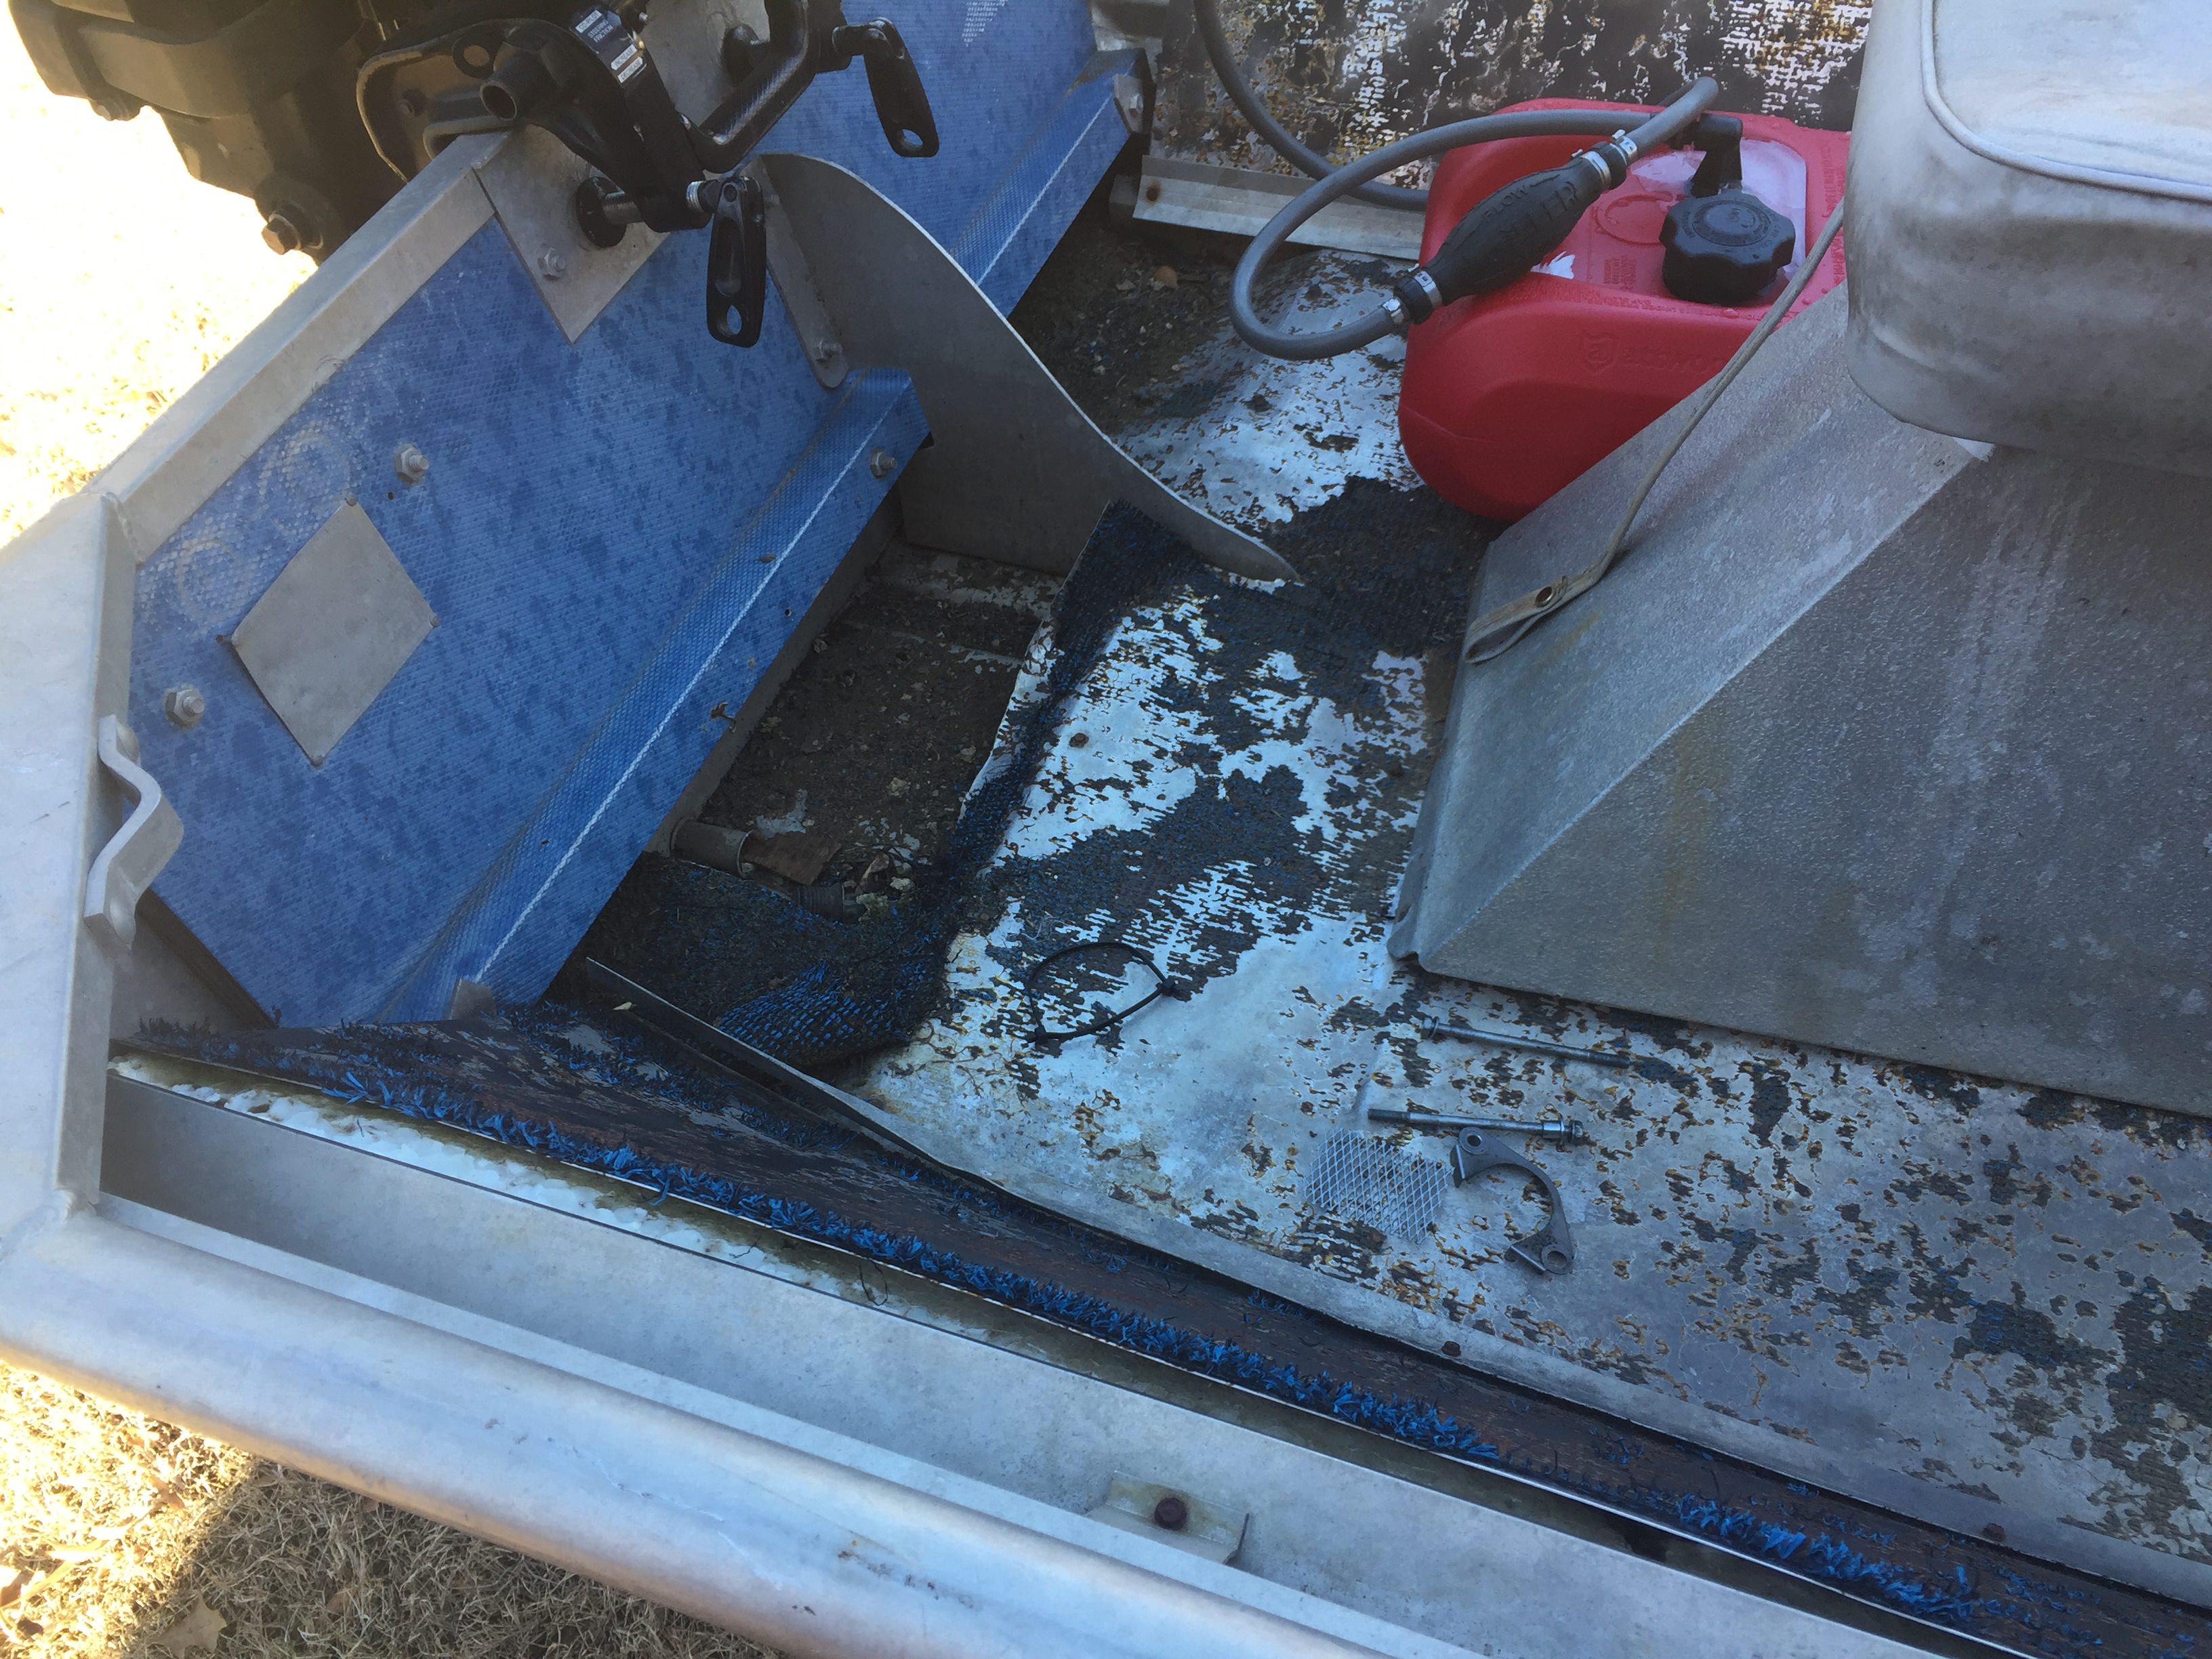
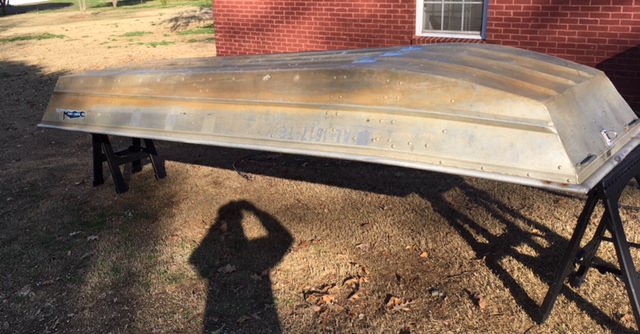
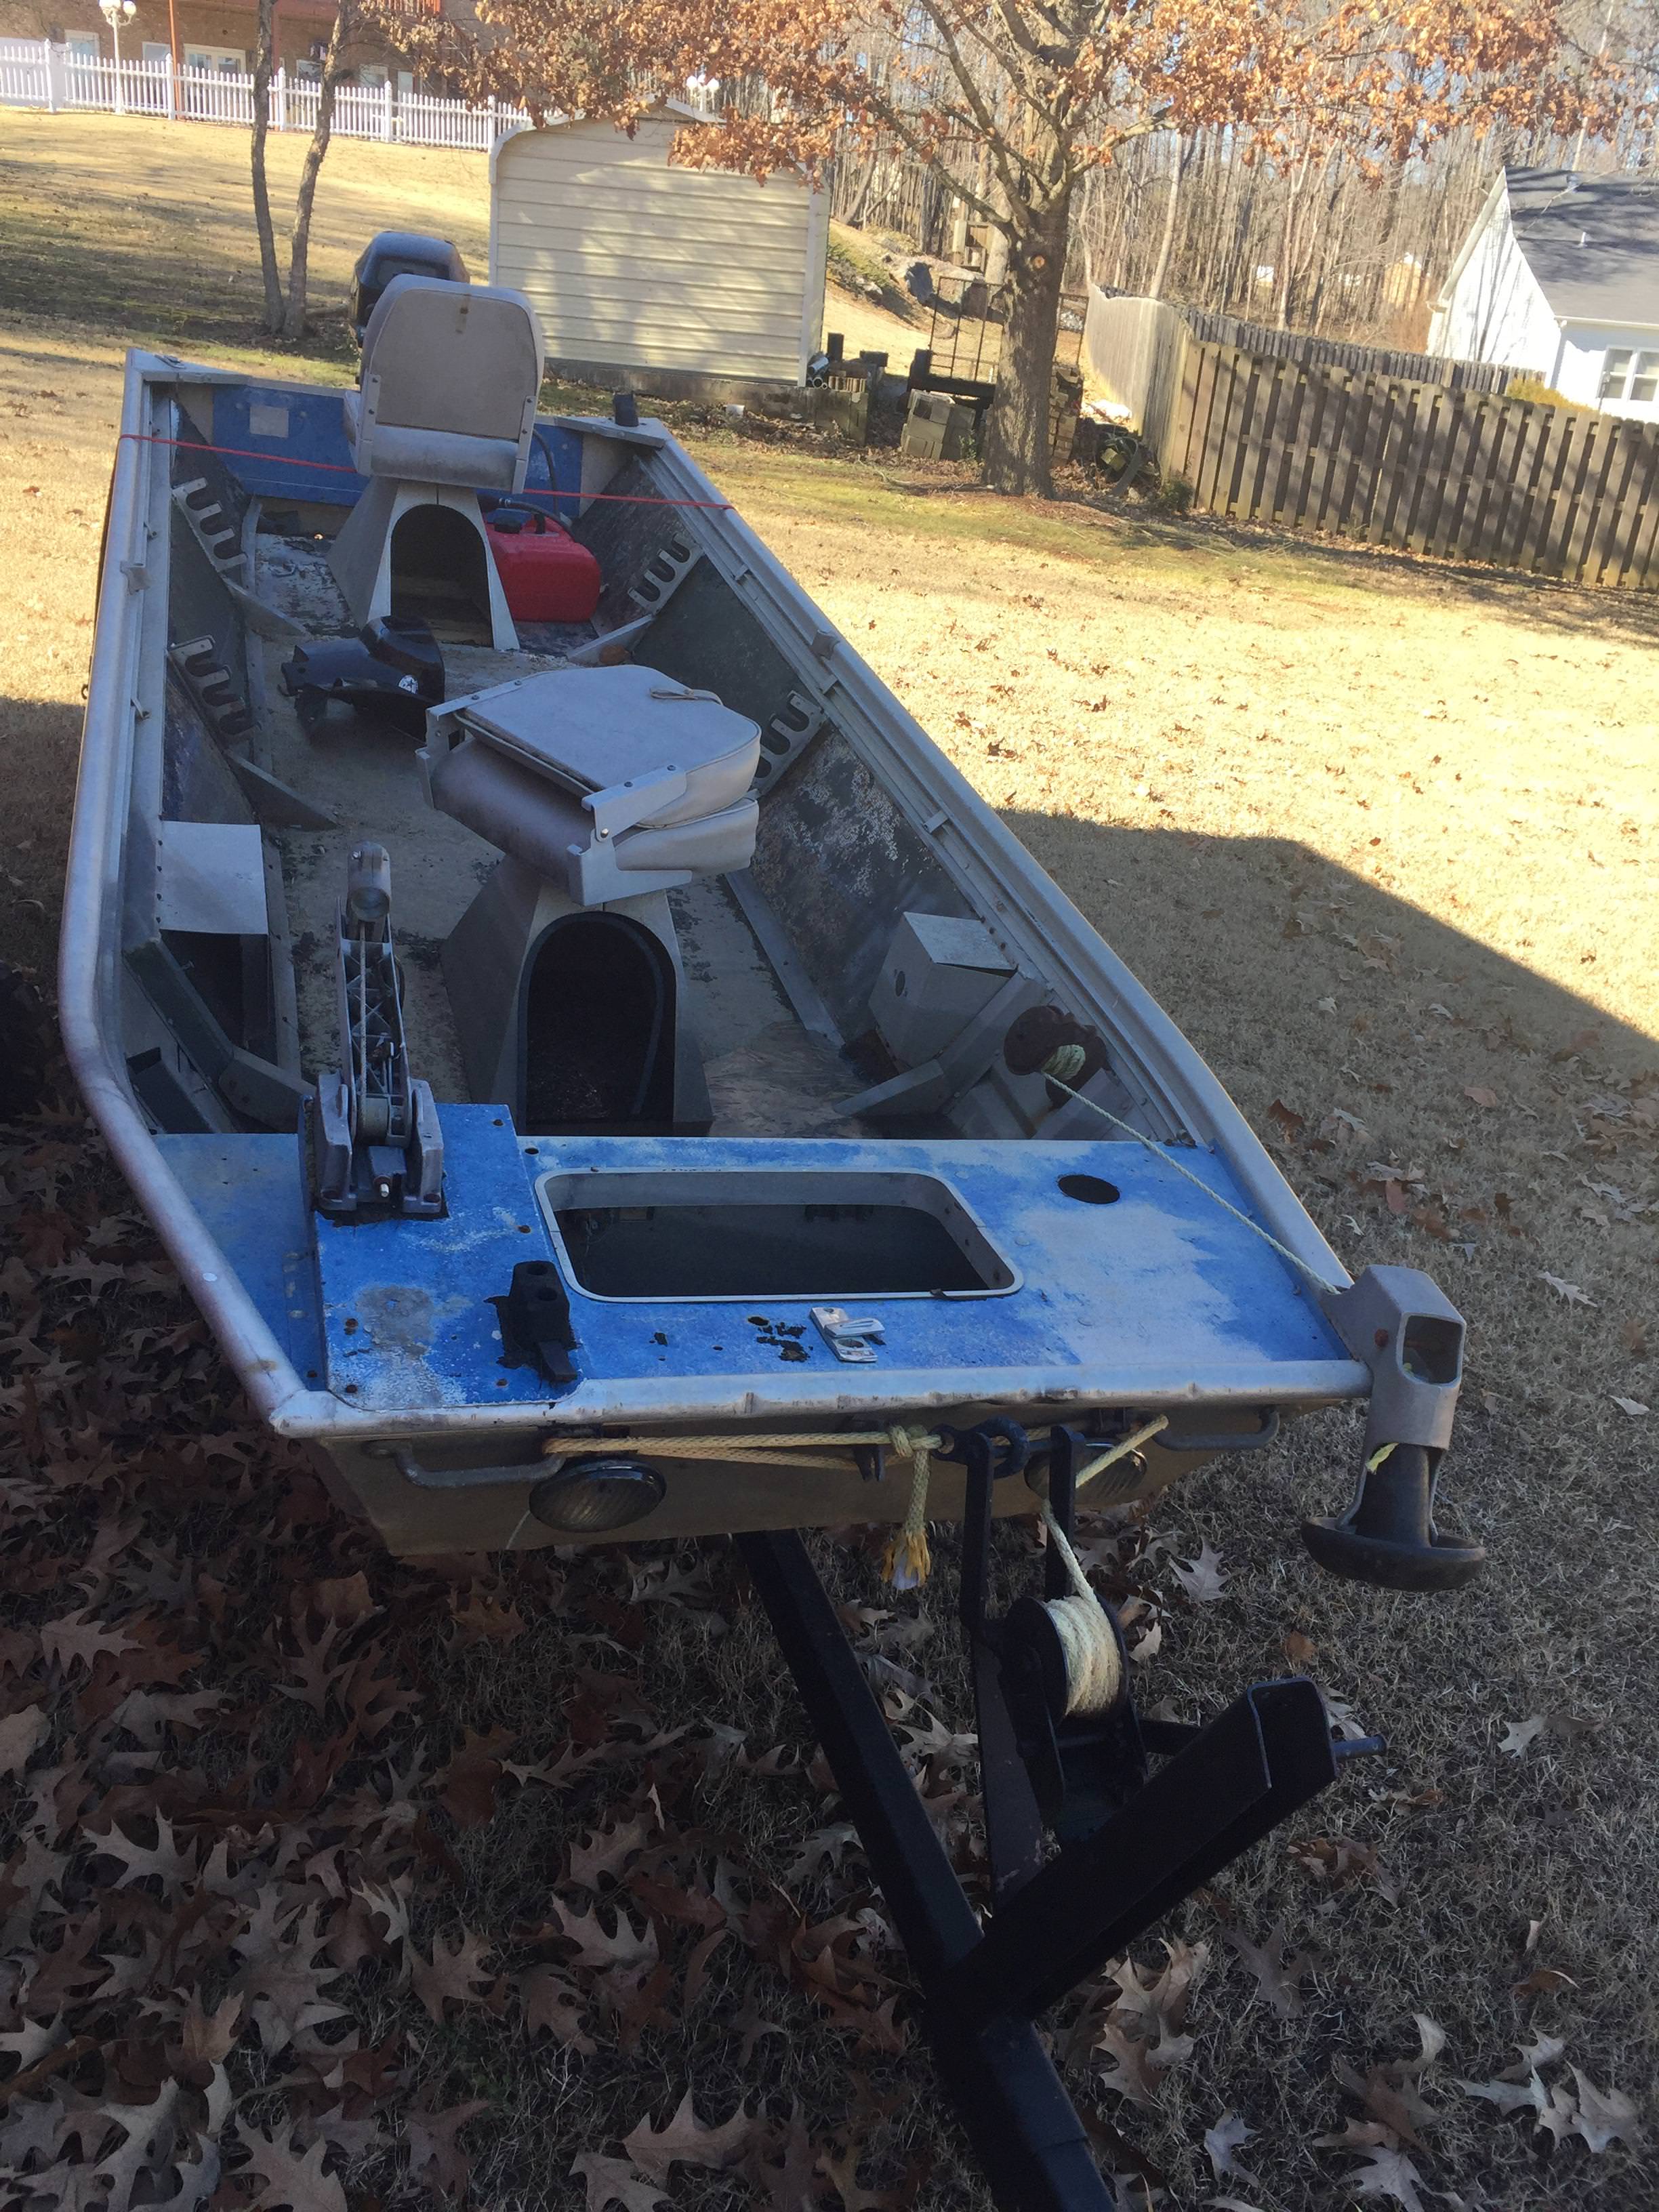
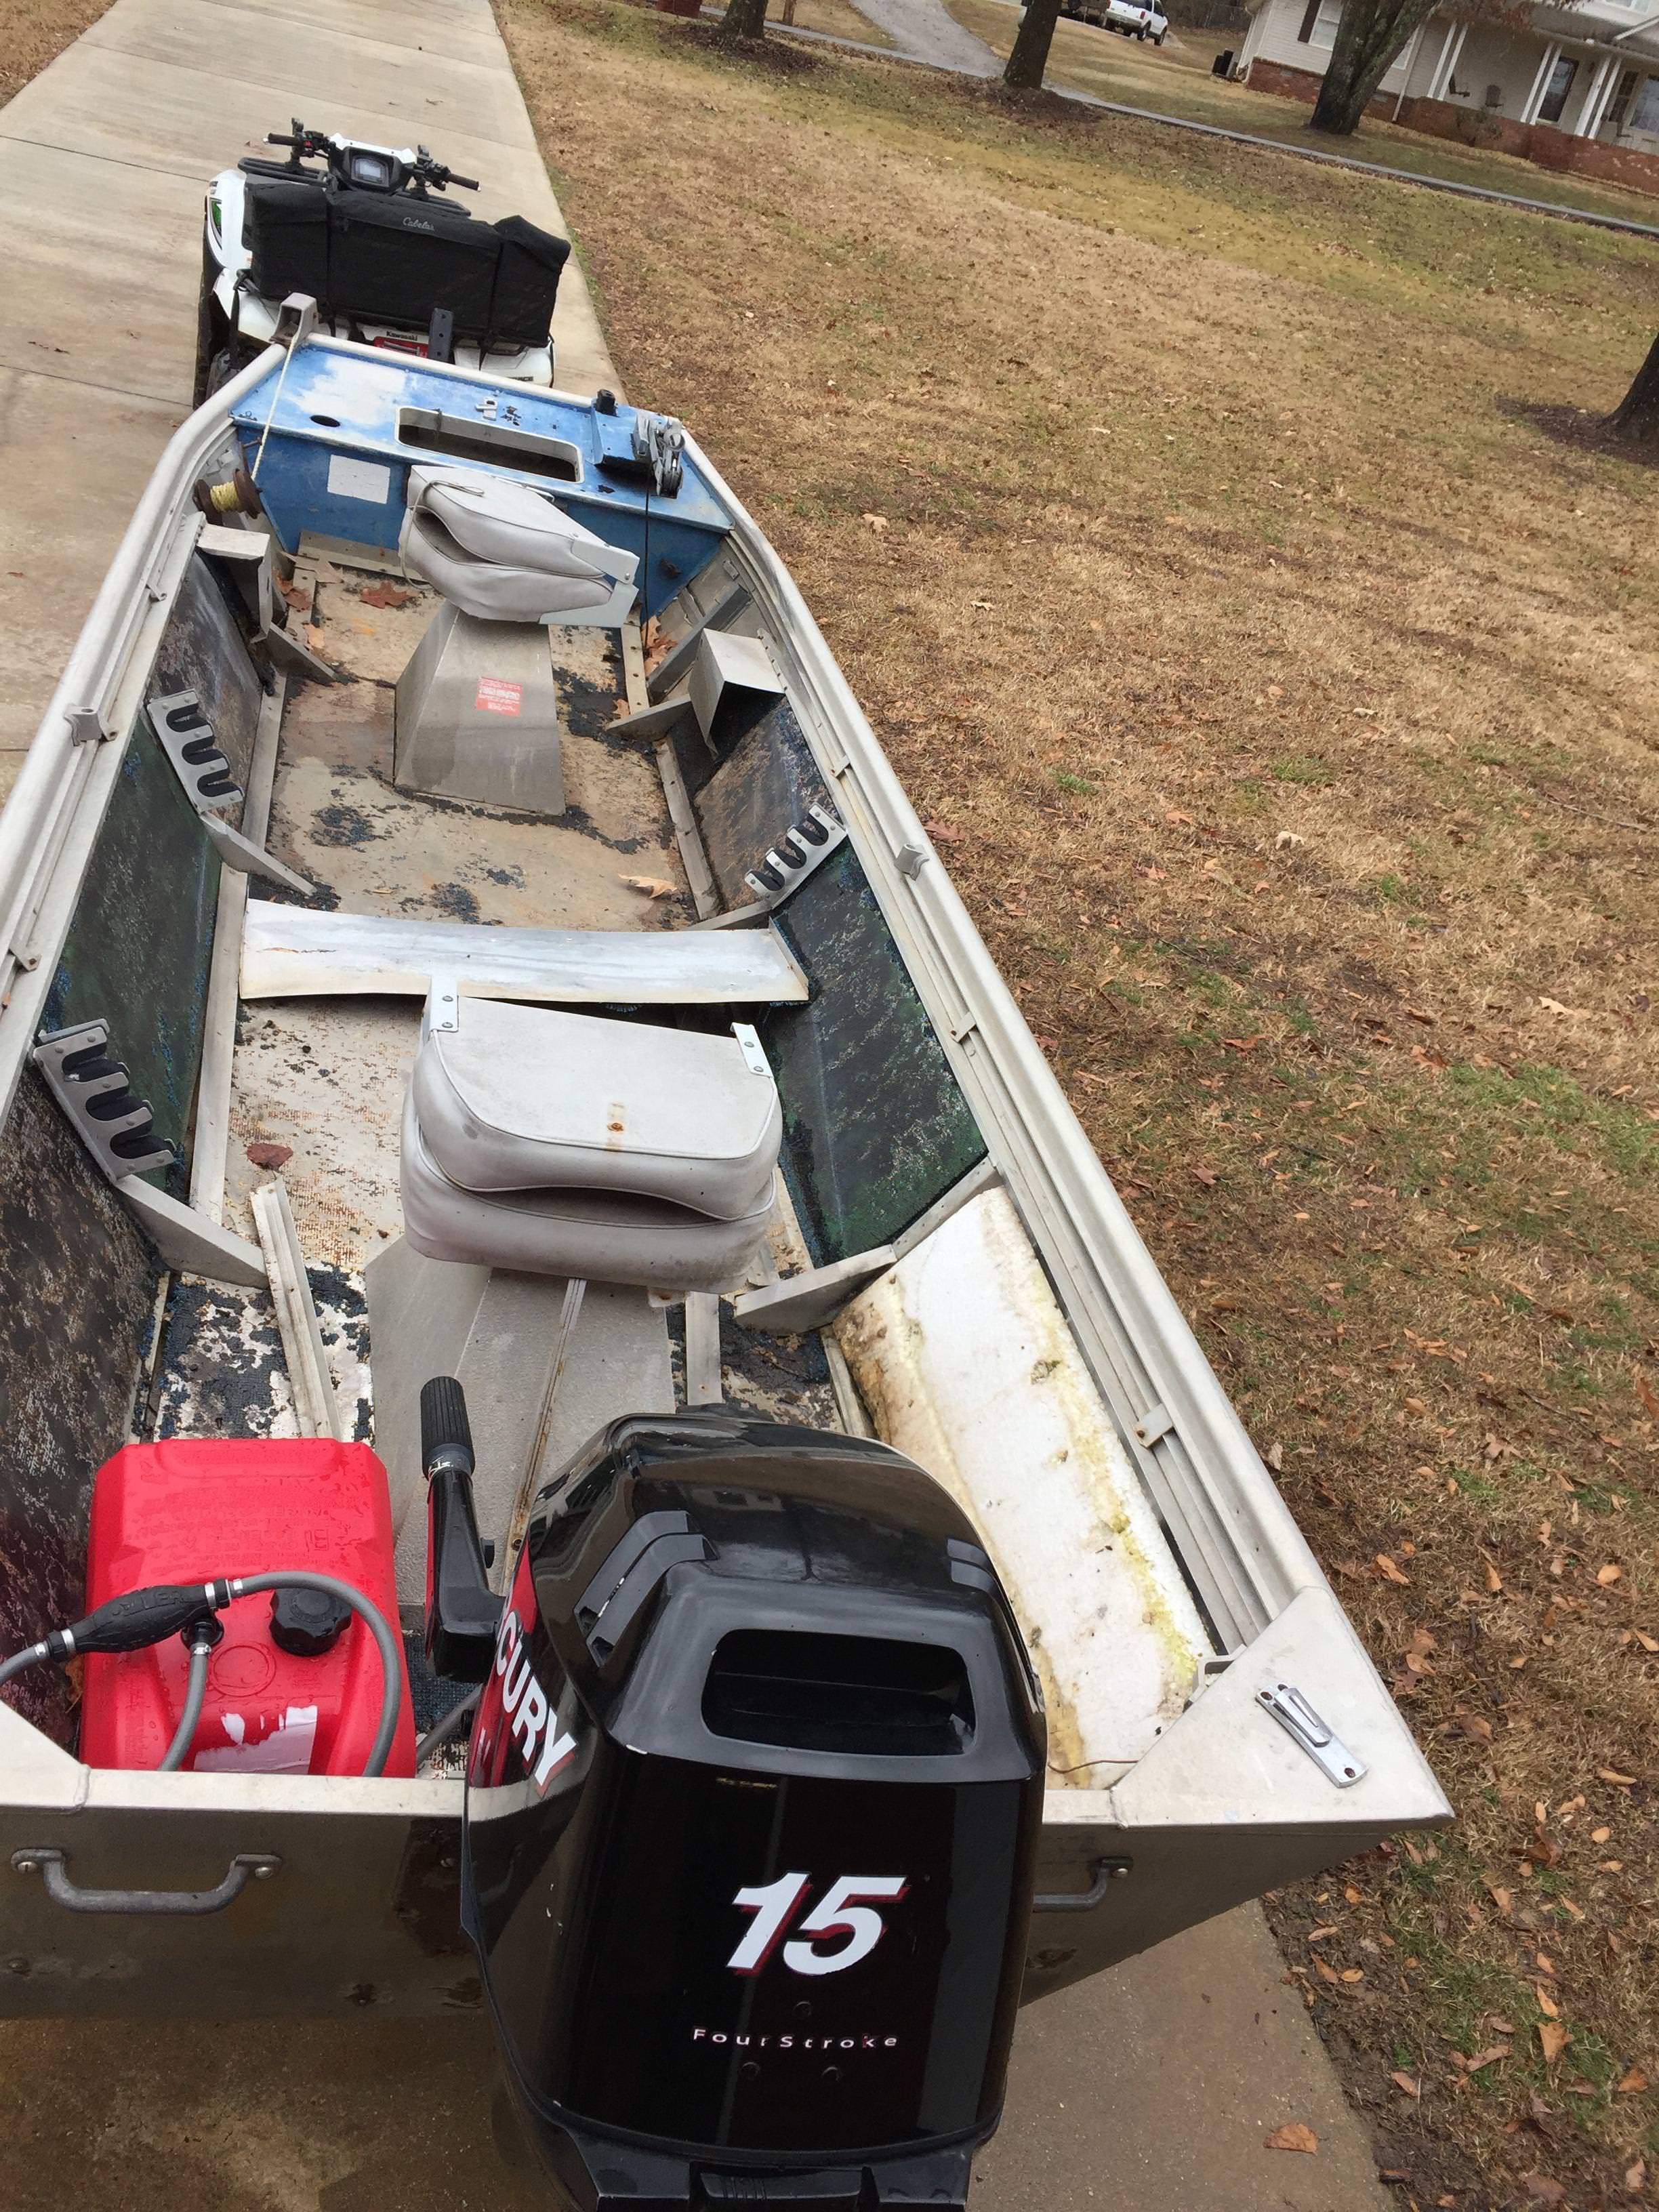
Well here we go with another "quick" project. This winter I managed to pick up a nice little fishing boat with a 2006 Mercury 15hp tiller. I believe it's a 15' 1985 Fisher Water Rover. Just like EVERY boat i've bought it had it's problems right away. The owner said (like every boat owner I've bought a boat from) no leaks, bearings and lights work on the trailer and the foam is good, its a great boat and no issues, tires are perfect except for the dry rot.:---) .
Really nice boat with a open layout that I plan on keeping the same but of course I need to do my updates to make it the best it can be. Not sure what i'll name her but it might be K.I.S.S. LOL!

To all reading; this is a complete rebuild. Everything is getting fixed, updated or replaced. My style is details matter and no cut corners or half assing it allowed.

Another basket case ready to be reborn!
VcHAoXq.jpg

Dw4Klo3.jpg

9lK2ejM.jpg


Time to start gutting it and see what we have to work with...
3QwgPyQ.jpg


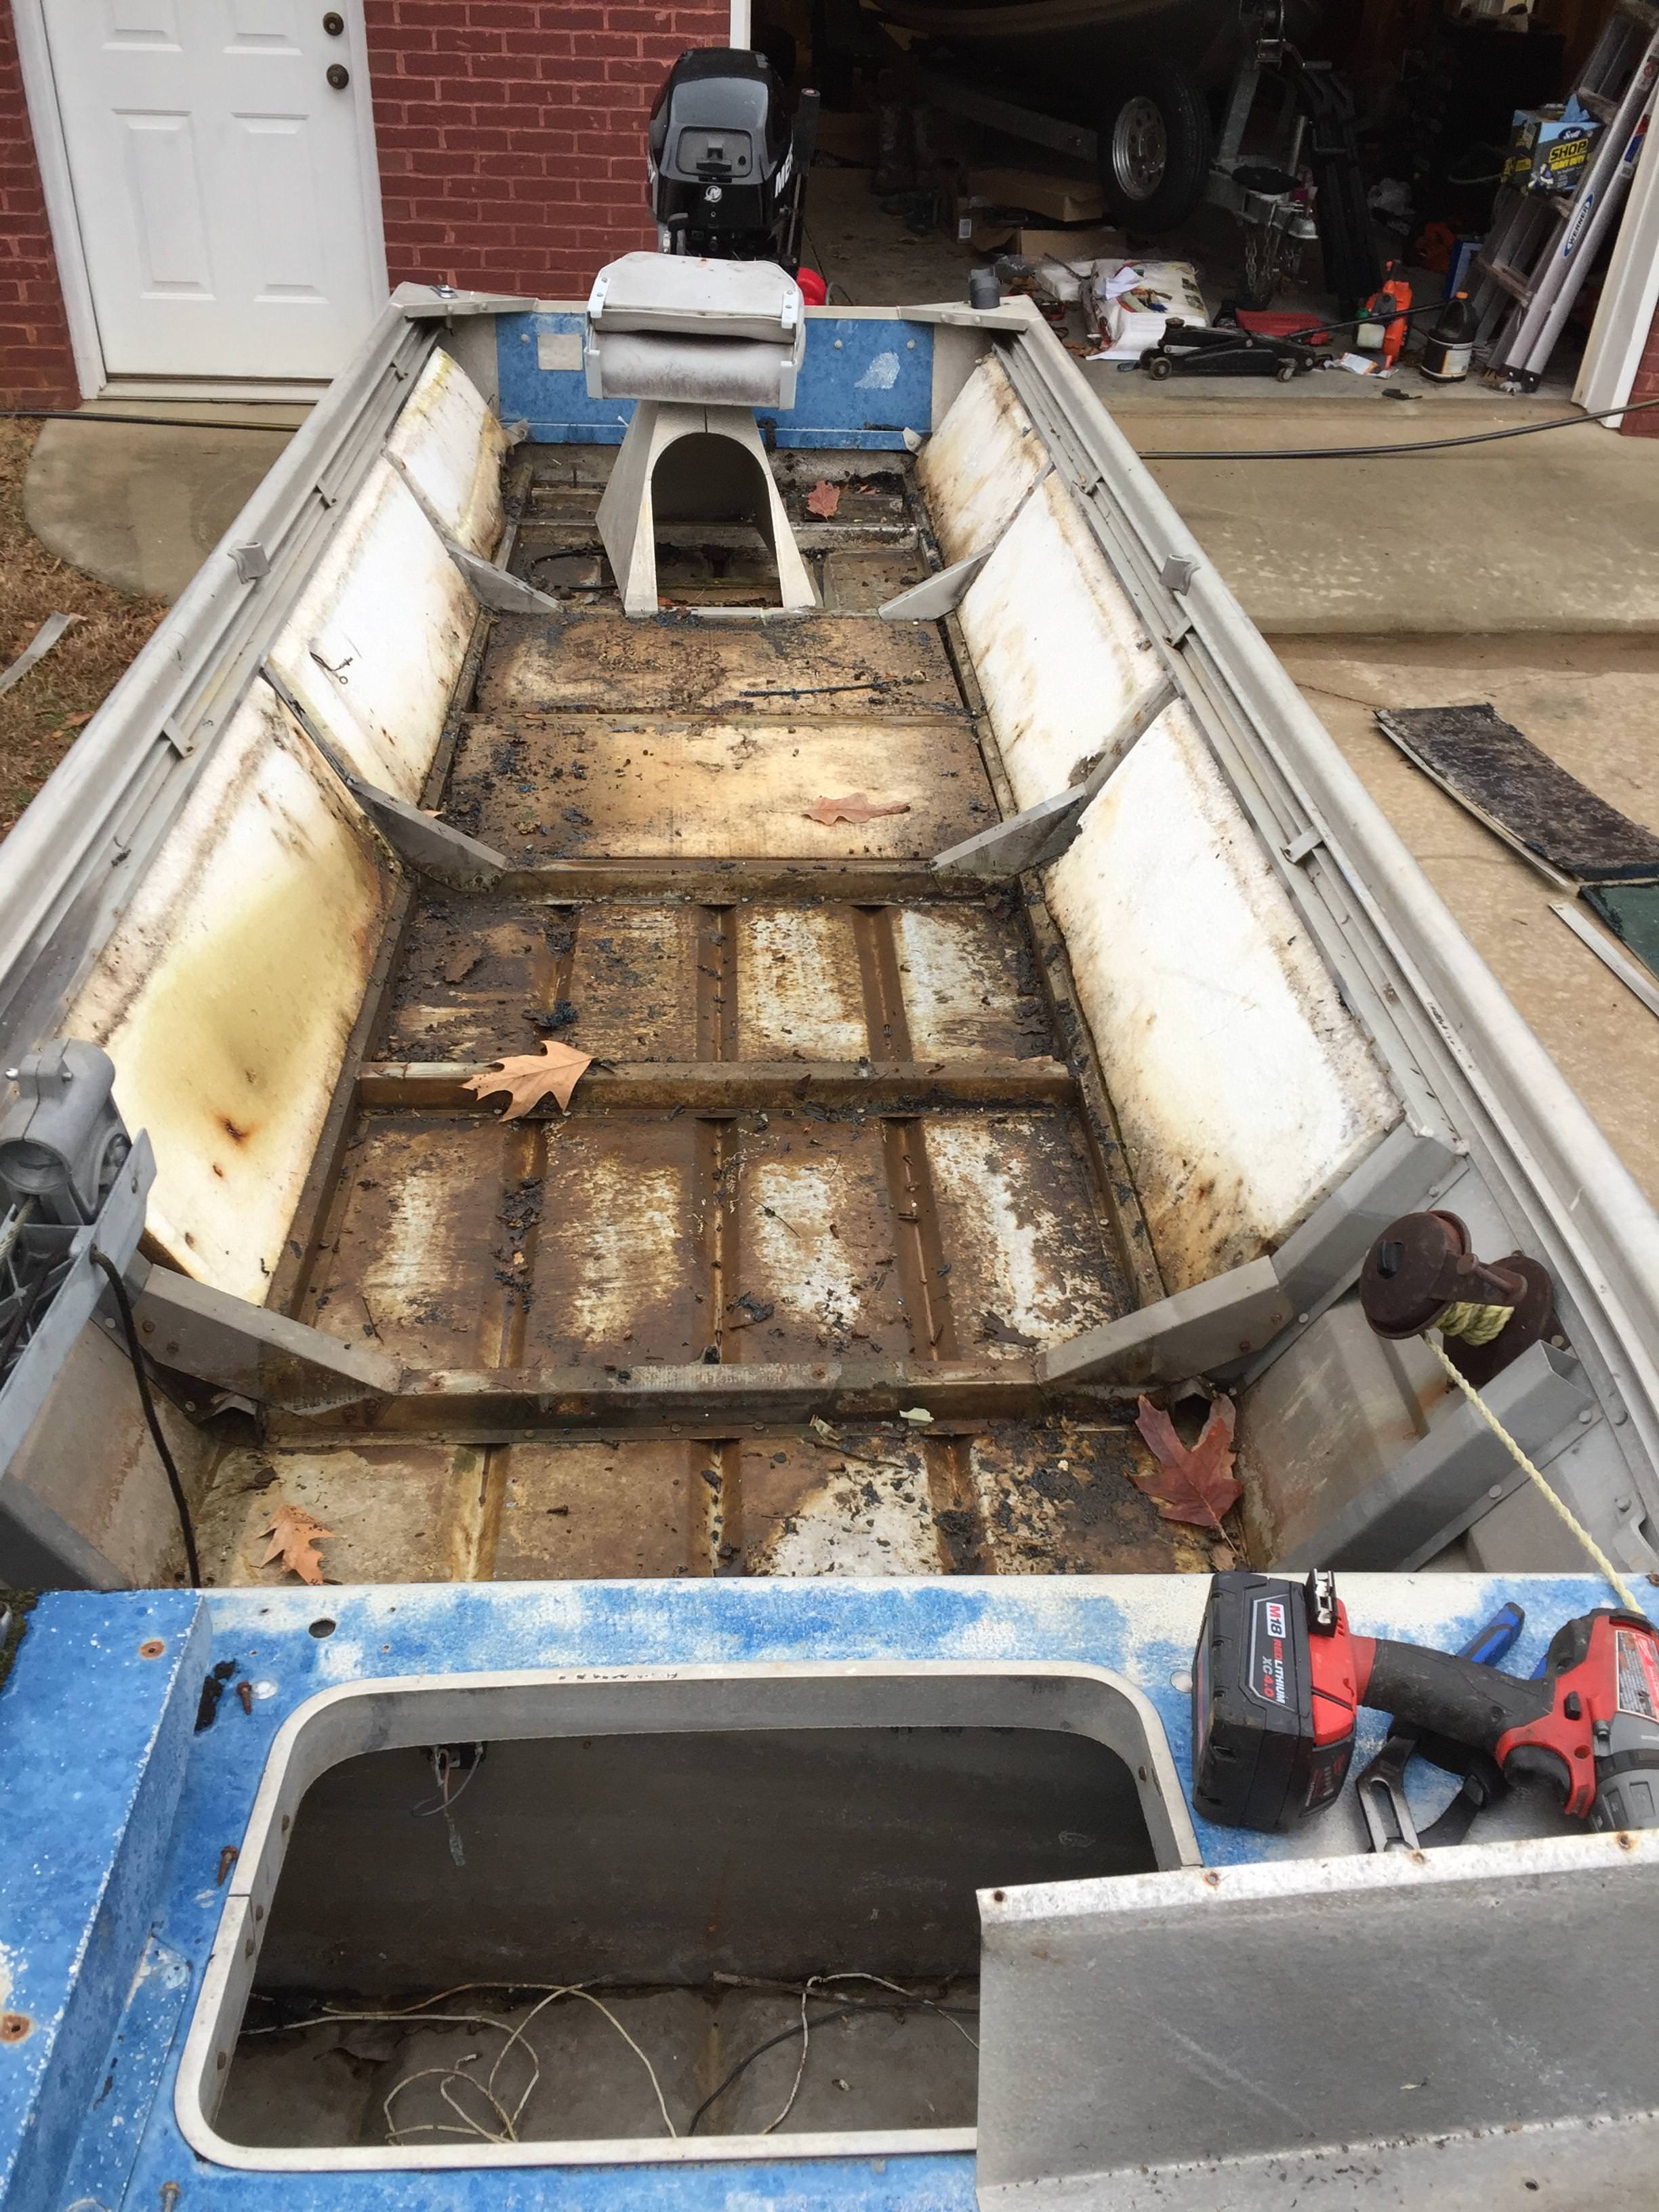
So far so good, floor was removed as well as about 300lbs of water logged foam.
oh5zAET.jpg


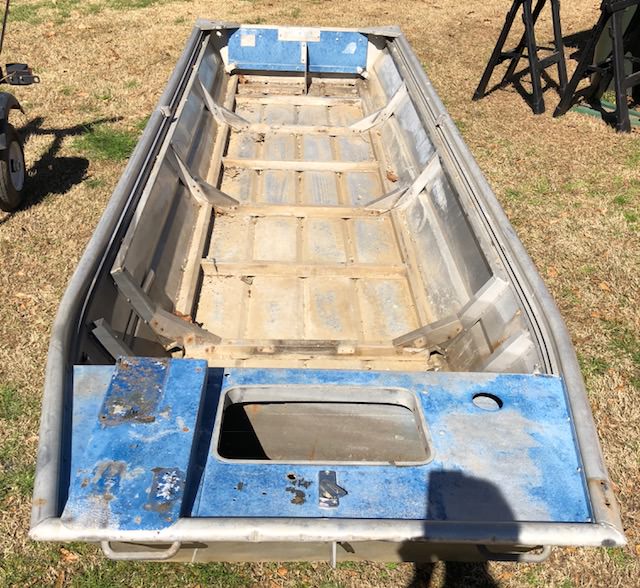
Here is what it looks like after I gutted it.
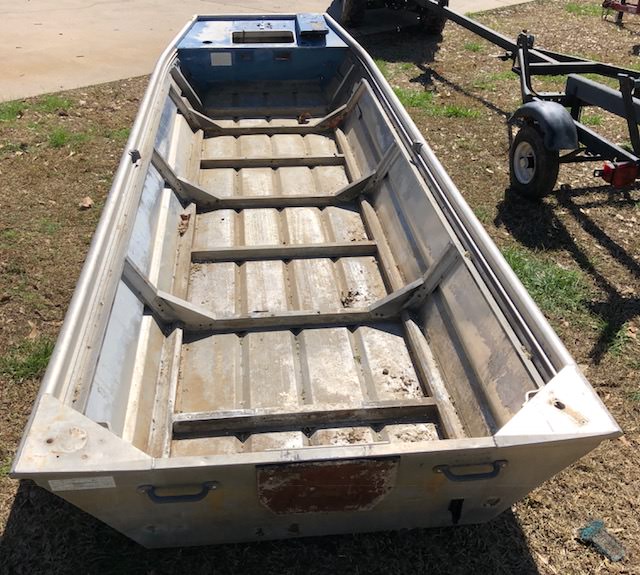
ZnYg3o1.jpg


0fnUtzq.jpg


Boat and trailer. Notice I re carpeted the bunks already. Drove me crazy!
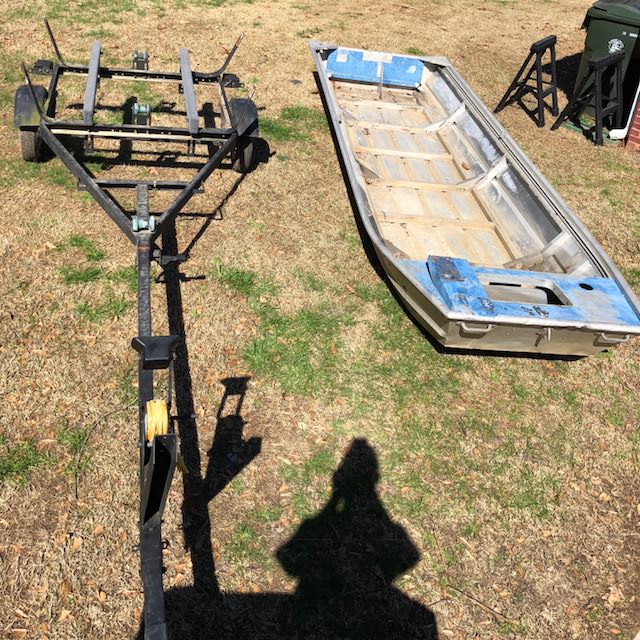
hT5HwN1.jpg


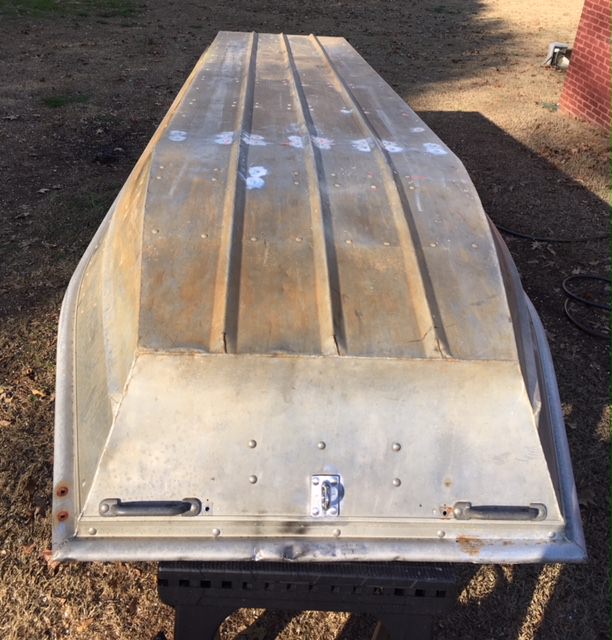
I rolled the hull over to look for leaks since I saw a bunch of goop on some rivets.
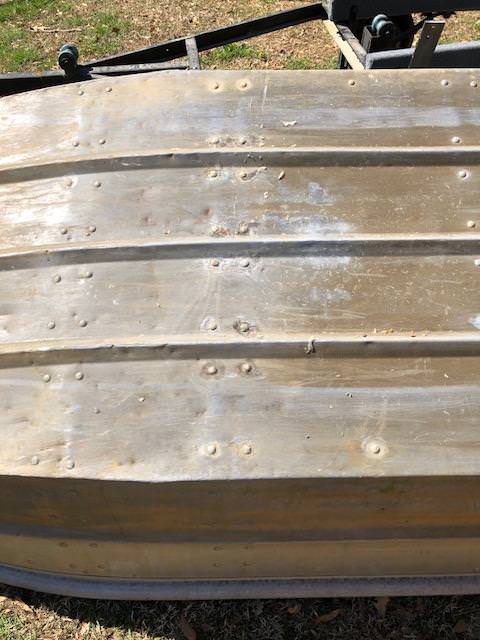
OGvqDEM.jpg


Seen this a thousand times. Goop on rivets won't work. Period. Quit being stupid and lazy and either re buck them or replace.
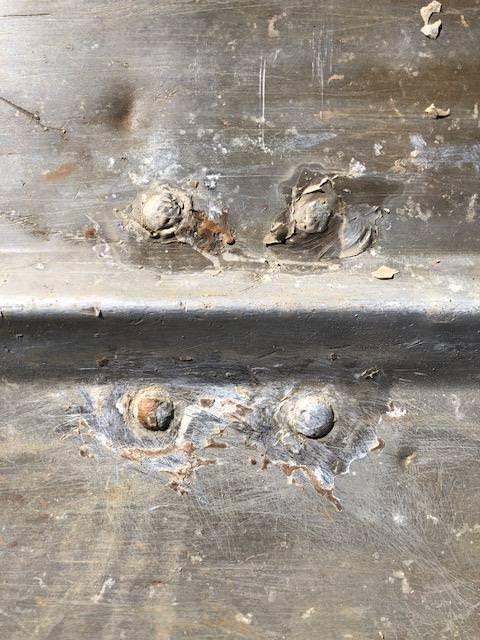
CKvPb2Z.jpg


I filled her up to see how bad it was on the leaks. "It doesn't leak" said everyone selling a boat!
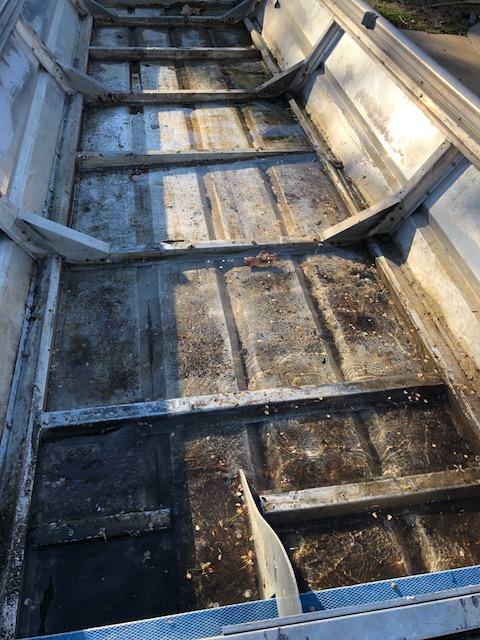
4BZakDG.jpg


All leaks found and now time to get out the super specialized Alabama Jon boat leak repair kit.
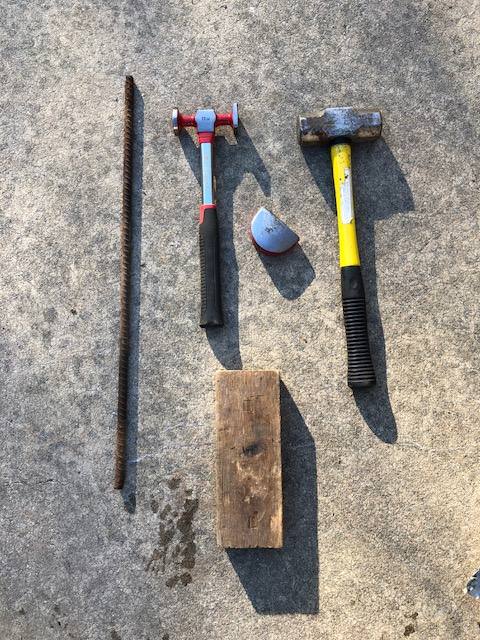
m6baK72.jpg


That's it for now but keep watching. This thread DELIVERS!
 
Using it as a long punch for hard to reach rivets. Sometimes on the ribs by the corners or edges you can't get a hammer in to buck them so the long bar gets you up out of the way so you can hit it.
 
No leaks as long as you squint your eyes and pick your feet up!
 
Skipjack said:
Using it as a long punch for hard to reach rivets. Sometimes on the ribs by the corners or edges you can't get a hammer in to buck them so the long bar gets you up out of the way so you can hit it.
I'm new to this boat rebuild thing.. do you hammer the rivets from the inside out.. or outside In?

Sent from my SM-G903W using Tapatalk
 
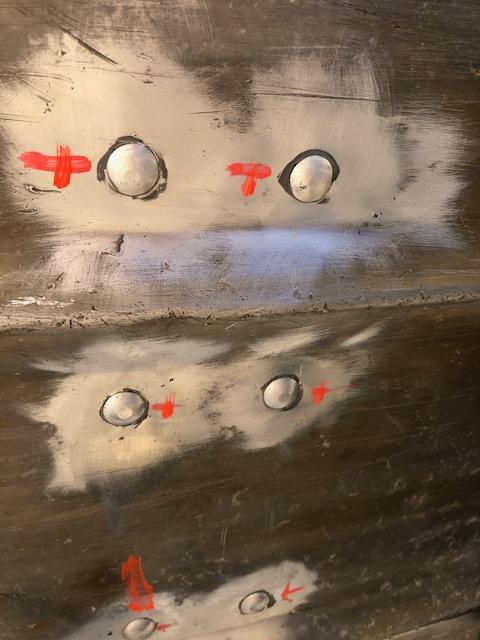
The leaky rivets were marked and then I went to work bucking them. You can see the flat spots on the heads so it was easy to see which ones were done. Once all done and no leaks I re marked them so I made sure I didn't forget anything.
PP27G08.jpg


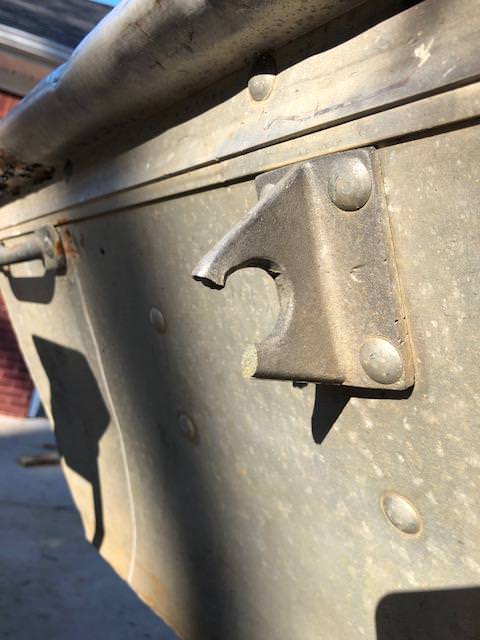
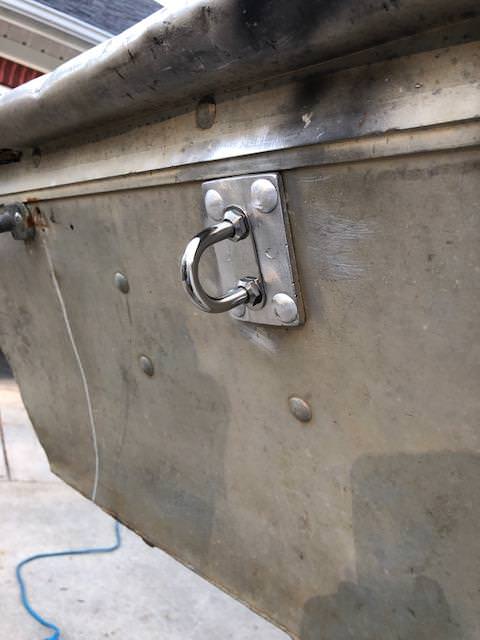
Once that was done it was time to replace the broken bow eye. These are always broken and never understood why the manufactures used cast aluminum for this...
GSkFtDd.jpg


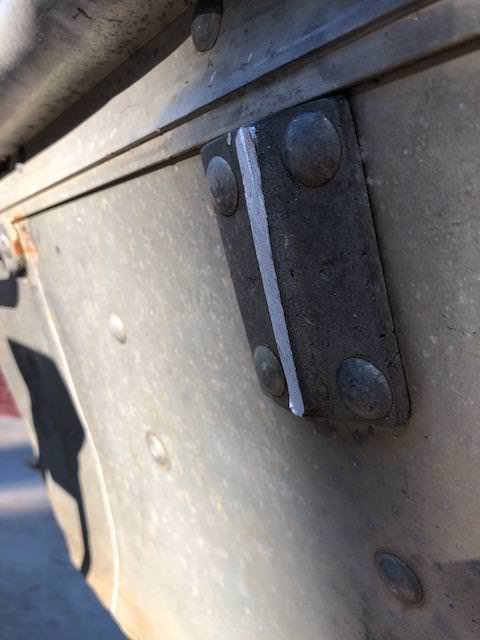
Quick work with my new HackZall got it ready to be ground down and smooth
BExyIhH.jpg


All ready for the new stainless bow eye to be installed.
nQxKF7s.jpg


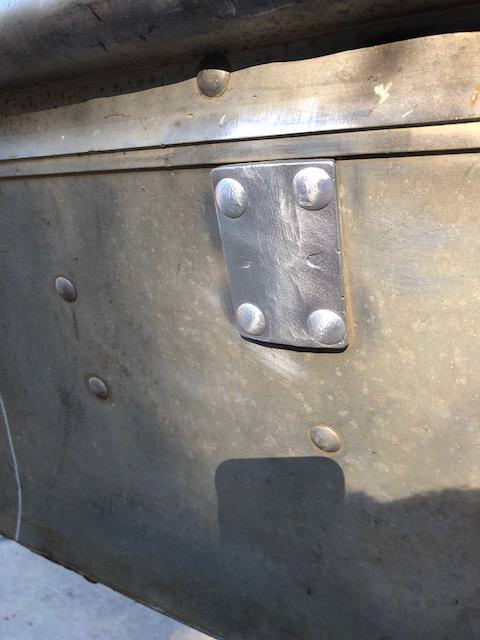
Presto! it's fixed.
MX9BFVQ.jpg


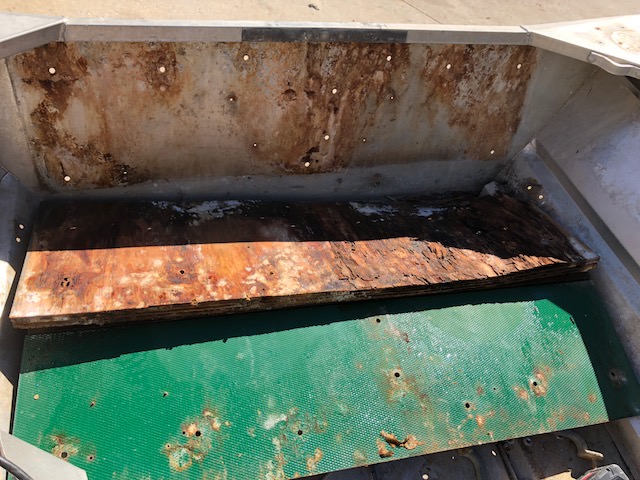
Next was tearing out the old rotten wood in the transom. Looks good right?
QASG061.jpg


The braces were riveted in so I had to grind them down and punch them out to remove the wood. Would be nice if it was all bolted together but i'm sure the rivets during production saved the manufacture $.30
jBqZICC.jpg


And here is the reason why I did this... Rotten wood! They feel ok since they are sandwiched in between two sheets of aluminum but they are always bad.
WA2UZxq.jpg
 
Alumiweld time!

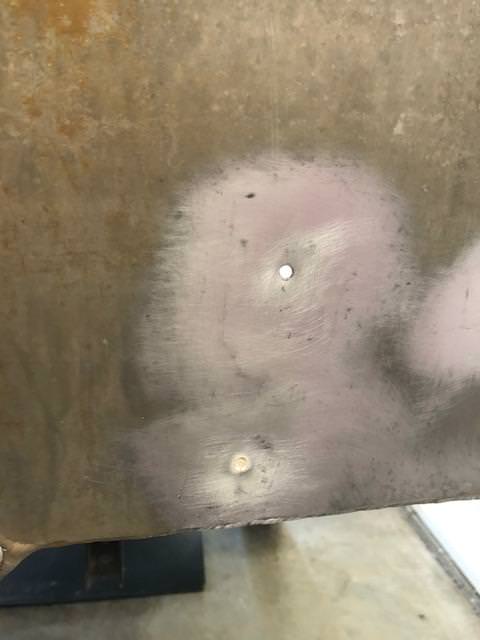
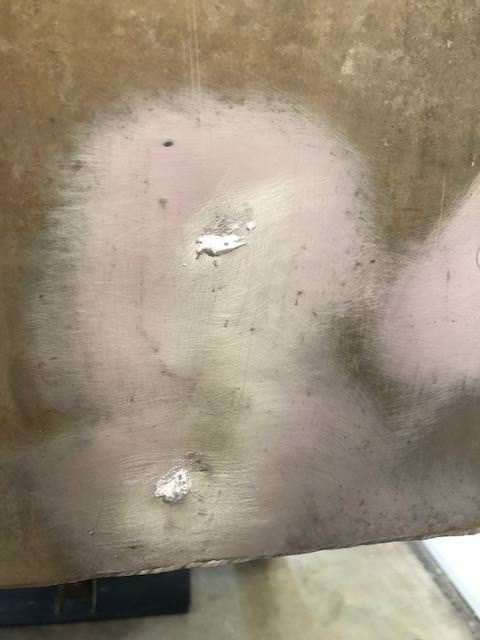
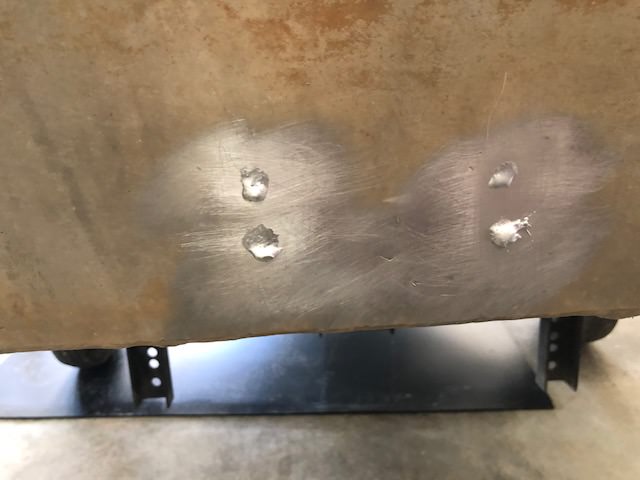
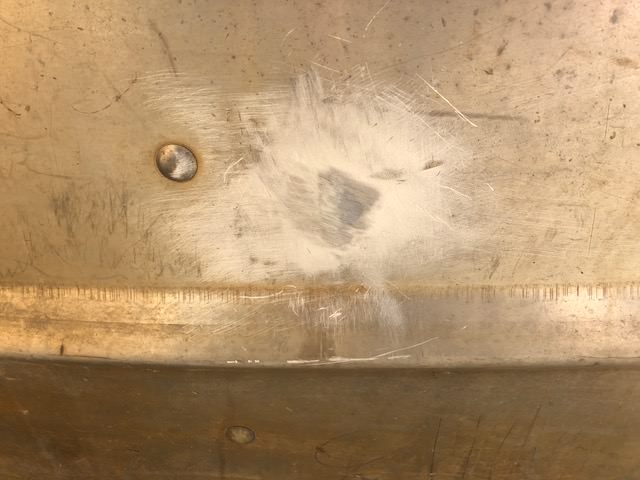
Since I want to make sure this boat is solid and no leaks I went ahead and got all the random old holes prepped and ready for Aluminum brazing with a product some know about - Alumiweld. It works if you don't want to half a$$ it and use JB weld and don't have access to a Tig welder. It takes time to get the hang of it and temperature control is paramount. I'm not a welder and don't claim to be but it got the job done with satisfactory results.

Some of the offending holes below the water line
W6JjN4U.jpg


Filled in
N8HlRHf.jpg


More holes!
aDCHHOk.jpg


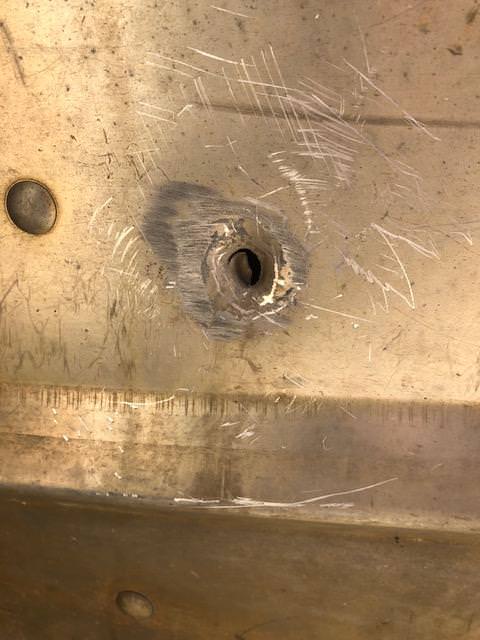
And the "Mystery hole" that looks a lot like a bullet hole once I removed a glob of JB weld... :shock:
IFeBNTB.jpg


All done and covered up!
hnlfhJd.jpg
 
I've got a 77 model water rover that is almost identical floor plan. Only real diff I see at this point is the front drink holder and trolling motor mount are on the opposite side to what mine are. I had to all but replace the transom on mine once I removed the wood and saw all the corrosion.
 
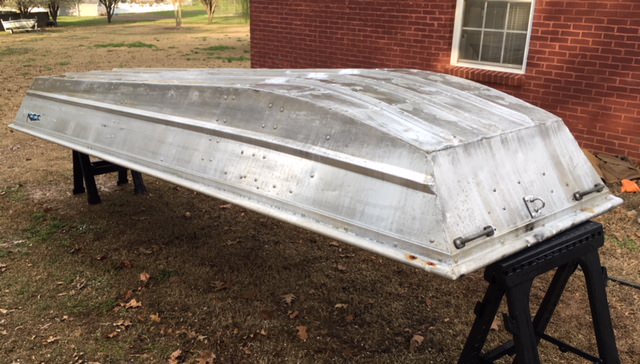
Now that I got the holes, leaks and big stuff out of the way its time to shine the hull up!

Before
mpXxFVT.jpg

cEZ5byP.jpg


After the acid wash
UAC9W1g.jpg


The stuff I used was the aluminum hull cleaner you buy a places like academy ect... Works good but can get outa hand if your not careful!

Took some time and used a scotchbrite pad and a mountain of elbow grease to shine the hull up and create a brushed finish.

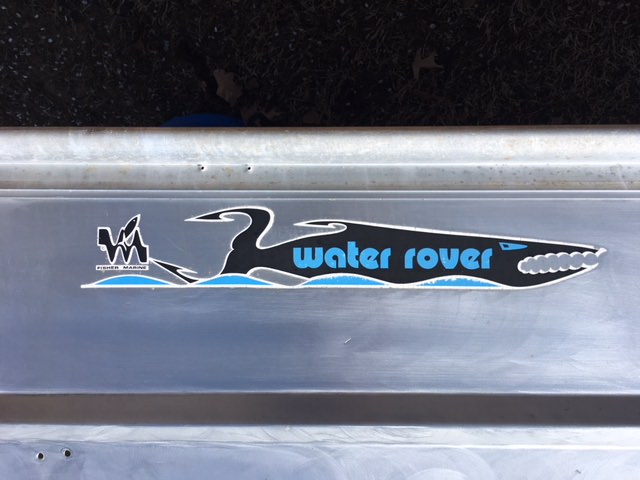
Here is a pic of the decal that I want to get reproduced along with the beginnings of the brushed look hull.
xFJCbFQ.jpg
 
Not time to build the transom!

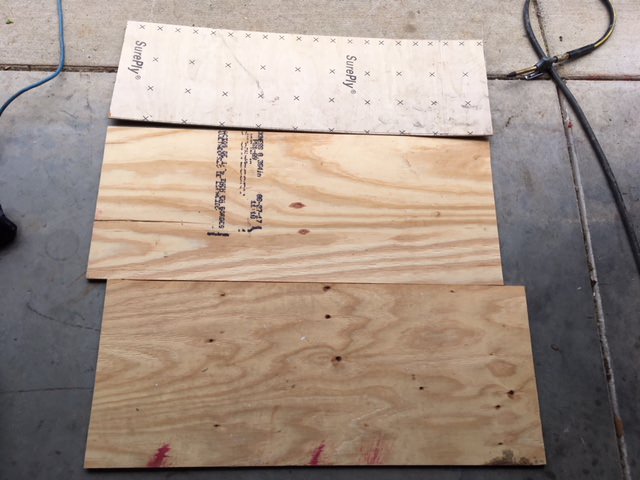
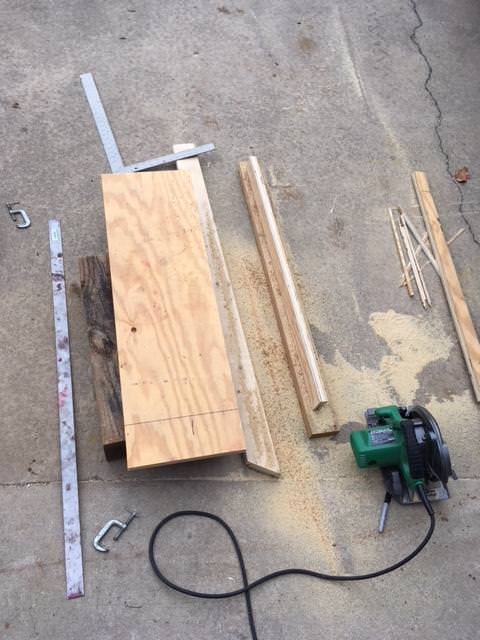
I got 3 pieces of plywood I will sandwich together to get the correct thickness so it will fit perfectly.
eaUYhKG.jpg


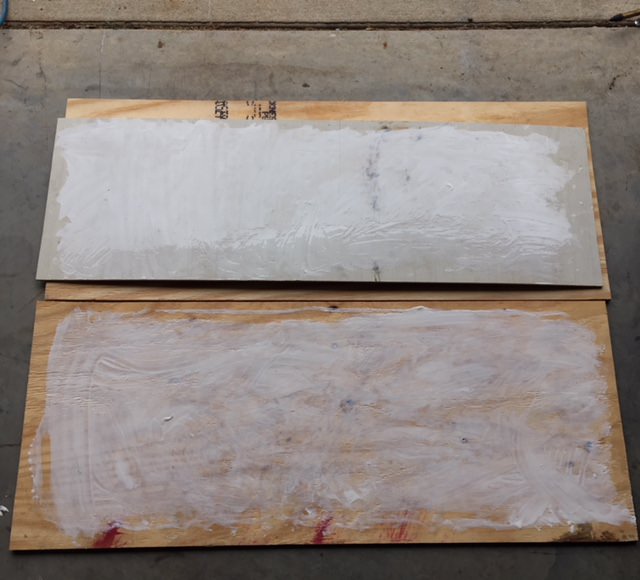
All cut to length and glue applied
yEC1blH.jpg


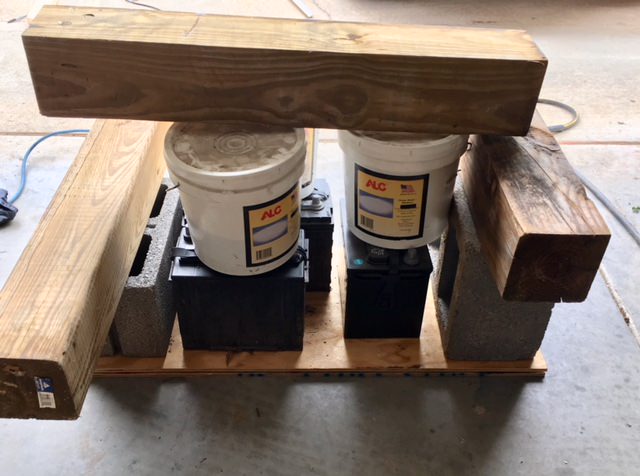
Alabama clamps in place to ensure a complete bond :lol:
wNtj6uC.jpg


Once the glue was cured it was time to cut to final dimensions
Ud8cpR0.jpg


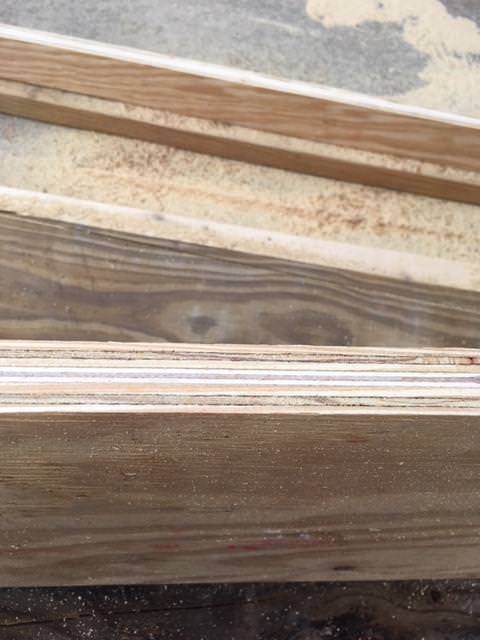
Final cut revealed success in bonding the plys together
dgInVi7.jpg


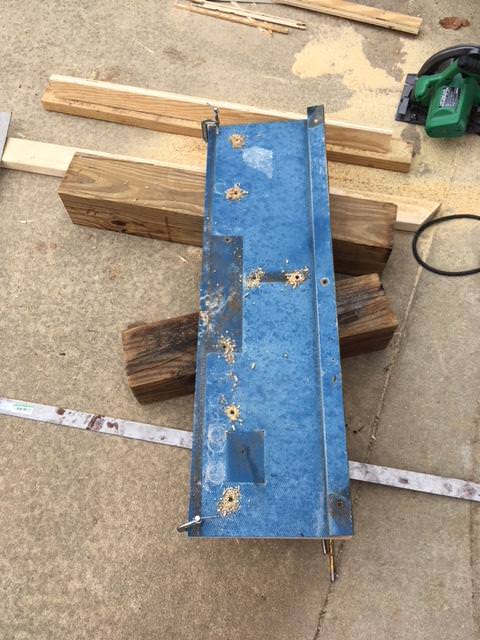
The old face of the transom was used as a template to drill the holes
vi2wB8y.jpg


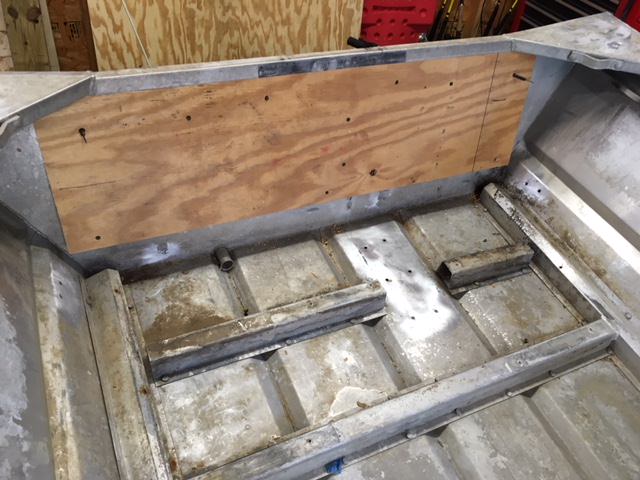
Drilled and mocked up to the boat to make sure the holes lined up before sealing
mGzYLkd.jpg
 
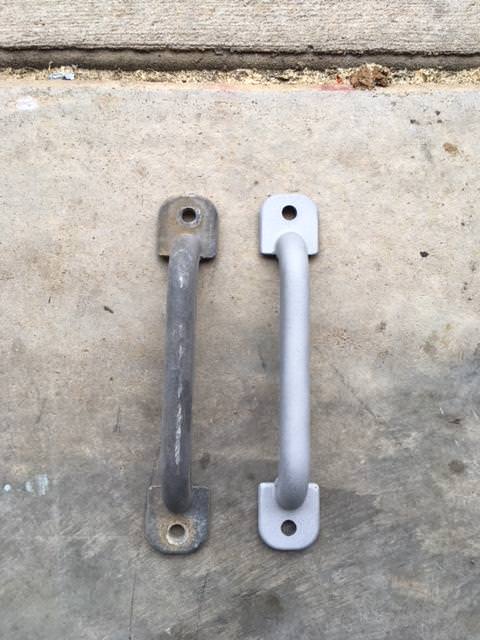
Worked on some of the hardware today, decided to blast and clear the parts to clean them up and look nice.
Left side grungy - Right side sparkly new!
teMYu2v.jpg


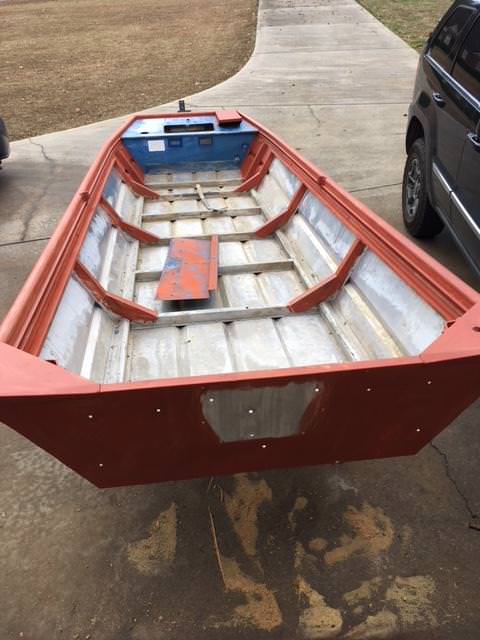
Also got all the bare spots primed for the Tuff coat i'll be applying
SCq3xIT.jpg


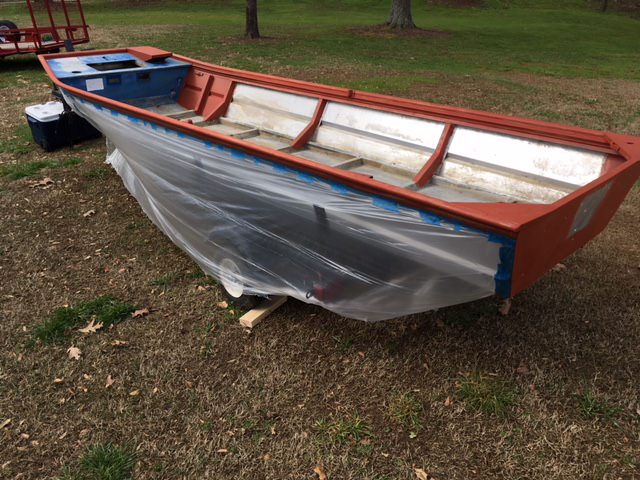
All taped off ready to put on the first coat
uN30JrC.jpg


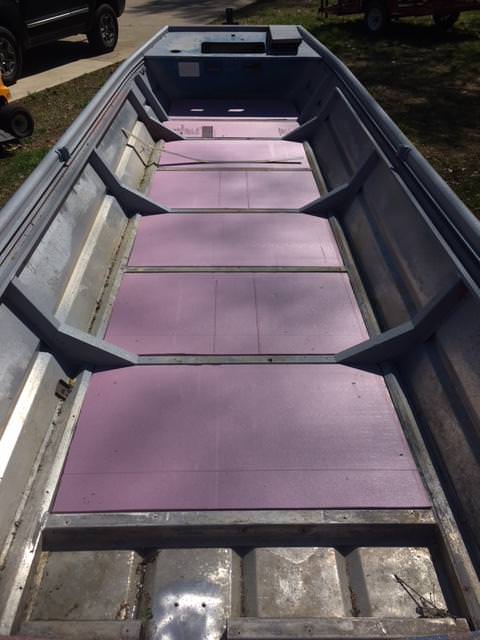
Went to the store and got some new foam for the floors and cut them to length and installed
Nnefr9A.jpg


Next up after a month of trying to get my carpet (they sent me the wrong stuff then lost my order) it was time to prep the pieces
K9phvwX.jpg


Now the real fun begins - Carpet!
XNunKmk.jpg


This next week I hope to get it all buttoned up and hit the water. I need to do 2 more coats of Tuff Coat, wire up the lights, build a fuse panel, install the fish finder, cut the new floor out, install the vinyl flooring on new floor, install assembly, make two custom panels, rebuild the front deck, install seat bases, more carpet... Shouldn't take more than a afternoon right??
 
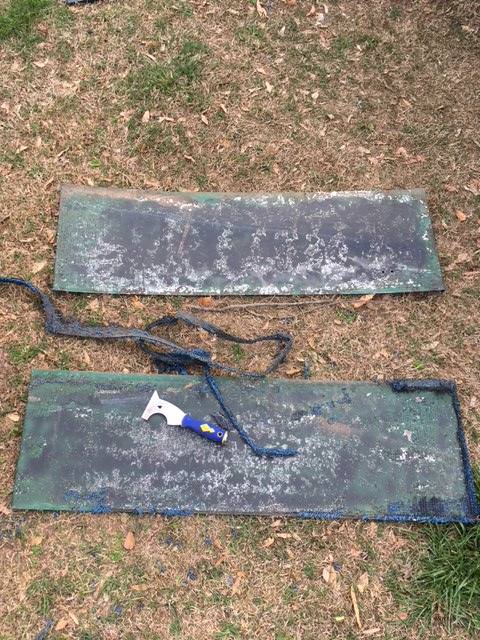
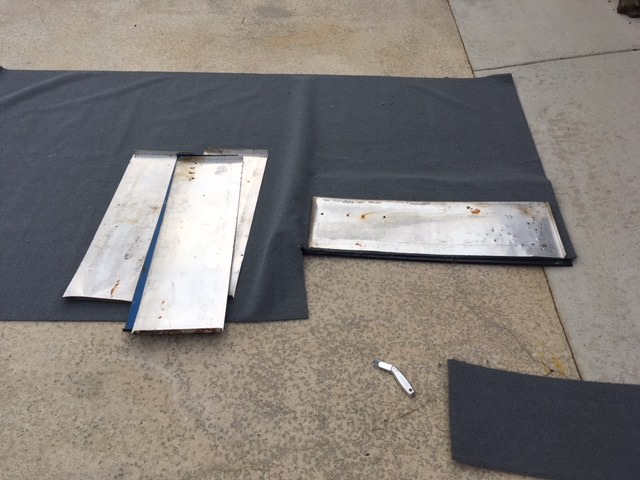
Got all the panels carpeted today and was going to do a couple coats of Tuff Coat so I could get the panels in but the gallon I received was bad. Not sure what happened but it was a off color and wouldn't roll. I noticed right away but decided to put a little on and its bad. #-o

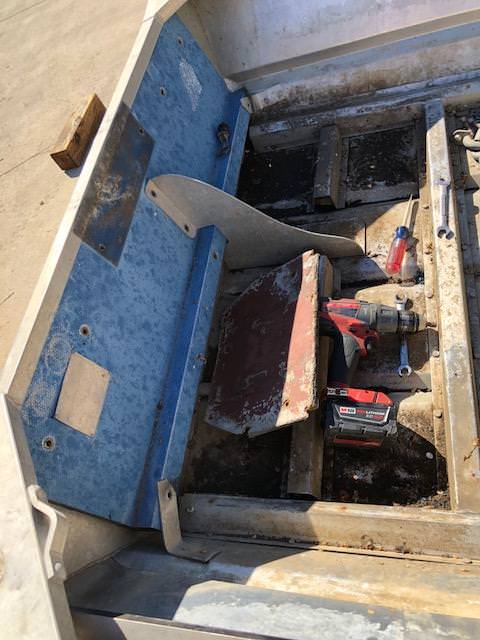
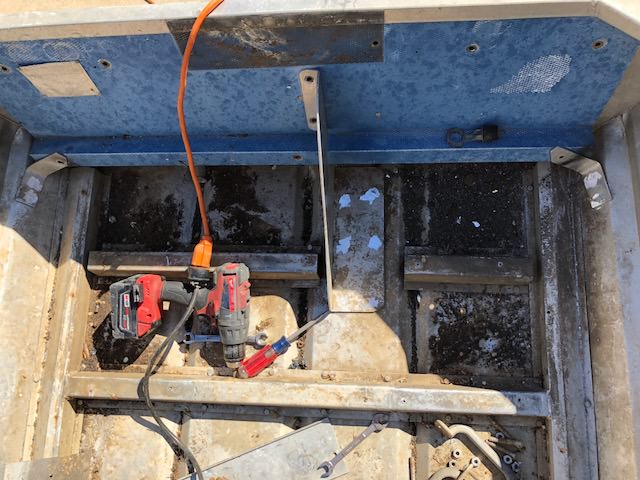
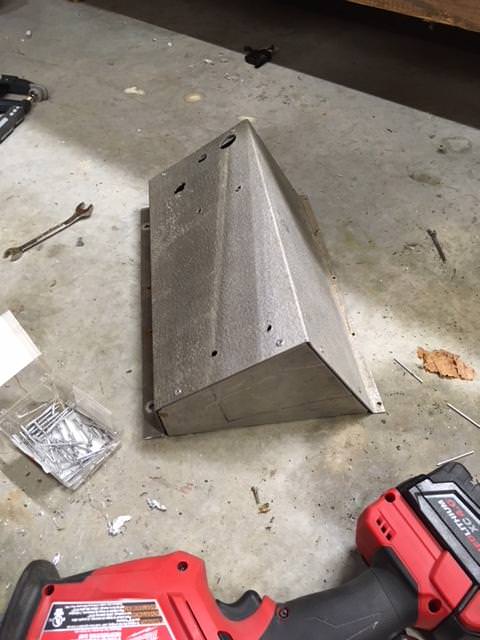
So I shifted gears and decided to make a couple end pieces to box in my control center that will house the switch panel and depth finder.

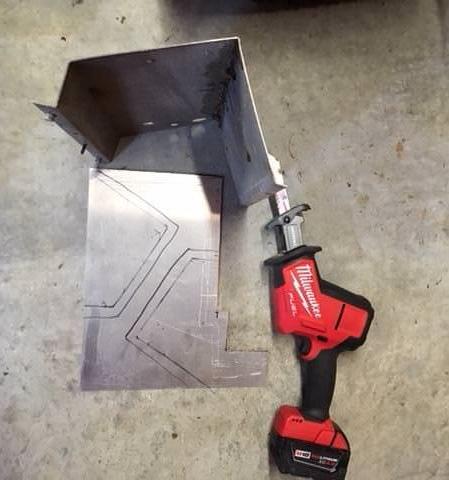
Step one - Look at part then get some scrap and trace out what you think you need for material.
e4RXvTS.jpg


Step two - Cut out pieces, bent at desired locations to fit box and then mock up assembly to see how bad you screwed up. Looks decent and it will be carpeted.
GOH4Mfh.jpg


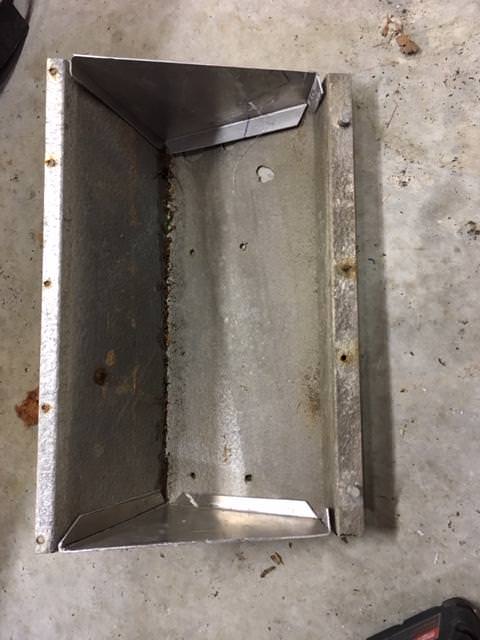
Step three - Drill and rivet together and sit back and relax for a minute on another finished step on the boat...
2Tjg3Jz.jpg
 
Skipjack said:
Got all the panels carpeted today and was going to do a couple coats of Tuff Coat so I could get the panels in but the gallon I received was bad. Not sure what happened but it was a off color and wouldn't roll. I noticed right away but decided to put a little on and its bad. #-o

So I shifted gears and decided to make a couple end pieces to box in my control center that will house the switch panel and depth finder.

Step one - Look at part then get some scrap and trace out what you think you need for material.
e4RXvTS.jpg


Step two - Cut out pieces, bent at desired locations to fit box and then mock up assembly to see how bad you screwed up. Looks decent and it will be carpeted.
GOH4Mfh.jpg


Step three - Drill and rivet together and sit back and relax for a minute on another finished step on the boat...
2Tjg3Jz.jpg
Hey great job, curious how did you bend the flanges on the pieces you cut out did you use a break or what other method thanks.


Sent from my iPad using Tapatalk
 
those m18 hackzalls are an excellent tool i love mine. nicely done on the boat so far
 

Latest posts

Top