Help mounting transducer

TinBoats.net

Help Support TinBoats.net:

This site may earn a commission from merchant affiliate links, including eBay, Amazon, and others.

braden

Well-known member
Joined
Dec 15, 2014
Messages
47
Reaction score
0
I have ordered a piranhamax fish finder and am planning to mount it on my 1648 flatboat. I am concerned (afraid) to mount it directly to the transom for 2 reasons. 1) I am afraid to drill holes below the water line (may just be my ignorance here). 2) THe wood in my transom does not go down close enough to the floor, and the holes for the transducer mount may only be going through aluminum (would that be okay?)

I have seen some sort of transom saver that you glue to the back of the transom, and the transducer mounts to that. But it costs $50, and I was trying to not spend so much. I read an old post on the internet where someone glued a plastic cutting board with marine epoxy to the transom and mounted the transducer to that. I went to Walmart, but all of the cutting boards were only about 1/2 inch thick, and I thought that would not be thick enough.

Help.
 
I once put two 1/2" pieces sandwiched together, bolted thru where the wood was and the bottom was just flush to the hull below the waterline w/ no penetrations. Worked slick and no holes below the waterline! Even one 1/2" piece would work, add small 1/2" angle aluminum as a 'rib' to stiffen it as/if needed.
 
I just mounted a transducer to my boat.
I used a piece of plastic (similar to cutting board) about a half inch thick. I too was worried it would not be thick enough. However, it is thick enough for the provided screws and I also put a washer on the screws to make sure.
I mounted the plastic, after drilling some dimples and scratching the mounting side, with 5200 fast cure. Seems pretty stuck to me and has not fallen off.
 
One trick w/ plastics and 3M 5200 is to use a keyway router bit and cut dovetails into the back of the piece to affix to the hull. This makes a MECHANICAL lock of the adhesive to the piece & hull.
 
I did this. Piece of 1/8" thick 5051 aluminum, two ss flat head screws, to form studs, mounted from back w/JB Weld. Assembly fastened to transom skin with 3M 4000 UV. Then fasten transducer with nuts/locks.

Into year 3 with no signs of failure. If/when the 3M bond fails I'll just clean up the mounting surface and re-fasten.
 

Attachments

  • Transducer sep12.jpg
    Transducer sep12.jpg
    41.1 KB
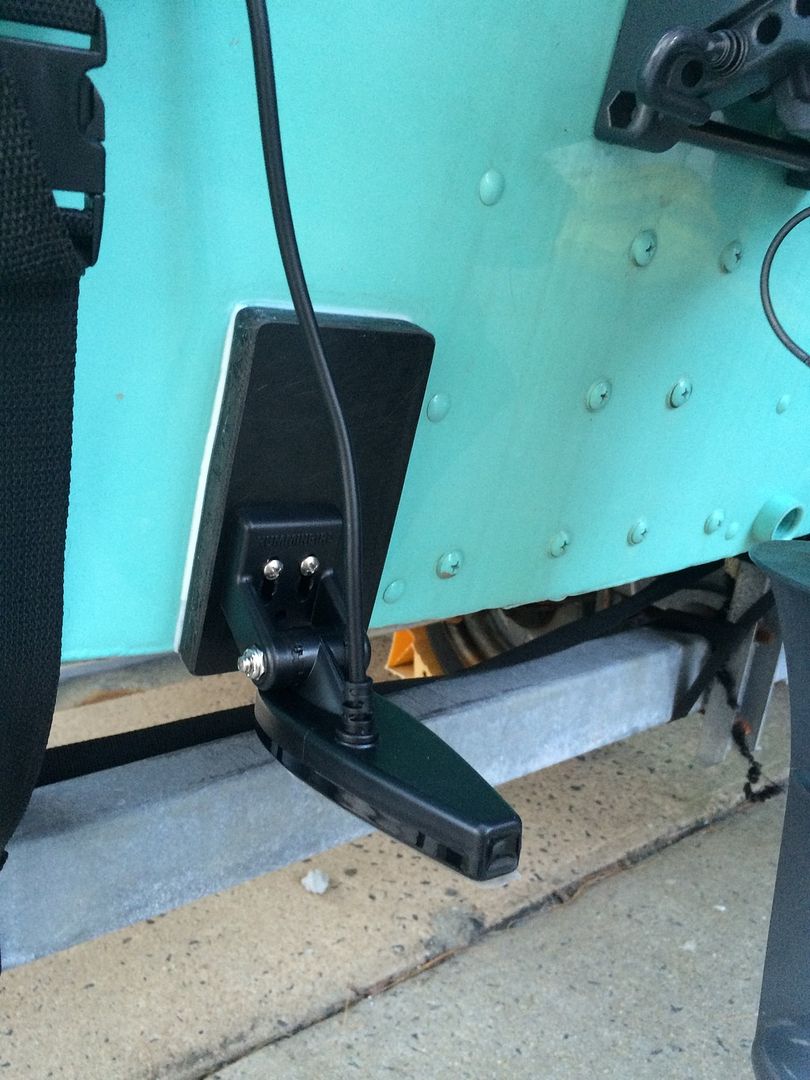
I think that I am going to try doubling up the cutting board and expoxying them together with 3M 5200. Then put two screws up top (where there is wood in the transom) and epoxy it. The instructions for the 5200 state that it takes 48hrs to set up. Any ideas on how to put pressure on the bottom (where there will not be screws) of the cutting board, so that there is good contact between the cutting board and the transom while the epoxy sets up?

My description may not make sense. If not I'll try and post a pic.
 
Got the cutting boards mounted. Epoxy has cured. I backed the trailer up against a few boards in the garage, worked like a charm to keep the cutting boards flush against the transom. Transducer mounted and wires run. Now I just need to put it in the water and try it out.

Great ideas on this forum. Thanks!
 
I am looking to do the same thing today and I read up on the 5200. I guess some folks have used it with success but the package states it is not for use on most plastics. Does it hold good?

The last time I did this I used a slab of ABS plastic and glued it with with 3M Power Grab that I had in the garage. I finally fell of last week but it was there since the summer of 2008.
 
FWIW

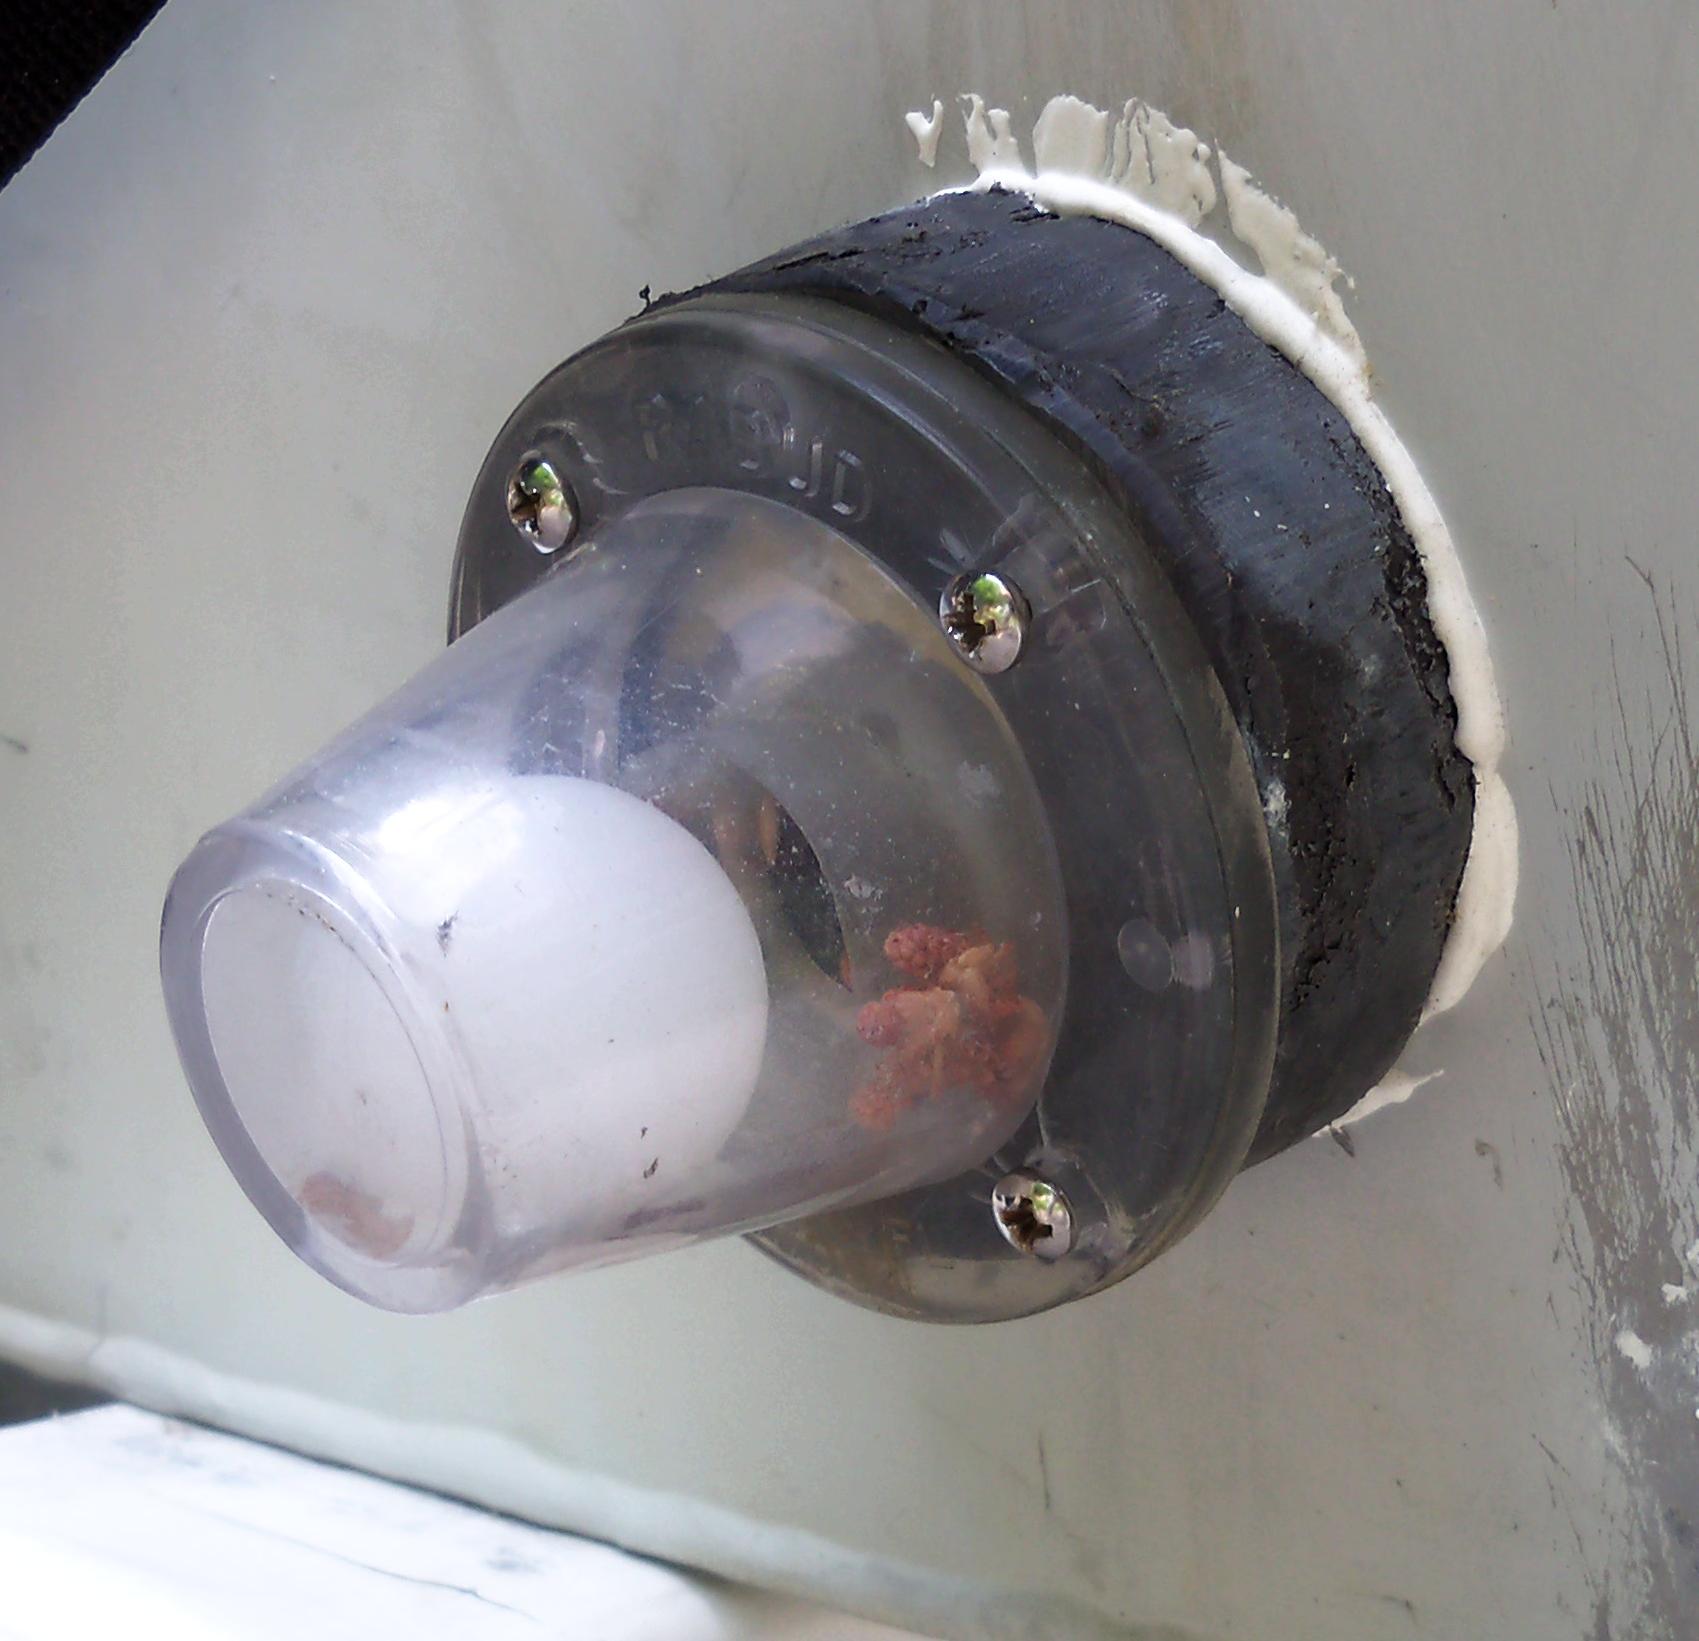
I mounted a deck drain backflow using a piece of 3/4" ABS and 5200. I clamped it through the drain hole then screwed the fitting into the ABS after it cured.

5FmU4wl.jpg


After it set for a couple of days [I used fast cure] I tried to pull or twist it off. No way it was moving.

I'd use this for a transducer mount - but make sure there isn't enough slack in the cable to reach the prop if something goes bad.
 
I use one of these. https://www.cabelas.com/product/Portable-Transducer-Bracket/699847.uts?Ntk=AllProducts&searchPath=%2Fcatalog%2Fsearch.cmd%3Fform_state%3DsearchForm%26N%3D0%26fsch%3Dtrue%26Ntk%3DAllProducts%26Ntt%3Dtransducer%2Bmount%26x%3D10%26y%3D6%26WTz_l%3DHeader%253BSearch-All%2BProducts&Ntt=transducer+mount
 
A note of caution is in order here . . . .

no matter what you decide to go with or what method you use,
if the aluminum that is behind the transducer or saver board
is not properly cleaned and primed, you "may" experience some
corrosion issues such as the below photo.
Transducer Corrosion.jpg
I bought a nice 1648 bass boat a few months ago and it had a few minor issues.
The one that I found the most interesting is how the older Humminbird Transducer was mounted.
The transducer was mounted directly to the raw aluminum transom with some stainless screws and
3M5200 W/O any preservation or primer on the bare metal.
And then, I can only assume that moisture got between the 5200 and the bare aluminum skin
and started the corrosion process. Upon buying a new Fish Finder is the
only way I found it. By replacing the x-ducer. Cutting the old sealant with fishing string, then
wire brushing the gunk off, I found the corrosion was almost all the way through the transom skin.

So, in MY world, I would thoroughly clean and PRIME the area where the transducer is to be mounted.
If you want to keep the bare metal look, just tape off the mounting area with masking
tape and prime only that area. Then, hope for the best. I have NO IDEA as to how long this corrosion process
took. It could have been one year or 10 years - I don't know.

After reading all the above posts - - - it seems like most have the same comment of:
holding tight - stuck tight - not loose after 2 years - holding solid after months,
no signs of failure, mechanical bonds, yada yada yada.
yes, this transducer was stuck tight too !!! it is NOT the "holding power" of the sealant that is in question.
It is the CHEMICAL PROCESS that is going on behind the transducer or mounting board
that you can not SEE or DETECT in any manner, unless you remove it for inspection every year.
Which may not be a bad idea if you have any second thoughts as to your mounting method.
I am sure that if your boat is ever in salt water, it will only accelerate the process.
If you even THINK there may be some hidden issues on anything you have mounted to your bare metal hull,
I think it would be in your best interest to remove the object, remove all the sealant, properly prepare
the metal and prime it, paint it, and put the object back on with piece of mind that you will not have
any issues down the road.

Jus my Dos Centavos

good luck !!


.
 
Barefoot Johnny is right -

Prime your aluminum first. Clean - then self etching primer, Ospho, or acid wash - before you put an adhesive on it.

Any "new" aluminum sheet will likely have "mill scale".

Acid etch is required.
 
My transom is factory painted with a baked enamel. The paint did not come off where the old transducer was. My DIY transducer holder was ABS plastic made with a rapid prototype machine in work. It had a very small footprint. There is some adhesive left on the hull but most of it came off with the holder. No evidence of any issues. My plan is to sand the area lightly and go right back over the same place with a slightly larger plastic block. I think I will stick with the 3M Grab It because it doesn't look like it had any adverse affect on the paint or aluminum and the boat is used primarily in brackish and salt water.


I honestly never thought it would stay on as long as it did. I also never gave any thought to corrosion thinking the aluminum was factory painted so it was ok. Talk about good luck......

Johnny.....I think your advice is wise. I will use the smallest block I can get away with and a little less glue. This way I can take it off every year, examine the surface, and reapply. Along with chemical issues, the area has an electric field around it. Then there is the sonar sounding taking place. Lots going on!!!!
 
Dang! Makes me wish that I would have not just mounted my transducer like that. Maybe I will take it off next year and try that portable mount that you can get from cabelas. Thanks for the heads up though.

How hard is it going to be to remove the cutting boards that I have placed on the transom (see pic on the above post)?
 
I glued mine up today and will install the transducer tomorrow night. I used a 3" X 5" piece of polypropylene plastic 5/8" thick. It is a special grade we use where I work that is good with extreme temperatures. I roughed up the surface with some sand paper then cleaned it off. Im using the 3M Power Grab again. It held up pretty good and when I want it off for inspection it cleans off relatively easy with light sand paper for reinstallation.

Update Pic
 
Well....That didn't last. I was doing something with my motor and I hit the transducer with my leg. Came right off!!!! It stuck to the boat but it didn't like the plastic. It peeled off the boat like a clean sheet leaving no damage to th paint or surface mess. I think I need to use something like JB weld to stick to this plastic. An engineer friend of mine suggested using JB weld for plastics. He has used it for propylene plastic before and his thought is that the enamel paint on the boat is also a plastic base. The permanentness of the joint worries me but on the other hand it shouldn't eat through the paint and attack the aluminum. Maybe I can seal the outside edges with caulking and keep the joint from getting water in it and the JB weld package states that is is "waterproof". Any thoughts???
 

Latest posts

Top