Remodeling my 1976 Lund 14' "Big Fisherman"

TinBoats.net

Help Support TinBoats.net:

This site may earn a commission from merchant affiliate links, including eBay, Amazon, and others.

TDobb

Active member
Joined
Mar 10, 2017
Messages
35
Reaction score
0
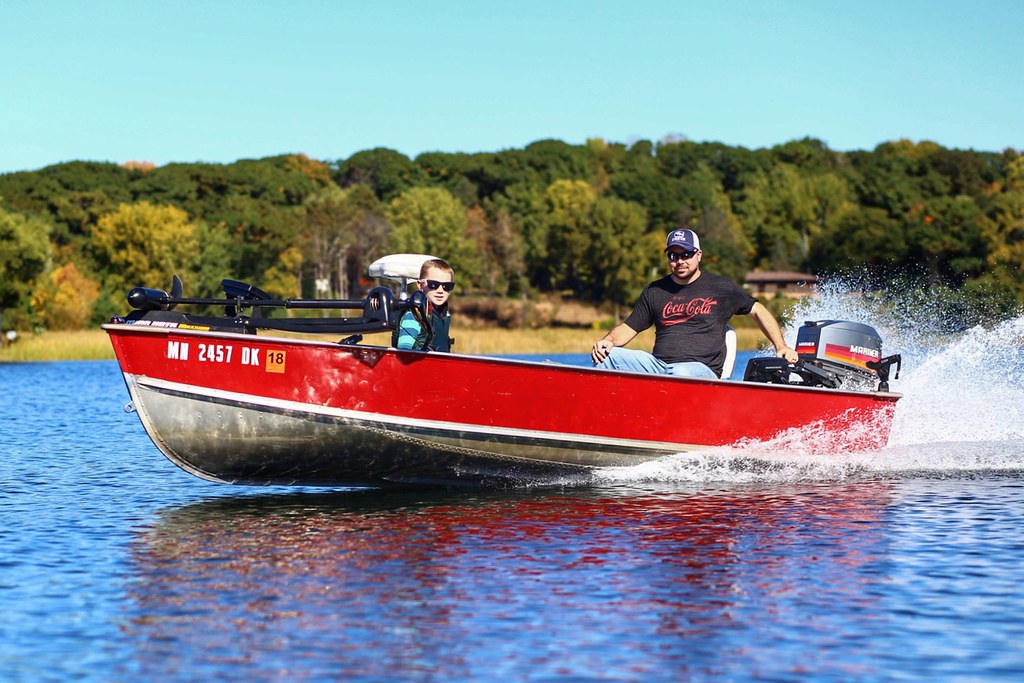
First off I would like to say thanks to the Tinboats forums. A lot of really cool projects on here and great ideas from people all over about how to build out our tin boats. The boat I have has been in our family since new in 1976. My dad got it from my step mom's dad back in 92 or 93 and we had a little 9.8 Mercury on it and a small 32 lb thrust transom trolling motor, no depth finder, straight stock bench seating, just as you would expect an old 14 foot Lund to be. A few years after we got the boat the motor seized up and the boat sat in the back yard for a couple years. After I got my driver's license my dad told me that if I bought a motor I could have the boat, so I saved all summer and picked up a 15 horse Mariner. Dad kept true and gave me the boat and I was fishin.

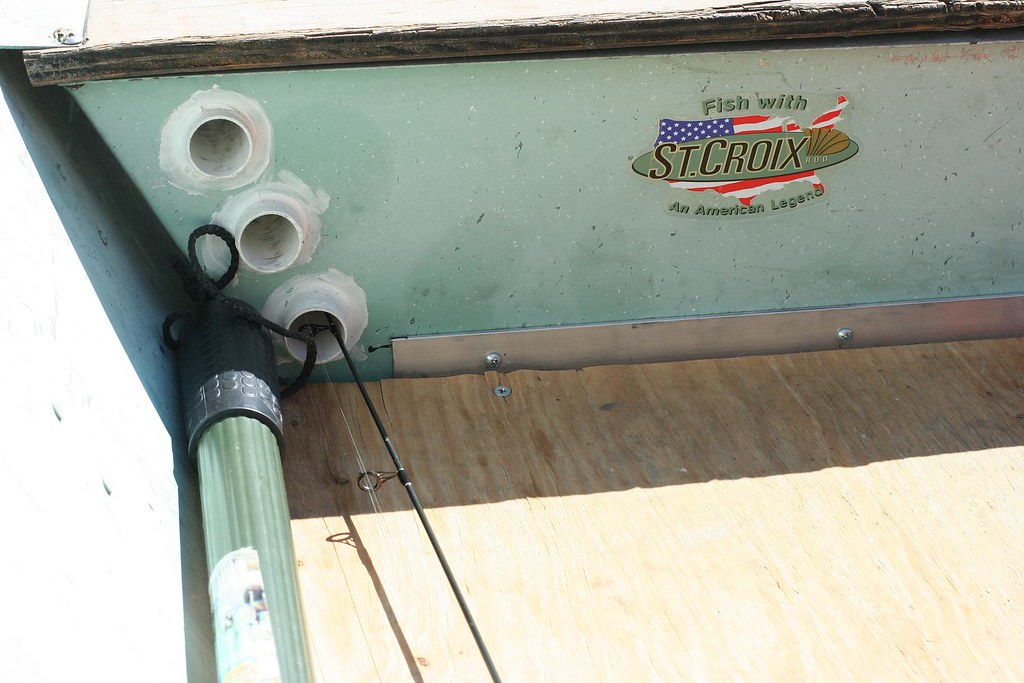
Fast forward a few years and a few beers and my buddy and I got the idea to rip out the middle bench and install a plywood floor in the center section of the boat. Out came the sawzall and that was that. I took the middle bench down about 6 1/2" below the top of the bench and then formed a 1" return on the top of both bench supports. This acted both as support for the floor as well as keeping the structural rigidity of the boat as best as possible. I also cut holes in the front bench and put PVC tubes through it for rod tubes. This worked pretty well and kept the tips of the rods down while traveling down the road while the reel weighed down the butt end, never lost a rod running down the highway like this.

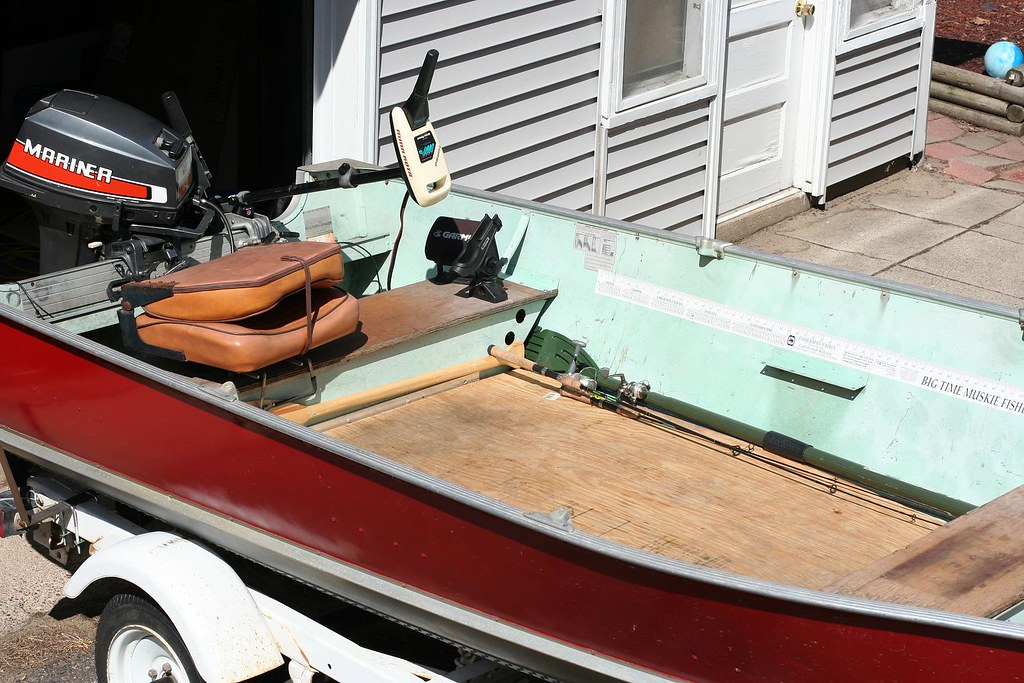
Flat plywood floor circa 2007
3406703251_8c2511eb21_b.jpg


Rod tubes
3406703171_b9cc4249fd_b.jpg


The old Mariner 15 would push the boat about 22-23 mph in this configuration, pretty decent clip across the water.

I remodeled the boat again a few years later in 2010. I will go thru that one in the next post. I am now in the process of my third remodel project and this is the biggest and most involved by far.

Thanks for reading,
Tom
 
When I set out to do the second remodel I had a few things in mind.

I wanted to add a bow mount trolling motor.
I wanted a small casting deck up front with storage under it for tackle.
I wanted to carpet the boat for a little more comfort for when my son was in the boat with me.
I wanted the boat to be as stable as possible.

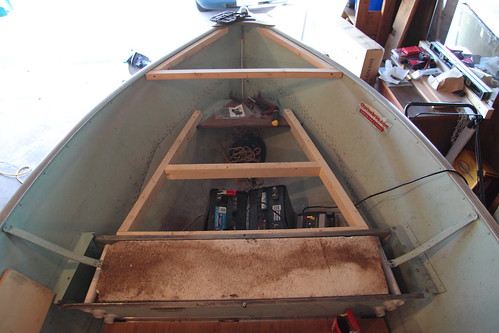
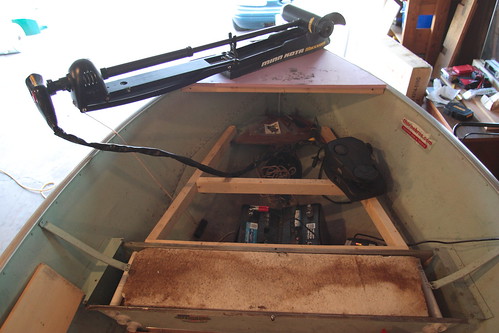
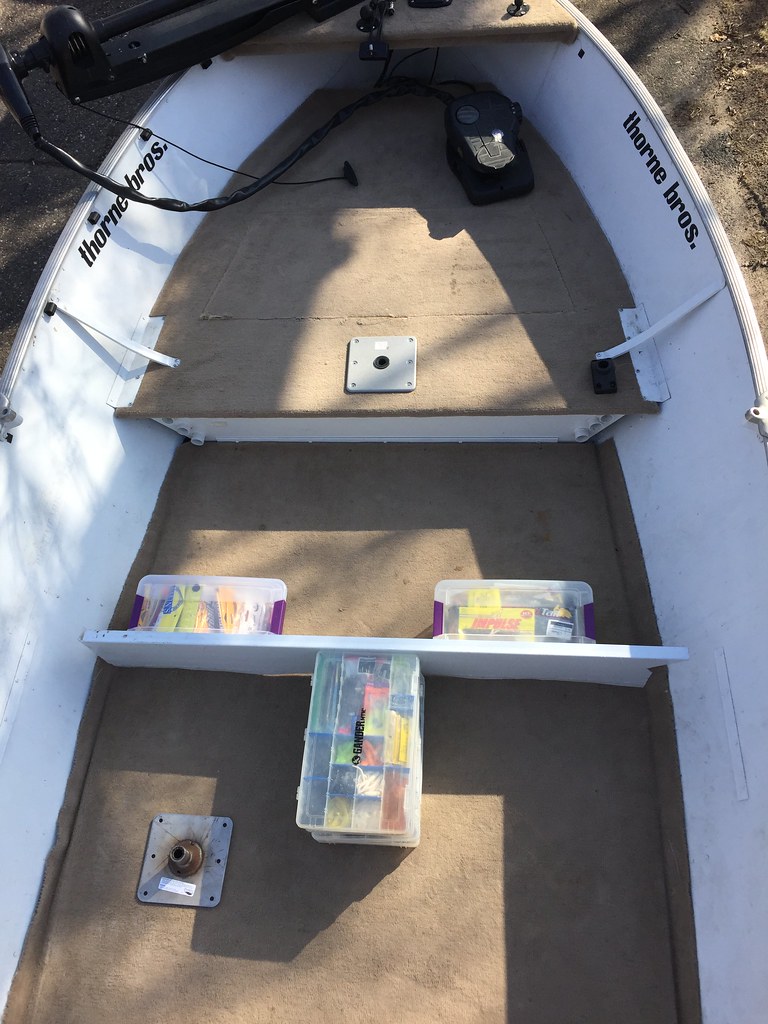
Having all of that in mind I kept the front deck level with the original front bench, bringing it up any higher would have made it way too top heavy and tippy. I liked the way the big floor had been working in the center section of the boat so I kept that, I just pulled it up so I could clean out everything under it and carpet the plywood. I framed up the front deck with 2x3 lumber, didn't use treated wood as the boat is always stored in a garage and I didn't want to worry about corrosion. Had to do some notching in the 2x3s at the bow seat as that one sits at a bit of an angle and lower than the rest of the benches in the boat. I used 2x2s to frame up the bow plate for the trolling motor.

4461690101_b1b7209538.jpg


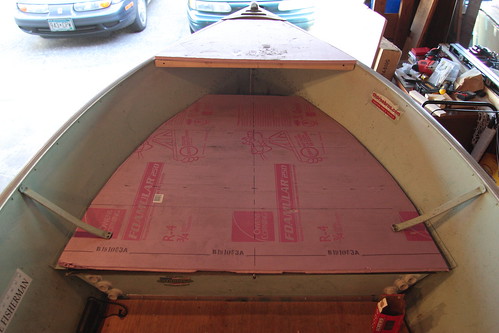
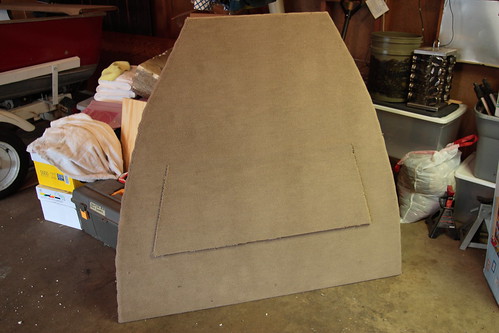
I had a couple sheets of foam insulation laying around so I used that to form templates for the bow plate as well as the front deck. One nice thing about using the foam was if I cut too much I could pop tooth picks in and add foam back in as needed.

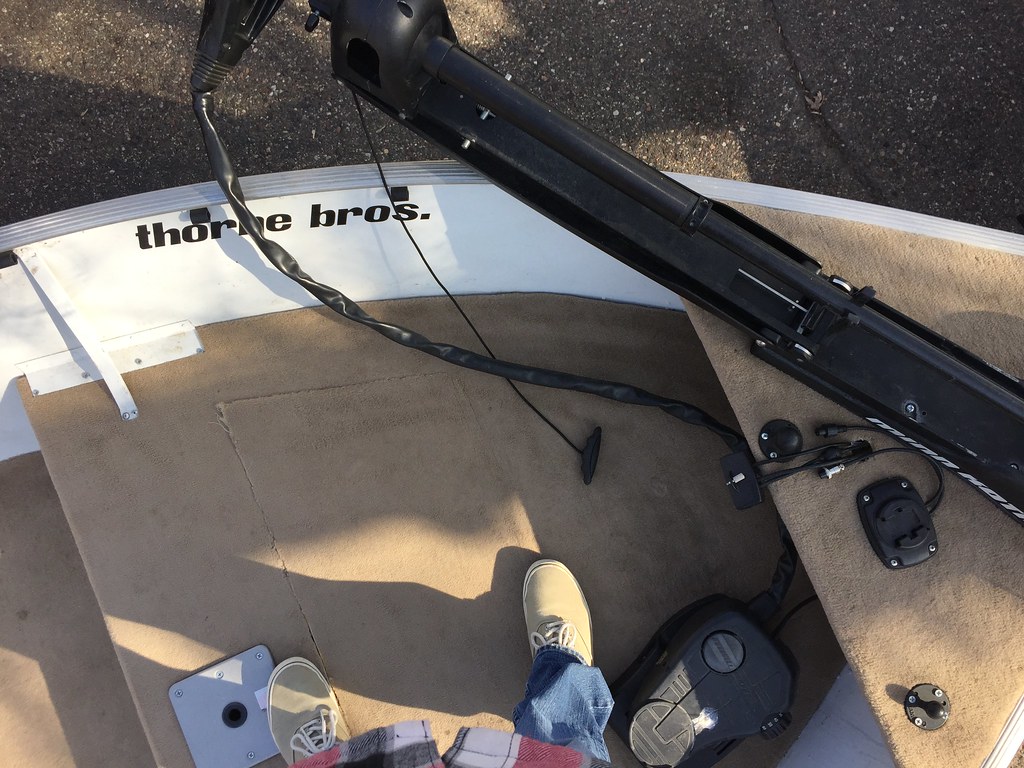
First up was fitting the bow plate and seeing how the trolling motor would sit up there.
4462464474_72e5cff07c.jpg


Then came the template for the front casting deck.
4464694342_5305f94a11.jpg


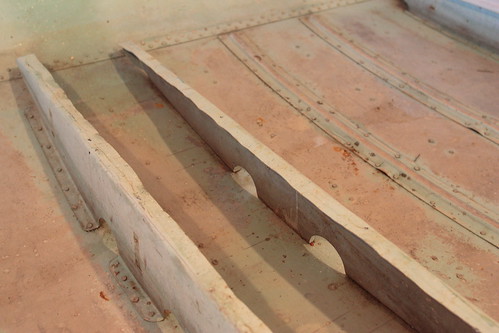
Here is a view of what I had done to the middle bench the first time around. It was pretty hack-ish as I didn't have the proper tools to do the job the right way. Formed edge on the middle bench supports.
4474414061_c94b376cab.jpg


Over the next couple of weeks my son and I did a lot of work.

We painted the interior of the boat white.
4486700264_bdacc80625.jpg


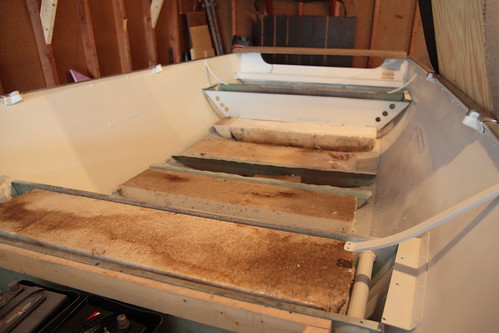
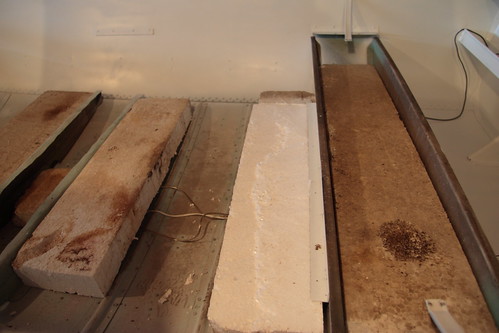
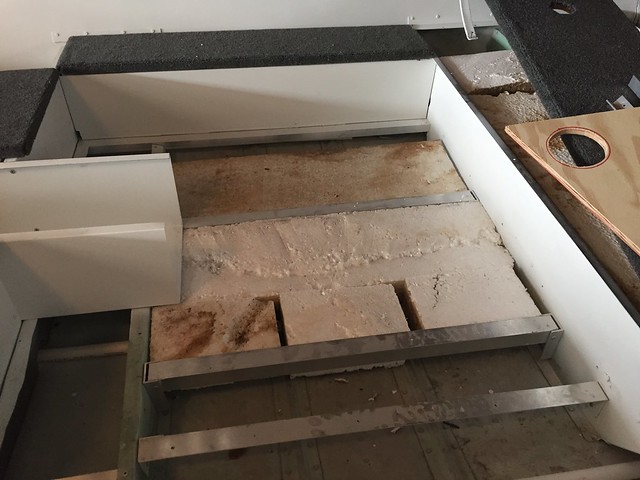
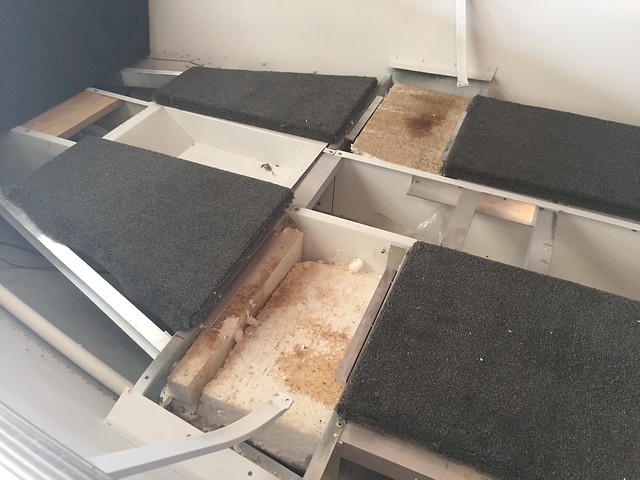
And I got the float foam reinstalled.
4486049329_892e877124.jpg


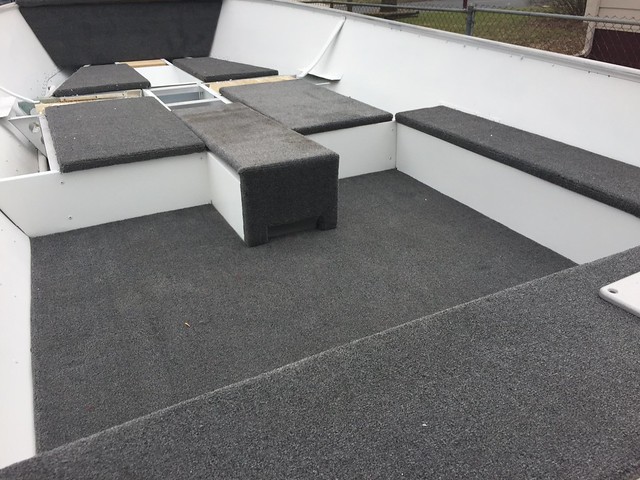
After that I ran all my wires and got everything set up in the bow kinda the way I wanted. Then it was time to carpet the decks after a test fit of course.

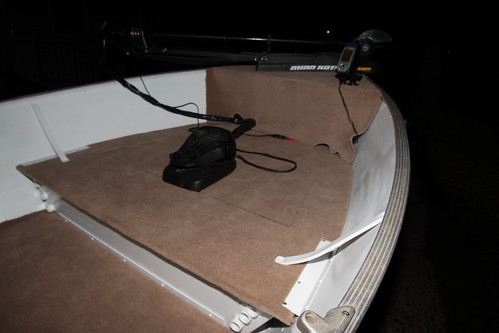
Front deck with carpet.
4486048909_6e66ede58d.jpg


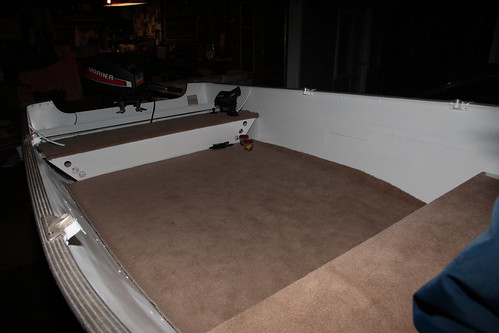
Main floor with carpet.
4486049061_bb70f539cc.jpg


Next came deck installation and of course electronics layout. Got all the wiring hooked up and double checked all the connections and operation before final fastening. It all worked. Once I was sure of the locations, I went ahead and snapped everything together with some stainless fasteners.

Main floor and back bench.
4486049579_10473a111d.jpg


Front casting deck, trolling motor, handheld GPS mount.
4486049681_c736c2caee.jpg


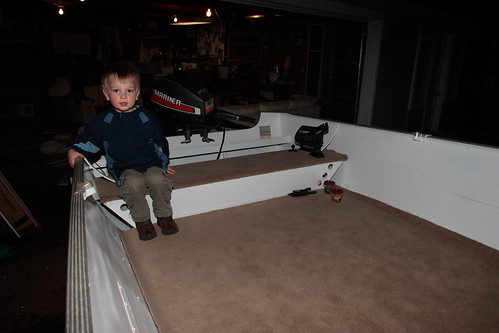
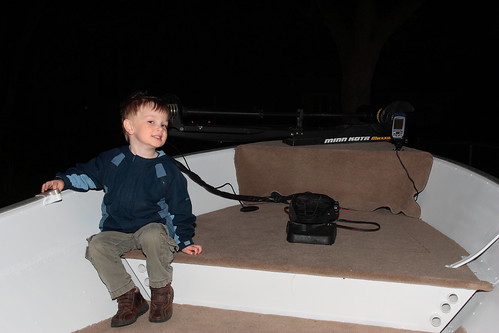
Had a little help from the future owner of the boat.
4486049801_b9016019f6.jpg


Hunter is ready to go.
4486049425_4c72773a20.jpg


We were all set for the maiden voyage.
 
The first trip out saw the boat filled with my mom, my son, and myself. It was a nice trip on the water but we didn't catch any fish.

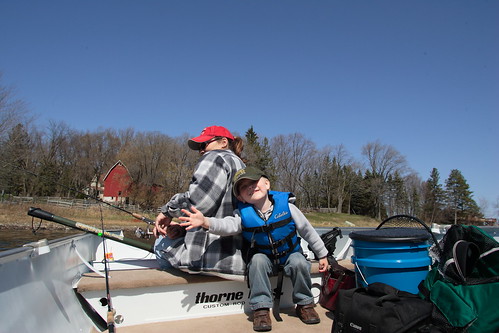
Hunter hangin with grandma in the back of the boat.
4508940477_d24c816d86.jpg


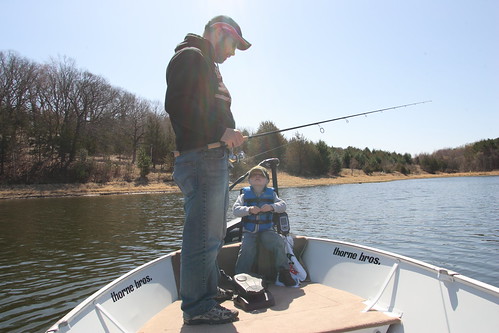
Probably his new favorite seat for when Dad is casting.
4508941083_49d4afe177.jpg


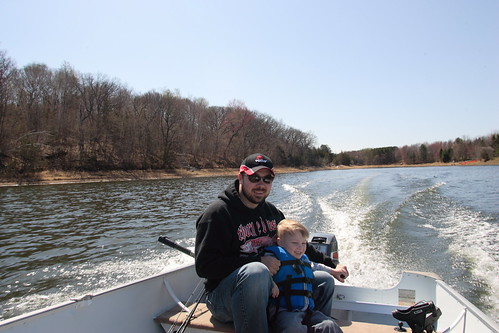
Hunter even learned how to drive the boat today.
4508941713_0ddd12404c.jpg


That was a long 7 years ago, the kid was only three years old. There have been hundreds of trips out in the boat since that first one and several small additions and changes over time.
 
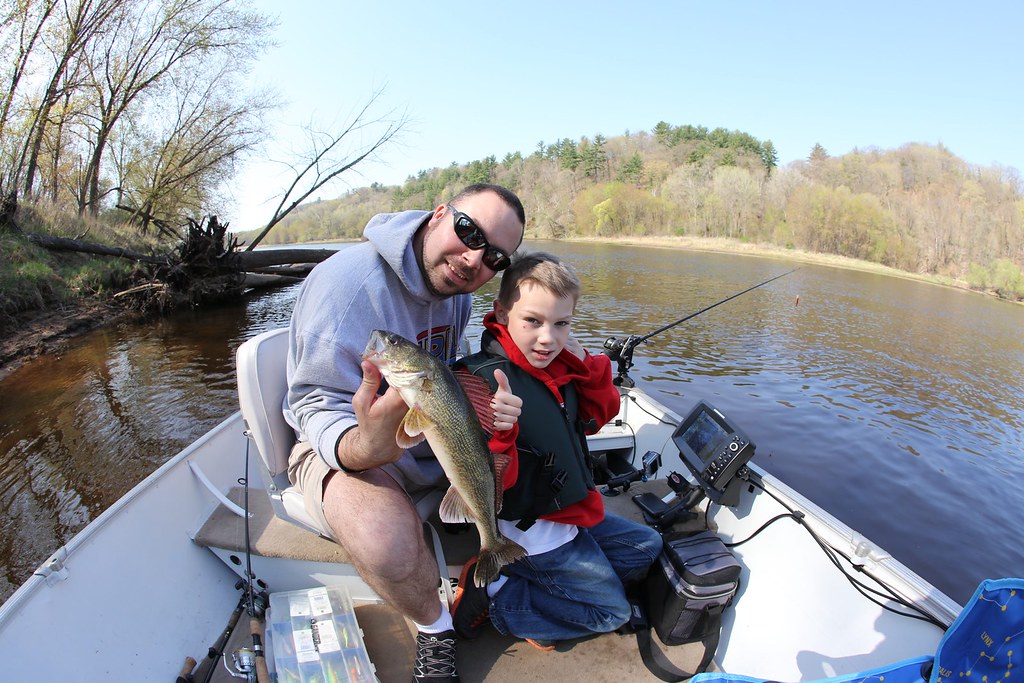
Over the years my son and I have had the boat out a bunch of times. There are days we don't catch squat but those are a lot fewer than the days we do well. Some beautiful fish have graced the boat for the camera.

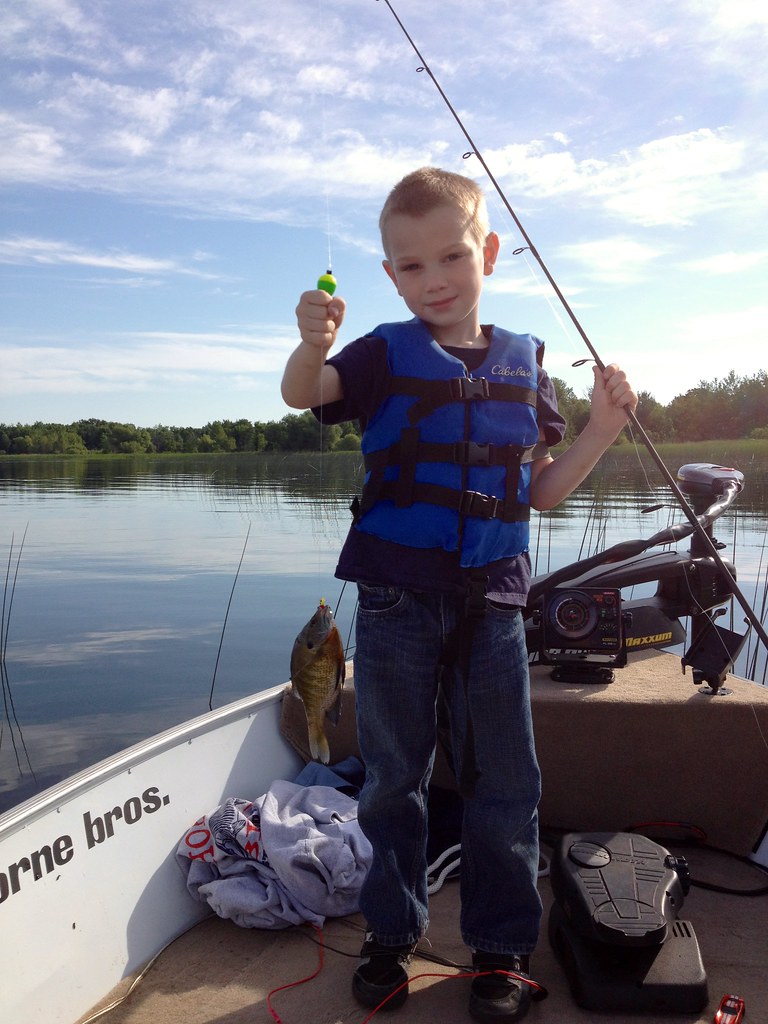
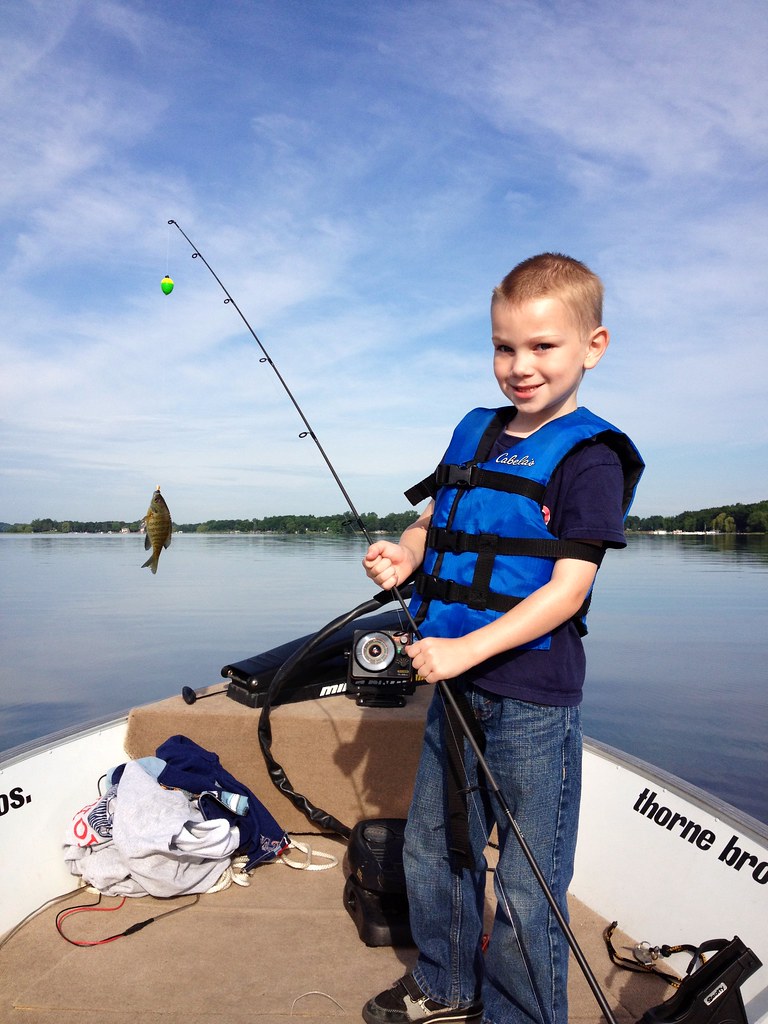
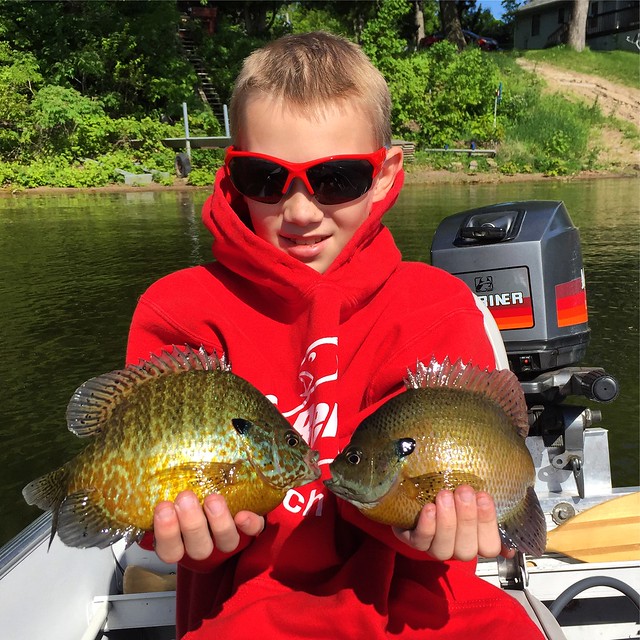
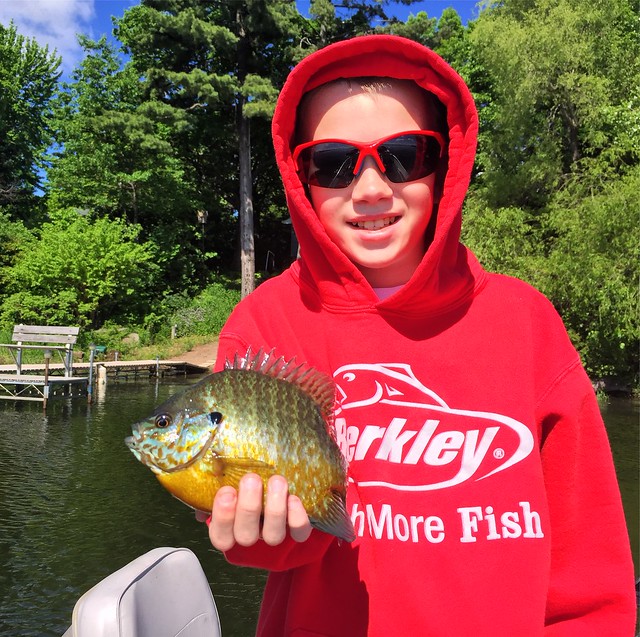
The boy and his bluegills
33622600285_fd9fba3f31_b.jpg


32808774553_c5baa27055_b.jpg


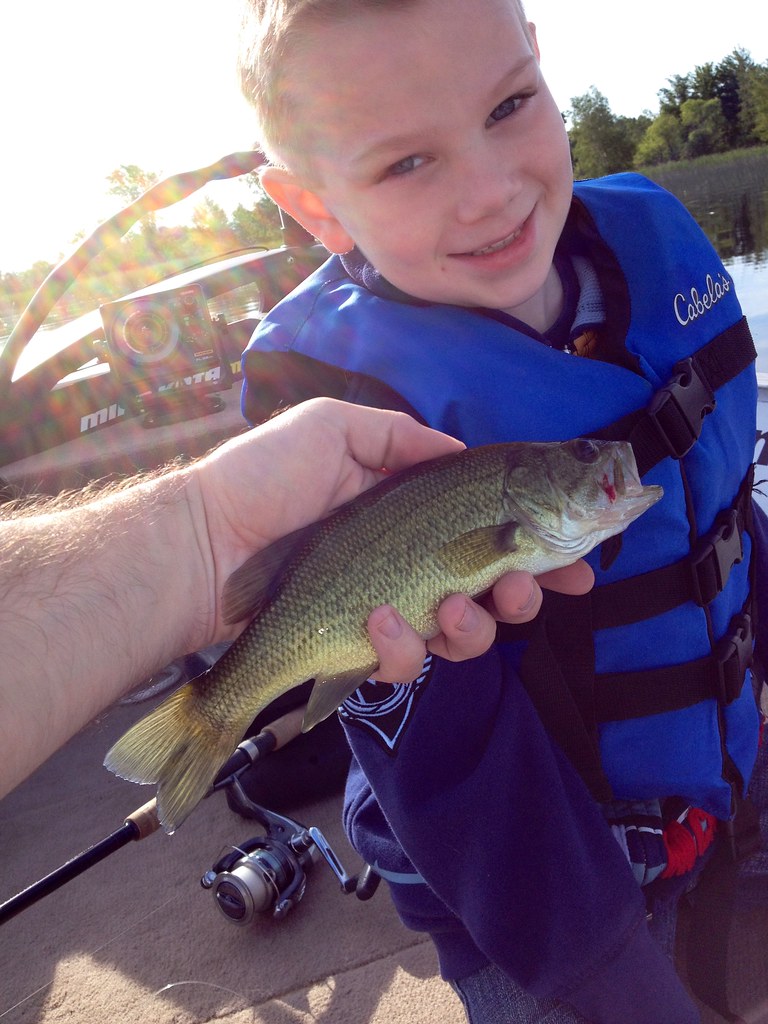
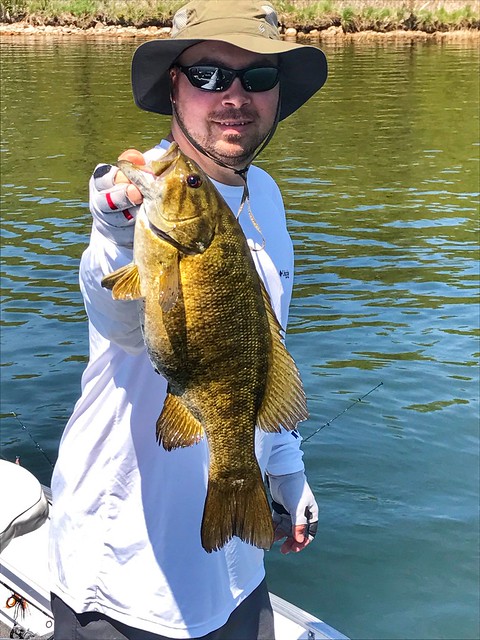
A nice little bass that made Hunter smile.
33622597855_4f6691f5e9_b.jpg


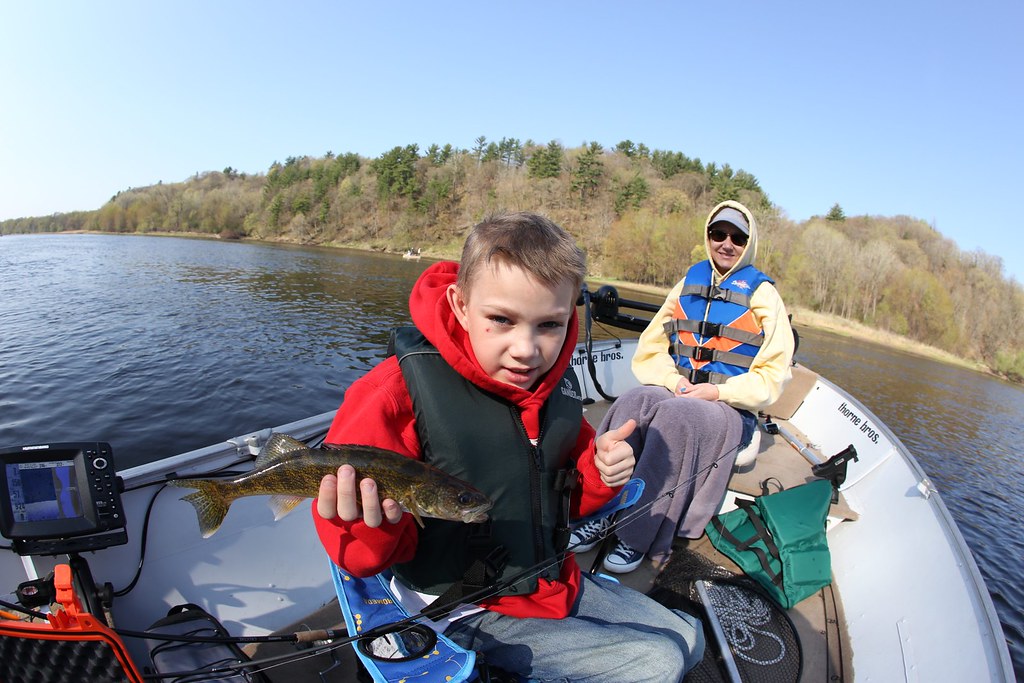
The day Hunter caught two walleyes on the river and I caught none, still hear about this trip all the time.
33622600125_d96a242397_b.jpg


33622597665_2170b5c36b_b.jpg


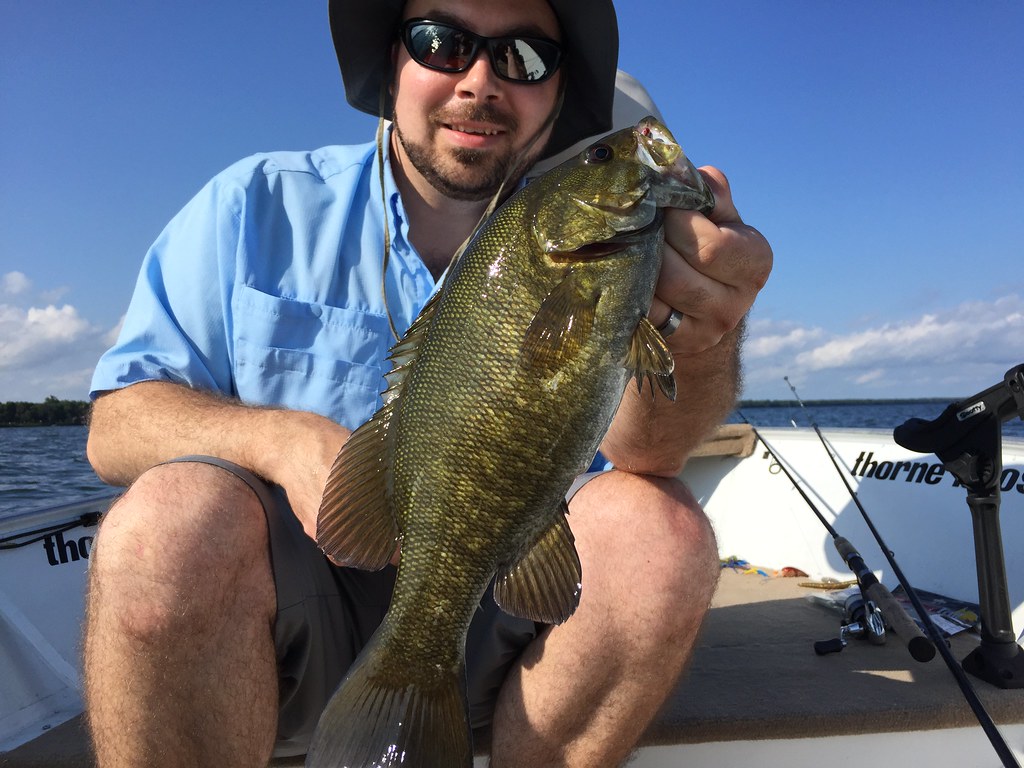
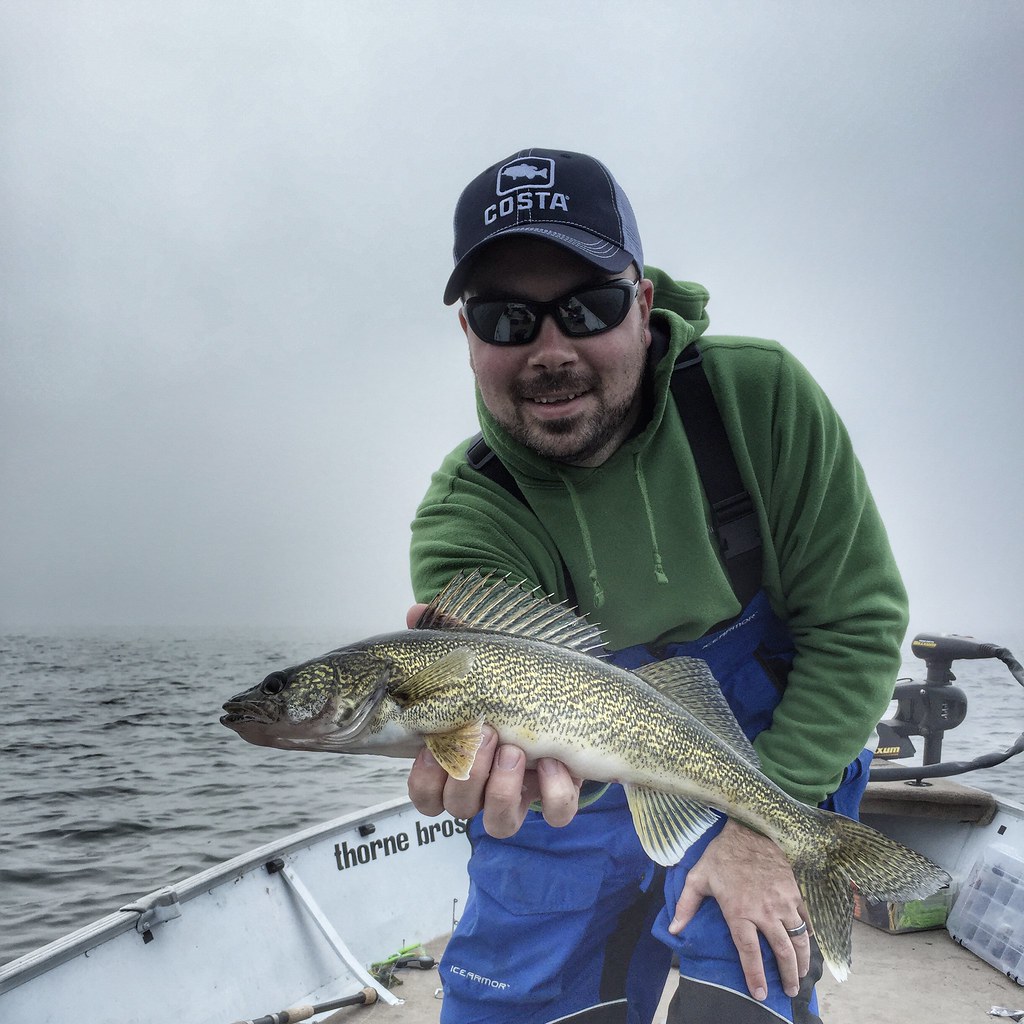
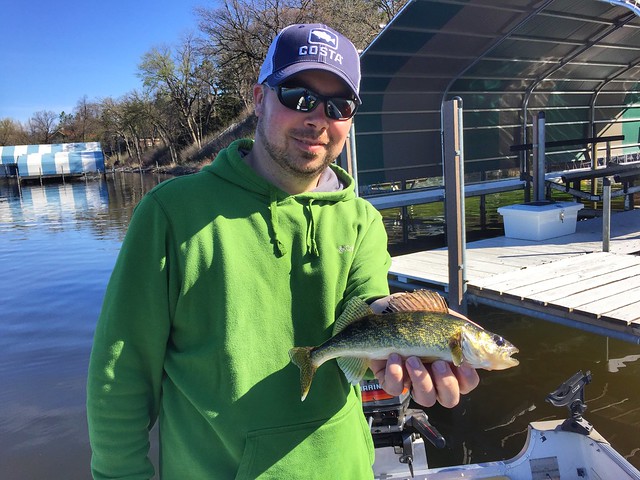
Mille Lacs Smallies and Walleyes like the little old Lund too
33622602075_691f421c3d_b.jpg


33089401000_9c41653910_b.jpg


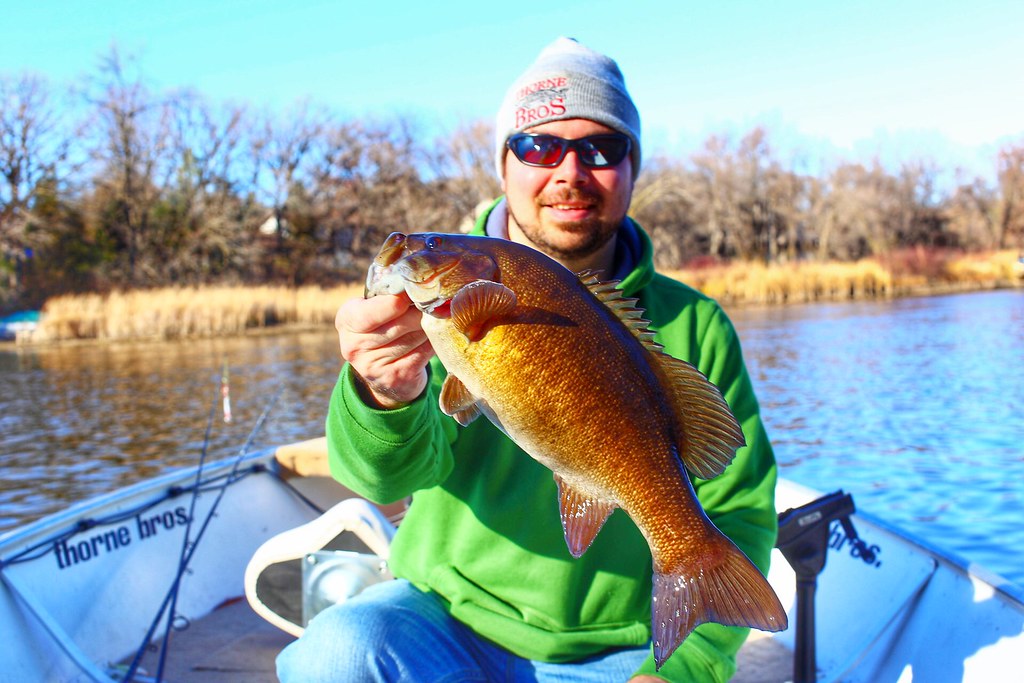
Rum River Smallies in the fall
33493331881_926fb84d1d_b.jpg


It runs alright.
33472970975_14e0a12ac5_b.jpg


A whole lot of early morning runs to the lake.
32629525744_f03b5be60f_b.jpg


The last time my grandpa ever went fishing, he passed away a month ago. Put a fishing rod in his hand and it was like he had never even had a stroke. Could cast and reel em in with the best of em.
33493330201_1bc4779be4_b.jpg
 
Now it is time to get into what I am doing this time around...

After fishing in the boat for 7 years, I had some ideas on how to make it work better for me. I am a multi species fisherman and have a LOT of tackle. Along with that I have several rods. At any given time I have a solid 8 rods in the boat, for myself and then whatever passengers bring along as well. The front storage compartment I had packed completely full all the time and it was tough to keep organized because it was jam packed. Along with that the trolling motor pedal sat on top of the storage door. The deck was very small and cramped, in order to get anything out of the box I had to move a bunch of stuff and rearrange rods. It was just too tight. I also generally bring a small soft side cooler for drinks and sandwiches, a small Pelican case with my camera, and a bucket to put fish in when I plan to keep some.

That said, I wanted more storage. I wanted rod storage for some pretty long rods. I wanted a bigger front deck. I wanted to not have to move the trolling motor pedal to get into storage. I wanted the trolling motor cable to not hang up on the Humminbird 859 every time I raise and lower it.

This is what it was like when I was standing on the old front deck, and this doesn't even show the pedestal seat or trolling motor pedal in the right spot. Pretty small.
33357777145_fa68e1cfcf_b.jpg


My plan for this remodel was to extend the front deck back to the location of the front of the old middle bench. I would add a center rod locker that extended about another 10" beyond that front deck. The storage would flank either side of the rod locker between the middle bench and front bench, as well as in front of the front bench and up to the bow. I am going to put a recessed trolling motor pedal into the top of the rod locker and there will still be a solid 4" under the pedal box for rods to slip under. The lid for the rod box is also going to show a bit of creativity. I have some rods that are 8'-6" long, but how do you get them in the rod box? Follow along and you will see.

Laying it out in the driveway to see what it will look like. The rod box will extend past the vertical wall not quite as far as the tackle boxes, but close.
33229946401_e84605c07f_b.jpg


Another view but from the bow this time.
33229948201_1eff811225_b.jpg


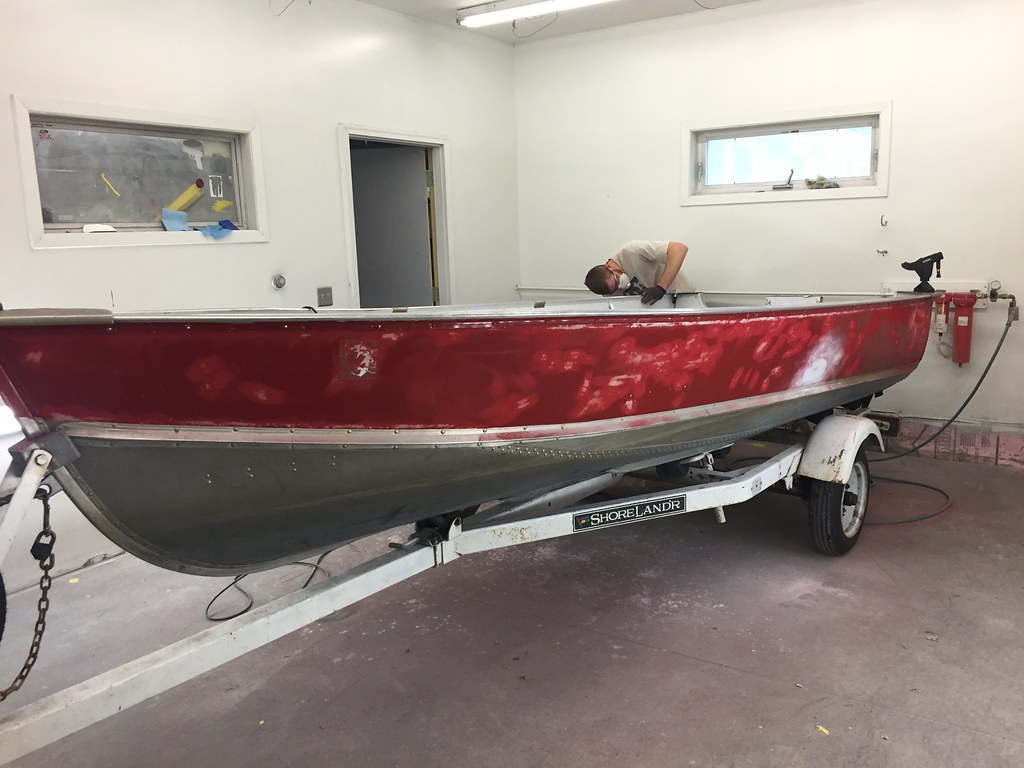
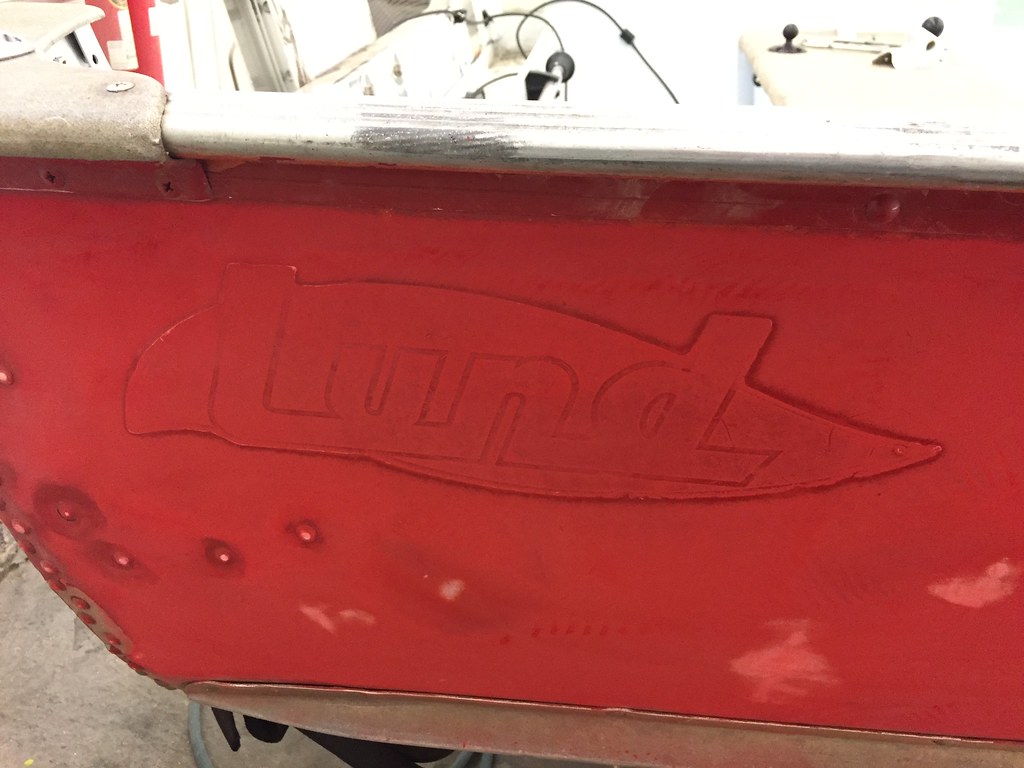
A buddy is a custom painter. He sent me a text and said we should paint this thing while I am going through the process of remodeling it. So I brought it up to his shop and we started stripping paint and fixing dents, adding a little bit of filler in a couple spots. Decal removal after 40 years and being painted over was an absolute pain, but we got them off.
33344613701_7f4cfdc6ab_b.jpg


32658743013_e74feb0e1b_b.jpg


The paint job turned out awesome but I am going to hold off on showing that for a little bit. I won't be using tan carpet this time around though, going with gray instead to match up with the paint better.

Up next I will start to show the framing process. All aluminum framing this time around.
 
The previous modification project I did on this boat used 2x3 wood framing. It was a little heavy and I hadn't sealed it or anything like that. Over the 7 years of use it didn't have any issues with rotting or even weaken in the slightest bit, but the boat was stored inside the garage 100% of the time it was not in use. This time around, I wanted to make the framing lighter and more durable as I plan to keep the boat for my son to take possession as his first boat. That said, I went with aluminum framing for this project. I went to Discount Steel in Minneapolis and picked up a bunch of aluminum.

The list of materials I purchased is as follows:
(2) 1 1/2 x 1 1/2 x 1/8" Square Alum tube - 21 foot stock length
(2) 1 1/2 x 1 1/2 x 1/8" Alum angle - 16 foot stock length
(2) 1 3/4 x 1 x 1/8" Alum channel - 16 foot stock length
(3) 1 x 1 x 1/8" Alum angle - 16 foot length
(1) 3/4 x 3/4 x 1/8" Alum angle - 16 foot stock length
(1) 4' x 10' x .040" white painted aluminum sheet

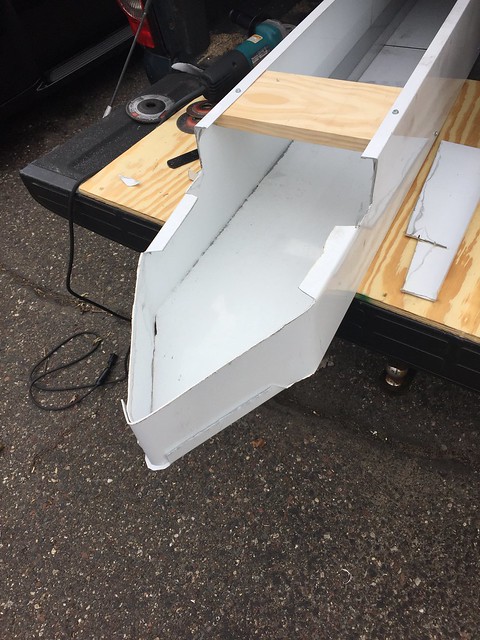
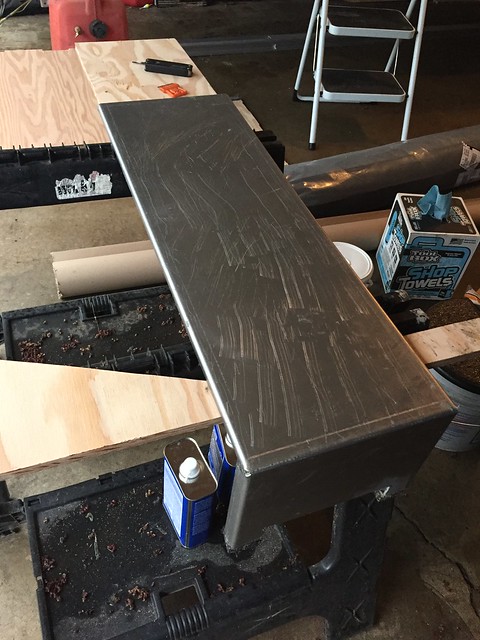
I also had them shear the white aluminum sheet to 27" x 48" pieces as I was planning to use that for the rod box. I took the 12" drop as well. The evening after I picked up all of the aluminum I brought the sheet metal up to my dad's shop and did a little work on the brake. Each of the 27" x 48" was transformed into a channel that was 7 3/4" deep x 10" wide with 3/4" returns on both of the uprights to form the rod box halves.

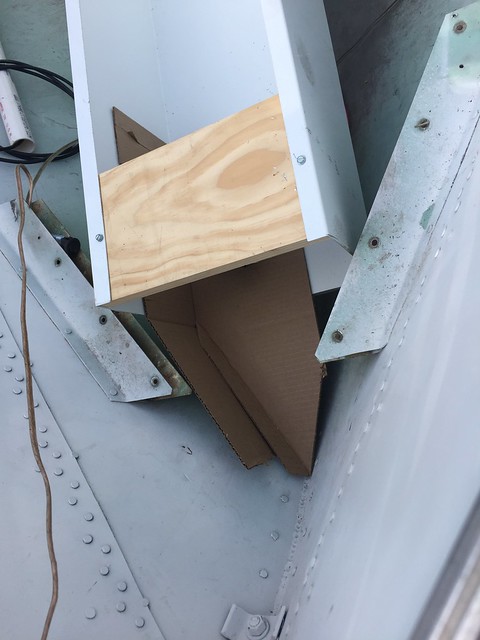
Once I had them back home it was time to start laying out the front end of the rod box. I wanted to maximize the length of the box but also didn't want to take up too much floor space in the cockpit of the boat. I made a cardboard template and started notching.

33556938611_059baeabde_z.jpg


I wanted to form the box to a point to maximize the length, but it also had to go under the bow bench as that is a major structural element of the boat. I set it up so that I could bolt through that bow bench into the top flange of the rod box and essentially use the rod box as a stringer for the boat. The cuts weren't super clean but I am not worried about it as I plan to carpet the box to protect the rods from any sharp edges. Tailgate saw horses work pretty nice. After a test fit I ran a few aluminum rivets into the overlap flanges on the box and got it all nice and tight.

32843449024_832095d5c5_z.jpg


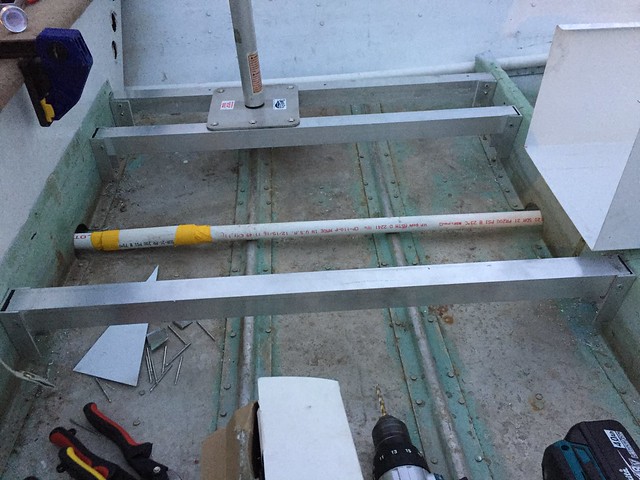
After I had the rod box figured out it was time to work on the floor in the cockpit. I wanted to be able to have a pedestal seat for my son to sit on while we motor across the lake and also to fish from so he doesn't have to get up and dance around me as I step up onto the front deck. I used 1 1/2" square tube just right of center and also for the main support for his seat. Then the far left support for his seat is 1 1/2" angle. On the far right I planned to build a vertical wall with some leftover formed aluminum I had so I threw in a 1 3/4" channel on that side, not visible in this photo. For the square tubes I used channel to cap the ends so that I could get a couple rivets into them and also into the bench seat verticals.

33645491456_5540a91153_z.jpg


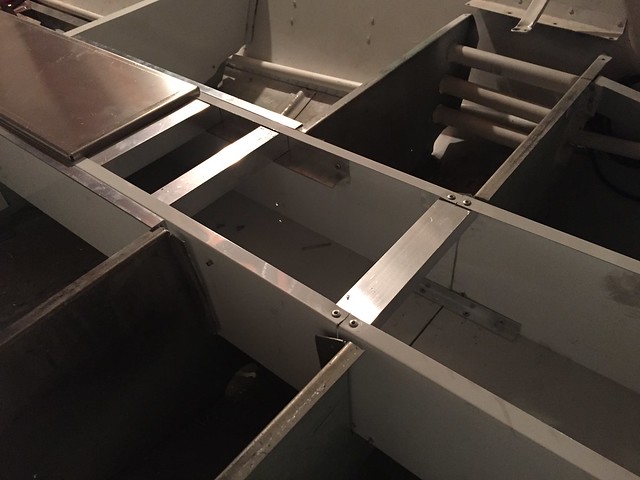
From there it was time to frame out the support for my leaning seat for the front deck and permanently mount the rod box through the bench notches. I used 1 1/2" square tube for both a front and back base for the pedestal mount and put a 1 1/2 angle under it for each side that would mount under the flange of the rod box. I ran the angle long to the front so that I could get better shear loading on the rivets as I will be standing forward of the seat and leaning back on it. The rear tube of the pedestal mount will also be used to support the hinge for the rod box lid. To mount the rod box to the old benches I ran 1" angle vertically and riveted it to the rod box and the bench seat verts.

33645489336_83296387c3_z.jpg


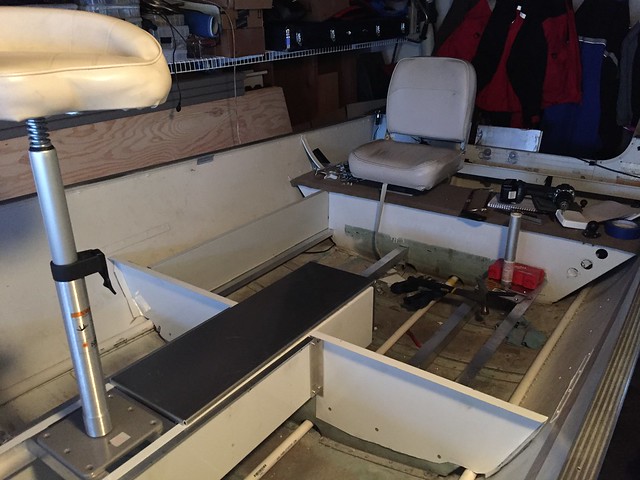
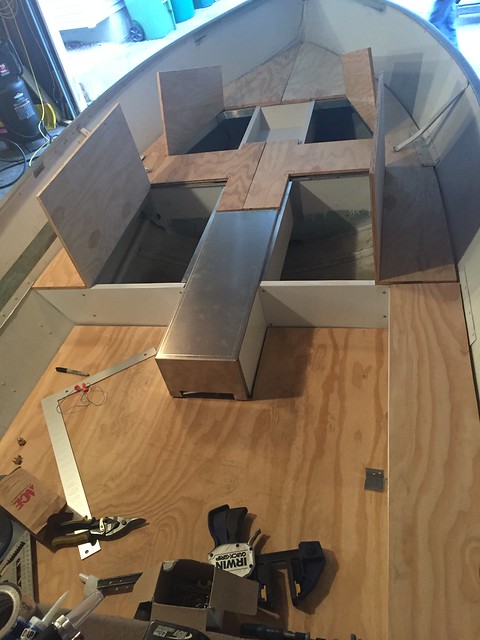
To rebuild the old front wall of the middle bench I took the 12" drop from the sheet I purchased, used the break to form a 1" return leg and then cut to the contour of the boat with a 1" return leg there as well, riveted it along the bottom and VHB taped it to the hull contour. Again, using 1" angle at the vertical connection between the rod box and the vertical wall. This photo also shows the vertical wall on the starboard side of the cockpit. This will be capped with plywood and will mount the Humminbird 999 on it. It provides a nice size chase to run wires and do any other required maintenance in the future. It'll also be nice to lay rods on the deck and not have them sagging through the cockpit, try to keep it clean.

33645491156_1f0e84baeb_z.jpg


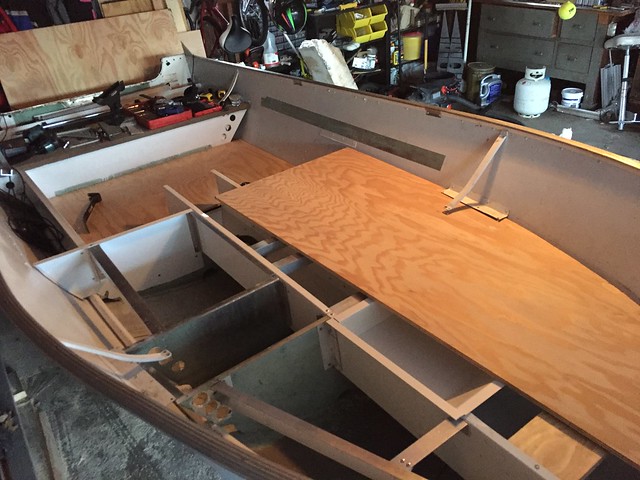
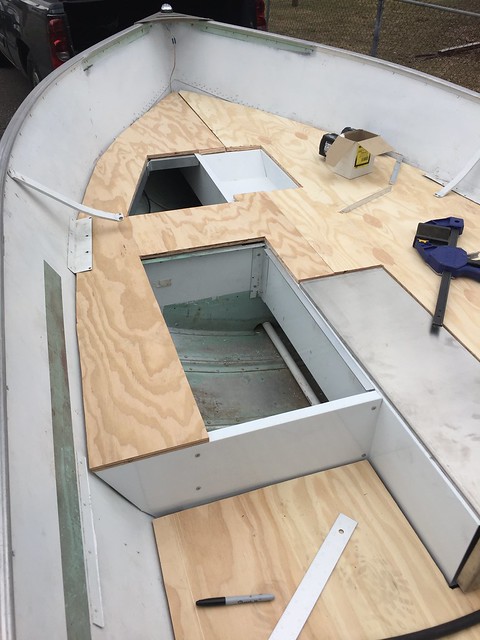
The other night I made the first rough cut of one of the deck halves. I am using 1/2" marine grade plywood for all of the decking in the boat. You can see the framing for the storage box lids on the left hand side of the picture, there will be a nice big box just as you step up onto the deck on either side of the rod box and then a good sized box up in the bow portion as well. I also had a recessed trolling motor pan formed up to ease some of the strain on my legs and lower back from standing on the pedal all day. It recesses down into the rod box but not enough to reduce the amount of rods I can fit in there at all. I plan to use rod slix to keep from getting them tangled in the box.

33624589311_57bacc4b05_z.jpg


With this setup I will be able to fit 7'-8" rods completely inside the box in a 14' boat. But the rod box lid is set up in a way to allow for up to 9' rods depending on where the reel sits on the handle. Really quite excited about having a nice storage box for the rods I carry in the boat.
 
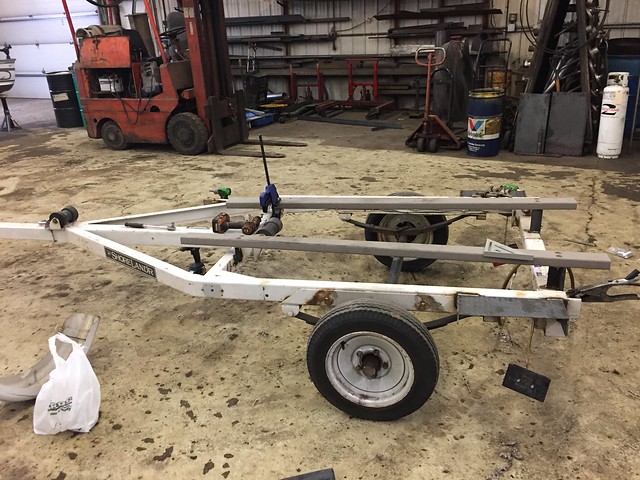
Along with the boat modifications I wanted to fix up the old trailer too. The old rollers were completely shot, the bushings were gone from every one of the rollers and they were actually doing a little damage to the tracking rails on the bottom of the boat. Went to my brother's shop last weekend and we pulled all the rollers off, and welded up some angles to support bunks. Took us about 4 hours to convert it from rollers to bunks and about 90 dollars in material. I used composite 2x4 decking that I found at Lowes for the bunks. I didn't want carpet because here in Minnesota I fish a lot of lakes that are infested with invasive species and a lot of lakes that are not. I don't want to be the cause of spreading them so with these composite bunks they should allow the boat to slide on and off easily as well as be easy to clean and inspect.

33556941231_cca9d9e839_z.jpg


I painted it all up to prevent it from rusting out and it turned out pretty nice. It is a lot more solid feeling and the boat doesn't rattle around on the wore out rollers as I pull it down the road anymore. A lot quieter and the boat will self center as I load it on the bunks the way I have them set up. Can't be more than 3/4" off center in either direction even without side guides.

32910641394_ddb12645e8_z.jpg
 
The only issue with composite bunks is they will sag when they get warm if they don't have a lot of supports.
 
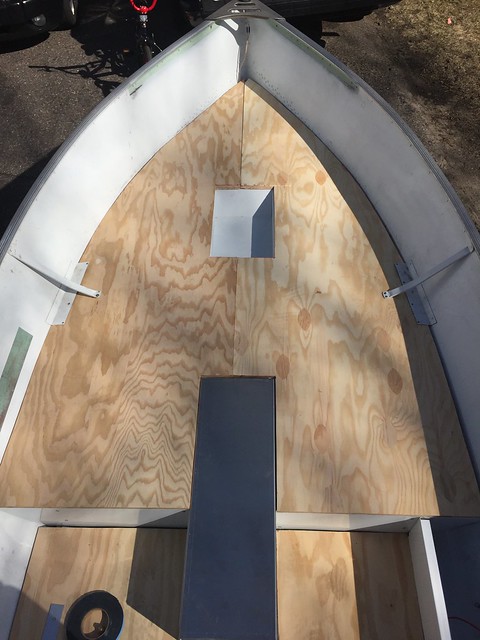
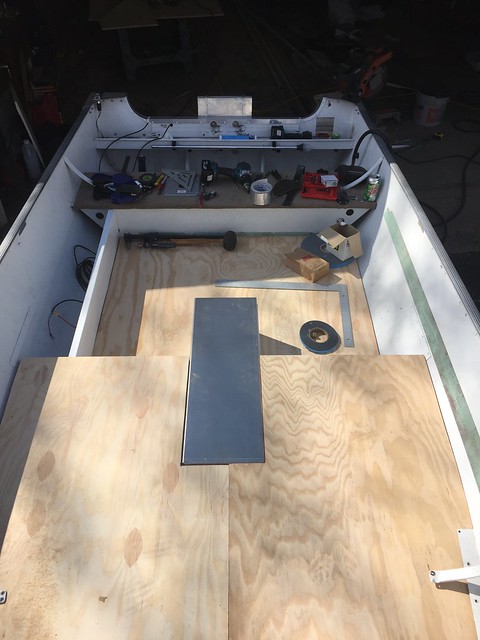
Saturday I got out and cut the starboard side of the front deck to size and trimmed the port side deck for the best fit I could manage. It is starting to look a lot more like a boat.

From the back bench looking forward
33656886932_3333277030_z.jpg


And from the front looking back. You can see the electronics chase to the left. This will also be a nice shelf to lay rods on while out on the lake fishing.
33772532596_60d69bfb7c_z.jpg


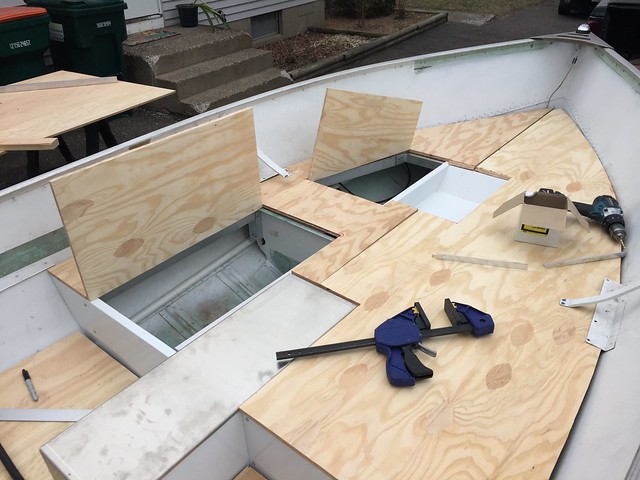
Sunday morning I pulled it back out of the garage and cut the port side storage lids. Measure thrice, cut once.
33656886922_10cf854f32_z.jpg


Lids in open position, hinges not yet installed.
33683756011_f28080fa43_z.jpg


It started raining as I was finishing up the port side lids so I pushed it back in the garage. We went to my brother-in-law's for lunch and when we got home the rain had stopped so I pulled the starboard side deck out and measured up the box lids. Got those cut out as well as the rod shelf/electronics chase cover. I need to add a couple of aluminum braces between the hull and the vertical wall for intermediate supports but it should work nice for what I am doing.
33656886892_8091c4c3a4_z.jpg


I have to do a little work to the back bench now. I want to cut the rear portion of the back bench so that I can stuff the gas can under it, but I don't want it all the way down on the floor so I am going to VHB some tube stock to the floor to raise it up and cut a small piece of plywood for the tank to sit on. I have been thinking about how to do it for a while and just been reluctant to get started on cutting it.
 
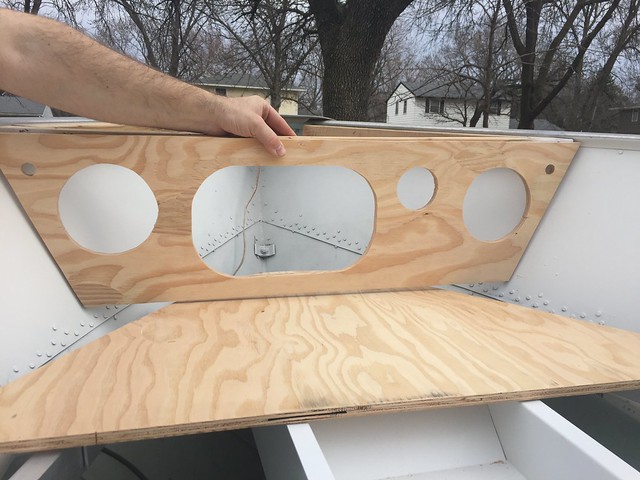
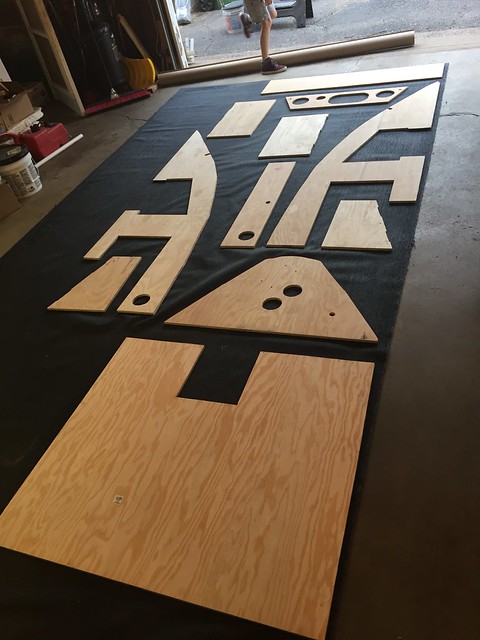
On Saturday I had a marathon day of boat work. I started out about 7:30 AM, took a couple breaks for lunch and errands, and then wrapped up about 12:30 AM Sunday. There was a ton of piddly little stuff that had to be done. I had to cut notches for the recessed hinges. Had to cut the hinges out of the 6' aluminum piano hinges I found. Then I had to cut support angles for the hinges to mount into along with stiffeners for the bigger lids. Drill and countersink all the fasteners, and then test fit. I also had to make the vertical bow plate and cut out holes for the stereo and speakers as well as a hole that would allow me to stuff sweatshirts and rain jackets up under the trolling motor throughout the day.

33973593765_22c9c97fa4_z.jpg


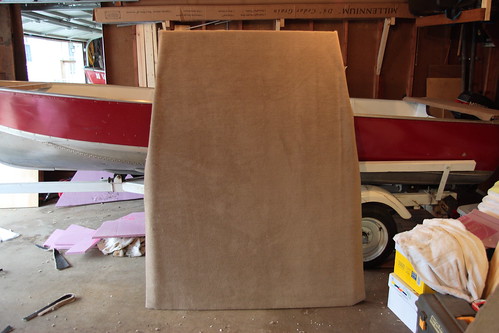
A whole lot of prep work before I could begin with carpet. I called the boy into the garage and we played our best game of tetris to utilize as much of the carpet as possible while minimizing scrap and maintaining weave direction.

33129771804_410dc434a3_z.jpg


I had to slice and dice the floatation foam blocks to fit it into the crevices where I could, but I got every bit of it back into the boat. I also plan to add some pool noodles in spaces that will be closed off like under the electronics shelf and the voids under the floor.

33160358003_85c503df53_z.jpg

33932220966_2f254dd9a5_z.jpg


You can also see here that I went with metallic gray carpet that I ordered from Cabela's.

I haven't set the main deck halves in there yet as I need to do a little trimming but they should go in nice. The hatches all turned out really nice. I took the support angles off before carpeting and will reinstall with the flat head fasteners through the carpet. I wanted to maintain the serviceability of every component of this build so that repairs could be accomplished easily if/when they are needed. I also learned that the glue dries much differently when applied to plywood versus aluminum. The aluminum rod locker lid is taking a long time to dry whereas the plywood was pretty well set overnight. If the sun comes out today I am going to set the rod locker lid out for a little heat to aid in curing the adhesive.
33129774374_bb1d732634_z.jpg


33588370530_4c675dfa47_z.jpg


And a little peak at the paint job and how the whole scheme is coming together...
33973595275_74c9dc3412_z.jpg


#itaintrednomo
 
Looks great! Clean work! That rod locker is slick

Sent from my VS990 using Tapatalk
 
Johnny,

To be completely honest, I did nothing to preserve the plywood. I used ABx Marine Grade plywood for this build. The previous iteration used BCx sheathing and after seven years of use, between 40-70 days a year on the water in all kinds of conditions, the old plywood was like new when I pulled it out. The supports were spaced a lot farther apart in that rendition as well.

I store the boat in the garage 100% of the time when it is not being pulled to the lake or in the water. The carpet will wear out before the plywood with the way I use and care for the boat, and rather than strip the carpet I will just spend another 100 bucks on two sheets so I don't have to strip the glue.

I've been getting a lot of requests for fishing trips in the little boat for the summer via Facebook. All my friends and family are expecting me to show them some big panfish this summer. I surely hope that I can deliver. I have my first panfish tournament of the year on the 22nd. Fishing big ol Lake Minnetonka for 10 big crappies with my son. The proceeds raised from the tourney will go towards a program to get vets out fishing. Hoping I don't have to go out of town for work so I have time to prefish.
 
This past weekend I spent much of Saturday once again working on the boat. I tore the carpet off of the rod box lid and then had to use some mineral spirits and a bunch of elbow grease to remove the adhesive. Roberts 6700 indoor/outdoor carpet adhesive is one of the strongest adhesives I have ever faced.

33960335402_d843871309_z.jpg


I cut a new box lid from plywood to replace the other one I screwed up the carpet weave direction and carpeted it as well as the rod box lid. Then I installed all of the hinges on the various lids and ran wires for all the electronics. Mounted my Humminbird 859 on the bow plate with a 1" RAM ball and installed the stereo/speakers in the vertical bow plate. Got the main casting decks screwed down and seat bases installed.

Yesterday sitting at the office with a slow day winding down my wife sends me a text and says if you can finish the boat tonight I want to have dinner on the lake. Those words were like magic to my ears. I cut out about 2:45 and got home to hammer out the last of the electrical connections and mount the Humminbird 999 back near the driving seat. I also had to hang the motor on the transom again and test fire it. Took 5 pulls but she fired up. After two and a half hours of boat work hammer time, we hit Subway for some sammiches on the way to the lake. Got to the ramp at 6 and we were in the water. Hooked up the ipod to the new stereo and tested out everything. There are still a few minor tweaks to make but all in all I am very pleased with the results. It is awesome.

Here are a few photos from the maiden voyage.

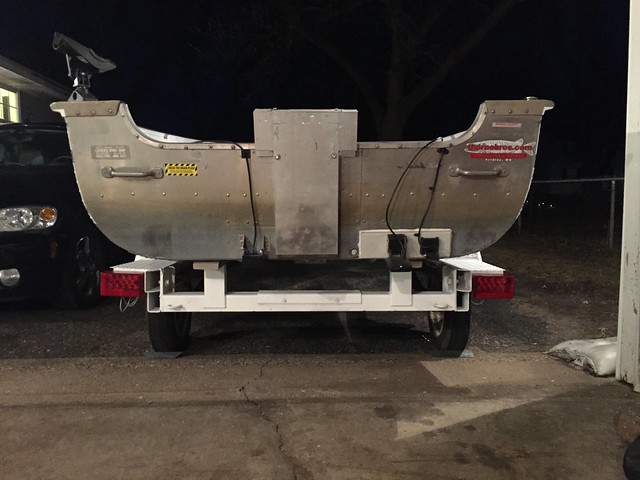
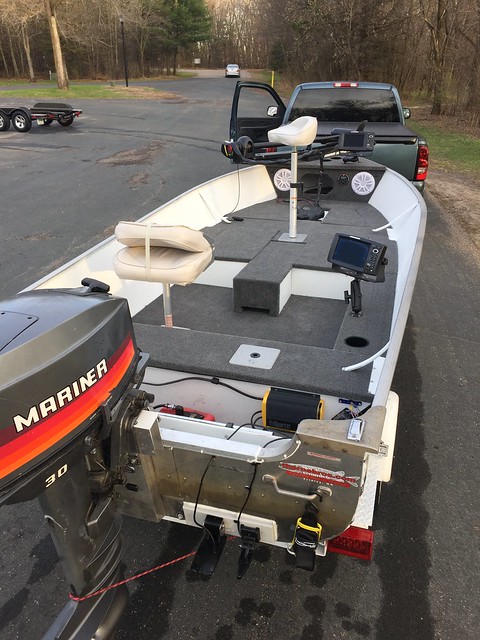
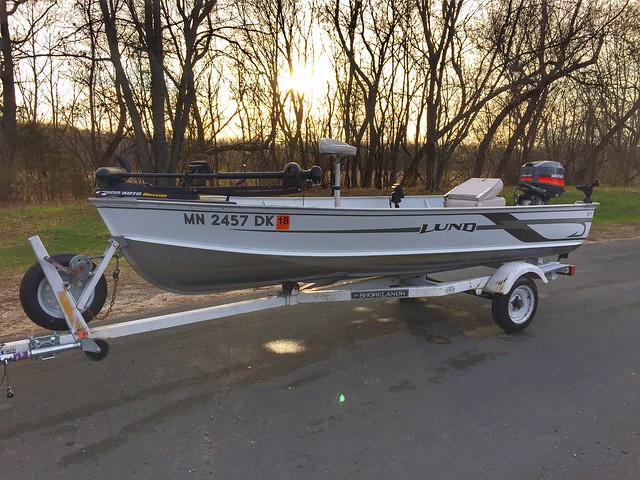
Overall view of the boat from behind the transom.
33731790130_928ba953f8_z.jpg


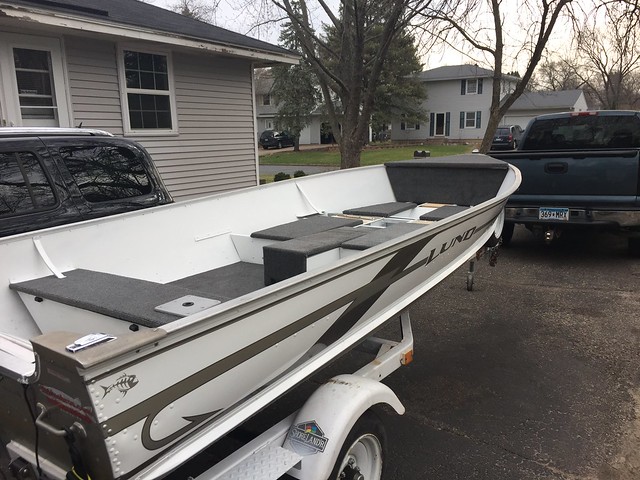
The freshly painted exterior. I took a little inspiration from the new Bass Cat Boats Pantera Classic with the hook detail in the striping, turned out awesome. My buddy Erik knocked it out of the park with the paint job.
33274145854_f480b05c7a_z.jpg


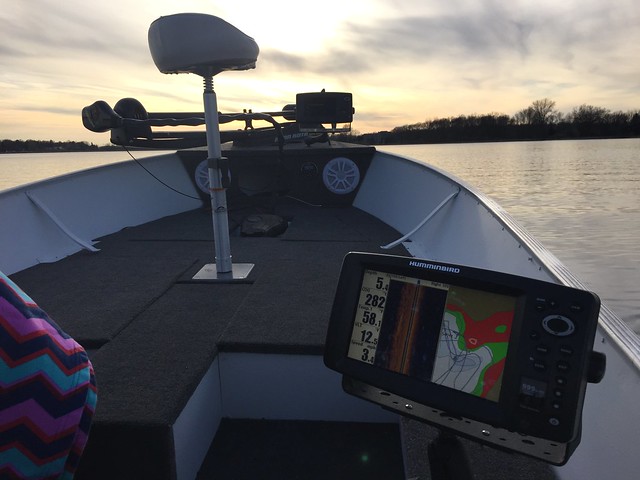
From the driver's seat.
33305186983_cc926e8dd4_z.jpg


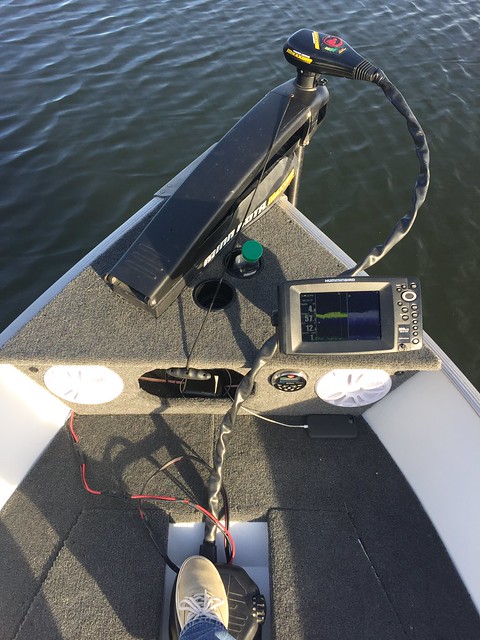
The command center!
33274145714_ce2515baed_z.jpg


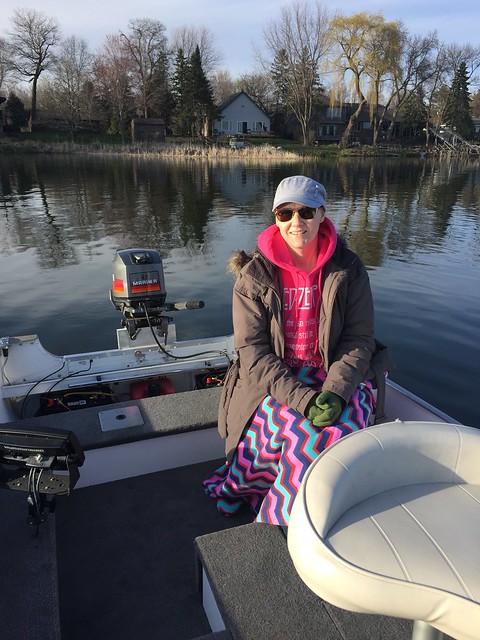
My wife hanging out in the back pedestal seat.
34075868236_b68074c02c_z.jpg


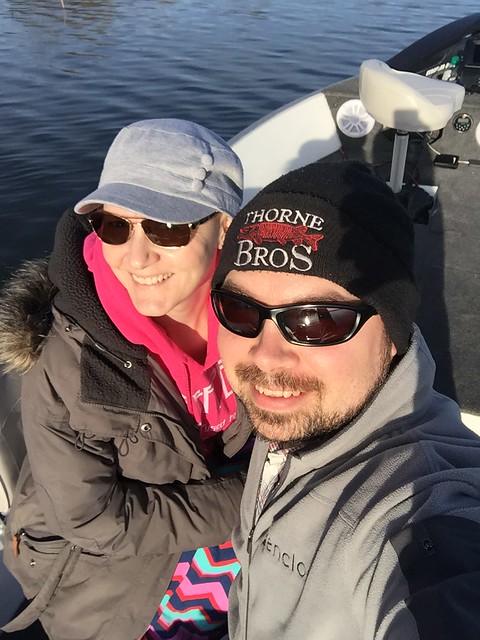
And finally a selfie of the two of us on the boat together for the first trip out.
33731789090_87481d2c1c_z.jpg


She puts up with a lot of my crap and I love her for it. She is facing the biggest battle of her life right now and doing everything she can to stay "normal". I can only hope that she'll get lots more trips out in the boat with me. Last night I didn't bring any rods or fishing tackle with us because I didn't want to be tempted. I wanted last night to be just a cruise on the lake and it was awesome.
 
Last Friday I took a half day at work to go out and prefish on Lake Minnetonka for a crappie tournament my son and I were fishing in on Saturday. I put on about 20 miles running and gunning trying to locate fish ahead of the tournament. Most of the spots I checked didn't pan out but a few did and right near the end of the day I located a pod of decent crappies. My only concern with them was that they were a solid 6 miles from the tourney take-off going one direction and about 10 miles going the other direction. For those not familiar with Lake Minnetonka, it is a large lake that consists of a series of bays connected by channels, a lot of open water but also a lot of no wake areas to pass through. To get to this spot I found the fish in was a solid 45 minutes to an hour from the tourney takeoff. I knew a couple other spots that were closer but the crappies hadn't moved into them yet.

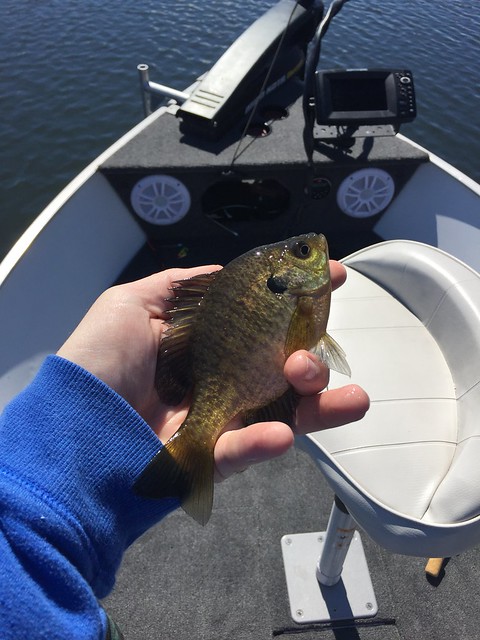
The first fish in the new Lund was a small bluegill.
34261379745_1fe05dc2d1_z.jpg


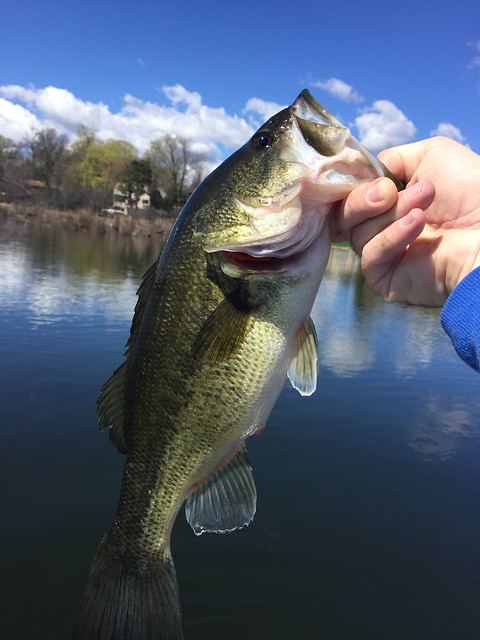
Followed up very soon after with a chunky little bass.
34104393782_0bbfefea15_z.jpg


Fast forward to Saturday morning. The gas tank was refilled, the batteries were charged, 7 rods were rigged and ready to go, tucked away nicely in the rod box. We hit the launch ramp at 6:45 and I started up the motor. About 15 seconds after starting the motor it died. I am thinking, just my luck, motor trouble on tourney day. I looked down and saw the gas tank vent was closed, vapor locked it. Opened the vent, gave it a couple pumps on the bulb and it fired back up. We motor over to Fletchers for check-in and boat safety check. At 7:45 we all pile into the boats, 20 teams of two, and get out into the channel, 8 sharp is ease off.

Hunter was busy getting rods and plastics out of storage for the day, anxious to get going.
34130882551_60a5f30f20_z.jpg


Counting down to 8 AM.
34221214276_a423bf054f_z.jpg


Hunter had his game face on.
33451317043_08247f7642_z.jpg


8 AM hit and it was go time. No wake zone for 1,000 yards or so then blast off.
33419760884_64ee9caac6_z.jpg


The homemade talon worked out pretty slick. I needed to be in 6 feet or less water for it to work but I love it.
34130886841_4a377bffa0_z.jpg


Ended up catching the first walleye in the freshly remodeled boat on Saturday as well.
34221395836_9e1a4ce430_z.jpg


We got back in a bay and realized about half of the tourney field was in the same bay. Most all of them pulled in and fished some docks close to the entry of that bay, we motored past them and found a few docks up around a point. We pulled in on one dock and it had crappies. Ten minutes into fishing we had 3 of our 10 fish limit in the cooler. We were feeling pretty good. Then Hunter accidentally hooked the dock and we drifted too close trying to free his jig and spooked the crappies off the dock. Move on to another and another, that seemed to be the only dock in the area holding them. Running with the trolling motor to another section of docks we hit a stump about 4 mph. Hunter said he heard a snap but I didn't hear it. About 10 minutes later after fishing a couple other docks I pulled the trolling motor up and heard a loud pop. I found out later that I broke the cable bracket inside the head of the motor. An hour and a half into the tourney we had no control of the trolling motor direction. It still ran fine, just no tension on the pedal at all and couldn't control the direction it was facing. Then Hunter hooked a dock and trying to free his jig I broke his brand new rod.

Needless to say from 10 - 11:45 we were feeling pretty down and defeated but I told Hunter to never give up cause it isn't over til the last fish is weighed in. I asked him if he wanted to go check the spot we found a few years ago that always holds fish in the spring. Some days they are catchable and some days you can't get em to bite for anything. He thought we didn't have time, I said I can get us there and we'll have 20 minutes to fish. So we ran over there and pulled into a boat harbor that is probably 75 feet by 125 feet oval and pretty clear water. There is an old wooden dock in there. As we pulled in I knew it would be magical, there were a solid 10,000 fish in this harbor. Bluegills, bass, and carp were everywhere but way up under the dock I could see the shadows of the crappies. I positioned the boat behind the dock so we were casting into the wind and wouldn't get blown into the dock, and we started skipping jigs under the dock. You had to skip tiny panfish jigs 15 feet under this dock to get bit by crappies, with about 10" between the surface of the water and the bottom of the dock. When you got it up there far enough, you just let the jig fall and watch for the tick in the line, when it popped you set the hook and reeled in a crappie. 15 minutes we had caught the 7 we needed with a couple of them being decent fish. We pulled the anchor and headed for the weigh in making it with 5 minutes to spare.

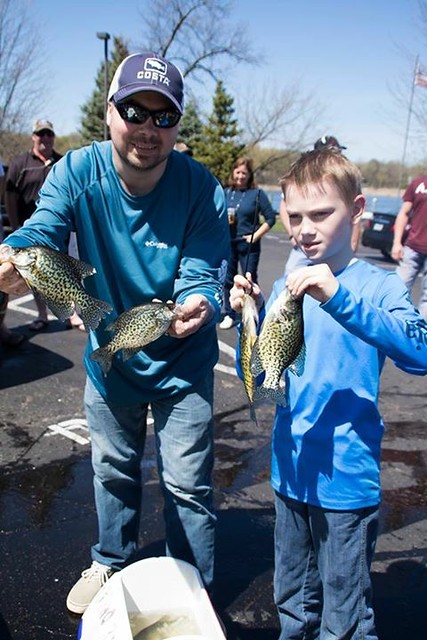
We weighed in 10 crappies for 4 lbs even with a .6 lb big fish. It was good enough for 10th place out of 20 boats filled with some of the best panfish anglers I know. For our first tourney we did pretty good. Hunter is hooked on tourney fishing now and wants to fish a bunch more of them. A couple years from now when we have our bass boat in the garage we will begin bass tourneys as he said he was really interested in them. Been waiting to hear that since he was born.

33419495074_d9d9e72777_z.jpg


The new boat layout is awesome for one or two people. There is a ton of storage, enough room for at least 24 Plano 3700 boxes in the two compartments on either side of the rod box. We ended up doing tackle in one, life jackets and a cooler for drinks/snacks in the other, and then sweatshirts and grab bags went in the boxes flanking the trolling motor pedal. The rod box easily accommodated 7 rods with room for several more, I bet I can get 10-12 rods in there. That theory will be tested soon. I was also able to fix the trolling motor for 50 cents worth of screws. Got lucky on that one for sure.

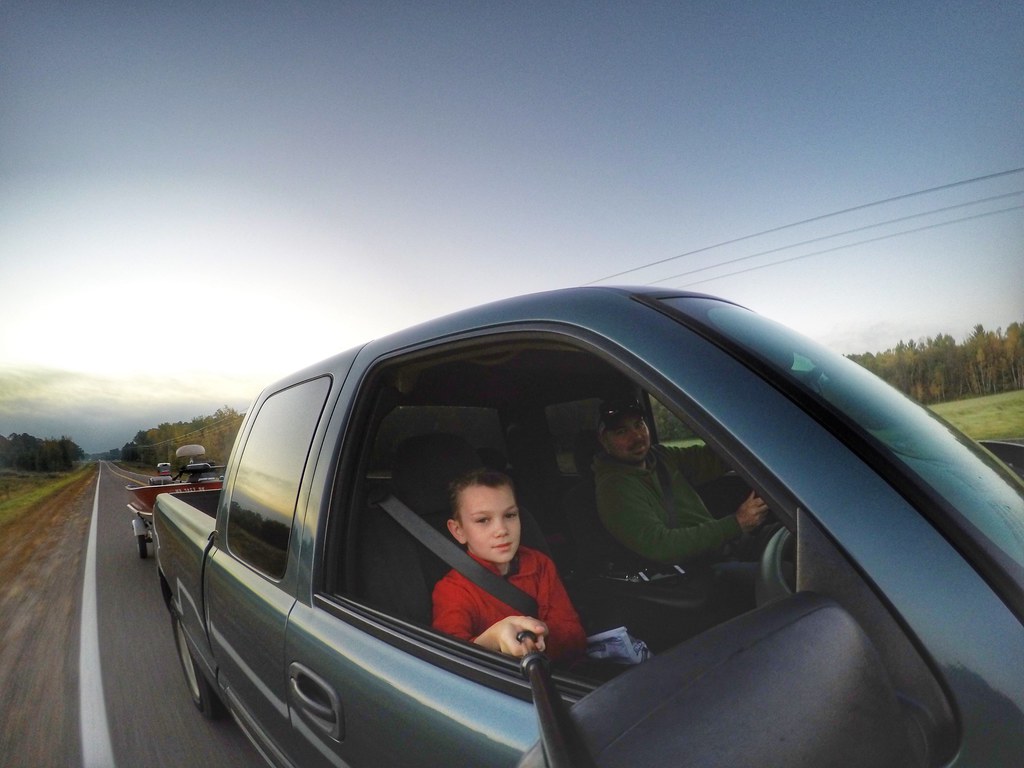
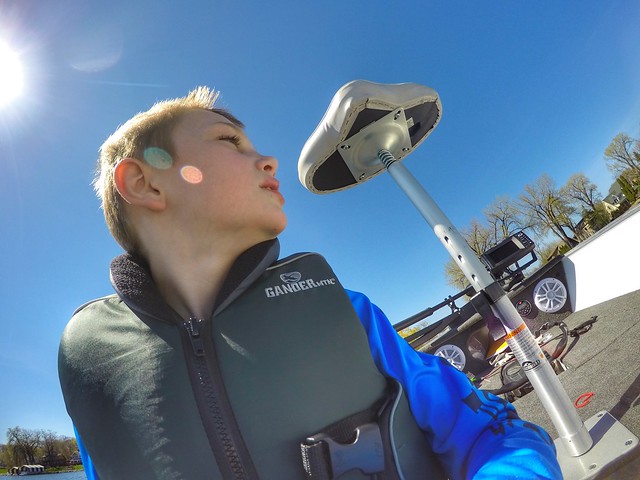
A parting shot from the GoPro as we were leaving the lake.
34261522295_d705211f73_z.jpg
 
Been a few weeks since I last posted an update on the season. We have had a banner year so far in the boat. Lots of crappies, some nice smallies, and some GIANT bluegills and pumpkinseeds have taken a look at the remodeled Lund. The kid has been catching the biggest fish of the trip pretty much every time we go out too, and I love it.

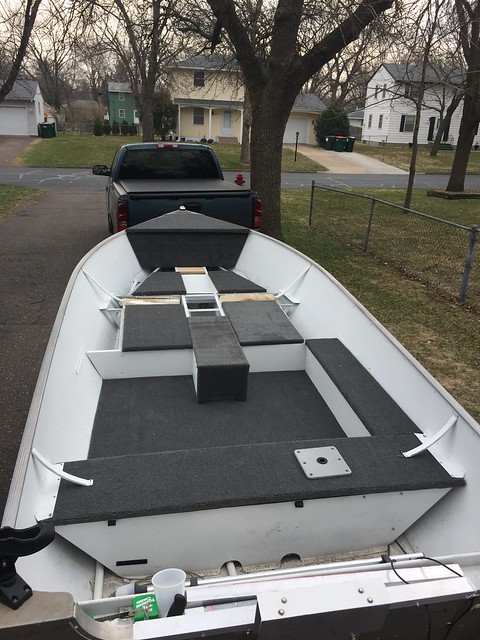
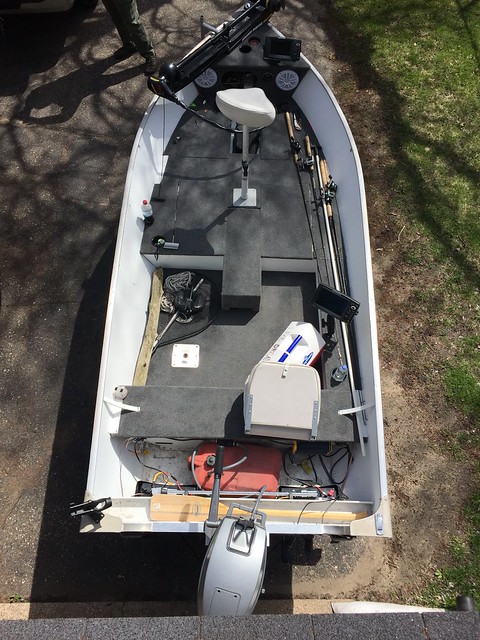
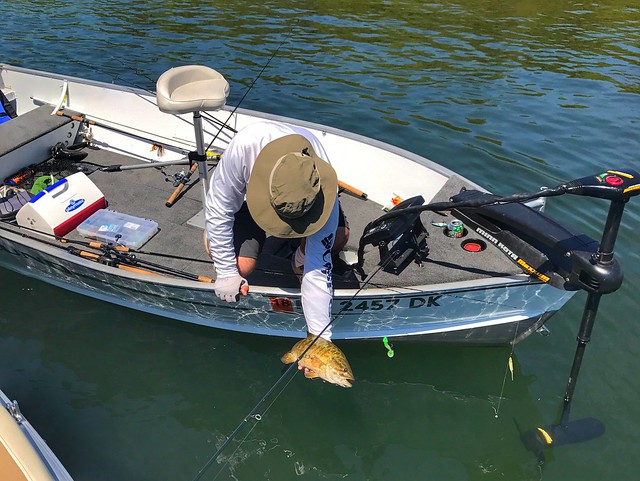
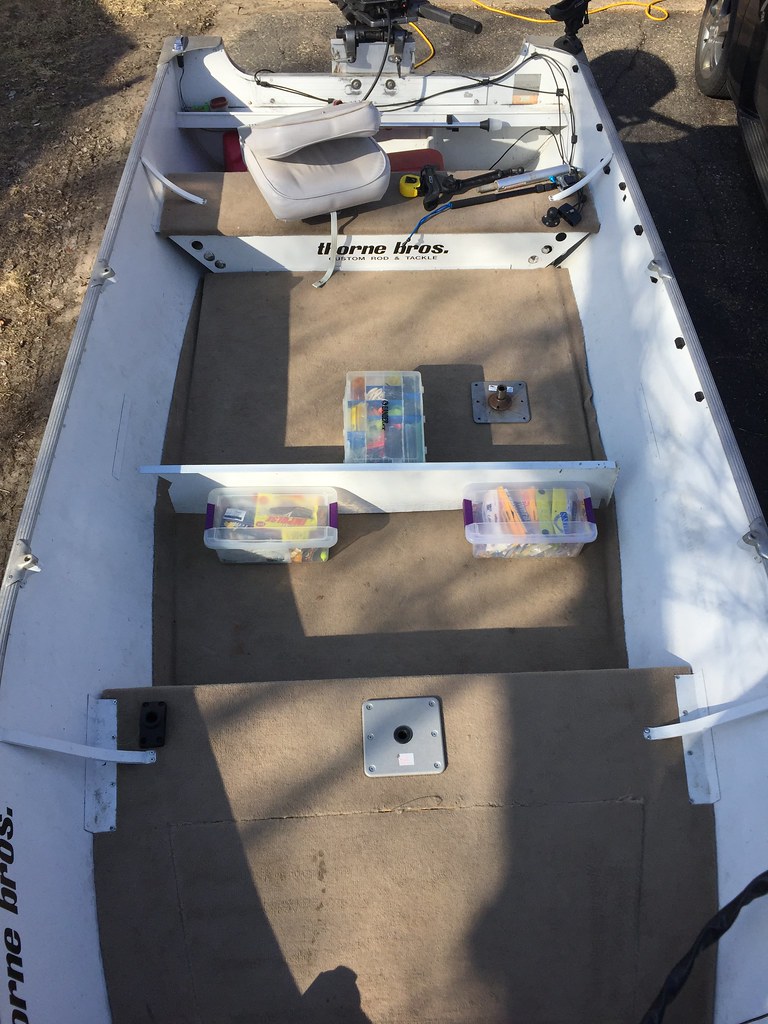
Before the fish pics though, I climbed up on the garage one day to take overhead shots of the whole boat.
34988498045_dd6b250008_z.jpg


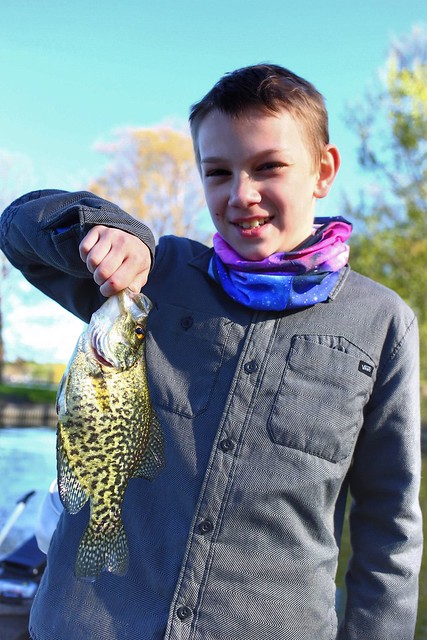
Hunter with a nice Tonka Crappie.
34145373014_10b636af1d_z.jpg


So fat she had shade under her belly.
34824968682_56f328252b_z.jpg


Who doesn't love a good release?
34824968642_09c100fbcf_z.jpg


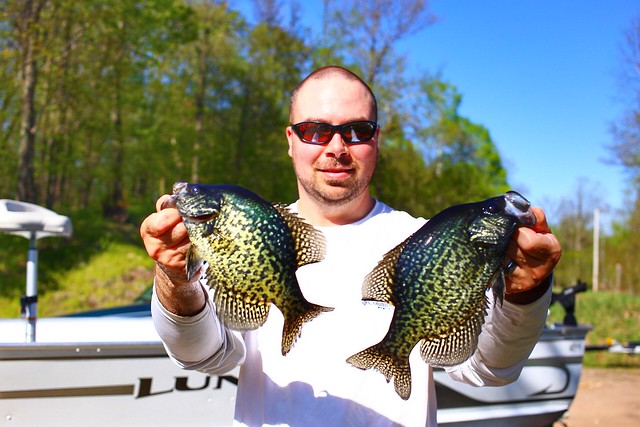
Some beautiful crappies from the day before Mother's Day, dark and thick, sitting in the reeds. Saw every single one that I caught and cast the jig and plastic combo over to watch them eat. So much fun sight fishing.
34856131811_ab0bd52106_z.jpg


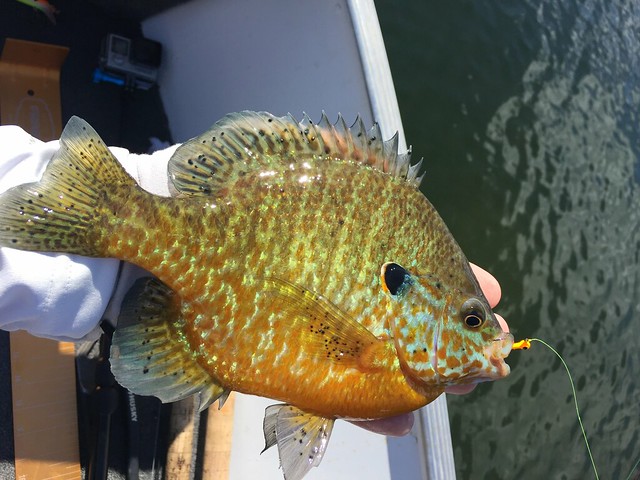
Giant pumpkinseed
34988494745_c1187dbe07_z.jpg


The kid caught two in a row, I unhooked the seed and was measuring it and he casted back out and hooked the bluegill seconds later. MONSTERS
34145369084_548e96886c_z.jpg


Another giant just a couple minutes later.
34145368724_e37938a25f_z.jpg


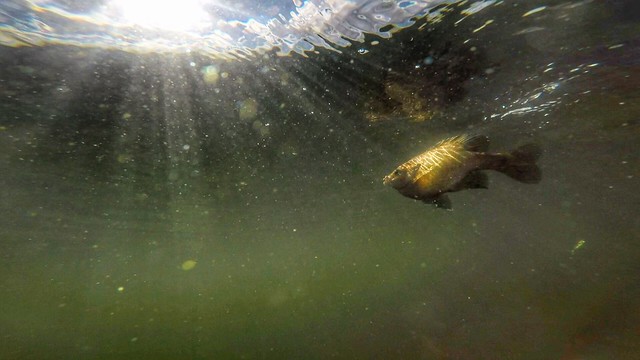
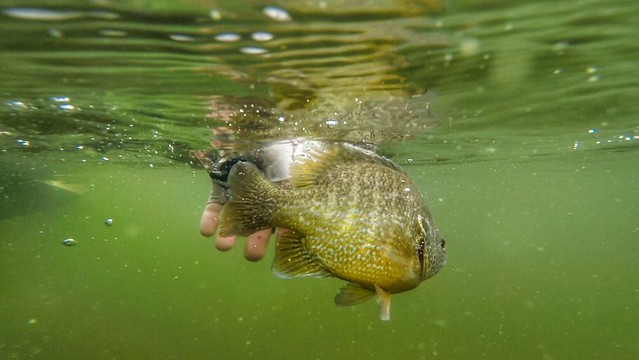
While we were on the giants, we decided to snag some underwater footage with the GoPro. First while reeling one in...
34145367494_0370b4a532_z.jpg


And then a release shot.
34948387406_fe9760b220_z.jpg


Take care and good fishing,
Tom
 
Top