rook
Well-known member
Upon request I am going to give a quick rundown on the building of my "Toolbox" Center Console. The concept of my tin build was to make a "flats style" boat to chase inshore fish on the flats and in the shallows. The entire time I was in the process of building my boat the console was always in the back of my mind. I wanted something small to give me as much room as possible in the boat. Had thoughts of modifying the original side console that I removed form the boat but it was too wide. Had thoughts of building one out of wood/fiberglass but thats alot of work. Also looked at buying one new or used off Ebay or Craigslist but they are few and far between and the ones you can find are expensive. One day I was looking through my Aluminum scrap pile when it hit me like a ton of bricks. I had aquired old beat up deep truck tool box a while back and it looked like it would make the perfect start to a center console.
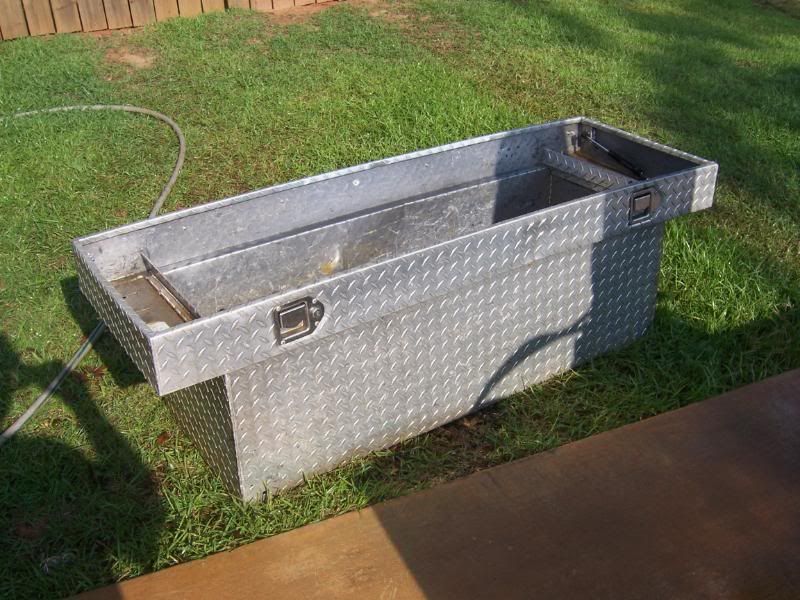
Out came the grider and within minutes I knew I had the perfect solution for my problem. I had to play with the measurements and angle a little to get it like I wanted but it was looking promising.
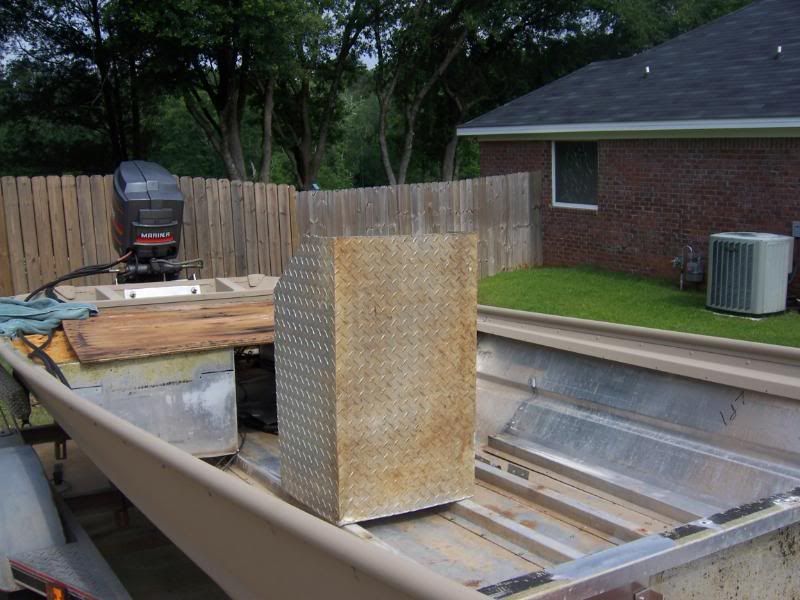
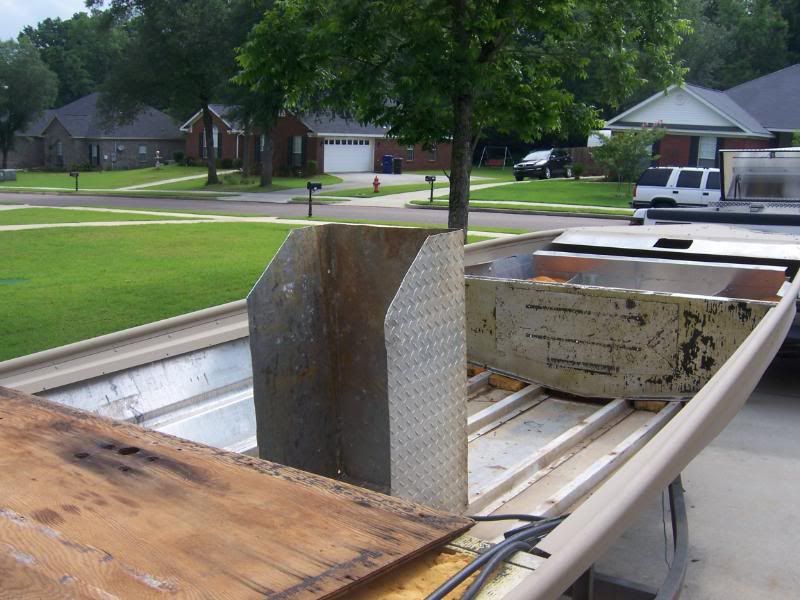
After it was all said and done and cleaned up a little.
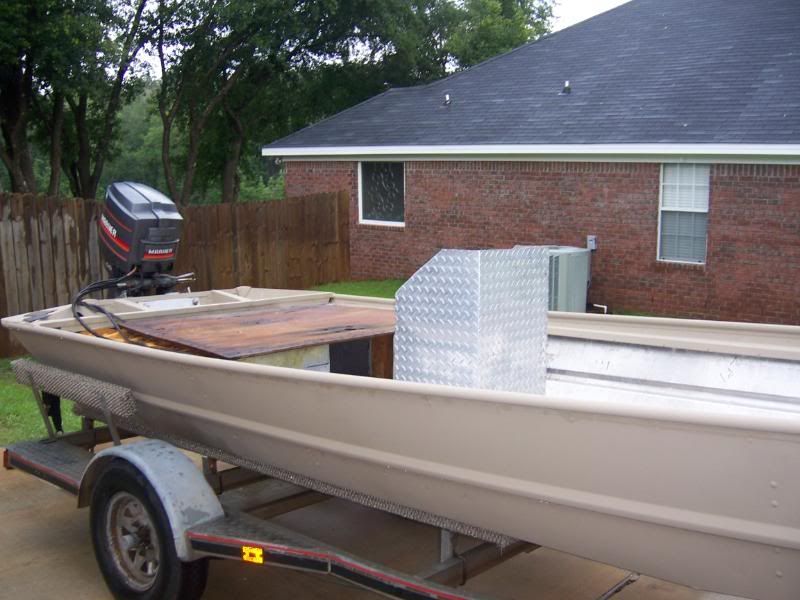
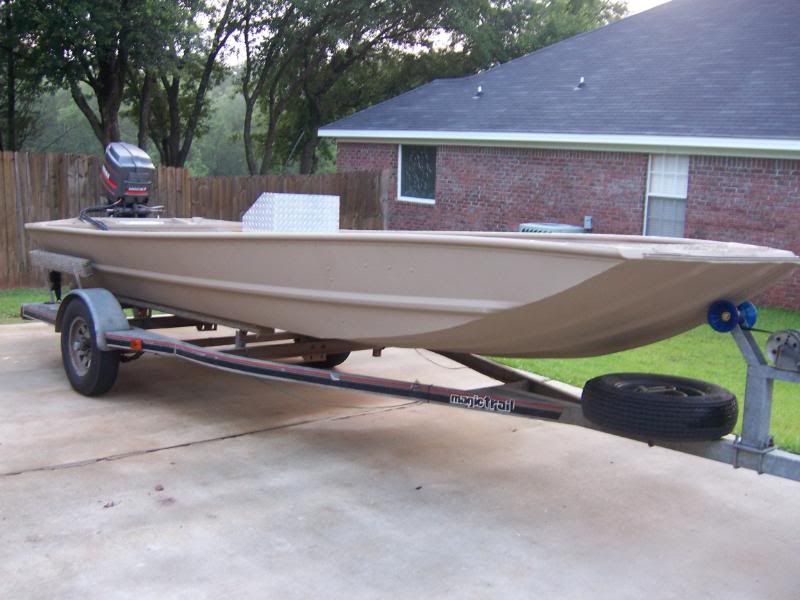
Then came the issues of what to do for a top and how to strengthen the console for the beating and banging that it will receive. I am in a business that gives me access to alot of Mahogany so the top would be no problem. As for the strength I used 1/2" plywood to line the inside. The plywood is glued and srewed to the inside of the console.
As for making the top I used 1" x 1 1/2" pieces of Mah which I glued together then planed to 3/4" thick. Once planed I kerfed the edges to fit down over the alum portion of the console and attached with alum L-brackets.
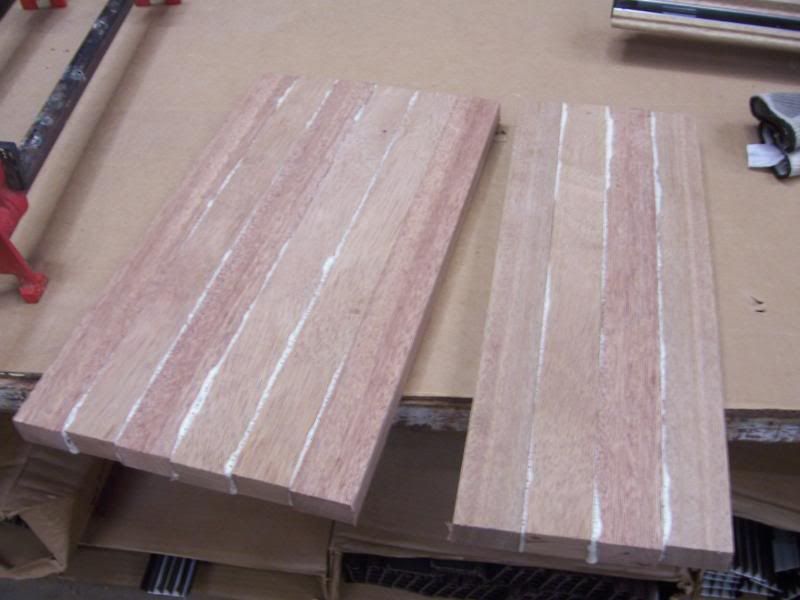
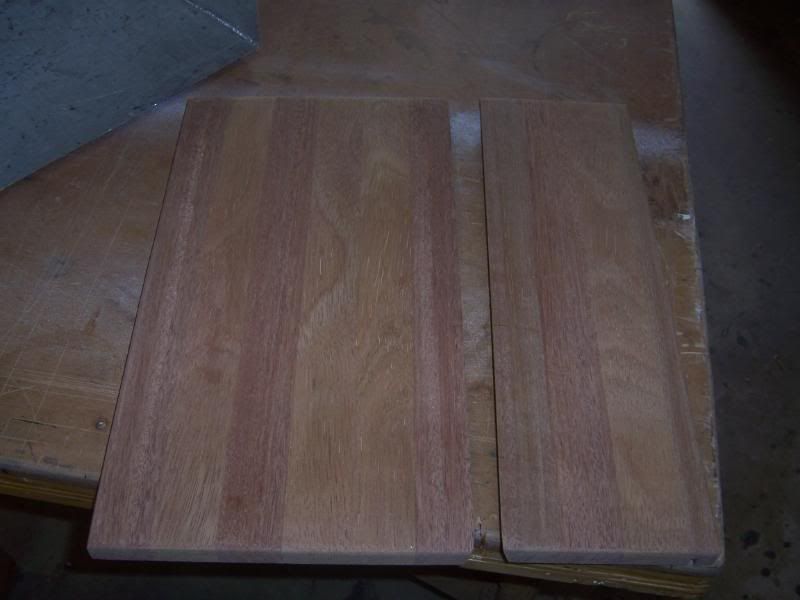
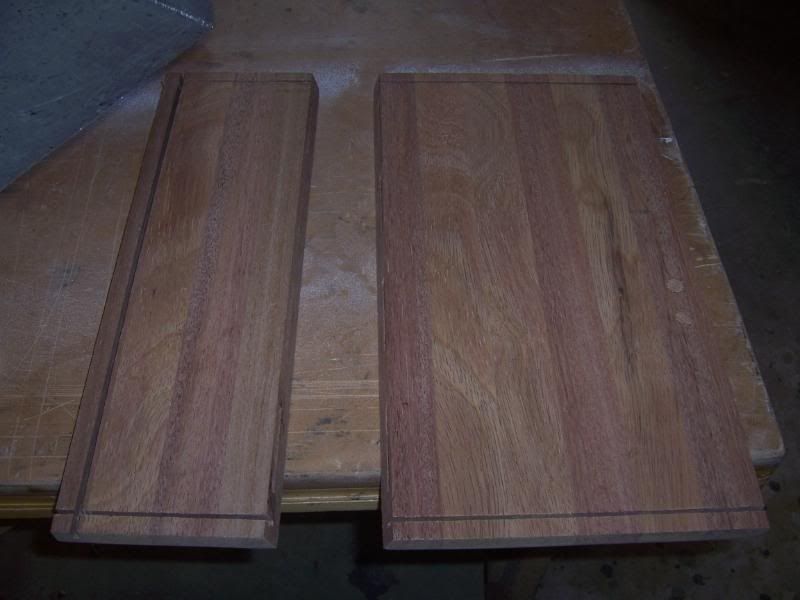
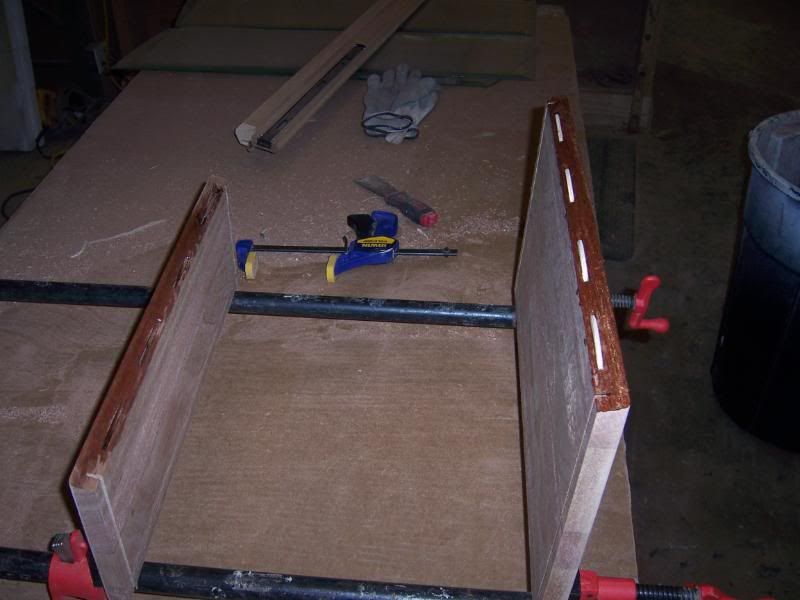
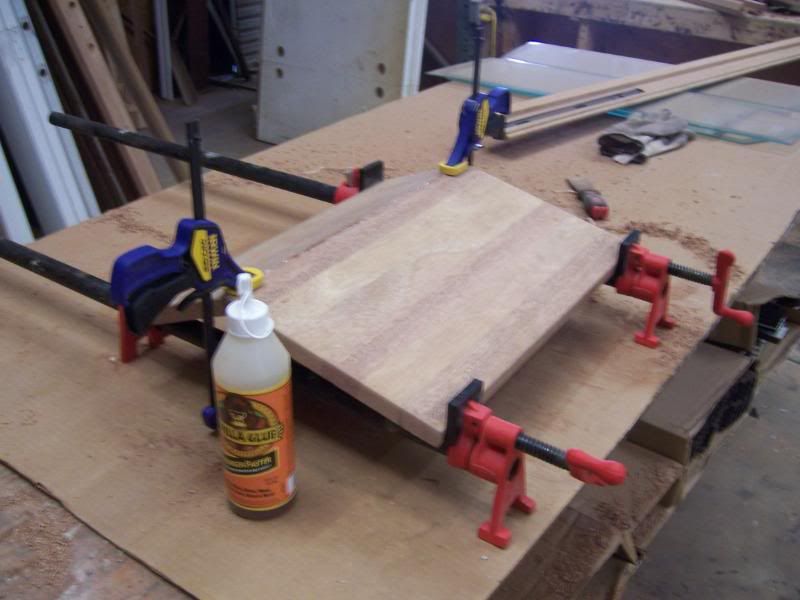
Assembly
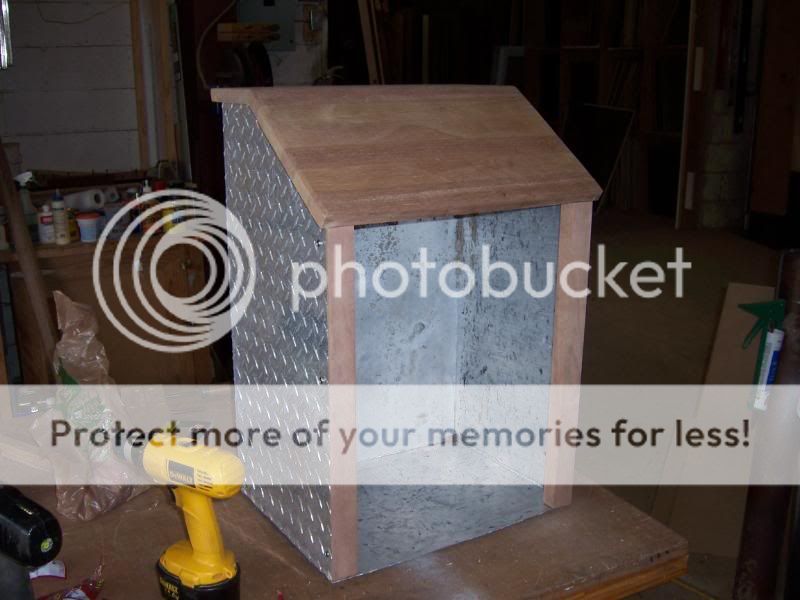
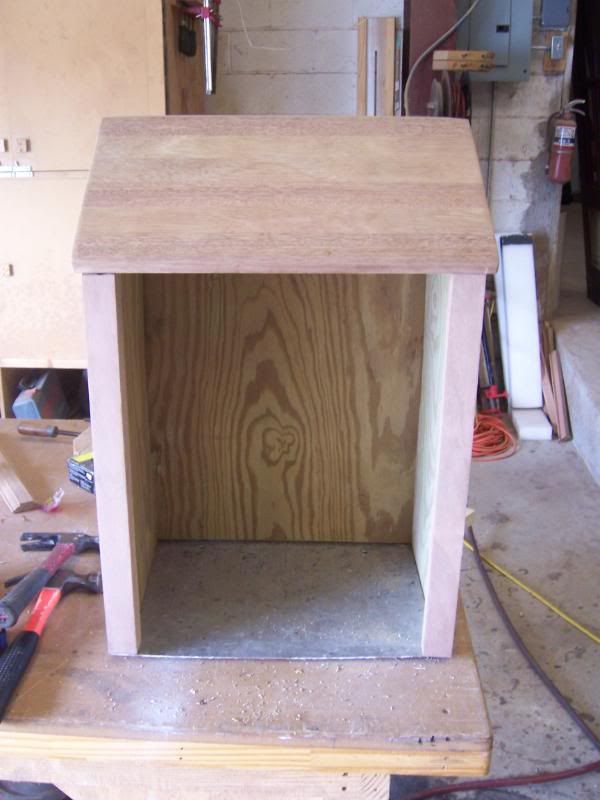
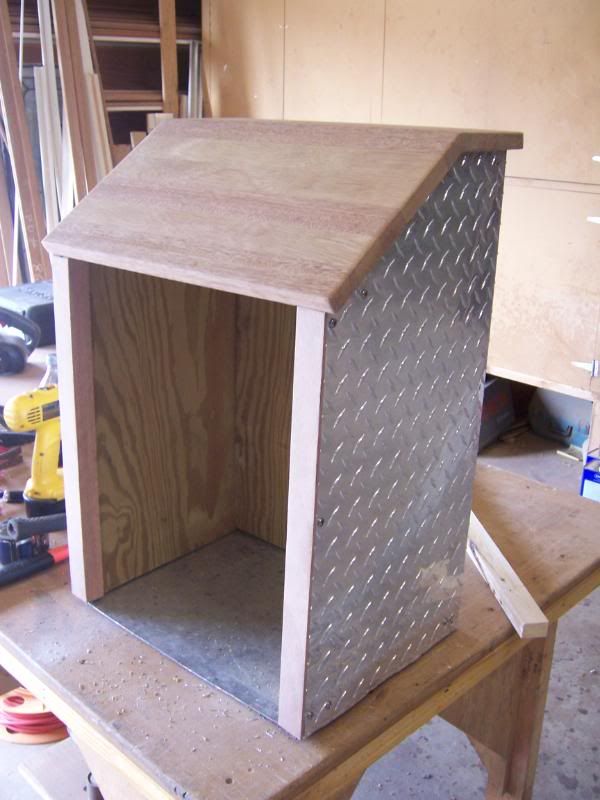
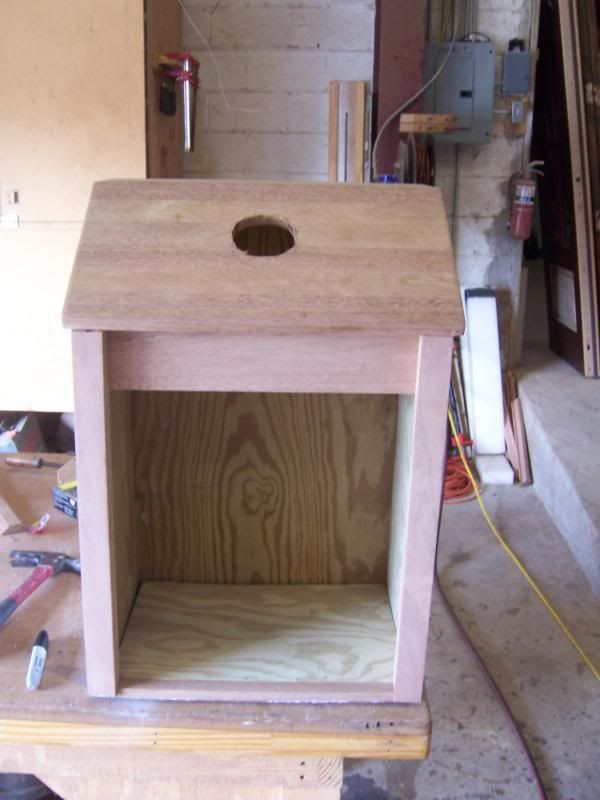
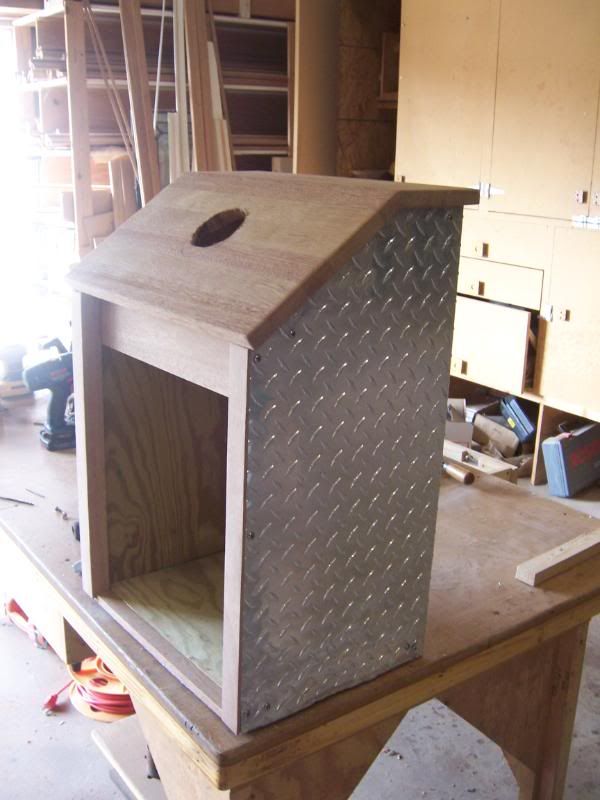
Finishing ( I used three coats of Jack Tar Marine Spar Varnish)
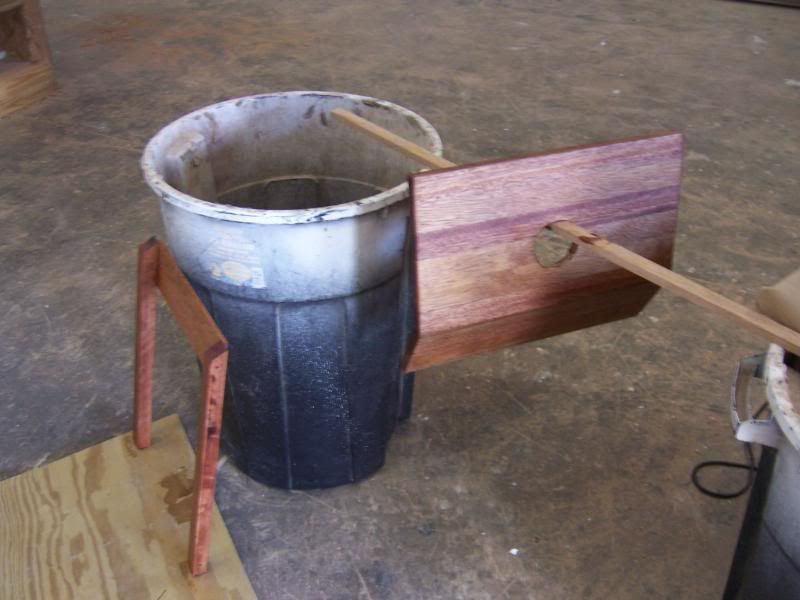
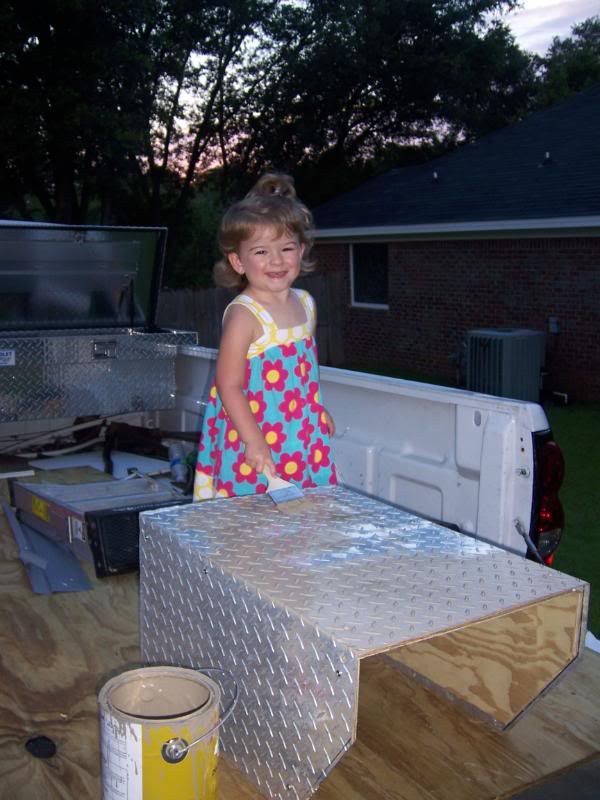
I had a little help with the painting. After all, according to her its her boat anyway. :mrgreen:
Finished Console
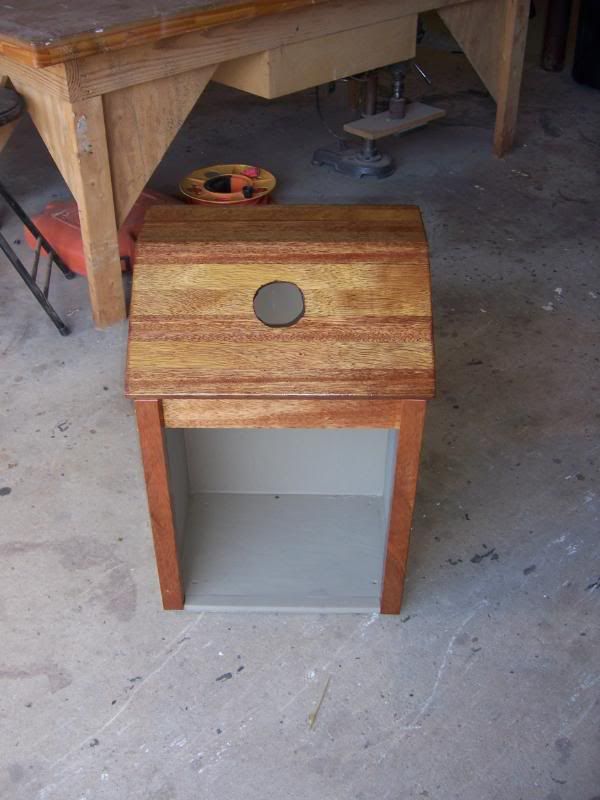
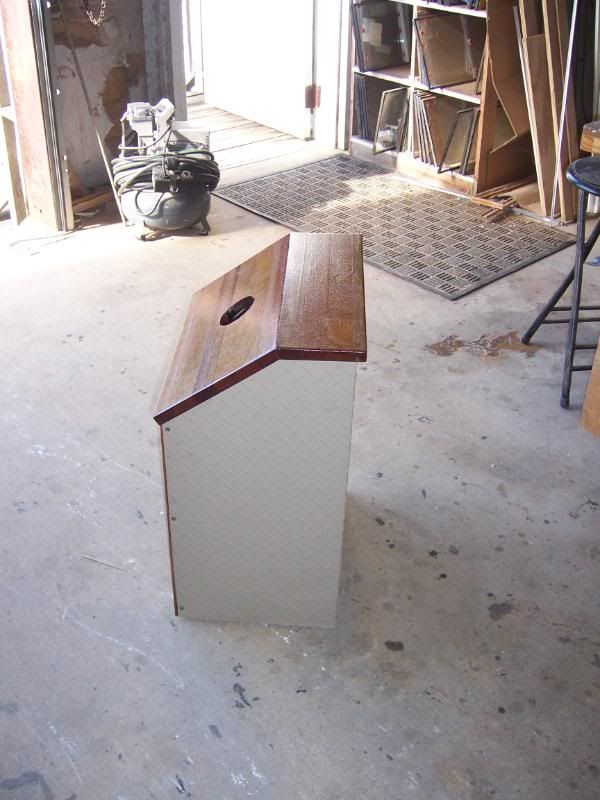
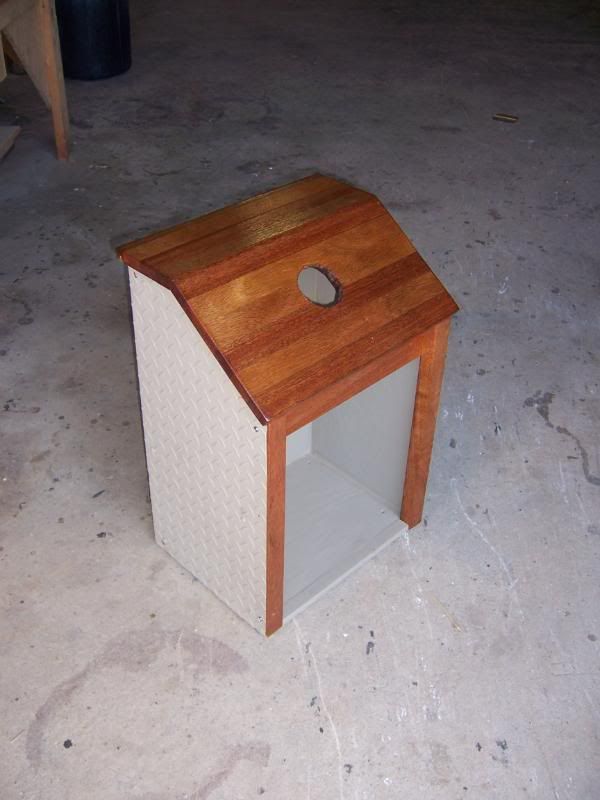
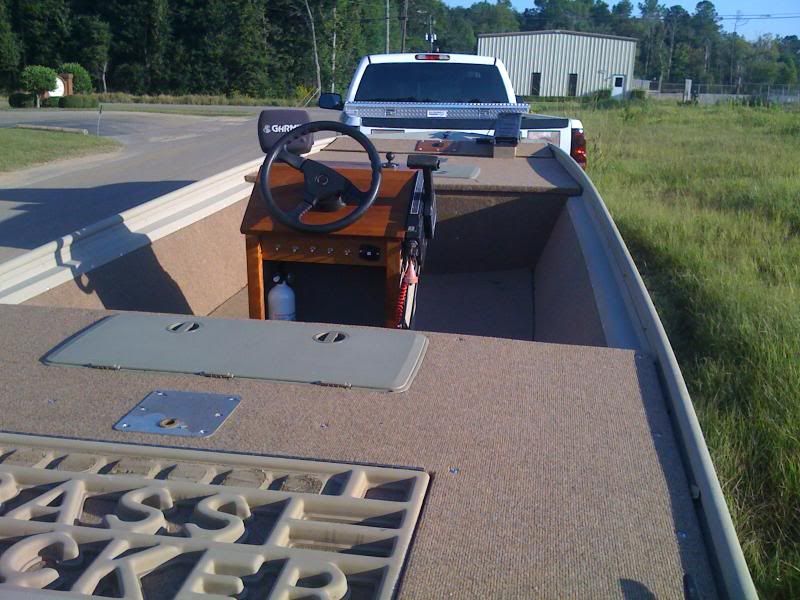
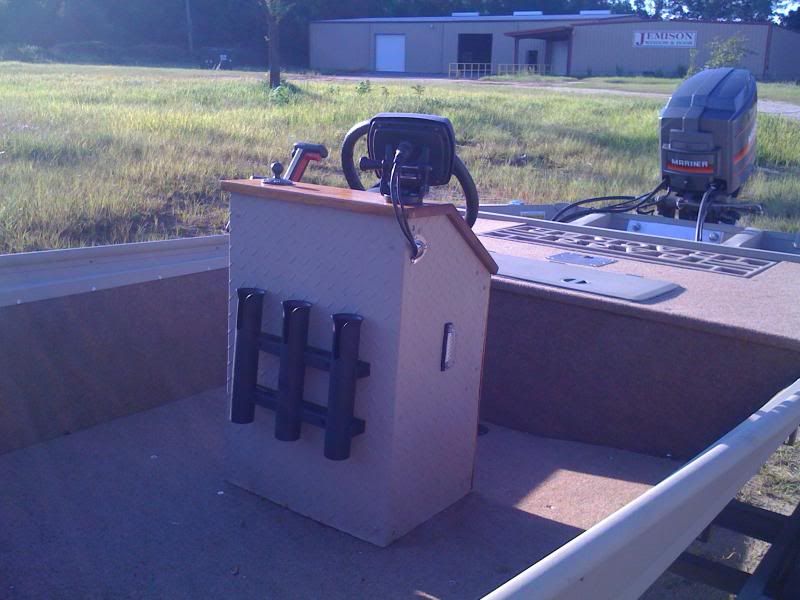
Completely finished and installed. I used 6) #12 SS screws that went through the console, floor, and into the ribs of the hull. So far so good, shes holding strong and is as stable as any center console I have seen in a tin, factory or not.
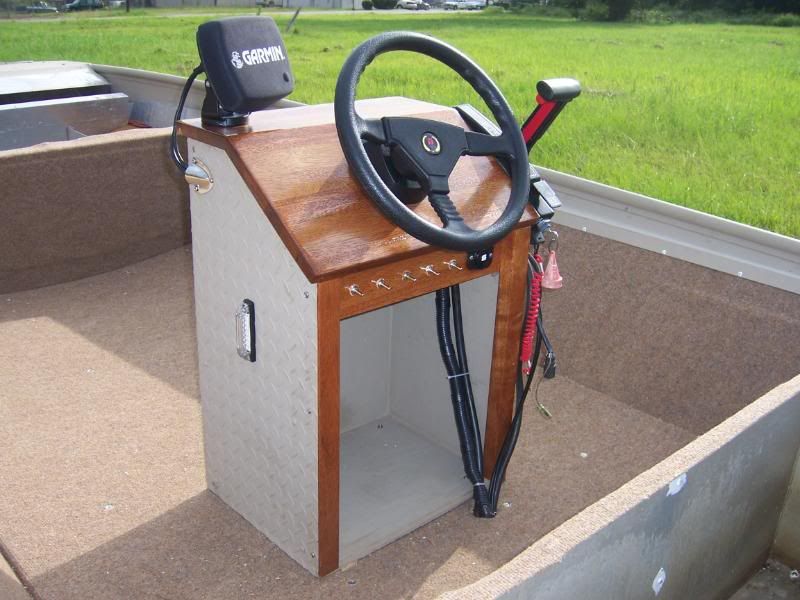
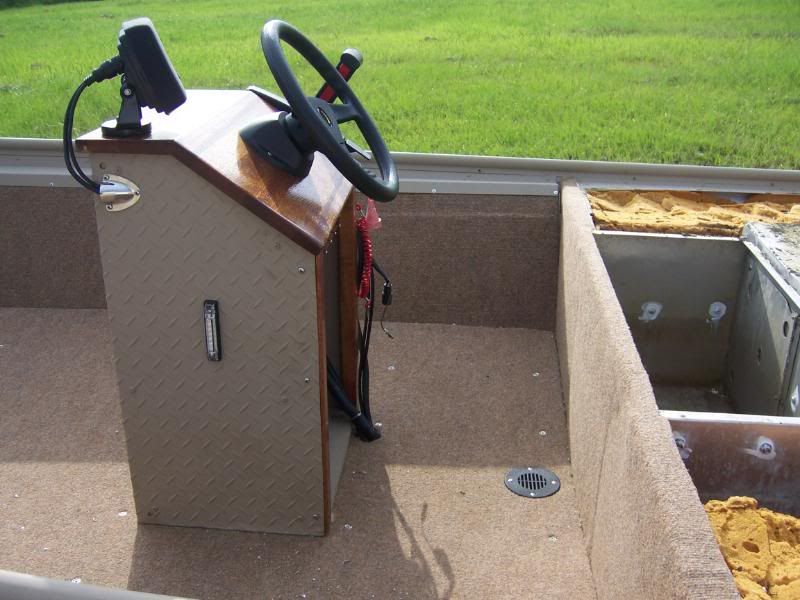
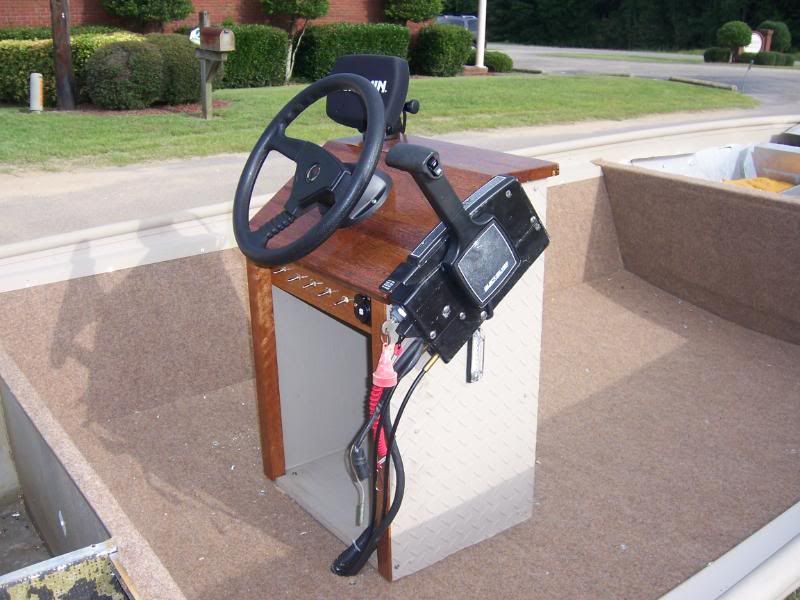
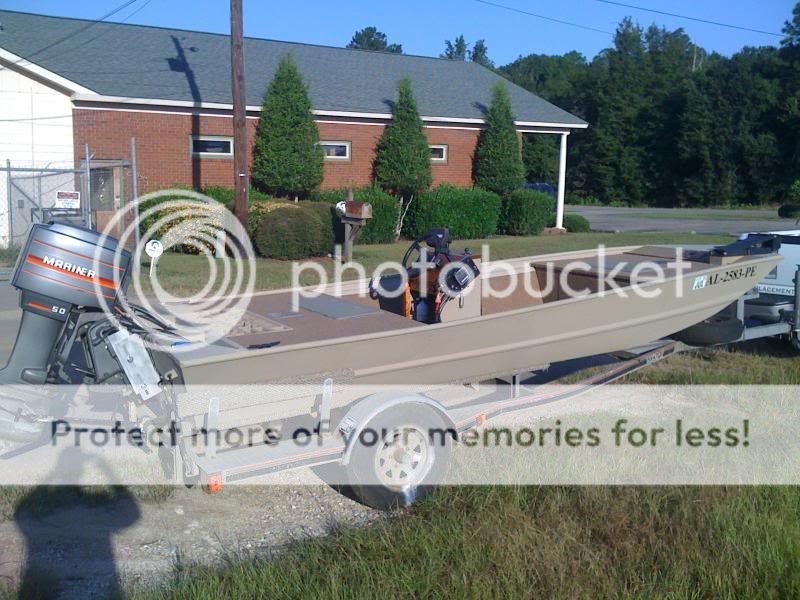
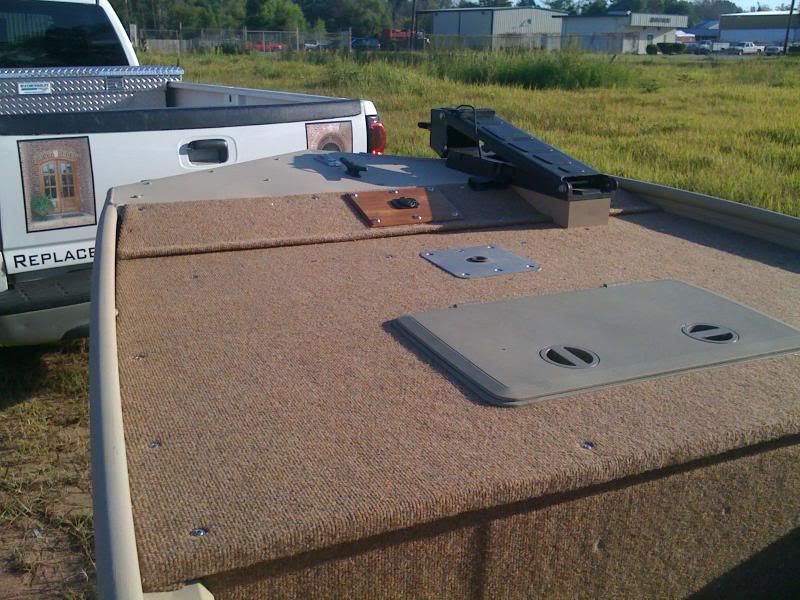
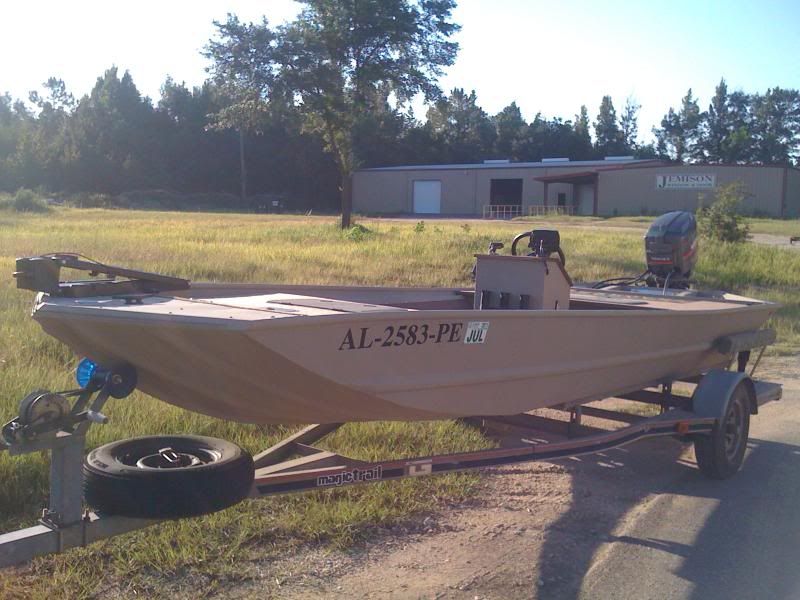
Complete build finished, I used the same Mah for the tolling motor plug up front as well. I had alot of fun with this build but the console was definitely my favorite part.

Out came the grider and within minutes I knew I had the perfect solution for my problem. I had to play with the measurements and angle a little to get it like I wanted but it was looking promising.


After it was all said and done and cleaned up a little.


Then came the issues of what to do for a top and how to strengthen the console for the beating and banging that it will receive. I am in a business that gives me access to alot of Mahogany so the top would be no problem. As for the strength I used 1/2" plywood to line the inside. The plywood is glued and srewed to the inside of the console.
As for making the top I used 1" x 1 1/2" pieces of Mah which I glued together then planed to 3/4" thick. Once planed I kerfed the edges to fit down over the alum portion of the console and attached with alum L-brackets.


Assembly


Finishing ( I used three coats of Jack Tar Marine Spar Varnish)

I had a little help with the painting. After all, according to her its her boat anyway. :mrgreen:

Finished Console


Completely finished and installed. I used 6) #12 SS screws that went through the console, floor, and into the ribs of the hull. So far so good, shes holding strong and is as stable as any center console I have seen in a tin, factory or not.


Complete build finished, I used the same Mah for the tolling motor plug up front as well. I had alot of fun with this build but the console was definitely my favorite part.


