Weldbilt 1752 build (Finally complete)

TinBoats.net

Help Support TinBoats.net:

This site may earn a commission from merchant affiliate links, including eBay, Amazon, and others.
OK folks, the boat is going to the fab shop Wednesday morning to have the trolling motor bracket made, and a bracket for my sacrificial anode, and transducer. I'm also going to have them make a new console since mine is pretty much toast. This will give me a chance to customize it to my needs.

Just got back from West Marine an hour or so ago. I had them order my Lowrance Elite-7 HDI Gold combo. It comes with the DSI transducer and the Navionics card. This unit retails for $869, but they misquoted me at $669, and I had a $100 gift card from my birthday, so I walked out of there with a smile on my face!
 
Got my water pressure gauge in, my quick release bracket, and my Lowrance Elite -7 waiting to go on. I also had some FL numbers custom made, but they don't exactly match the Weldbilt decal. They were free though, so if they don't work out, I'll rip them off and get new ones made.
 
Swank looking boat!

All the 16" deck extension with /without lids offered by Weldbilt are not water tight.

Where did you get the center console? Is it a Weldbilt?
 
Yes, the console is a Weldbilt console. No, it will ABSOLUTELY NOT be staying on the boat much longer. My plans are to have a custom console made by a local fabricator, similar to the console I have now, only a little shorter, add a shelf inside, and a seat in front of it with dry storage, because DrNip hit the nail on the head. Those compartments are not water tight, or even dry by any stretch of the imagination, despite putting silicone around all inside edges. Water still gets in there from the front deck and runs down the strakes along the bottom. It's a good idea if you're storing an anchor, or fuel tank.

WOW! A light bulb just came on above my head. I can move my two 6 gallon gas tanks up front to the storage compartment, and move my batteries into the console when I get the new one. Hmmm...I think I'm on to something.
 
Yeah for the price of that extension you think they would have gone the extra step to make it water tight.
 
OK...I'm not sure if I posted, but the weekend before last I got the trolling motor mounted. It turned out great and MAN this thing rocks. It takes a little getting used to, but totally worth every penny...except when you go to drop the motor over the bow and realize you left the remote back in the truck. Guilty as charged.


The install was a piece of cake. Ran the fish tape through the hole, and into the channel that goes down the side of the boat, which was a one in a million shot. Pulled my wires through, mounted the circuit breaker and drilled the holes for the motor. I didn't paint the bracket because I knew the motor was coming off when I got the quick release plate.

So today, my goal was to pull the motor, mount the quick release plate, and install the fish finder. I forgot my trusty rusty fish tape at work so no fish finder. I have to find time to do that next week before I head south for vacation. Off to work I went on the quick release plate. It took me a minute to figure out the logistics, and how it worked. Where are the instructions you ask? I threw them away...who needs instructions anyway. I didn't get any pics of the process today, because quite frankly, I was tired after a long week, and working out in the sun. The ONLY day we haven't had rain in weeks it seems like..awesome.


got the plate done in no time, and also remembered I had stainless fittings for my fuel water separator so I threw those on while waiting for the paint to dry.


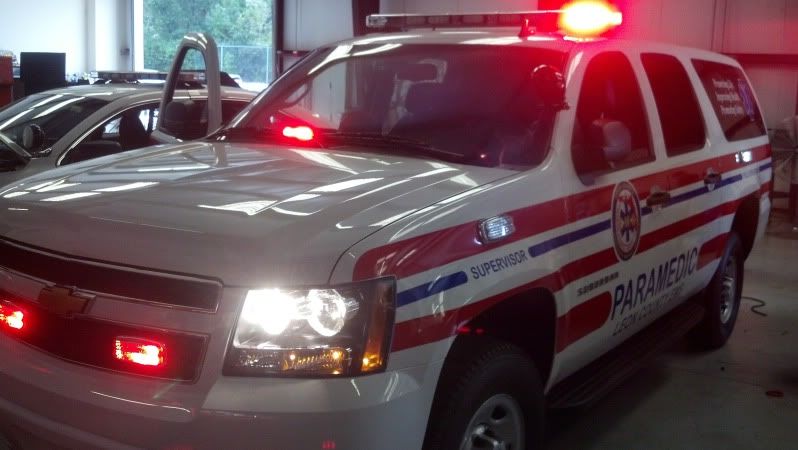
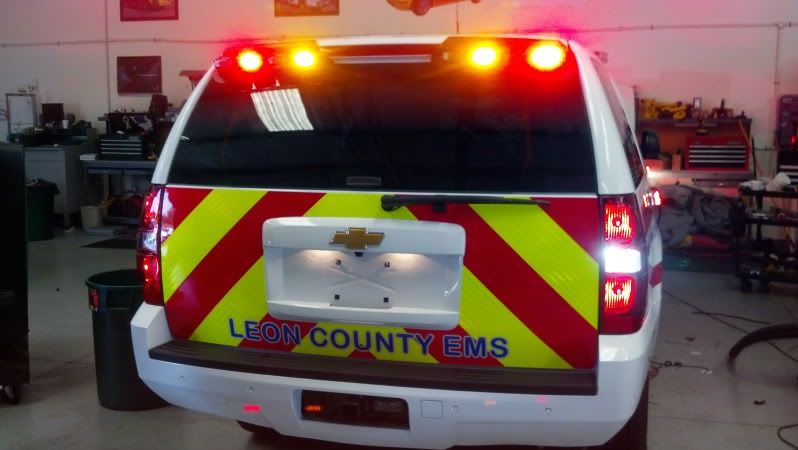
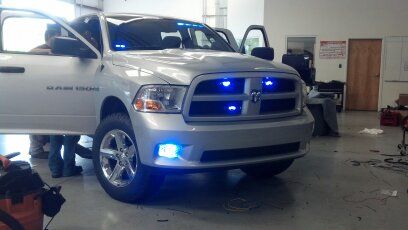
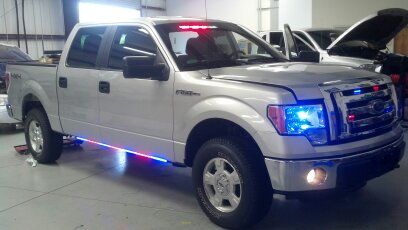
I thought some of you guys might find the interesting. These are the vehicles I helped build this week. I was stuck on the suburban most of the week, and helped the other guys outfit the two undercover trucks.


The decal kit from outboarddecals.com came in today. My first impression was that something seemed a little off about the decals, but I couldn't put my finger on it because I didn't have the engine there to compare.

After work I got together for dinner with my parents one last time before they move to Tennessee. I got started on the decals about 8:45 and finished up right around 10:30. It didn't take long to notice the difference in color scheme between the original decals and the new ones. The "EVINRUDE" and the "40" on the back were also larger than the originals. I got on google and found that there are a couple different color schemes for the saltwater ETECs. I would rather have kept the same color decals, but the new ones were ok with me, plus they were in WAY better shape, so on they went. here are some before and afters.

before

after


before

after

The kit also came with an extra "EVINRUDE" and two "BRP" decals, in addition to a couple of "SALTWATER EDITION" decals. Mine didn't have "SALTWATER EDITION" decals, but a quick google check returned some pics of the larger engines with these decals. So I threw them on in the same place as the larger engines.
 
Despite needing a console in the near future, I went ahead and installed the Elite 7 HDI. Took it for a spin at Lake Iamonia and was really impressed! I do need to fine tune the settings and the transducer. At speeds over 10 mph I lose my picture.

IMG_20130731_190434_087_zpsf033101a.jpg


IMG_20130731_190510_246_zpsfa213250.jpg


IMG_20130801_230623_810_zps2771027c.jpg


IMG_20130801_230423_863_zps2b0bb217.jpg
 
Is that an aftermarket transducer mount or did it come from the manufacturer? Also what is the fresh unpainted weld in the first pic to the left side?
 
I reckon I'll revive this thread, seeing how I'm still dealing with the same boat.

Not much progress since I got the boat back, but I do wanna show off the leaning post I got. Paid $447 with the cushion, which saved me a good $300 versus having one custom made, and having it upholstered. I got this from a marine surplus warehouse in Ft. Pierce, FL.


And with the cushion.
 
Update: I got some paint stripped today. As most of you know, it's not fun. I'm using a paint stripping gel, a coarse scotchbrite pad, and a wire wheel.

When I was finished stripping for the night, I put the console in the boat and mocked up the leaning post. I think the G3 console I have is a little too wide. At 25" it only leaves about 8" on either side to scoot by. So...I moved it over. I've seen a lot of "offset" consoles on skiffs down here, but I'm not sure how I feel about this...thoughts?


mbweimar said:
OK fellas, here's a better pic of the nav lights. These things are BRIGHT AS HELL! Didn't realize they were 2nm lights, but oh well.


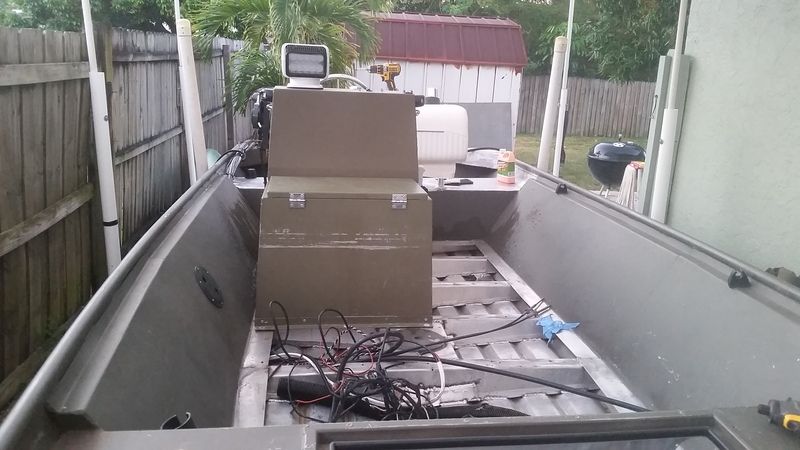
While I was wiring the console I noticed some stress cracks in the corners on the bottom...perfect timing! All that work for nothing. I'll be replacing this cheap-o console with one that is custom made to my liking.


Might want to move your nav lights to the bow to avoid light reflecting back off the boat. Makes it harder to see at night.
 
RBO, I'm definitely redoing the nav lights. I'll be selling these, and mounting surface mount lights on the bow.
 
Update: Scraping paint sucks. I've got 75% of the paint stripped from the inside and sides. Haven't touched the bottom yet.


Right now I'm looking for a fabricator to do a couple things before I start painting. First, I need the transom beefed up a little, just for peace of mind. Second, there's a small crack in the keel that Weldbilt painted right over, and I really want to extend the bench seat forward about 12" to mount the leaning post further forward.
 

Latest posts

Top