alanbird_87
Well-known member
Very very nice boat!!! I also have a 1972 Monark 15ft V-hull. Check it out, just got it so hope to start modding. Its on pg 13 of the modifications section.


alanbird_87 said:Very very nice boat!!! I also have a 1972 Monark 15ft V-hull. Check it out, just got it so hope to start modding. Its on pg 13 of the modifications section.
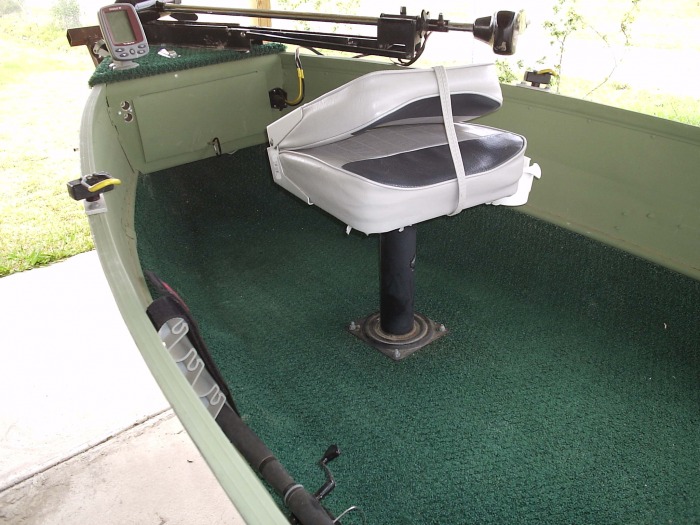
ober51 said:Anyone have pictures of their trolling motor plug set up? Rather than going under the front casting deck to connect and disconnect the leads I bought a plug to wire up. I know how to wire up the plug, but where do you have your plug? I am thinking above my right hatch?


ober51 said:Thanks, Hef. Looks good. I am trying to see where I can put the thing - do you have an inline fuse?
I know it calls for one but I've never used one.
Henry Hefner said:ober51 said:Thanks, Hef. Looks good. I am trying to see where I can put the thing - do you have an inline fuse?
I know it calls for one but I've never used one.
Yes, all my wiring is fused. Fuses are very important. Have you ever seen someone hook up jumper cables wrong? Or accidentally arc between battery poles? These batteries store a huge amount of power. If a short occurred (such as a sharp object cutting through your wires) your unfused wiring could suddenly become hot enough to melt off all insulation and catch any flammables on fire. Now, if these wires are already fused next to the battery, then you do not need to fuse it again close to the motor.
kriegersa said:Hey man i just got finished reading all 21 pages its now...1:15 am and i got a 8am class... :shock: :shock: ](*,) lol, but just wanted to let you know that I will probably be coping you on your design. approx. how much did it cost you? and how long did it take you to fix up the whole thing?
ober51 said:Just went over to Advanced Auto and bought some Tal-Strip, heard good things about it. I want to strip the bottom portion of the hull to apply steel flex to a completely bare surface. As for the rest of the hull, elbow grease should do it - just going to scuff it up well, prime and paint.
Troutman3000 said:ober51 said:Just went over to Advanced Auto and bought some Tal-Strip, heard good things about it. I want to strip the bottom portion of the hull to apply steel flex to a completely bare surface. As for the rest of the hull, elbow grease should do it - just going to scuff it up well, prime and paint.
Wire wheel is the best for steel flex, it really adheres well to the bare really roughed up alluminum.
perchin said:Right on man........ Glad to see it go to good use :wink:


