1984 16' Bass Attacker Complete Rebuild

TinBoats.net

Help Support TinBoats.net:

This site may earn a commission from merchant affiliate links, including eBay, Amazon, and others.
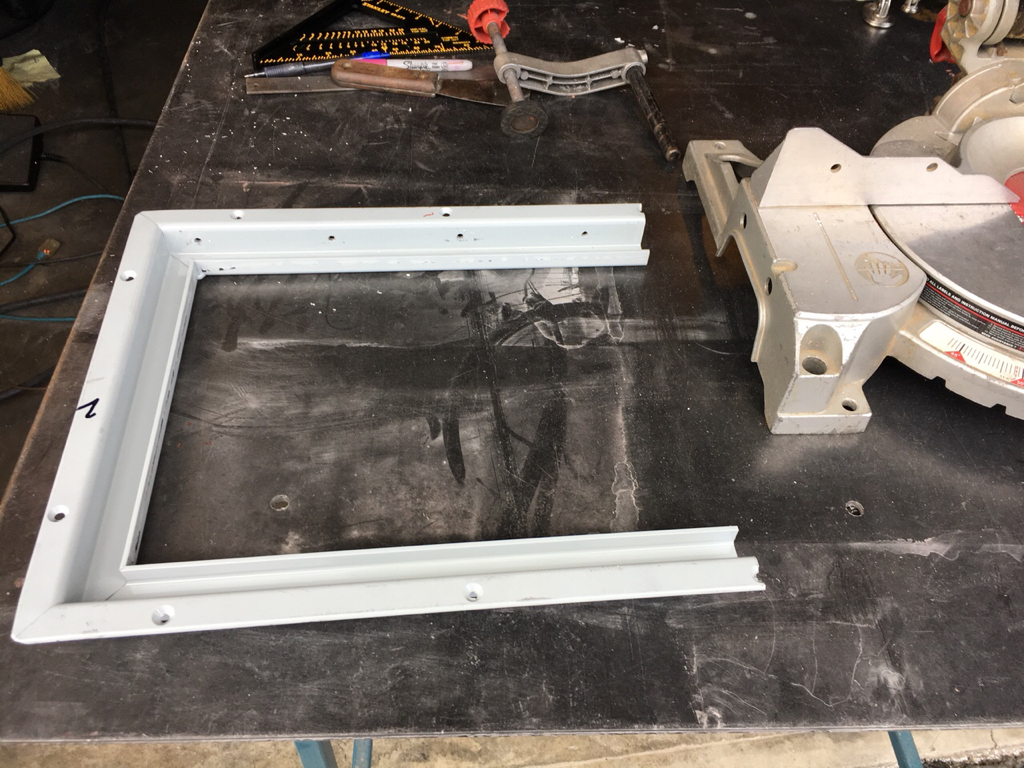
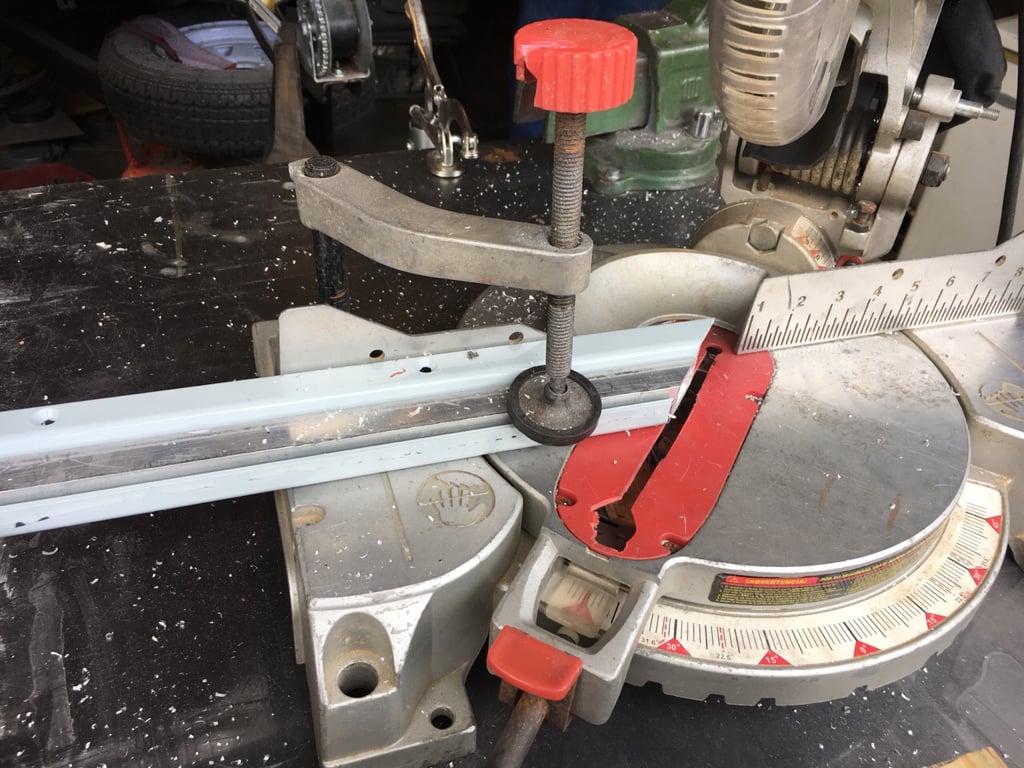
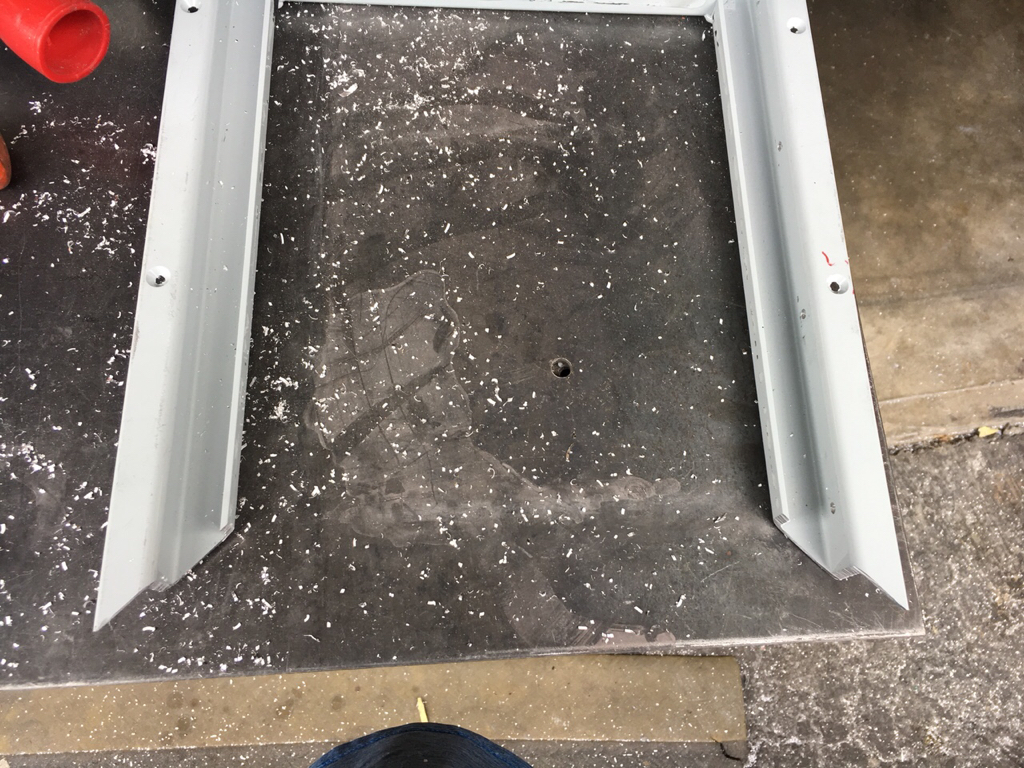
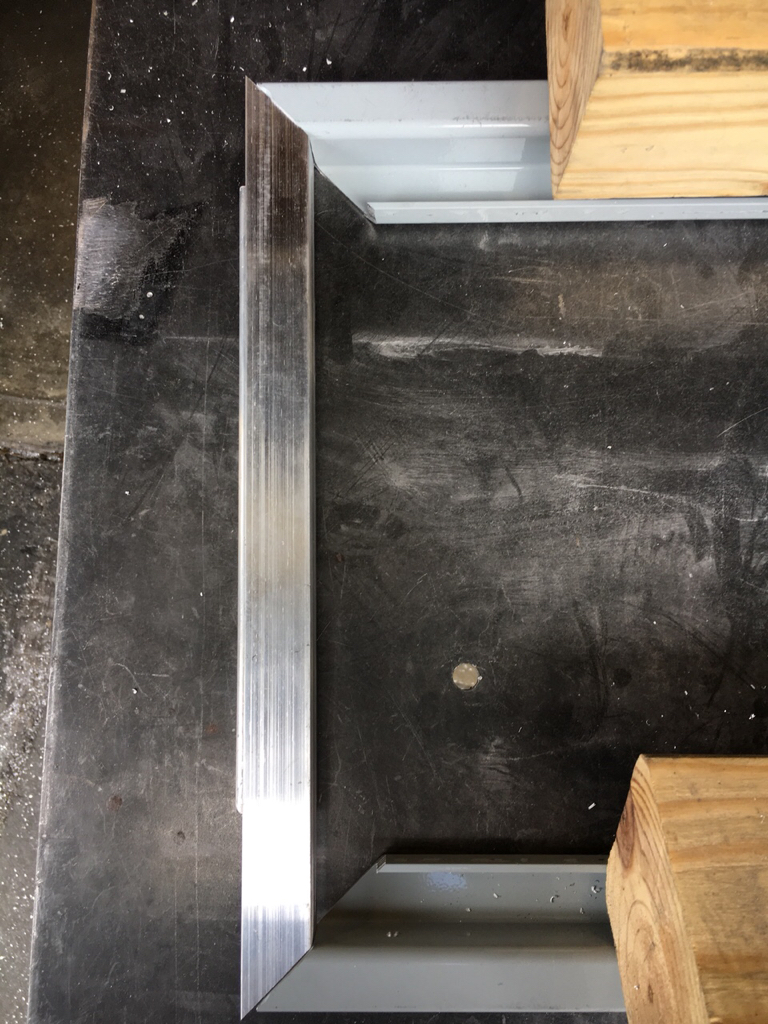
More compartment lid fabrication and fitment
7c2a1378545a5ac9bc6bcbc0caf23761.jpg

2272a06cb313947a9be08794fa21fa91.jpg

431f1529394260f14b9b9d439e45a04b.jpg

4e94dcaff3b045256411ece3a349949d.jpg

bc12b23cc414b70153b9ab1fd5409132.jpg

00b1e77f9360dd3755ac72f0d783f435.jpg

b34faf791317d257bd91016735ba3c21.jpg

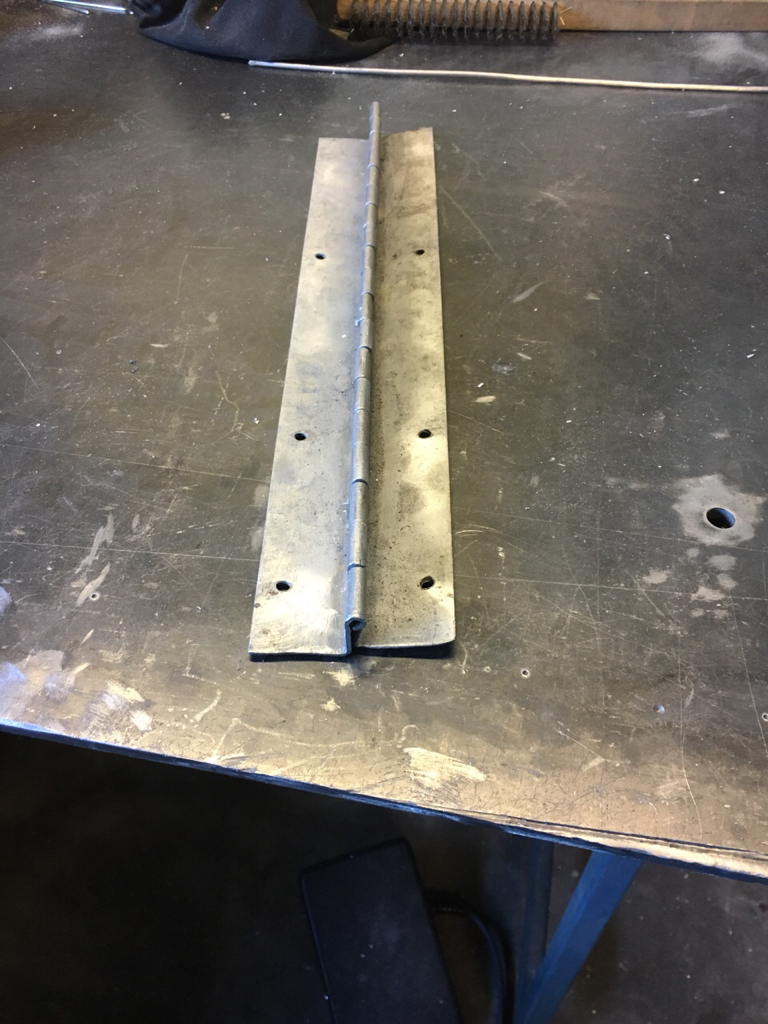
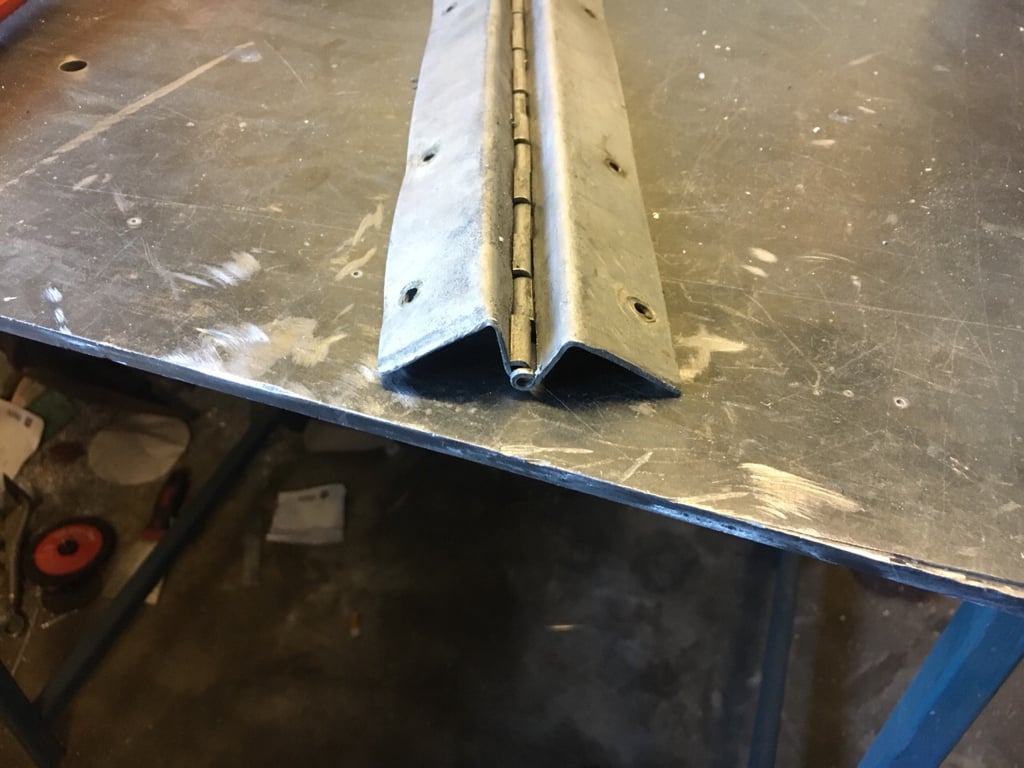
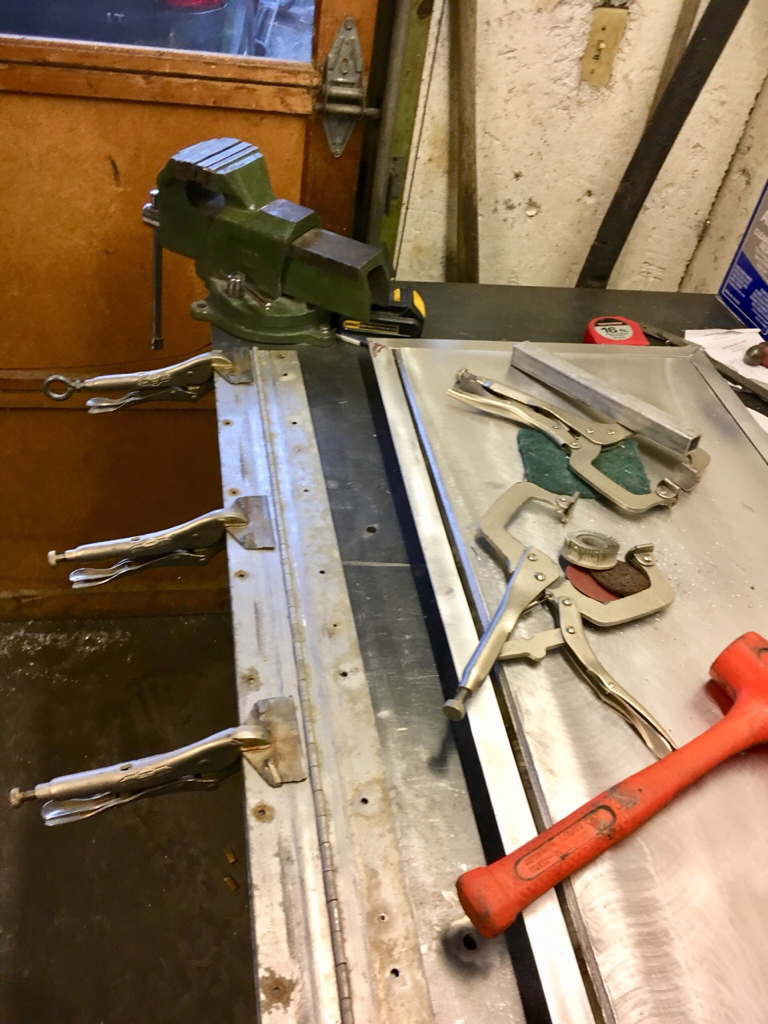
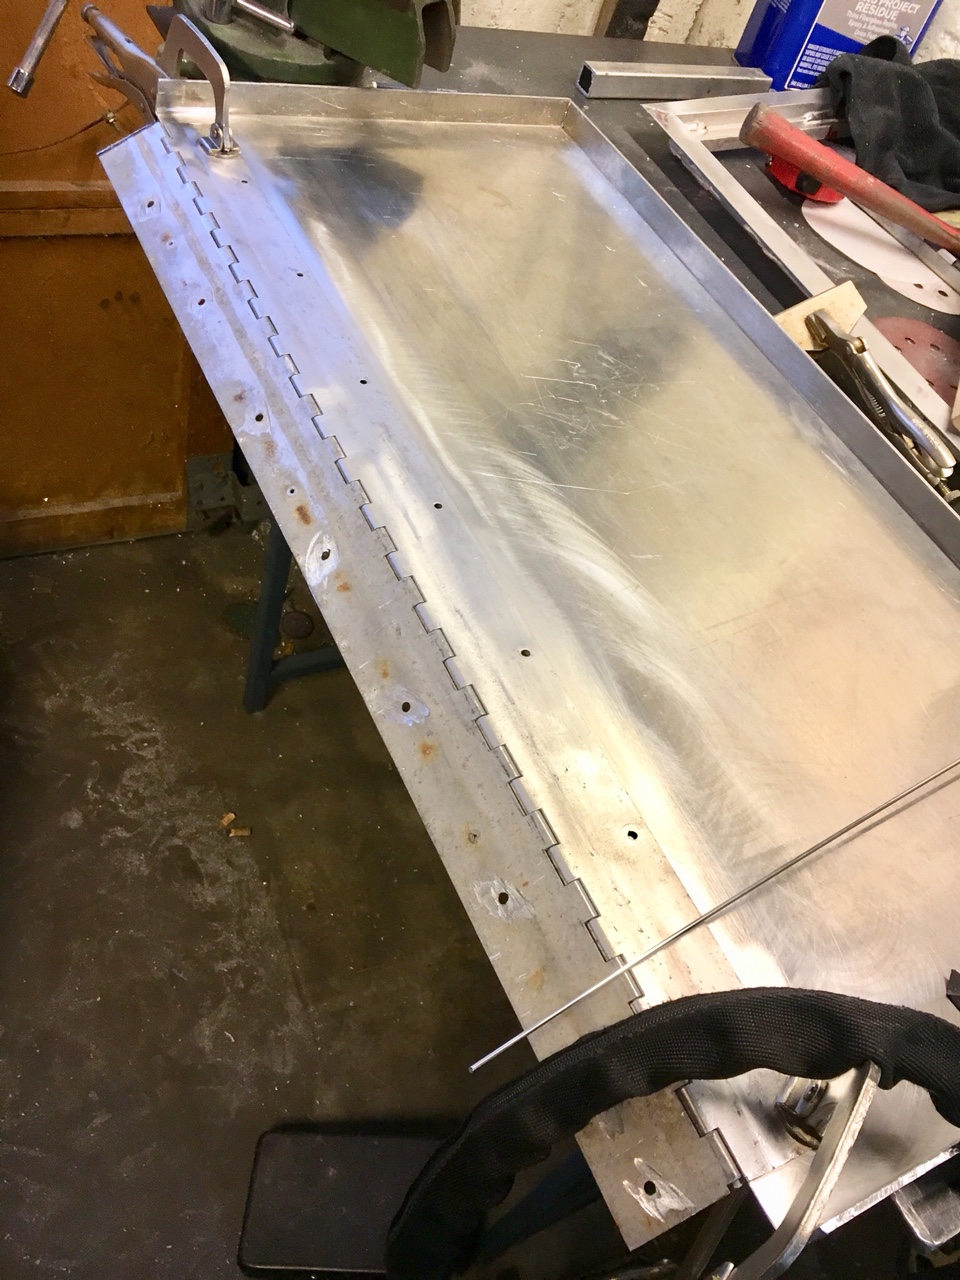
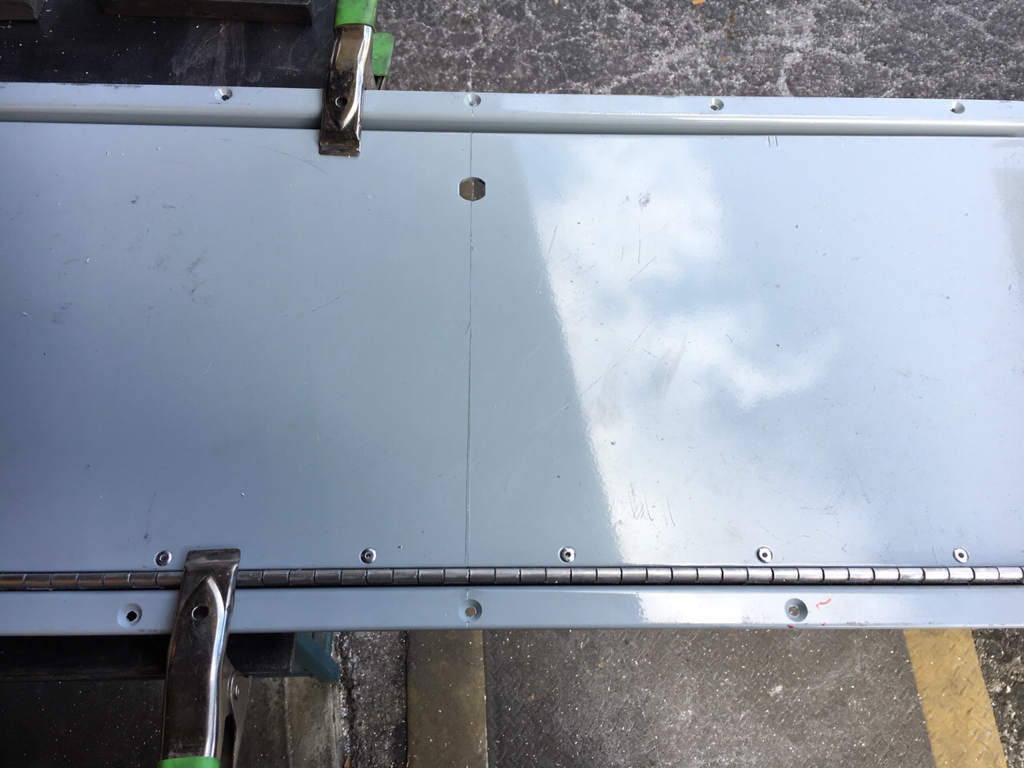
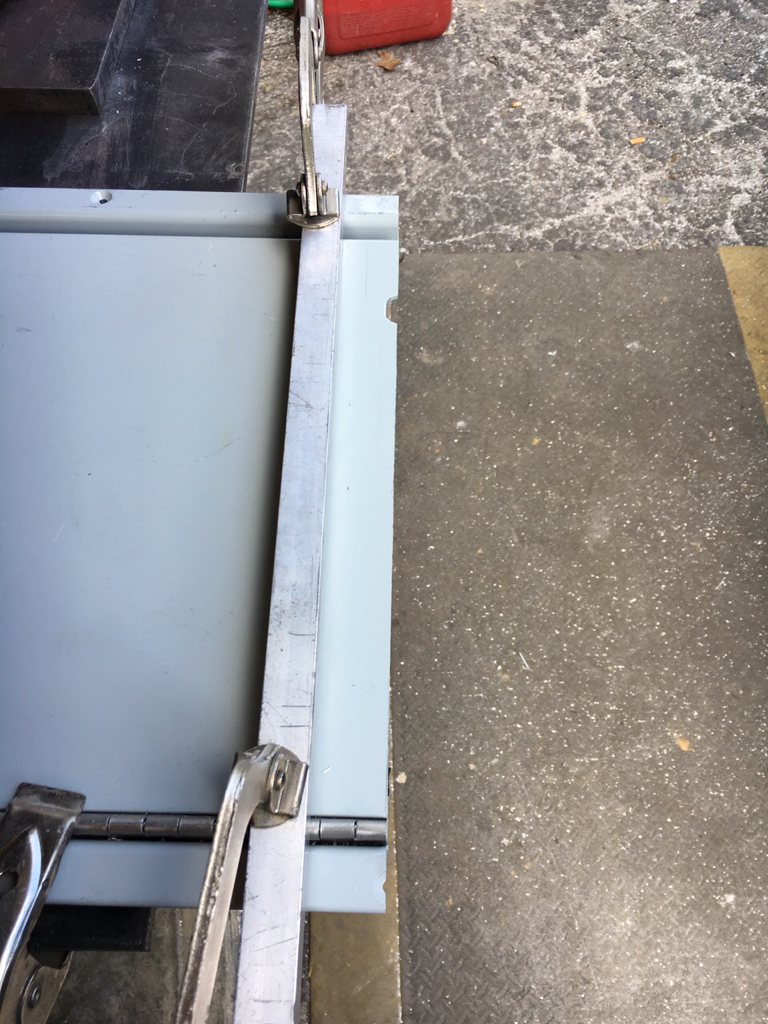
Had to modify the original hinges that were used in the 5/8 plywood deck, they were originally 2 L brackets with the Hinge between them.
3f0c0520b42a6893948859c63bc90ea6.jpg

2679cbb551ca8da2f6fdb03f167837ee.jpg

After some “tweaking” they are now useful [emoji6]
374fae428a939917e72480a9a4d733ed.jpg

7fddc02e5ecfe8bd74755379a8107194.jpg

aa00328cdec347aea259dd313ea14a0d.jpg

Gonna start on the dry box inserts tomorrow and finish up the built in cooler fabrication. Thanks for hanging out with me on this epic adventure.
 
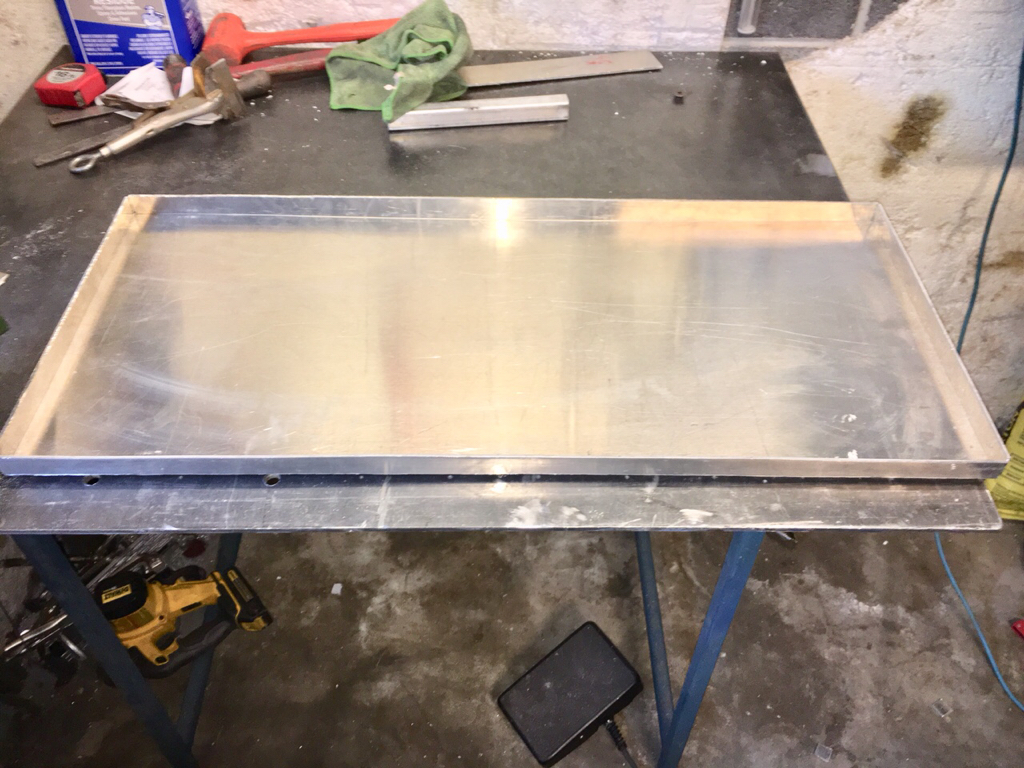
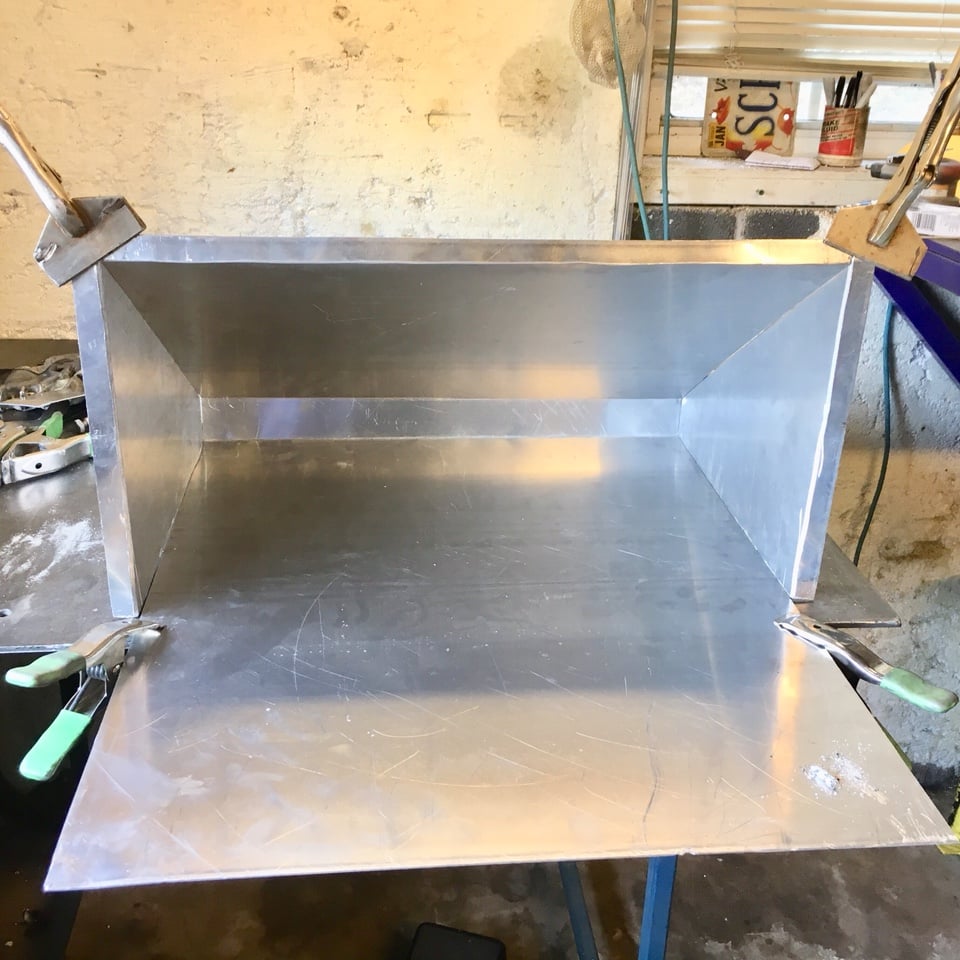
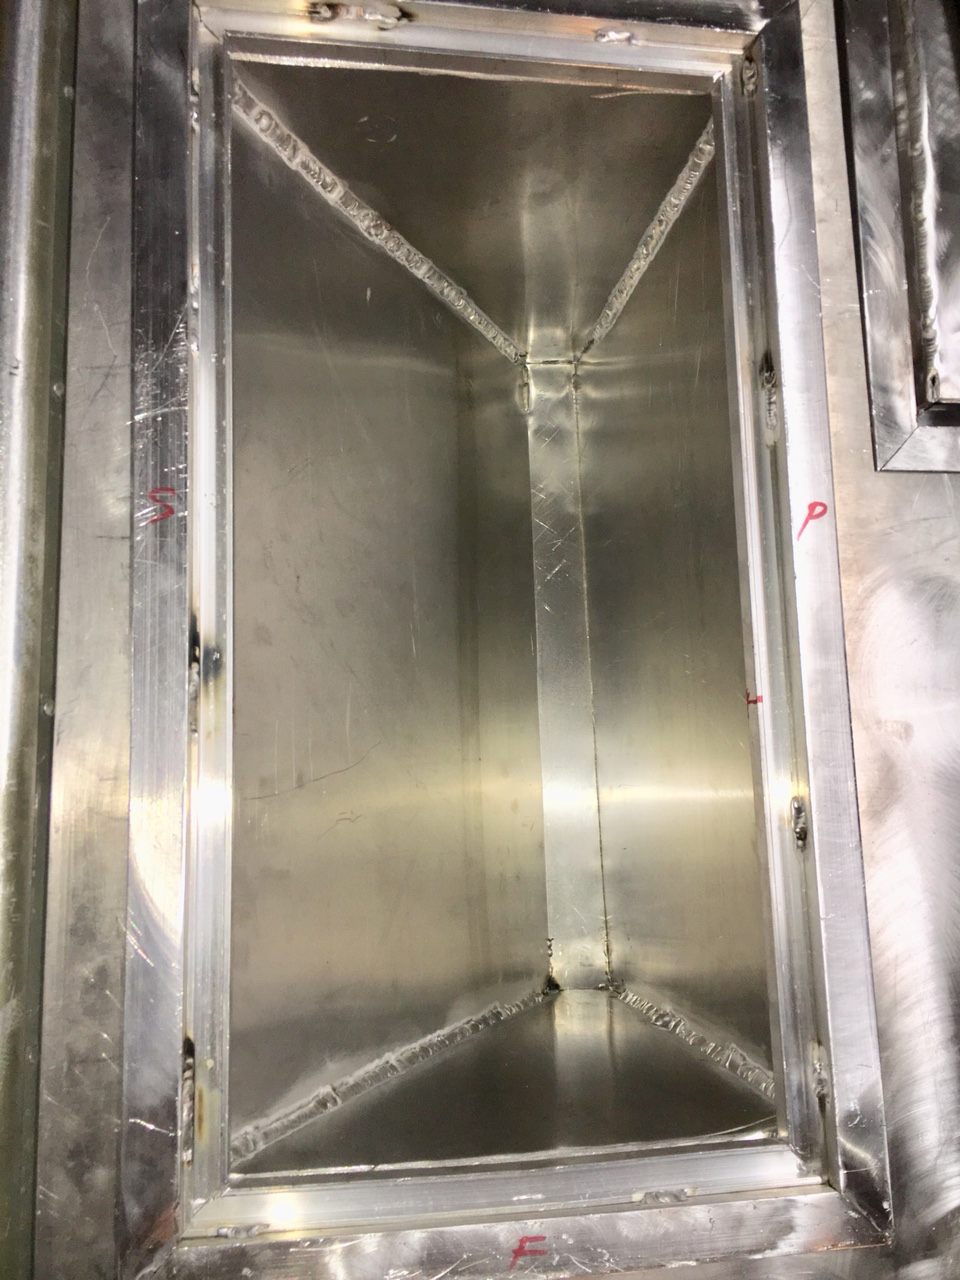
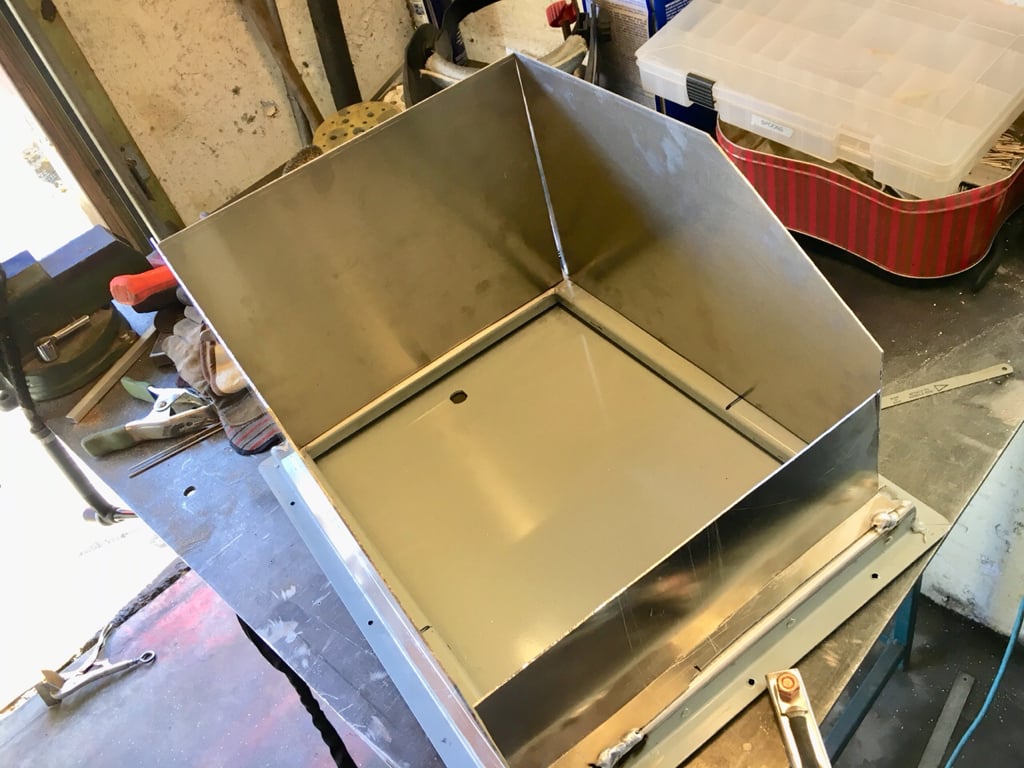
Dry box insert first try went very well and couldn’t be happier if I won the power ball lol.
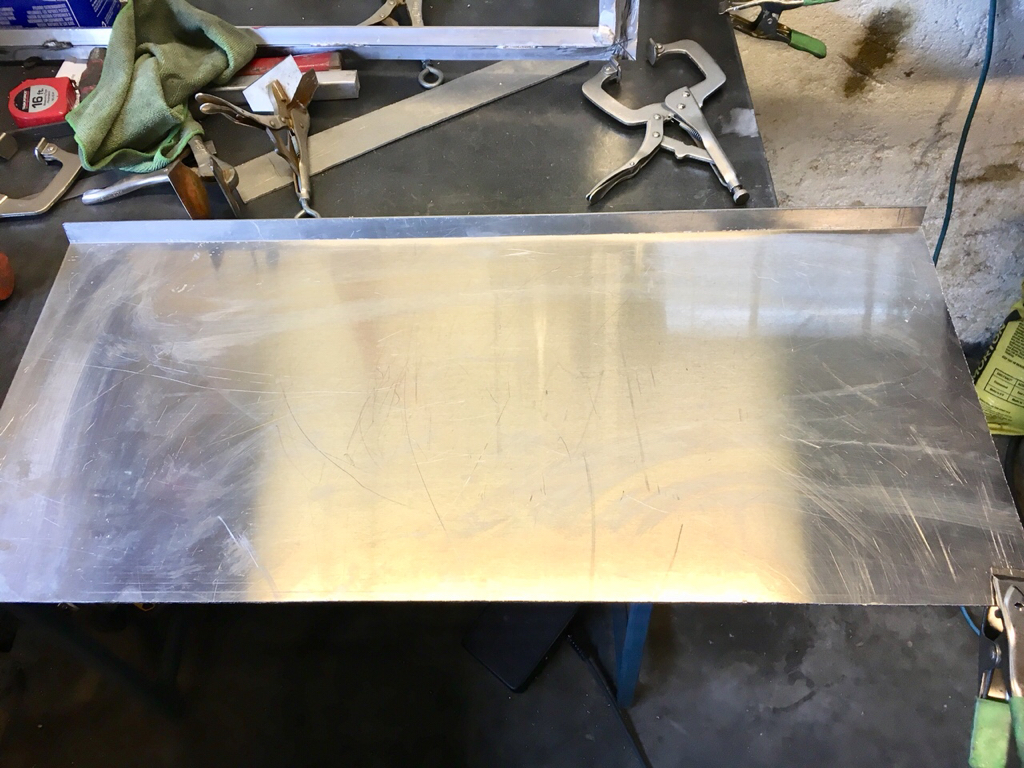
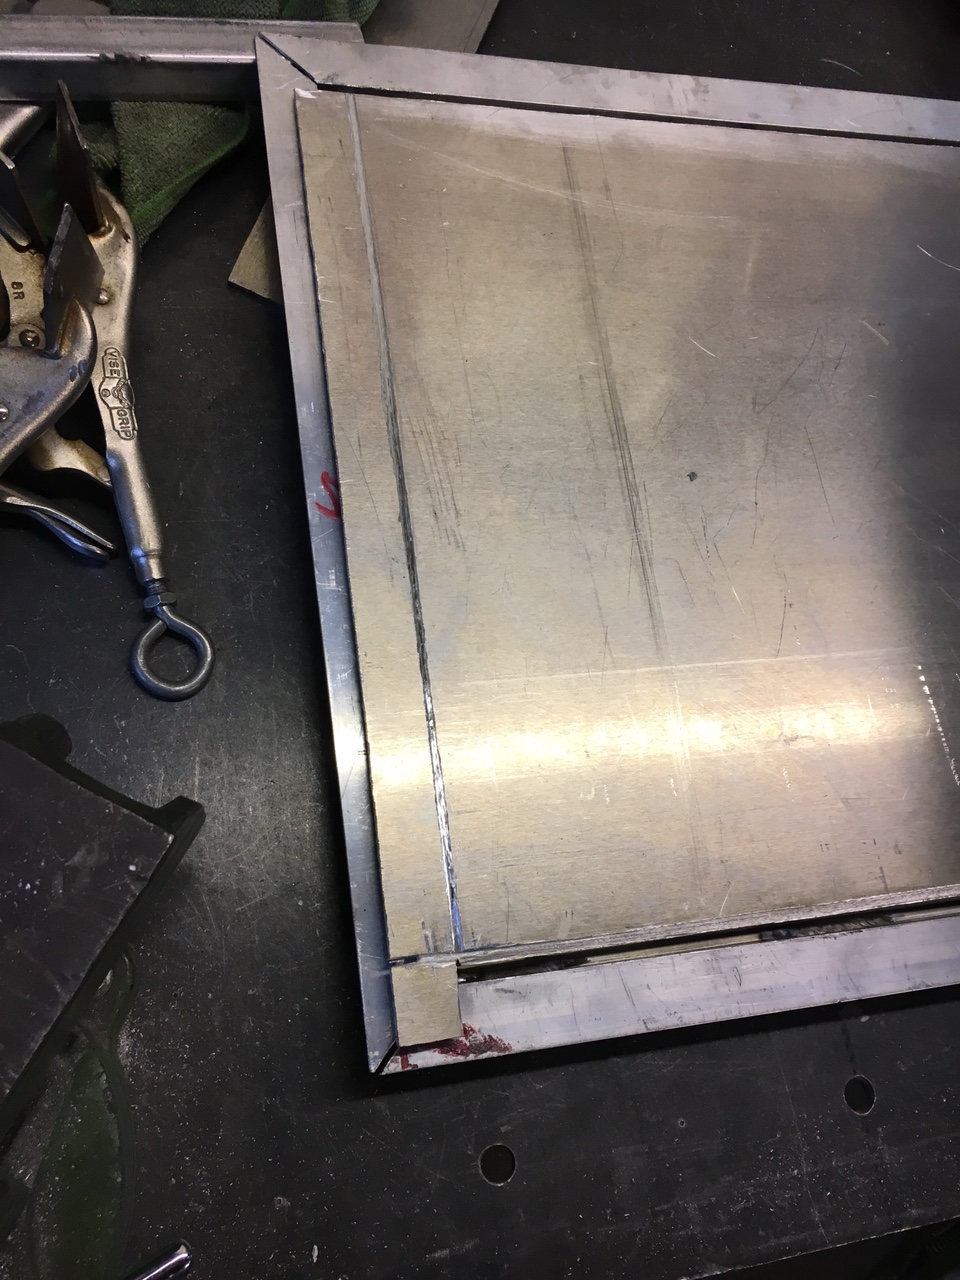
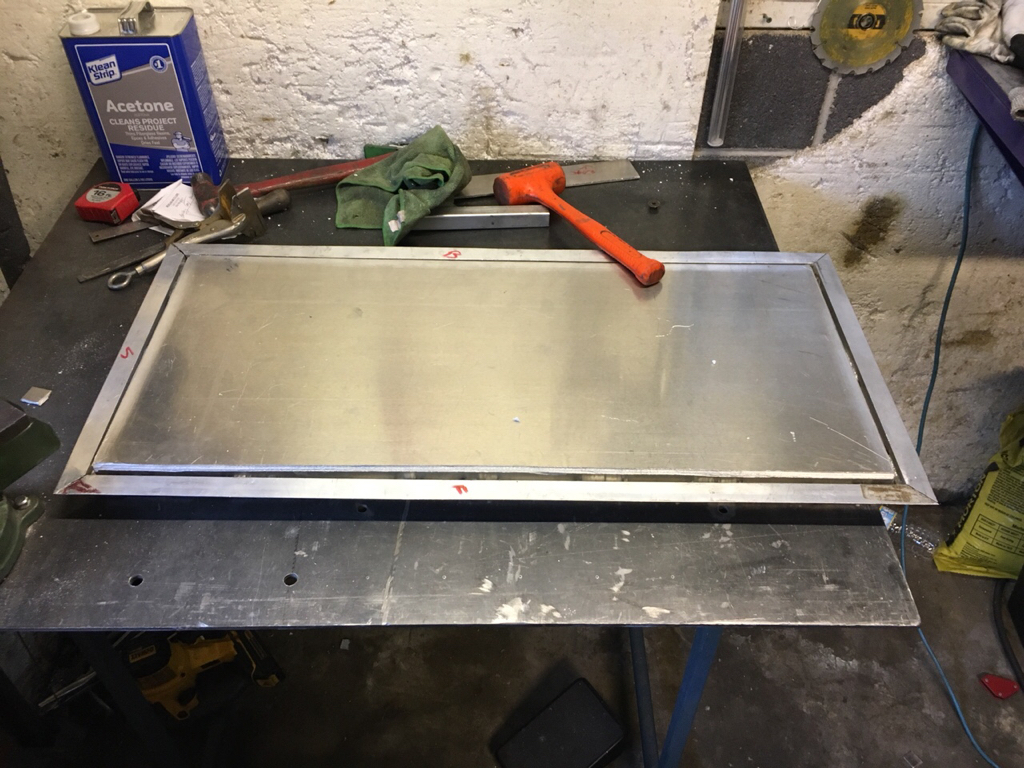
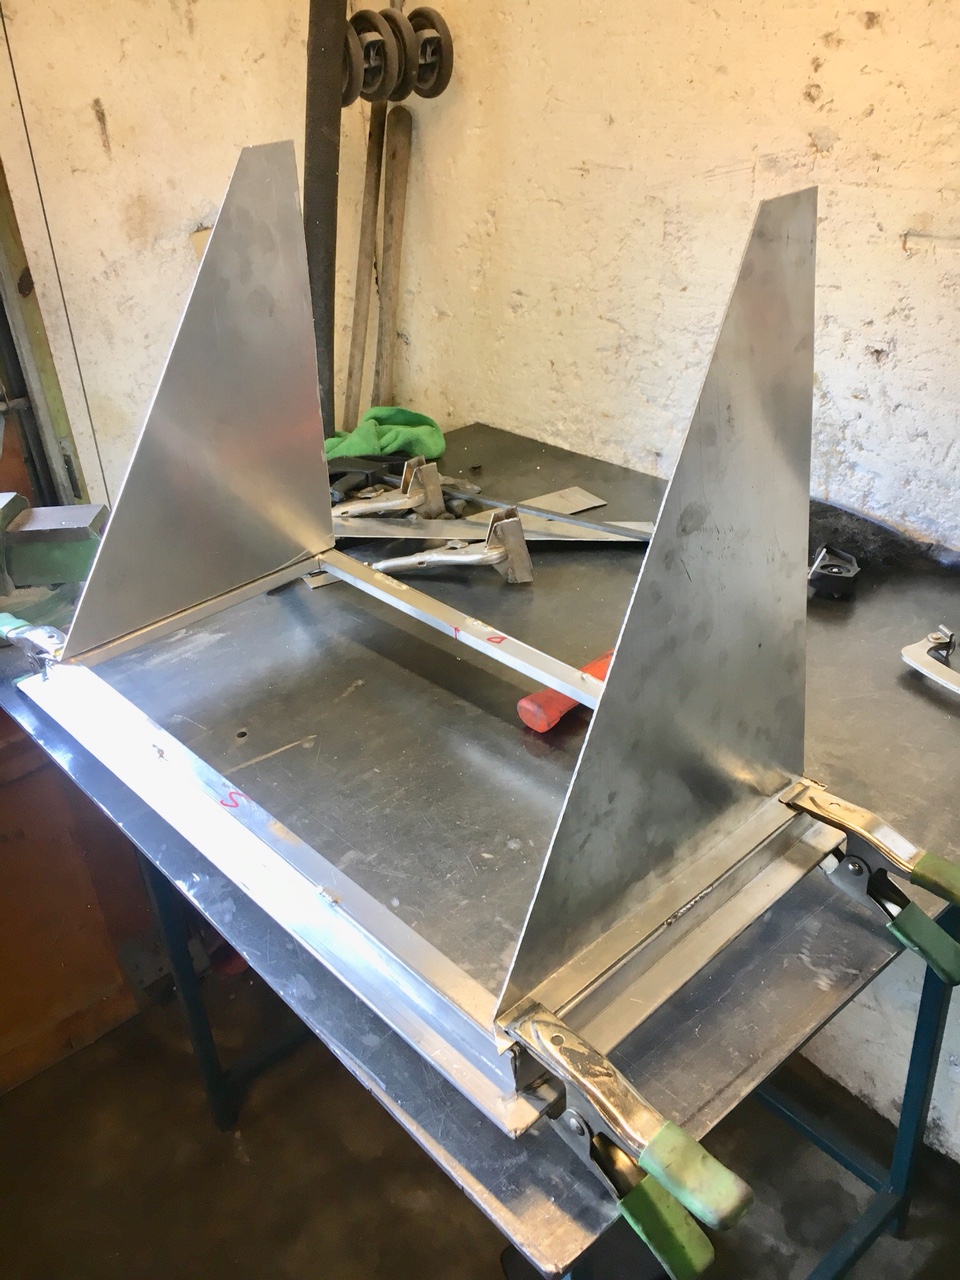
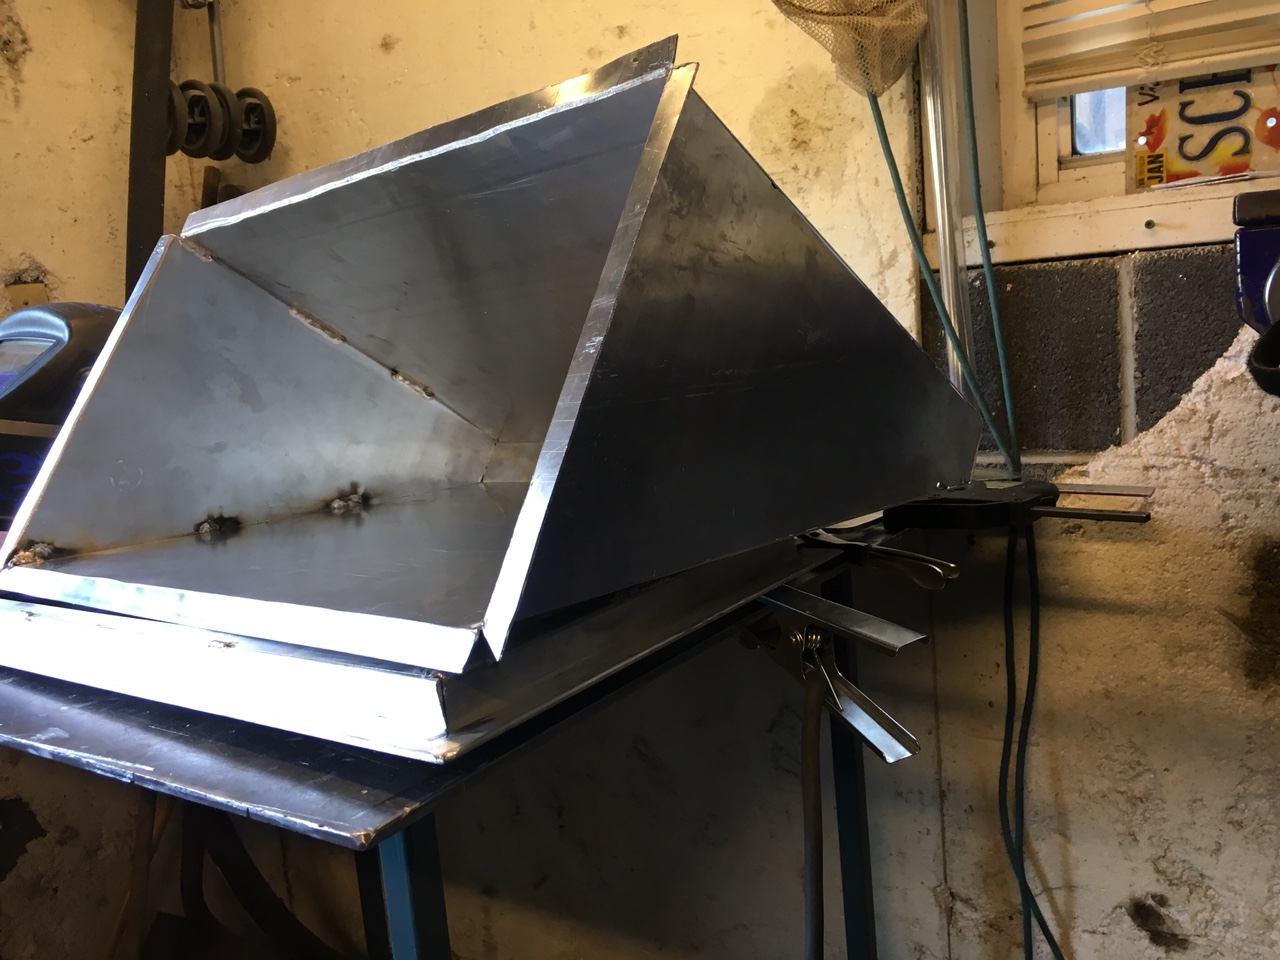
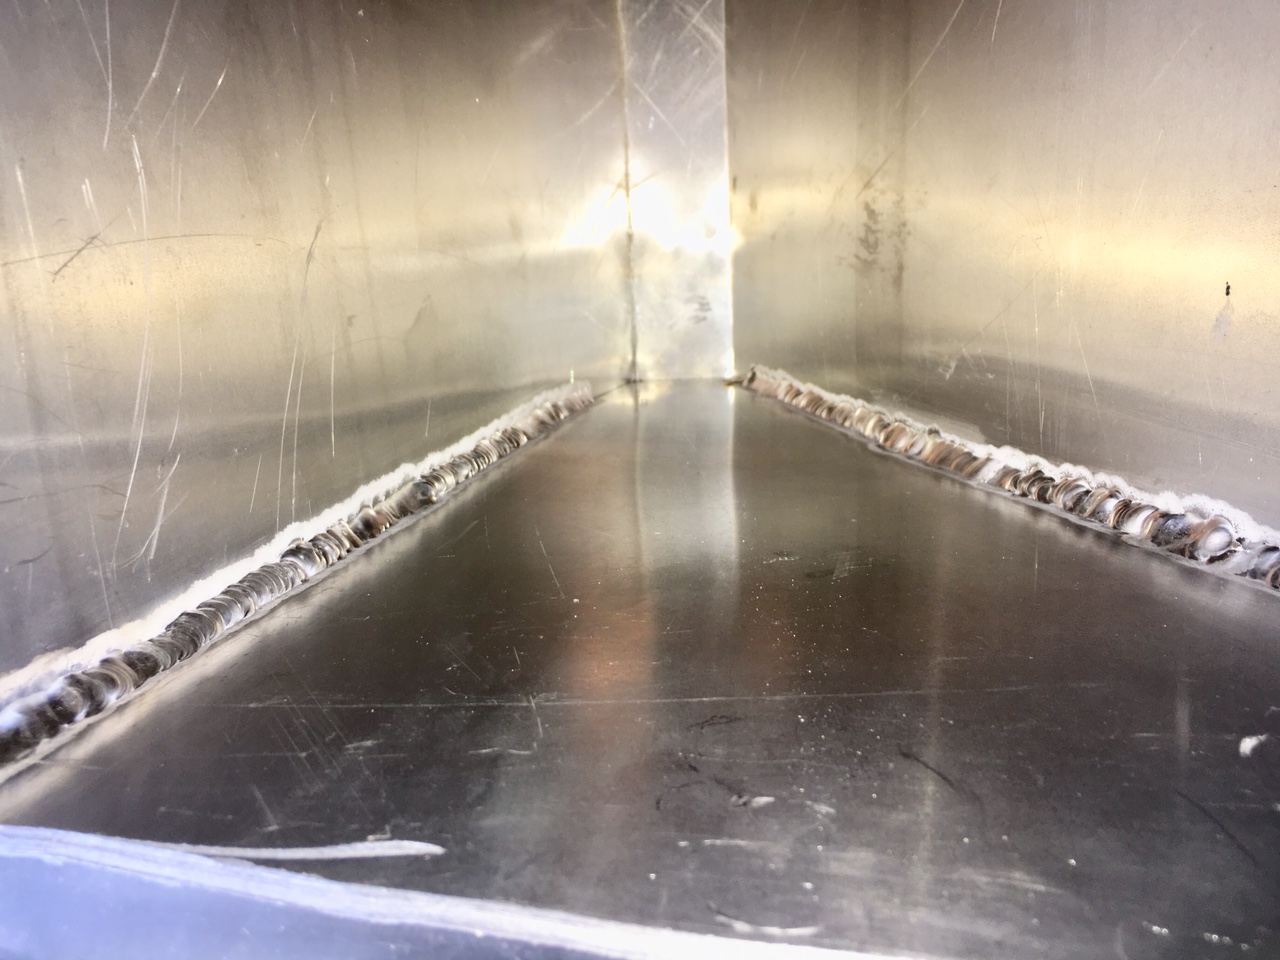
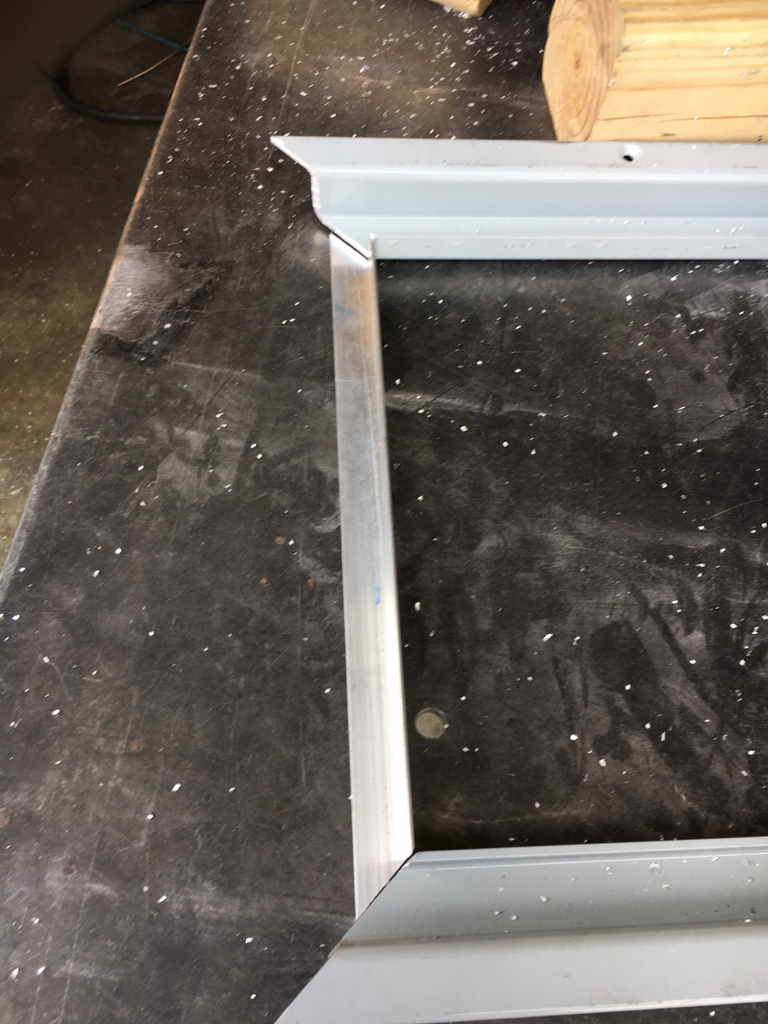
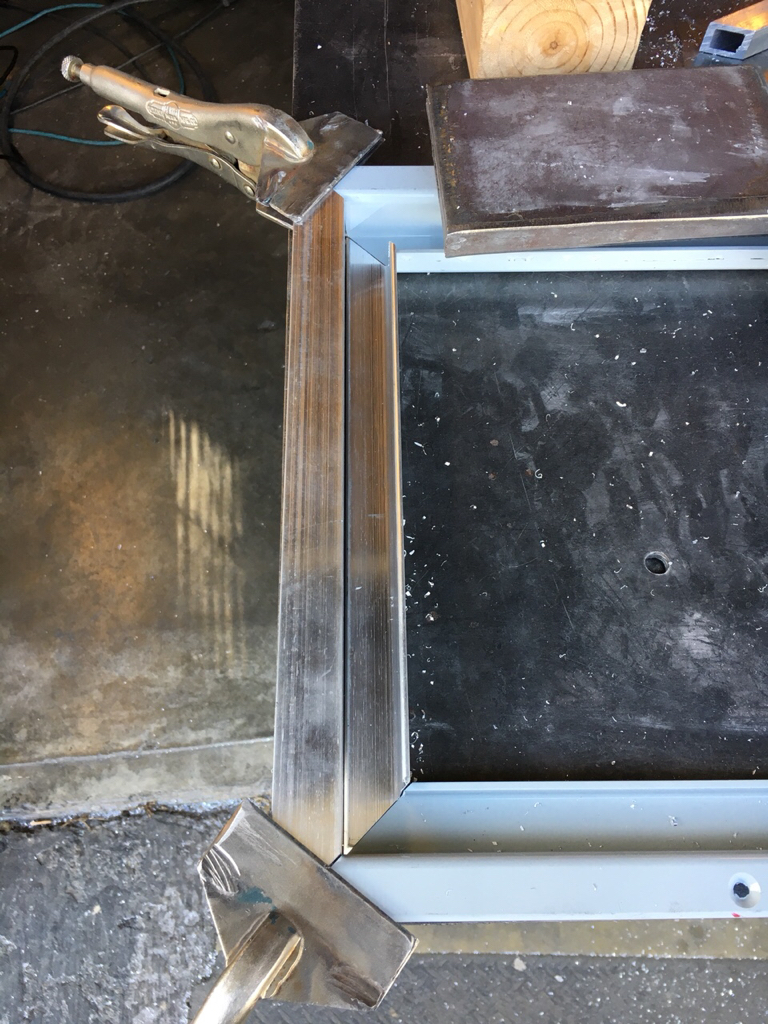
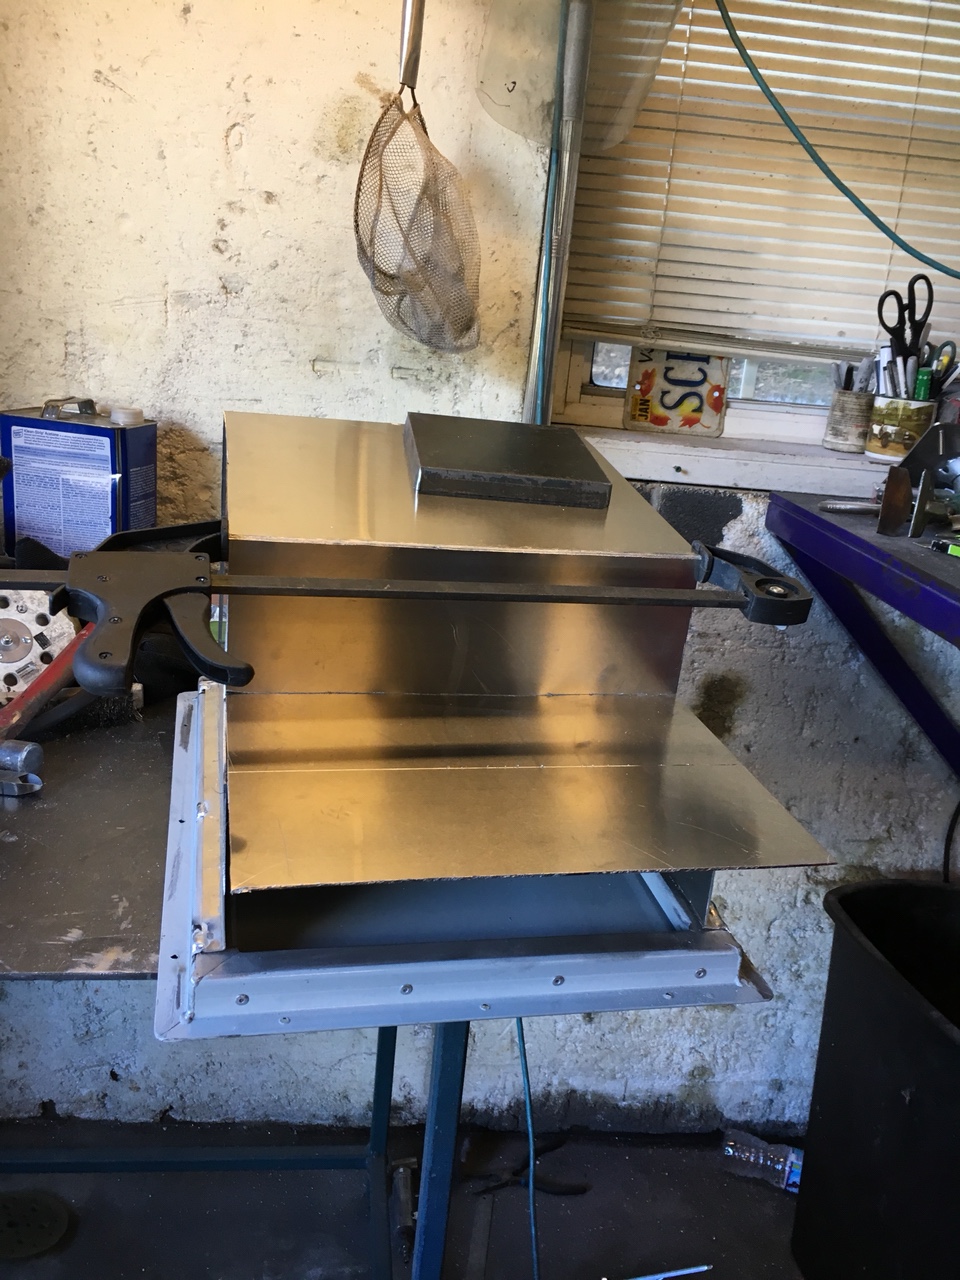
Started out with a remnant sheet I found at a steal of .063” made a cardboard template of the rear hull and made a couple end pieces to match the bottom of the frames I made. Wasn’t sure if I’d like the thinner material or even if I’d be able to weld it without burning through but it worked perfectly!
aa3e134652a7421165d5d2114376900f.jpg

Wrapped that sucker up and tacked it
596325ee05a45209266c42a0fa31d0fc.jpg

69a0ab32c797b328e8fa536480735a77.jpg

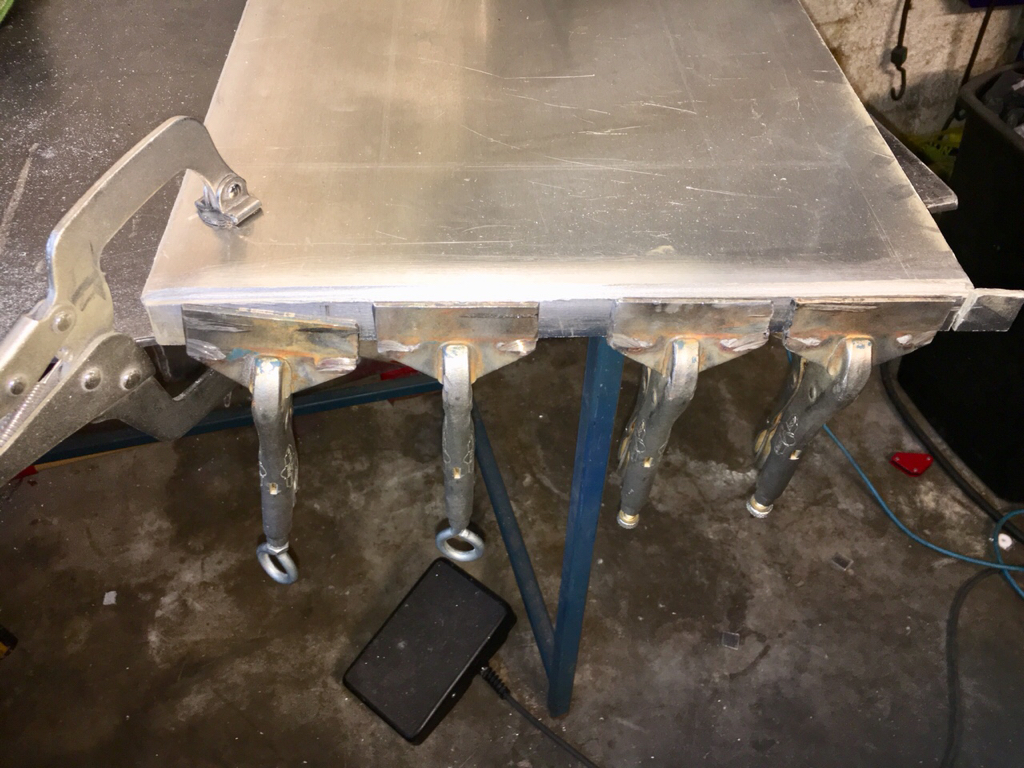
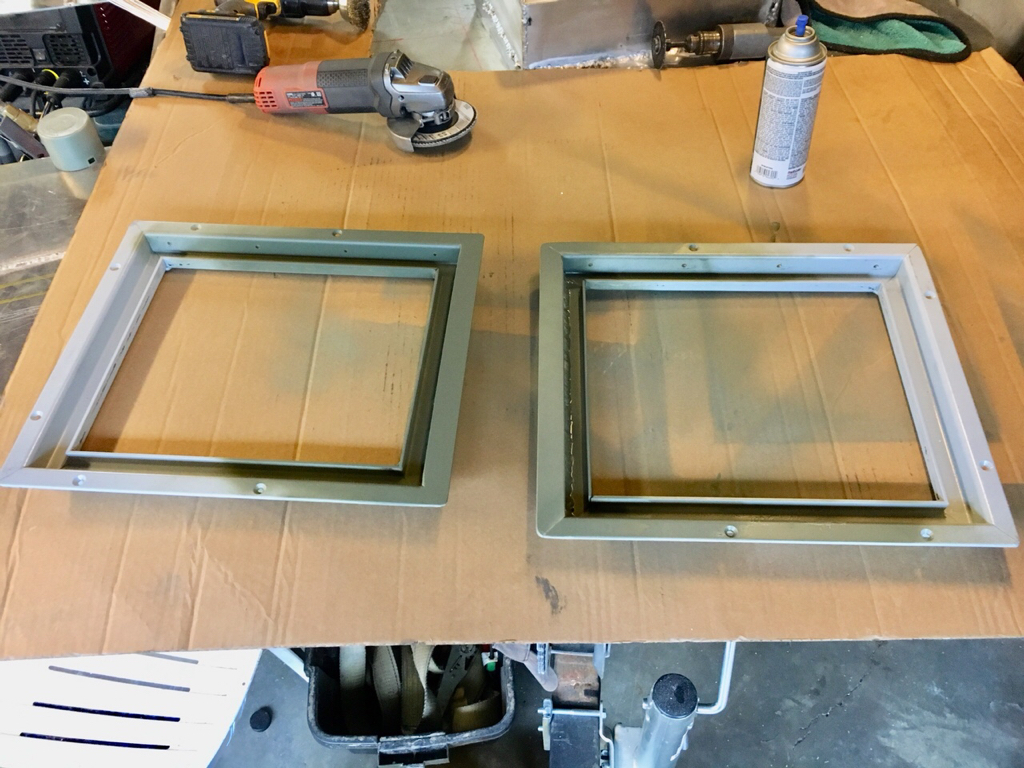
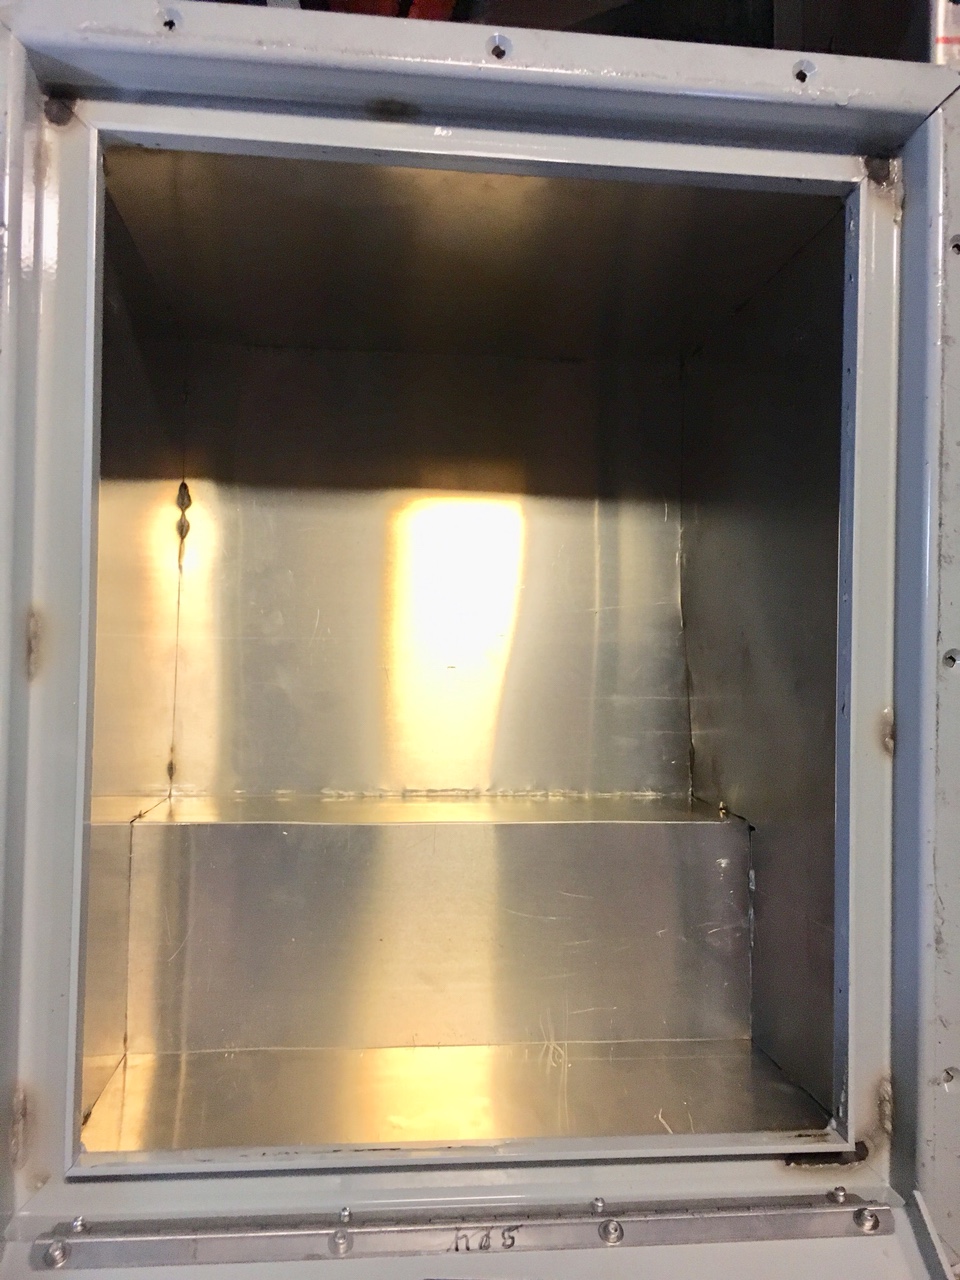
Then laid the heat to em and made em water tight (I hope lol)
4a7461794a1a5892a710d7d68f6c291f.jpg

557b3c6a9e16c0505b25edeb3875b33f.jpg

8f640964e5392f73754c7159343bbd6a.jpg

Very very happy with it and will be doing all the other compartments now in the same fashion as soon as I can go pick up some new sheet material and some more argon LOL that stuff goes quick !!!
 
Man this is turning into a super build [emoji106]


Sent from my iPad using Tapatalk
 
gatorglenn said:
Man this is turning into a super build [emoji106]


Sent from my iPad using Tapatalk
Thank you very much. It’s been fun to say the least !
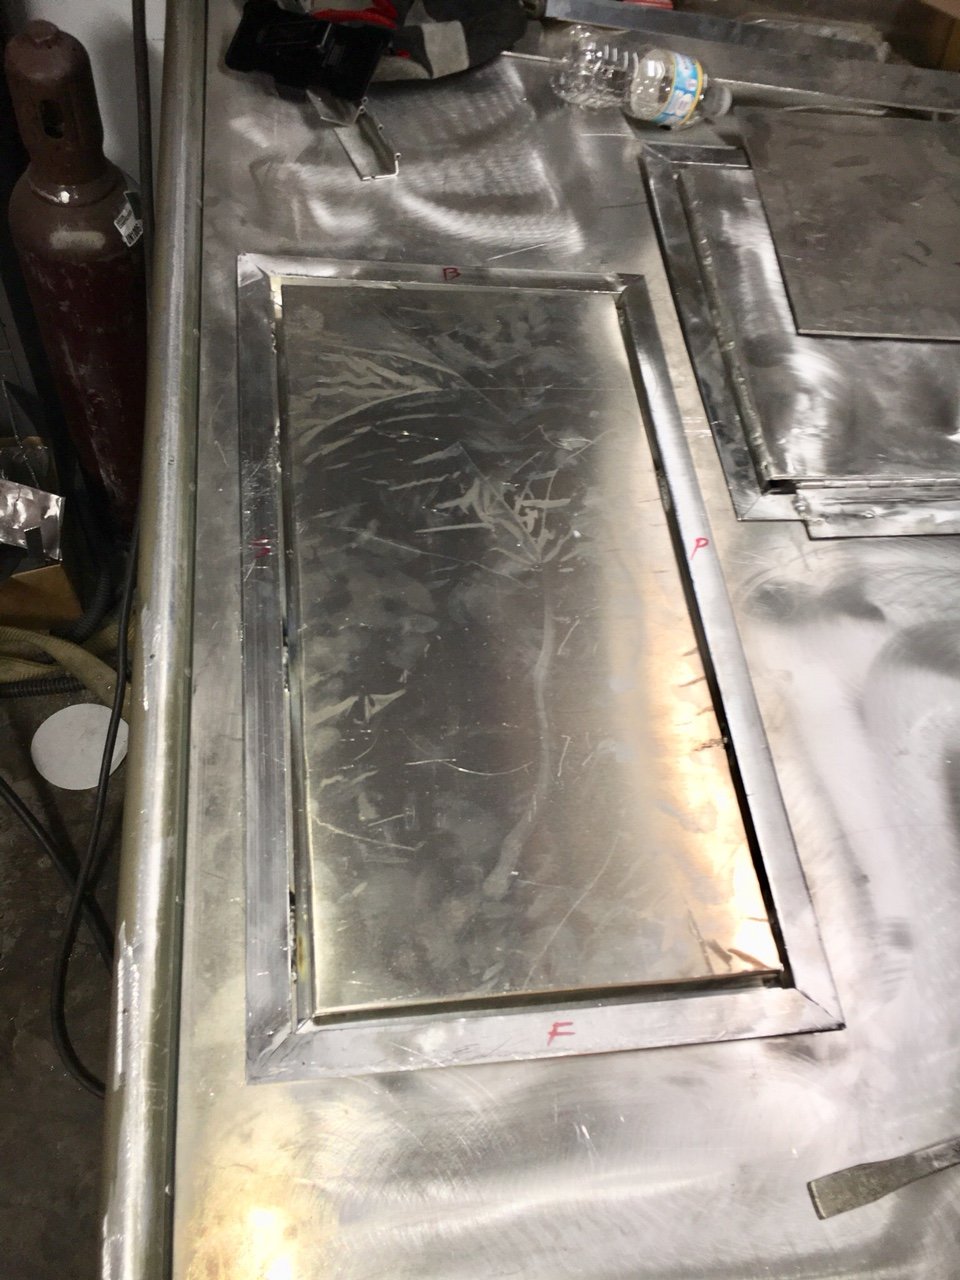
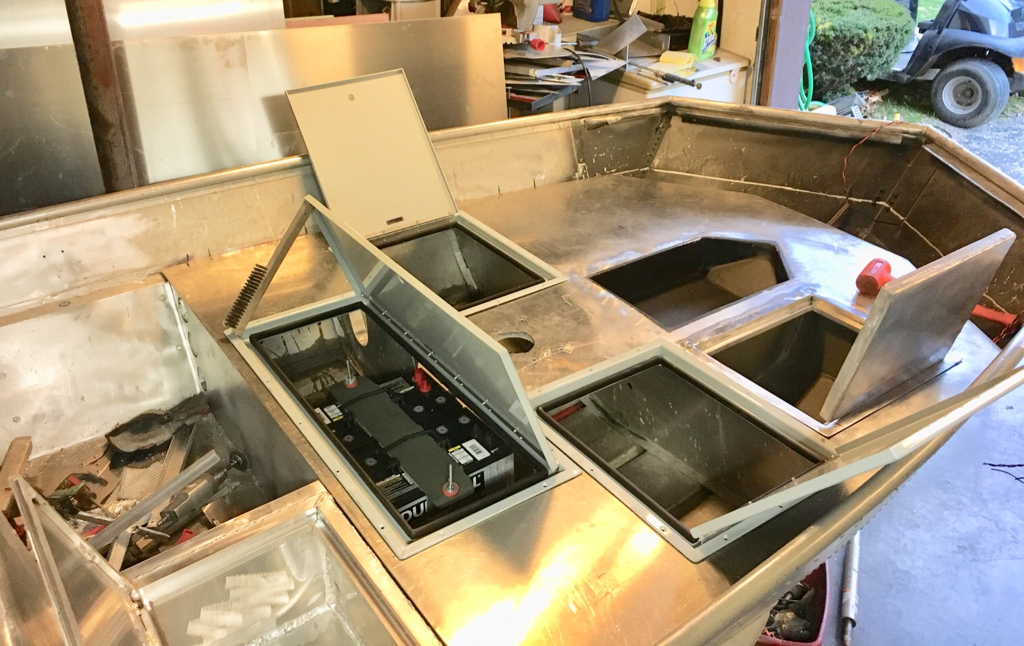
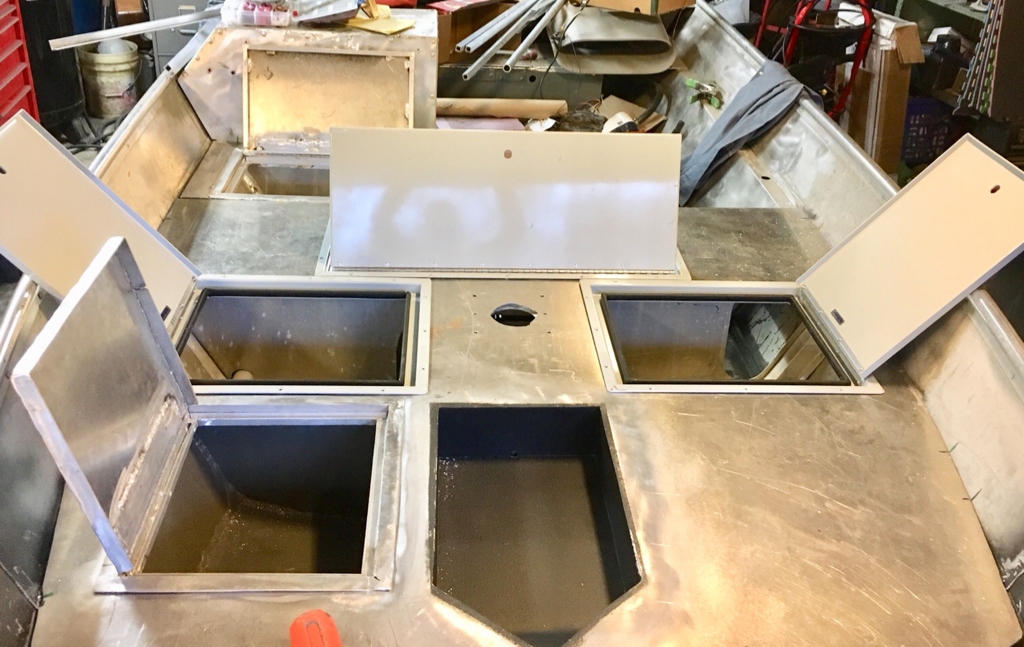
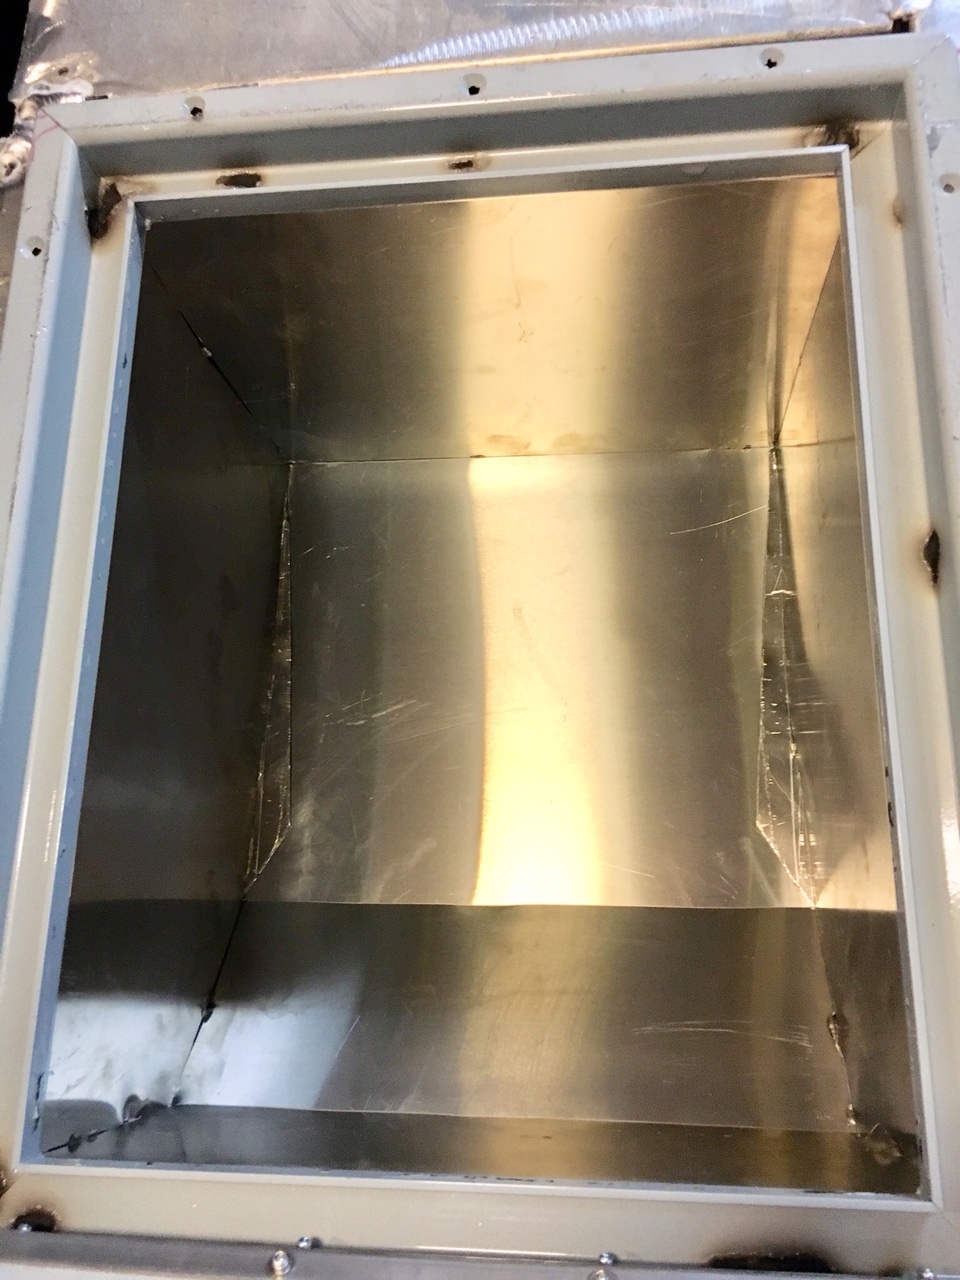
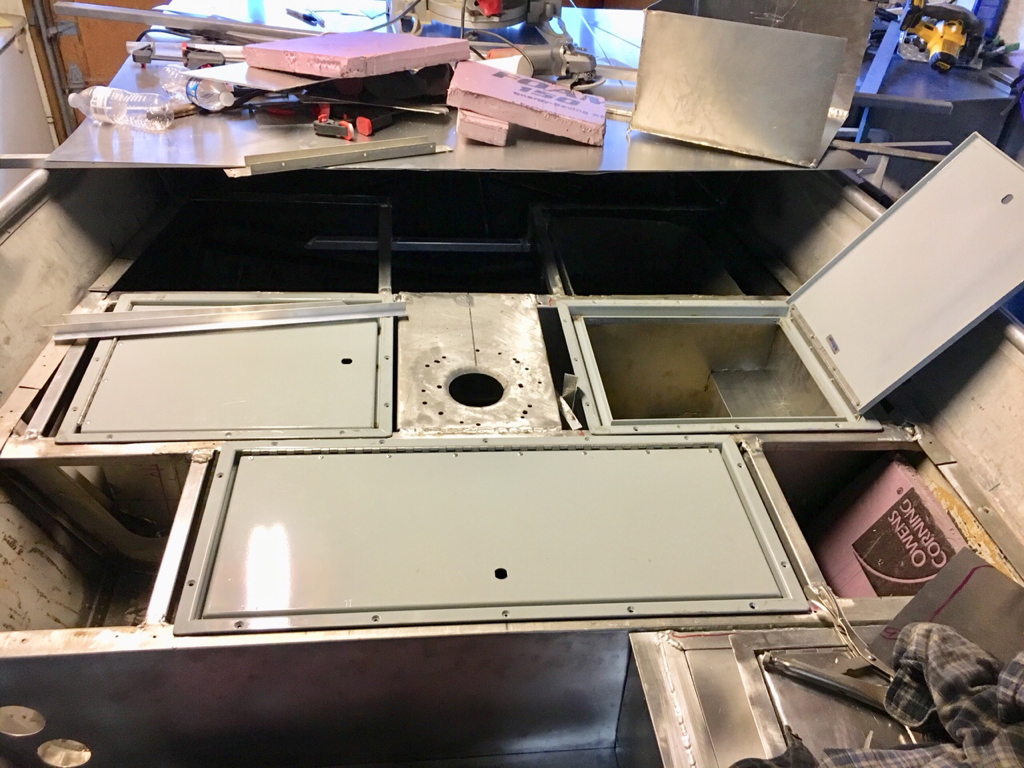
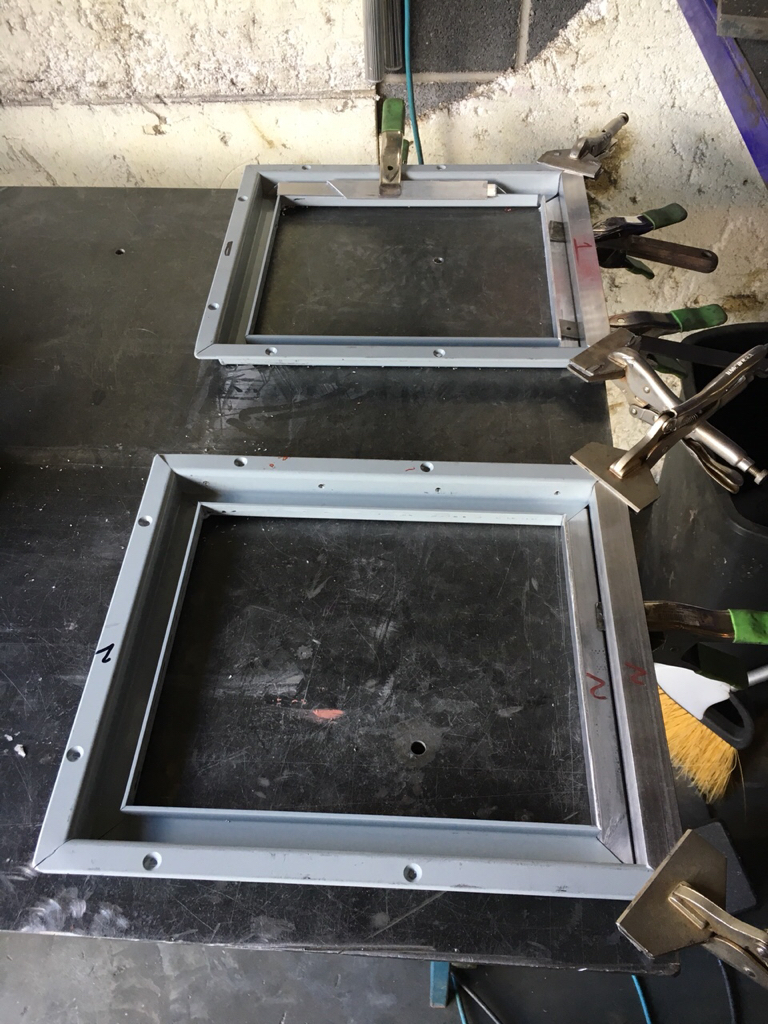
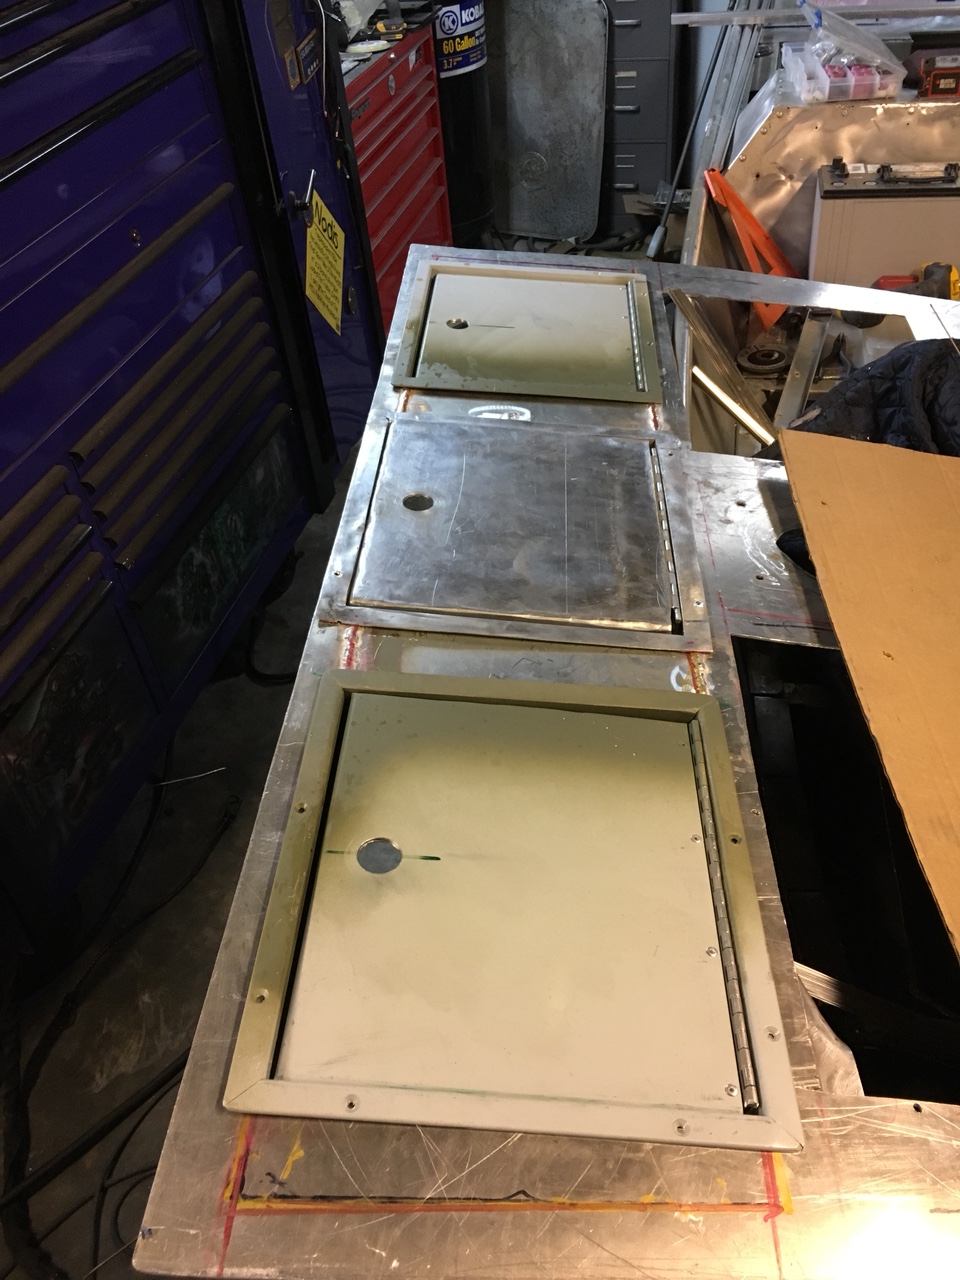
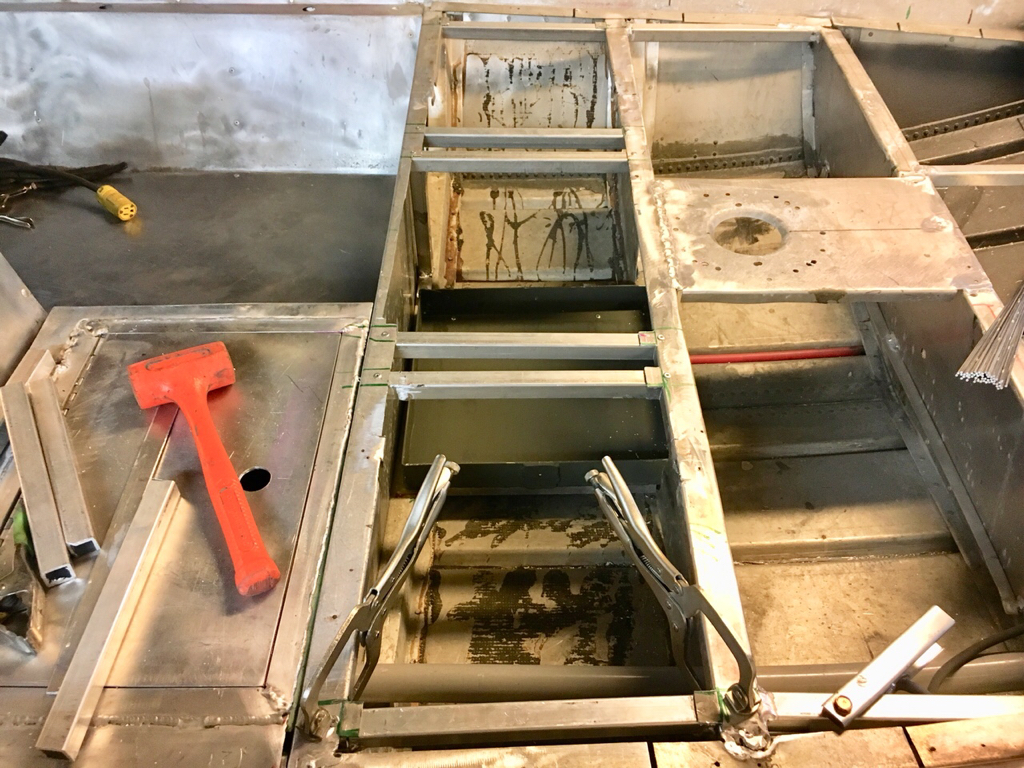
Today I started adding the dry box inserts to the 3 R&R hatches I ordered for the front deck when I started back on this beast.
Got both side lockers tacked up and fit properly
c3bfbcbd4c08b3352f268773039a2253.jpg

2cde0157b3ab2b153ec3bc9fbc559f11.jpg

They were kinda tricky because of the different angles and the added wire-run tube I put on the starboard side but really happy with how they turned out.
cc64a9e3b41a17e7d3c0dabb81189d56.jpg

825537db922a8648f62372078f6e0b87.jpg

667b51d5b5426eb99a2bd9c81fb9d5d9.jpg

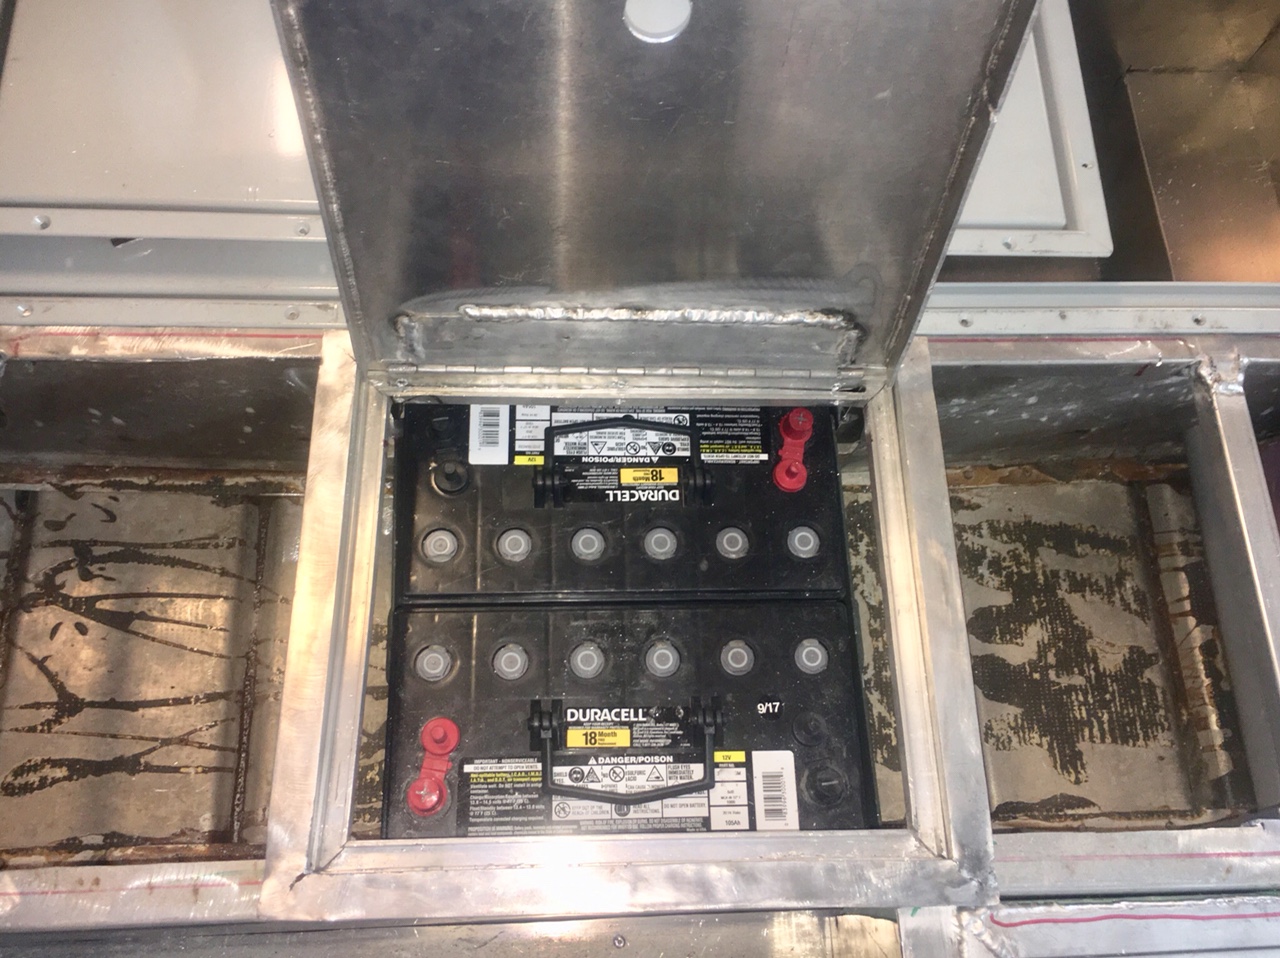
Tomorrow I am going to start working on the large Center access door for the two trolling motor batteries. Originally this was going to be all storage but since the two batteries wouldn’t fit forward one section the door I ordered really seems too big for the area the batteries take up.
1ecd04372e9291fc657afc23c2169e1f.jpg

d797b2601a3efea1429d6aee563867f4.jpg

If I leave it the way it is now I will only have about 5-6” of access through the battery compartment to the storage areas on each side.
So either I cut the R&R door smaller and weld it back together, weld in fill panels to each side and then add 2 more doors to each side or I leave the center area the way it is and cut 2 more holes on each side area and make dry boxes for them and isolate the batteries from
Those areas.
Gonna sleep on it tonight but don’t want to do anything else on that until I figure out this battery door issue.

Another issue I am having is still trying to figure out the front bow configuration.
Originally I was going to use this setup
31ac40dd0515c7709f3fa3f5d5dcf06a.jpg

It’s such an oddball height to the deck and a lot of angles.
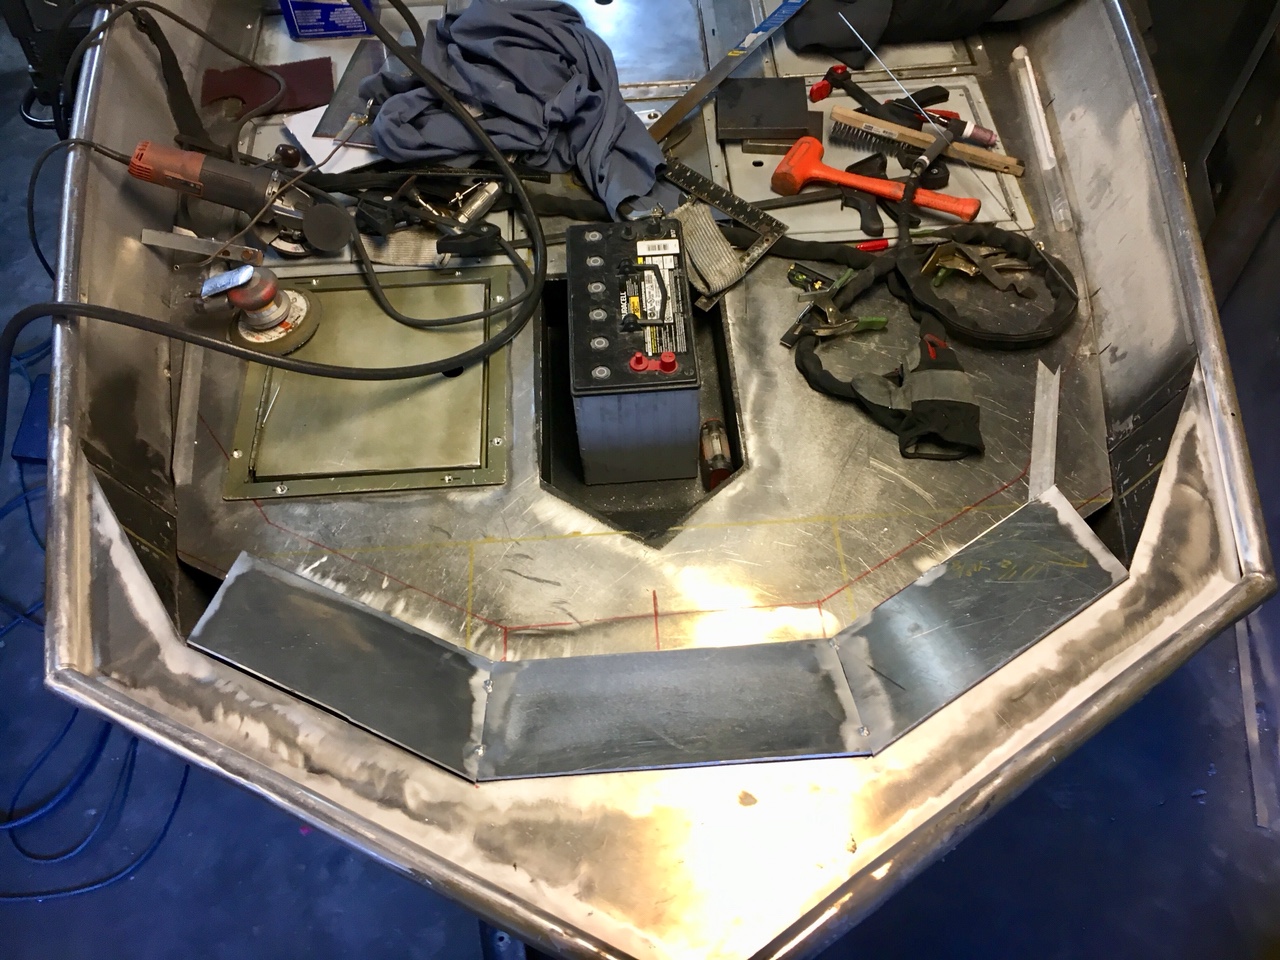
So then I made this sheet up to see how I liked that setup
79300d9f82a5a9f6a6c7c68164df3962.jpg

29c0d6d885a5f6e3a59f289cb08e0a7d.jpg

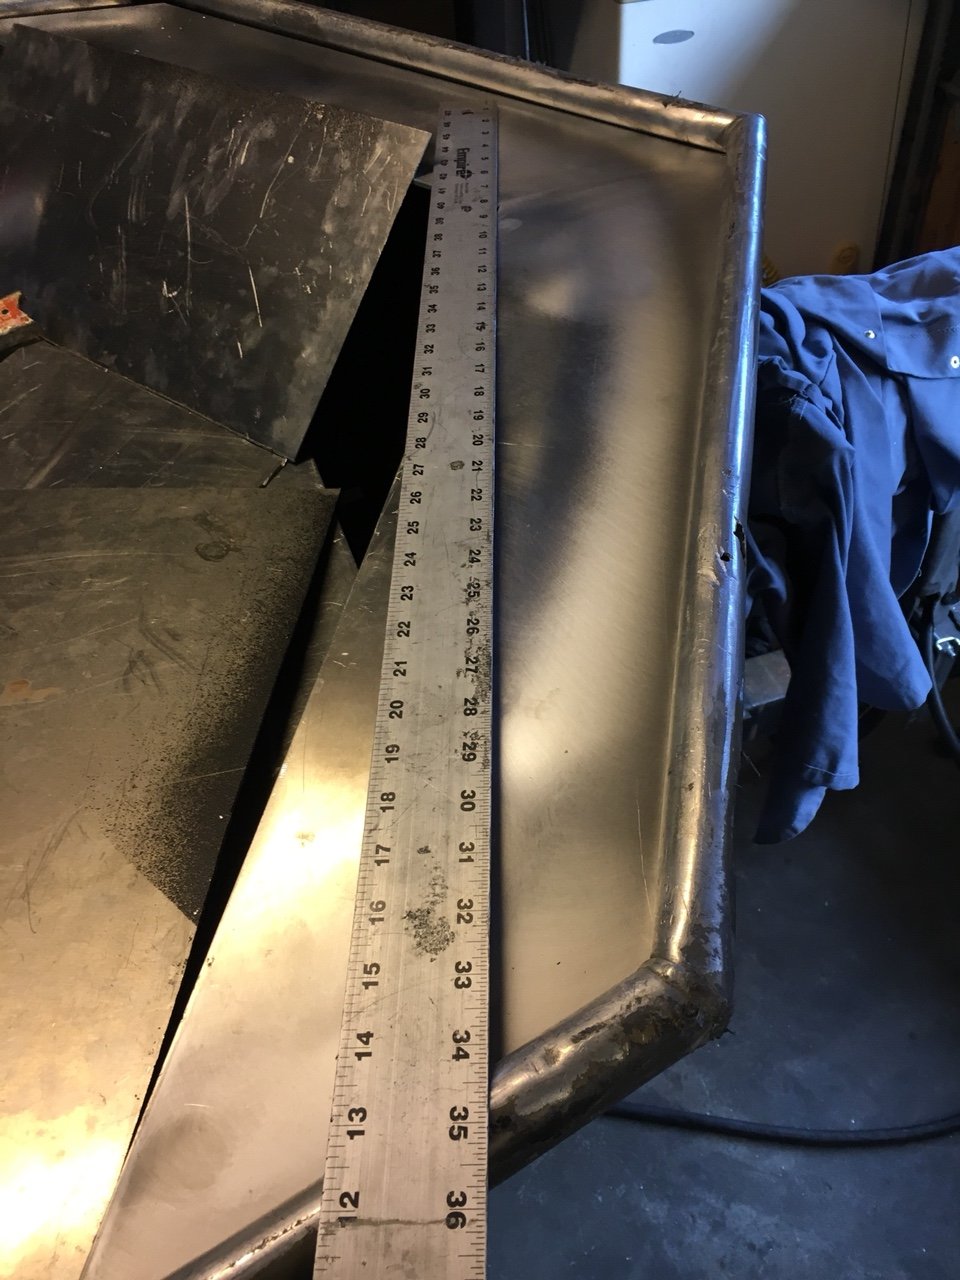
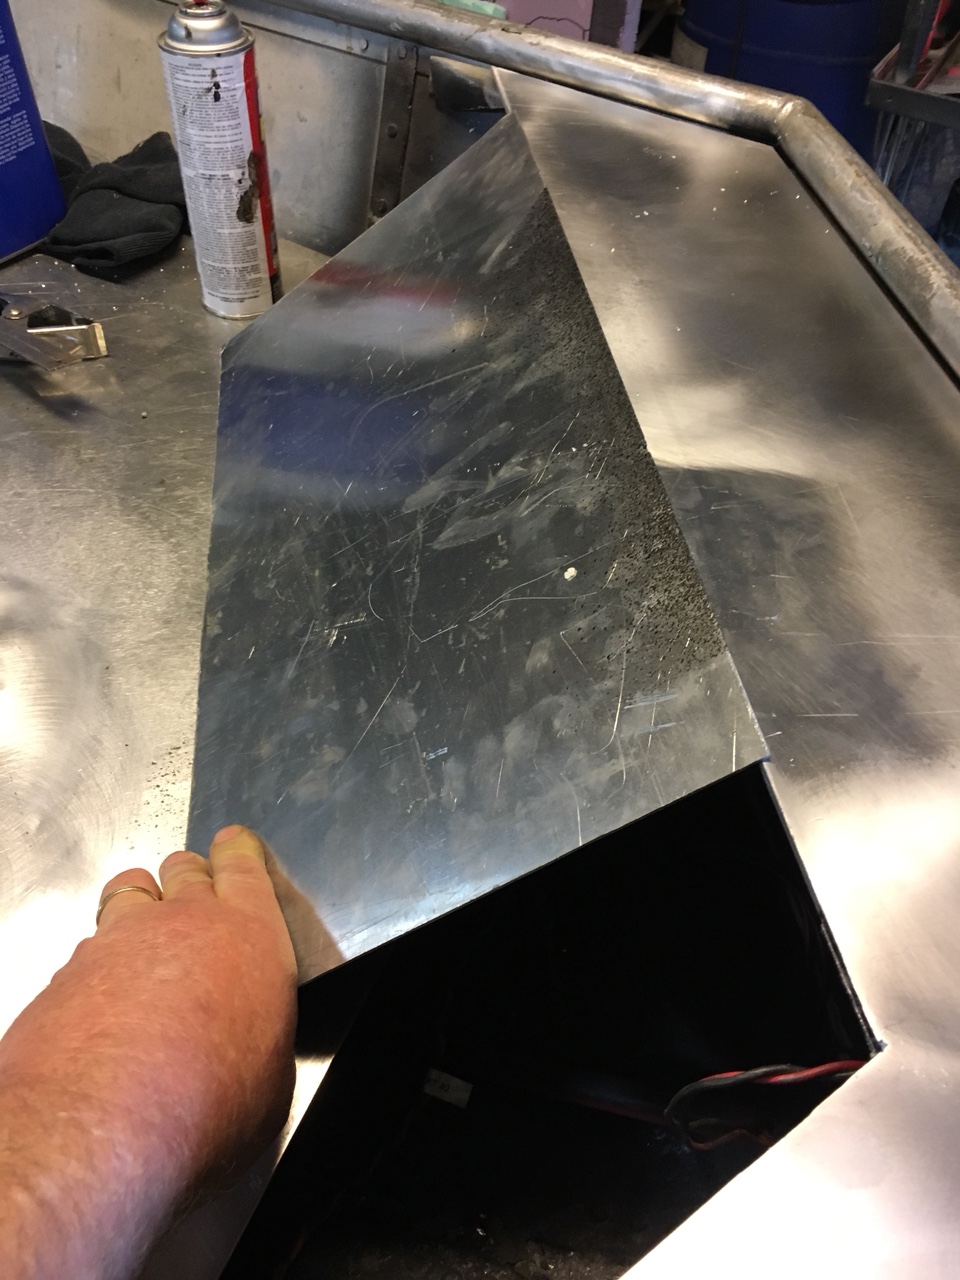
I think this is a little wide and may angle it back like this with the straight edge laid at the cut angle
12bac8681bc3eaf12ea0d597482d9011.jpg

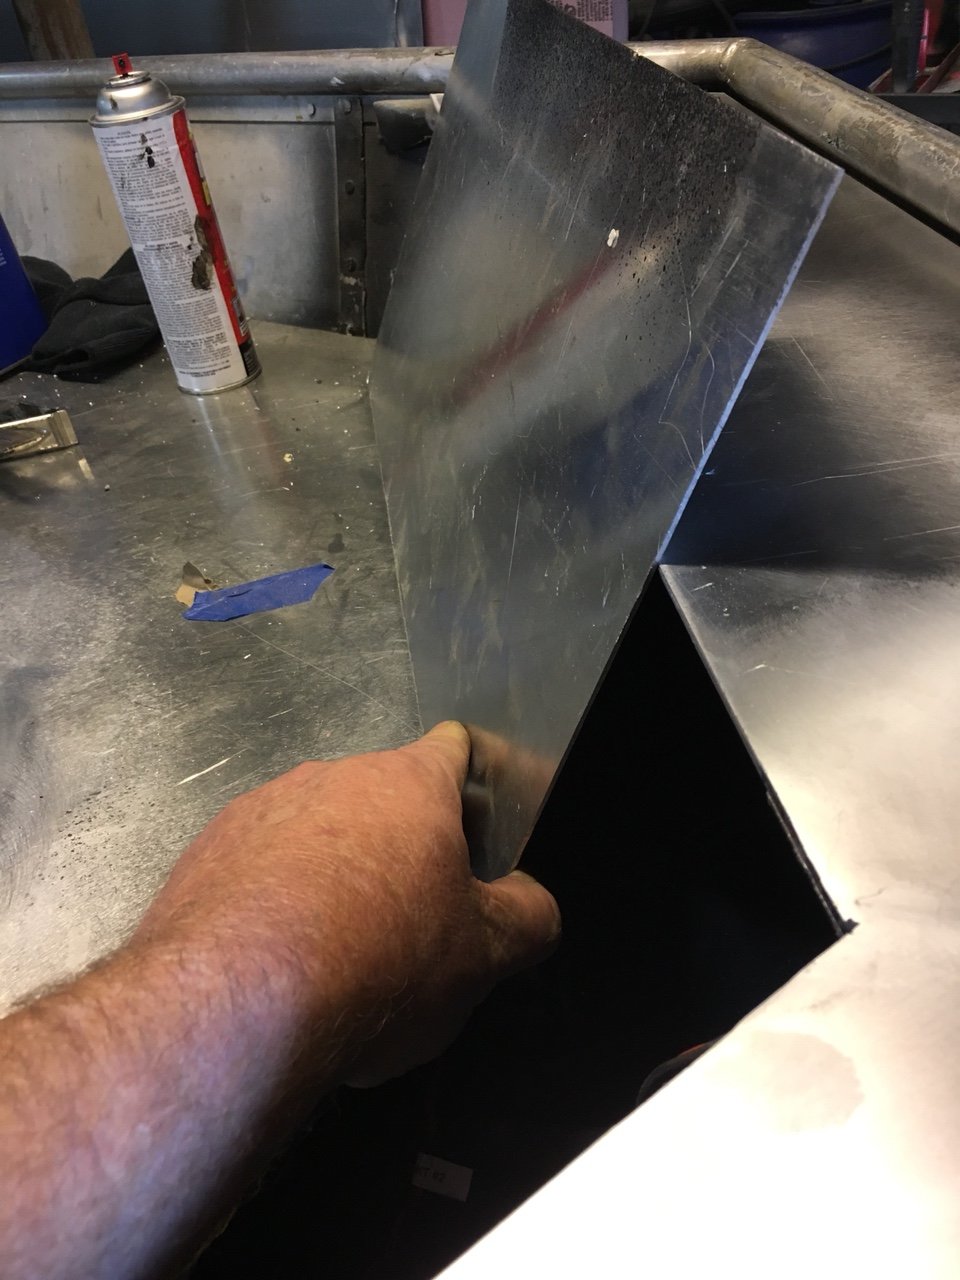
Also whether to lay the angle low like this
f9f4c22772ce71ba127a05988d3a86a2.jpg

Or more straight up and down like this
bf39d350600681f6c01a68e3718c7a55.jpg

So many decision lol. So lay them ideas on me :) and thanks for following along

I’ll sleep on this situation tonight and hopefully it will fall into place tomorrow.
 
Not sure about the battery box, but looking at the bow I would go with the more simplistic "V" shape and probably lay them in there at a 45 degree-ish angle. Just my preference, I think the deck would look like it flows to the bow a little better, it wouldn't be so abrupt.
 
kalninm said:
Not sure about the battery box, but looking at the bow I would go with the more simplistic "V" shape and probably lay them in there at a 45 degree-ish angle. Just my preference, I think the deck would look like it flows to the bow a little better, it wouldn't be so abrupt.
I think your right, I’m definitely leaning more towards the V configuration.
I really need to get that portion finished so I can start making my TM mount and storage inside of that. I’ll play around with that setup some today and see if I can find a happy medium.
 
I like the first idea not the v. It is going to be a little bit harder to make your vertical pieces but hell you've already got the top cut out

Sent from my SM-G955U using Tapatalk
 
Those R&R hatches are the truth. Only issue with them is that if a you get liquid in them they will fill up in the trough around the hatch and overflow into the compartment. If you are concerned about it I would drill a hole in the corner of the trough and Weld a small pipe to it. Then you can sleeve over the pipe with a rubber hose and run it to the bottom of the boat. Just some food for thought if you ever leave the boat uncovered or get caught in a rainstorm

Sent from my SM-G955U using Tapatalk
 
Prowelder said:
I like the first idea not the v. It is going to be a little bit harder to make your vertical pieces but hell you've already got the top cut out

Sent from my SM-G955U using Tapatalk
Thanks Brother ! Didn’t know if you had an idea or not on this part. The biggest factor in the beginning was welding all the angles but I feel comfortable enough now to make it happen and paint covers a lot LOL.
 
Bigwrench said:
Prowelder said:
I like the first idea not the v. It is going to be a little bit harder to make your vertical pieces but hell you've already got the top cut out

Sent from my SM-G955U using Tapatalk
Thanks Brother ! Didn’t know if you had an idea or not on this part. The biggest factor in the beginning was welding all the angles but I feel comfortable enough now to make it happen and paint covers a lot LOL.
If you do decide to go with the V it would probly looking a lot better if you've cut it back on an angle like you are thinking about. I have faith in you I think you can make you with the more complicated front. It would really give it a lot more character.

Sent from my SM-G955U using Tapatalk
 
Bigwrench said:
Prowelder said:
I like the first idea not the v. It is going to be a little bit harder to make your vertical pieces but hell you've already got the top cut out

Sent from my SM-G955U using Tapatalk
Thanks Brother ! Didn’t know if you had an idea or not on this part. The biggest factor in the beginning was welding all the angles but I feel comfortable enough now to make it happen and paint covers a lot LOL.
I have faith that you can do it. Just take your time and when you're welding, cool it as you go with a wet rag to keep it from warping. Just make sure you dry it well before re-welding.Make lots of tacks 1st. When you are welding something solid make sure you move around to different areas to keep the heat down. If you decide to go with the simple v. I would definitely Taper it back on the sides like you have with the ruler on it.

Sent from my SM-G955U using Tapatalk
 
Prowelder said:
Bigwrench said:
Prowelder said:
I like the first idea not the v. It is going to be a little bit harder to make your vertical pieces but hell you've already got the top cut out

Sent from my SM-G955U using Tapatalk
Thanks Brother ! Didn’t know if you had an idea or not on this part. The biggest factor in the beginning was welding all the angles but I feel comfortable enough now to make it happen and paint covers a lot LOL.
I have faith that you can do it. Just take your time and when you're welding, cool it as you go with a wet rag to keep it from warping. Just make sure you dry it well before re-welding.Make lots of tacks 1st. When you are welding something solid make sure you move around to different areas to keep the heat down. If you decide to go with the simple v. I would definitely Taper it back on the sides like you have with the ruler on it.

Sent from my SM-G955U using Tapatalk
Thanks for the tips on warpage control , I actually had to deal with that today, was just getting ready to post about that lol and I didn’t think about the wet rag! I did use scrap aluminum panels with heavy steel billet cutoffs on top of them to sorta heat sink away from the weld areas. I cranked the amps up to 130 and after tacking it I would weld for like 4-5 inches and then stop and let it cool and move to another area entirely just jumping back and forth. I still had some issues but I think they are fixed now with the wet rag issue if I run into that again. Thank you !
 
Ok so today’s adventures ... had foot surgery on one foot and then shots in the other .... so I was glad to sit down at the table and weld all afternoon [emoji3]
I decided his morning to tackle the battery box issue and boy did I ever [emoji3]
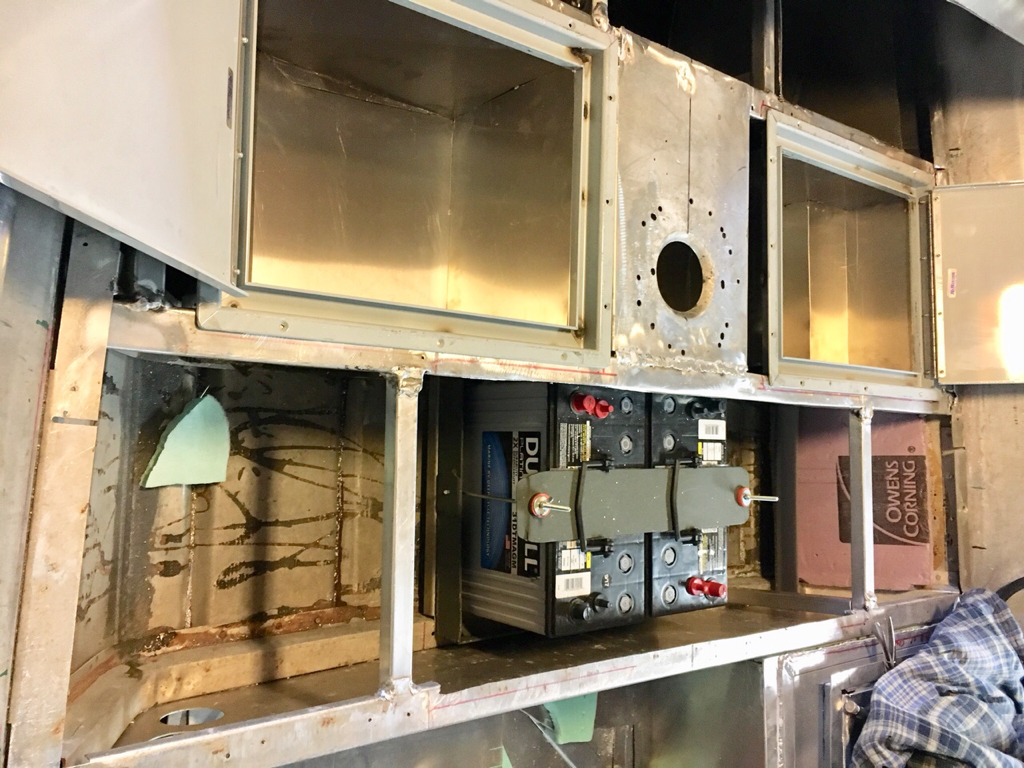
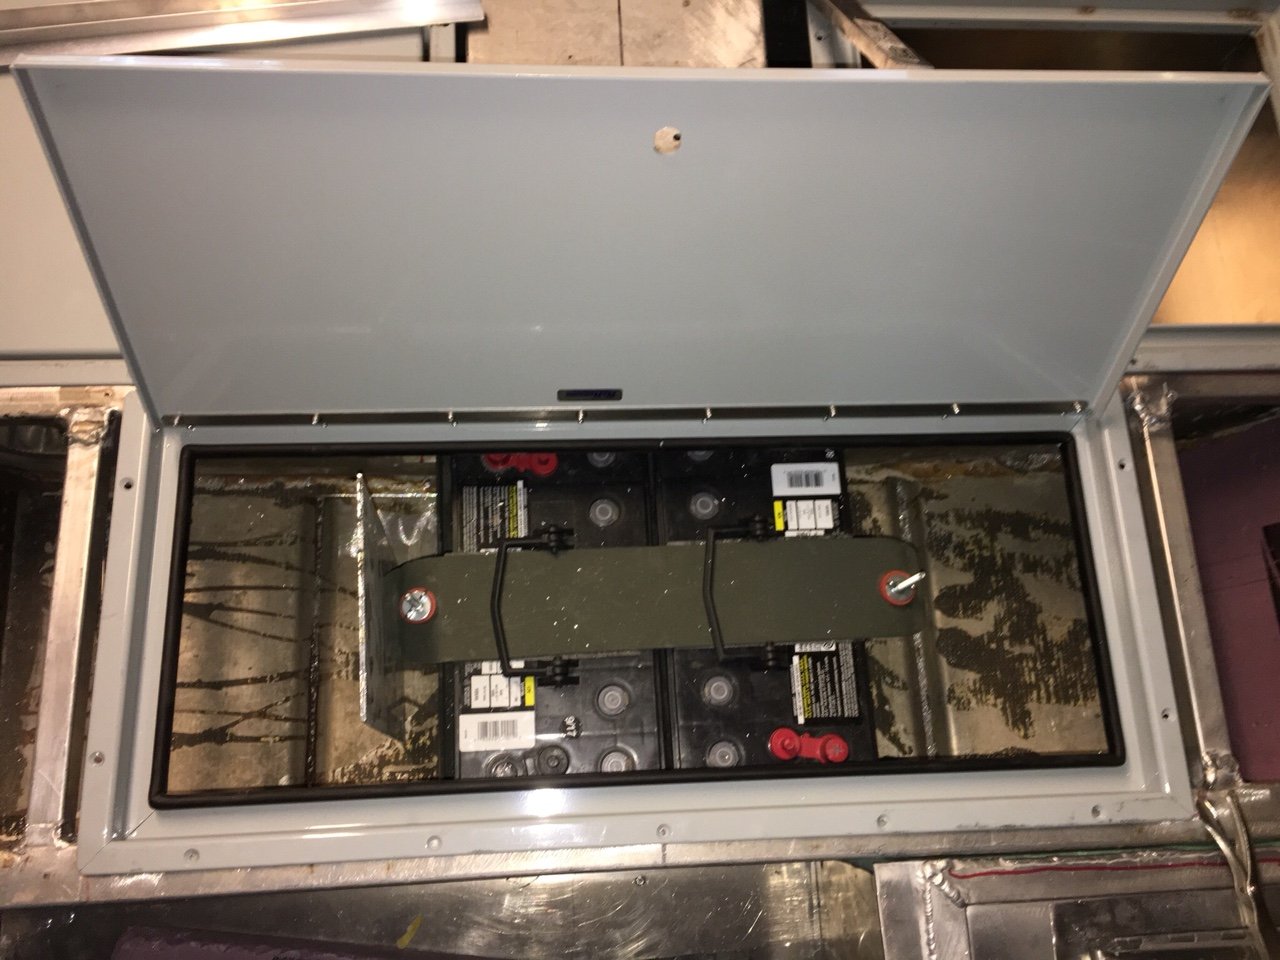
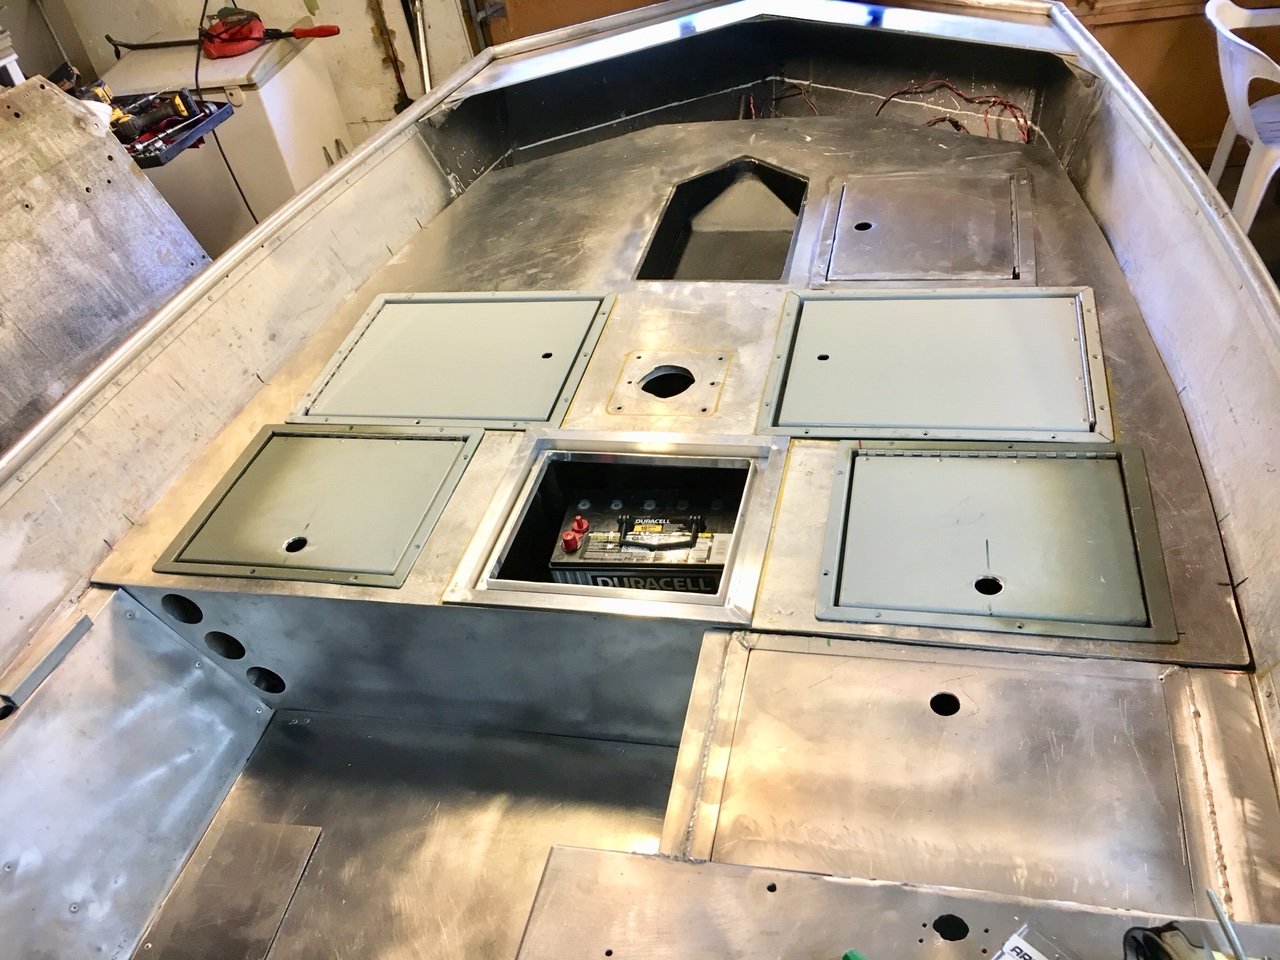
I decided to use a smaller door for the TM battery tray compartment . I removed the hold down system, rotated the batteries “sideways” in the hull and using the anchor locker door I made (which fit perfectly with just a little tweaking) decided to go for it and fill in the panels on the main deck and start over there [emoji3]
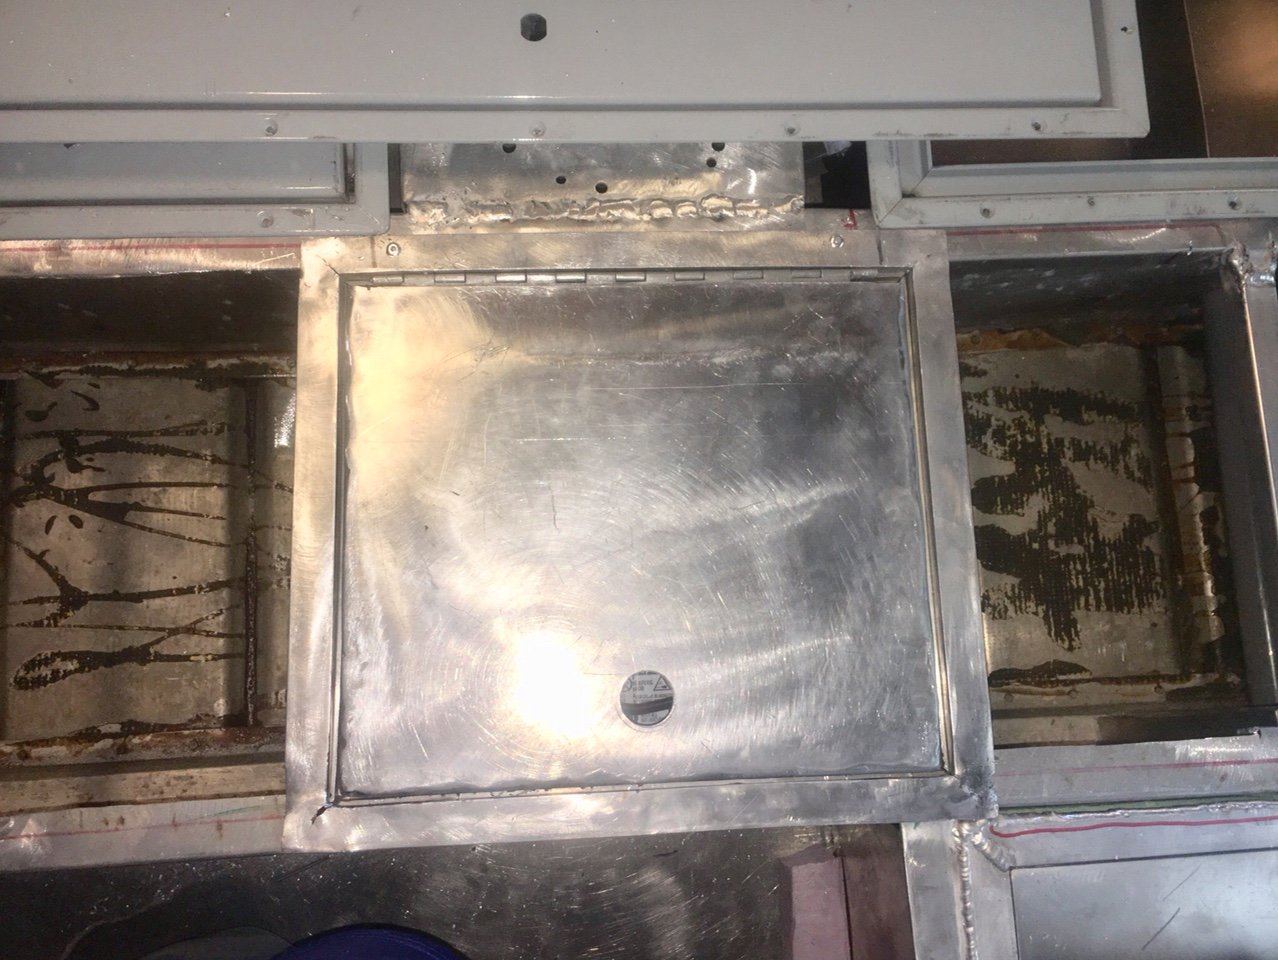
Door installed over the batteries with deck removed. Pop riveted the door in place temporarily to see how everything “worked” and made sure the batteries would actually come out if needed at a later date (that woulda sucked later if they wouldn’t come out LOL)
1f67f3bbf35d3bfb48c3030dff06ff25.jpg

228947c120f7715a13802c0dcc8fa24a.jpg

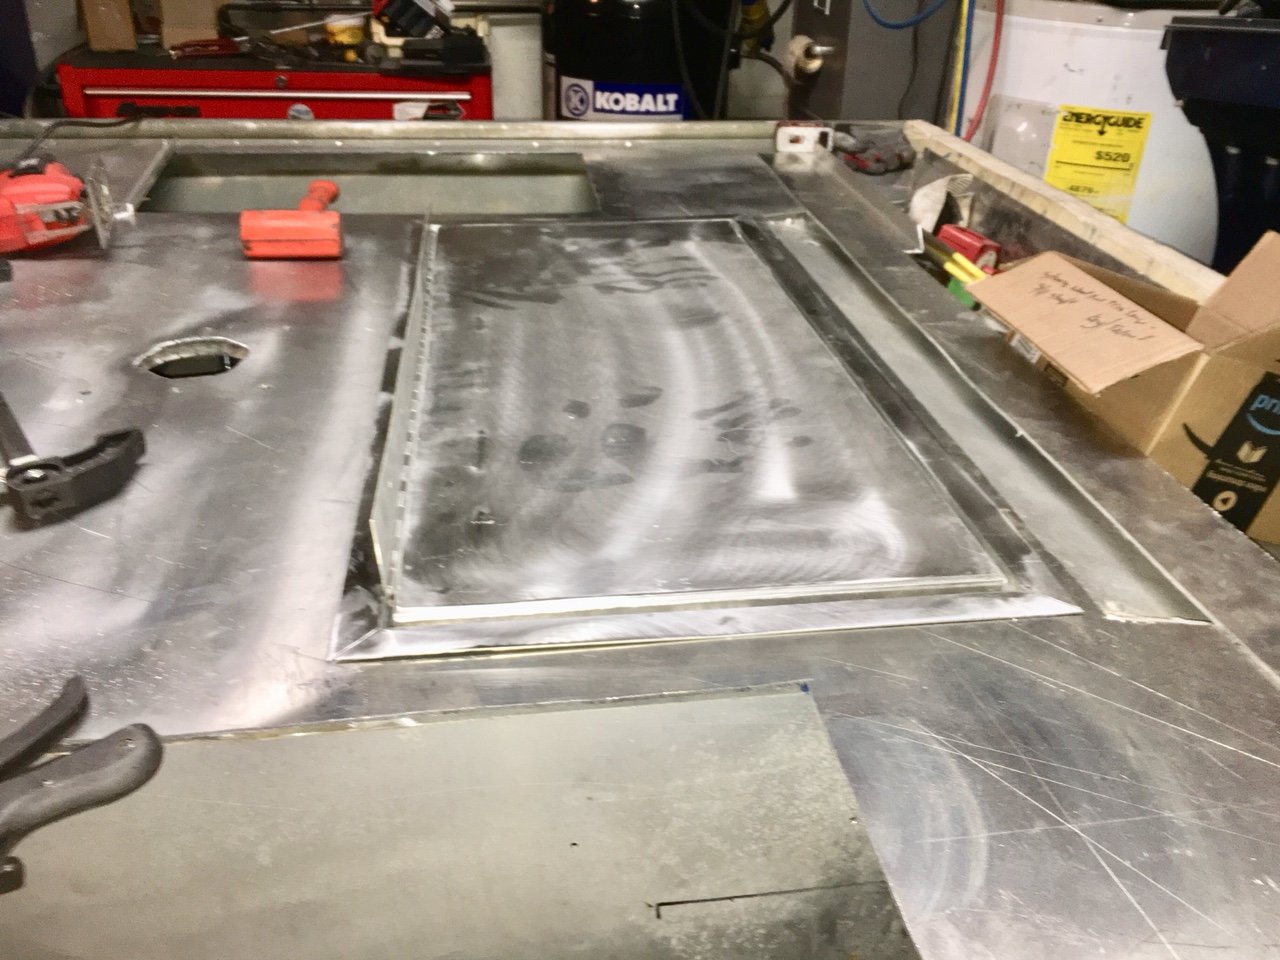
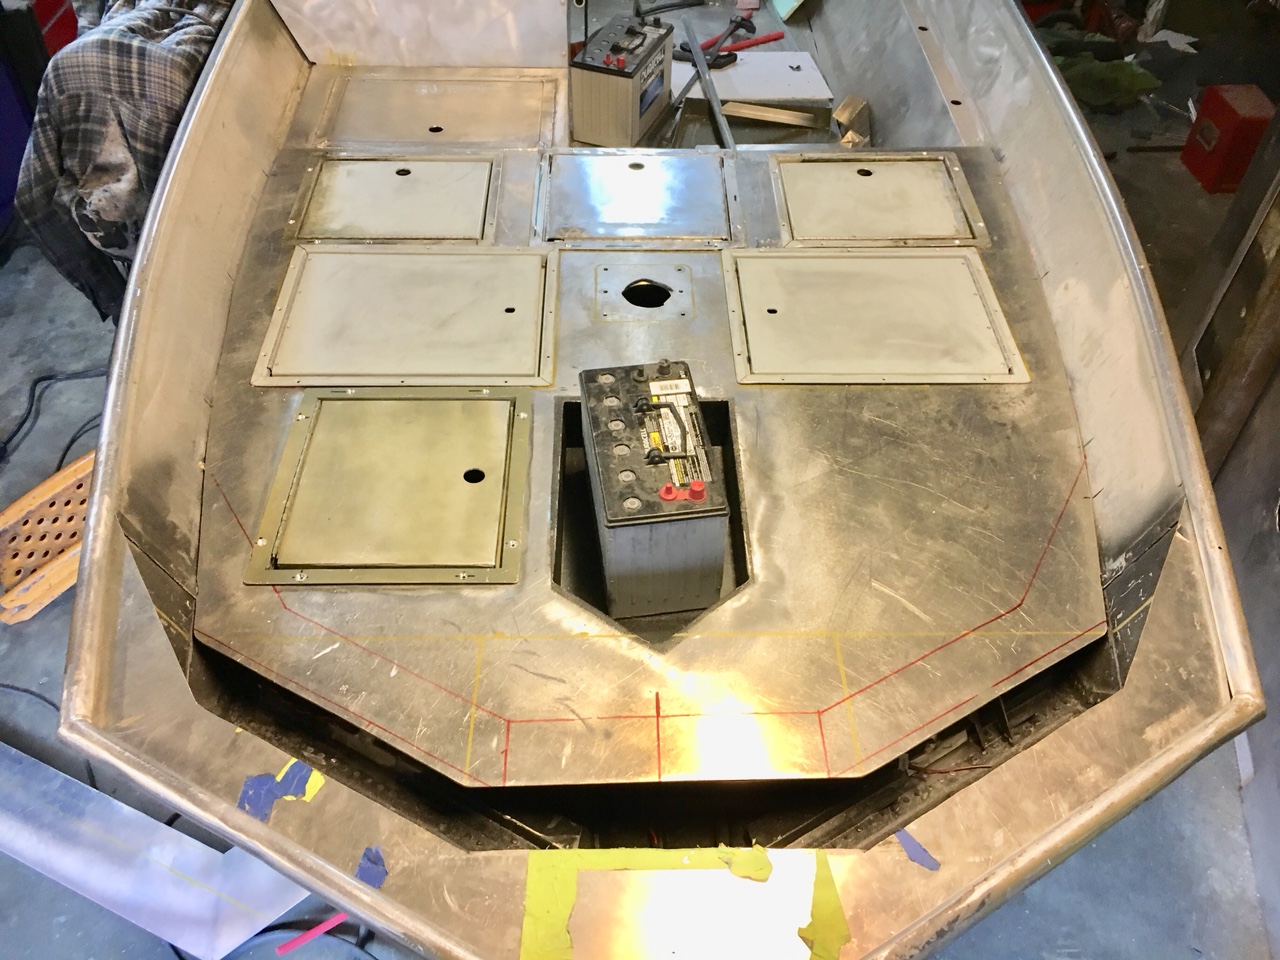
Placed the deck back in place and marked the area of the door access hole with the other doors installed to make sure everything fits at the same time.
718b73c1d7e6e395e651441170195c9a.jpg

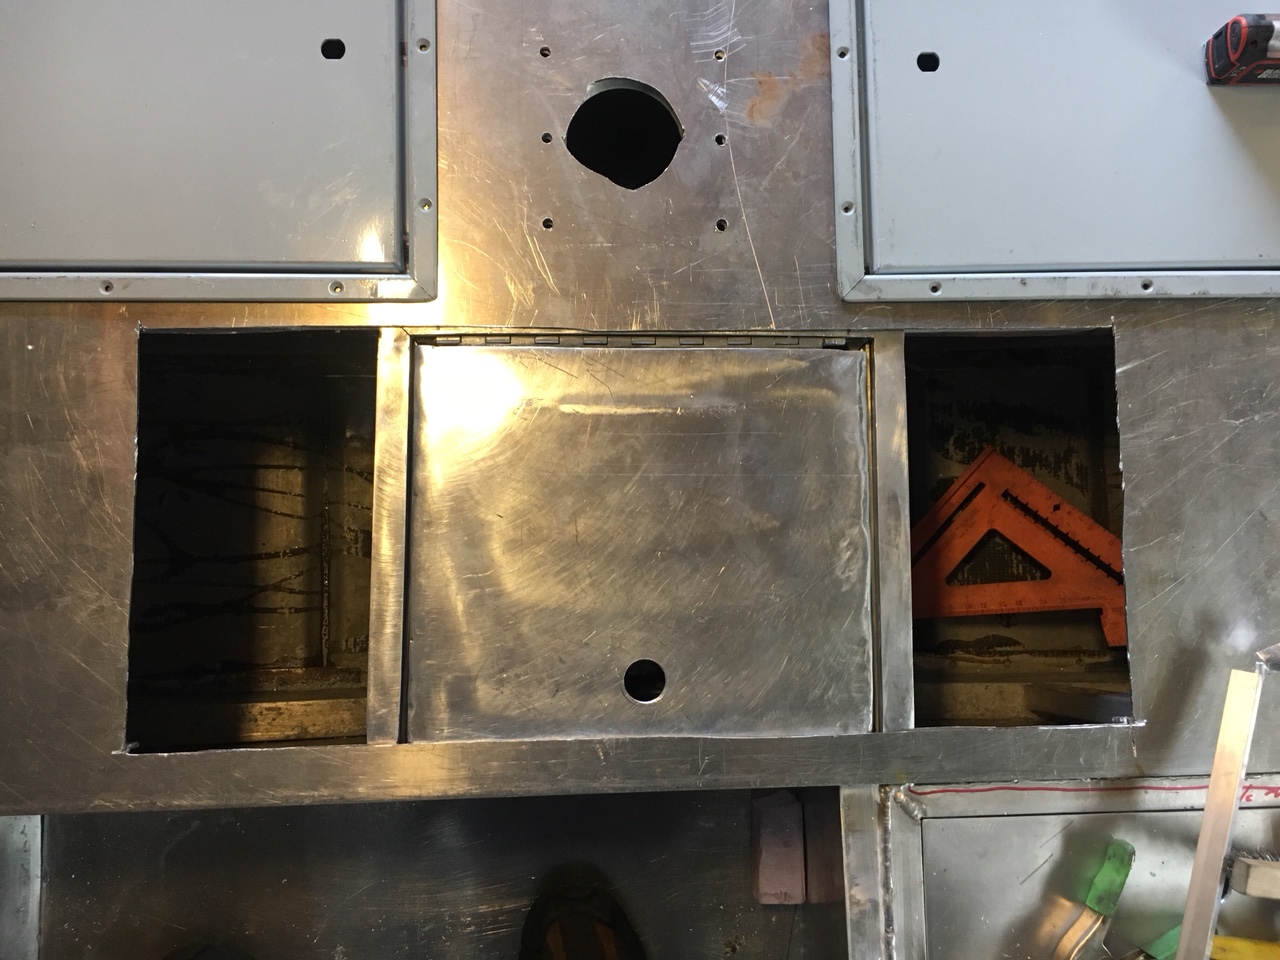
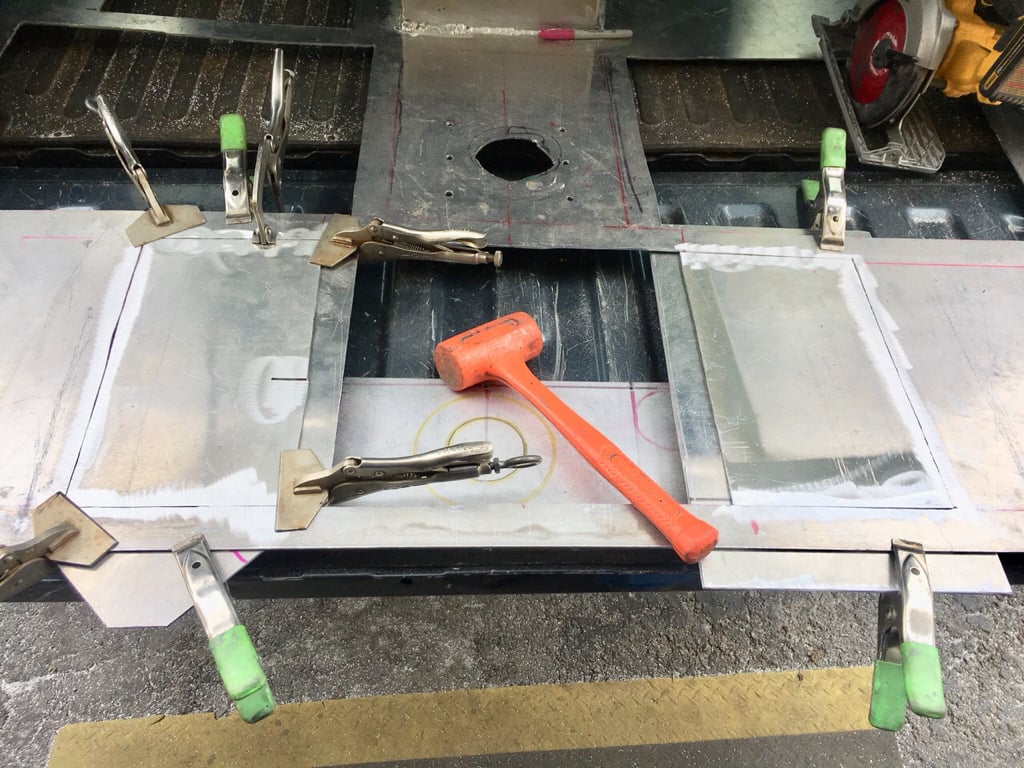
Using my table on one half and my truck tailgate on the other half of the deck I rough fit 2 scrap panels to fill in the sides to make the hole smaller.
8029e0f022cec7b6027016b64de78392.jpg

8d5c1d7b1b67fc4244761b55df7f9c0b.jpg

beca5d2e64e61954e91b9ab73bf18fc1.jpg

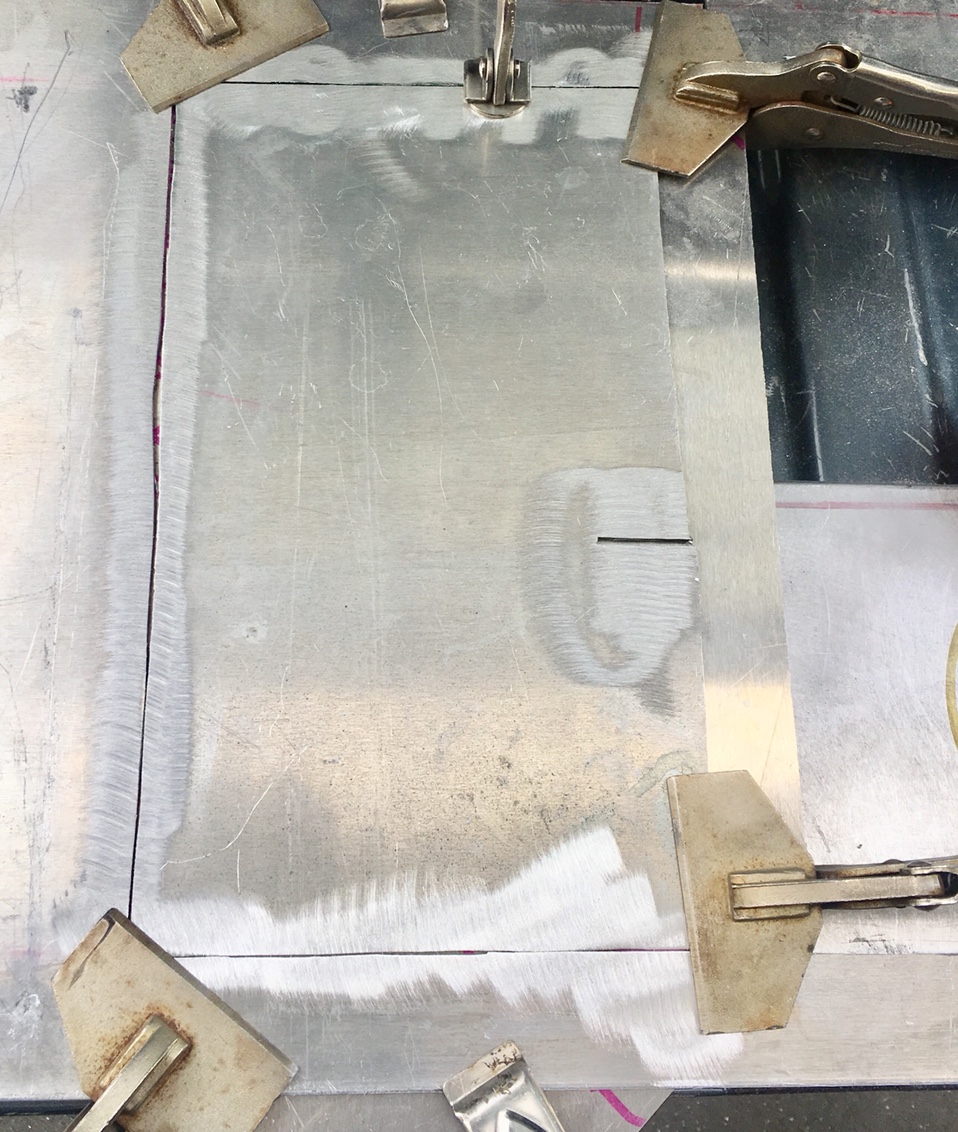
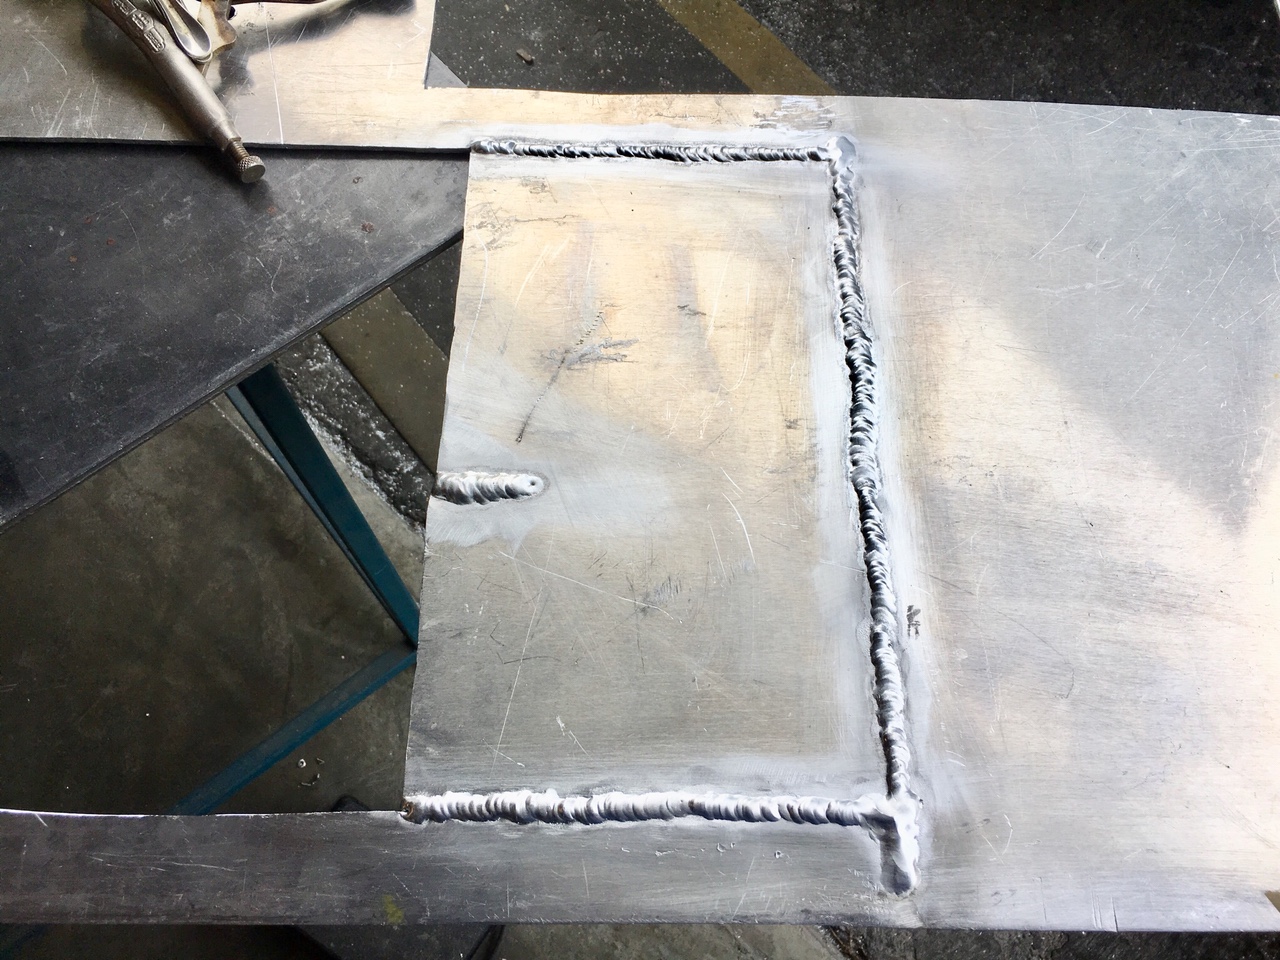
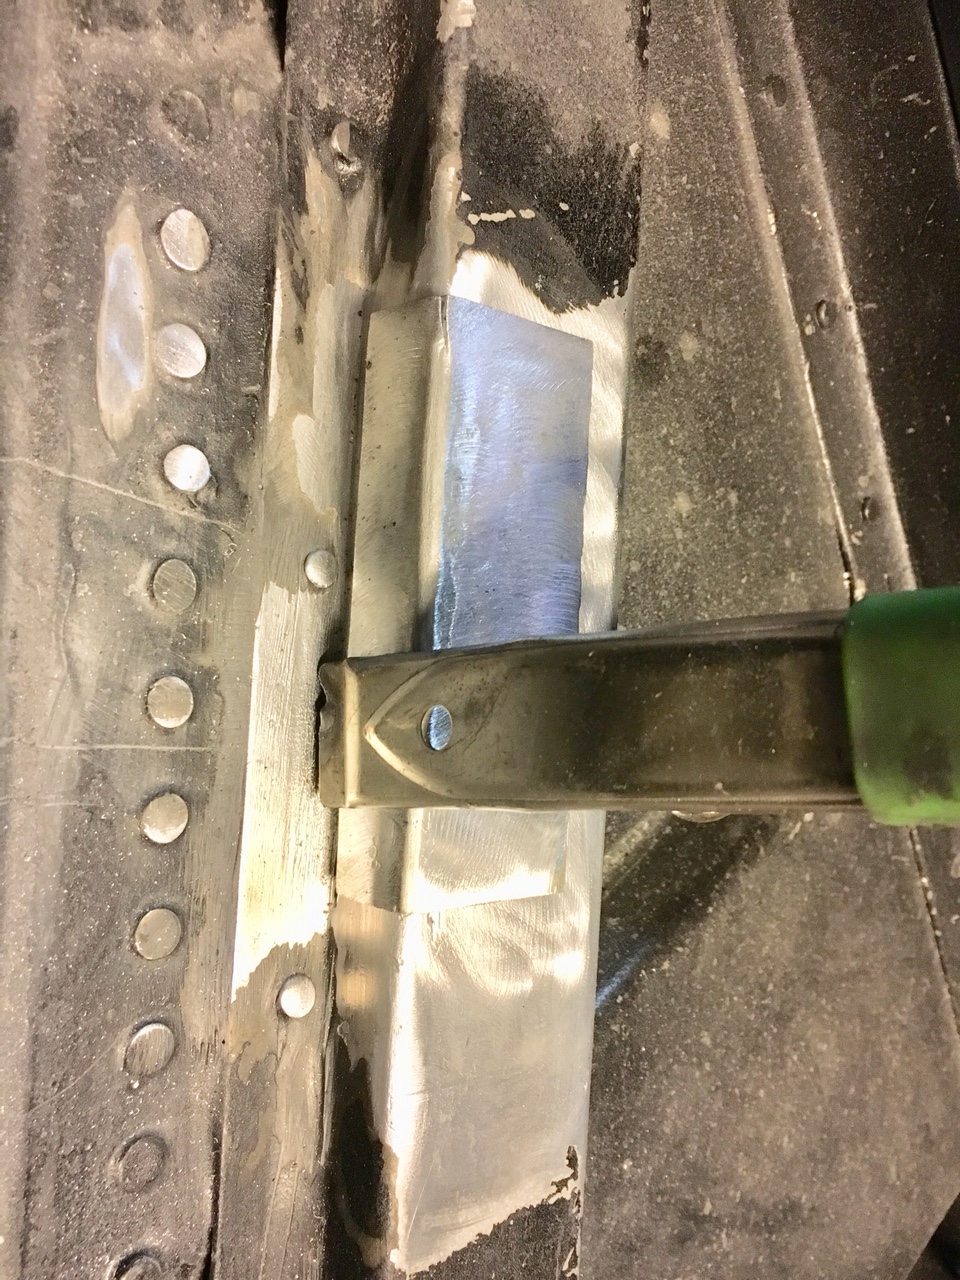
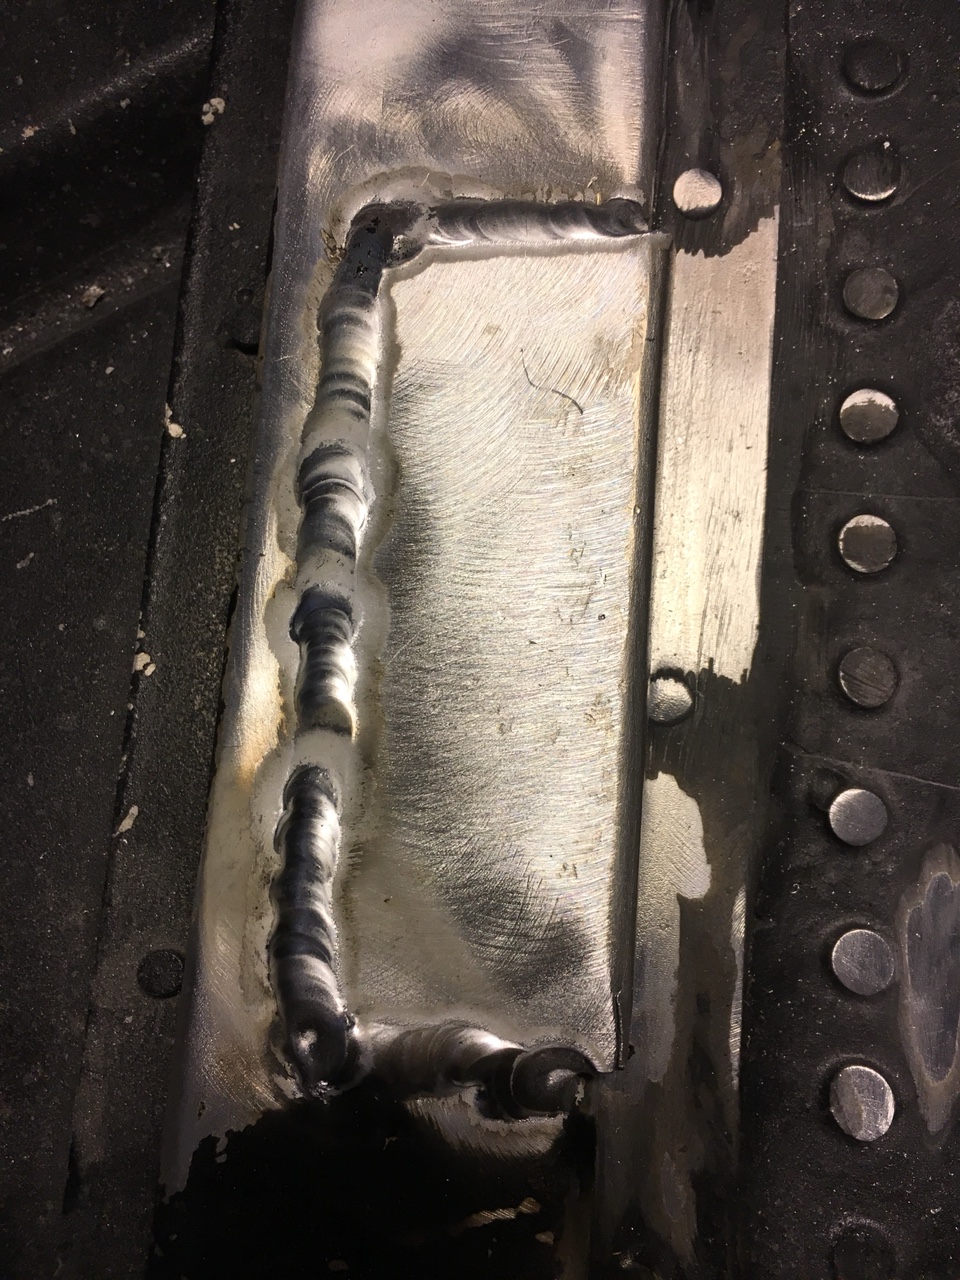
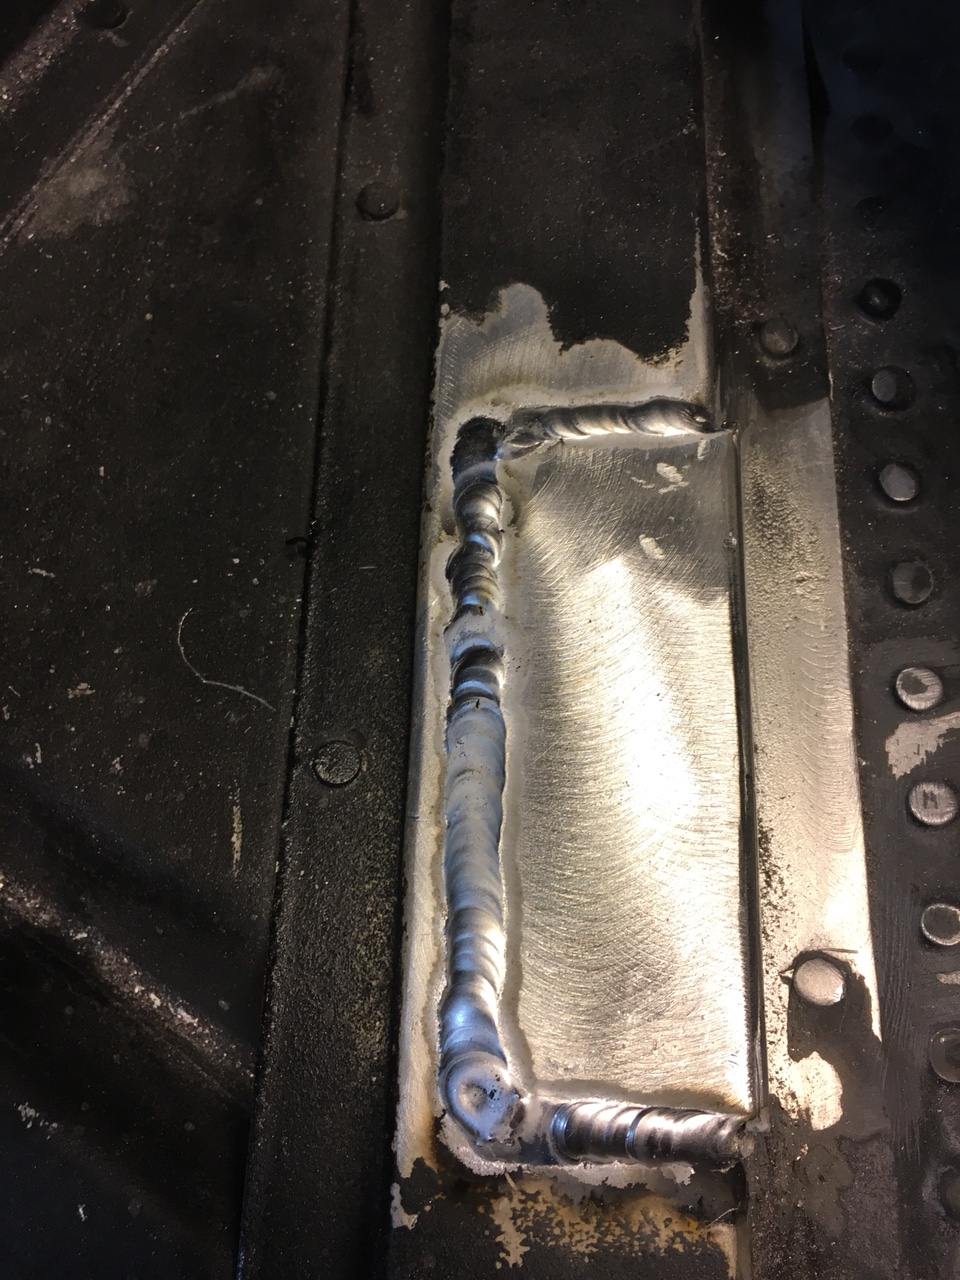
Welded up the bottom first , hotter than I normally weld to get good penetration.
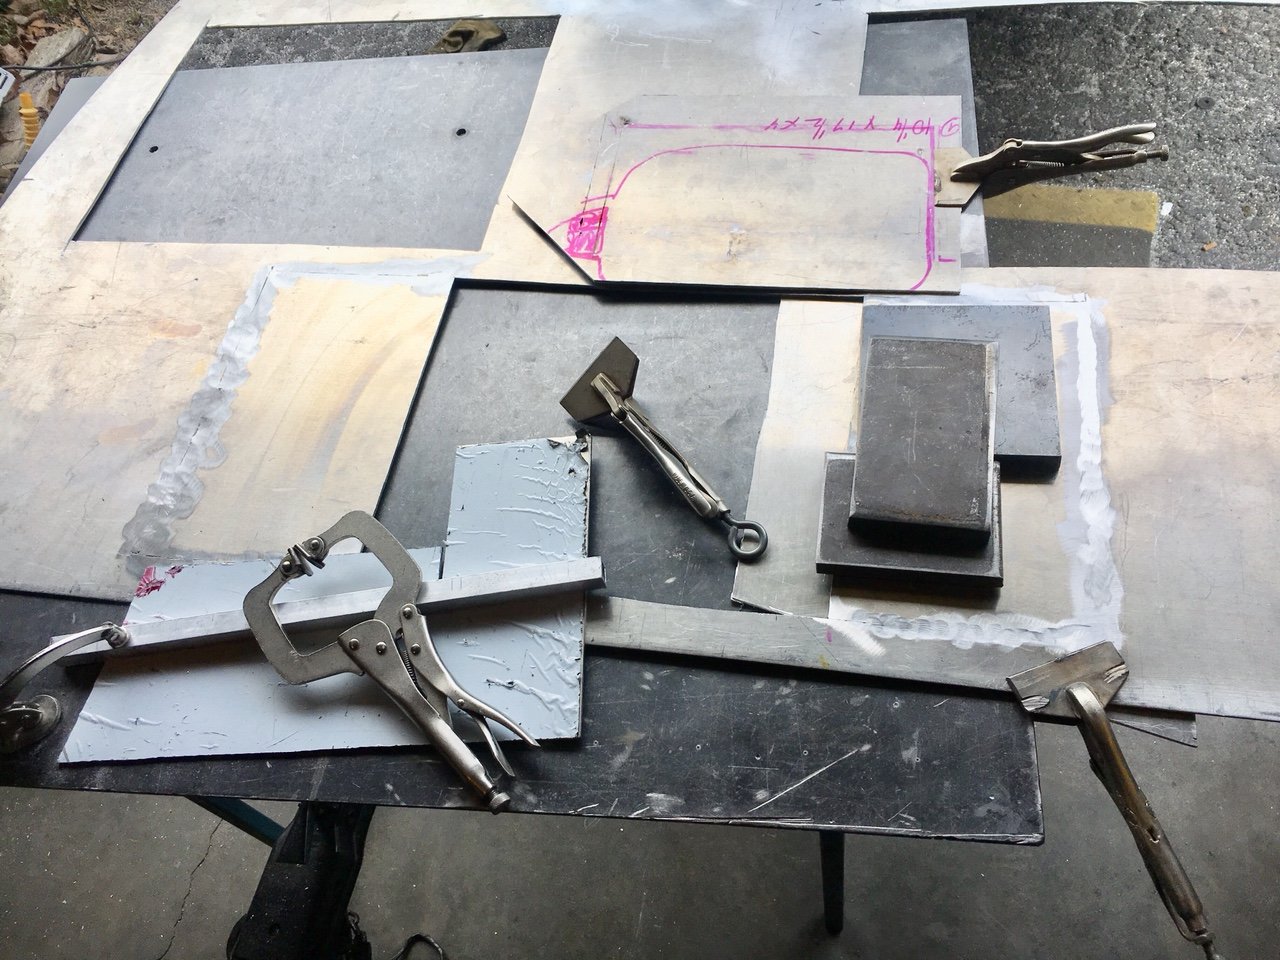
Used backing plates to prevent “blow out” at corners and tried to fight the warpage from heat with scrap sheets and heavy steel weights. Everything was clamped as tight as I could with what I have available.
db621181cb7985b0682a13c3c2faad17.jpg

They may not be pretty but that’s the bottom and I had great penetration on the top side .
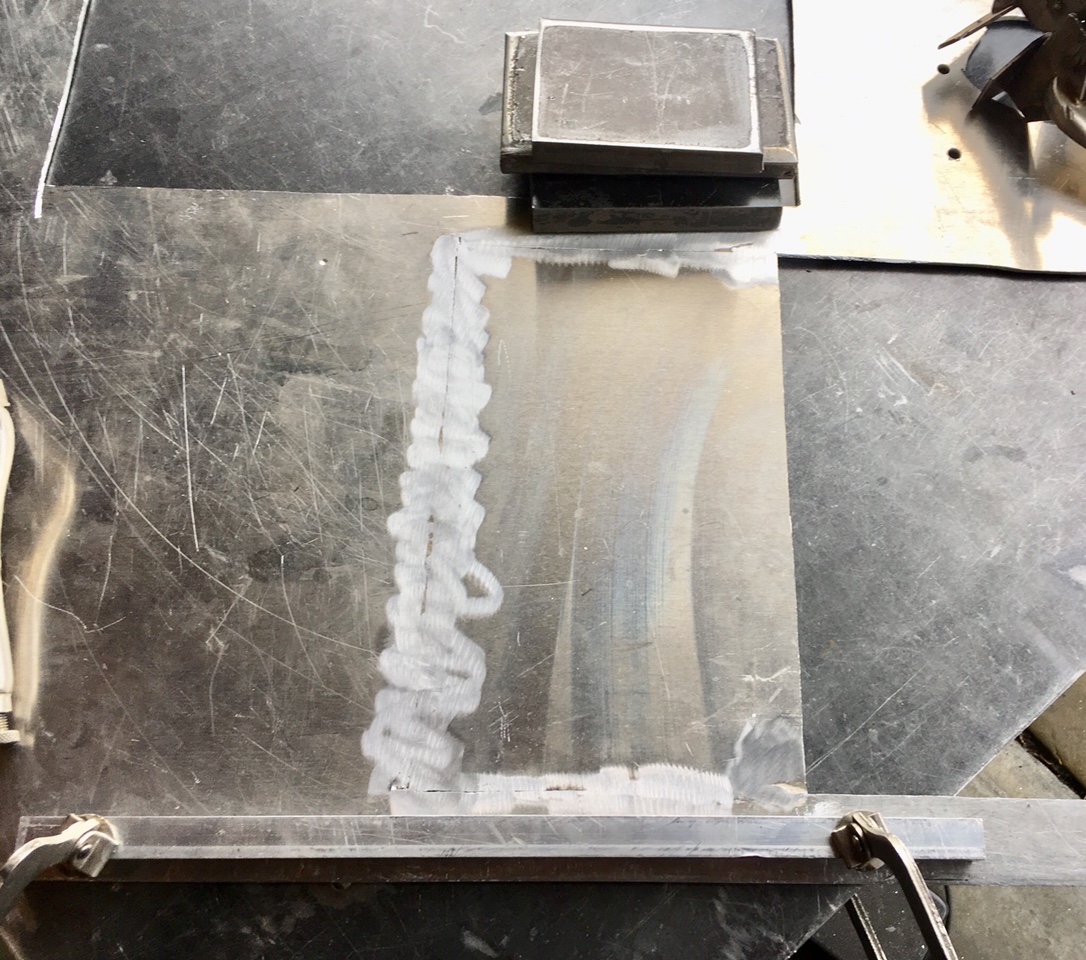
Flipped it over and sanded the area real good to make a sort of
Concave groove section, cleaned with SS brush and acetone wipe. I had to beat out some warpage and turned amps down to 100 and slowly worked my way around a little at a time very gently !
43d68e48329e239fb4c61bffc6baed47.jpg

I also thought why not use my air nozzle to blow this thing cool after every small pass. Problem was I didn’t think of that until the second side lol. It worked really well after that and as I am new to welding I’m just glad to learn as I go and enjoy a challenge. [emoji3]
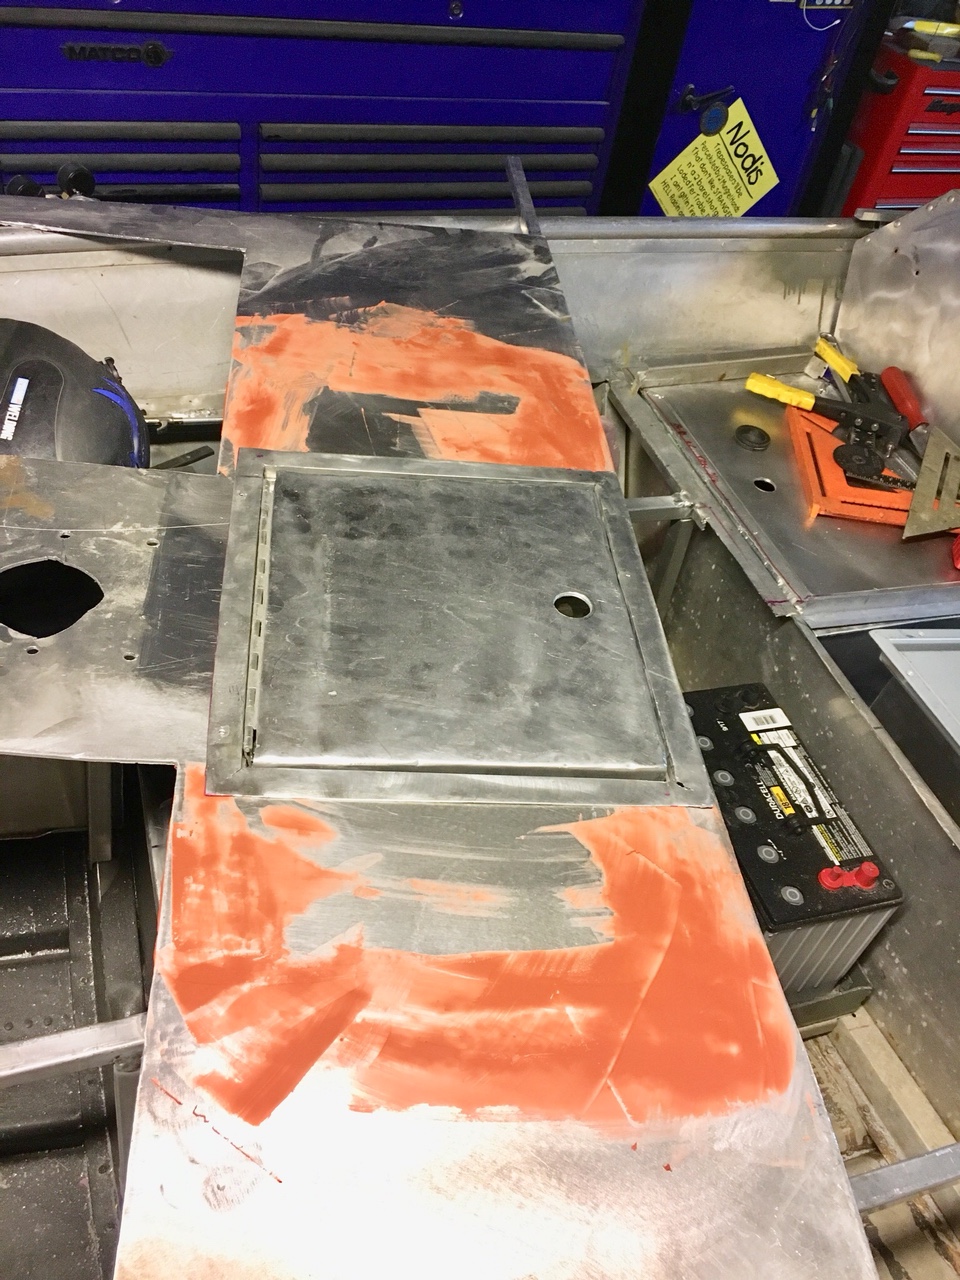
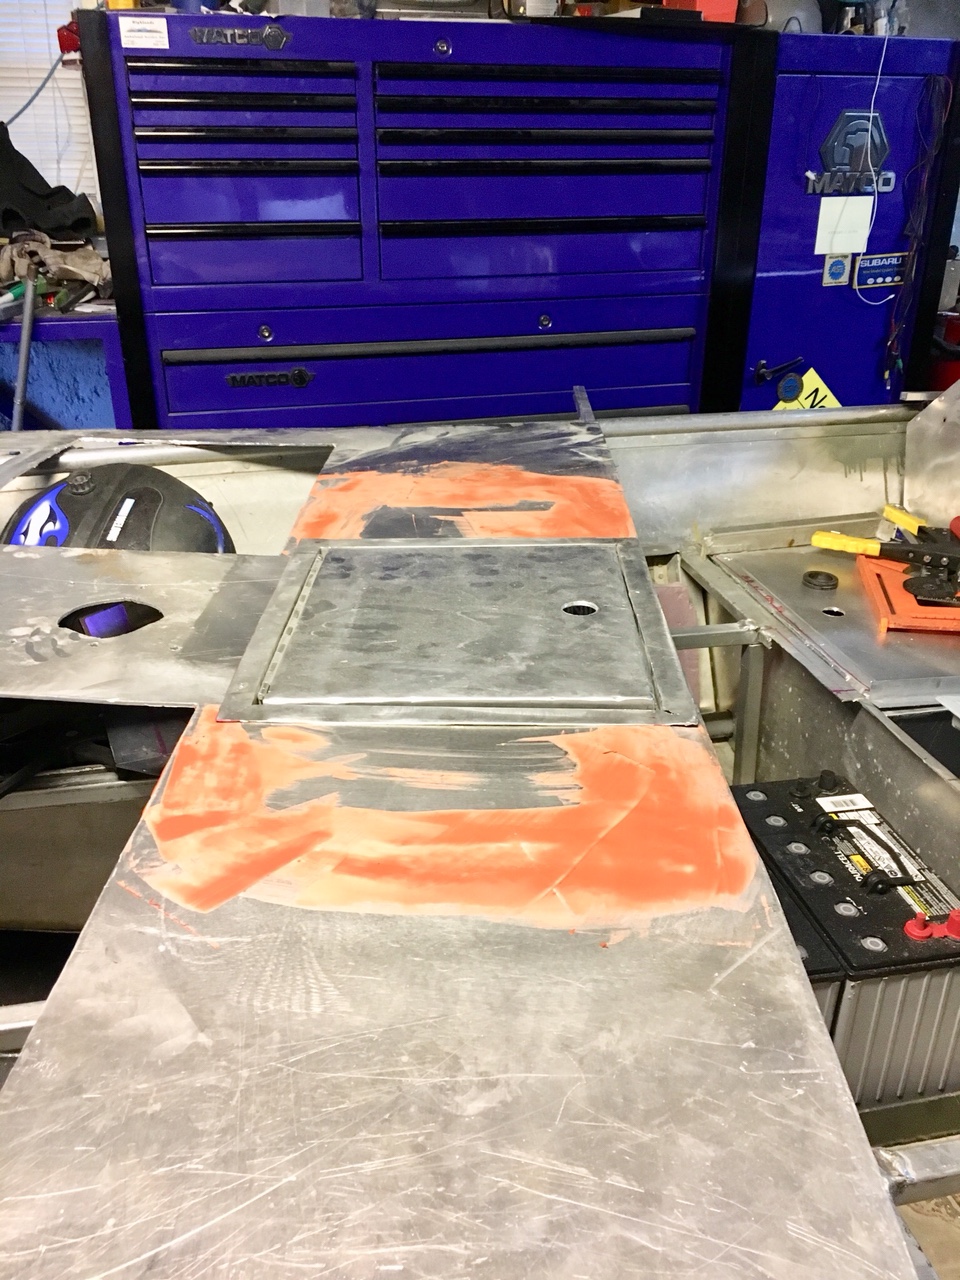
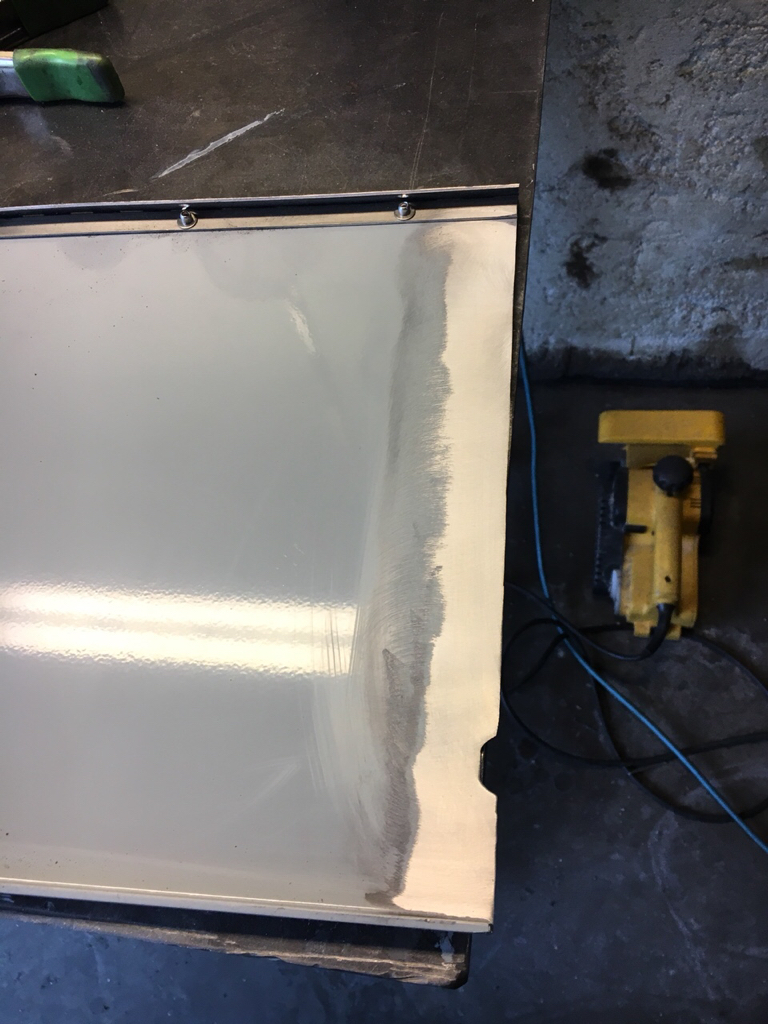
Once I had those 2 filler panels welded in on both sides I sanded down the welds on the top deck real gently [emoji3]
6aaf70ad5979c4f1d108c9d5ca9d8e5d.jpg

Marked areas with a sharpie that needed attention and then hit it with various grit on a DA sander. It came out pretty nice !
I also slapped some filler on there while it was still warm lol
c351f8b2453a7abf9bbce8d9e6ff572d.jpg

7e3dc9b2eb1054d0b262c545b8e1331f.jpg

Now this part was just me being silly I guess because after thinking about it the filler probably won’t hold up to human foot traffic and may chip away at a later date [emoji3] but I’ll hit those areas in the morning with a long board in-line sander and then the DA again but since the final finish will be thick and textured and of a flat color I don’t think that anything would be even visible lol but anyways we will see how it goes tomorrow ! I will be using prowelders tip on heat control for warpage in the future !! Thanks brother !
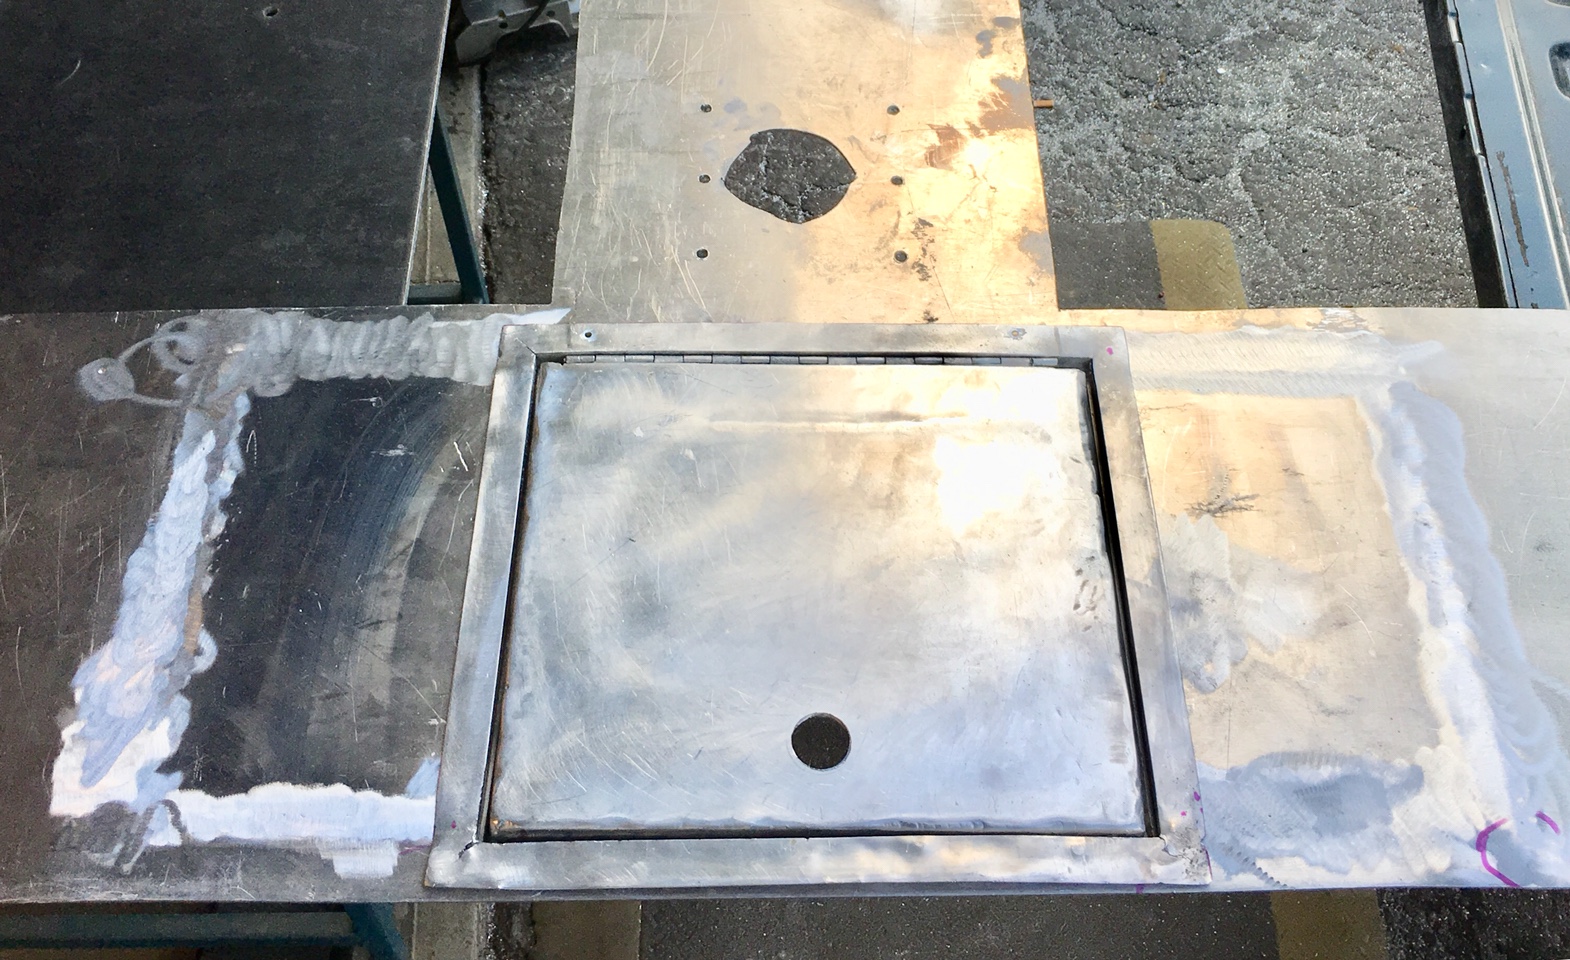
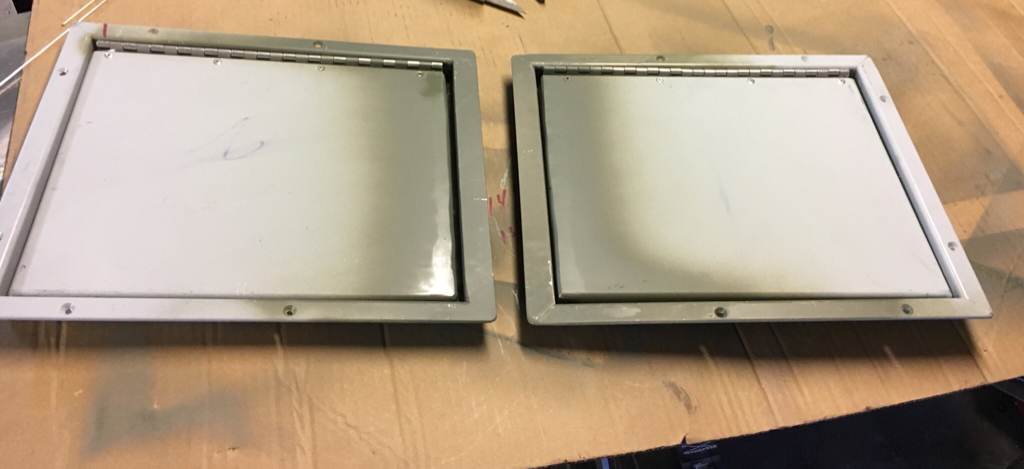
Now I will be cutting my brand new R&R hatch (the big one) exactly in half , welding ends on them to match what they made (after receiving them and looking them over I know I can duplicate what they have and not “waste” the new door) and installing these 2 “new” doors on each side of the battery compartment for true dedicated storage areas with lots of room and access ! Trust me when I say I am truly happy with R&Rs hatch lids but didn’t wanna waste what I ordered and may just order the anchor locker lid from them now to keep everything more uniform. The one thing I wondered about with their doors is the hinges stick up more than I expected. Is it a game changer ? No not in the least but the ones I built were extremely flush but took every ounce of “smarts” I had to make happen lol. Definitely recommend R&R designs for your hatch needs [emoji3]
I have a little more framing to do to the deck to make it solid and to add the supports for the 2 additional side locker doors. I will then smooth out my greenhorn welds and make sure the deck lays flat and does not rattle :)(that would drive me batty on the water lol).
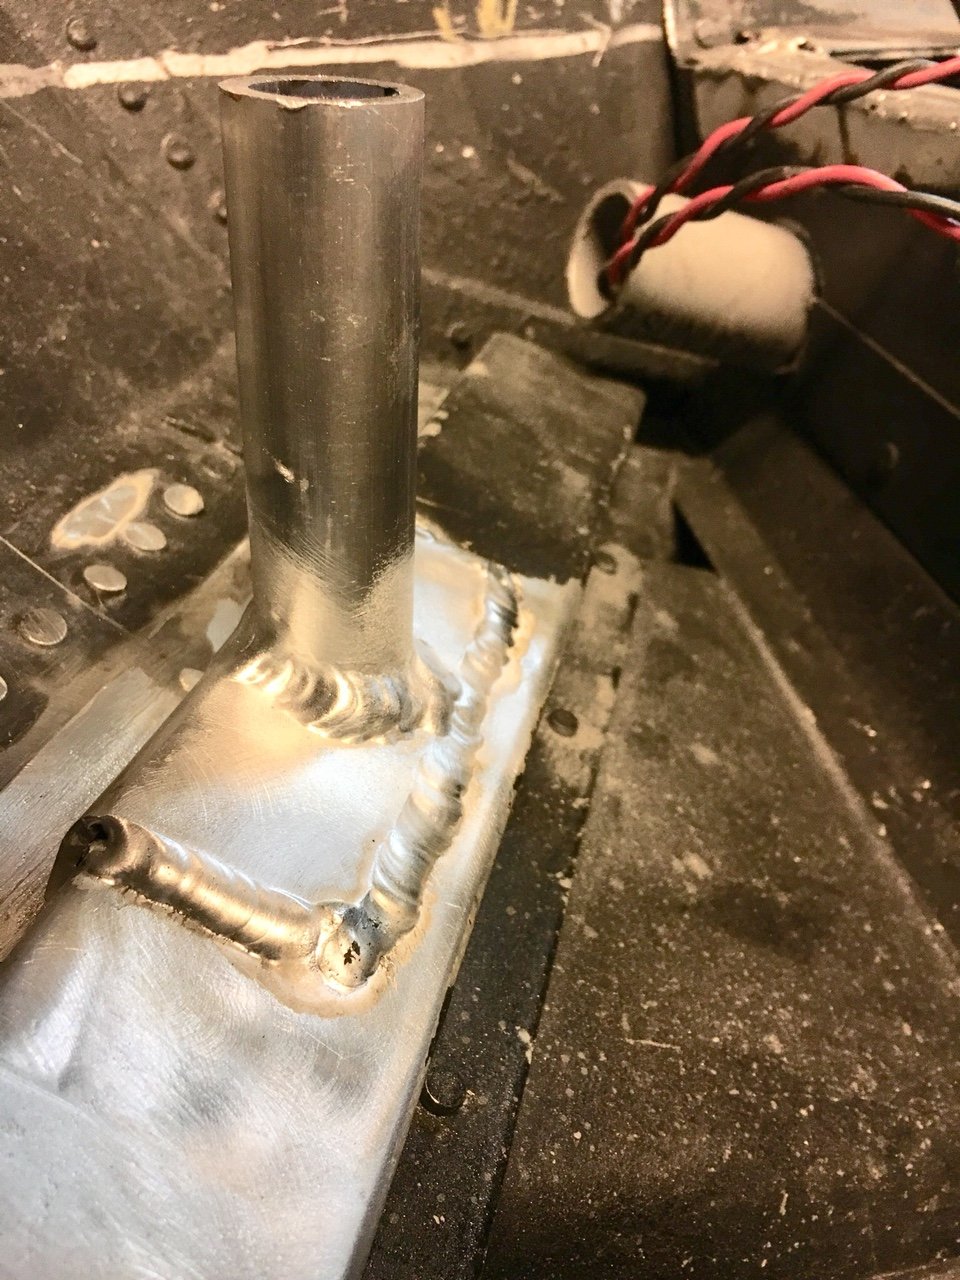
I will also add drains to each hatch door , even the ones I built with U channel to drain them to the bilge area also thanks again Prowelder !!!
I will make another door for the anchor locker up front and still need to add a water draining system to my built in dedicated ice chest/cooler !!
The front bow panel should be this weekend if I don’t run out of argon again !!! I am at the point where I have to decide on it and get started [emoji3]
Thanks for all the great tips, encouragement , ideas and just hanging out !!
After spending 7 months in a traction device I can’t tell y’all how glad I am to be mobile and doing something with my hands again even if it isn’t what I have been doing all my life (wrenchin). Stay tuned this could be epic !!! Ha Ha !
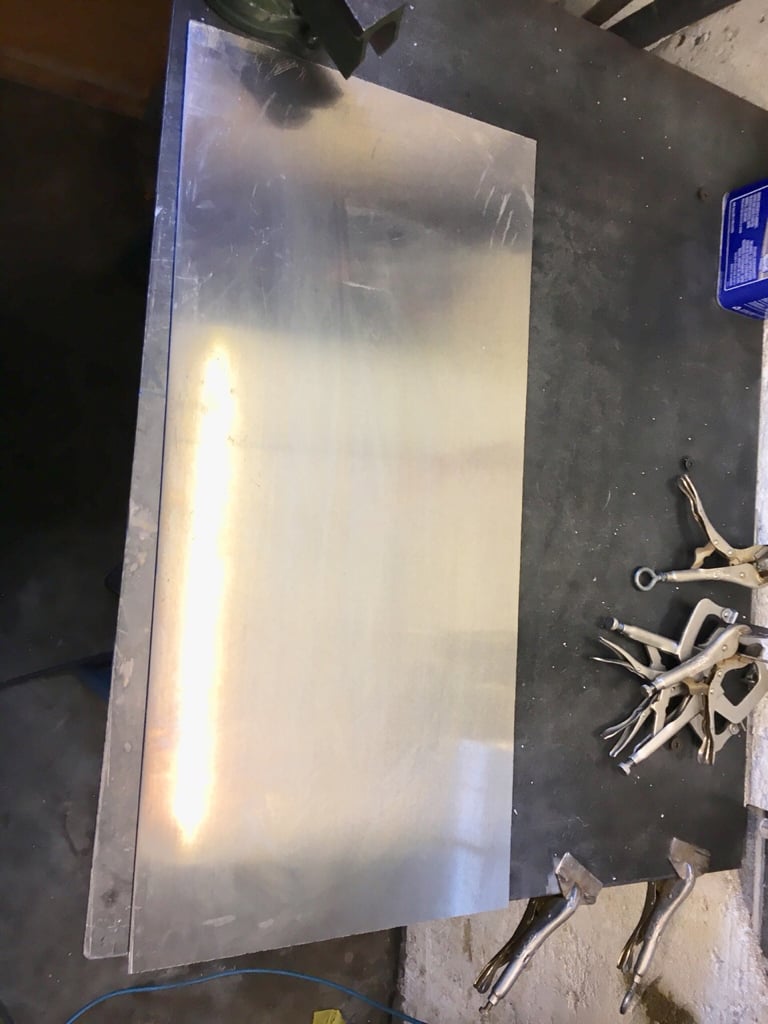
 
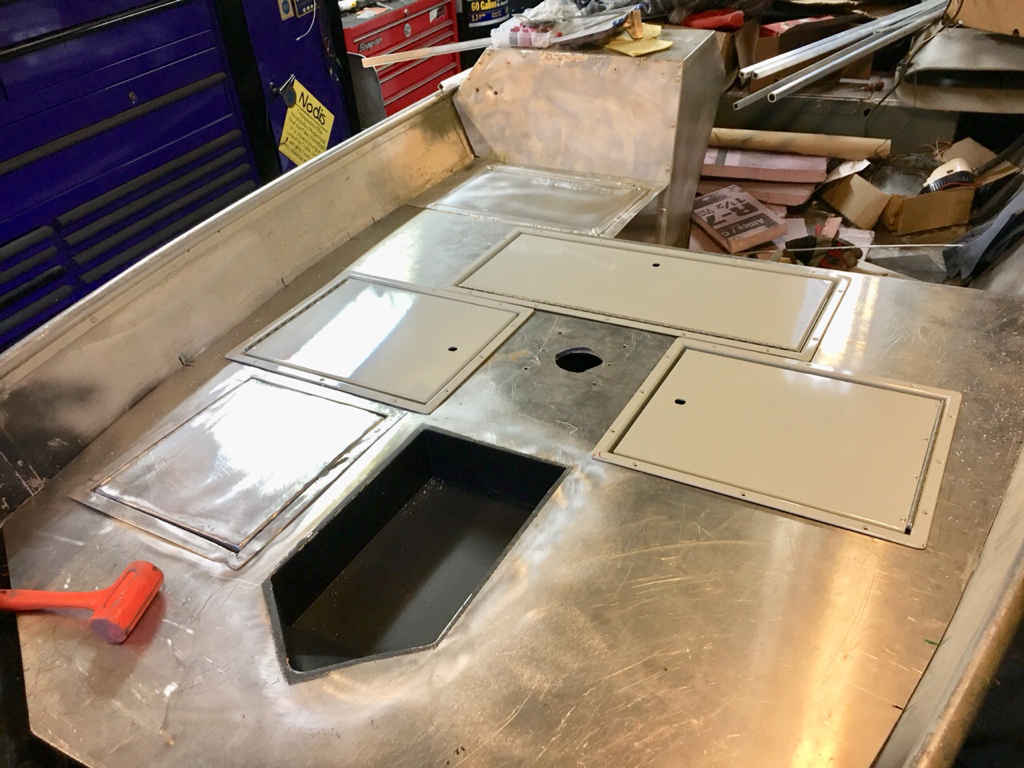
Got some more locker and framing done lately, made 2 hatch doors out of the big one I ordered originally
24bad4e6a5d5393a322e112789d55f8f.jpg

79fb39e742a594e1b7efa8338f7f2c28.jpg

98fb2b004953bddeda9ff6d3788ec17f.jpg

b63febc0171cc74dcac5cf80a2b33326.jpg

344aa0741dc9b8368515878979b800d0.jpg

Had to match the profile exactly on these
71812f1cfdad2fd2c6914fe4eed7806f.jpg

3a0139dd470e456dc4a16ed24621cc4a.jpg

6a99a69a89e137453e3cd4d2d86917fc.jpg

cf3a7d3bd25392dc46b5f7c8eb99b726.jpg

2 doors all ready to go [emoji3]
08dd6e448ad53957fb6dab67ad884fb9.jpg

ce224cb7fc40e95566e88a29f4048dc3.jpg

1269be239b8d88aaa7964554eb0a03a8.jpg

f4832f336edc06cd619c1dc88de8dc01.jpg

Test fit from the bottom section
185b198046dcfbbd89d05d817a179298.jpg

Installed some bracing to facilitate the new locker placement
b26a12a8a3631342c8492f7708b43f96.jpg

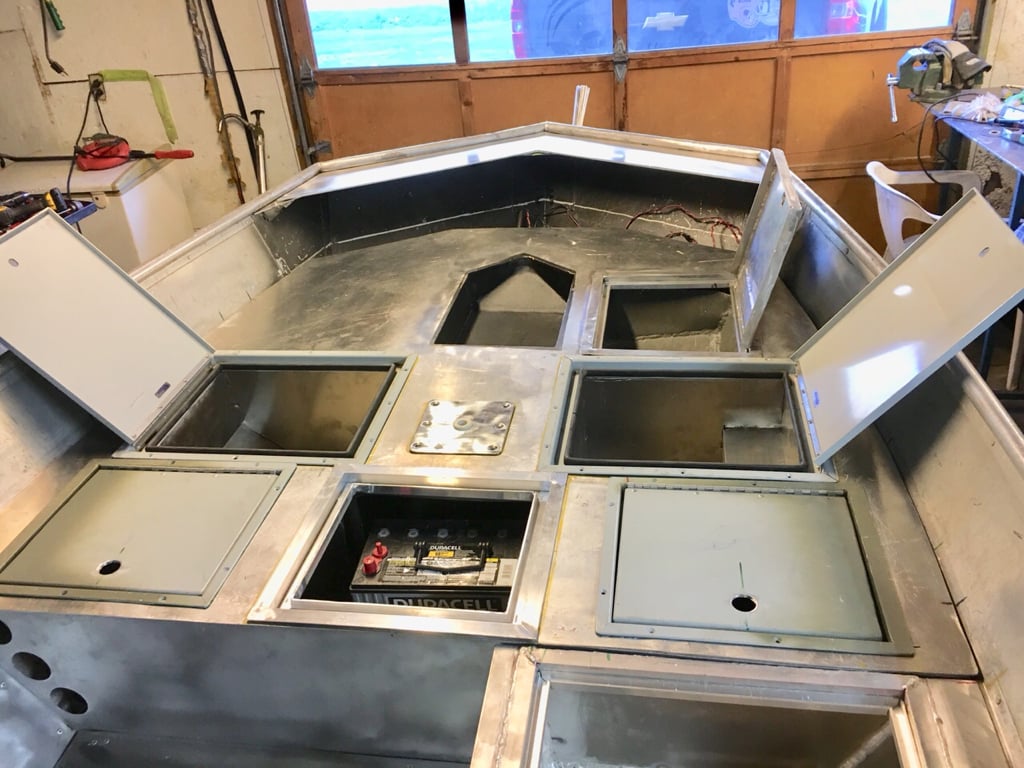
Everything installed and ready to roll. Made another hatch door from scratch today and it turned out so nice I decided to use it for the TM battery location and put that one back with the anchor locker up front.
814f3896cef3ce1e4f84df50da02bf19.jpg

Testing out a graph with one bow design
c92bbe87920f2a82d8f7a929e228460c.jpg

4848f814938bdd987839213135da49aa.jpg


Scored a whole bunch of aluminum stock today from a local recycling center at $.80 a pound !!! Don’t forget to check with your local recycling yards, had to pick through a 20 Foot pile of aluminum but really got some nice thick aluminum plate today ! Going to finish the remaining locker dry boxes tomorrow and close in the batteries up front center section.
Going to get Dad started sanding down all the deck and locker surfaces for priming and paint.

Getting very close to having the hard stuff done !
To do list:

Transom board cap and connect to corner caps.
Engine support plate (seriously considering making a manual jack plate but need ideas,photos, dimensions)
Weld up 2 pass-thru holes that were previously used for livewells.
Install Motor !!!
Bow panel design, framing.
TM bracket design with integrated storage.
Tie down cleats.
Purchase complete steering system and install.
Lots of “Fit & Finish” work still.
Prime/paint interior.
Need ideas for fuel fill neck location/install. I am considering installing it in the rear deck, port side sorta recessed into the deck and angled for easy access from the outside while filling.
Fuel tank plumbing/vent install.
Dash gauge layout and install.
All wiring front to rear.
Interior lights and music install.
Float test and foam install.
Lots of work to do still!
Thanks for all the ideas and for hanging out !
 
Been busy,busy,busy here lately but here’s some updates [emoji3]
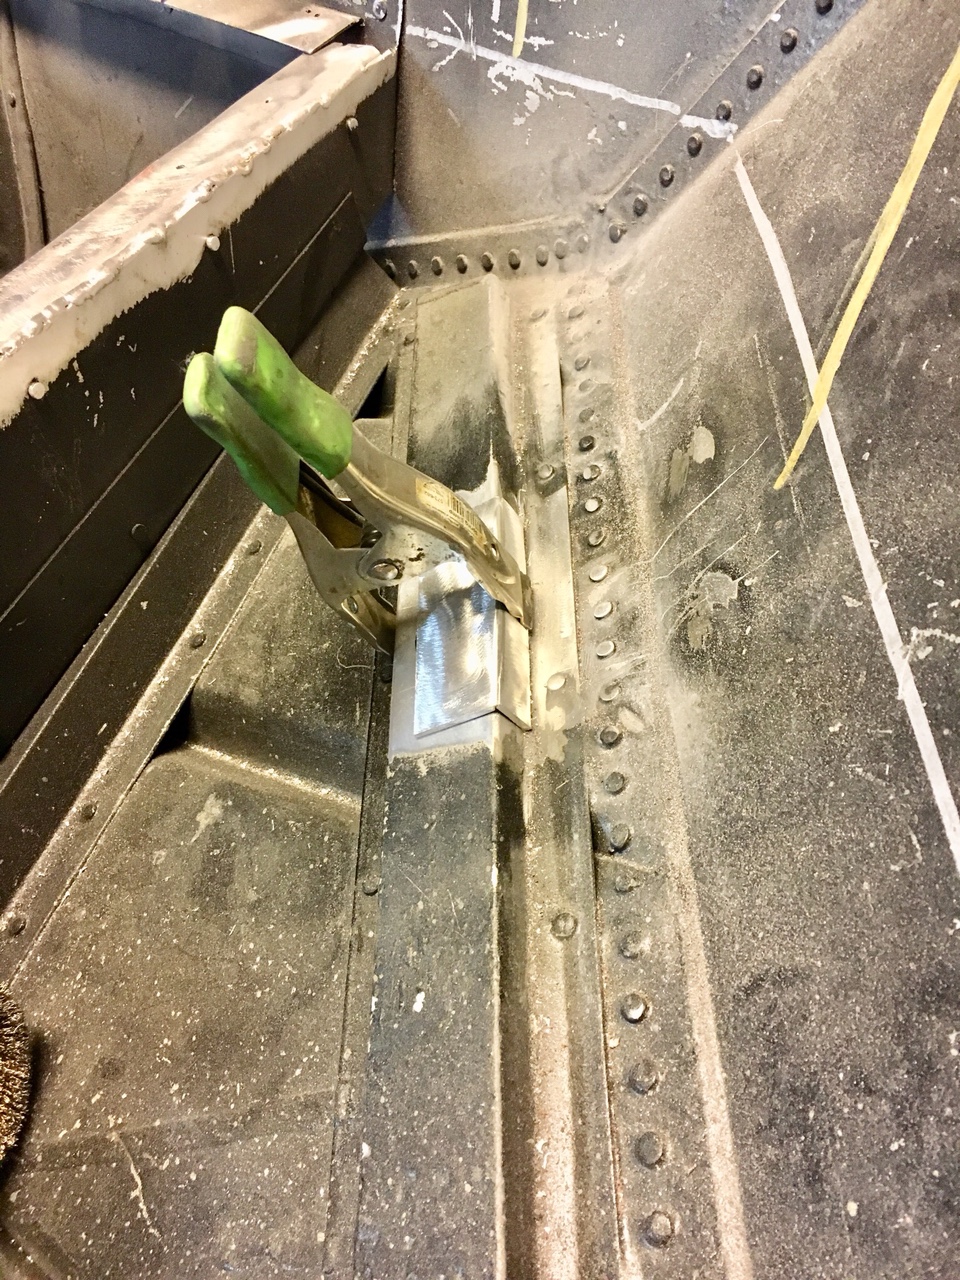
Removed the deck and started framing out the front section, added a plate to each side for support
ba20a331db86783f29a2f291b3ef84b8.jpg

47fcf9d0ecba3d9582f7106dc2366ad8.jpg

That Kevlar sealant was a PITA to remove for the welding areas lol.
d40a0a20ed169d827a9e93fbad69d808.jpg

c16474776bcfc1a10da70e7c9947eb58.jpg

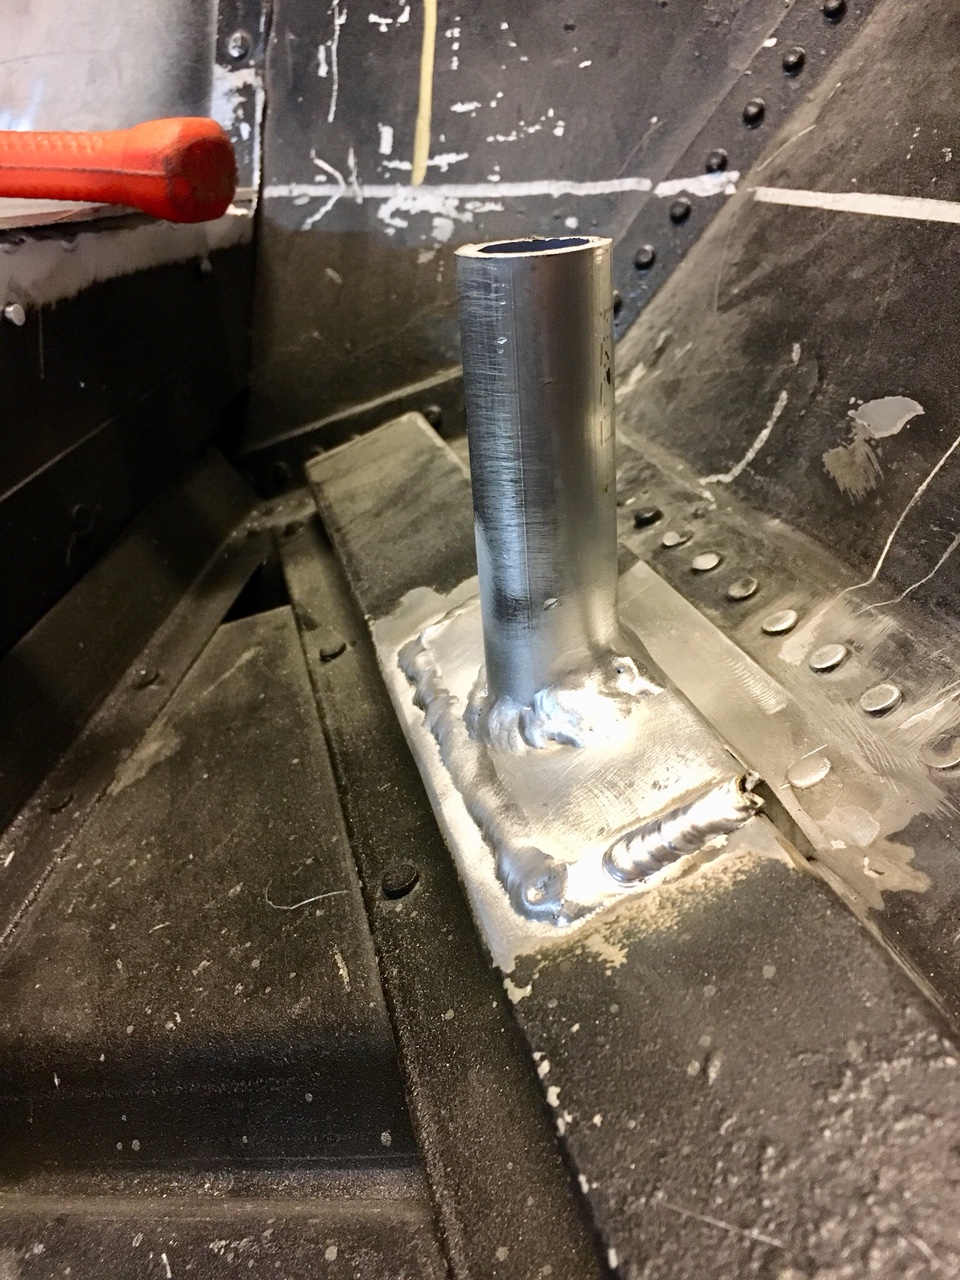
1” hole saw worked for perfectly to get the proper angle for 90 degrees to the deck surface.
66d6c05e52998c262088ff2b52717944.jpg

e56729b2a121f64888a77a4025aebd35.jpg

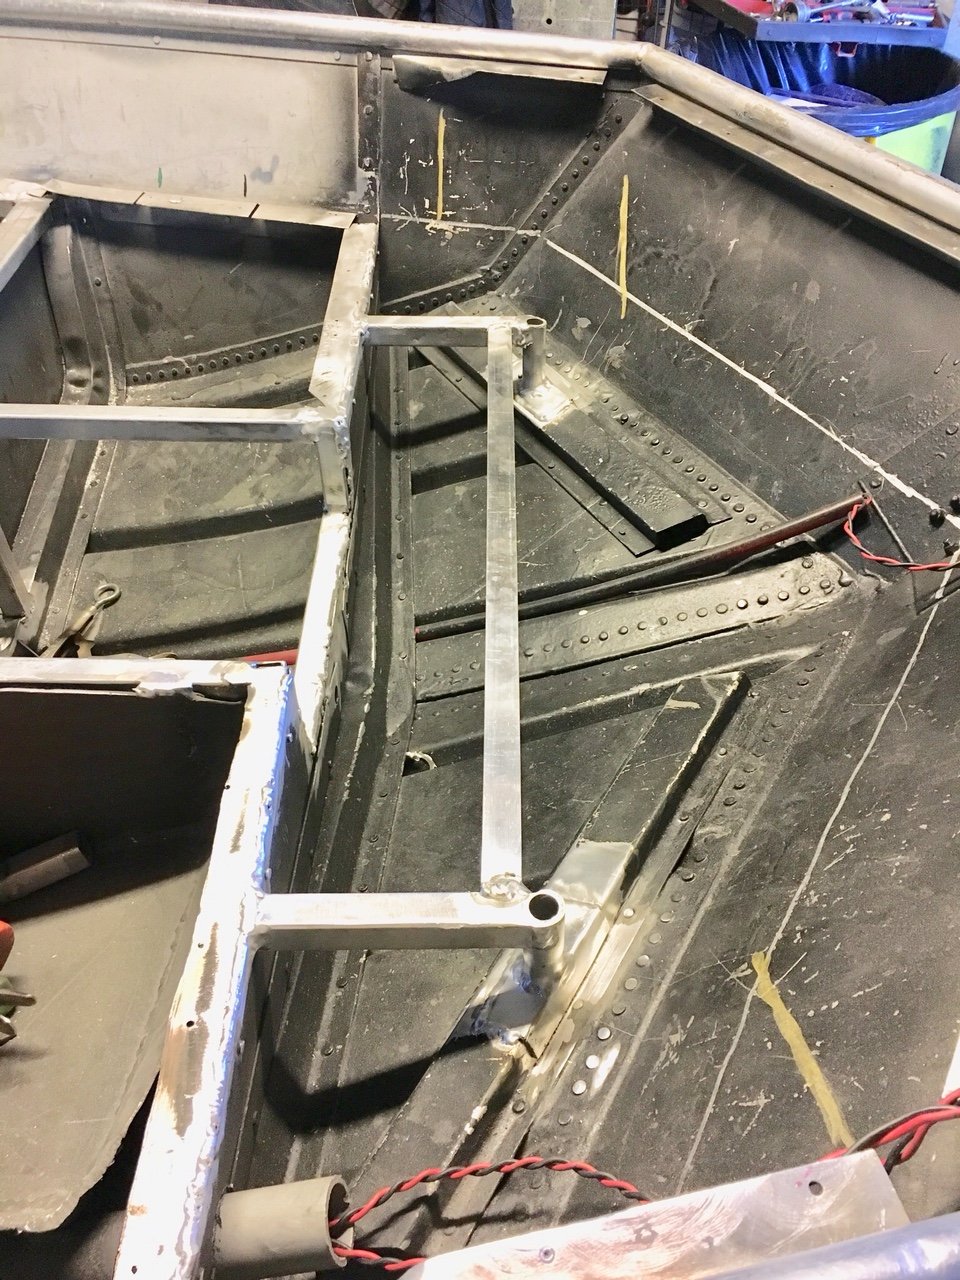
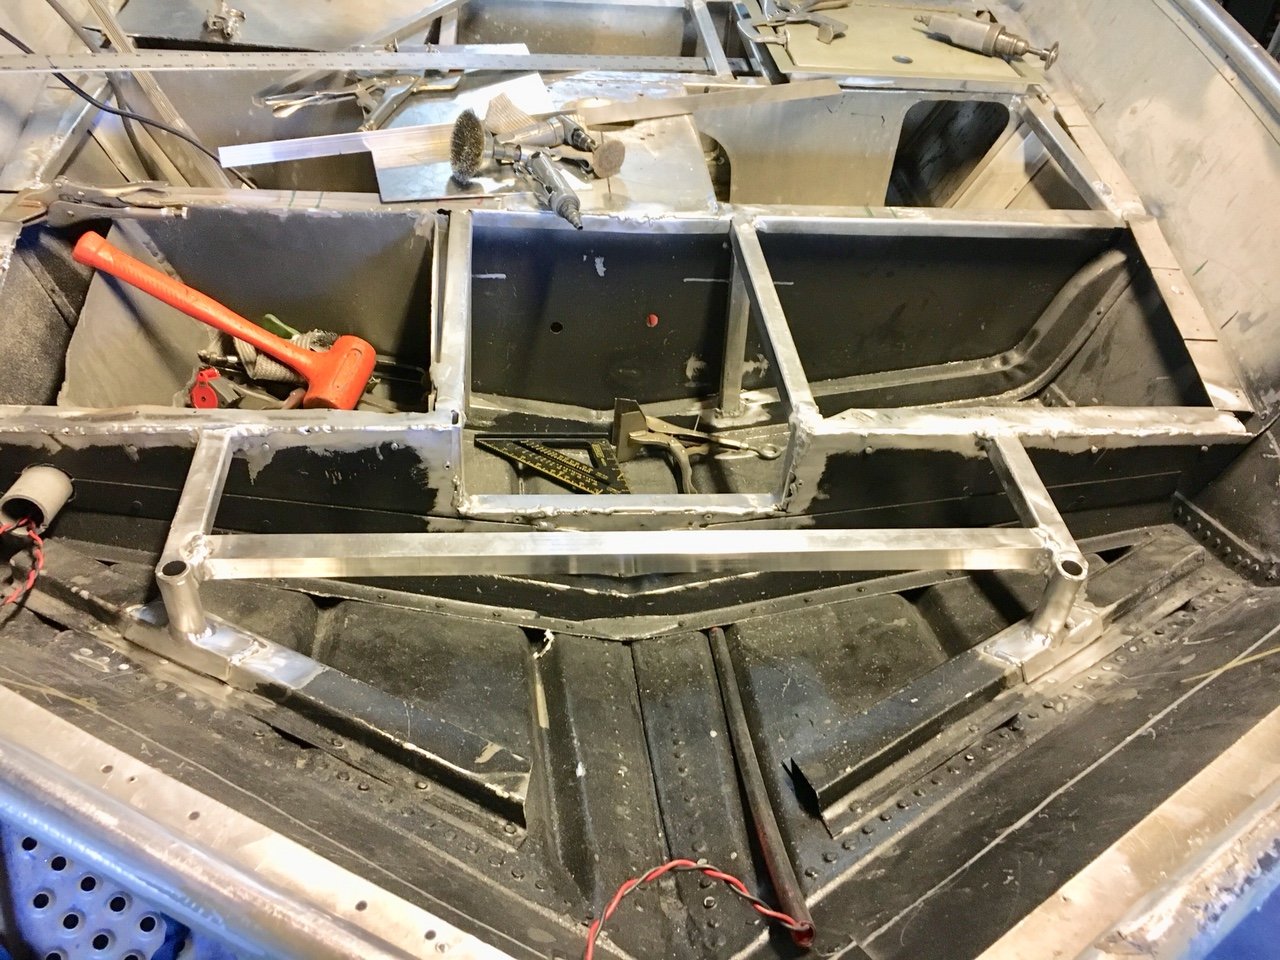
Added a cross bar
e1ce5865f2d628dabfd35977644b8ebf.jpg

2406336757635e28ad4fa9b6c3e4f11b.jpg

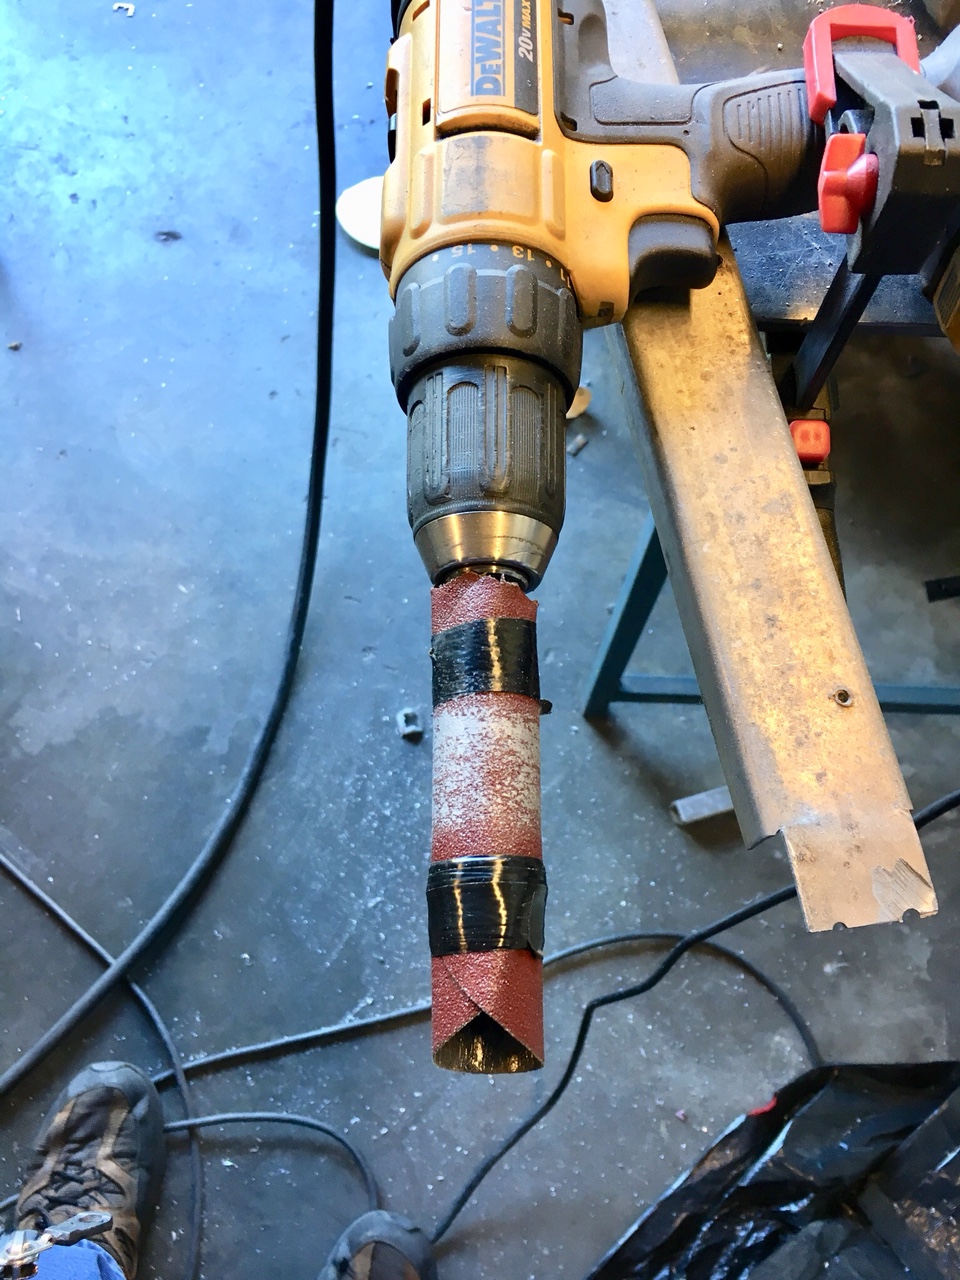
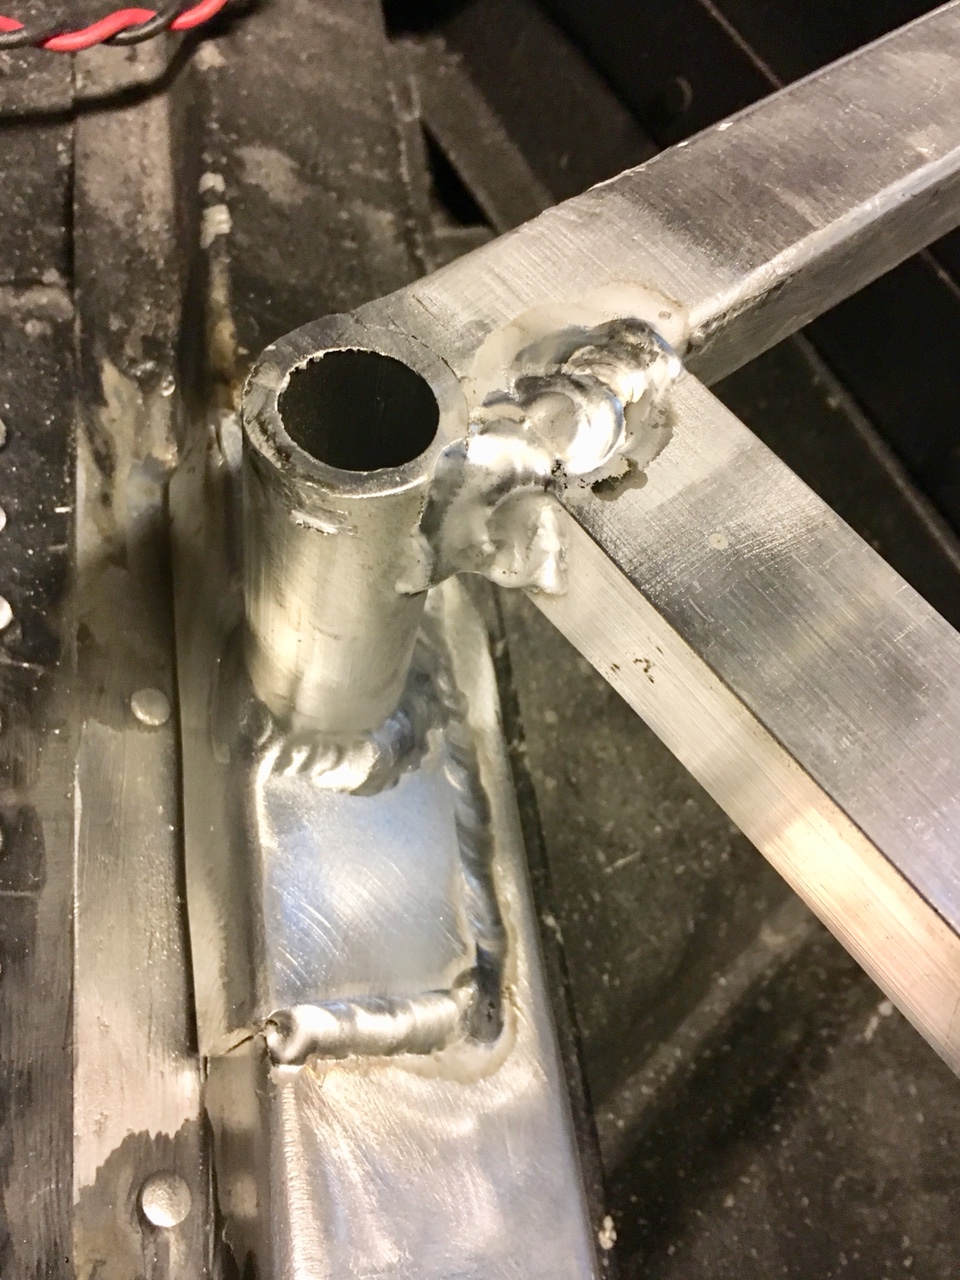
Made a coping device to get the 1” square stock to meet the 1” tube. Worked slick !
722046b853b856b856cbeaba923ab63d.jpg

bb9f7053393e1386f67a18ae0268c0df.jpg

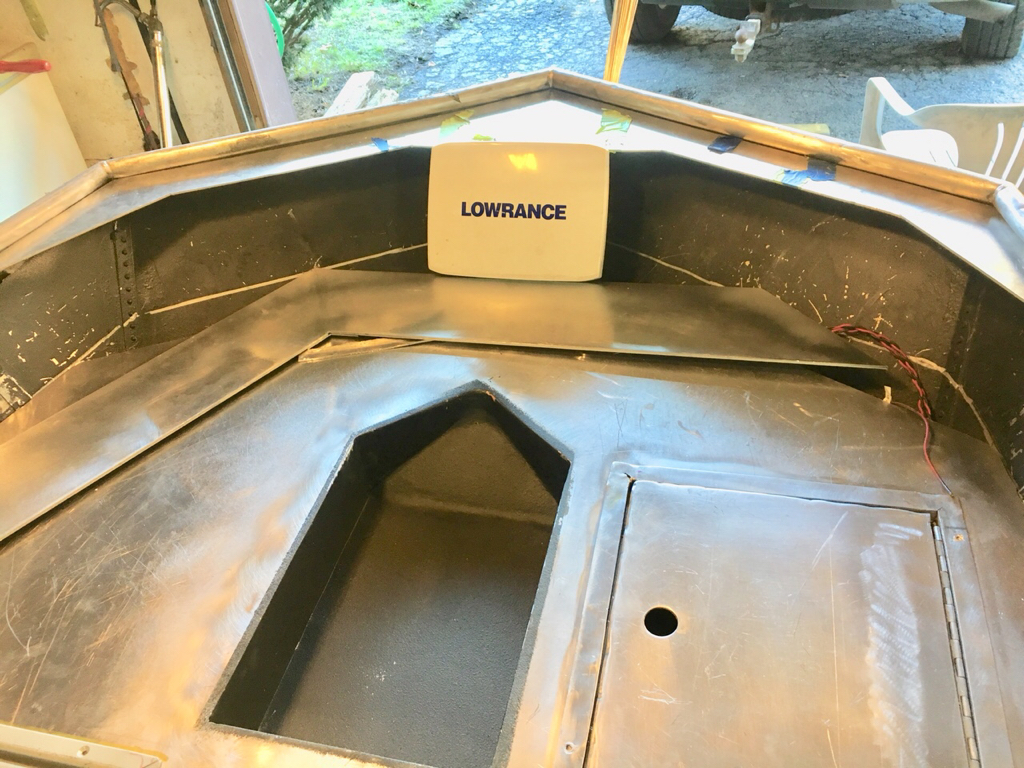
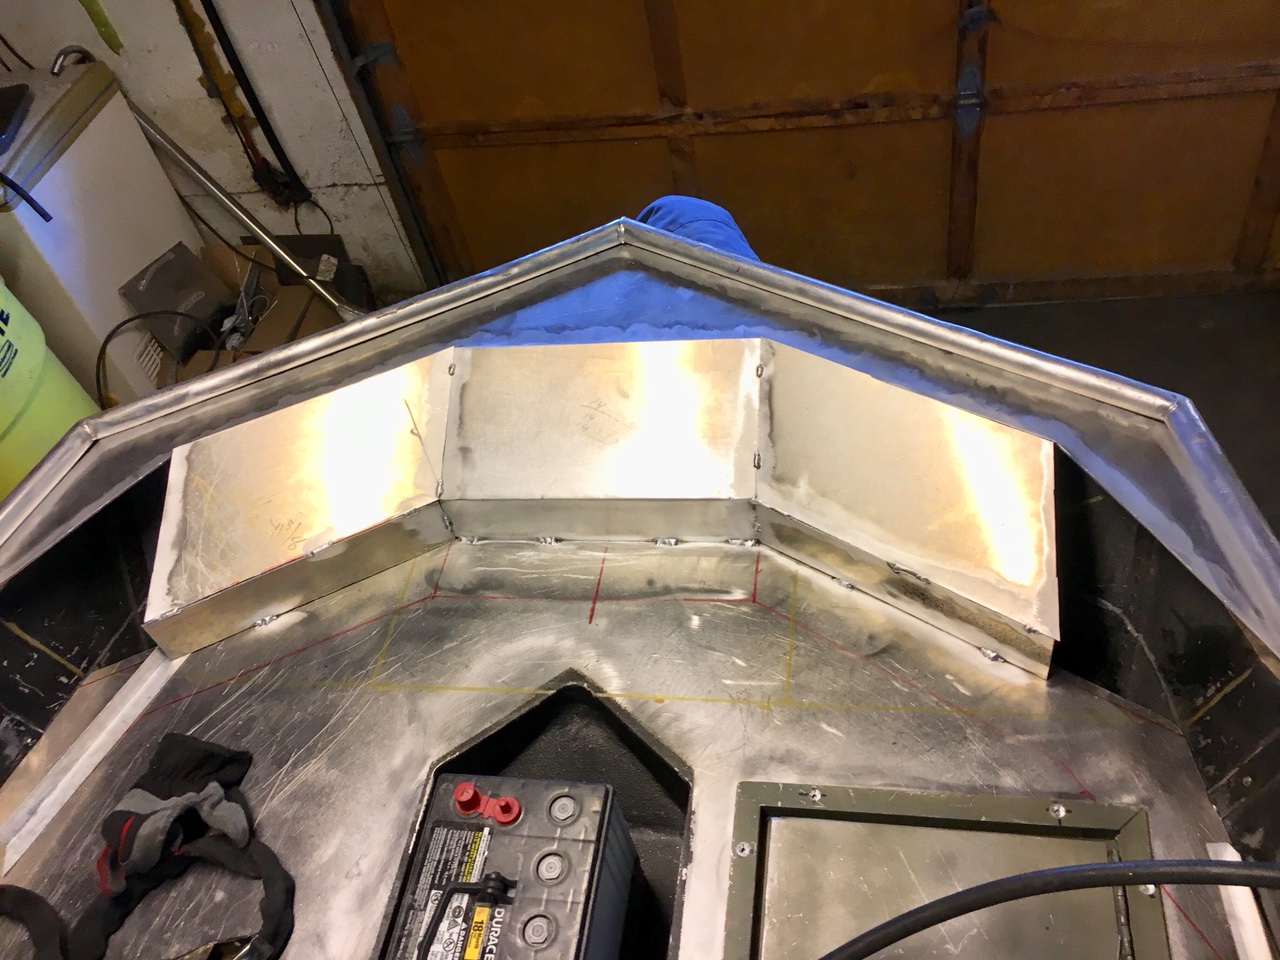
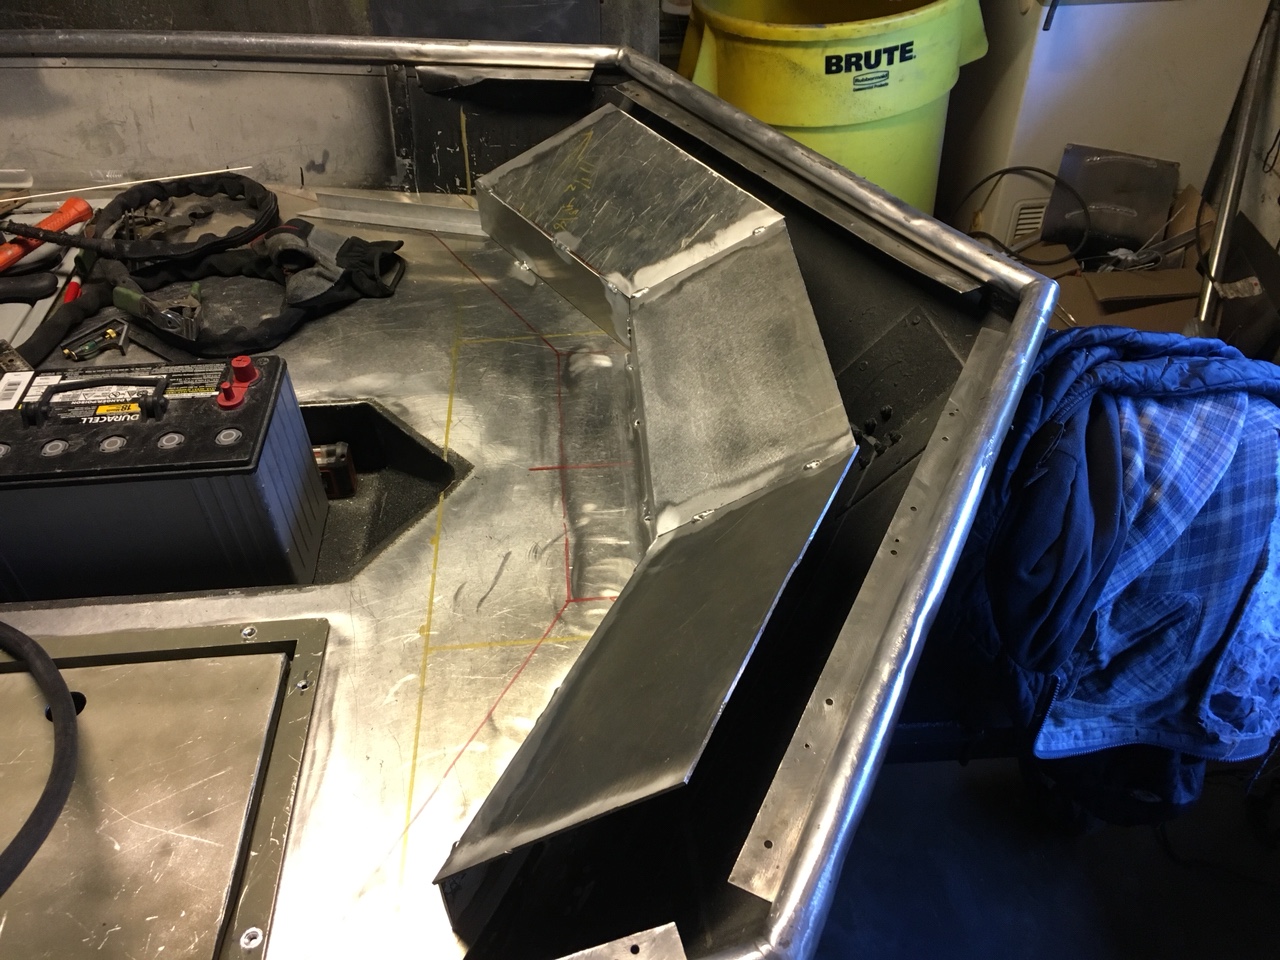
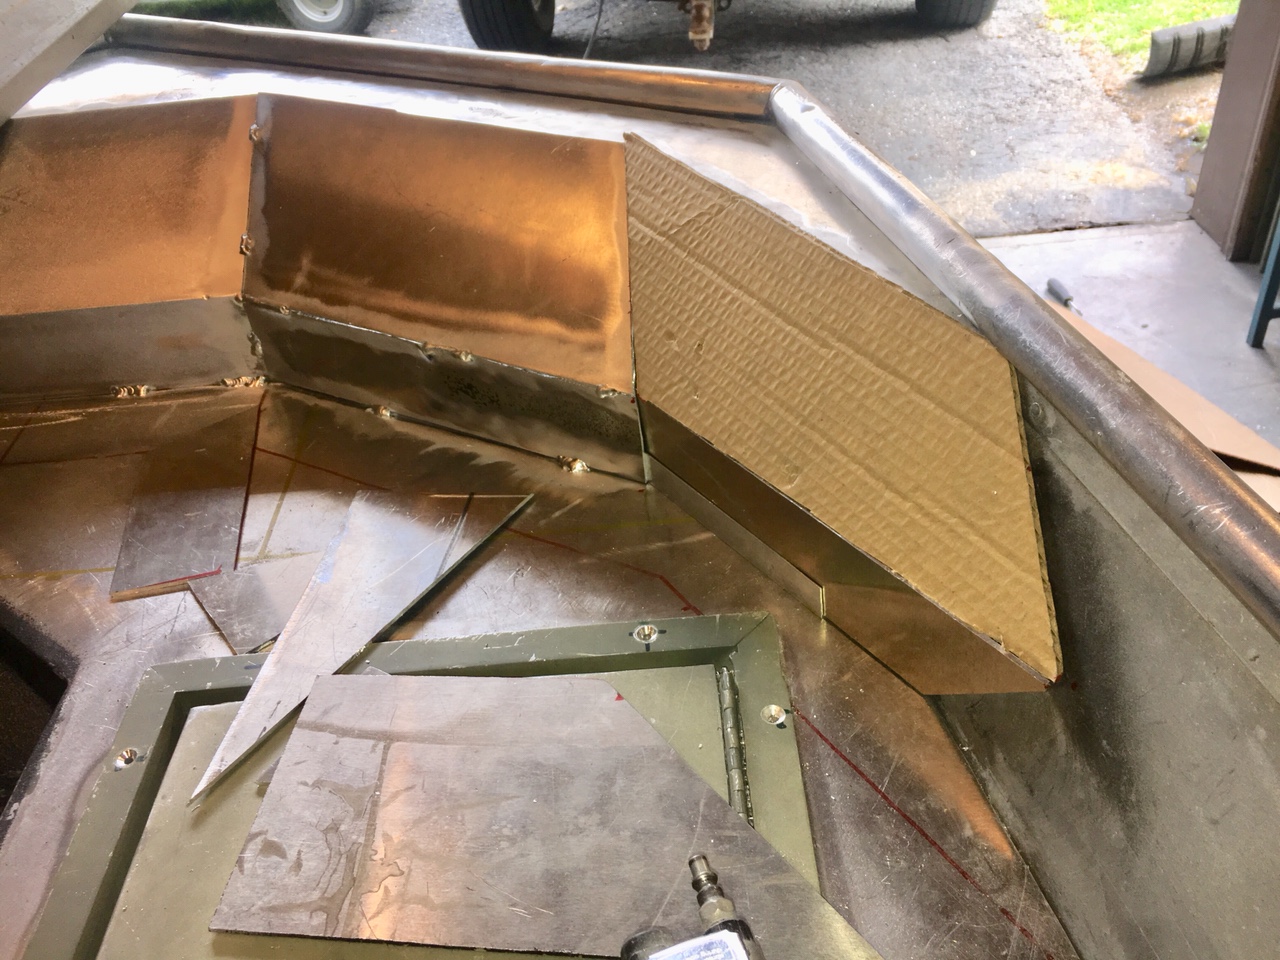
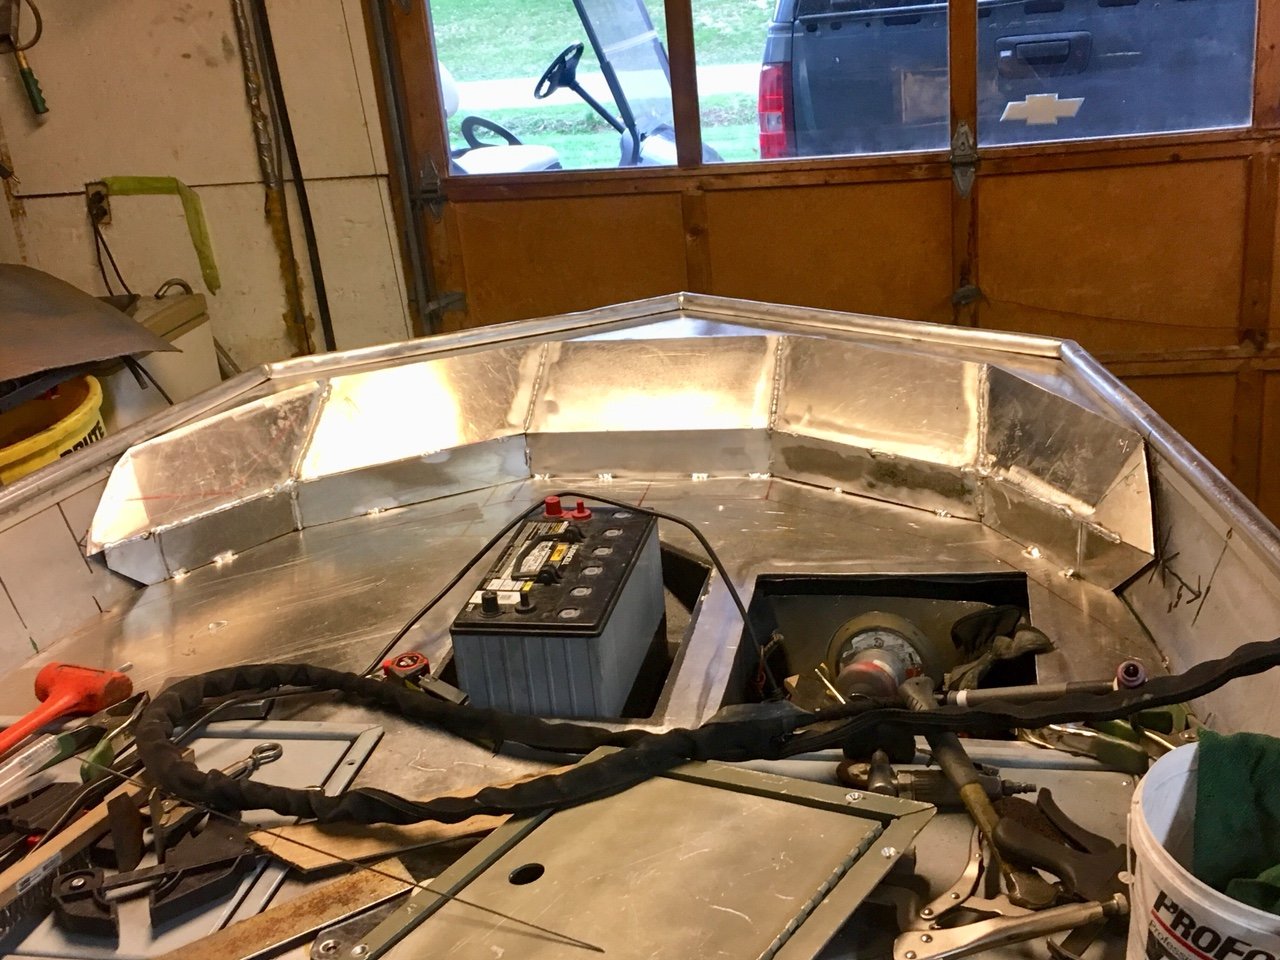
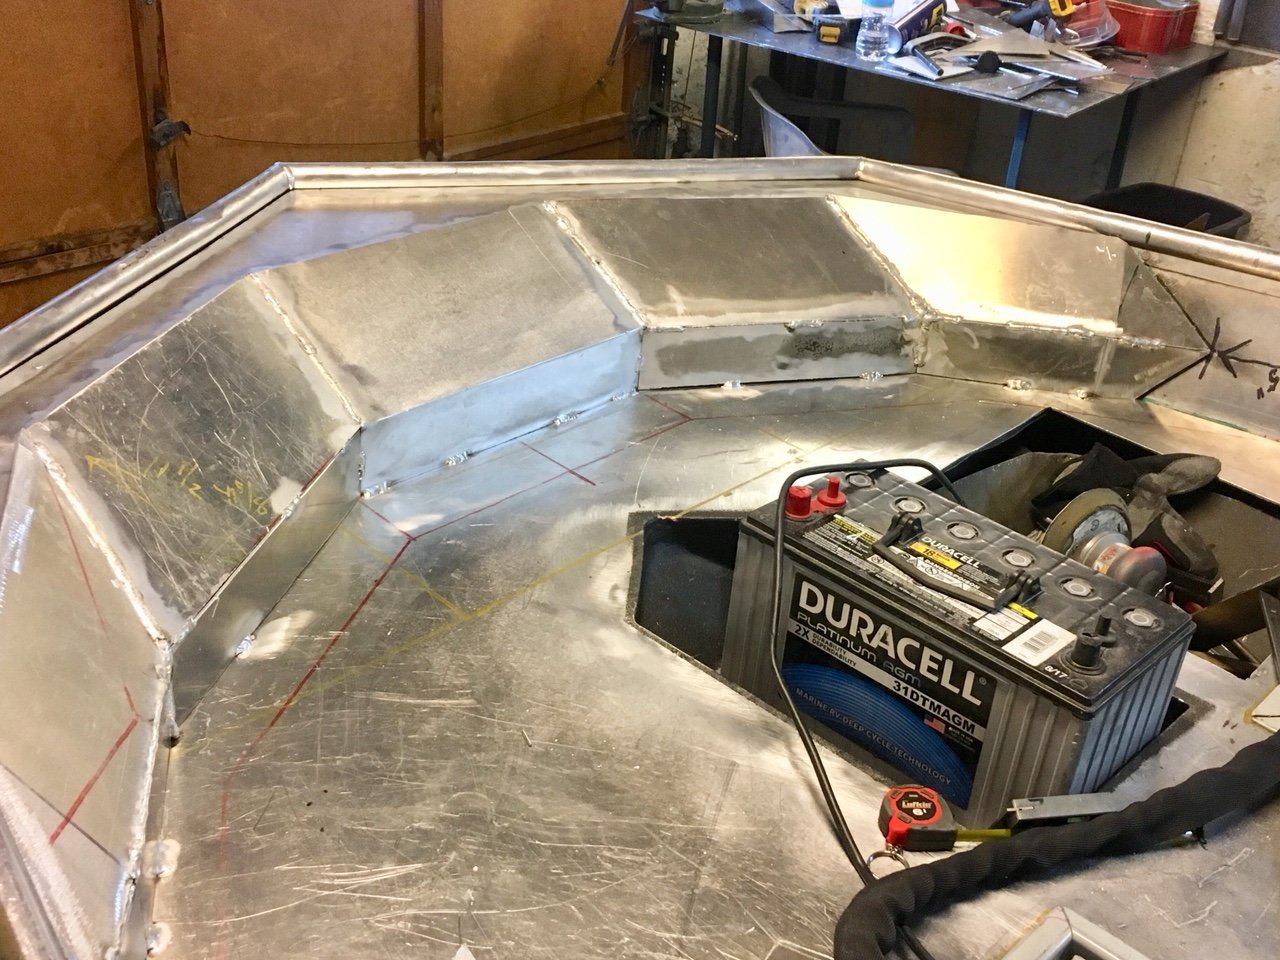
At this point I had to make a decision on the bow design before I could finish up the framing up there so I decided to go with the harder design , which was my original plan anyways.
Also used a laser on the center seat framing to make sure all my crappy welds were smoothed out with a flapper disc to ensure the deck lays flat in all directions.
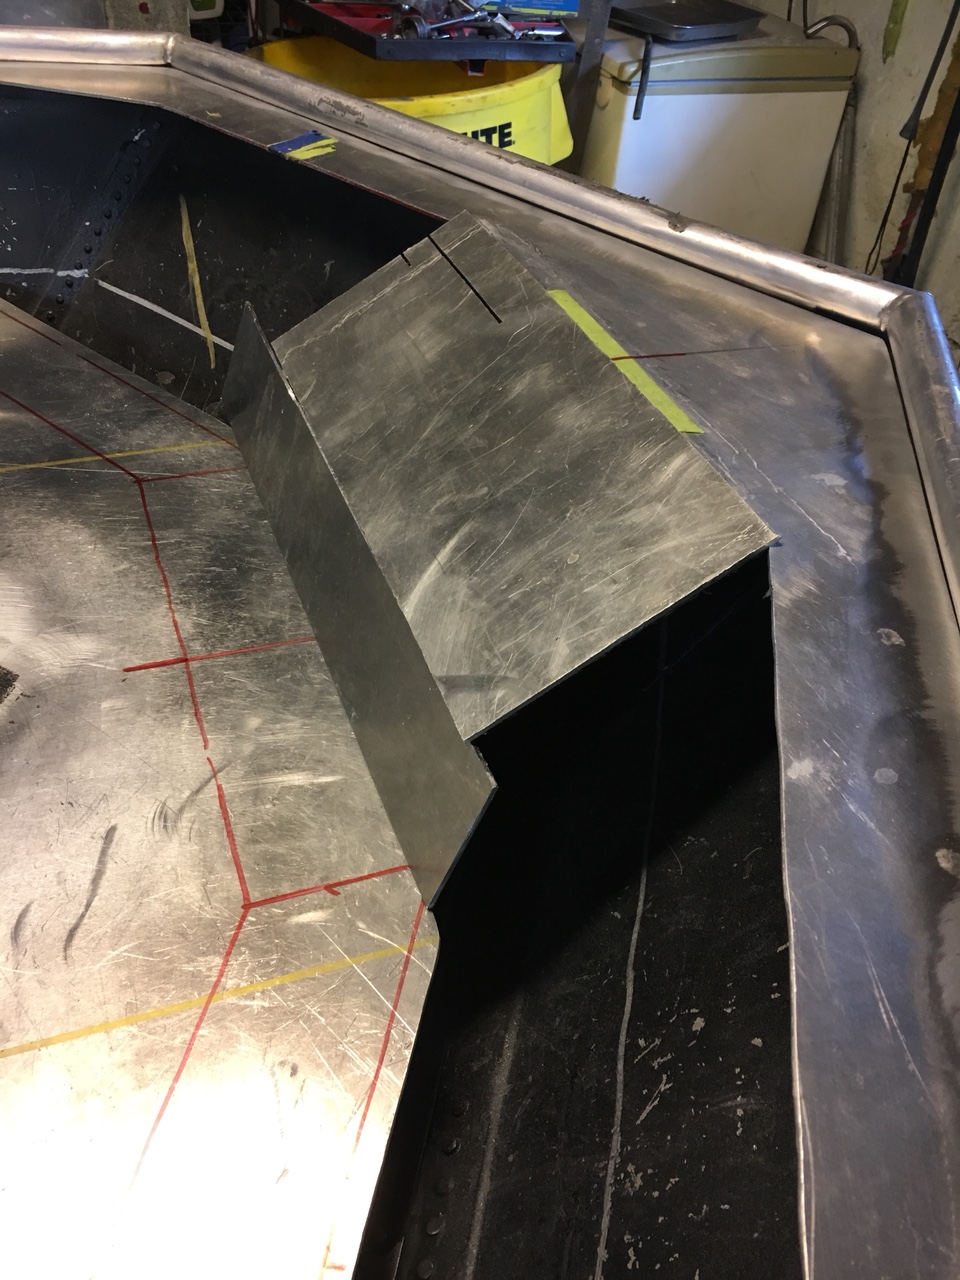
So here goes some of that process. I did make one small change on the fly, I added a 3” vertical rise 90 degrees from the deck first. [emoji3]
Laid the top panel on the deck and transferred my lay lines
d36ac63f9e8c42902798d7ebffd205cf.jpg

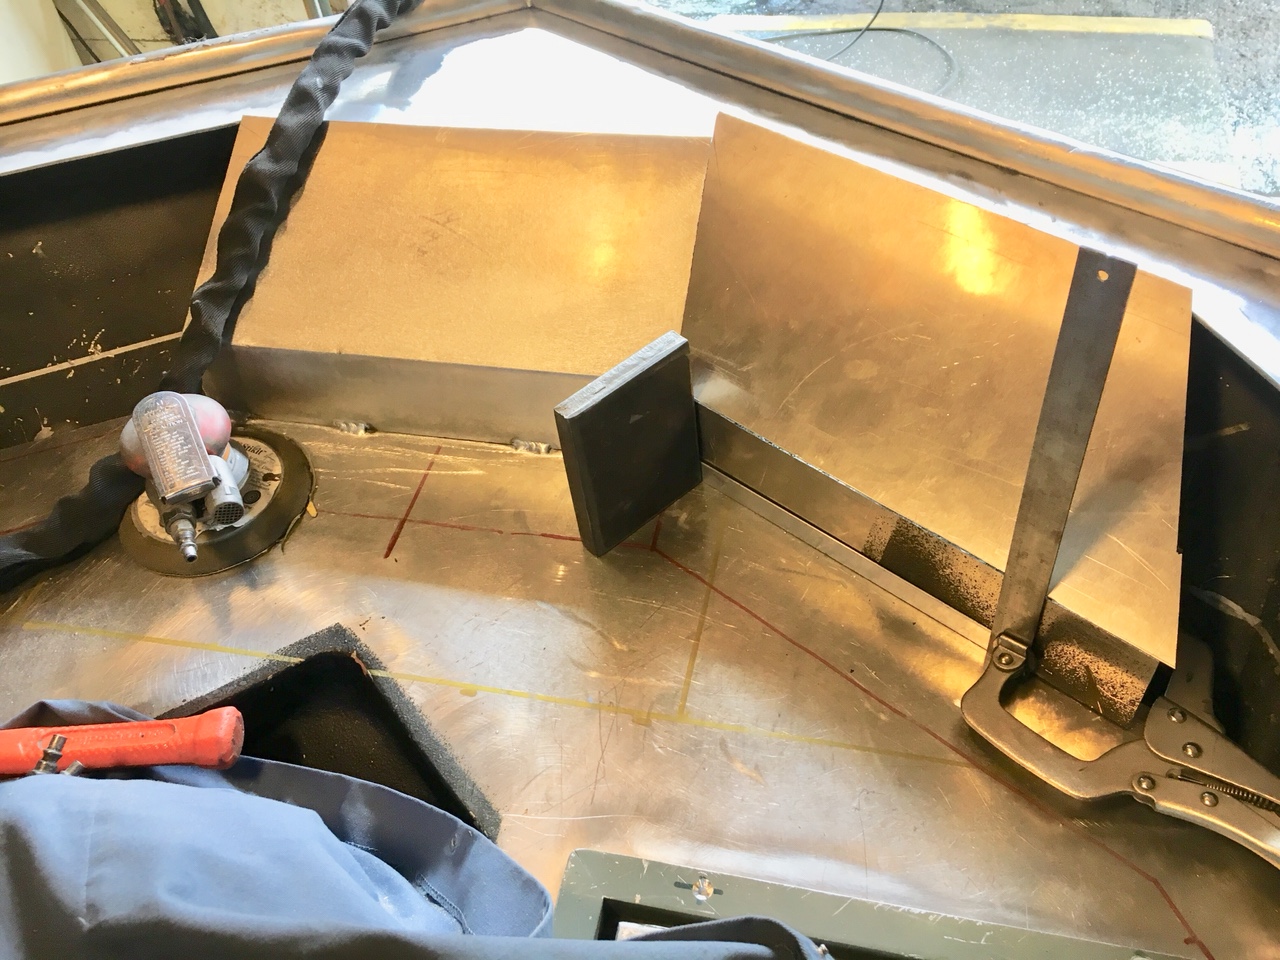
Then just started trying to slowly make each angle as nice as possible.
62948f89d184ca508b6d61b755440443.jpg

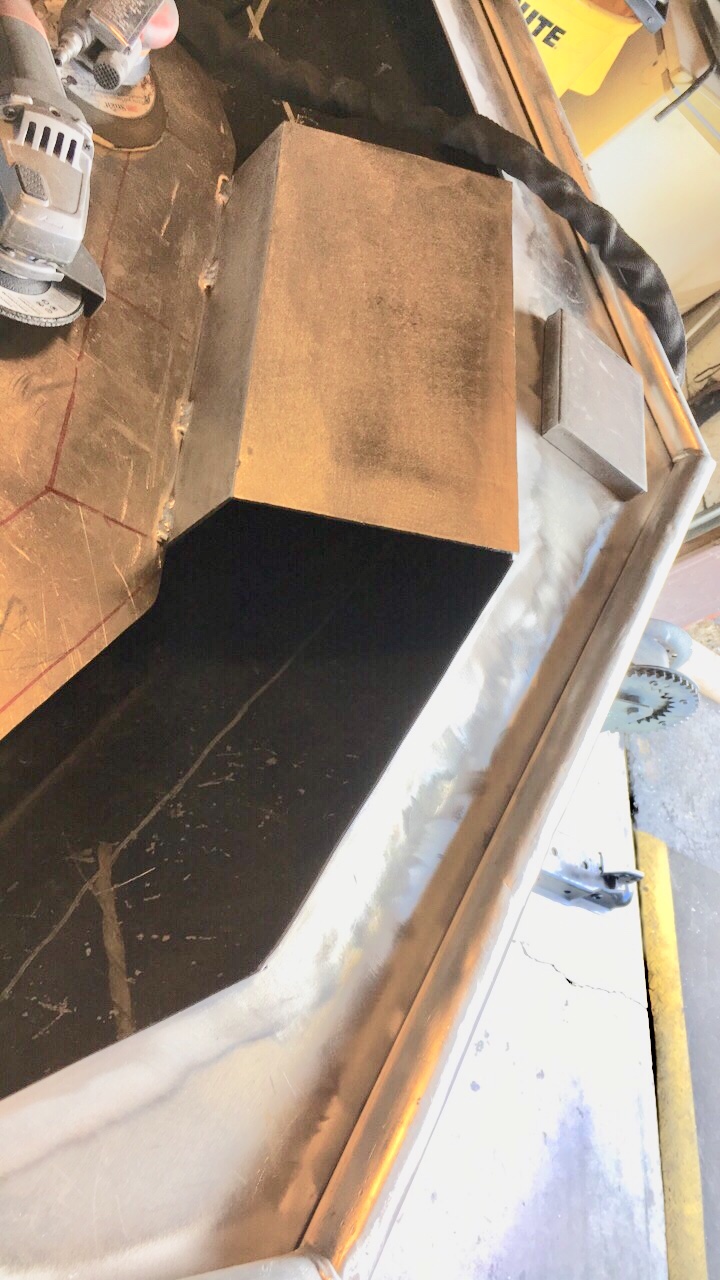
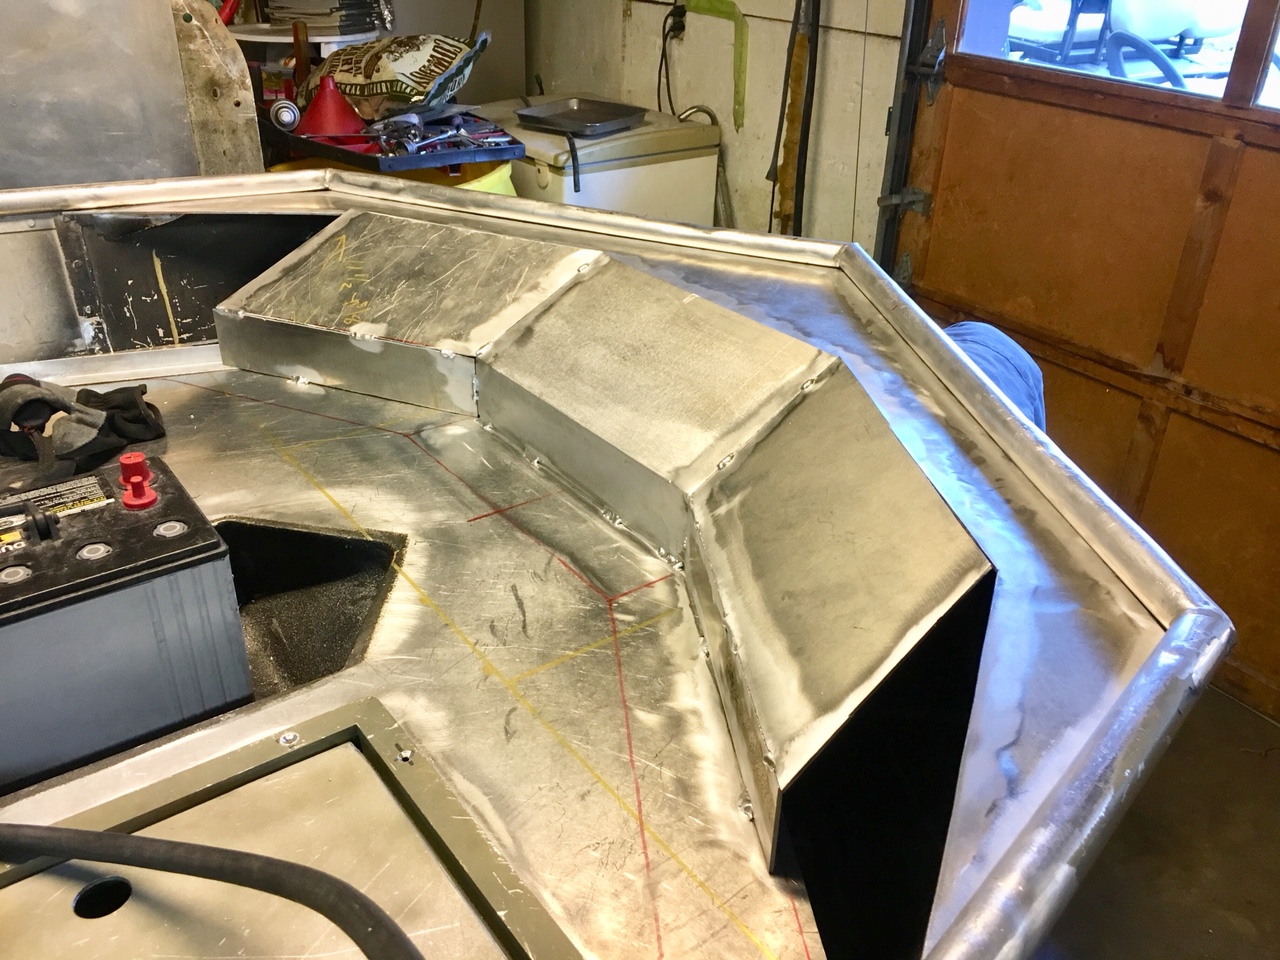
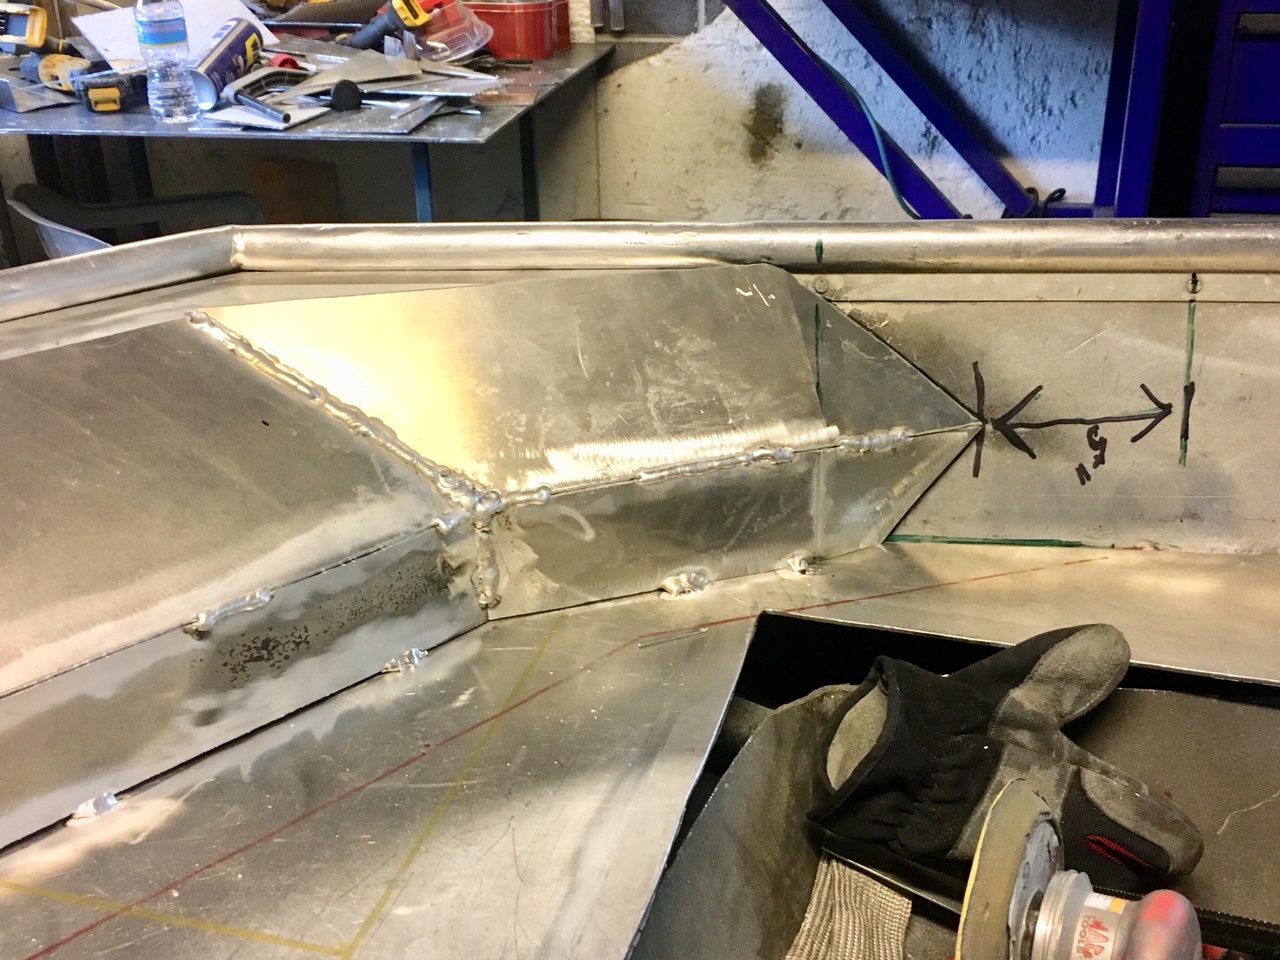
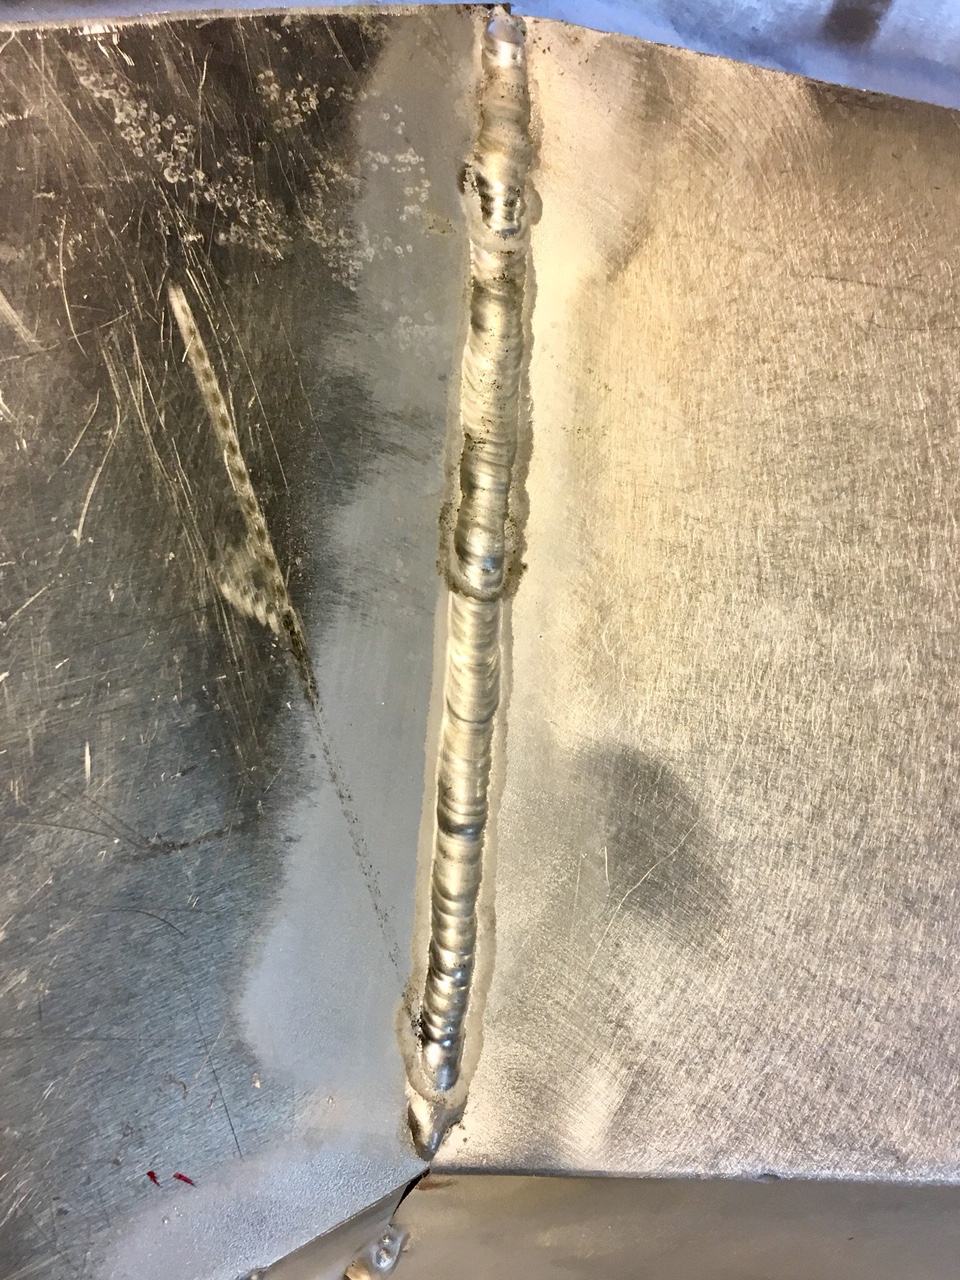
Welded up the Center section first and then sanded it to make it look completely factory bent.
51a1dad1b6a019db699d88971280e493.jpg

Worked my way out from the center. The angles were a little tricky but once I had that figured it went a lot smoother using the chop saw for clean cuts
8244fa0c6554b20420fd8bb5b19d5624.jpg

d8d319aa8512384b3f1da20556af9384.jpg

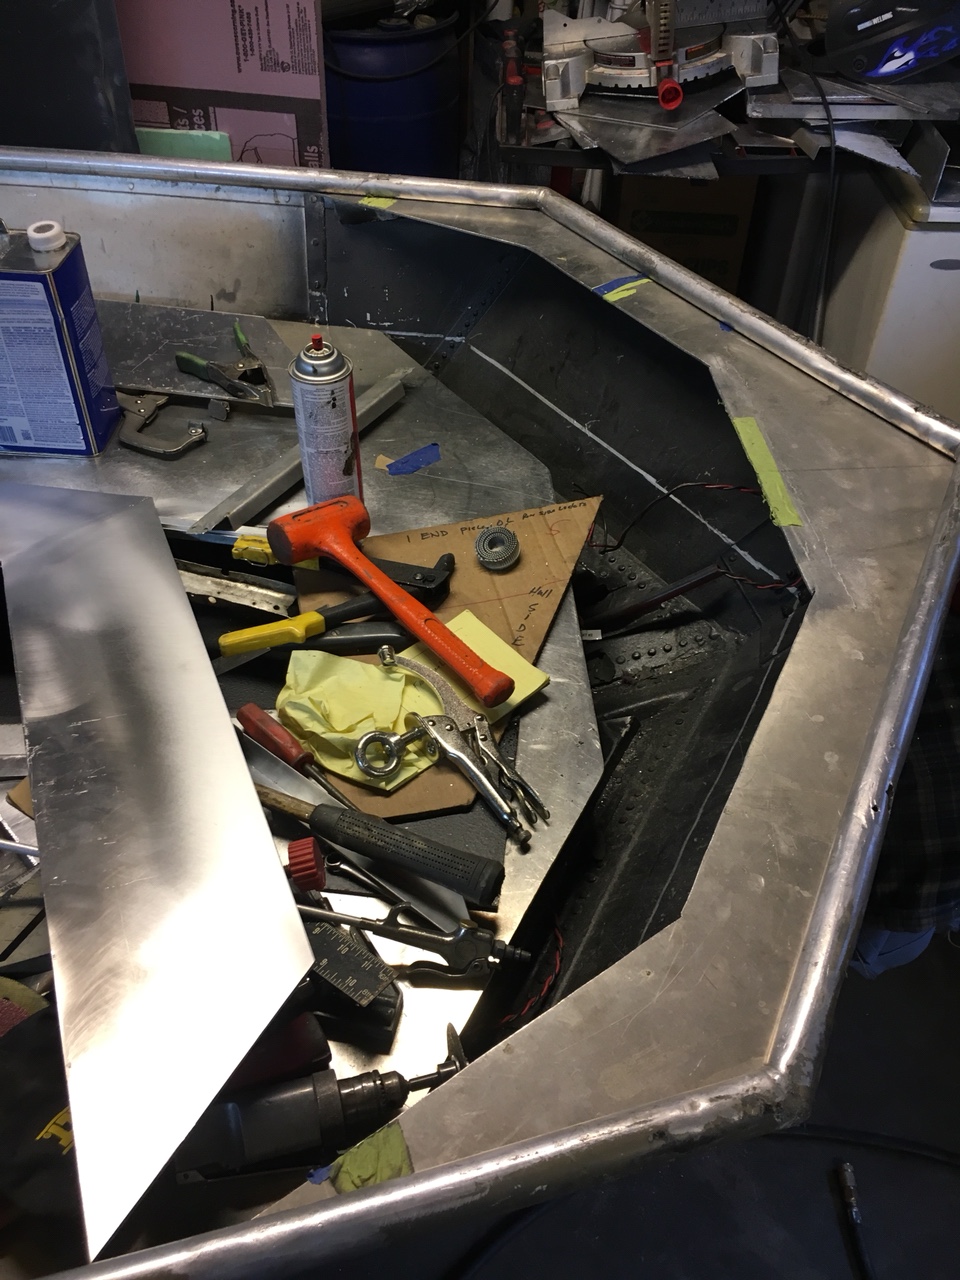
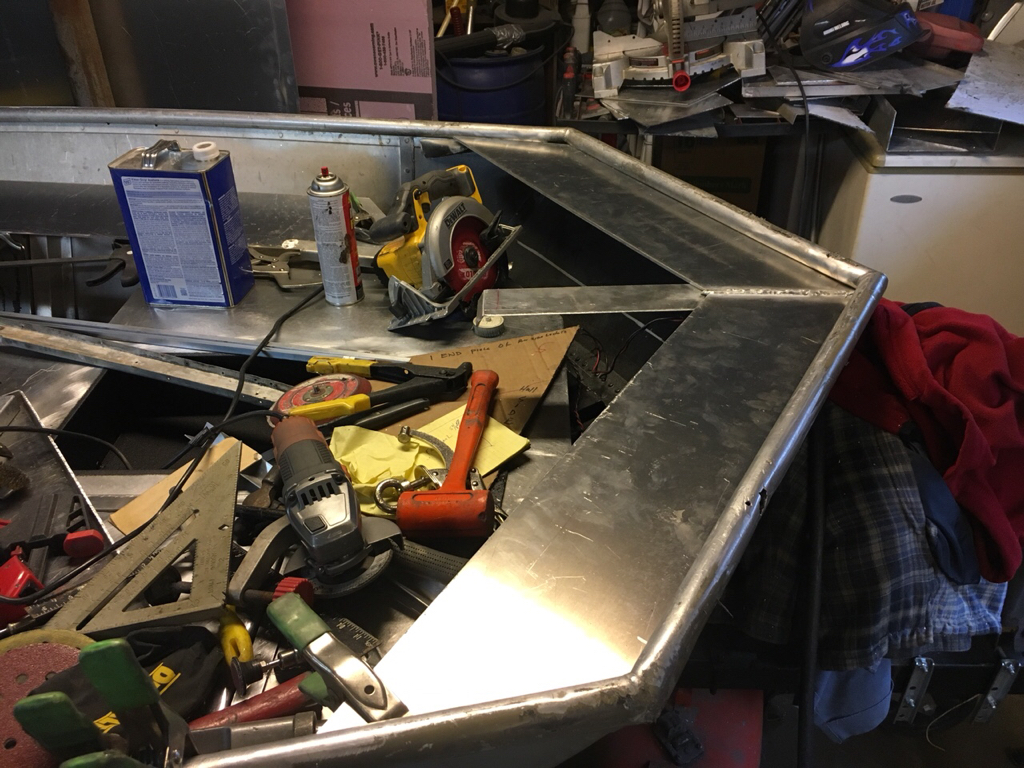
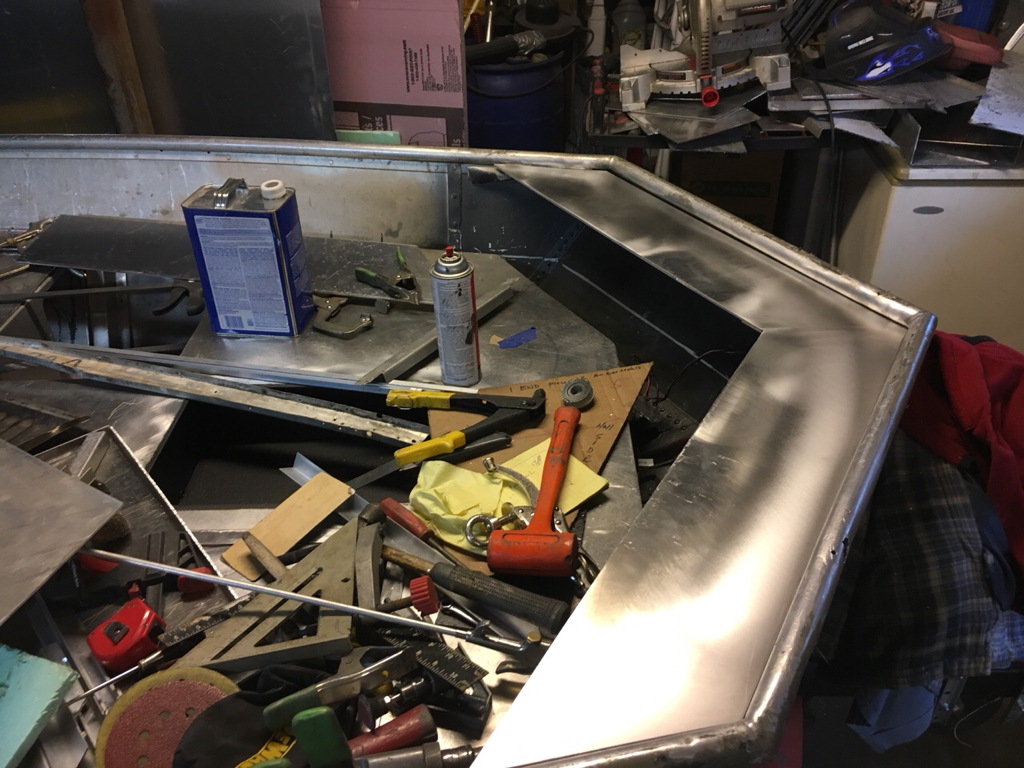
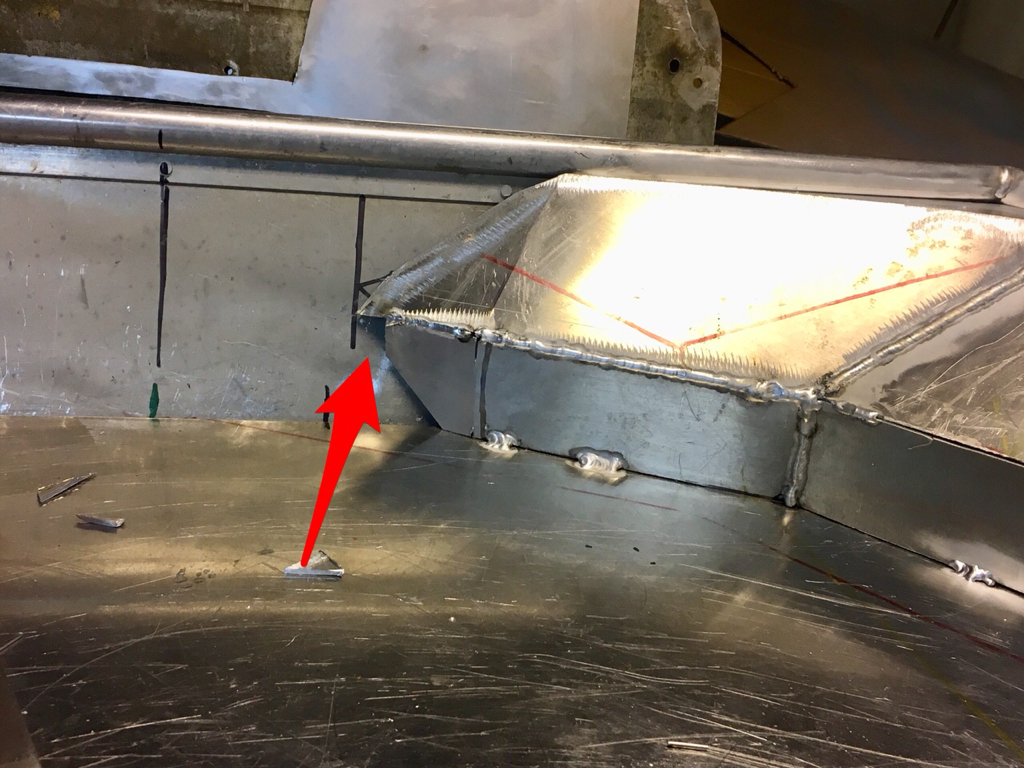
Tacked up the sides and I am pretty happy with it now. The transition panels are not as wide as before , the angle is not too steep either.
ff7f3beb6b6300e151077f46aecde64b.jpg

466c6f934e2562aa6177b08a272132b4.jpg

Tomorrow I will finish up the two outside panels, remove the deck and weld it all up on the back first and then weld the front and smooth all those out to again make it look like factory bends and transitions.
The top plate is not attached yet
1cc4a407b4a620a522e611a7de806e1e.jpg

So I now have all my angles pretty much figured out and can finish up the critical support framing for the panel and the TM support system.
The 3” rise will transition down to the deck at an angle on the two outside edges.
I also drilled all my hatch lids and Beveled the holes to match the R&R hatches.
Just glad to be getting closer to a float test !!!
 
Got a little bit done this afternoon , medical appointments keeping me busy this week.
Made a cardboard template
3206229a4c5b09a13b4599e664d02b7f.jpg

Got it pretty close
0b8c42934a48ee4d957227b1e8189e12.jpg

These are all scrap pieces since I’m low on 1/8”’sheet and had a cut in this one that popped the corner off when I hammered it in lol. Easy fix though.
5b4f5c70d9df4360fc1173a8004cd768.jpg

85e702e0fa2e9c11ce3fe5b0b0533d46.jpg

593102b736726fed3049f5bec309f25f.jpg

Going to cut the tacks at the deck surface tomorrow after Another docs appointment and take that entire section to the welding table and work it over real good. I don’t want the front to look welded at all if I can help it so it will be easier to work with at the table, since I don’t have a torch switch and have to rely on the foot pedal for amp control.
Kinda hard to stand on one foot and lean my 290lbs over the edge of the boat and weld lol.
3281f51213c755febd9c0564fa459b09.jpg

This one was a little dirty but they are getting better and easier.
bc2c63493503c7d802bd6caa5fe10560.jpg

Should be able to finish up the front bow bracing that will support this and also figure out where the wiring needs to be located now .
 
Going to have to throw in the towel on this build and sell it as soon as I can figure out a price and the logistics of it all. Definitely hate to let it go but don’t see any other options at this point. Too many medical problems piling up to be able to see it through till the end.
Thanks for following along and being so patient over the years.
 

Latest posts

Top