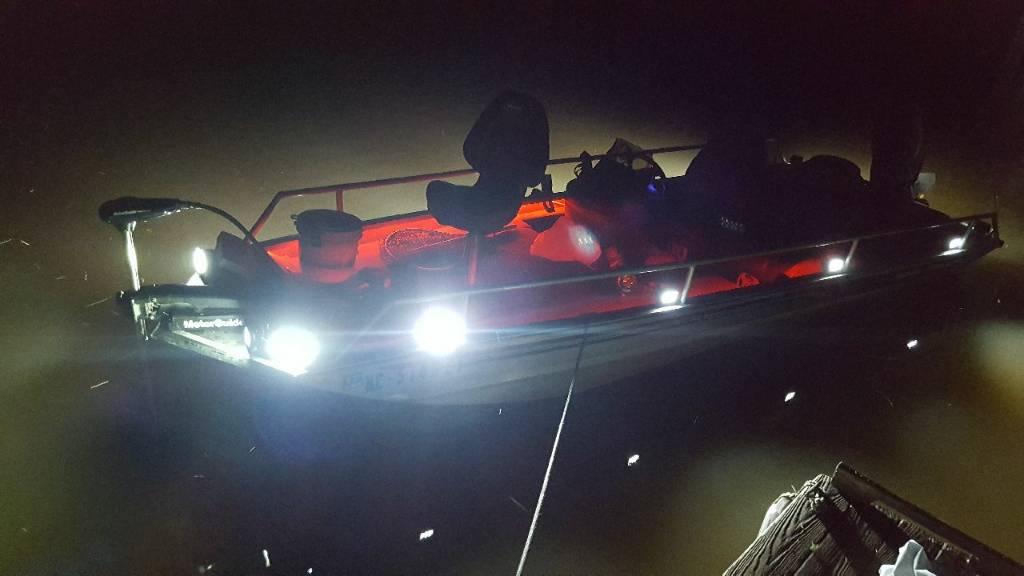
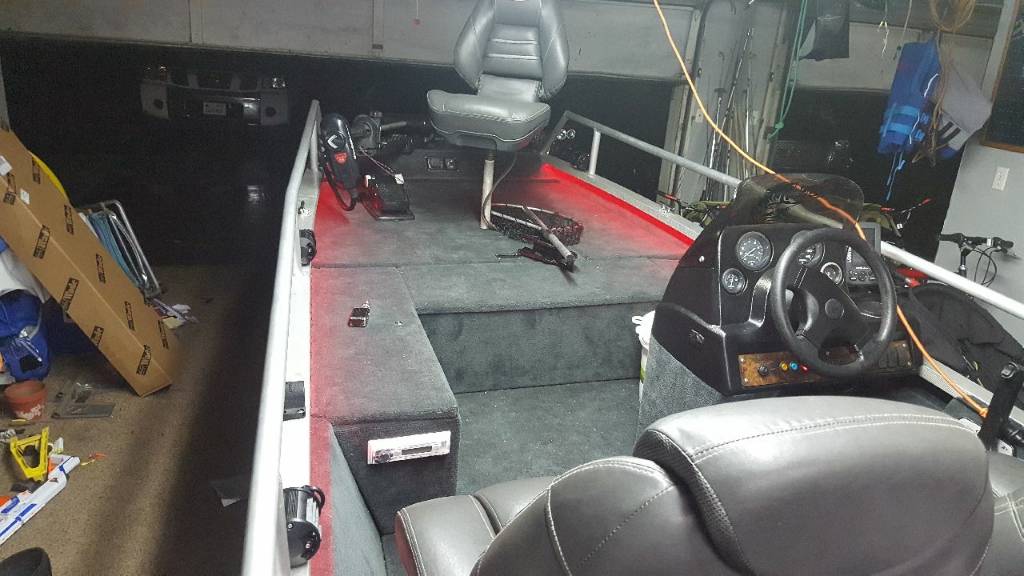
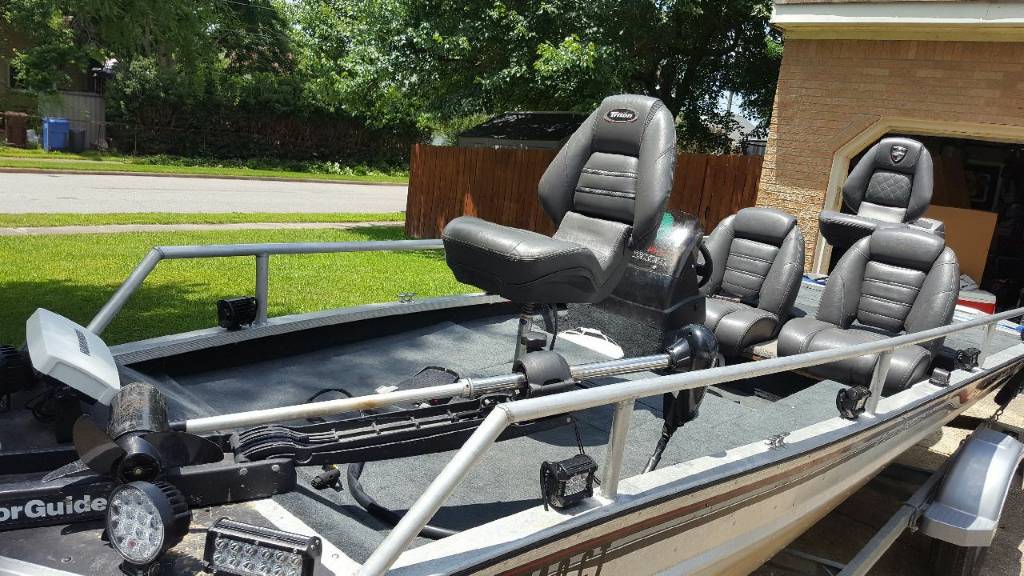
1984 16' Bass Attacker Complete Rebuild

TinBoats.net

Help Support TinBoats.net:

This site may earn a commission from merchant affiliate links, including eBay, Amazon, and others.
Bob9863 said:
Most ally boats I know use a transom plate of some description, and/or a brace or some description.
That should be easy enough to do, a mate made his own transom out of 10mm ally plate.
That’s would probably do the trick for sure.
 
It definitely did, he also had two triangular supports made of the same stuff going to the hull.
It was so he could put a 60hp on a 12ft tinny, I told him at the time it would probably kill him, but supprisingly hes still alive and kicking.
But damn, that little boat puts jet ski's to shame. :lol:
 
I just checked out your whole thread and all i can say is wow. You have some serious time in this thing. Years. I wish you were closer to me i could have helped you save tones of time with the metal work. I will say you got the job done one way or another tho. I've rebuilt 2 boats for myself and 6 for customers over the last couple years. If you get a second check out my tracker build. I definitely catered to my kids. 2 boys 7,4 and a girl 3. I used the best carpet and seats i could find. I also built a saftey rail that can be cut off later on down the road if need be. What are your plans for the interior?
14552a024021fdd1a559ab3a87328abc.jpg
ce8e93708051bcfb9e14f07d7bd2de6d.jpg
f2698823608ac9d69f634ffa5f6a965a.jpg


Sent from my SM-G955U using Tapatalk
 
Prowelder said:
I just checked out your whole thread and all i can say is wow. You have some serious time in this thing. Years. I wish you were closer to me i could have helped you save tones of time with the metal work. I will say you got the job done one way or another tho. I've rebuilt 2 boats for myself and 6 for customers over the last couple years. If you get a second check out my tracker build. I definitely catered to my kids. 2 boys 7,4 and a girl 3. I used the best carpet and seats i could find. I also built a saftey rail that can be cut off later on down the road if need be. What are your plans for the interior?
14552a024021fdd1a559ab3a87328abc.jpg
ce8e93708051bcfb9e14f07d7bd2de6d.jpg
f2698823608ac9d69f634ffa5f6a965a.jpg


Sent from my SM-G955U using Tapatalk

Yeah unfortunately this has taken way longer than I ever imagined , I pretty much lost all of 2016 and the majority of 2017 !!
I won’t go into all the excuses/reasons but I would be lying if I didn’t say it was probably the hardest couple years we have had to endure.
The good news is I’m “somewhat” back to a normal routine now. I still have major medical limitations but no longer have to punch a time clock and as long as The Good Lord wills it, I have plenty of time to work on this beast. [emoji3]
Now all that craziness aside, I have been following your posts and very much enjoy them and have gotten a ton of ideas reading through them.
Lol, just this morning I talked to Mindy at R&R and ordered 3 hatch lids to see how they will work with my front deck.
Since I have so much time on my hands now I decided about 6 weeks ago I guess to buy a welder and learn how to TIG, I figured since I won’t be able to do much like I used to, I can pretty much sit and spend some time under the hood, which will also help me with this project and I’ll have another life skill to fall back on if it gets tough enough where I have to try and make a living again.
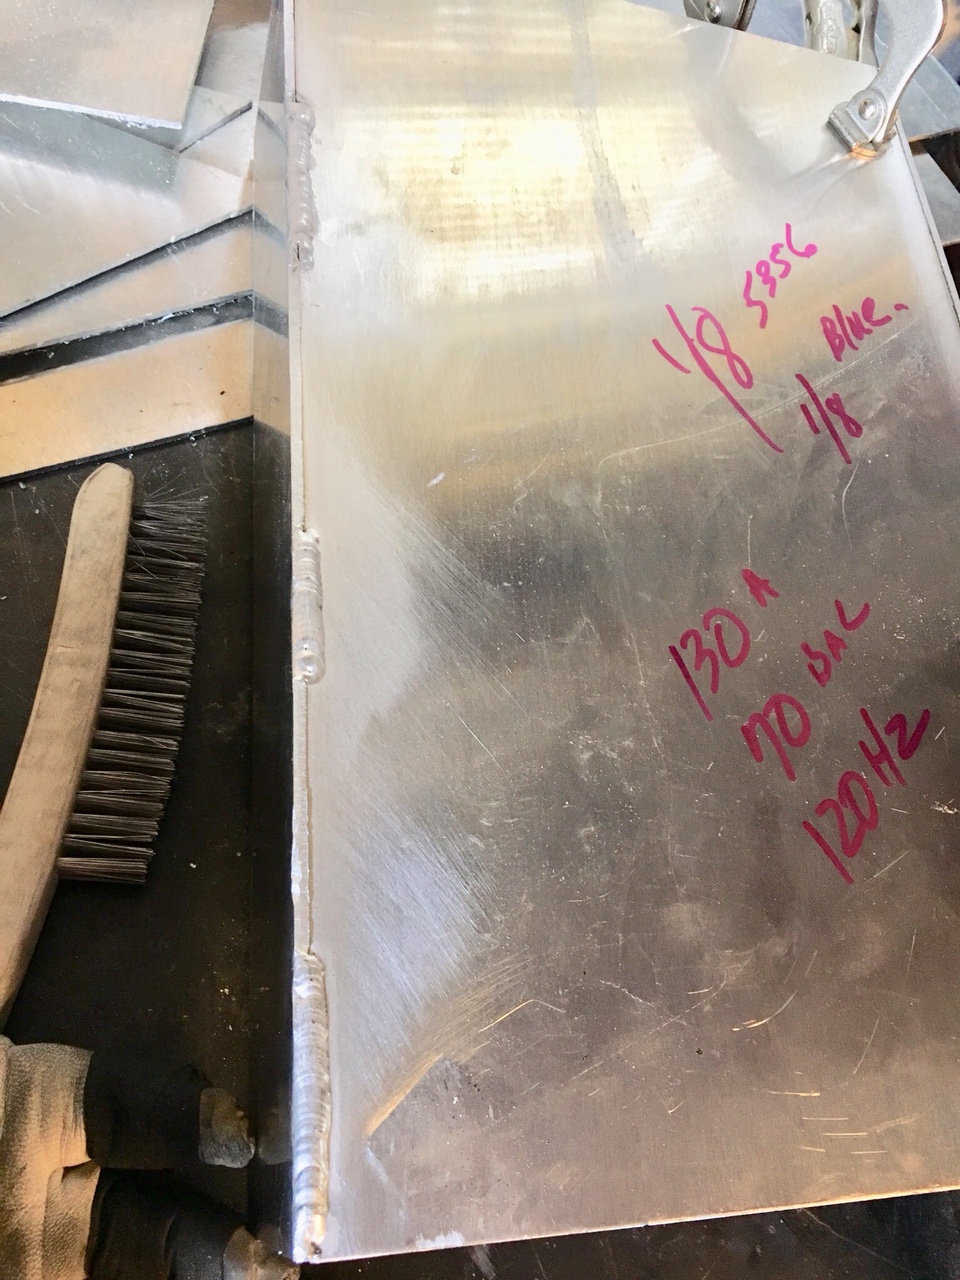
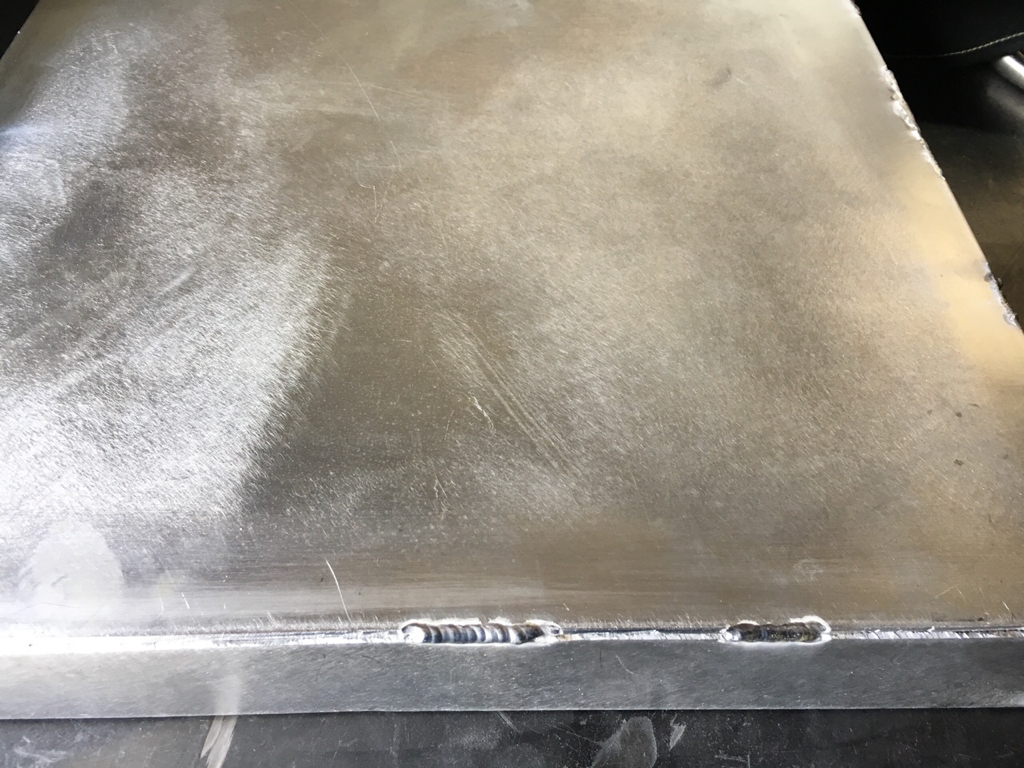
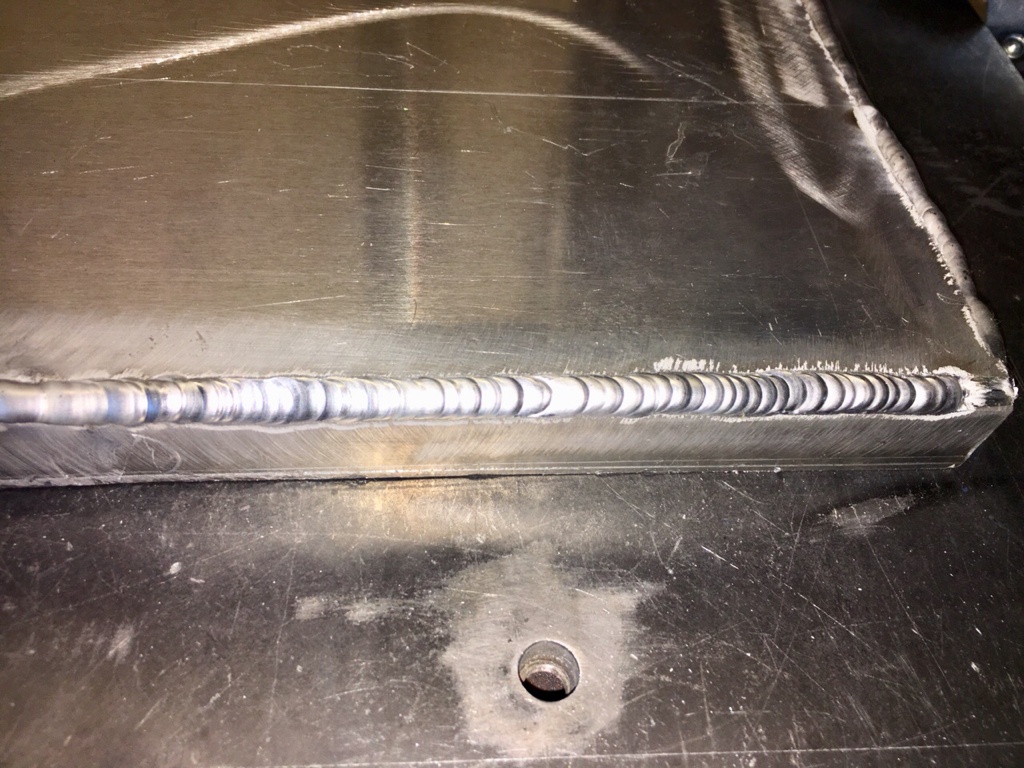
I practiced a couple hours today on my outside corner welds (to make my own dry boxes), this was my first attempt and surprisingly enough they turned out pretty decent! I went to a #8 Stubby gas lens and a 3/32 tungsten and with both 1/8 & 1/16 filler they turned out sweet but I got so excited that I tried to run a couple beads beside it and got it too hot lol. That’s been my biggest problem is heat control ! I’m starting to learn to feed filler pretty steady and been using my foot control more lately to taper off and things like that. I’ve been practicing like crazy and soaking up everything I can, every chance I get. I know it’s just going to take time lol.
And YES I wish you lived closer also LOL.
The interior is going to be painted and I was thinking of a non skid surface for the floor but I also have been considering that padding type material, I’m just undecided about that still lol. I’d like to do a Camo paint scheme but that’s still up in the air but may just go with Camo seat covers lol.
I want to put a “jump seat” in the middle of the two tempress frames , one of those was off my Ranger and another I bought from a local garage sale that came off a Stratos. Worked out perfect where I had 2 matching seat frames like this one has
d54a7e6606b0c4cdcd9cf84940e483aa.jpg

found a jump seat for the center that has a step pad built into the back when folded down similar to this
88a7dfcb2aad764f804783db9d6f8b74.jpg

I am going to get eventually.
I want to box in a insulated cooler in front of the console maybe with couple tool holder slots there for pliers and stuff.
On the port side wall I want to put a set of those newer type rod rack holders that swivel out of the way when not in use like in the newer aluminum, like this one on a Ranger RT188.
a6791a09db38d5e39b91d193022f32b8.jpg

The front bow area I wanted to do like the earlier renditions in this post but I think I may have to just stick to this type for simplicity in the welding process
e725794bf28284eace13c84d2c4fc443.jpg
unless my skills get better within the next 3 months.
If my doctors release me to fish again I am hoping for a April road test !!!! But will have to play that by ear and I am putting the front bow design off as long as possible lol.
My gas tank and NOCO charger will be here tomorrow, bilge pump on Thursday.
I have the fuse block,battery kill switch, TM breaker, a couple digital voltage gauges , LSS module and a bunch of other small items I need to figure out so hopefully I can start wiring everything up maybe tomorrow. Have a couple early doc appointments and then I got the rest of the day to work on it.
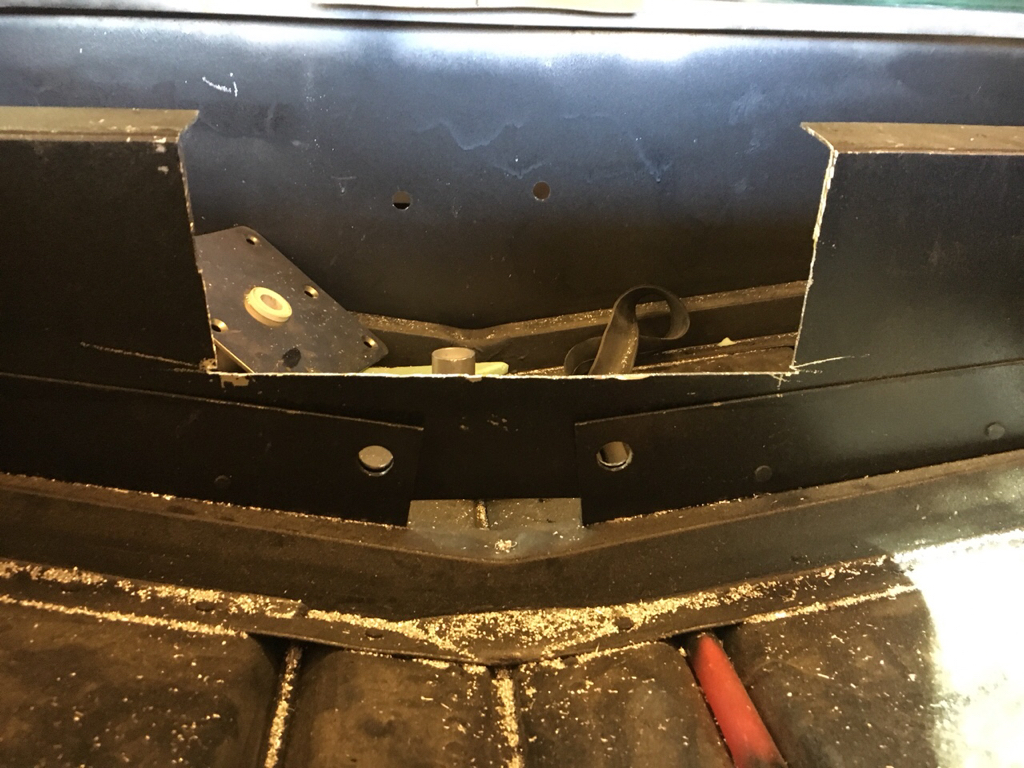
I need to fabricate a transom cap and install a plate to the rear for the motor to mount through. That’s all that’s holding up the motor being mounted back on it.
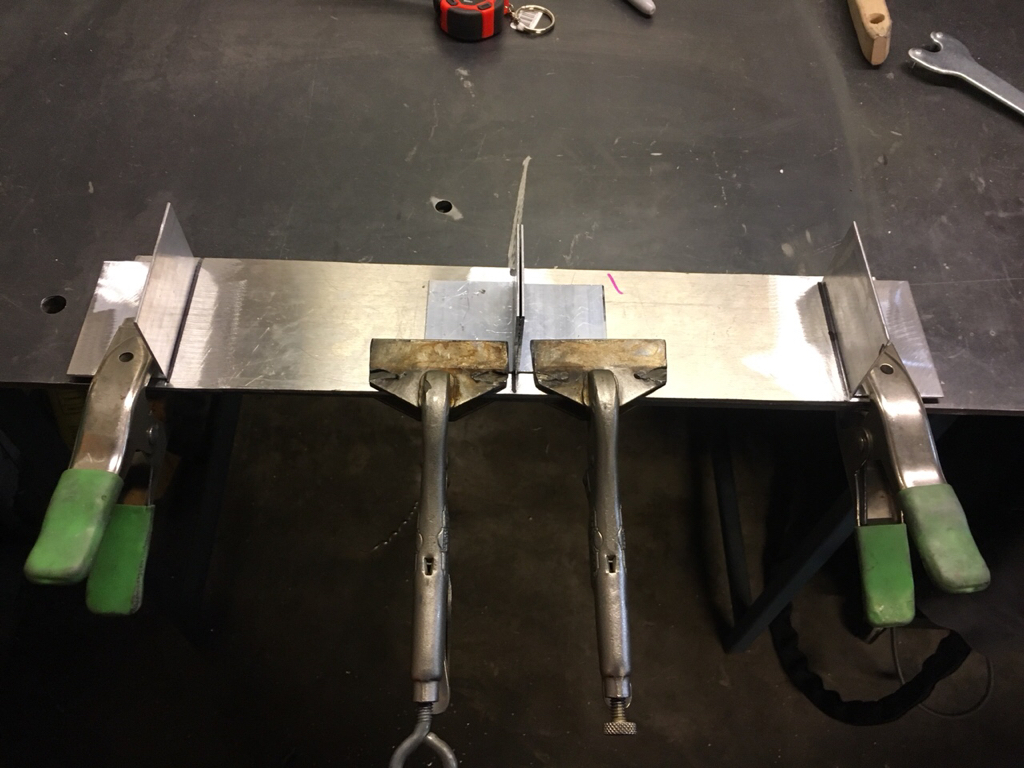
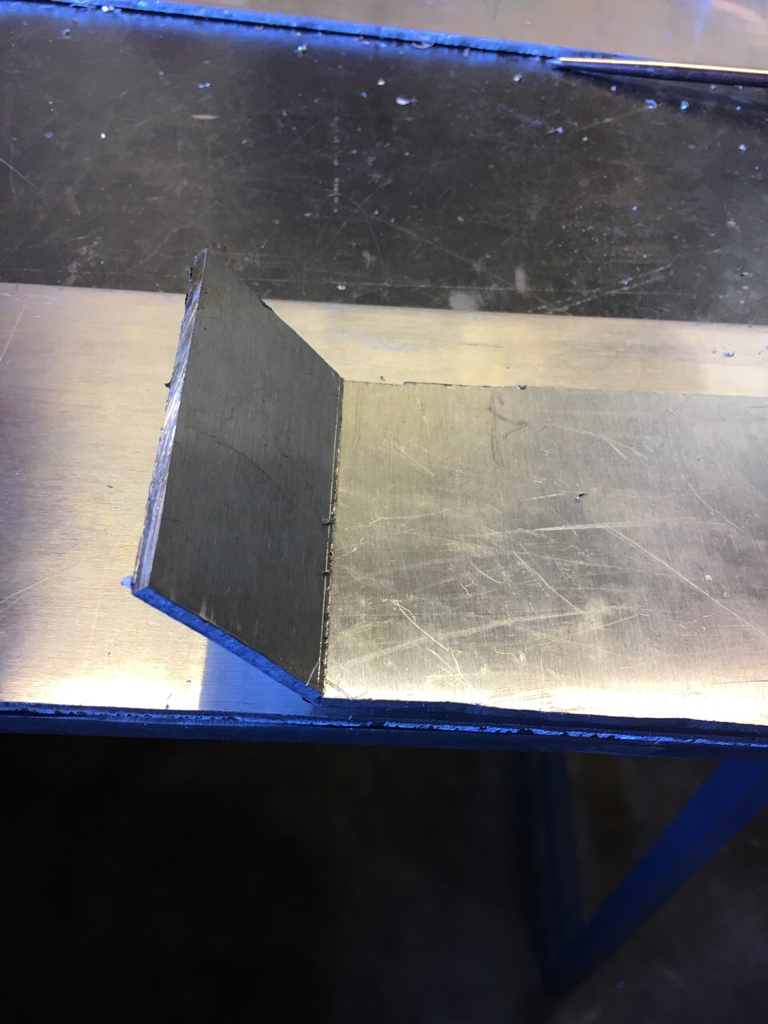
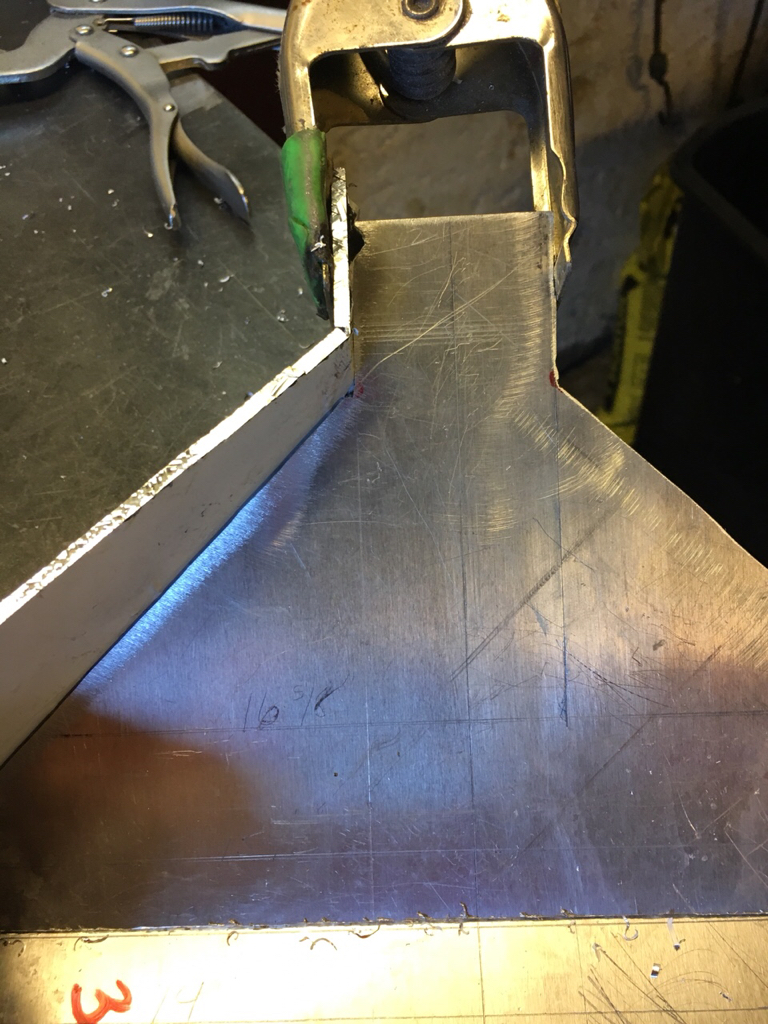
I’m going to attempt to bend a 90 on a 56” Long piece of 1/8 5052 and then hopefully I can weld the remaining piece to make a U channel and fit it to the transom since it’s 2 bends so close together ( 1 1/2” apart).
Tomorrow I am going to play around with bending some curves so I can build my own trolling motor tray but I want the curved front design much like some of the factory bass boats used to have.
I also need to find me some 1/4 to make a TM mount out of but have thought I could just weld 2 1/8 sections together if that would work. I have a lot of aluminum left but also been practicing a lot and it’ll probably go faster than I realized. I went below a 1000 on my argon bottle today lol. It’s going fast !!
Anyways I’m rambling brother ! Thanks so much for dropping by and can’t wait to see how your latest build turns out.
 
That 5052 is going to be tricky to bend. It will probably crack. I use 3003 for everything. Its softer and bends easily. Get a thumb control for your welder. It makes it easier for tight spots. Good luck man

Sent from my SM-G955U using Tapatalk
 
Got several things accomplished today
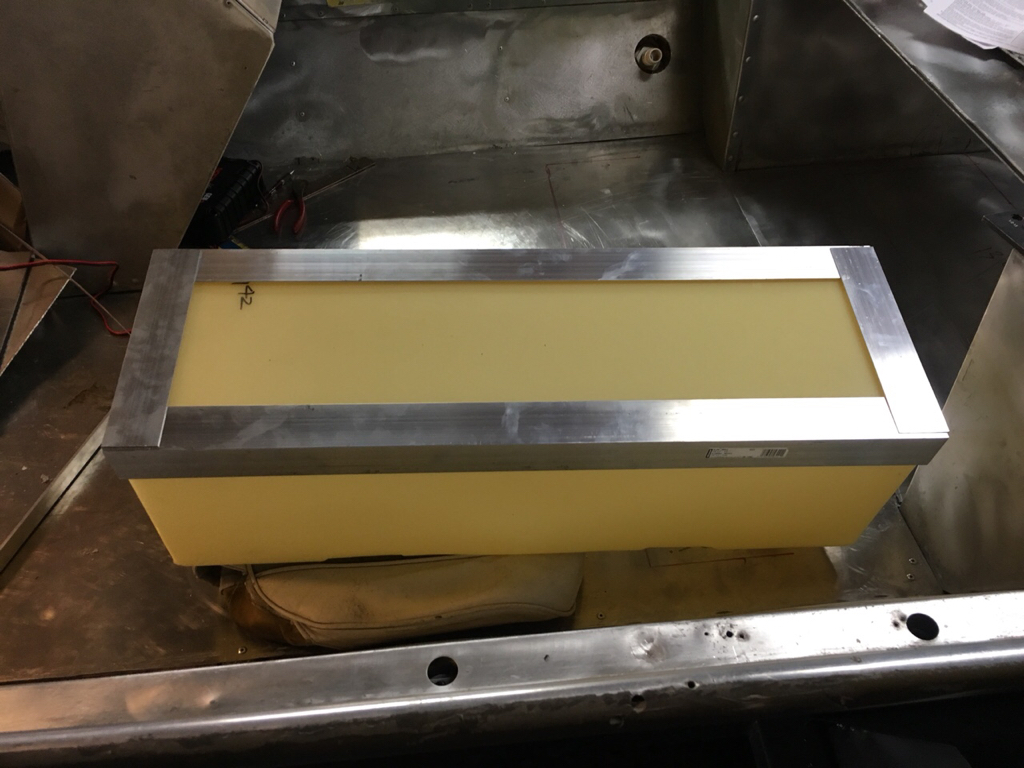
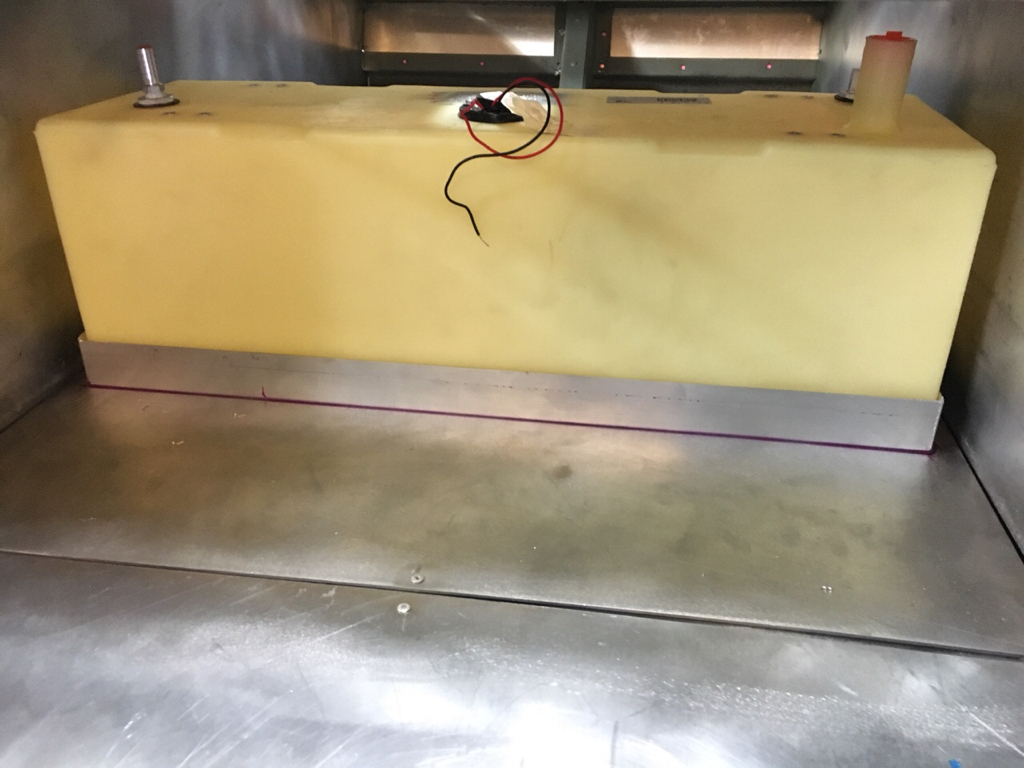
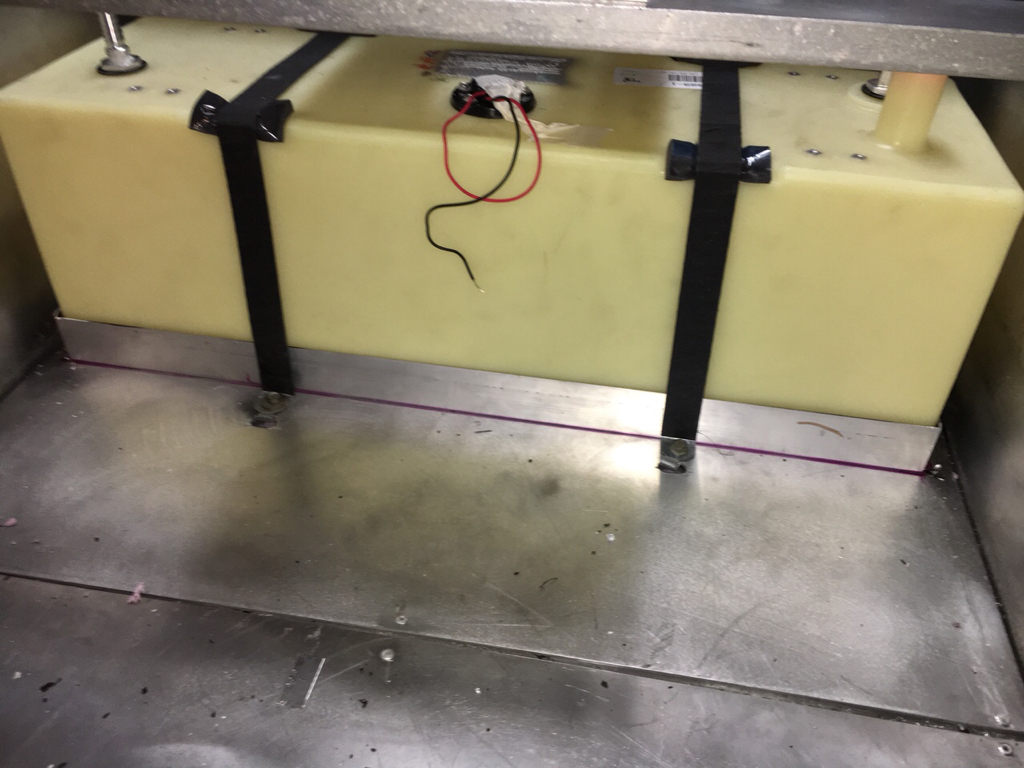
Created a frame system for my new gas tank
19234a95ef0cc89f948cdae7ae49ef7b.jpg

Fits like a glove
8a9c906fbc63d987a3e6fe8f65da65fb.jpg

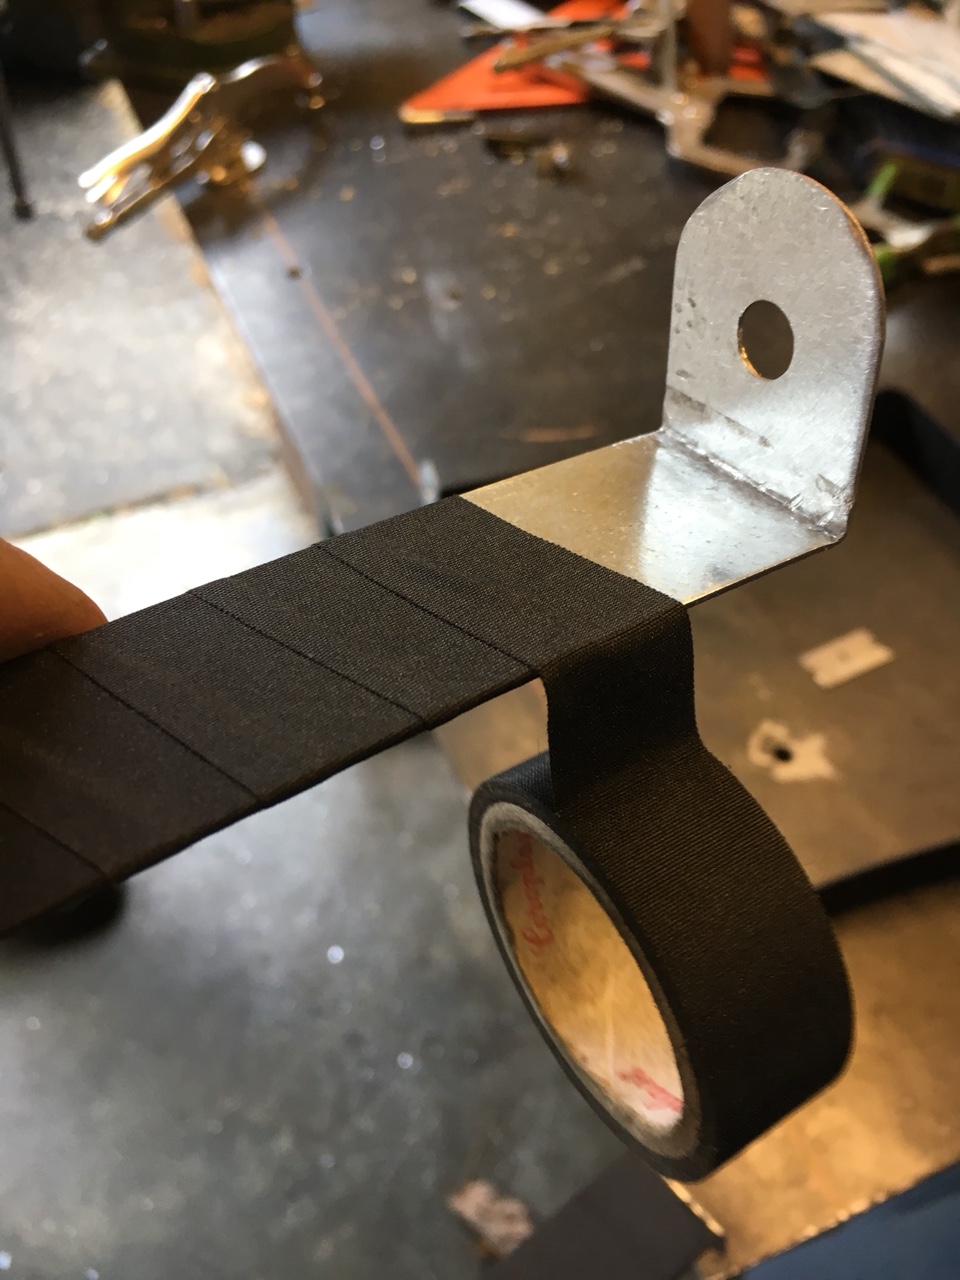
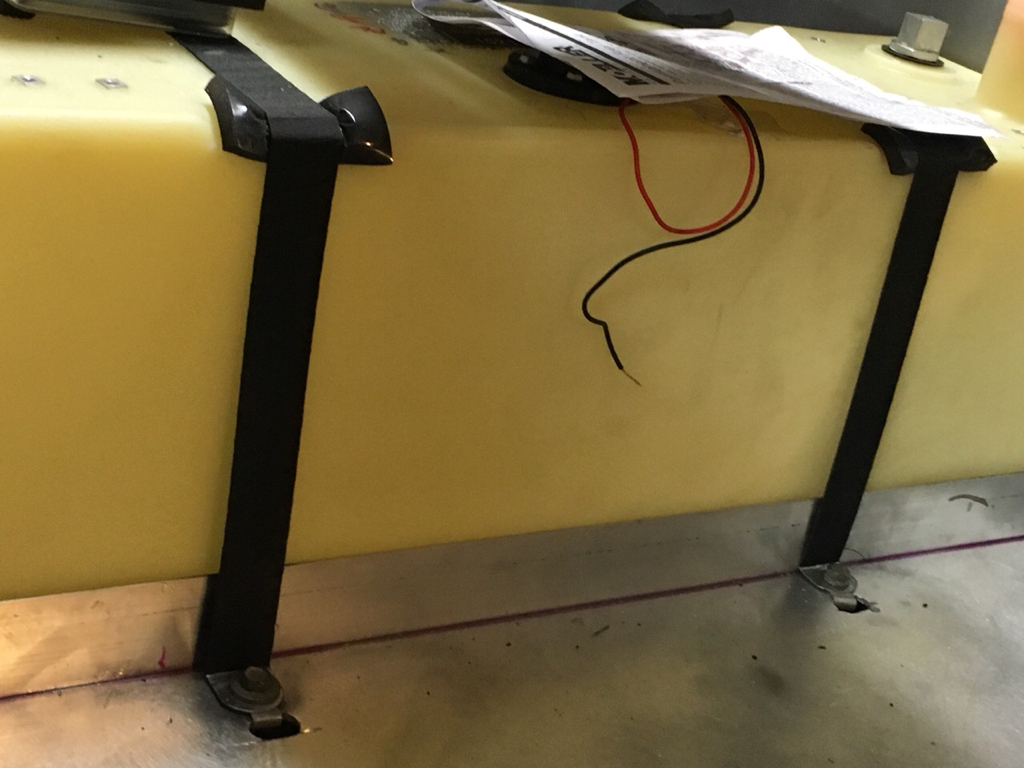
Went old school GM on the strapping system and created these babies.
50e050e683837cb444e651f3f8d31c81.jpg

Wrapped up nice and tight
1ff454735fccaeed2bf8c416beb1f834.jpg

Matching pair
f6445f9cdd1af3dcc386aa4cb5605f49.jpg

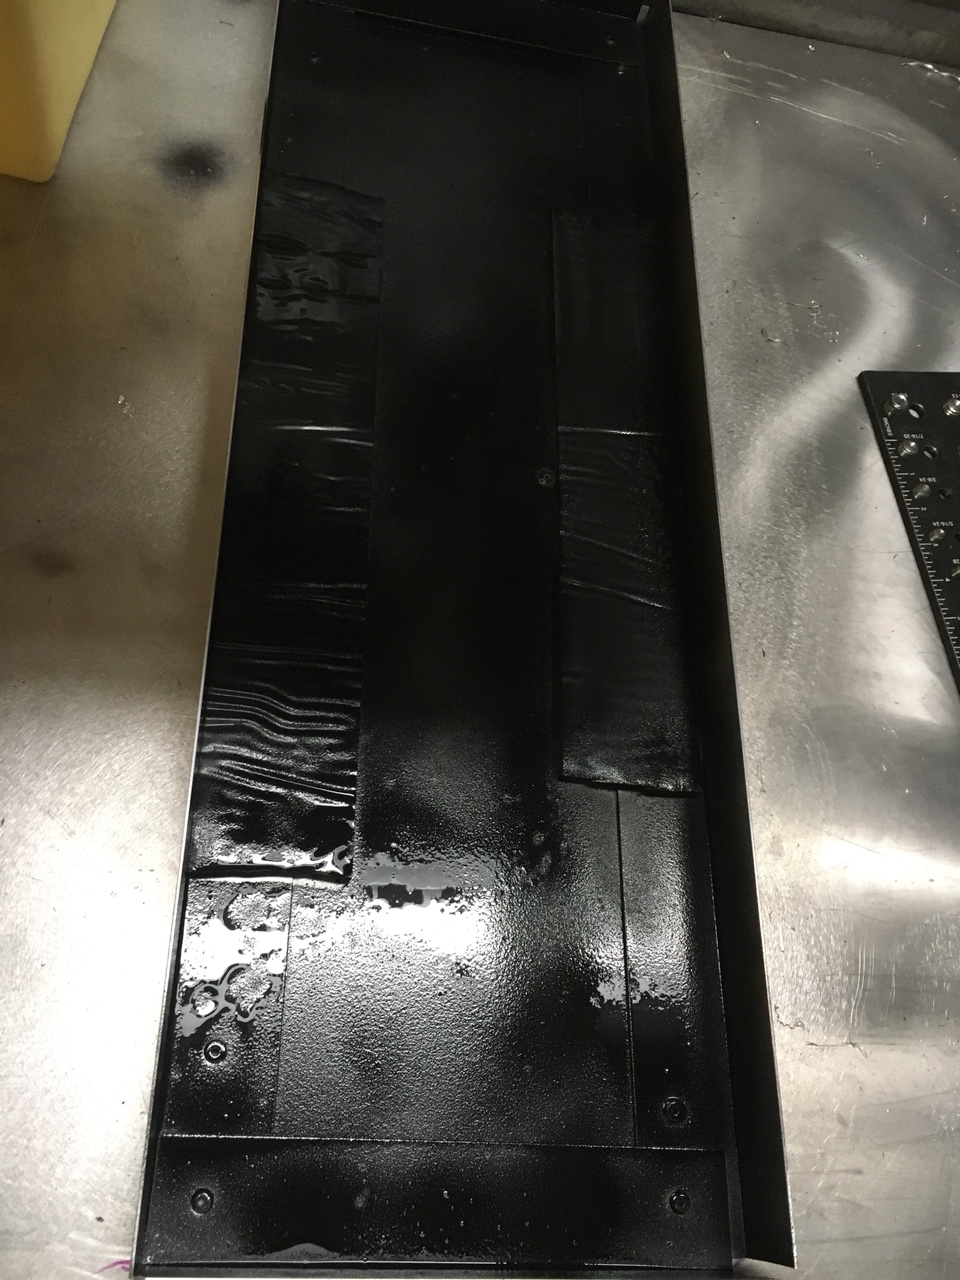
Installed some foam padding to the tank frame and coated the inside
c3b7b47d28d3e3054dab63c9f2250cd1.jpg

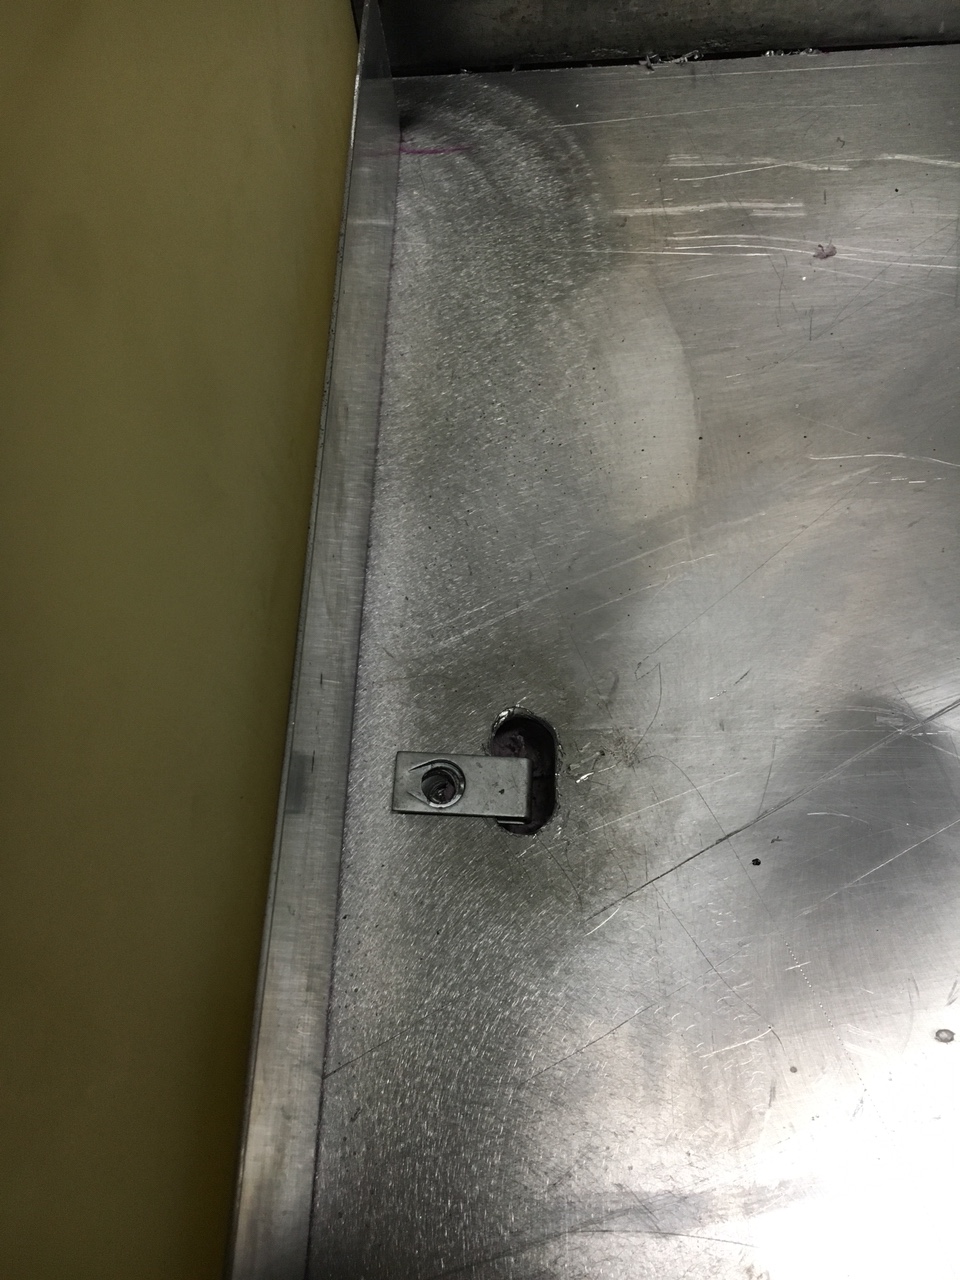
Installed some J-Nuts
5a5d9c79f61ab081a27f90f8b30ef433.jpg

Strap length is critical for this process and it turned out fantastic!
a57d2c538e6bf34f774ef457ccd66aef.jpg

c72121d64a6815083d460f76d6c6b764.jpg

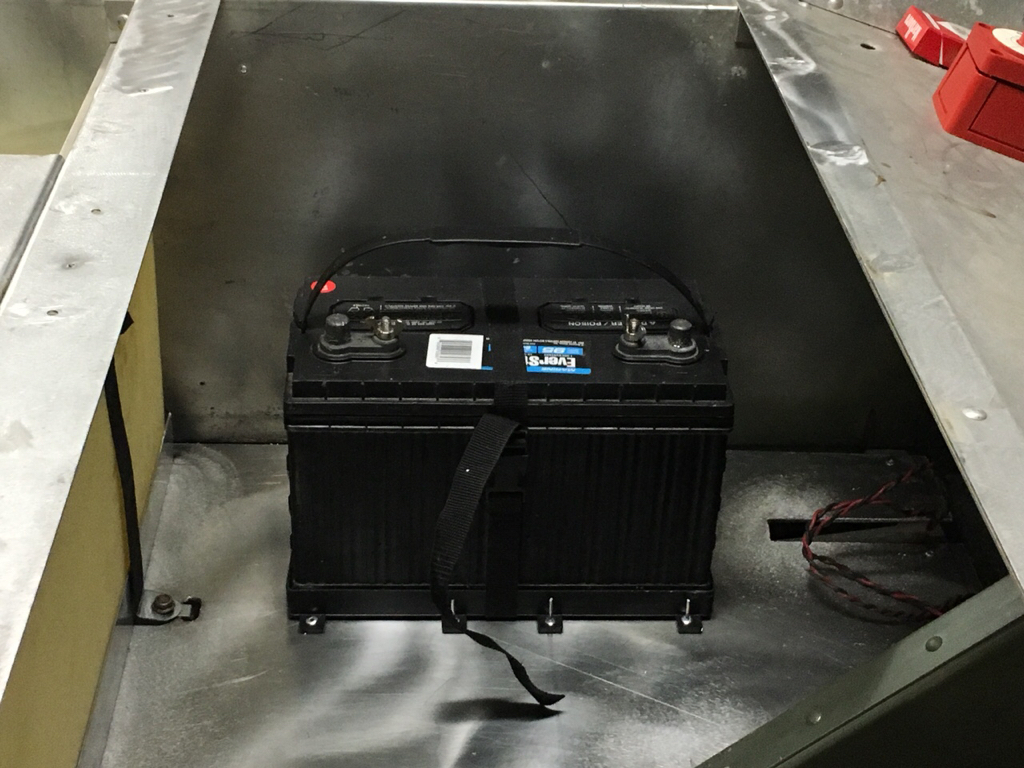
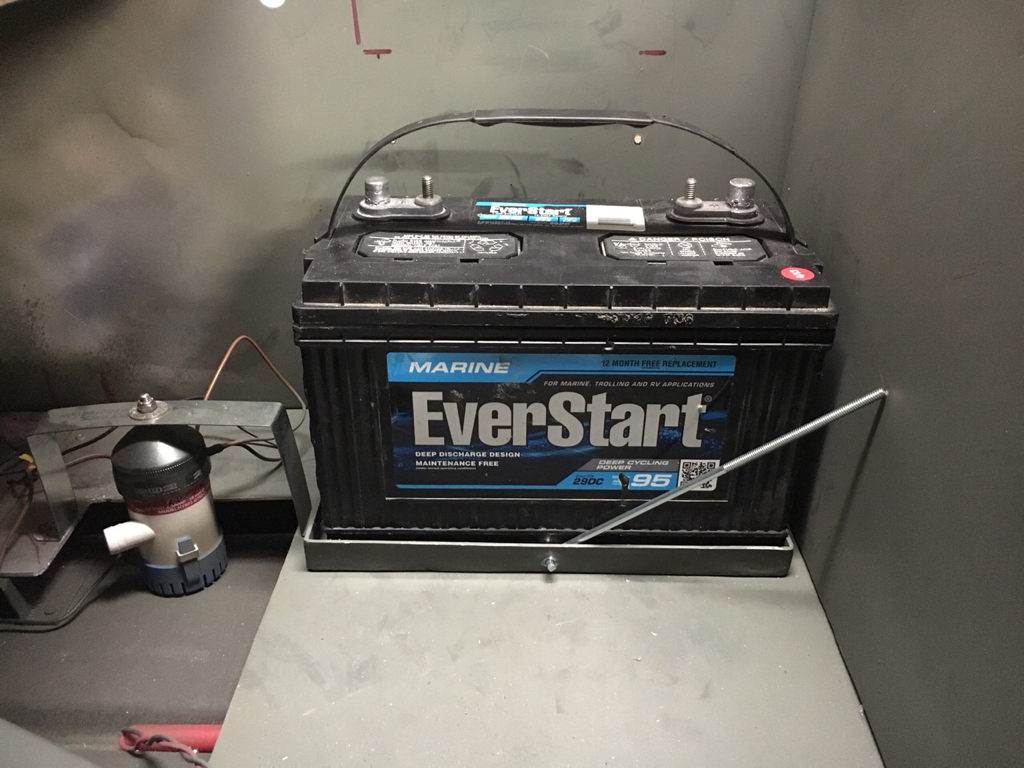
Installed a starting battery tray and most likely will just weld up another aluminum like I did for the TM batteries up front but for now we can start running wires.
70e14578a7d25a7b2fb376085025f0a4.jpg

ee9fc14bb8816bf11cd371276ed28cec.jpg

Stay tuned ! Many different things tomorrow to be updated.
 
Well didn’t get as much done today as I wanted to.
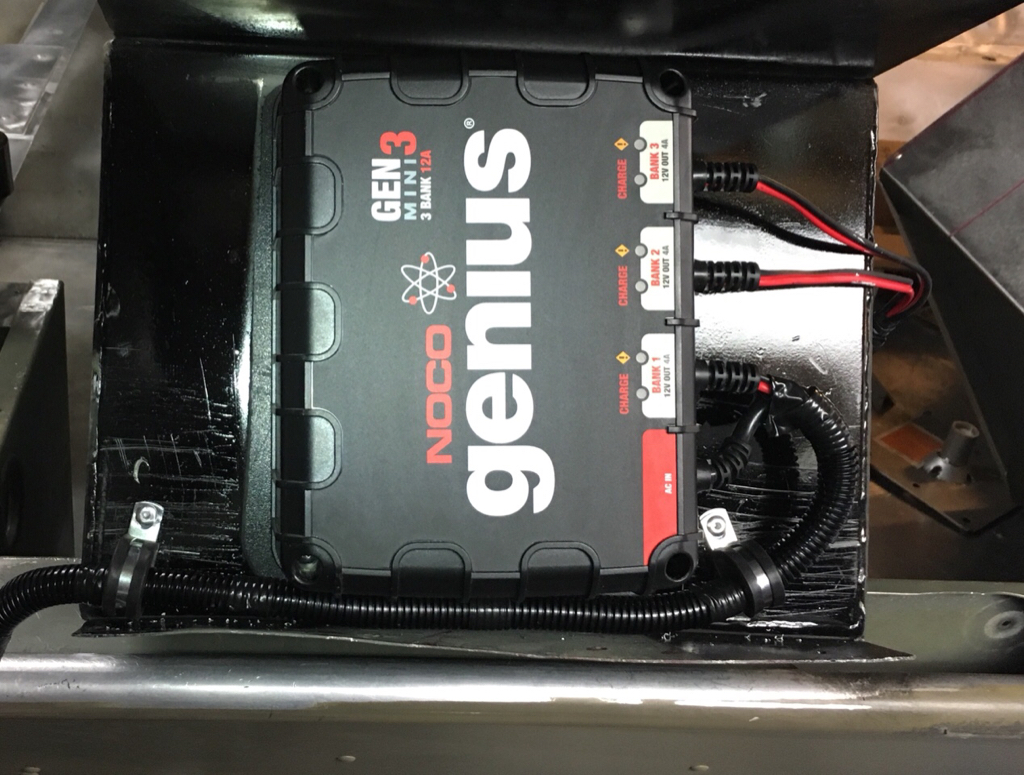
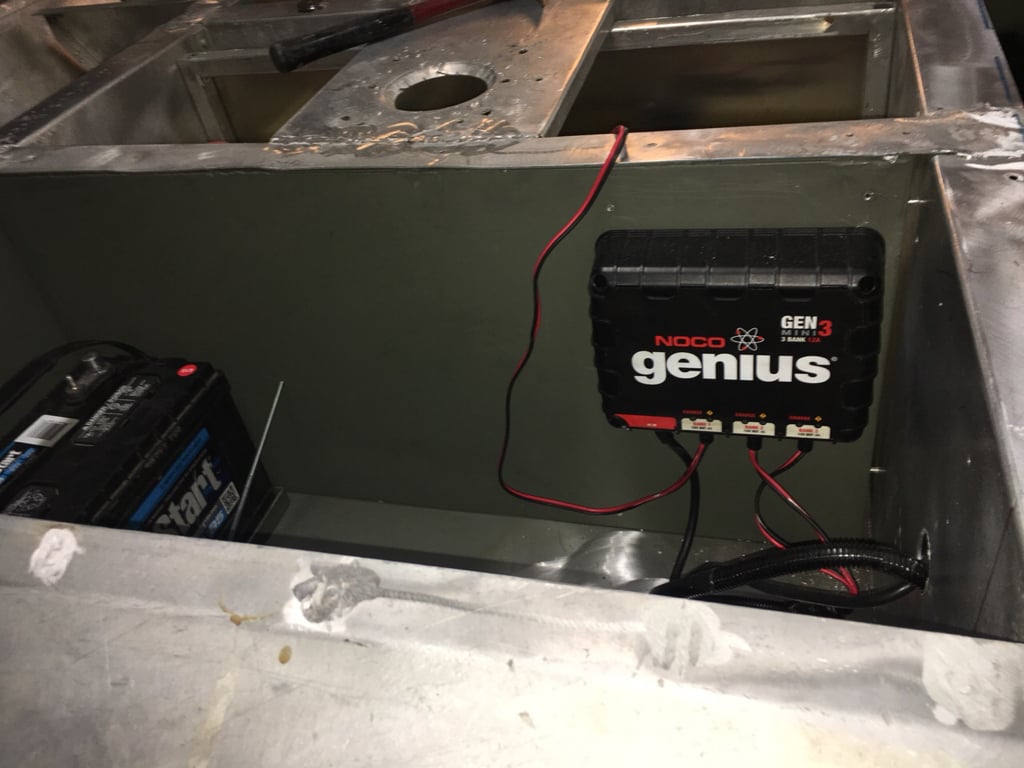
Mounted the charger under the drivers seat.
9dc1dc56517be9bebe8cd8aff354fe68.jpg

Still not 100% sold on it being here so may end up moving it again before the final teardown and paint and reassembly.
The way it is now I would have to make extension cables for the trolling motor battery charging leads.
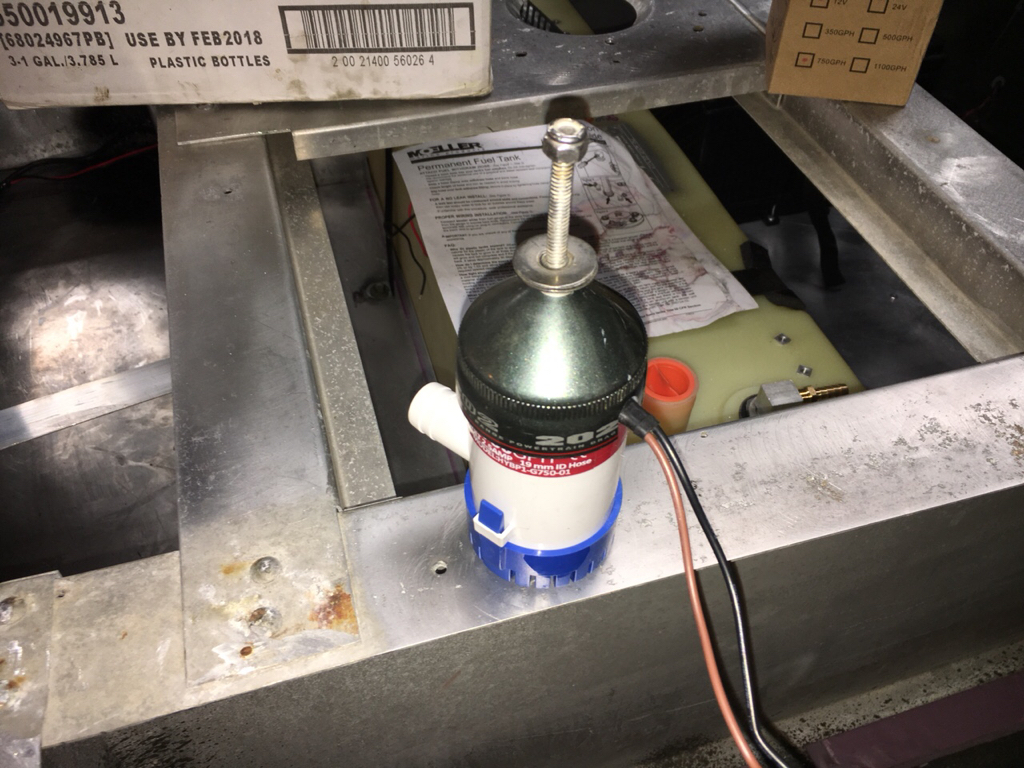
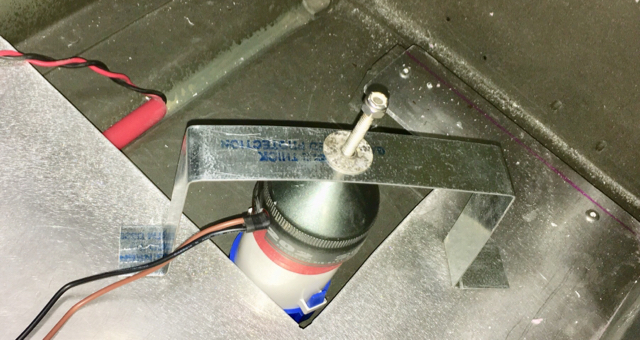
Used a zebco 202 to make a mounting bracket for the bilge pump lol.
adbee5edcc0ccdd106031287ccdc8f99.jpg

Fit perfect lol.
6b26fec198fb4b2b2fd544d152e56371.jpg

bcd491e7a0f742b1e86b40a525e8a2b6.jpg

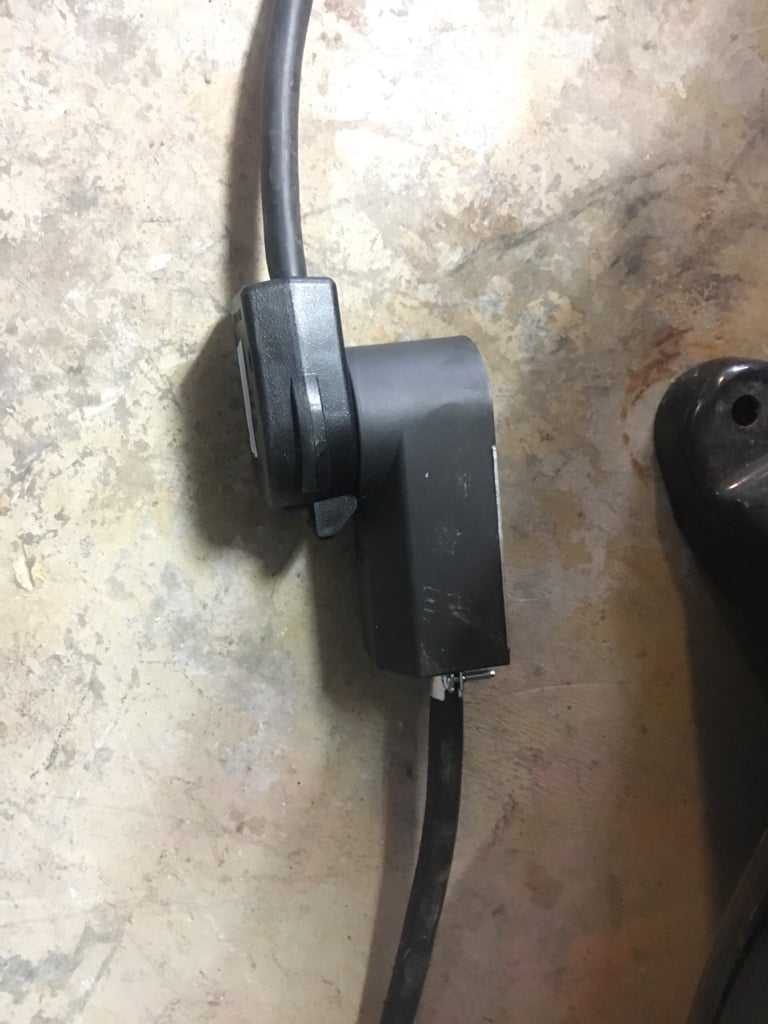
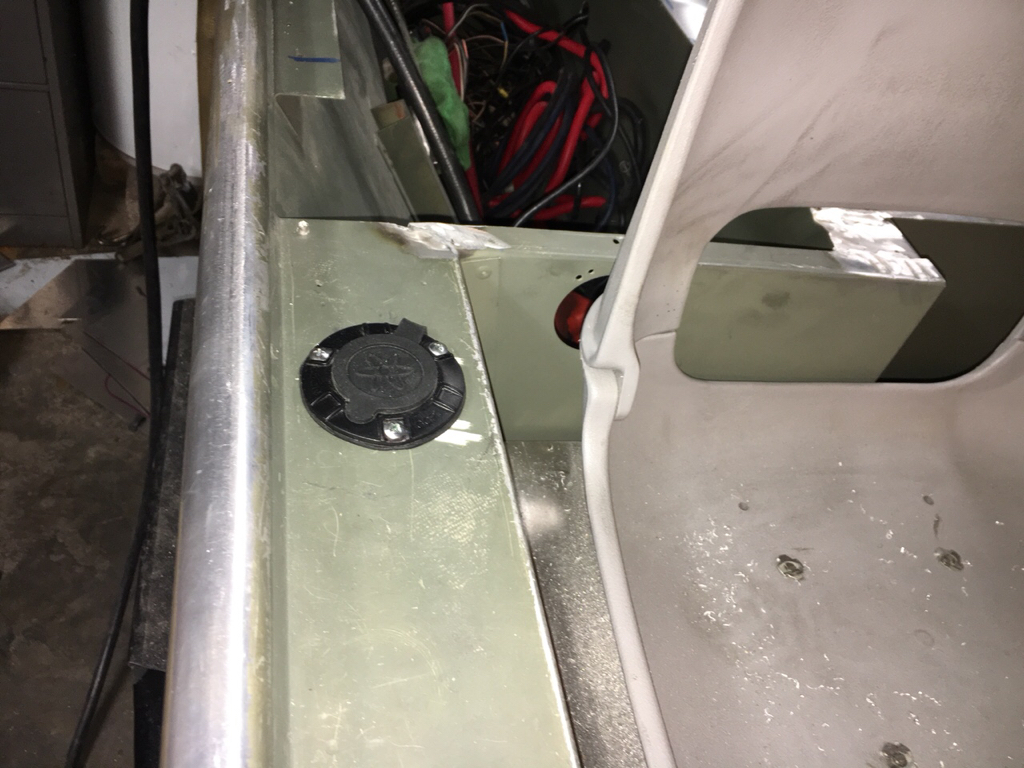
Got the charger adaptor plug installed
c76790058b1f5471659c97d0400d4ae2.jpg
 
Made some changes and some progress lately.
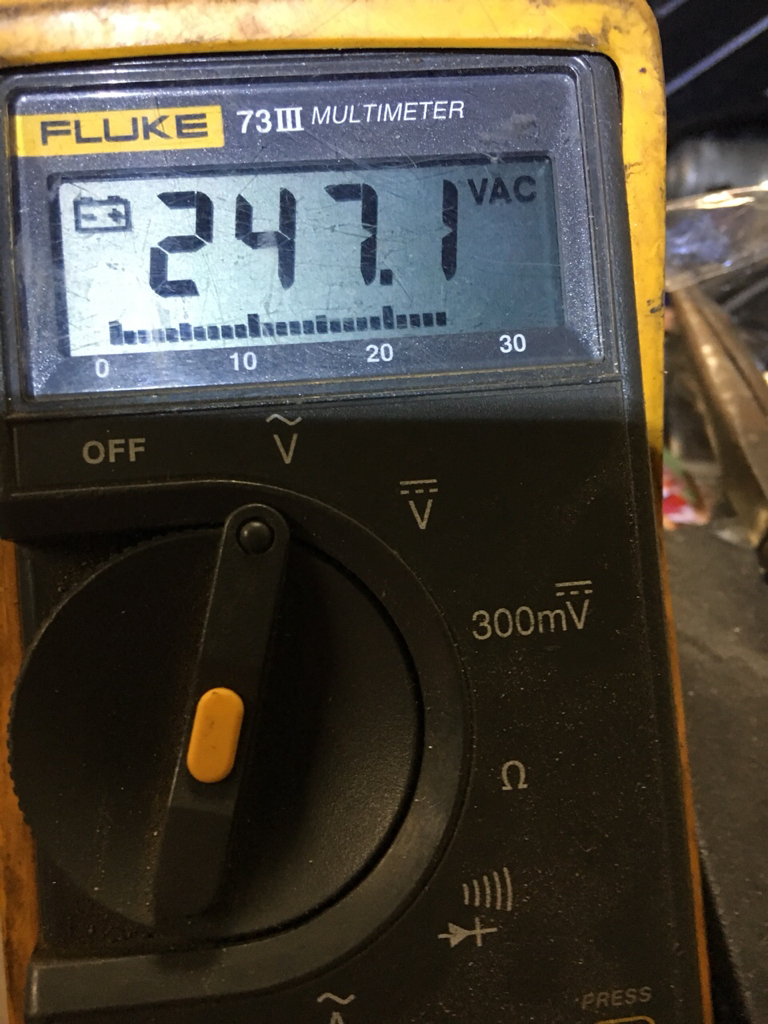
Wired in a 220v drop for my welder and built an extension cord also
5d40ead8b9988d1fd306299d173989f5.jpg

We are HOT now [emoji3]
f0672c7929e82b0e4ca6fe82a0538f85.jpg

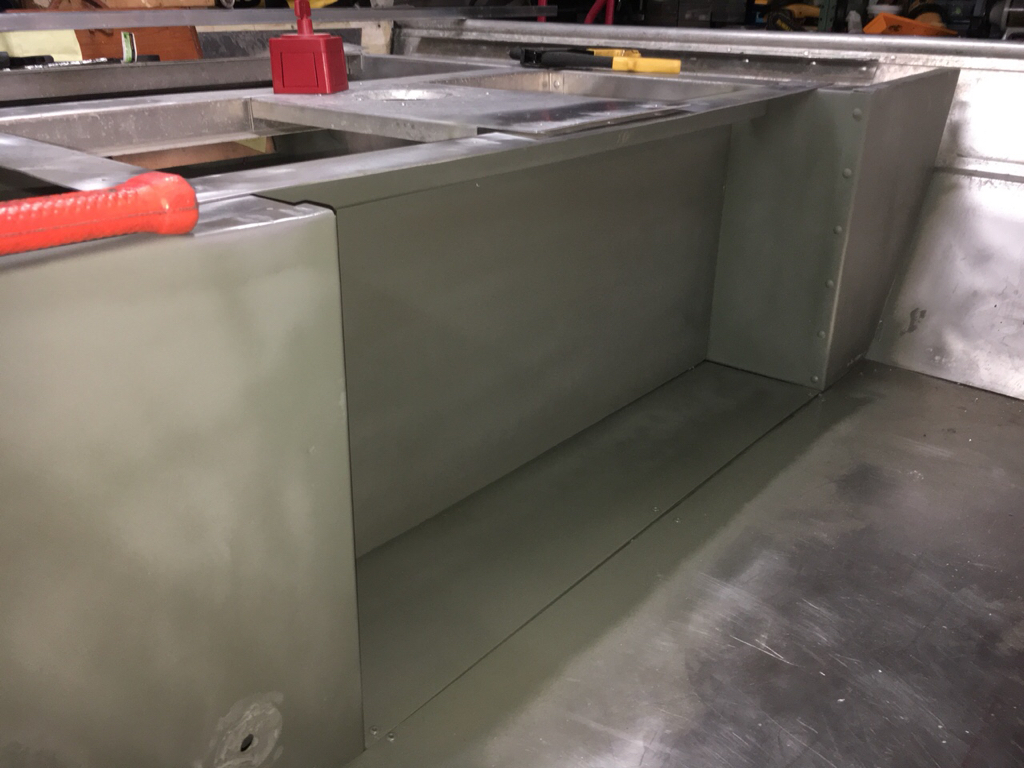
Got the gas tank walls built and installed.
b9a0489219b337ccc29188449e4fcaeb.jpg

772e84f0b1c71f83a15b441de8e711d6.jpg

Cut out the area for the recessed TM tray
9d489f7708847ce46a3f7a1bcc164914.jpg

73656c70428bb4b8bfabc7d2de93346e.jpg

93ab667d5325abccce0df8575c8b3afa.jpg

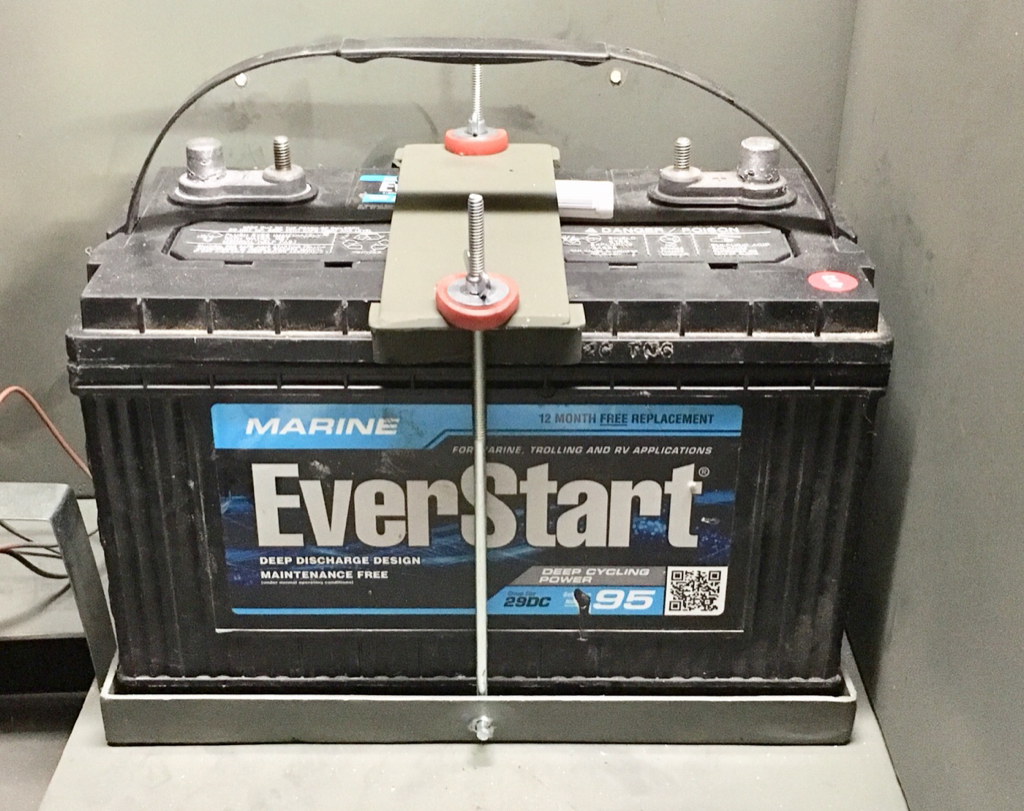
Built a starting battery tray and hold down system.
74bf84b45e69e856e7a79cb07b6a201a.jpg

f14e30e1536cabad0217ddbb24ee3f40.jpg

Double battery tray for TM redo
399a0fb894409fbc6e12657fc8cfe590.jpg

Welds getting better
9f81e2cec30e59b8dce06e5dcd4ac66b.jpg

Installed
fe4c8a84c78483b7d58ce99b9410c51d.jpg

Installed a tray liner in the bottom
343f9df5f38f54594a9a7f9551f6767c.jpg

Preparing to weld up the double tray hold down bracket system.
655c8c190a07ca6f085c6710329ce1e3.jpg

Relocated the 3 bank charger
051769e811c5622e5d0f1263ac7898d7.jpg

Relocated the remote 110v connector for the charger
65928a9d56c68f034f37e2e7daebadd4.jpg

Cut out the fuse block mounting location
264b3b5bee5fc8d643d725eddf31fe28.jpg
 
Nice to see you making progress looks good!

Sent from my SM-G955U using Tapatalk
 
Some updates to share.
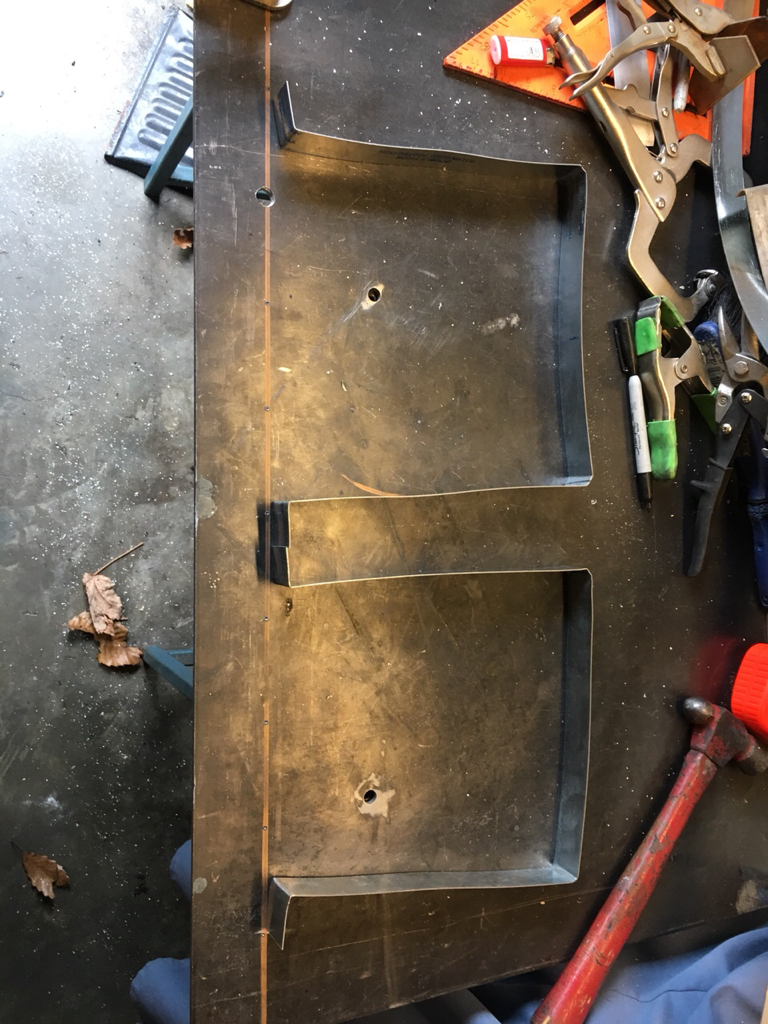
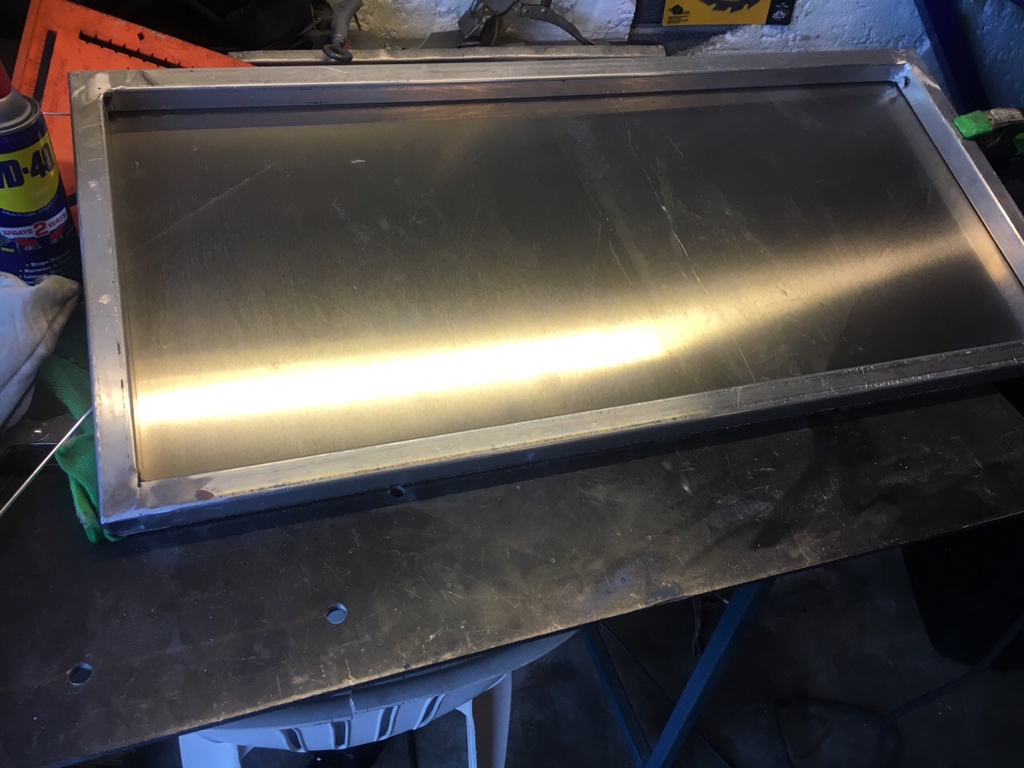
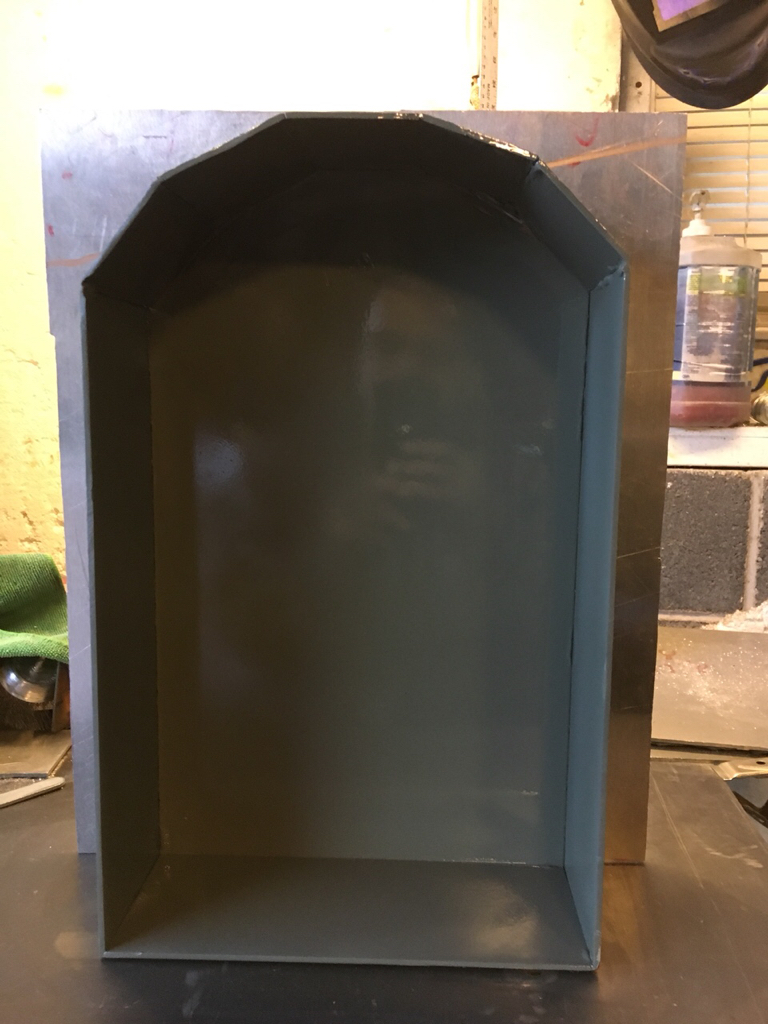
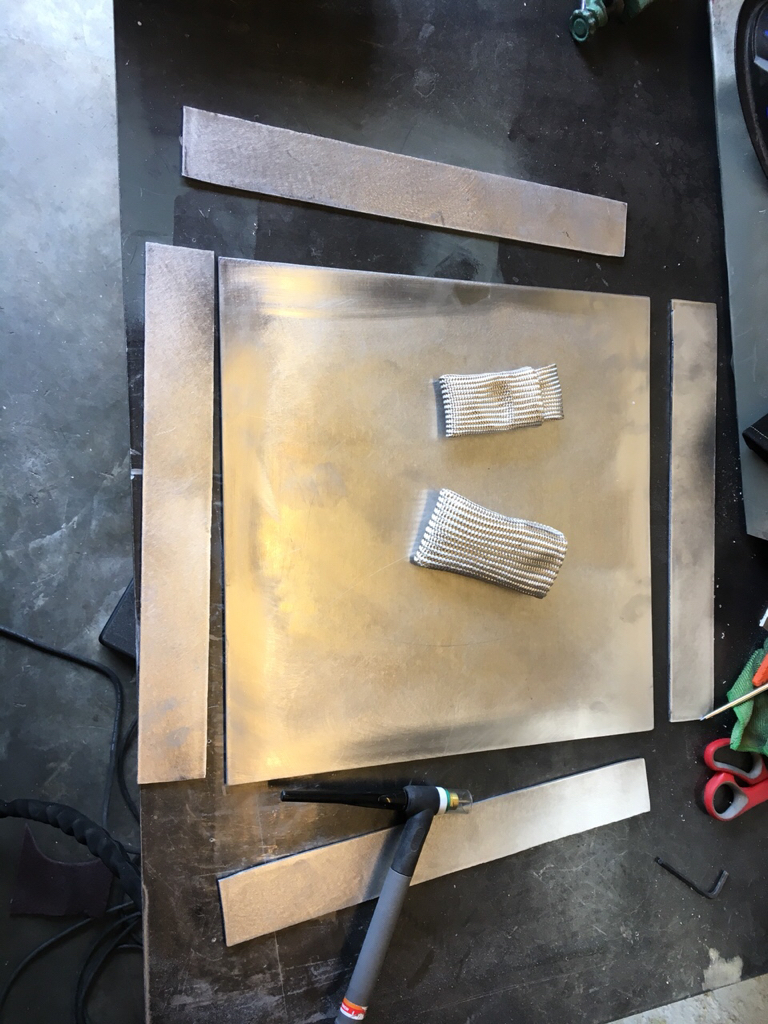
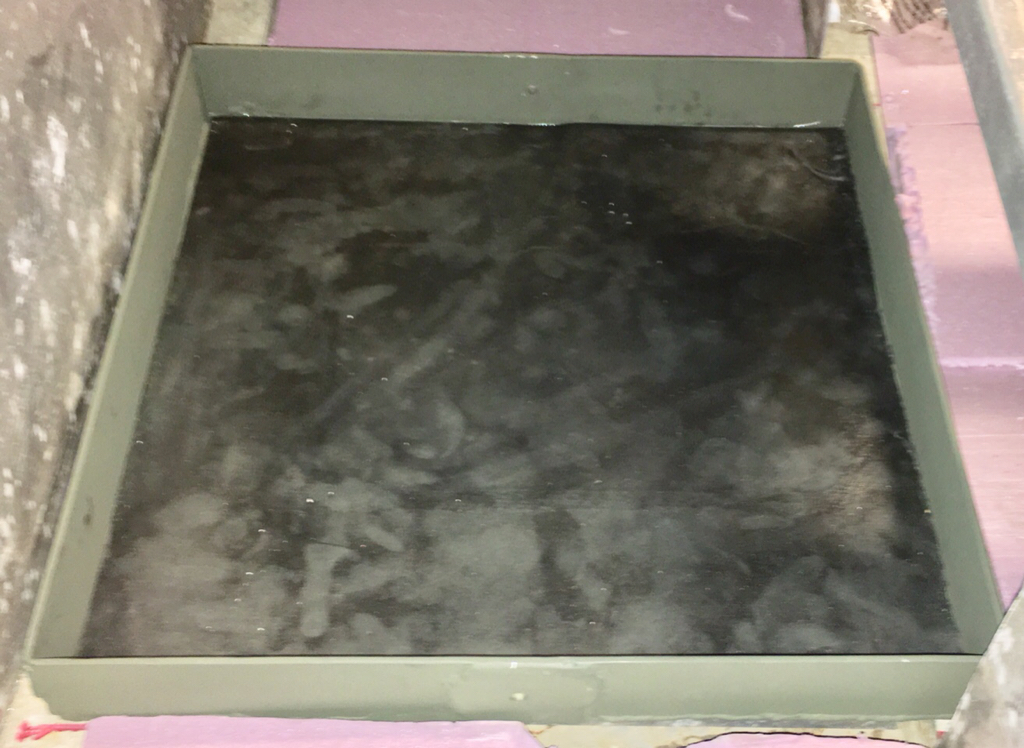
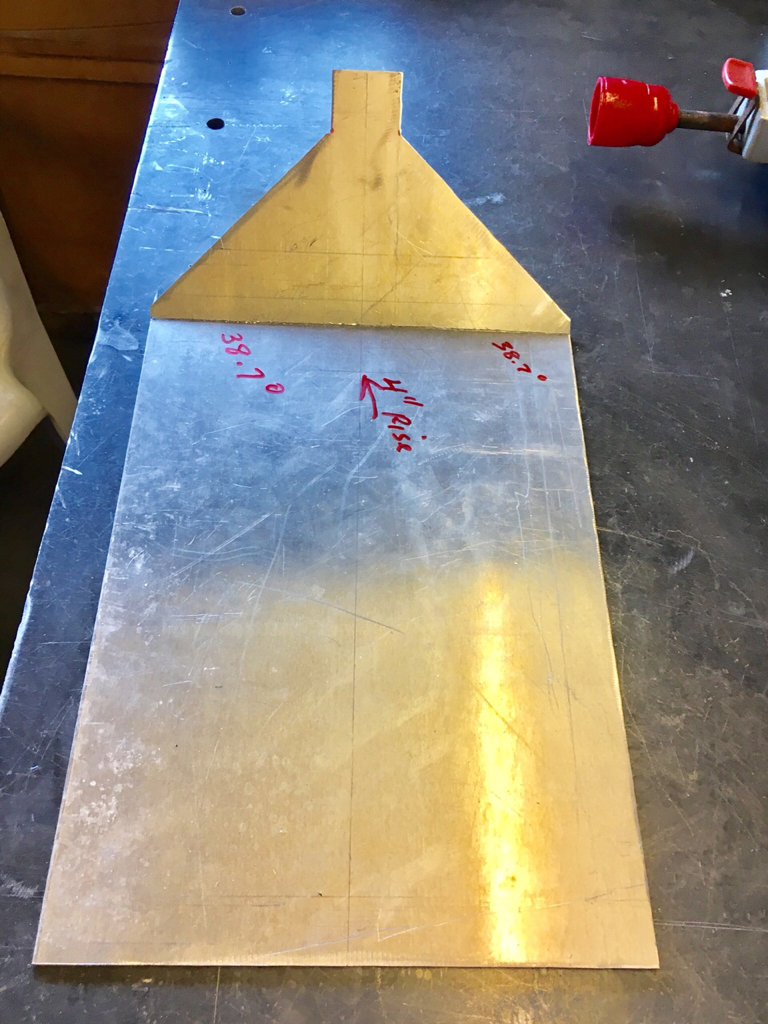
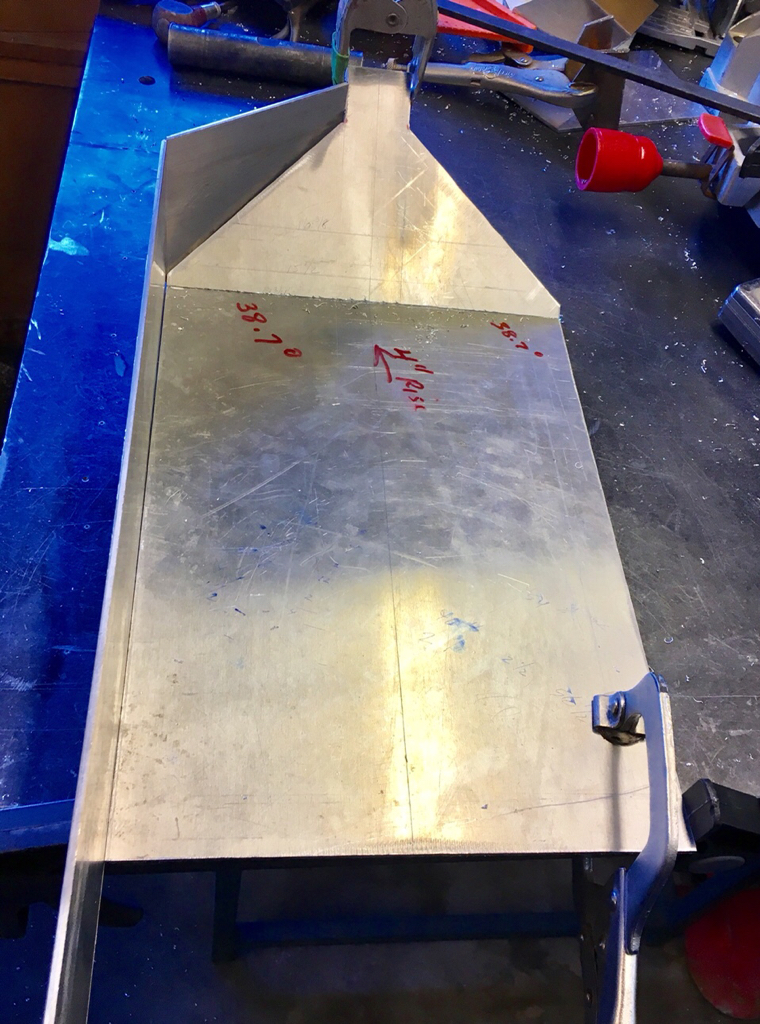
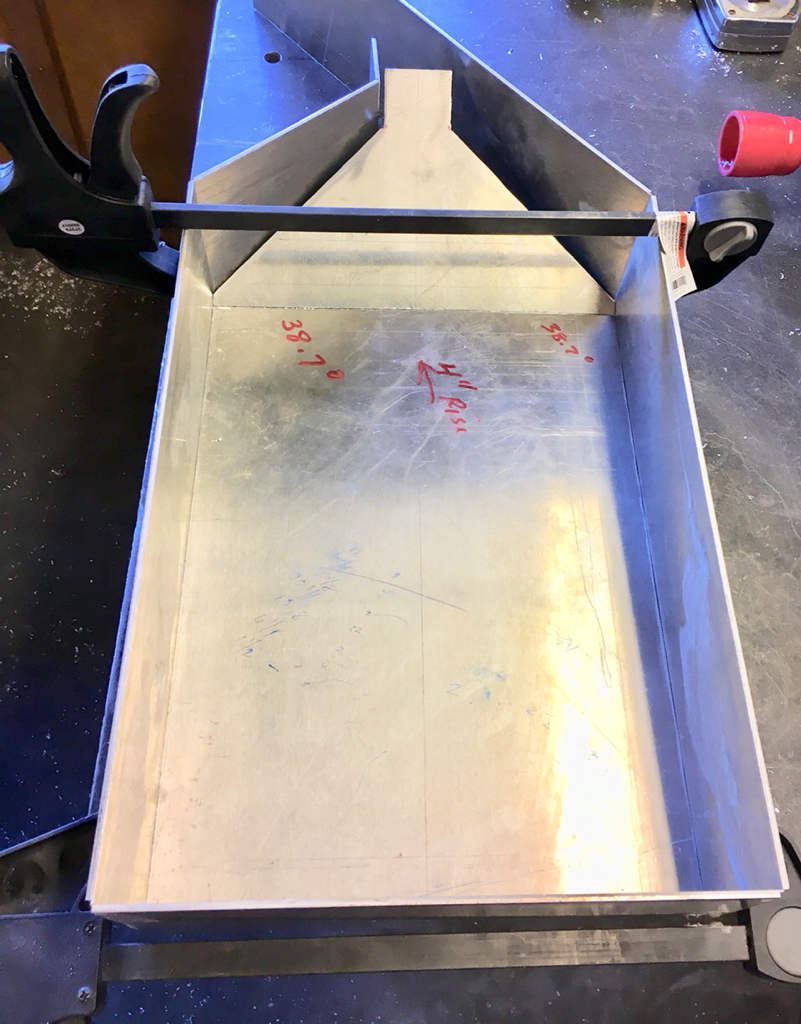
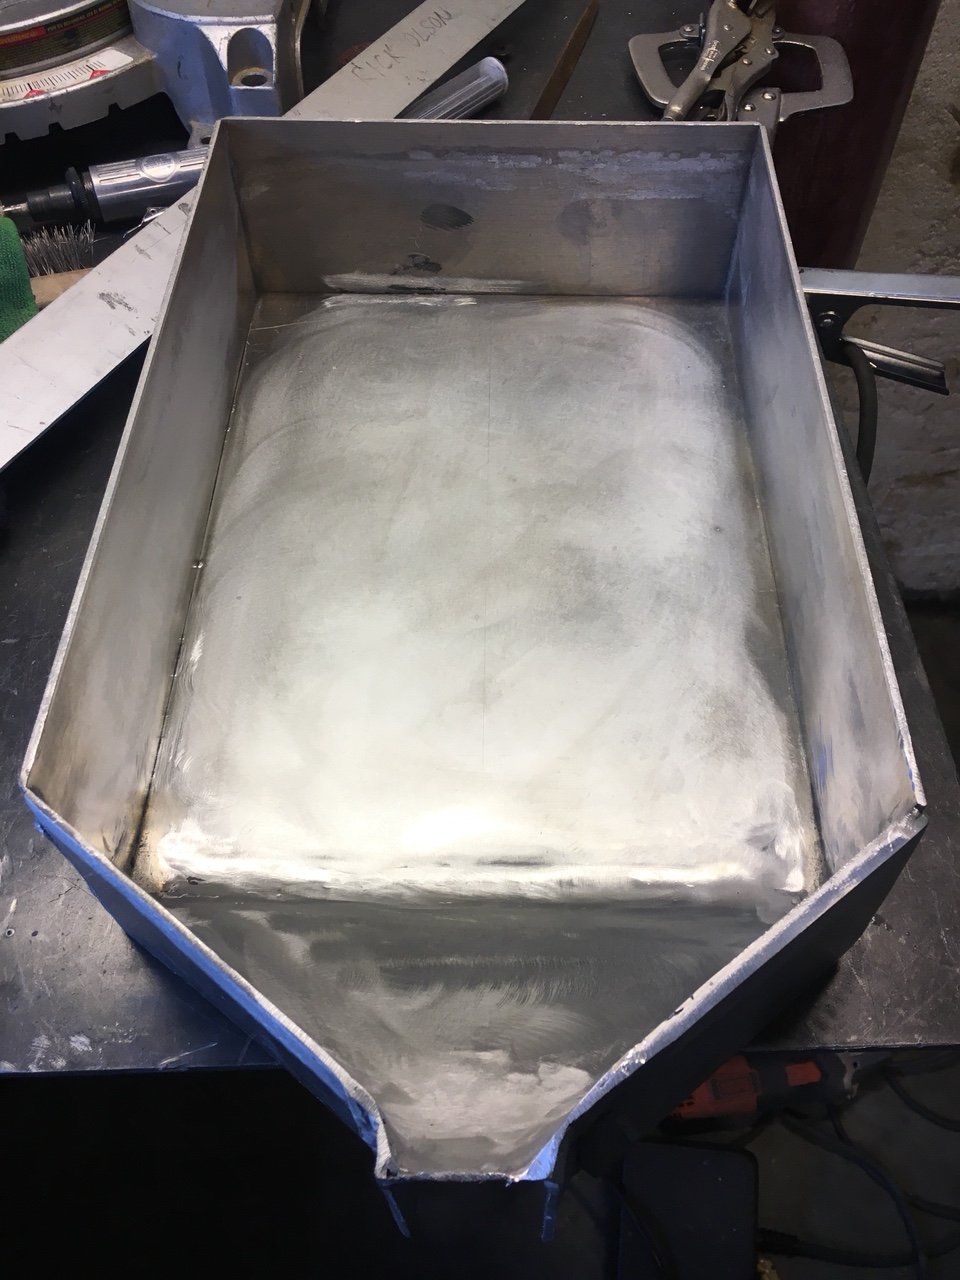
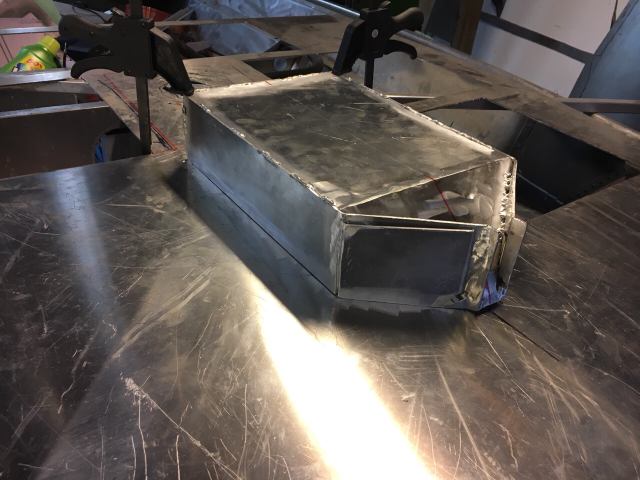
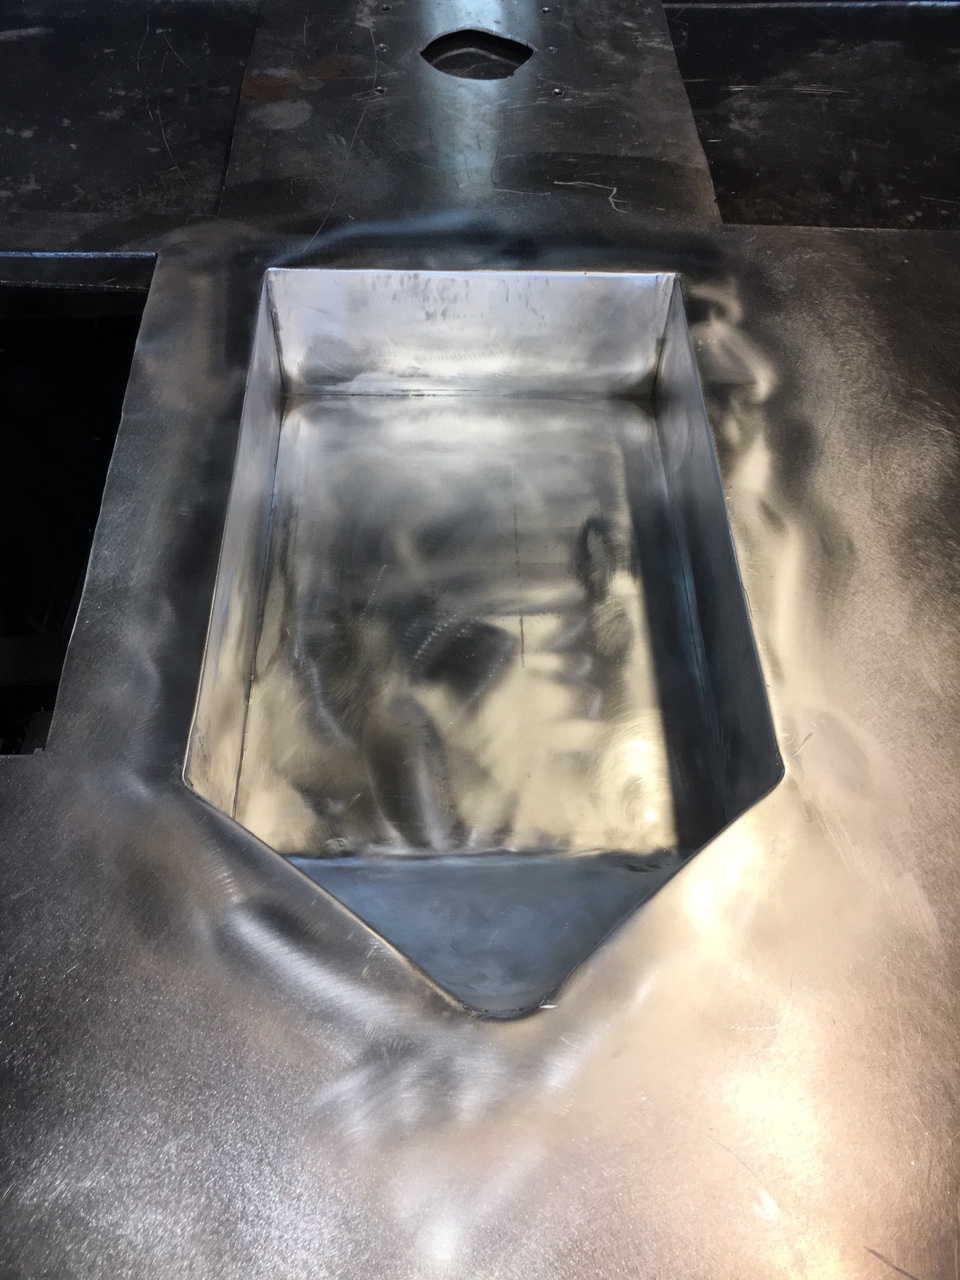
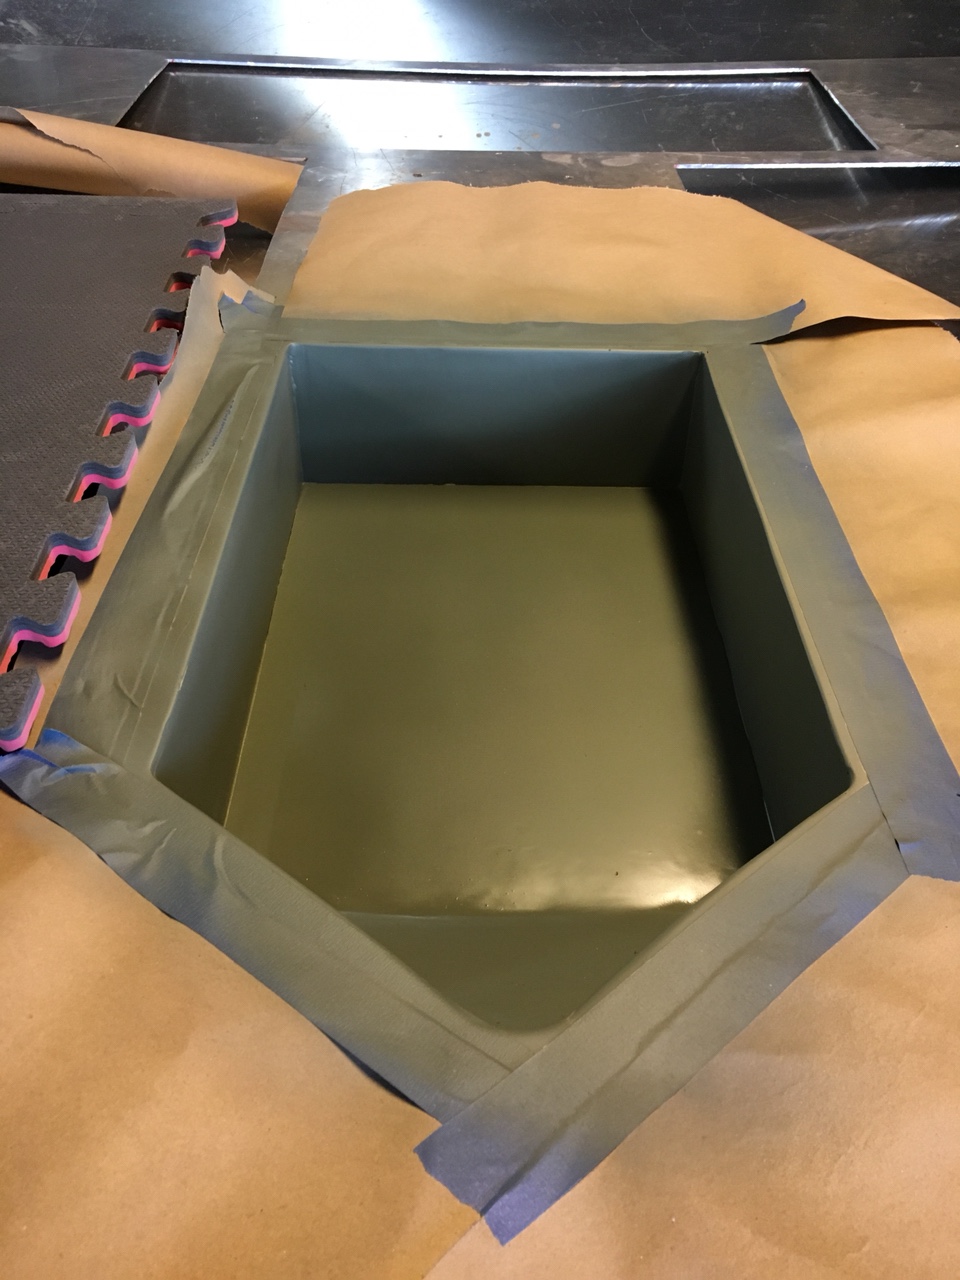
Decided I didn’t really like the TM tray so I started over with a floor pan style I preferred and just wrapped it around using one long sheet and notching the aluminum to keep the continuous sheet and make it easily bent.
9e6501a298d7a020017066efdc7f4042.jpg
c6792f8826b3822f7e104c8185057c6f.jpg

78a95d80061cddf9fe2d3a1242751d40.jpg

cd3c4ef49bb5f168dcc4f601356fa1a8.jpg

53d01390228840f487f2f337992bbb95.jpg

d07cf1a1ee66f1536ae90c0eff0e6378.jpg

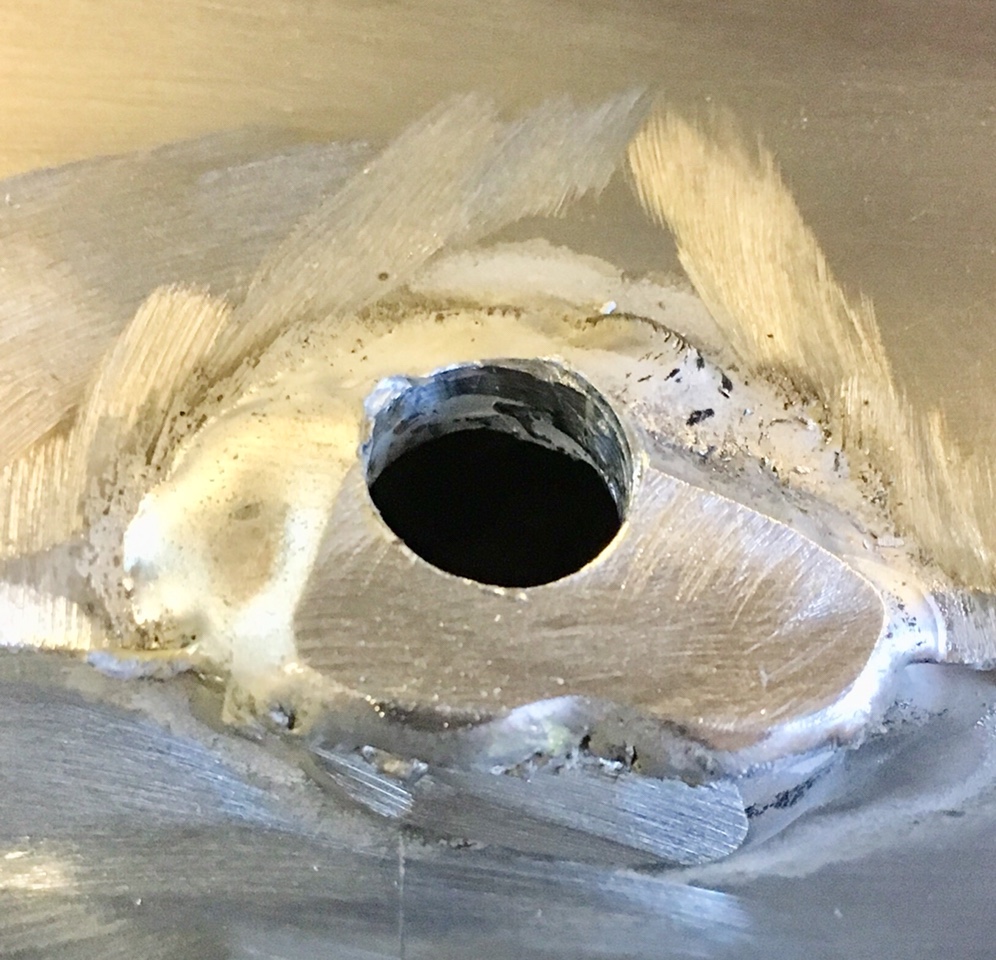
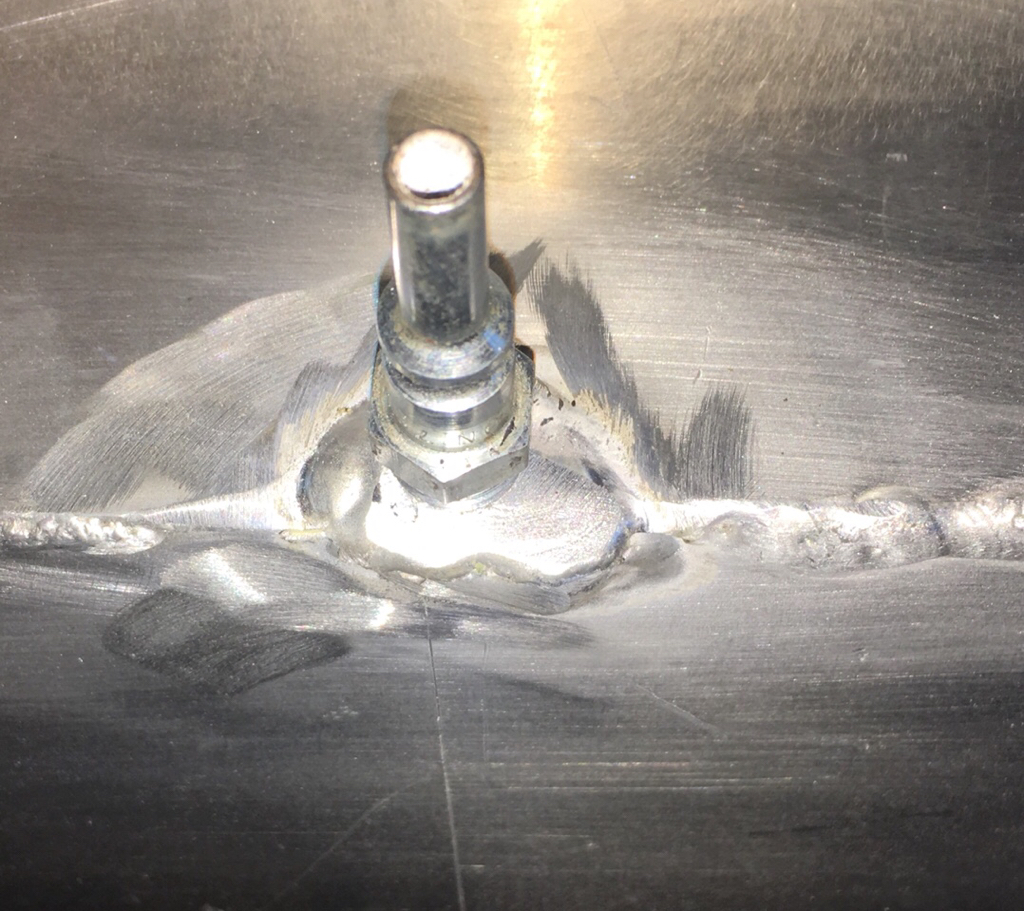
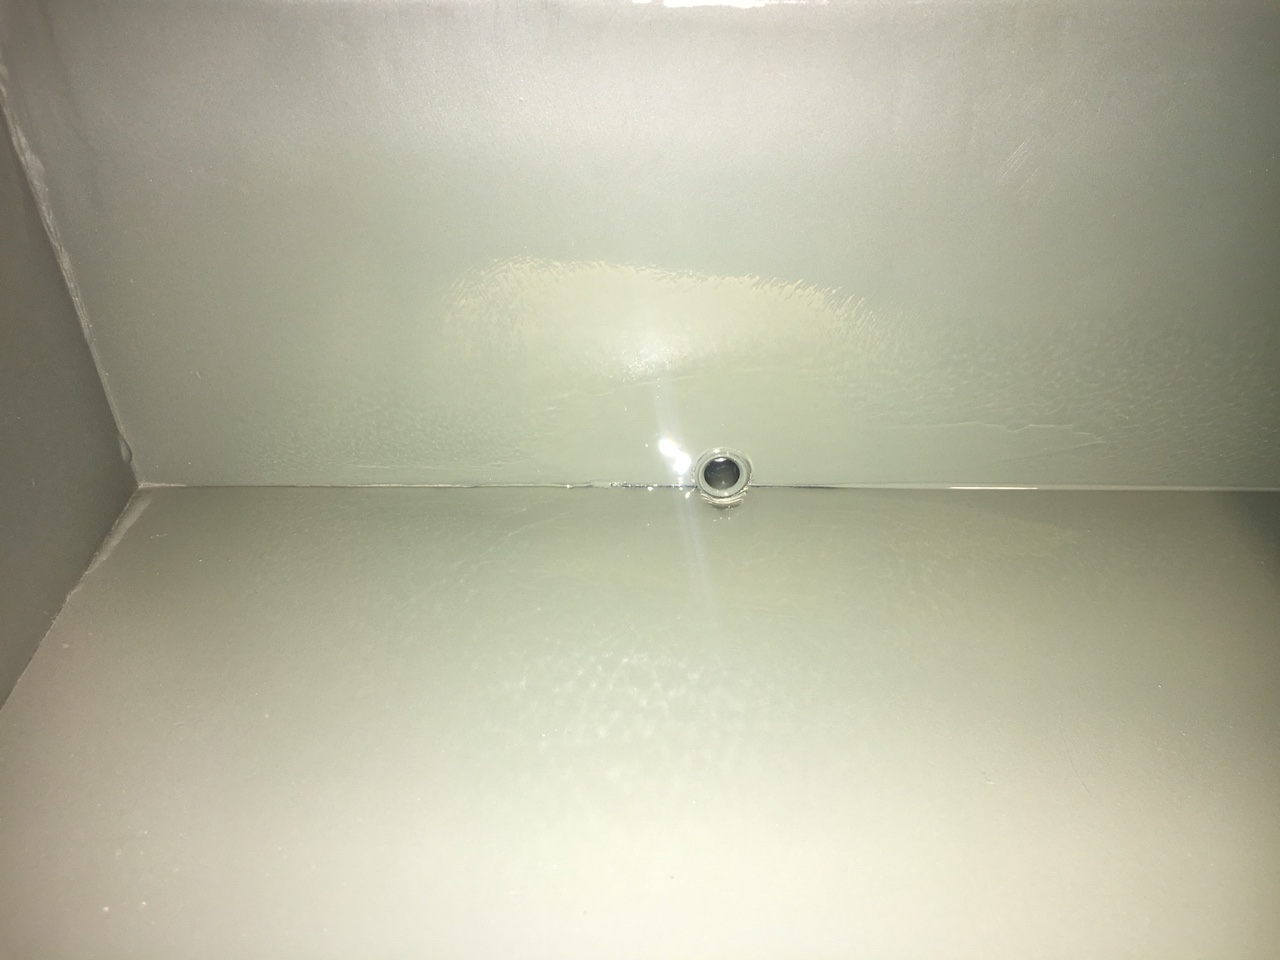
Welded up a thicker area and drilled and tapped for a drain hole
d58797ad246ace25da6232997becdd2c.jpg

8ef4cd356c9834d387e069e2f1a45227.jpg

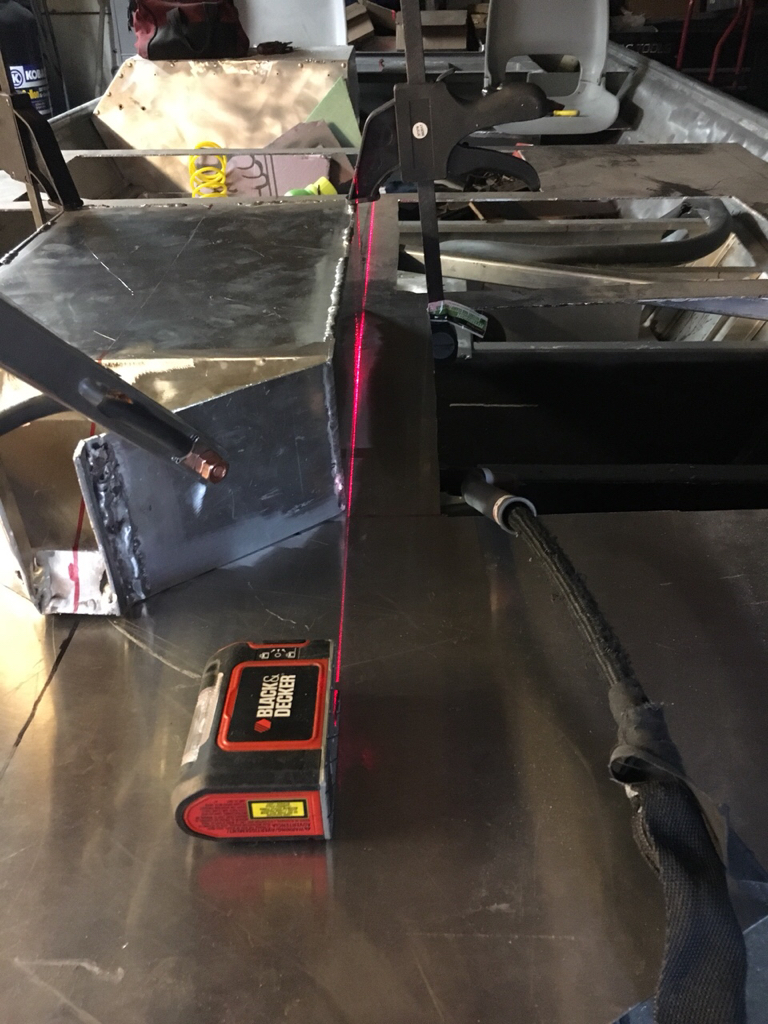
Attaching it to the deck using a laser for precise location
5194744ba5f1e6d09771848d6bae36e4.jpg

699c4b9b339a297bd2182ebf0137daca.jpg


fde8b55fdd9b7727503230459900593f.jpg

951104072a56eb12d23794756af35b88.jpg

Flipped it and welded the topside , cleaned up and smoothed out all the edges
1a37c294203a1070359472df6e49afd5.jpg

Etching primer
59a5e0ac5903fc646da9516552a112e6.jpg

3dc618b20af24a0bbddcea7c846b8a17.jpg

Extremely happy with it and glad I started over [emoji3]
The final inside coating will be heavy duty bed liner material like used in the rear hull/bilge area
Thanks for following along.
 
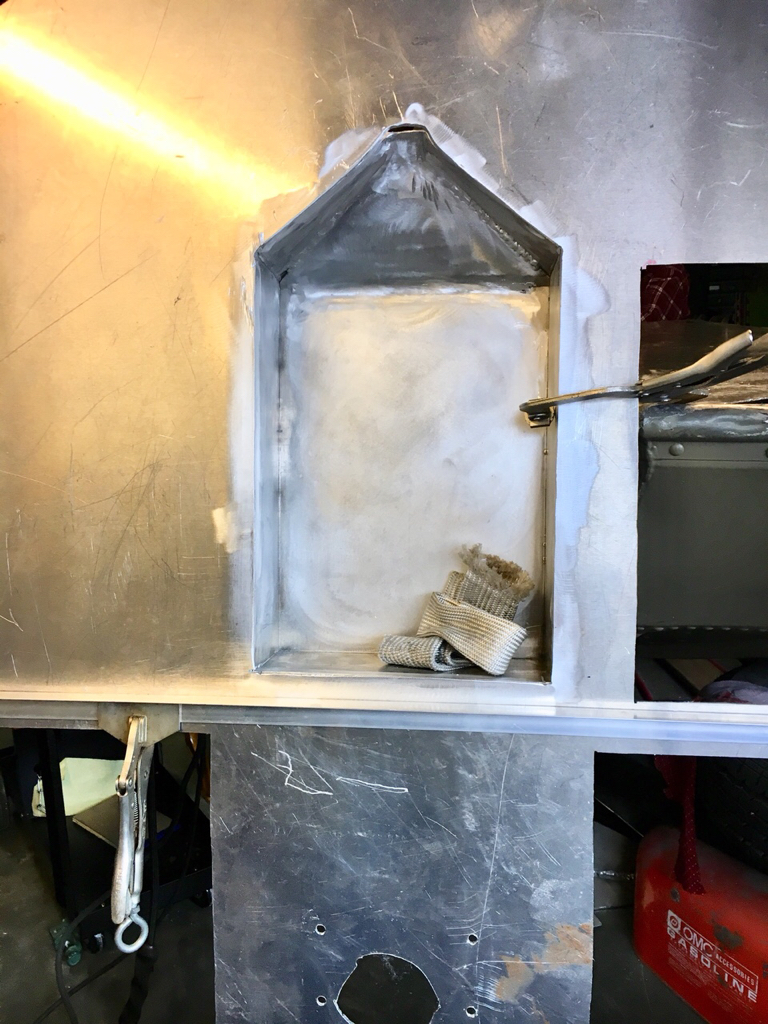
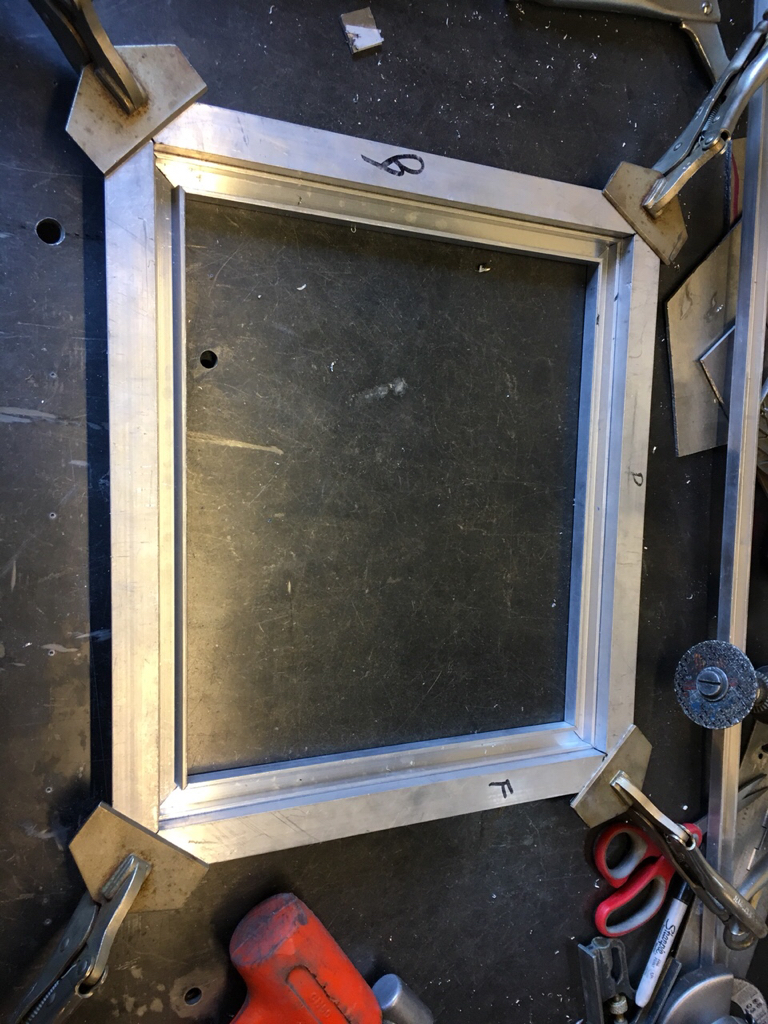
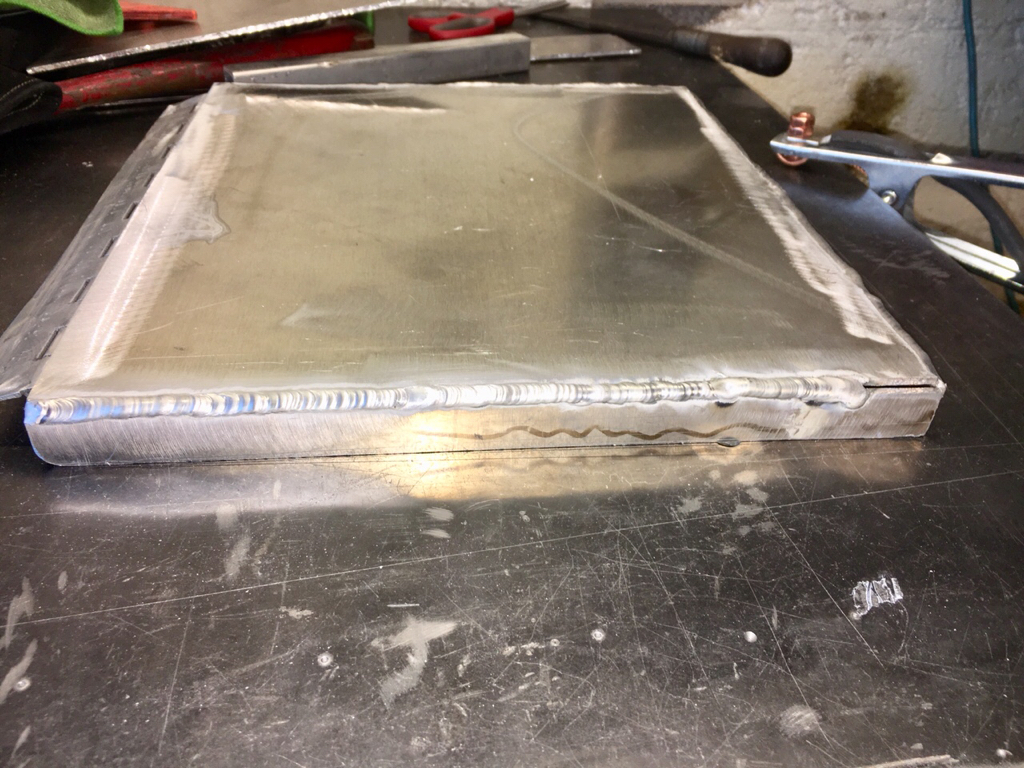
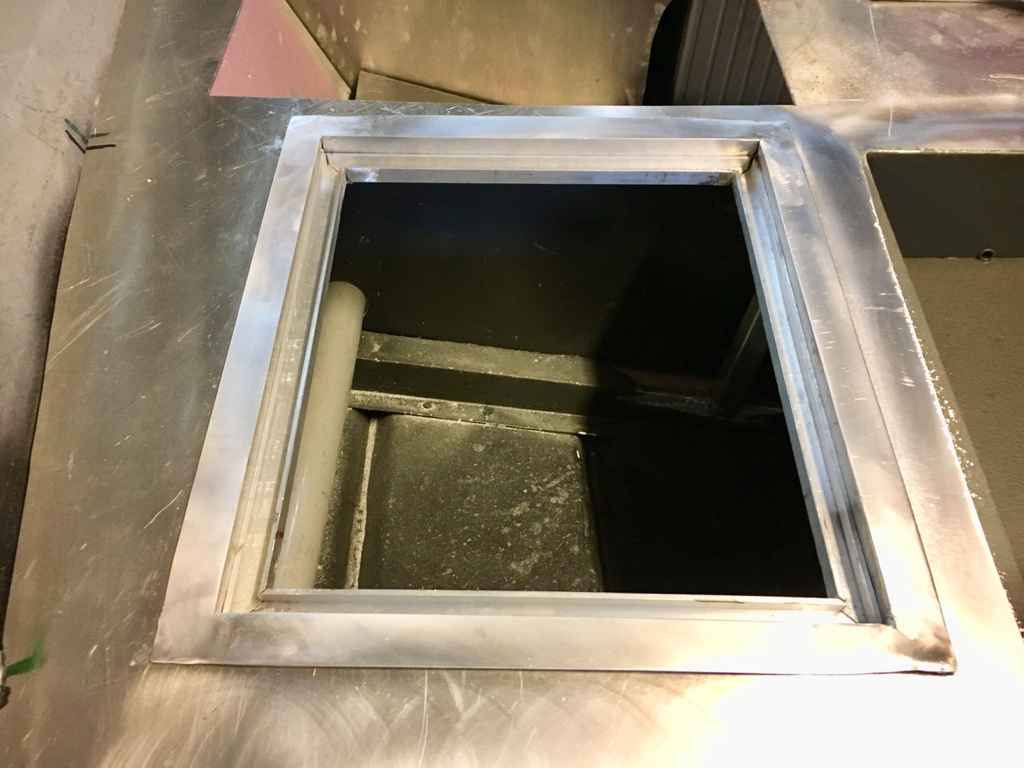
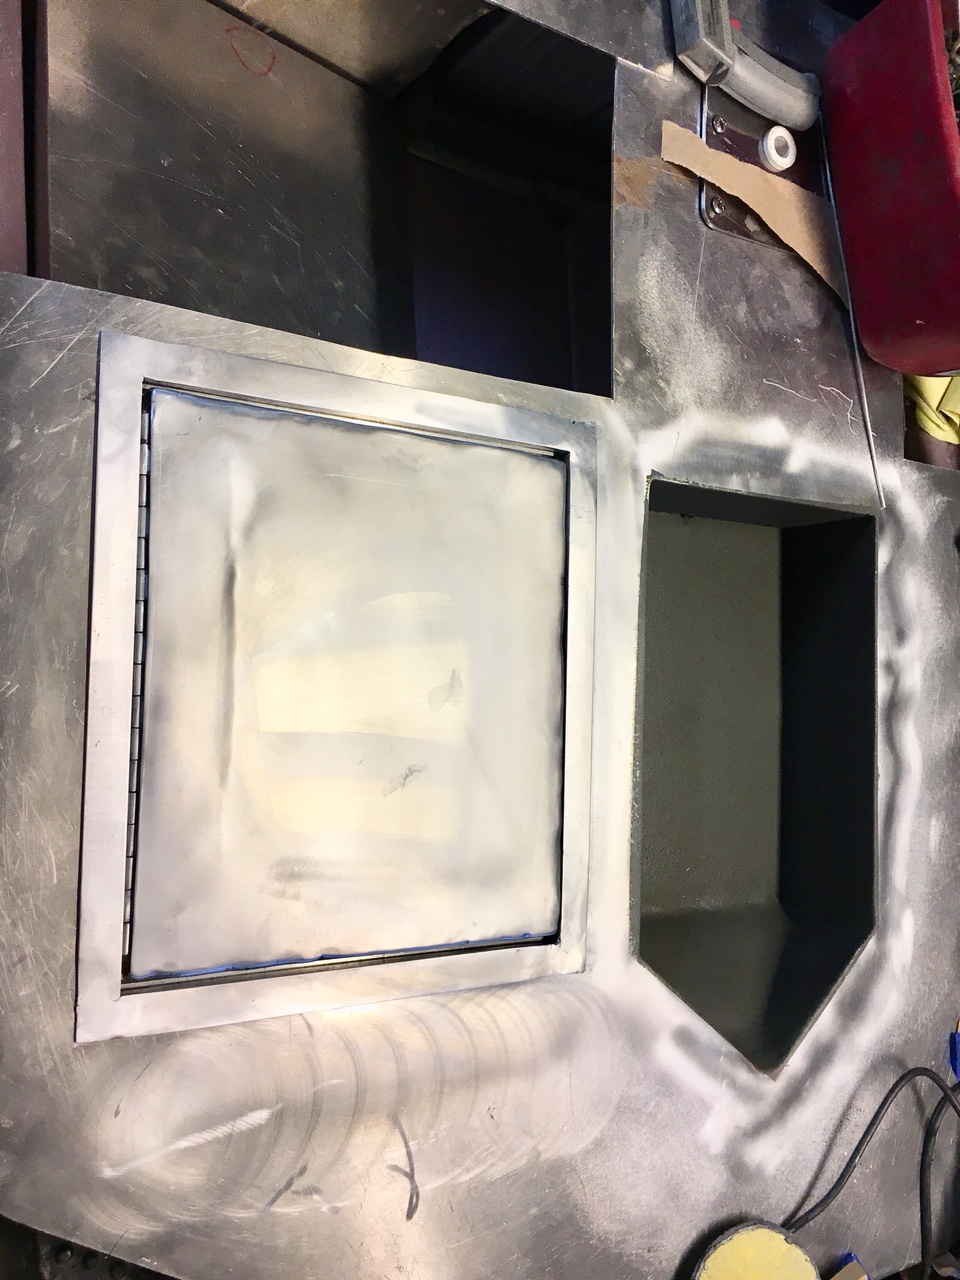
Started framing out the anchor locker and lid
775e2d58a67d4fc82c3789d217299b5e.jpg

4efeeb385e27cc90e40f8ba06d47b559.jpg

d636886f422fd8d96cf0ce98d911a3e7.jpg

4539915a72dedc09cfdbe2b59f701081.jpg

8b193d73bb01455d83710a83c415d73f.jpg

Very happy with the outcome so far.
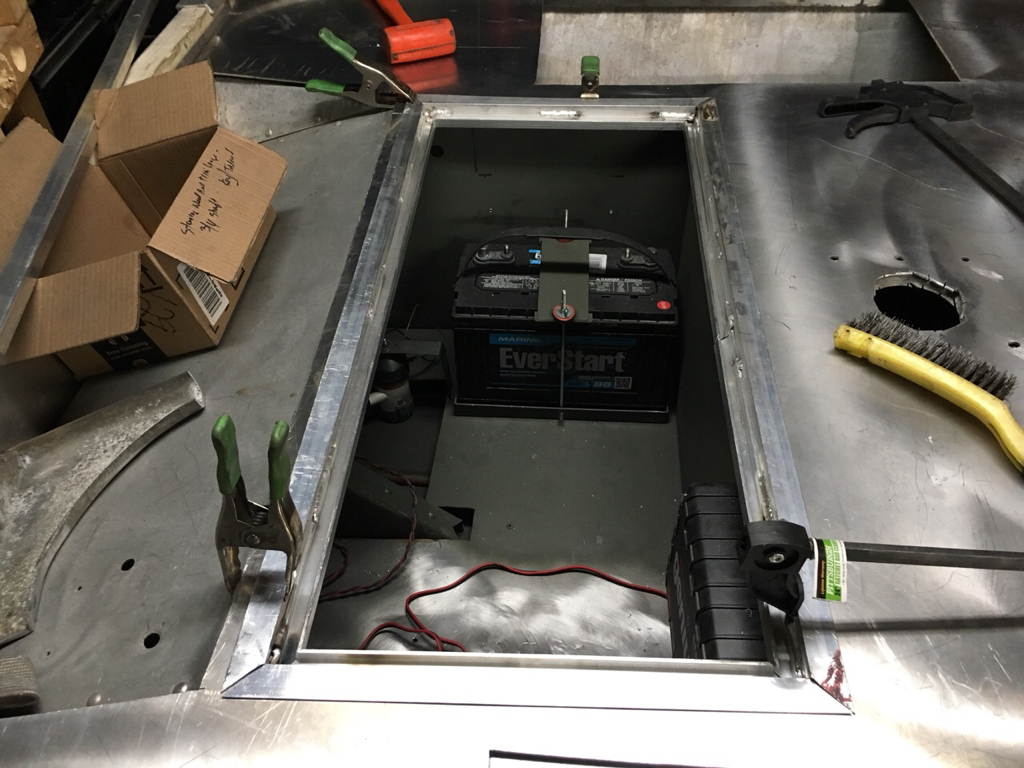
Started framing out the rear battery compartment door in the same fashion.
81d064be67e09cff5649c6b7b8395a62.jpg

Will try to get it finished up tomorrow after another doctors appointment if I get done in time.
Stay tuned.
 
dogwillhunt said:
Nice job on the recessed tray. It'll look really good with the bedliner.
Thank you, can’t wait to get it all framed out and painted . I really liked the way the rear bulge area turned out with the bed liner so I’m hoping this will turn out the same. Almost tempted to do the whole boat in something similar.
 
Yeah, I'm not a fan of carpet. I painted the floor/deck on my previous boat with oil based rustoleum mixed with silica sand. It lasted a good 5-6 years in the AZ sun before it needed to be re-done. I'll probably go the bedliner route once I get to that project.
 
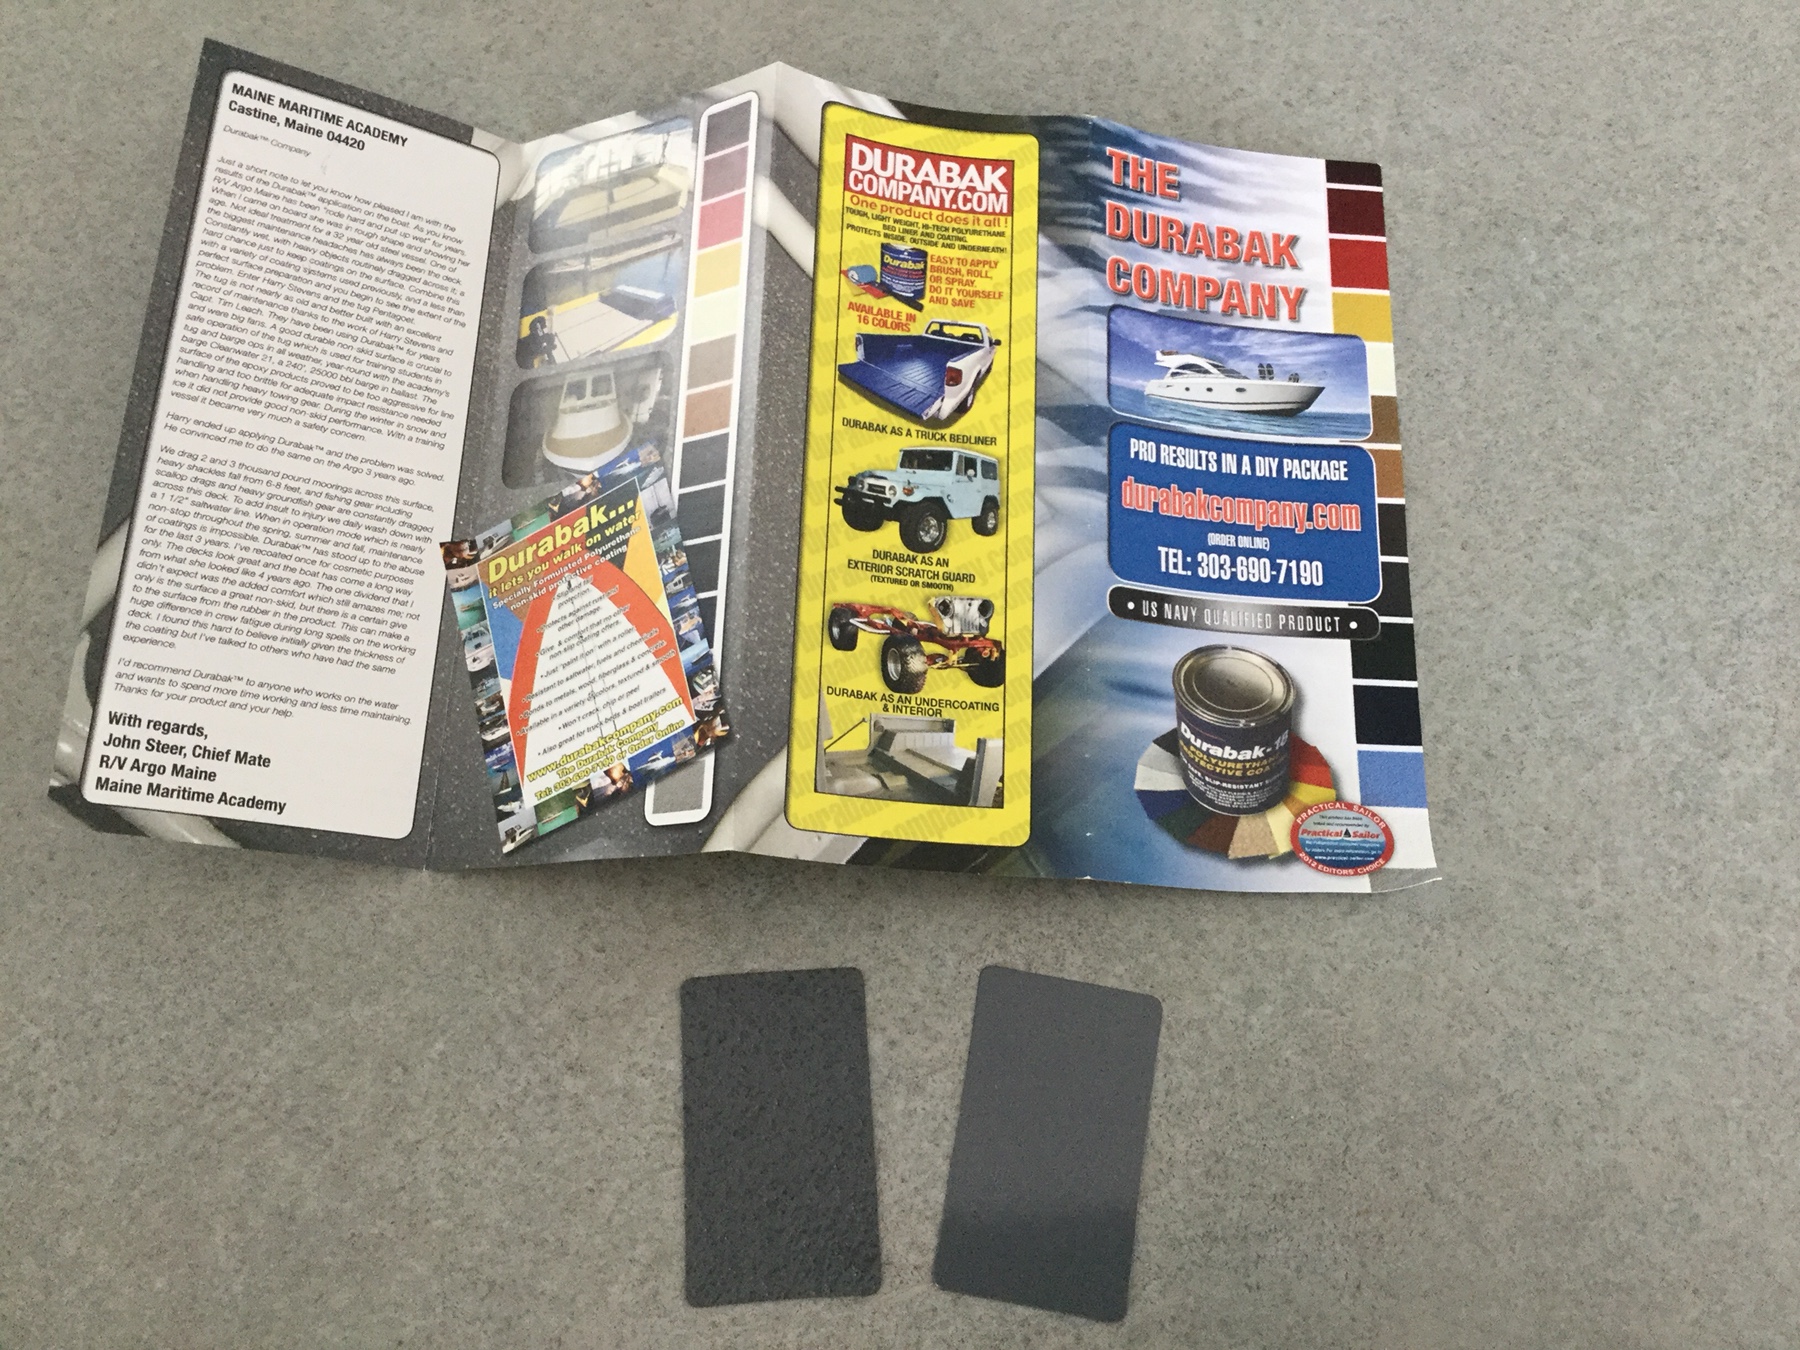
0f027dbc5b42fab06e8fe21f9f3c8cbe.jpg
Yall should check this product out. I’ve used it in the past. And plan on doing my PT175 this spring.

Sent from my iPad using Tapatalk
 
gatorglenn said:
0f027dbc5b42fab06e8fe21f9f3c8cbe.jpg
Yall should check this product out. I’ve used it in the past. And plan on doing my PT175 this spring.


Sent from my iPad using Tapatalk
May have to look into that. The stuff I have been using so far has been rattle cans and the first can used in the rear bilge area was solid as a rock overnight and very nice finish. The second can I used in the TM tray wouldn’t cure to save my life. I tried everything. I think the Can was defective or something. Thanks for the suggestion for sure.
 

Latest posts

Top