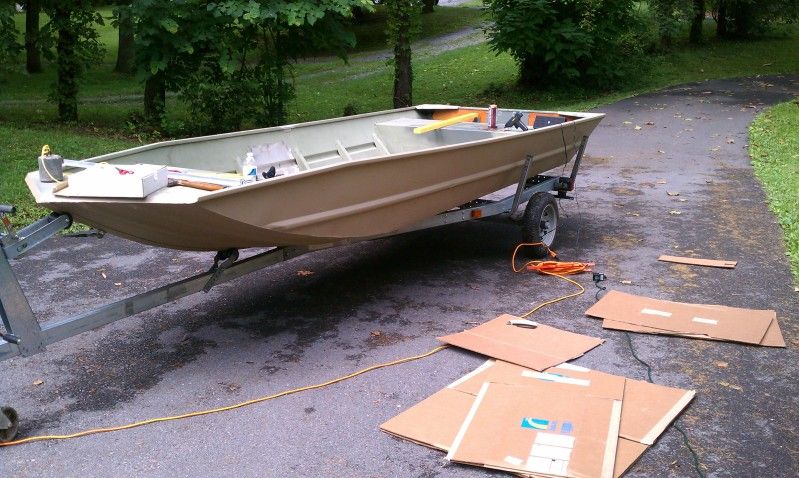
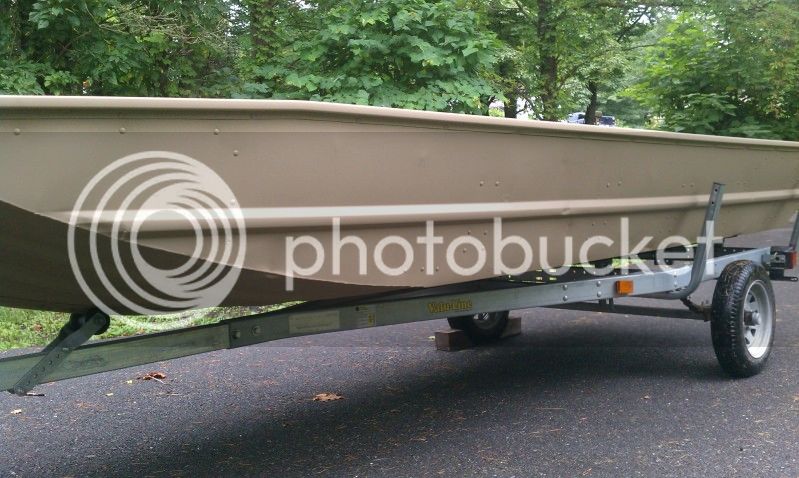
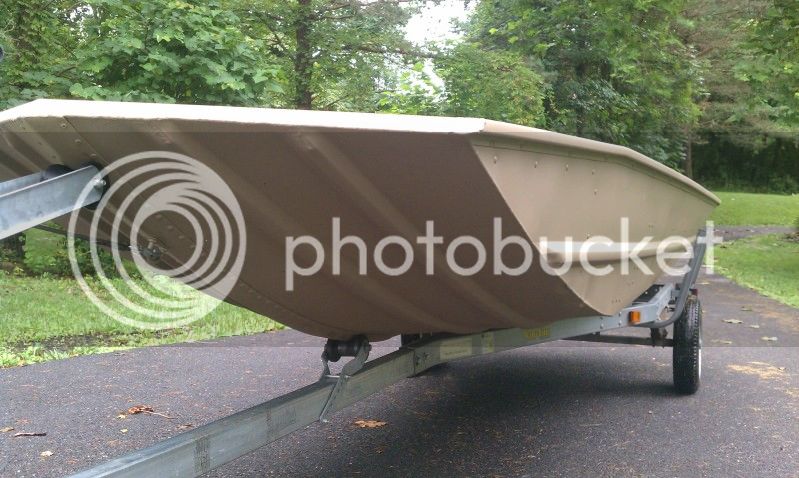
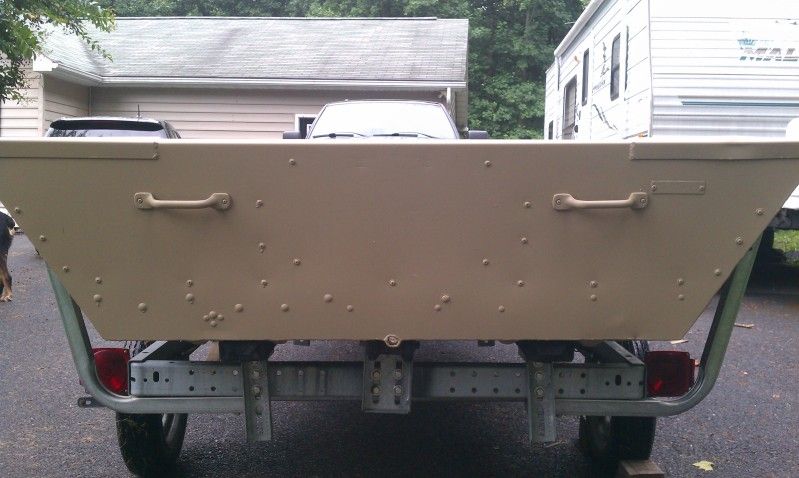
BigTerp's Tracker Sportsman 16' O/B Jet build

TinBoats.net

Help Support TinBoats.net:

This site may earn a commission from merchant affiliate links, including eBay, Amazon, and others.
Ill have to checkout the depot, as I am moving on with deck/seat plans while I wait and wait for products to dry/cure. Thanks for the tip.
 
Small world, ain't it?

I used sand in the paint on the last boat I put a floor in. Some of it wears off in time, but I think that happens with anything. I put three coats of paint on, first no sand and let cure for a few days. I then scuffed the first coat with a scotch brite and put two more light coats on, sprinkling sand on the wet paint as I went. The third coat was more or less to add a little more texture to spots that didn't look like they got enough sand the first time.

The nice thing about something like SoftSand is you can mix it with the paint. Regular sand just sinks to the bottom when mixed in. I've also heard of people sprinkling rock salt onto the wet paint, then when you hose it down after it dries the salt dissolves leaving the texture behind.
 
Boat looks really good, when you going to get it wet? Hoping to be out this evening, probably fish from the quarry down but might go up to the islands to swim on the MD side beach at the bottom.
 
[url=https://www.tinboats.net/forum/viewtopic.php?p=321281#p321281 said:
catmansteve » July 5th, 2013, 2:13 pm[/url]"]Small world, ain't it?

I used sand in the paint on the last boat I put a floor in. Some of it wears off in time, but I think that happens with anything. I put three coats of paint on, first no sand and let cure for a few days. I then scuffed the first coat with a scotch brite and put two more light coats on, sprinkling sand on the wet paint as I went. The third coat was more or less to add a little more texture to spots that didn't look like they got enough sand the first time.

The nice thing about something like SoftSand is you can mix it with the paint. Regular sand just sinks to the bottom when mixed in. I've also heard of people sprinkling rock salt onto the wet paint, then when you hose it down after it dries the salt dissolves leaving the texture behind.

Sounds good. The rock salt thing sounds pretty interesting. Let me know what you end up doing and how it works out.
 
[url=https://www.tinboats.net/forum/viewtopic.php?p=321065#p321065 said:
panFried » July 3rd, 2013, 9:58 am[/url]"]Ill have to checkout the depot, as I am moving on with deck/seat plans while I wait and wait for products to dry/cure. Thanks for the tip.

Yeah, the Springfield scratch and dent site has some nice stuff for really good prices. They updated it pretty frequently, so if they don't have what your looking for today, check back tomorrow.
 
[url=https://www.tinboats.net/forum/viewtopic.php?p=321283#p321283 said:
Ranchero50 » July 5th, 2013, 2:26 pm[/url]"]Boat looks really good, when you going to get it wet? Hoping to be out this evening, probably fish from the quarry down but might go up to the islands to swim on the MD side beach at the bottom.

Did you get out over the weekend?

I'm hoping to be on the water by August 1st. Might be a long shot though. Need to find the time for my buddy and I to get together to frame the deck and get my aluminum cut for the floor and deck. Once that is done things should move along a little quicker. Just been tough to find the time lately to get some work done. Resident goose season comes in Sept. 2nd, so it HAS to be ready by then!!
 
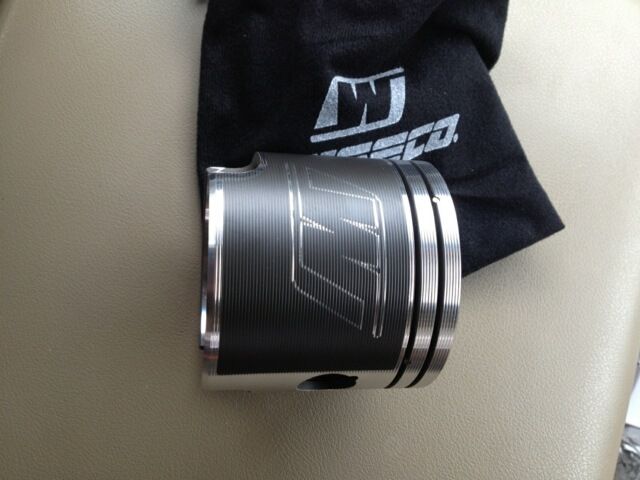
The Johnson 50/35 jet is starting to come along. My buddy FINALLY got pistons in last week so he can get the cylinders bored out (he is in charge of the rebuild). The powerhead is still at the machinist but will hopefully be ready sometime this week.

They make pistons look all fancy nowadays. As slick as they look, I hope to never see them again though.

att_137329324032810_zpsa97d2984.jpg


Should have my radio and switch panel waiting for me when I get home. Just need to get some free time to get everything finished up.
 
Got my stereo in last night. It's basically an amplifier with 2 6.5" speakers that plug into an mp3 player, cell phone, Ipod, etc. I didn't want anything that required installing a headunit anywhere. This should work perfect for me!!
IMAG0807_zps9c189952.jpg


Also got my switch panel in, but didn't grab a picture of it. Picked up an extra 12v socket as well to install somewhere opposite my switch panel. I went with these.

https://www.amazon.com/gp/product/B003E24MKA/ref=oh_details_o00_s00_i01?ie=UTF8&psc=1

https://www.amazon.com/gp/product/B001U4ZZPK/ref=oh_details_o00_s00_i00?ie=UTF8&psc=1
 
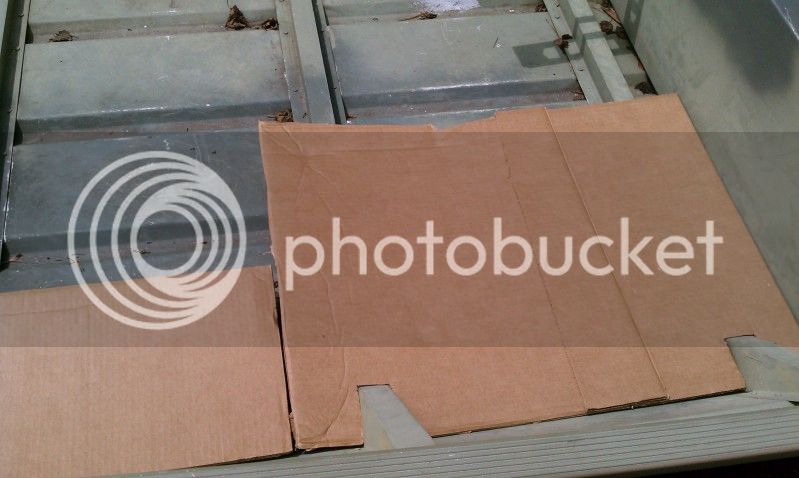
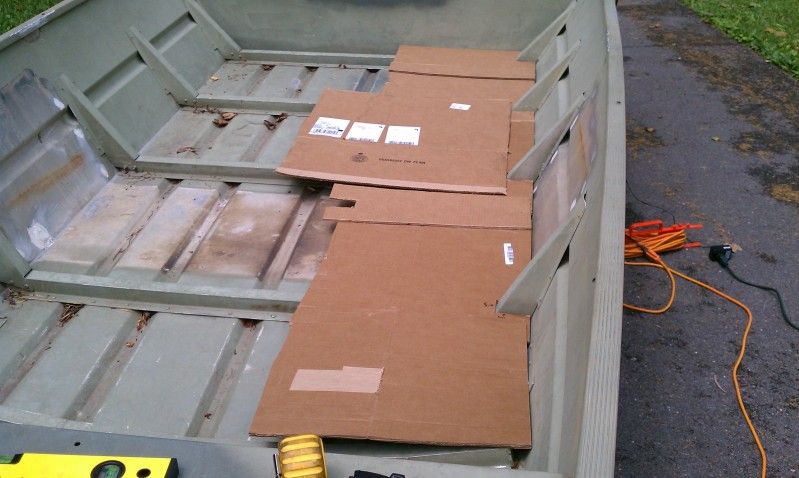
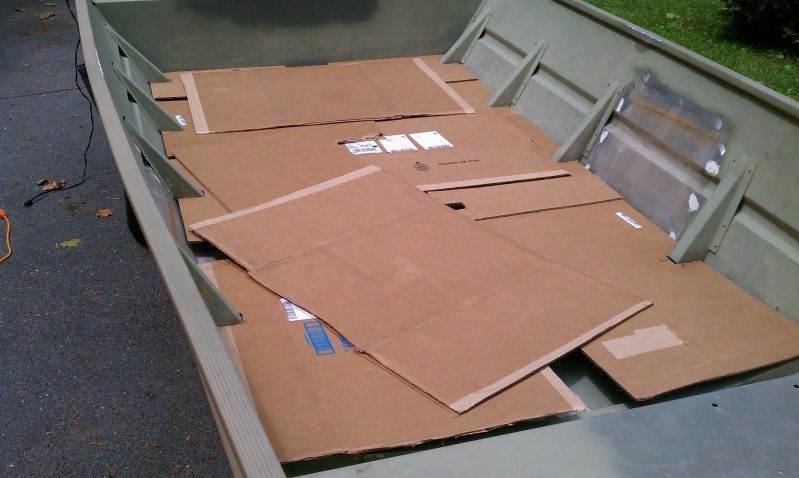
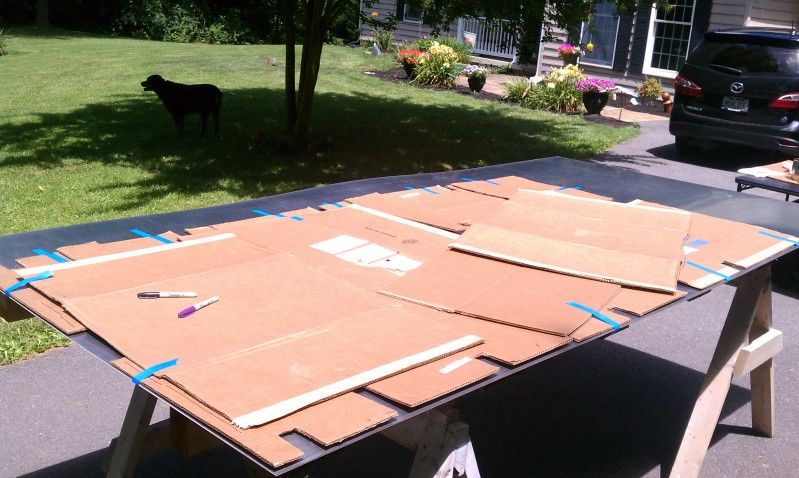
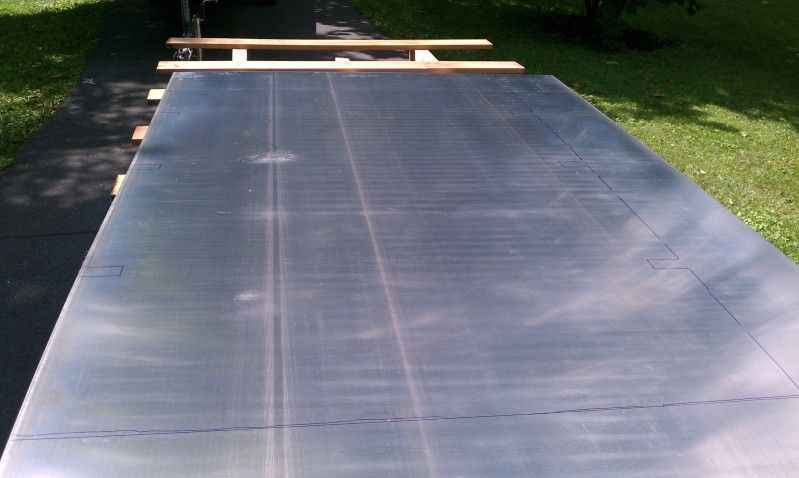
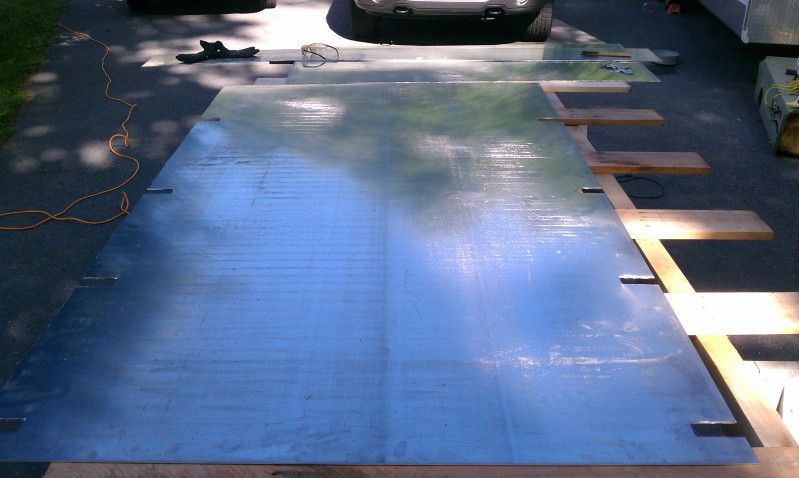
Got my floor cutout over the weekend, FINALLY!!! Turned out really good. Just need to fine tune some of my cuts and it should fit darn near perfect. I intentionally made my cuts a bit short, especially on the notches for the ribs. This way I can go back with a grinder and/or hand file and make everything fit nicely. I used cardboard from work to make a template. I used small pieces to cut the notches out around the ribs. I then hot glued larger pieces on top to connect everything together. I got ALOT of help and confidence from a few guys in another thread, especially chevyrulz. I was pretty nervous about using an agle grinder (have heard horror stories of blades imploding) and also of screwing up my cuts and ruining a $150 piece of aluminum. After my first few white knuckle cuts, things went pretty smoothly.

Starting the template
IMAG0821_zpsc3d6a1a3.jpg


Template progressing
IMAG0823_zps54f1f5a2.jpg


Finished template
IMAG0824_zps1464a673.jpg


Work station. I had crap everywhere. The anchor on the bow worked as my third hand to hold down a piece of angle I had to cut . I'd reccommend usning an actual real live person to hold down your angle when cutting :shock:
IMAG0820_zps50dffff4.jpg


Tracing my template. I used a sharpie for this which gave me a nice thick line. I cut on the "inside" of each line which allowed some room for error. I'll need to go back and take a bit more material off of some of my cuts. But it's easier to do this instead of making your cuts to large.
IMAG0826_zpsaeb4f131.jpg


Template traced out and ready to cut.
IMAG0827_zpsa893b488.jpg


Floor cut out and ready for a test fit.
IMAG0830_zps15d21f64.jpg


My wife helped me get the floor in the boat to see how bably I screwed it up. To my surprise everything lined up great. A few of my notch cuts need opened up a bit more, which is exactly what I was hoping for.

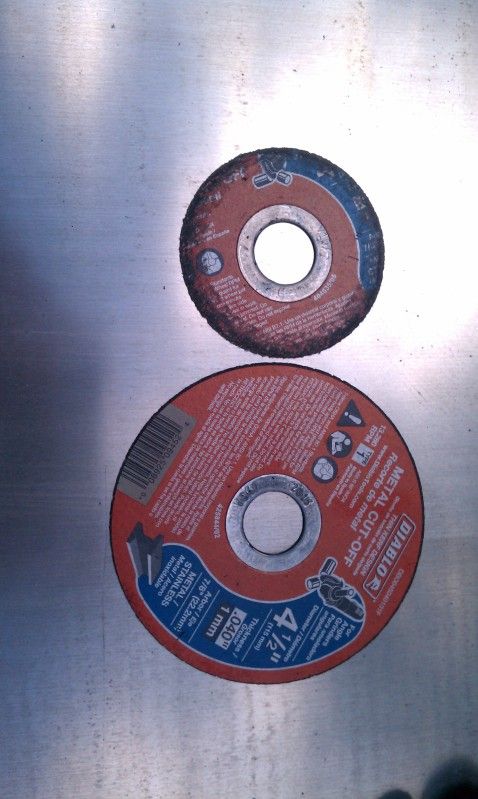
I used a 4-1/2" grinder for all my cuts. I tried, for about 5 seconds, to use a jigsaw. Didn't work well at all. I used Diablo metal cutting blades from HomeDepot on the reccommendation from chevyrulz. They worked great. Went through 4 of them though. The aluminum really eats up the blades fast. This is a blade after cutting about 3/4 of the way through my longest cut.
IMAG0829_zps114bd8b9.jpg


Hoping to get my floor finished up this week as well as getting the front deck framed out. It's suppose to be in the mid to upper 90's all week. So working in the evenings may work out well.
 
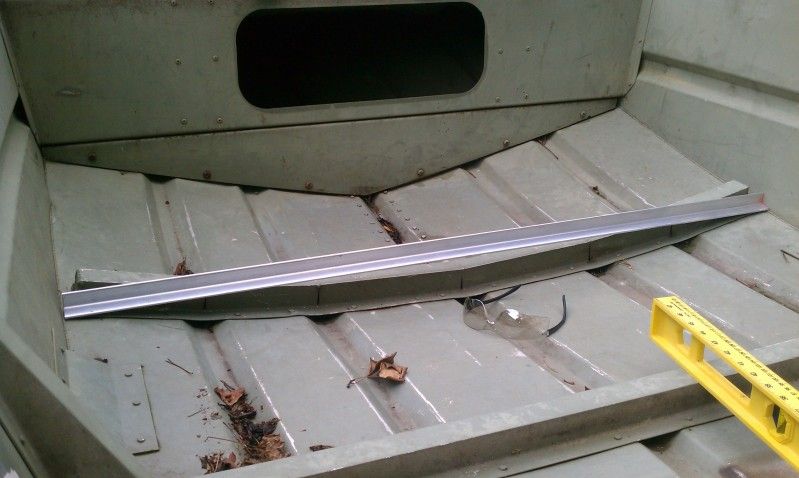
At the bow end of my floor, I have a slight issue. I'm going to be using a piece of angle for my floor end to rest on. In order to get my angle to go from starboard to port and provide support for the entire width of my floor, it will end up sitting higher than the rest of my floor. If that makes sense.

Here is how I'll need to support the end of my floor.
IMAG0817_zps843b3827.jpg


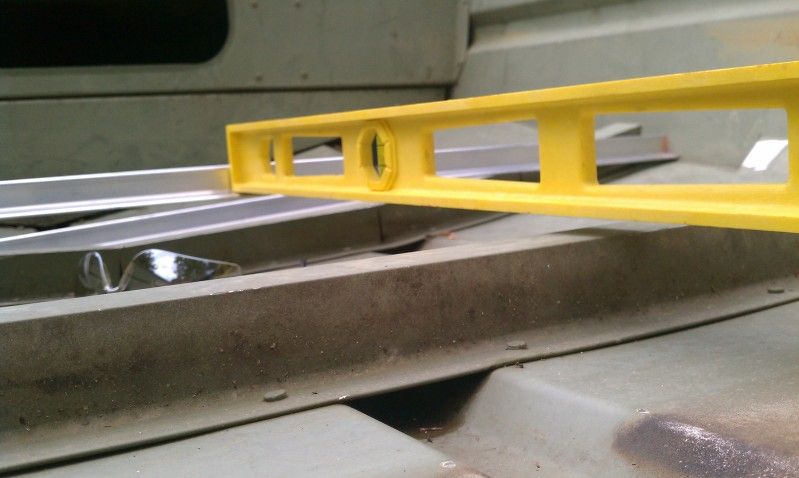
You can see how my angle will be bottomong out on the hull floor. This is where the mod v of the hull starts to effect the levelness of the hull.

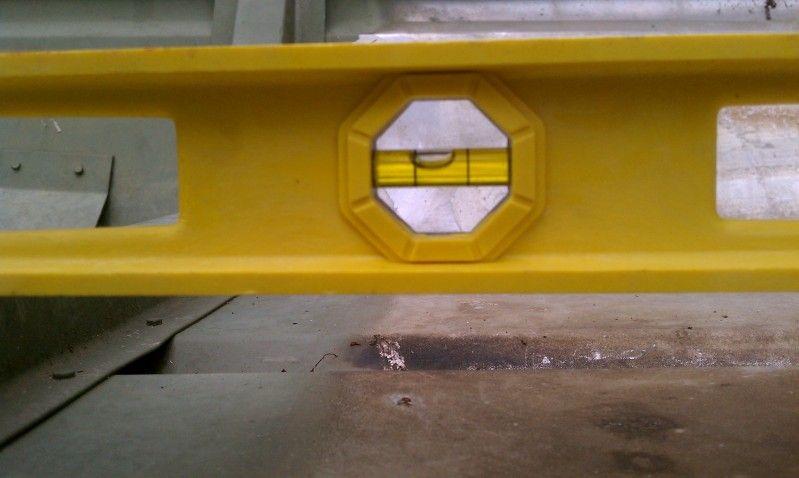
This is how off level the end of my floor will be. I don't think it will be a problem as long as I get some foam underneath it between those two ribs to provide some support.
IMAG0815_zps34a8da52.jpg

IMAG0816_zps800a56b3.jpg
 
Looks great man! It is scary cutting into a big ol sheet of aluminum but great when it fits with a little trim here and there.
I found that cutting aluminum with a jigsaw can be done but you have to go super slow, have it set to reciprocate at the highest speed and use blades with less tooth count per inch. The aluminum will just stick to the teeth of finer blades especially if you push hard to try to go faster.
 
[url=https://www.tinboats.net/forum/viewtopic.php?p=322388#p322388 said:
smackdaddy53 » Today, 10:23 am[/url]"]Looks great man! It is scary cutting into a big ol sheet of aluminum but great when it fits with a little trim here and there.
I found that cutting aluminum with a jigsaw can be done but you have to go super slow, have it set to reciprocate at the highest speed and use blades with less tooth count per inch. The aluminum will just stick to the teeth of finer blades especially if you push hard to try to go faster.

Thanks!! Yeah, it was a bit nerve racking the first few cuts. But once I got comfortable with the grinder, everything went smoothly. I tried the jigsaw for about 10 seconds. It kept wanting to jump on me so I went back to the grinder.
 
[url=https://www.tinboats.net/forum/viewtopic.php?p=322399#p322399 said:
panFried » 40 minutes ago[/url]"]Nice job on the cuts. Can't wait to see it the boat.

Thanks!! Hopefully I'll have it trimed up and fitting perfectly by the end of the week. Would like to be able to post some pictures of my bow deck frame as well. Depends how the week goes.
 
Looks good. Sadly since I finished painting my hull tan the fish seemed turned off when we were out Saturday evening... Thinking flat black horizontal lines to break up the coloring.
 
[url=https://www.tinboats.net/forum/viewtopic.php?p=322443#p322443 said:
Ranchero50 » Yesterday, 4:51 pm[/url]"]Looks good. Sadly since I finished painting my hull tan the fish seemed turned off when we were out Saturday evening... Thinking flat black horizontal lines to break up the coloring.

Thanks.

Not a bad idea. Should be nice and easy to do as well. How'd the boat run? How far up river did you come? It was at 3.1 this morning. Not super low, but low enough!!
 
Still have a bit of fine tunning to do to get my floor fitting well. Down to the filing stage at this point. Hoping to have it finished up tonight and then I can start on framing out my bow deck extension. Would like to have all of that done by the end of the weekend.

Having a bit of trouble figuring out how to frame out my bow extension. The curve of my hull is making it a challenge. My buddy stopped by last night to help me brainstorm and I THINK I have it figured out.
 
BigTerp said:
...Having a bit of trouble figuring out how to frame out my bow extension. The curve of my hull is making it a challenge. My buddy stopped by last night to help me brainstorm and I THINK I have it figured out.
A lawn chair and beer usually helps me brainstorm some of my best work. :)
 

Latest posts

Top