First time seeing your build blink. It's looking good.
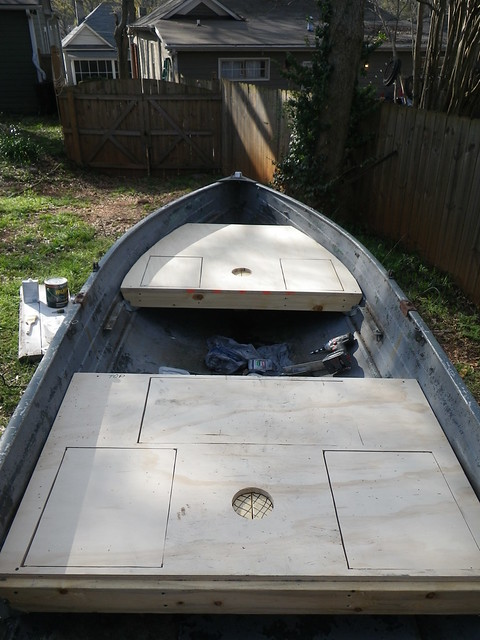
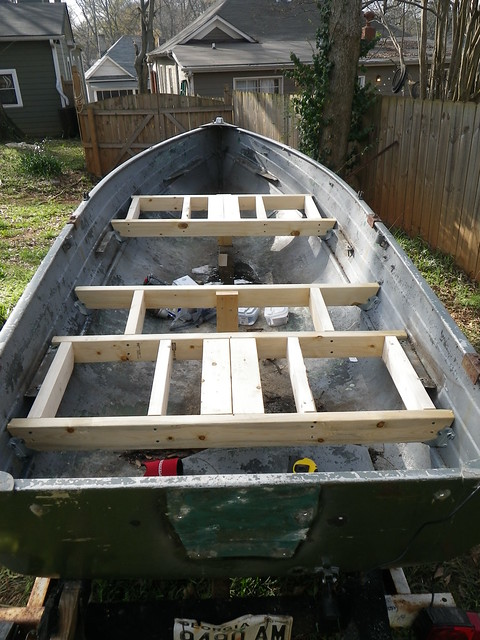
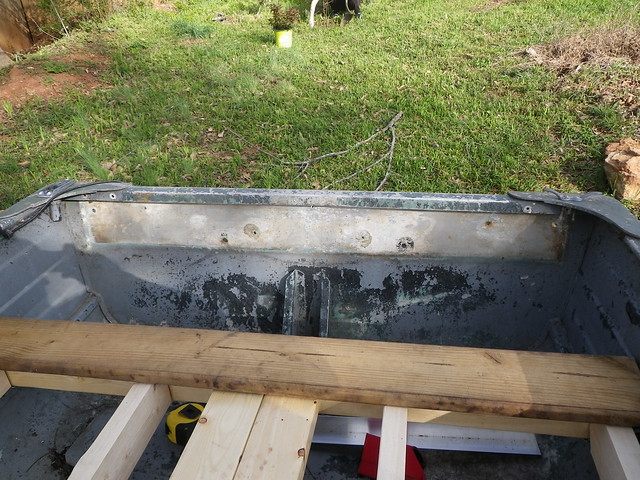
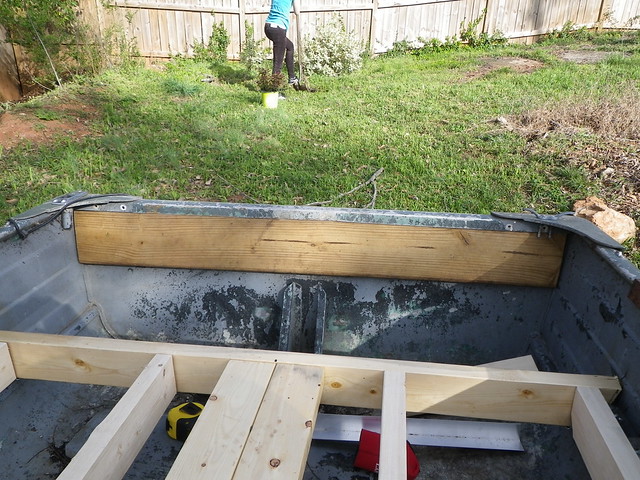
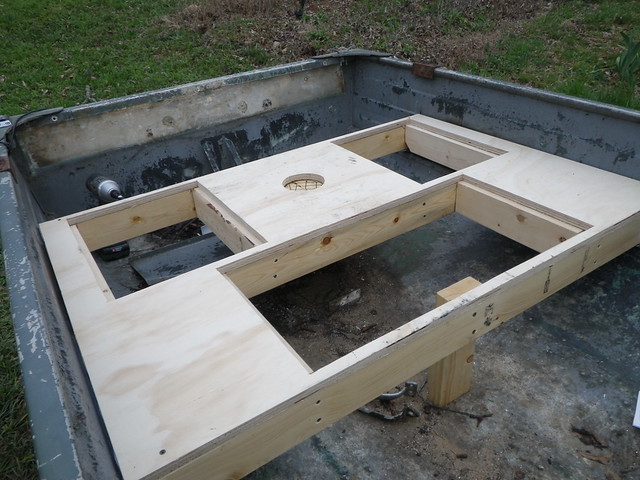
Curious what you used to fasten the joist hangers. Make sure it's stainless hardware so it doesn't cause you any corrosion issues. Also, if some of the holes will be below the waterline, you may want to put some 5200 on them if you haven't already.
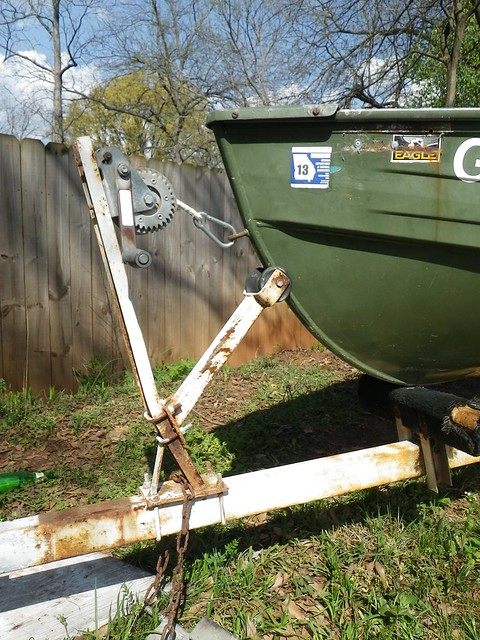
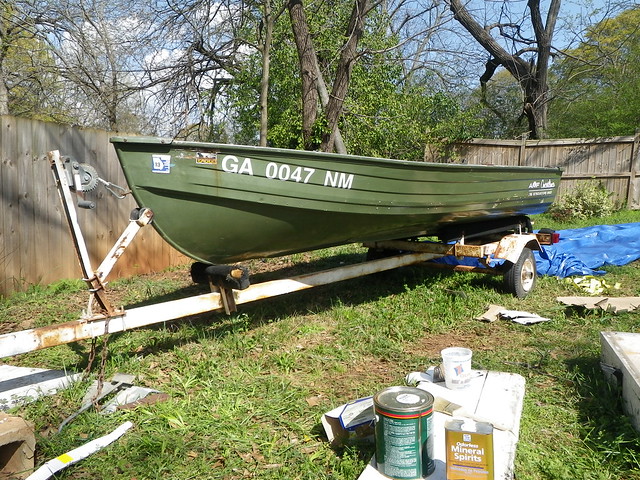
Any plans for the trailer? It looks like the boat could move back a foot and have the bunks still catch the transom. That would make loading/unloading that much easier by not having to back down the ramp so far, and it looks like the bow roller may be setup to help you better.
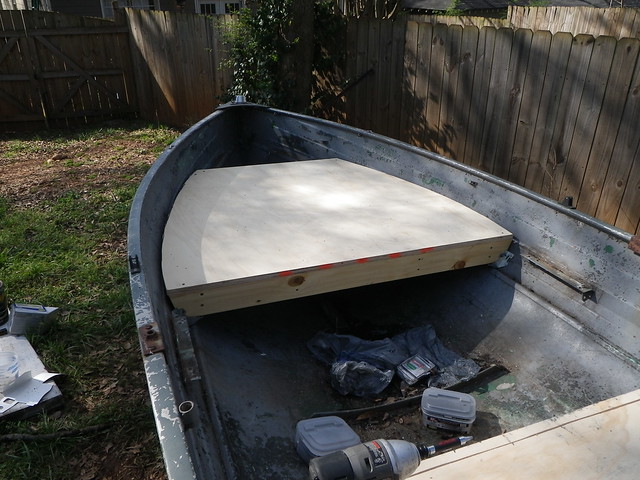
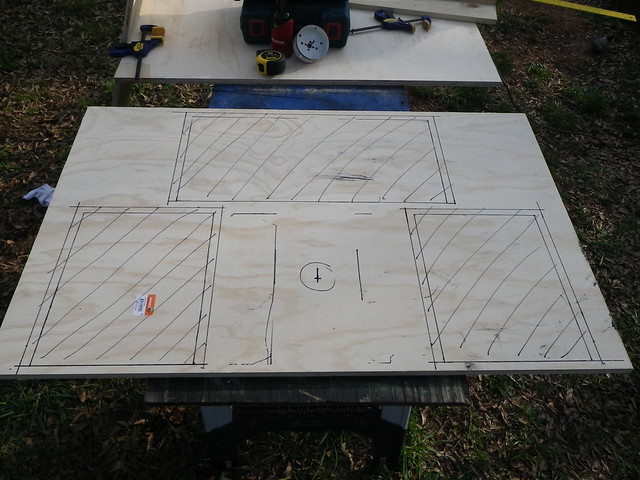
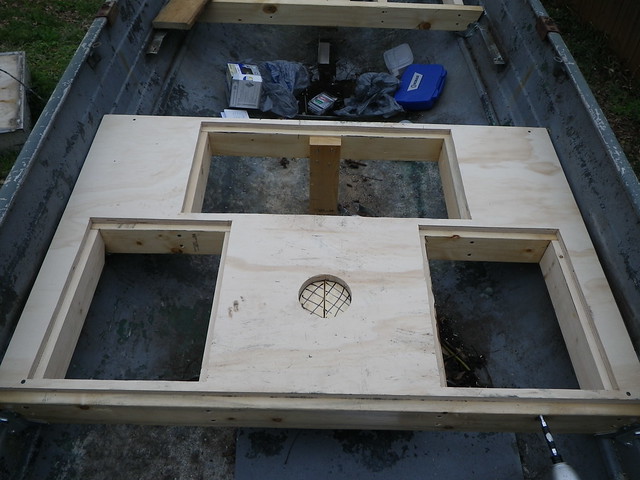
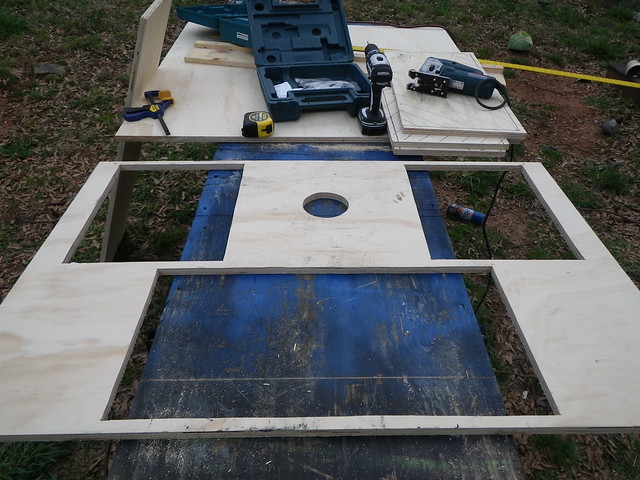
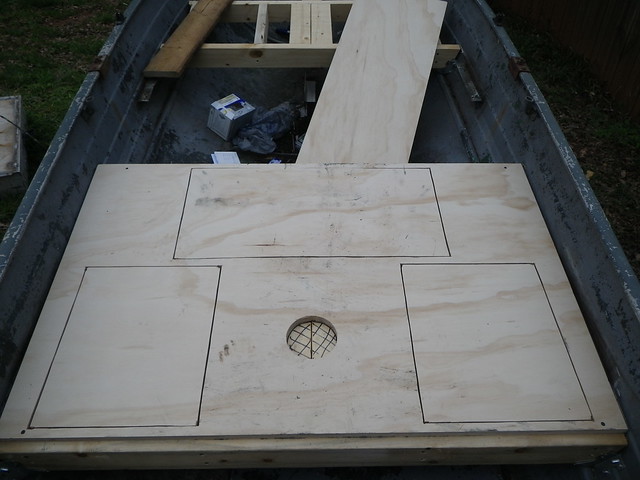
I like the idea of leaving a space in the middle low. I decided the same and am glad I did.


")