Lowe 1436 + Trailer Mod (Page 2 Completed Pictures)

TinBoats.net

Help Support TinBoats.net:

This site may earn a commission from merchant affiliate links, including eBay, Amazon, and others.
Ryan,

I am planning to start a very similar project and i had a few questions for you on your modifications.

1. Did you just drill holes and rivet in the added supports you put in after removing the bench seat? If so what type of rivets and where could i get them?

2. Did you weld up the new supports when you added them in or did you bend them on some kind of bender before putting them in?

3. How did you plug the old rivet holes from the bench seat?

4. Did you weld anything to the aluminum of the boat? If so what type of welder did you use?

5. What type of foam did you use for the floor (closed cell)?

6. Are you putting in an aluminum floor? If so what thickness and are you knotching it out to go around the floor supports?


You have a great project going and I hope to use alot of yours work as reference on my 1436 open floor plan conversion.


Thanks,
Shaw
 
Alright, some progress has been made and an update is due. Finally got around to heading up to Menard's and picking up the rest of my supplies. EXCEPT they had no marine carpet of any kind...at all. Only outdoor carpet that would have been somewhat usable was the looped stuff and had no rubber backing, so now I'm going to have to most likely get it from work at Cabela's. I get around 40% off, but it is still expensive getting it from there.

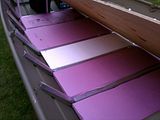
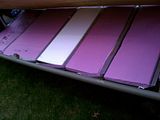
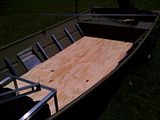
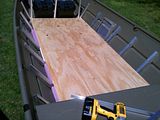
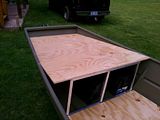
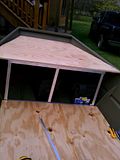
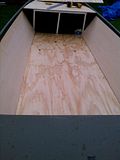
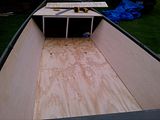
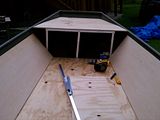
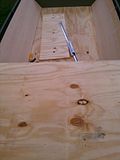
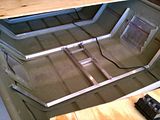
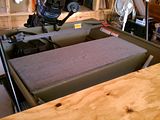
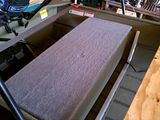
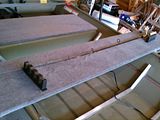
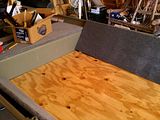
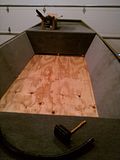
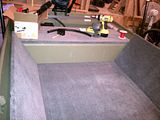
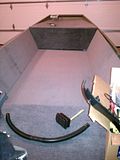
Anyways, framing is pretty much done, other then the back bench/deck. Not sure how I'm going to do that, just wood over the bench, or extending the wood all the way to the stern. Either way, I'm making progress on the rest of the boat. Got the flooring, side walls, and front deck cut today and it looks good to me, so I'm happy. Just have to cut the vertical piece for the front deck and all of that will be done. I also picked up some foam board for flotation and support for underneath the floor, partly for the support and partly because I cut out the bench seat.

Foam board (white piece was from the old bench seat, might just use the pink stuff there too):


Flooring:


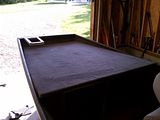
Front deck:


Side walls:


Next up will be the back bench and the sealing up the wood...and buying some carpet!
 
shaw_426hemi said:
Ryan,

I am planning to start a very similar project and i had a few questions for you on your modifications.

1. Did you just drill holes and rivet in the added supports you put in after removing the bench seat? If so what type of rivets and where could i get them?

2. Did you weld up the new supports when you added them in or did you bend them on some kind of bender before putting them in?

3. How did you plug the old rivet holes from the bench seat?

4. Did you weld anything to the aluminum of the boat? If so what type of welder did you use?

5. What type of foam did you use for the floor (closed cell)?

6. Are you putting in an aluminum floor? If so what thickness and are you knotching it out to go around the floor supports?


You have a great project going and I hope to use alot of yours work as reference on my 1436 open floor plan conversion.


Thanks,
Shaw

1. Yeah, I just driller the holes then rivet riveted on the supports. I used 3/16" rivets I got from Amazon. Why Amazon? I get free 2 day shipping and it saves me a trip. Living around 30 miles from the nearest major city, Amazon has been great with the free shipping.

2. I wish I could weld or had a friend that could weld, but I just riveted them on after cutting them to fit then riveted together for some strength.

3. I left the old rivets on.

4. No welding.

5. Pink stuff.

6. Wish I could afford the aluminum but went with plywood.

Thanks for the comments too!
 
I like your build. I'm getting ready to tackle my boat and had a few questions for you. Where did you get your aluminum angle and how thick is it? I ask because I dont want to get something that is weak and will bend and fold up when some one stands on it. How do you plan on securing the plywood to the angle? You just going to screw it with metal tapping screws if so your not afraid it wont strip out?
 
robert.connell said:
I like your build. I'm getting ready to tackle my boat and had a few questions for you. Where did you get your aluminum angle and how thick is it? I ask because I dont want to get something that is weak and will bend and fold up when some one stands on it. How do you plan on securing the plywood to the angle? You just going to screw it with metal tapping screws if so your not afraid it wont strip out?

I got the angle from https://www.onlinemetals.com/. If you look around online you can find a 20% off coupon which really brings the price down. I got 64ft of it shipped to my house for 86.50 which came out to 1.35 a foot to my door. I had called around to a few places close to home and they were all right around that price, but with gas to go get it and sales tax it just made more sense to get it online. If you have a scrap yard near you, I'm sure you can get a lot cheaper prices on angle. There's none near me so I went that route. I got the 1" x 1" x .125" and it seems to have worked out well enough for me. I know some other people go with the 1 1/4 or 1 1/2 pieces, but the 1" did the job for what I needed.

To secure it, i'm just going to use more rivets, through the plywood and into the angle. The rivets should work out fine and give it a nice strong hold...that is the plan at least!
 
Alright, been a little while since I updated this. Got a lot done recently, just a little bit of wiring and mounting some stuff and I'm done!

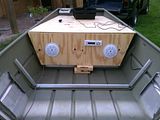
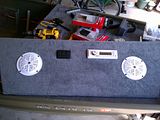
Getting the stereo test fitted:


(To the left of the radio, I got 3 contura switches that I never took a picture of. They control the bilge, nav lights, and a couple LED lights in the boat)

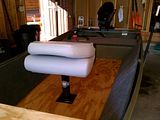
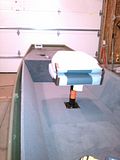
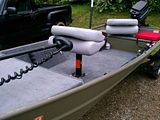
Framing for pedestal mount seat:


I had originally planned on using a flush mount seat post that was removable, but seeing as I only had about 2.5 inches of clearance and the flush mount seat needed like 3 or 4 inches of space, I opted for this setup instead...would rather be able to take the seat out, but oh well.

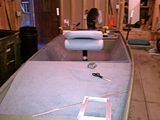
Carpeting makes everything look oh so much nicer...


Contact cement is my new favorite thing. I had never used it before and my god was that so much easier then using carpet glue. Everything just came out nicer using that.

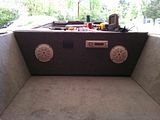
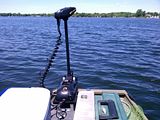
All I really have left to do is run the battery wiring up to the front from the back to power the fuse panel, then hook up the switches and finish up that wiring. Got a couple rod holders to install on the side panels too. Still have to install the hinge up front too. The horizontal piece that has the radio and speakers will be hinged to the little casting deck, at least that's the plan. We'll see how that goes. Also, that weird bracket thing up on the bow is where I'm going to be mounting the trolling motor...that may need some more work but that's what that thing is.

I should have everything done by this coming weekend, and I got a couple friends coming out here too, so I hope it will be ready to fish by then.
 
Finished up the wiring today and got all the electronics installed...all that is left is securing everything down and installing the bow mount trolling motor. Should be fishing by June...

Stereo, speakers, and switches installed:


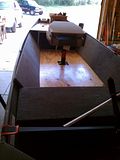
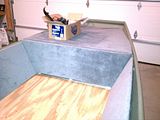
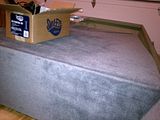
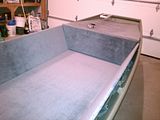
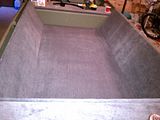
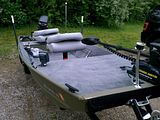
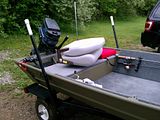
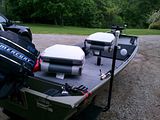
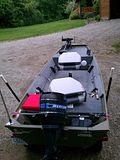
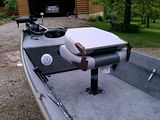
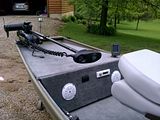
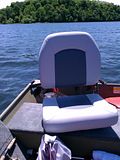
Well, finally finished it all up. At least most of what I can see that needs to be done. Still need to get it out on the water and see how it all works out, but I think it'll be fine. Here are the finished pictures...


For having never worked with aluminum angle, or much plywood or framing for that matter, I think it came out pretty good. I know theres a few corners that aren't perfectly cut, and some stuff doesn't align perfectly, but it was a great learning experience. I've been dying to try out the iPilot on that trolling motor since I got it back in October. Hopefully in the next few days here. I think I'm done with all the mods on it for now, may throw a rear deck on there sometime in the fall, but it's time for fishing now!
 
Below are pics of right and wrong way for the strap/cable/rope for securing a boat to the winch post. Also add safety chain.
 

Attachments

  • wrong way.jpg
    wrong way.jpg
    88.4 KB · Views: 1,736
  • wrong way1.jpg
    wrong way1.jpg
    76 KB · Views: 1,736
  • right way1.jpg
    right way1.jpg
    87.6 KB · Views: 1,736
  • right way2.jpg
    right way2.jpg
    82.6 KB · Views: 1,736
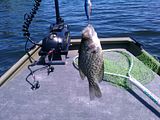
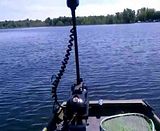
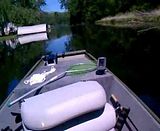
Finally got out on the water today! It was a perfect day to be out, very light wind, low 70s, and sunny. Just a great day. The boat handled great too. Very surprised on how stable it was seeing as the last time I was out on it was when nothing had been done on the boat. The front deck was much more stable then I had anticipated, and I spent quite a bit of time standing on it and fishing from there...kinda wish I had made it bigger now! It works out well though. I hit about 23mph with the old Merc pushing me and another person. That's plenty fast for the lakes I fish. Didn't check the speed with just me on it though.


First Fish Caught!


iPilot in action, love this thing (click for video):


Heading down the canal(click for video):


So if anyone actually has looked through all of this and is considering doing something similar, this all worked out really well for me.
 

Latest posts

Top