1981 15 foot Yazoo. FINALLY - UPDATE!!

TinBoats.net

Help Support TinBoats.net:

This site may earn a commission from merchant affiliate links, including eBay, Amazon, and others.
Well thank ya Andrew. :D :D


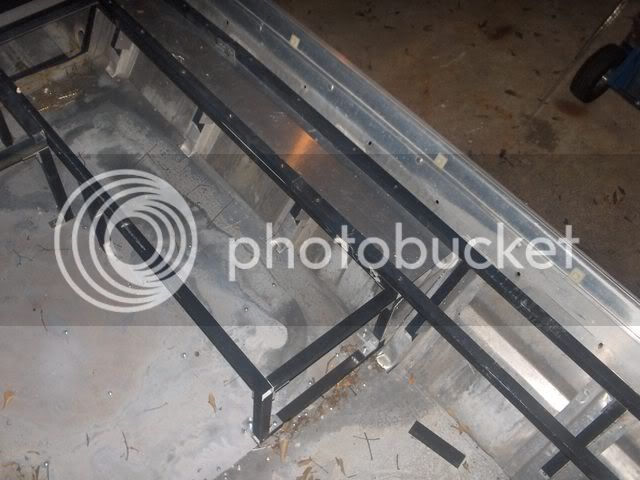
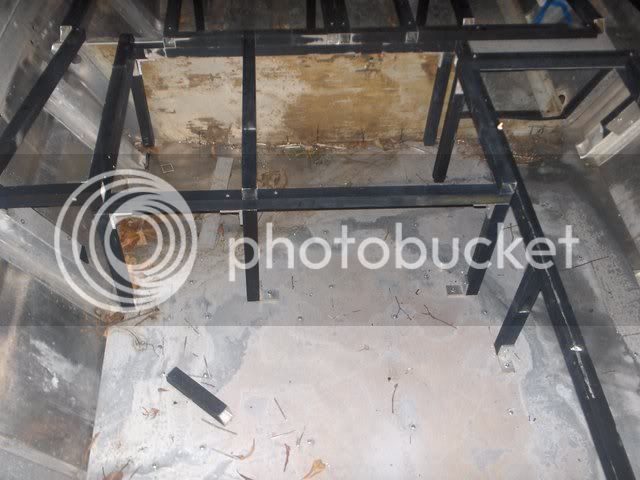
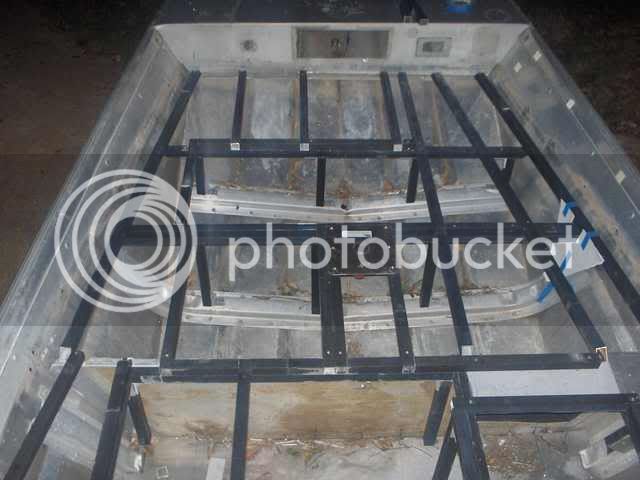
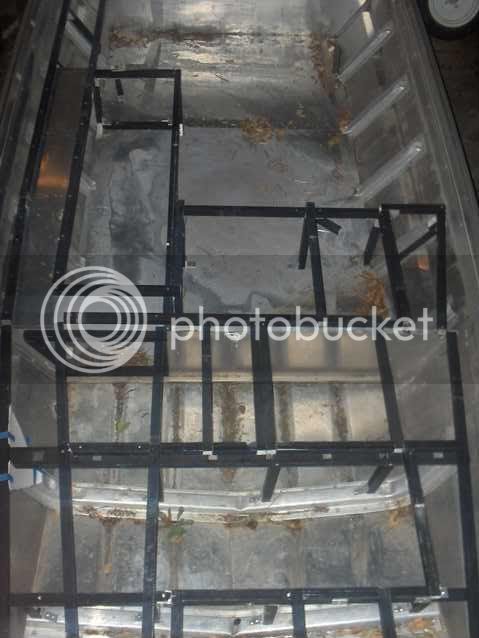
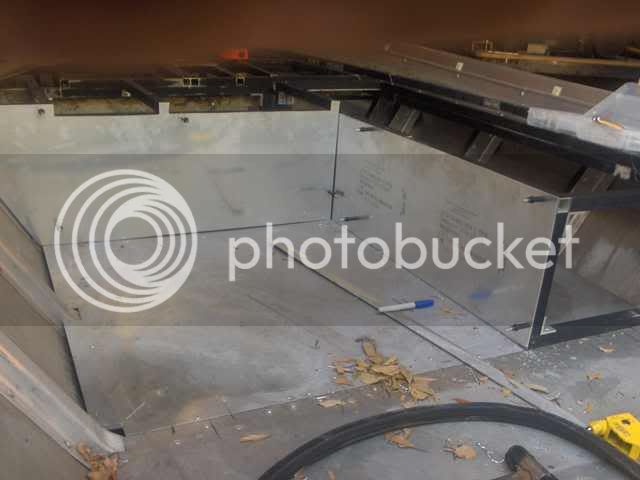
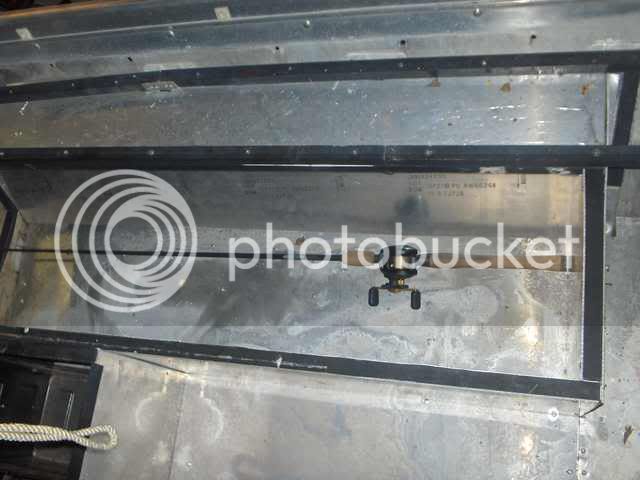
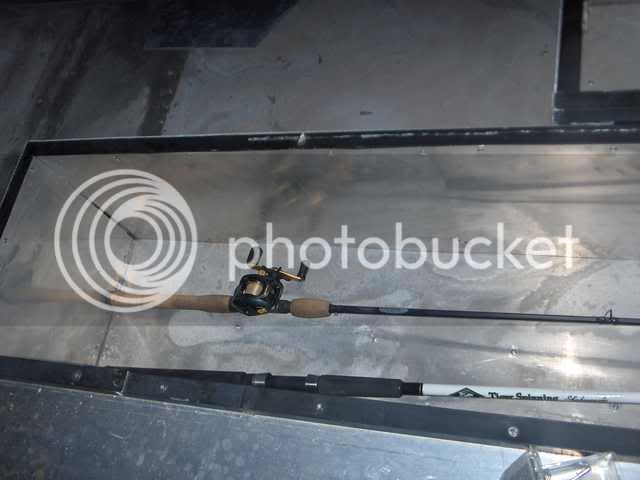
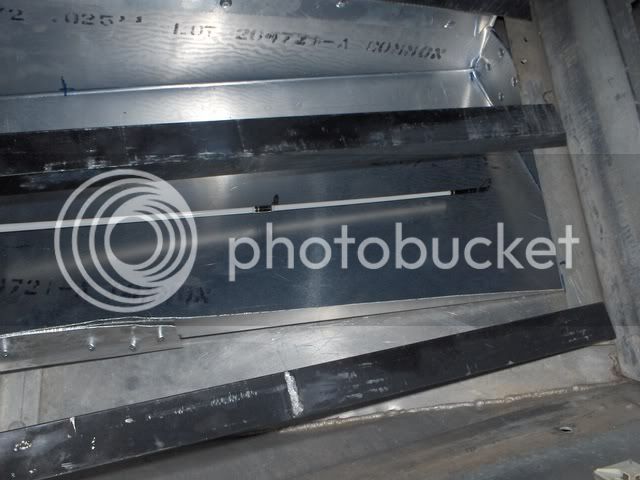
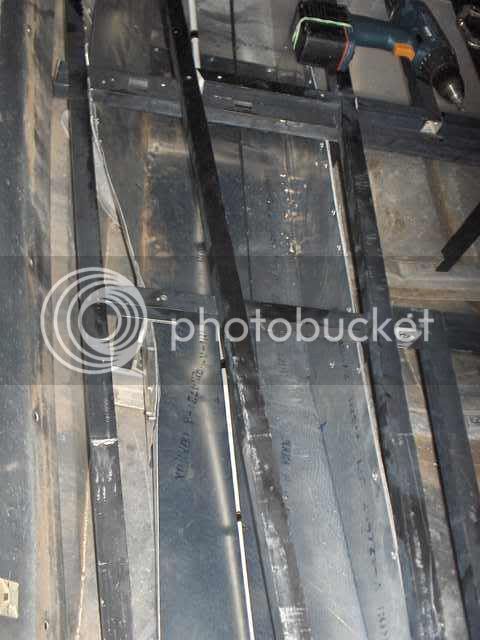
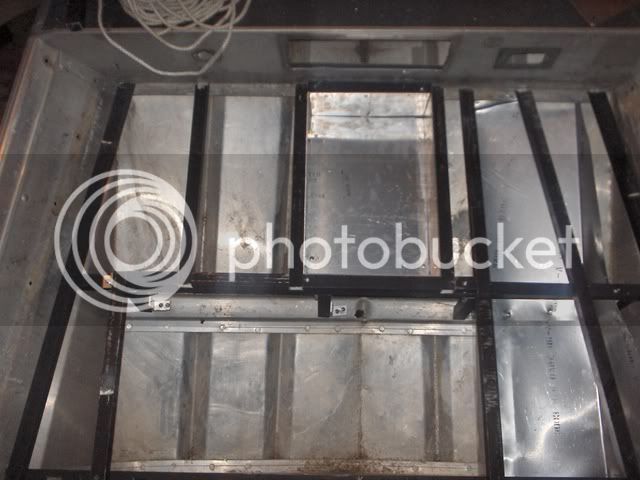
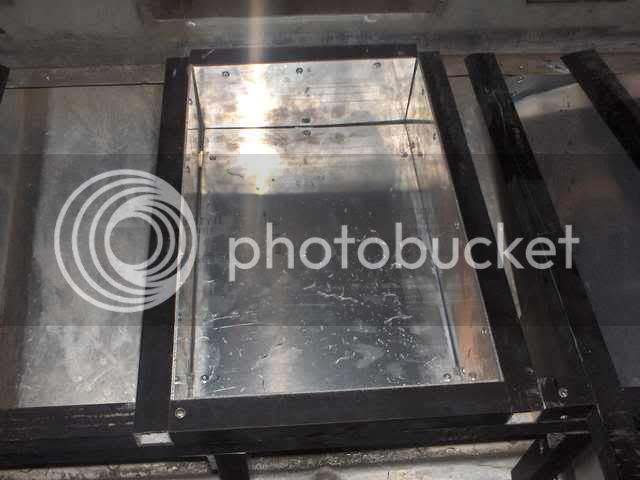
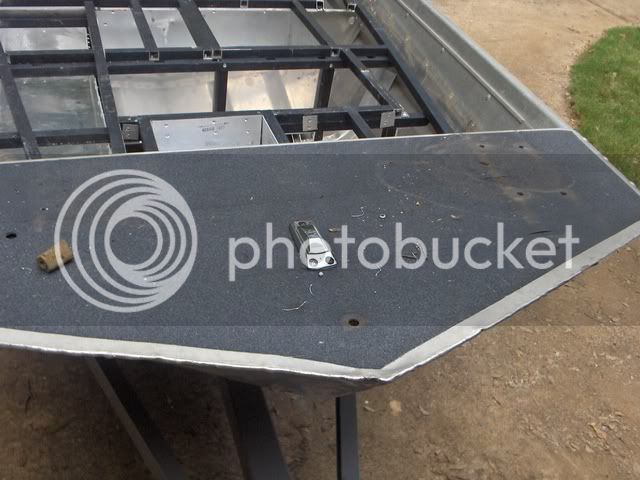
I should have another update with pictures some time soon. I have finished the bow deck structure, and have started making my measurements for the sheet. Just haven't yet had time to upload the pictures. Then comes carpet. Uggh. I don't particularly like carpet work.....
 
I have been busy for a while, then out of town on varying events for 3 weeks, so not much has happened. But, in response to Tompatt's concern down in the swap and sell section, I have looked at this thread, and realized I had indeed completed some stuff, but not updated it. Sooooo, here goes.

I have gotten the bow deck and rod locker structure complete, aside from one gusset which I have taped a paper cutout in its place. Now, I just need to get the sheet cut. I need one belt for the vertical metal bandsaw, which is being gotten tomorrow evening, so I should be rolling in high gear on Thursday.
yazoo016.jpg

yazoo018.jpg

yazoo024.jpg

yazoo023.jpg


Also, it is on the trailer. I still need to fabricate a winch post, and bow support, but that relies on dads schedule, since I cannot weld alone.
yazoo025.jpg

yazoo026.jpg


The motor I had for it was a 1974 Evinrude 40. I bought a tiller off of ebay, but upon disassembly, the lower unit is shot. There is a 1975 Evinrude 40 that I may go look at tomorrow night, so the tiller will still work, and some other parts will be interchangeable. At some point though, I will be upgrading to a 1980 or newer motor, probably Johnson/Evinrude, with tilt and trim.
 
Got the motor last night. He ran it in a tank for us. Still needs a few things fixed in the upper end, as he put the idle adjust in backwards. It wouldn't be practical for us to check the lower unit lube at his place, so we chanced it, and upon getting home, it came out a nice milky white. Great. That makes 2 dead lower units for '74 - '75 Evinrude 40s. But, upon disassembling the lower unit, all the gears and bearings are in perfect condition, so we just need to replace seals to stop the leak, as opposed to 450 dollars worth of bearings, shafts, and gears in the other one we had. Glad I didn't check the lube at his place, because if I did, I wouldn't have bought the motor, assuming the insides were in bad condition.
It does need a starter, but I think I know where I can get one of those..... :D I also needed to nab a couple parts off the '74 to get the tiller that I got on ebay to fit this one. Having a parts motor sure makes life a lot easier. Gonna hafta keep that in mind in the future.
 
Vertical metal cutting bandsaw is now operable, so I am in business. =D>

Started cutting a few pieces to box in the side of the rod locker, and the back of the battery hatch and tackle hatch.
Currently it is held on with clecos, and I will replace those with rivets later on.
a.jpg
 
Got the battery hatch, and tackle storage hatch finished. (The battery hatch isn't lined. No need for aesthetics on a utility hatch) Those tackle boxes are 3600 size, and as you can see, a good many will fit.
prop003.jpg


Also got the rod locker lining completed.
prop001.jpg

prop015.jpg


That white rod you see is an 8 foot surf rod, and it obviously fits.
prop019.jpg

prop016.jpg


And, I got the trolling motor foot pedal hole made.
prop021.jpg

prop022.jpg
 
While fishing at the coast, I realized the importance of an anchor while fishing. Bass fishing, I have never used one, so it has always remained tucked away somewhere, but since this is more than a bass boat, I realized the need for a better way to store the anchor, with easy access. I don't like the wind up anchor winches, so I decided on an anchor locker. I will put it up here, where the bow light base currently is. I will have a cleat where that hole is.
prop025.jpg


Now, I don't like the rode just tangling up in there, so I thought about a better method for storing it. I decided on having a bucket, if you will, that the rode winds around the outside of, and then the anchor fits in the middle. For a while I was thinking I was going to have to make the right size hoop out of sheet aluminum, till I saw this today. It is an old aluminum camp pot we found in grandmas basement when she moved. We have just used it to put old nails and sharp scrap in. But, the anchor fits inside just perfect.
prop024.jpg

prop023.jpg


The end of the rode will be attached to an eye on the outside of the bucket, so it can't get lost. You throw the anchor out, and the line should feed off like fishing line off a spinning reel spool. When the correct distance is let out, a quick wrap around the cleat will snug it, while the excess stays neatly coiled. When stowing, you just coil the line around, and drop the anchor in. Everything should stay neater that way.
 
When on vacation in the 12 footer, I had the line coiled up in a plastic coffee can, and it kept tangling with itself, and wouldn't come out clean. I figured going around the can would let it unwind like a spinning reel, and all the times I have tested it, there were no problems.
 
bassboy1 said:
When on vacation in the 12 footer, I had the line coiled up in a plastic coffee can, and it kept tangling with itself, and wouldn't come out clean. I figured going around the can would let it unwind like a spinning reel, and all the times I have tested it, there were no problems.

I use 3/8" yellow polypro for my anchor line and understand fully about it tangling on itself. I manually raise/lower my mushroom anchor also, tying off to a cleat (in a figure 8 :wink: ) and keep the line loose on the deck sorta "coiled" on itself. One day I'll probably trip on it and deep-six myself, lol. :shock:
 
Did a bit more after the rain this evening.
Here is the passenger seat box. I stole the idea of the rod ramp out of my buddies Ranger.
Yazoo001.jpg

Yazoo002.jpg

The seat will ultimately hinge forward, allowing that box to be used for more storage.

I also got one of the two bow storage hatches lined, but forgot to take a picture.
As far as aluminum work goes, I have to line the second storage box, make the anchor locker, and then make hatch lids. After that, it is just carpeting, electrical, and putting this back together.
Yazoo003.jpg

The parts were ordered tonight. I am replacing all the lower unit seals, as there was water in the fluid (but thankfully no internal damage) rebuilding the carbs, replacing the points and plugs, and putting a new water pump impeller in.

Also got to get dad to weld me up a winch post.
 
Not yet. Boy do I want one though. We have plans for a bending brake in the near future. Just haven't had time to fabricate it. The bent pieces are only .025, and 3003 alloy, so it was relatively easy. The bends in the rod locker were made by clamping the material between two pieces of steel, and bending it by hand and with a 20 ounce rubber mallet. I did this rod ramp in the vice with the mallet. If I had a bending brake or press break from the start of this project, I definitely would have done some things differently.
 

Latest posts

Top