AndrewR
Well-known member
This is going to look like a masterpiece when finished, I'm thinking.
Great work Bassboy!
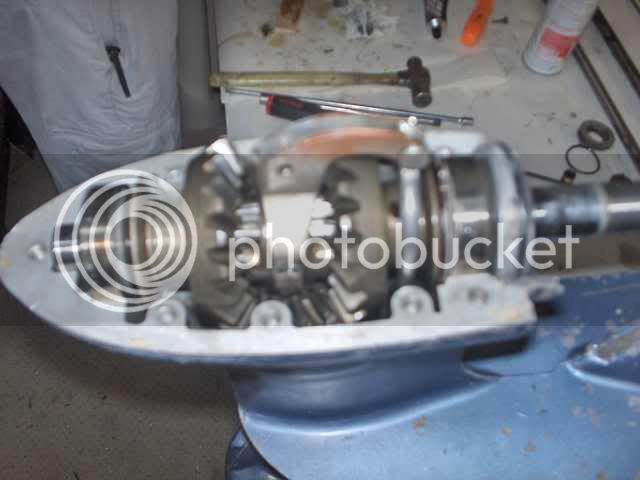
I find it even more impressive that you will be able to rebuild the lower unit on the motor. Three weeks ago I had to get my '86 28HP Evinrude on my "refurb" Lund serviced for a new water pump/impeller/carb cleaner and I wouldn't even know where to start! Spent $350, but if my dad or I can't or don't know how to do it, then someone's gotta! https://fishing-headquarters.com/galleries/thumbnails.php?album=43
Are you planning on having a trolling motor mounted up at the bow? Have you decided on which one you will be going with?
Not only do I like the mods you're putting into this boat, but I love the style and design of the boat itself as it would be perfect for the kind of fishing I envision - making float trips down rivers. If I get another boat for cheap that I can work on and rebuild, it's going to be similar to the style of boat you have (not mods but boat itself). Awesome overall design.
andrew
Great work Bassboy!
I find it even more impressive that you will be able to rebuild the lower unit on the motor. Three weeks ago I had to get my '86 28HP Evinrude on my "refurb" Lund serviced for a new water pump/impeller/carb cleaner and I wouldn't even know where to start! Spent $350, but if my dad or I can't or don't know how to do it, then someone's gotta! https://fishing-headquarters.com/galleries/thumbnails.php?album=43
Are you planning on having a trolling motor mounted up at the bow? Have you decided on which one you will be going with?
Not only do I like the mods you're putting into this boat, but I love the style and design of the boat itself as it would be perfect for the kind of fishing I envision - making float trips down rivers. If I get another boat for cheap that I can work on and rebuild, it's going to be similar to the style of boat you have (not mods but boat itself). Awesome overall design.
andrew

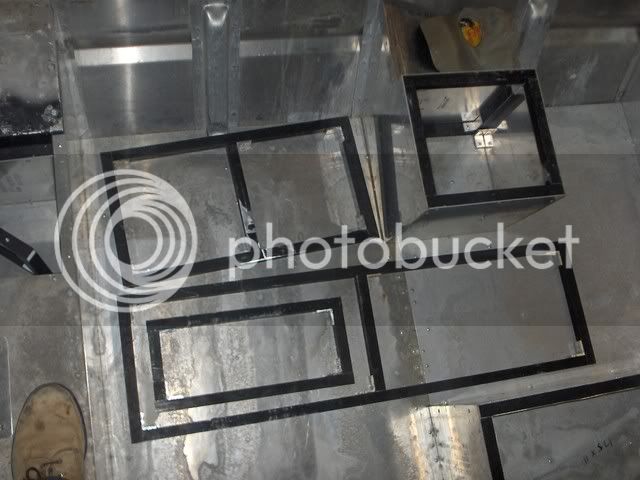

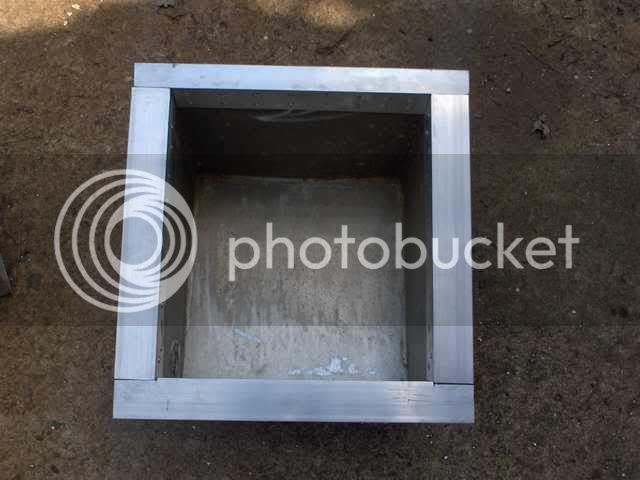
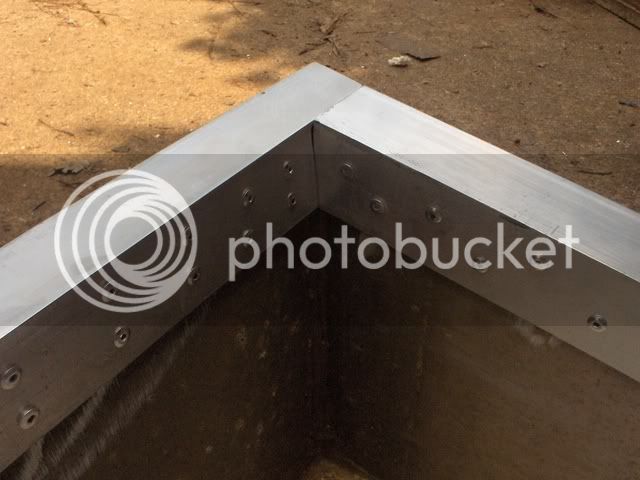
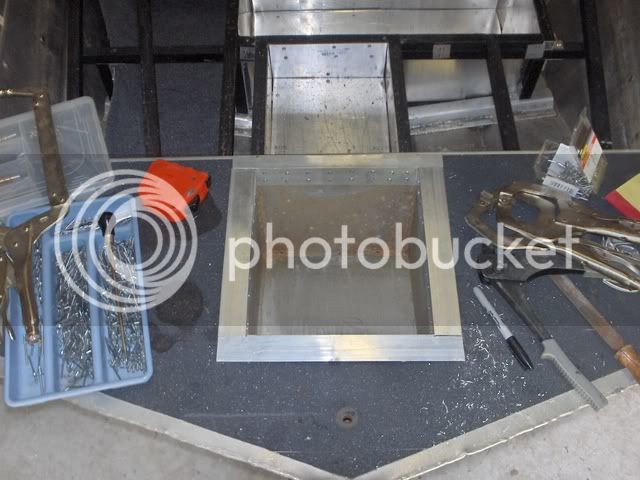
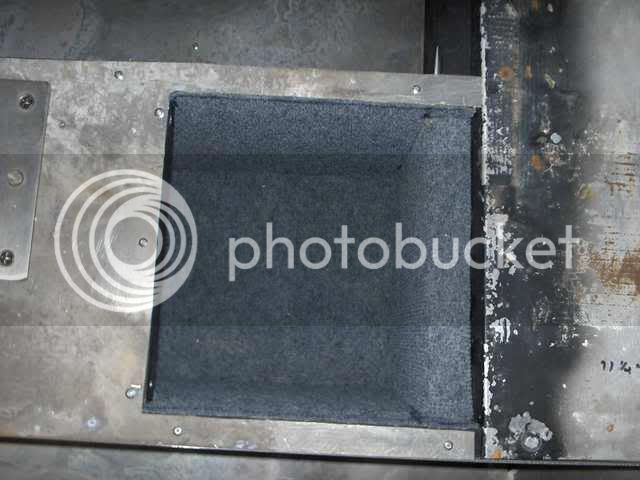
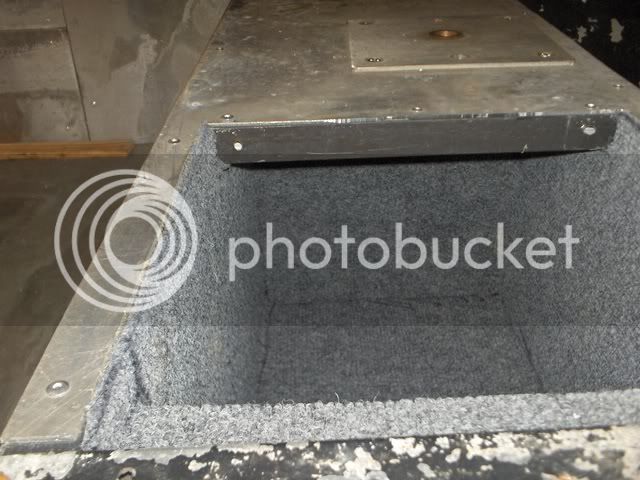
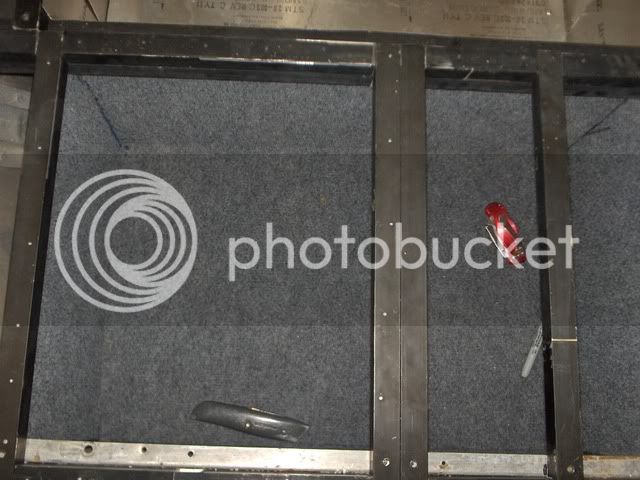
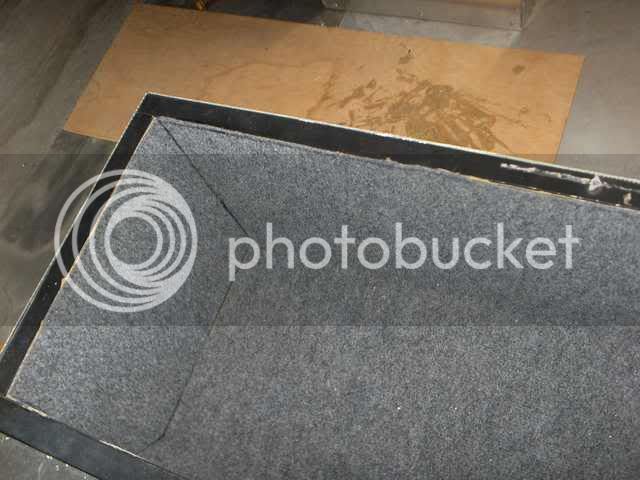
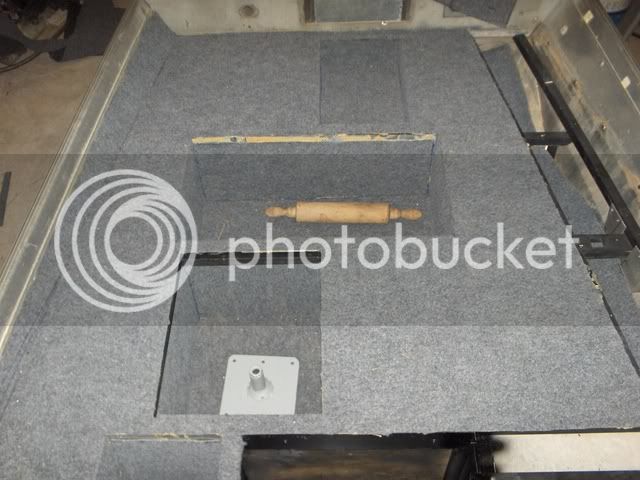
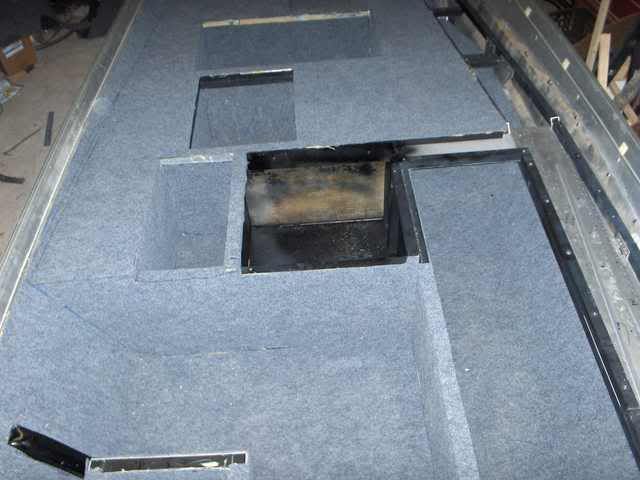
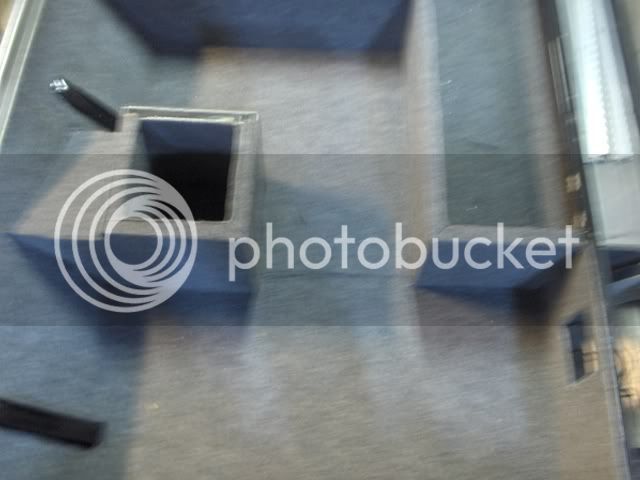
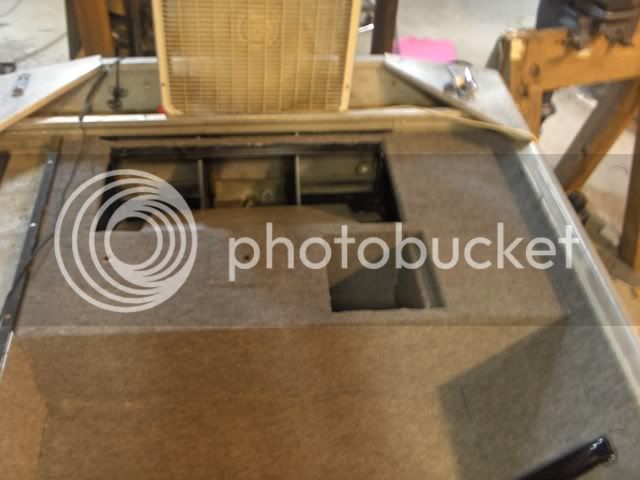
") . Man that's a lot of hatch lids to carpet!
. Man that's a lot of hatch lids to carpet!