86BassTrackerV17 1st fishing trip w/son 10/11/13 vids p15

TinBoats.net

Help Support TinBoats.net:

This site may earn a commission from merchant affiliate links, including eBay, Amazon, and others.

DaveInGA

Well-known member
Joined
Dec 23, 2007
Messages
629
Reaction score
0
Location
Jefferson, GA
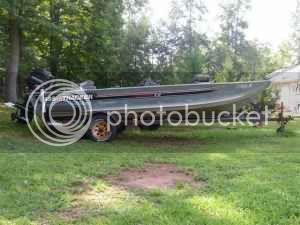
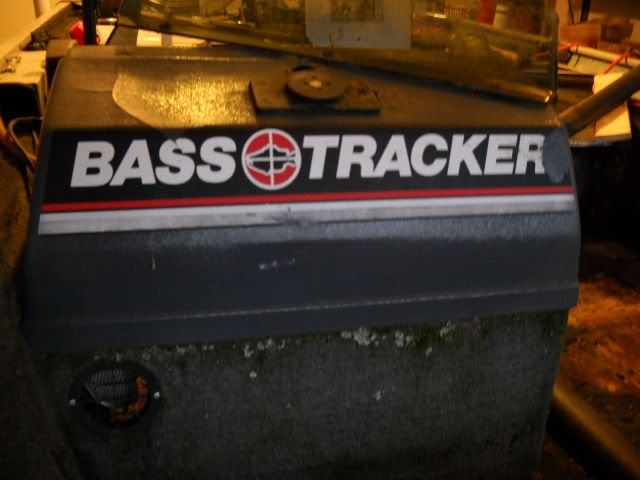
I picked up a Bass Tracker V17 today for a thousand bucks. It wasn't perfect, but I felt I got my money's worth. It's very much like a 16 ft. vhull with completed mods, but I think it can be improved. We'll see.

I've having trouble resizing the pics my wife took with irfan. When I figure it out, I'll post them, but for now here's images from my "should I buy it?" post:
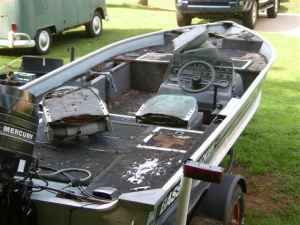
3nb3p23ob5T55W05R3a8a5d3f4c8dd1911de7.jpg


3ne3k13md5Y05Q55P1a8ab9c2b3bac64a1814.jpg


Basstracker1jpg.jpg


If anyone knows anything about the motor or any controls when I post them, please let me know. I'm wanting to get manuals, etc. Here's the stuff that came with it for posterity:

1986 Bass Track V17 SN: BUJ58352F686
1986 Bass Tracker Trailer SN: GA001377
1986 Mercury 75 HP motor with tilt and trim SN: 0A994929
1986 Minn Kota Model 565 28 ft.lb. ft. controlled trolling motor SN: 122521
1986 Hummingbird LCR2000 SN:993862 (I think this is a flasher, but I'm not sure. :D )
2 of restore-able condition 6 gallon metal gas tanks

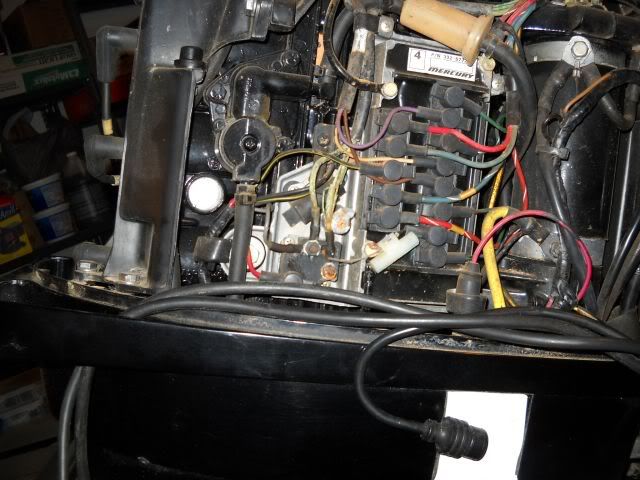
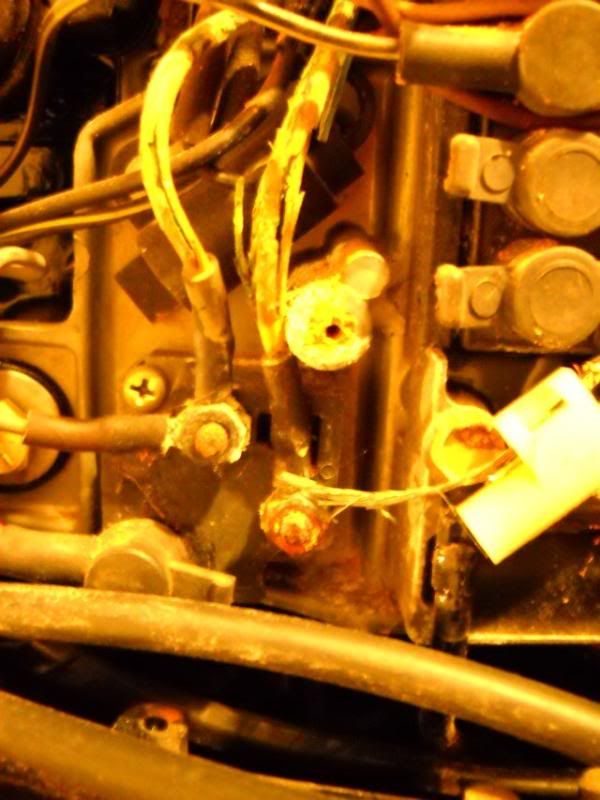
According to the owner's son (Original owner has passed.), the motor had been put up with "dry" carburetors last he knew, so hopefully he's right and that's good. I did see evidence under the motor's cowling of a dirt dobber's nest, with some wiring damage from the dirt dobber's mud (dirt dobber - name for a wasp that makes it's nests with mud and tend to put them in awful places like garage/carport walls and inside of boat motors) causing corrosion. With my background, rewiring things isn't a big deal.

I've decided to have the local marina check the motor out for me and let me know if it's worth reworking. I figure if the engine turns out not to be good either top or bottom, I can part out or sell the motor and have a good start on a new motor.

The steering wheel is faded and feels powdery/nasty and if I can't get it cleaned up, it'll need replacing. The good thing was the steering cables still moved freely, though I could tell they needed cleaned and fresh grease applied.

The acceleration controls (don't know the proper name) were dirty, but the cables and controls felt okay and didn't show the typical sun fading wear. I think they'll clean up okay.

The trailer looks like it's got several issues - winch, wheel bearings, dry rotted tires, short front, rotted stepside wood, etc. It'll need cleaning up, repainting and the typical refurb., but it's fundamentally sound with more surface rust than real structural problems. It does need new bearings and I suspect the guy drove it without bothering to grease the hubs. I'll replace the bearings and races during the refurb.

The front deck is wood and is basically rotted to nothing. My biggest concern is figuring out how to disassemble without damage to anything useful. The middle deck is also wood and is rotted as well, but not quite as bad.

The rear deck appears to be aluminum and may be supported by some plywood, hard to tell. I'm going to have to get into it more to figure out what to do to fix that.

All the seats are shot, but the aluminum hinges on these 1986 seats are much heavier than what they sell today. I'm considering stripping the good parts off and rebuilding these seats myself. I can shape the plywood seat bottom and back and replace the foam. The only thing needed then would be the plastic coverings. May be cheaper than buying new. Have to figure that one out.

A lot of the hatches have aluminum backed with plywood. I'm probably going to keep these and redo them, perhaps with some other material in place of the ply. Have to think on this one.

Lots of work to do and need to take pics of the boat before rework so I can remember how things were built down the road.

I'm excited and am starting the strip down tomorrow. Wish me luck.

I'll get more pics up when I figure out what's wrong with the resizing. I'm getting a "can't shrink this pic down this far" message.
 
I have a lot of pics, so I decided to make a public album on photobucket with some comments. Have a look here:

https://smg.photobucket.com/albums/v33/DaveinOakwoodGA/1986TrackerV17/

Let me know what you think. I'll get them into a better viewable setup when I figure out how.
 
Made some progress cleaning up and I've got a few pics below with descriptions:

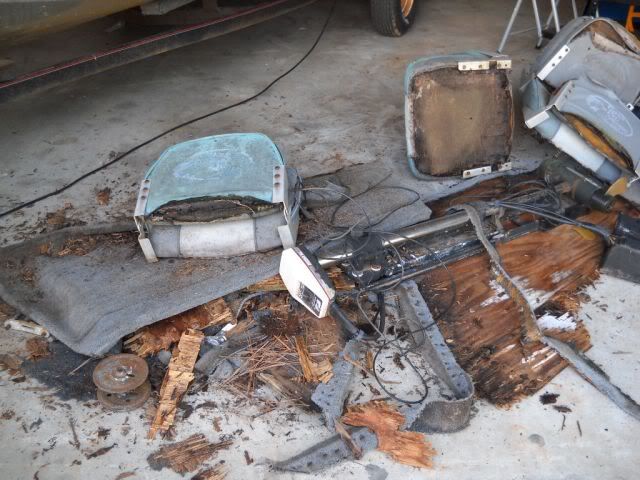
The trash - after closer inspection, the old MK 565 TM didn't make the cut. Just too many broken wires, corroded and rusty parts to repair/replace. I decided my efforts/money were best placed elsewhere. I did, however, decide to rescue the very heavy duty aluminum brackets on the old seats. These were so much heavier than what I saw in Academy Sports, I may just buy cheap seats and replace the brackets. These should hold even my 300 pound self. I also decided to trash the jack stand and the old wench. Just too much rust and cheaper to buy than to repair.

TheTrash.jpg


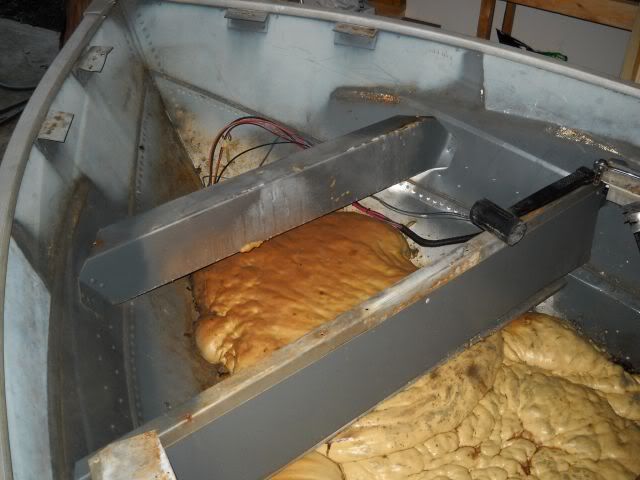
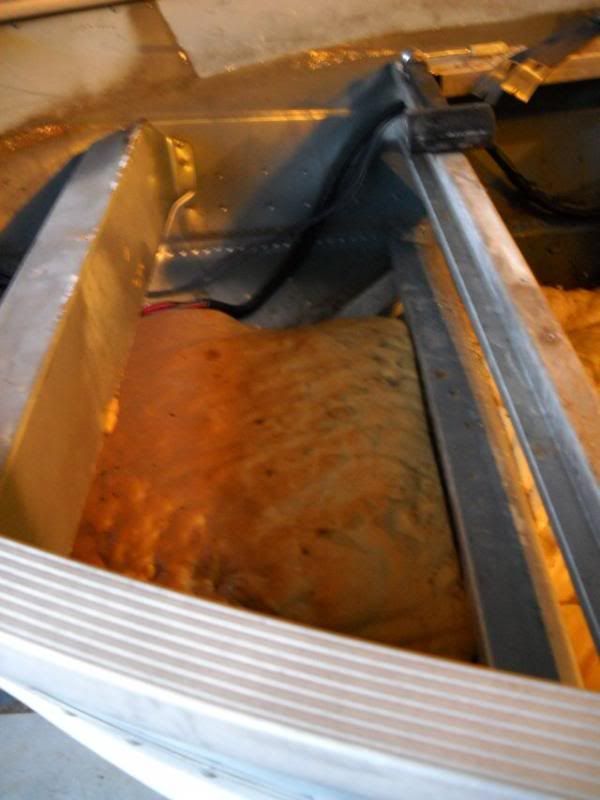
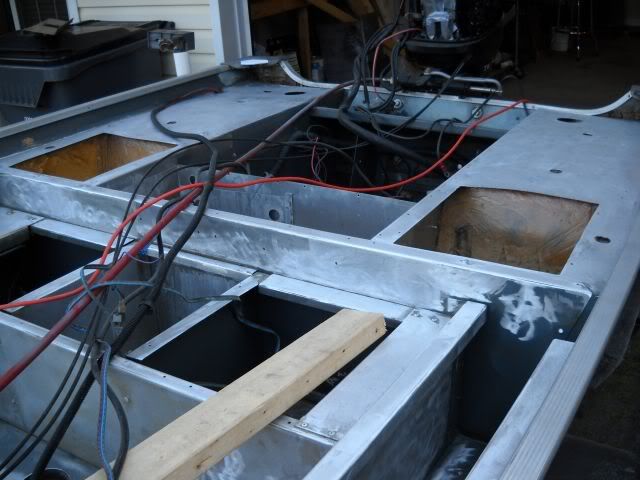
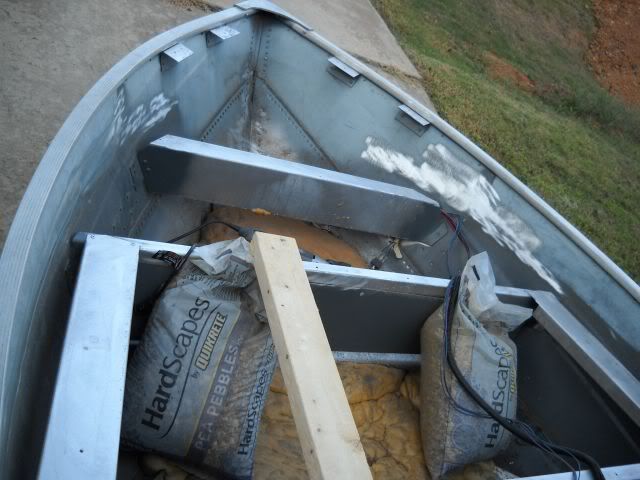
This is a pic of the bow area with the old decking cleaned off. The flotation foam was in surprisingly good condition and I'm going to keep it. The original bracketing is aluminum and will be easy to work with. I labeled the original wiring, but I don't think I'm going to use it. I was also able to save a transition bracket (bow deck to seat deck) that mounted the original trolling motor and trim control panel.

Bow1Resize.jpg


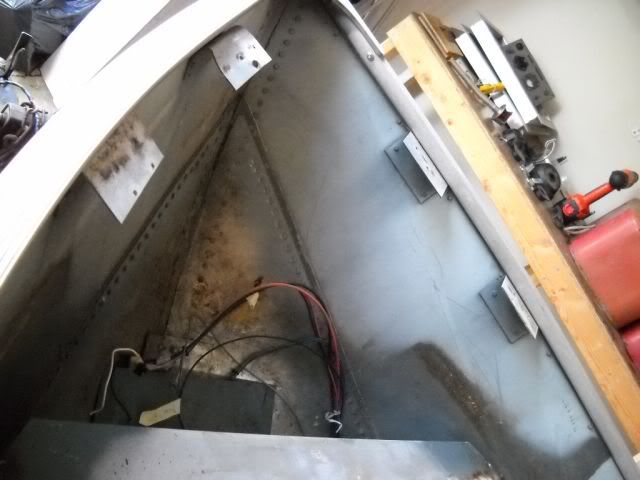
A closer picture of the bow, showing the bow deck mounting brackets. About enough space to mount a trolling motor and a fish finder, but I'm not sure if it's a a good area to build storage below.

The original owner's son bent these when he yanked the old trolling motor and part of the old bow deck off. I hope to re-use them, so I'll need to straighten them, re-buck the rivets and perhaps add some cross tie aluminum bracketing to reinforce the bow deck. Any suggestions on straightening them without removing them?

BowDeckBracketsResize.jpg


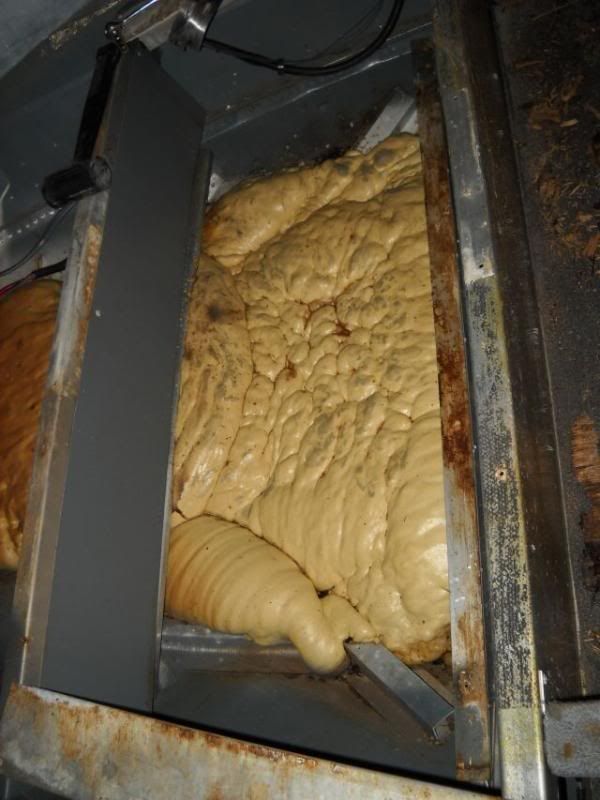
The area just behind the bow deck. This area wasn't used in the original design, but I'm thinking it looks ideal for building storage for those small lure bins you can buy everywhere these days. It would require some inventive thinking on how to build the bracketing for the storage "down" while building it sturdy. But for those light bins, should be okay. In the bottom aft area, you can see a aluminum bracket the edge of the storage deck below the seat was laid on.

PotentialSmallStorageAreaResize.jpg


The original storage under the front seat. Stern, the bracket has a sheet of aluminum riveted to it to form the front bulkhead of the storage area. It is painted battleship grey. The original storage deck slid under this bulkhead and rested on the bracket mount mentioned in the previous picture. The storage deck's only fixtures were where it was screwed into the aluminum bracket (looks rusty, but is dirty) in the aft section of the under seat storage. I'm debating if I should further compartmentalize this area or leave it open to store larger objects. Right now, I'm leaning towards larger objects.

StorageandSeatAreaFrontDeckResize.jpg


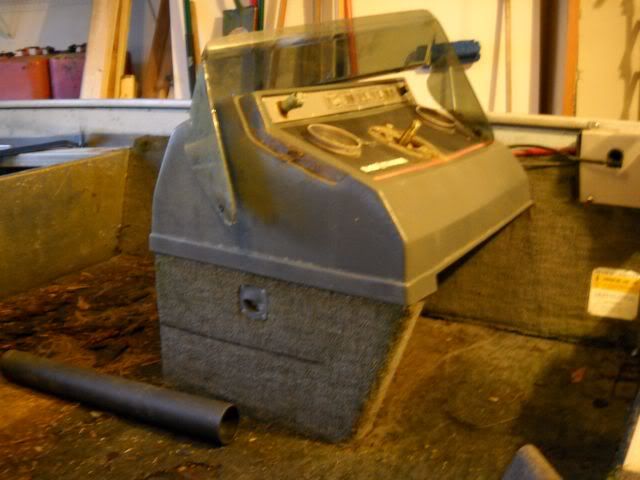
Starting disassembling the side console to remove it. The pic shows a crack I'm concerned about. I'm considering if I should repair or replace the console with a new one. The base of this one is aluminum, so I do have something I could potentially build on.

SideConsoleCrack1Resize.jpg


A closer view of the crack in the console. If anyone has a good solution for a repair, please let me know.

SideConsoleCrack2Resize.jpg


Side view of the console showing dis-assembly progress. I'm going to have to get some plywood to lay on the old deck to get in there to finish the console removal. The old deck won't support weight on it, too rotten.

SideConsoleProgressRearResize.jpg


That's it so far, tomorrow I hope to finish up removing the console and center deck.
 
Completed some more work on the V17. Managed to strip out the the console, the console deck, the rear storage boxes, all the rear deck lids and get a handle on what caused the port side rear deck separation. Also removed the motor cover, washed it.

Saved a lot of stuff for clean up and reuse, though I can see there's going to be quite a bit of replacing. Here's pics:

ReplacementConsoleTopAndSheets.jpg


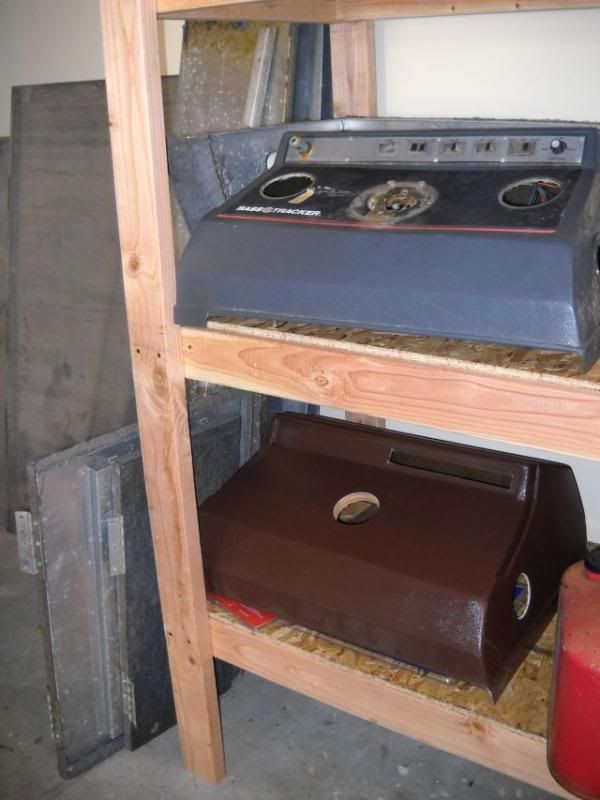
Local Marine dealer had a replacement console for my badly cracked console (new old stock) and only wanted a hundred bucks for it. Since I hate working with fiberglass, this is cheaper than I could pay a guy to repair the one I have. To the left of the consoles is some sheet aluminum I picked up at the local recycling center. I think I have enough to deck my console deck area and maybe the storage areas.

ConsoleDeck.jpg


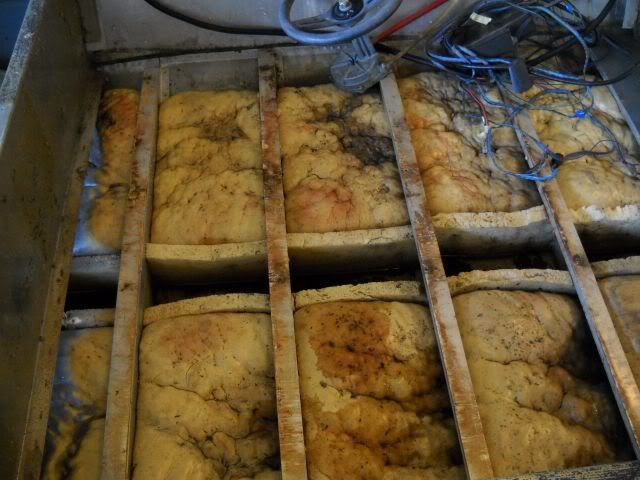
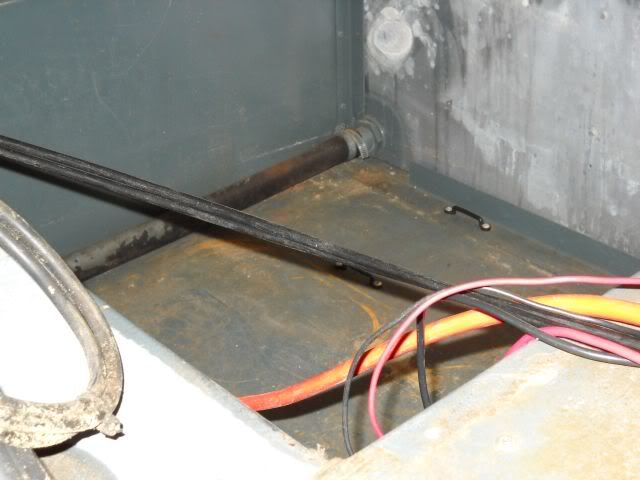
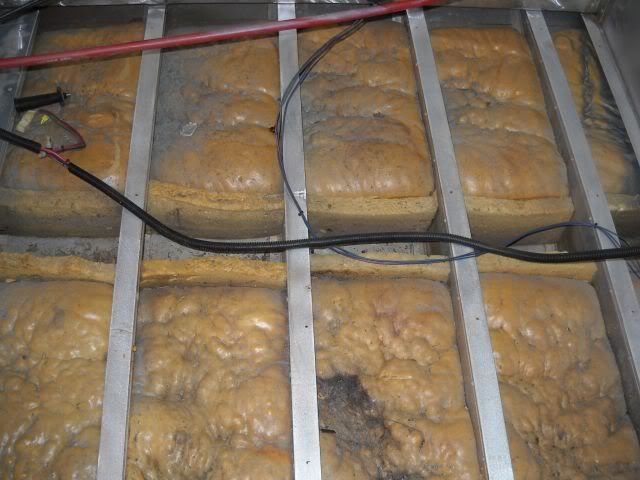
Console and console deck removed. Console had an aluminum base and a fiberglass top. It was a bear to remove, with all the stuff to label and disconnect, but got it done. The deck was like the front decks and was rotted out. Again, self tapping sheet metal screws (not stainless) were mostly rusted and hard to get out. I removed as many with locking pliers as I did with the battery powered drill. Some broke off and I'll have to grind them off and drill them out. The pic shows the foam (again, still good), the stringers with deck supports on top and the bilge (which doesn't drain due to lack of through holes). I'm going to have to clean the bilge out and drill through holes so the water will drain properly. #-o

RearDeckStorageAndSeatBases.jpg


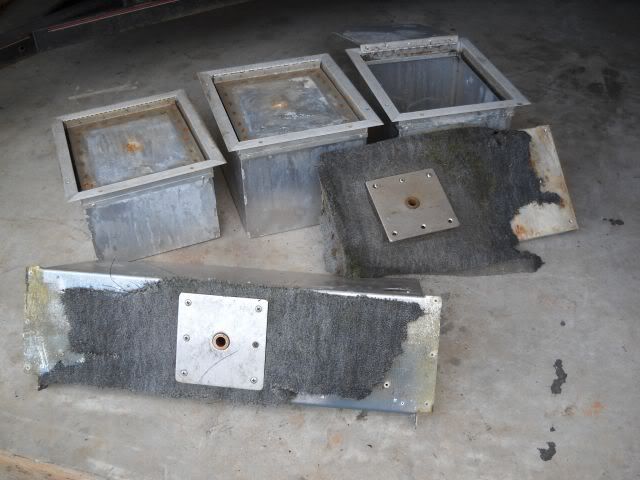
Seats bases and rear deck enclosed storage removed. All of these are re-useable, but the storage compartments will need new wood/carpet. They were held in with rivets, so simple to drill them out.

RodLocker.jpg


Rod locker, with carpet removed, I'll either have to replace carpet or install some sheet metal to make it re-useable. Probably do both.

RearDeckFoamDamage.jpg


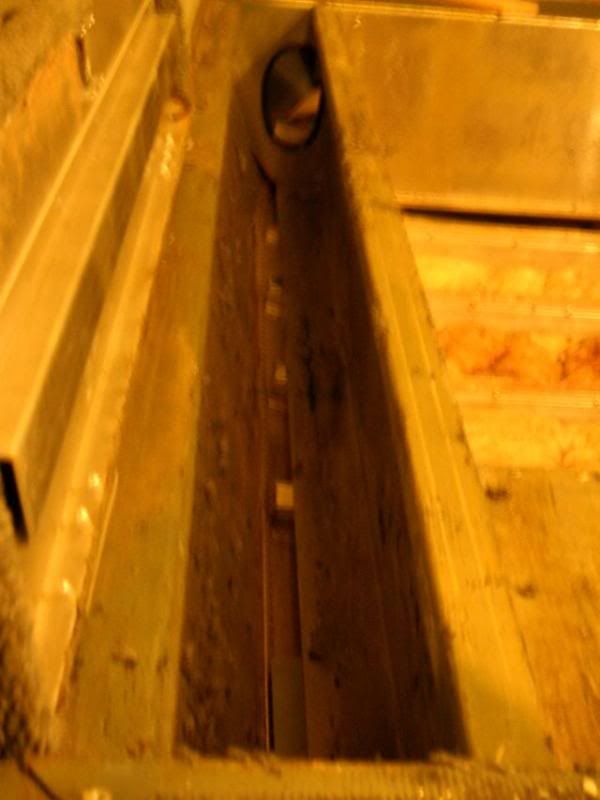
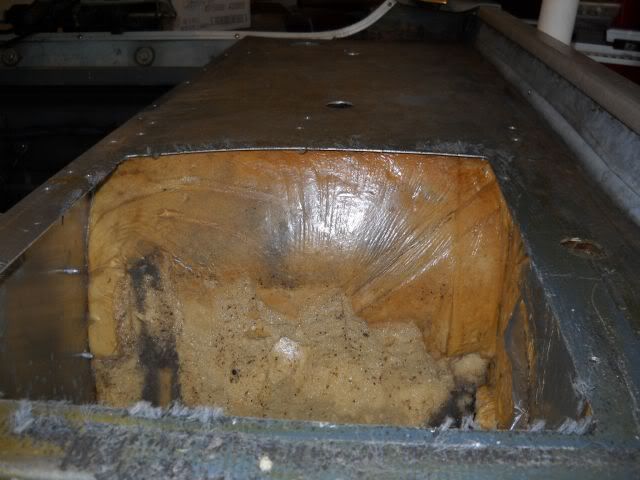
Rear deck foam damage. Looks like they poured too much foam, causing rear deck to arch. Pic also shows pour holes if you look close. Not sure if this or some type of damage to port side (hard to see if there is) damage caused separation in follow pic.

DeckPortSideSeparationBest.jpg


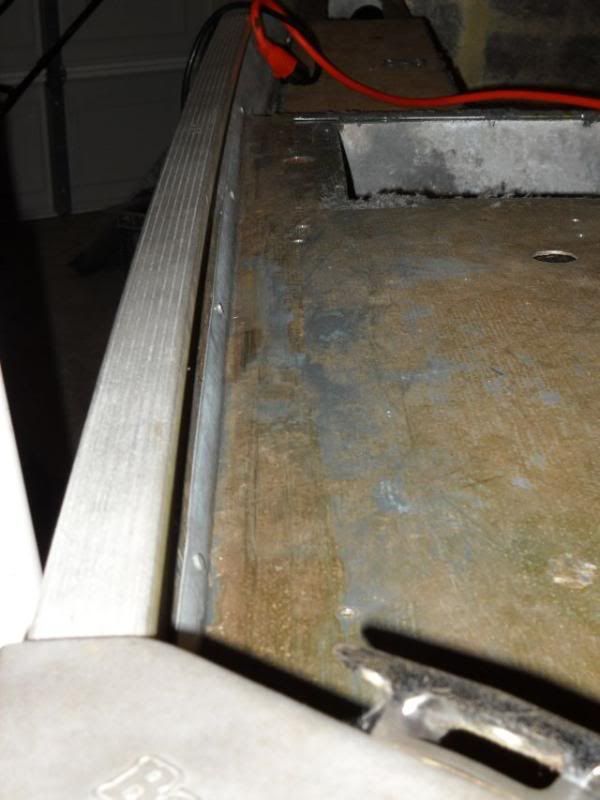
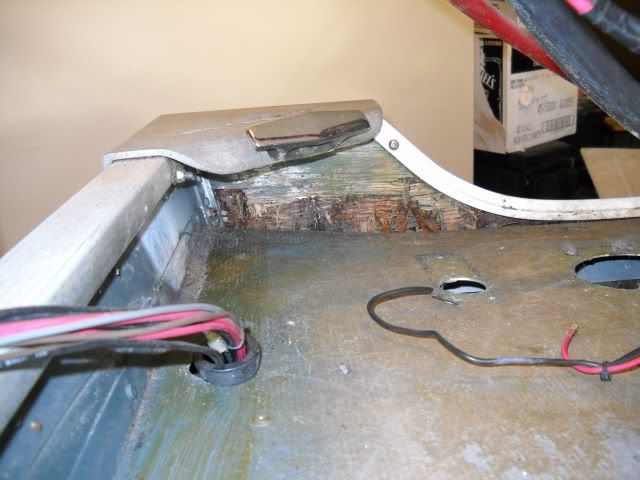
Deck Port Side separation - The second rivet from the rear has actually separated and it looks like the port side may be bent slightly away from rear deck where it's fastened. Many of the decks rivets were popped when I removed the carpet. I'm not sure on how to fix this outside of removing this deck. I think this repair is going to be the toughest part of the fix. Could really use some suggestions.

LiveWell.jpg


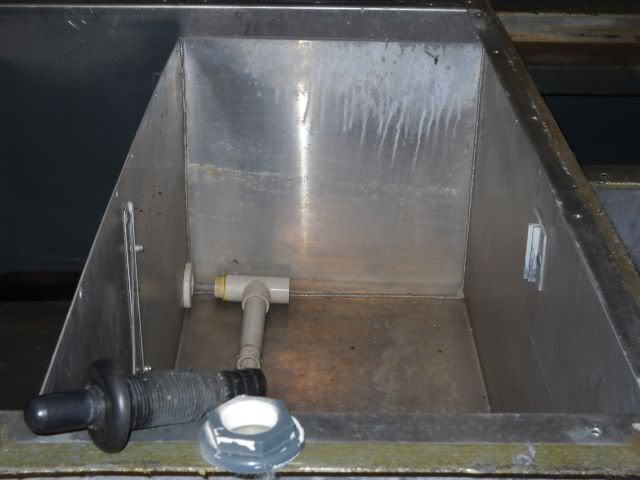
Livewell with original components. I'd like to upgrade/improve the aeration if possible. Any suggestions?

LiveWellRearViewLeft.jpg


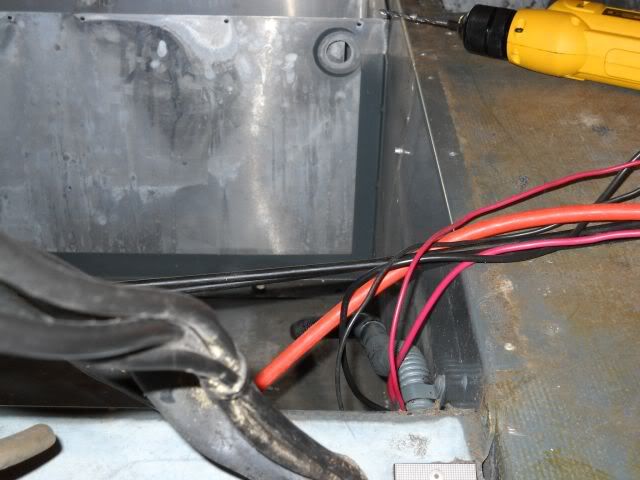
Livewell drain hole area - shows battery strap down. This area will hold two batteries and two 6 gallon tanks. I'm wondering if it would hold one of those plastic 12 gallon tanks.

LiveWellRearViewRight.jpg


Live well fill area - I'm thinking that starboard bulkhead would be a good place to mount a battery charger. Anybody have any thoughts? I'm not sure how much room these take up. Are two batteries enough for an electric start motor and a 50-55 thrust TM?

RottedTransomStarboard.jpg


Rotted transom - this is going to have to be replaced. I'm thinking two 3/4" plywood boards and considering fiberglass resin vs. Spar Varnish to water proof them. Anybody have any input on a transom coating?

DirtDobberMotor.jpg


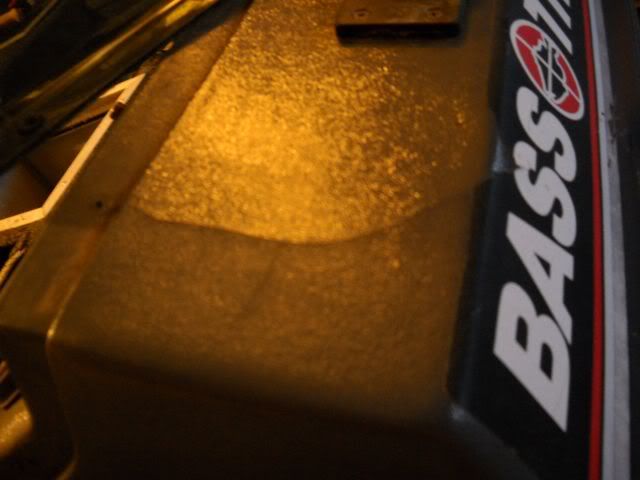
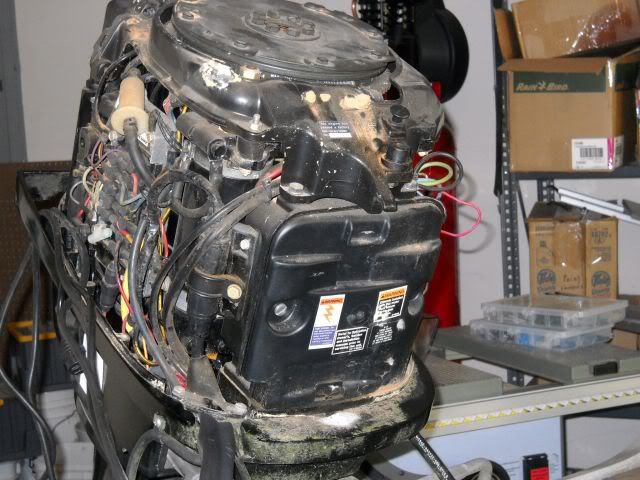
Muddy motor from dirt dobbers. This is going to be a pain to clean up, but worth it if it runs.

DamagedWiringOnMotor.jpg


Shorted wiring on left side - probably from dirt dobber mud and wet.

CloseUpShortedWires.jpg


Close up of fried wire damage. I'm going to replace the rectifier and I'm hoping either a single coil or wires on the stator if the motor has good compression. It's going to get expensive if I have to replace the stator. It's going to be a while before I get to it. The boat and trailer have priority right now.

That's it for now. If anybody has any suggestions on solutions for the tough problems, please do post them. I'm looking for input on that port side deck repair.
 
You certainly have your hands full.
Sorry,I don't have much to add to help you but I am watching.
It shows the power of that foam,if thats the reason why the rivets popped on the port side.Hard to beleive they had it so contained,diffenitly see the seperation and bowing of the aluminum.
I'm sure you will think of something,keep up the good work.
 
The transom repair will be the hardest. I'd go ahead and pull the rear decking to get to the wood. You can then trim down the foam (if it doens't need removed to get to the transom).

I'd also try to get the engine running so you don't dump a lot of money into a hull without an engine to push it...

Jamie
 
Zum said:
You certainly have your hands full.
Sorry,I don't have much to add to help you but I am watching.
It shows the power of that foam,if thats the reason why the rivets popped on the port side.Hard to beleive they had it so contained,diffenitly see the seperation and bowing of the aluminum.
I'm sure you will think of something,keep up the good work.

Yes, my hands are full, but I bought it as a project and what is life without challenges? I am thoroughly enjoying working on it. I think they were using the foam as "support" to strengthen and stiffen the back deck, but I think on the one side, they over did it a little bit.

I think I figured out the cause of the separation is the foam expanding not only upward, but outward in both directions as well, pushing the port side and the rear port deck away from one another.

I have a plan cooked up where I remove the rivets on that side, use a Harbor Freight hand saw (coarse teeth) to cut some of the foam out, then see if I can pull it back together using strapping around the boat. If that works, I'll lock it down with nuts and bolts, then reinstall some fresh rivets.

Thank you for the encouragement, I was feeling a bit overwhelmed today, so took a trip down to Harbor Freight for a grinder, an air riveter, a portable blaster unit and assorted "goodies." Proved to be helpful in I had time to think while looking at tools I didn't have.
 
Ranchero50 said:
The transom repair will be the hardest. I'd go ahead and pull the rear decking to get to the wood. You can then trim down the foam (if it doens't need removed to get to the transom).

I'd also try to get the engine running so you don't dump a lot of money into a hull without an engine to push it...

Jamie

Yep, getting the old transom out will be a tough job, but do you think I'll have to pull the rear decking to get to the wood? (The way Tracker built the boat, it was from the rear decks forward, so I'd have to pull out a good bit of the aluminum storage, live well, etc. forward of the rear decks to get the rear decks completely out. That's a lot of those bigger rivets. Ouch, I hope that isn't the case.

Checking out the engine conflicts with the need to get the transom fixed. One of those fish or cut bait decisions. I think I'm going to have to stop working on the boat, check out the engine, then remove the engine to finish working on the boat. To go with that, I need to get an engine stand built, get my buddy over to help me wire up the 60 gallon compressor (air tools) and he's got stands to remove the motor with. Then there's refurbishing the trailer.

The good thing I have going is I'm surrounded by several large lakes and a good number of smaller water sheds. So there's lots of available outboard motors in the area. What is tough if finding a V-hull type boat deep enough and big enough to satisfy my wife's desire to feel "safe" without paying out a large sum of cash. I figure if either the upper or lower is bad on the motor, I can sell the other half for enough money to get a good start on buying another motor. Then there's the tech school I graduated from - they have a boat motor mechanic program and I can likely get them to rebuild it.....gotta love have options.
 
Just a few items to report since last time:

1. Managed to drain the lower unit oil. Dirty, but no water. It appears the lower is in good shape. So at worst, I can sell the lower to offset costs on a different motor if I had to. If anyone wants to see pics, it's in the motor section.

2. Inspected motor thoroughly. Other than mud dobber wasp nest damage, the motor looks like it has very low mileage even though it's filthy. I did remove the plugs, sprayed PB Blaster into the cylinders, let it soak around the pistons and moved the flywheel by hand. The motor moved freely, a good sign, so I'm going to mix up some Sea Foam and Marine 2 cycle oil, then spray it in with a hand pump into each cylinder to fully lube things up for a compression check.

After doing a compression check of the motor, I'm going to remove it and continue working on the boat. To do the compression check, I've got to clean the motor of mud dobber filth, remove some damaged stator wiring, rusted post rectifier and get the starter/battery/starter wiring into shape to crank the motor over.

3. I stopped work on the boat this weekend to complete other projects so I can move forward with the boat. With the help of my buddy Myron, I completed wiring up a 220V 20 Amp circuit for my compressor as well as adding another 110V 20 Amp circuit for my power tools. The garage in this home only had a single 110V 15 Amp circuit and that wasn't getting it for doing any work out there. Lots of outlets in the kitchen though. I wonder about the original owner.

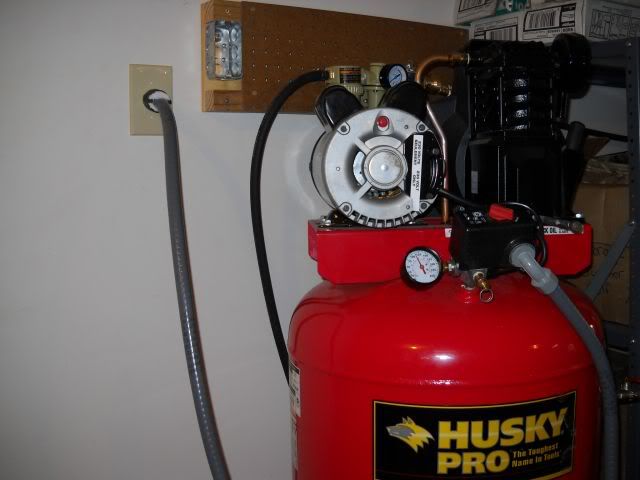
4. I also completed setting up my new 60 gallon compressor, including installing all the regular, filter and assorted fittings/hoses. Amazing how much time/effort putting teflon tape on all those fittings, figuring out what hose fittings went where (my first compressor) and assembling the works turned out to be. Here's a pic:

DSCN0756.jpg


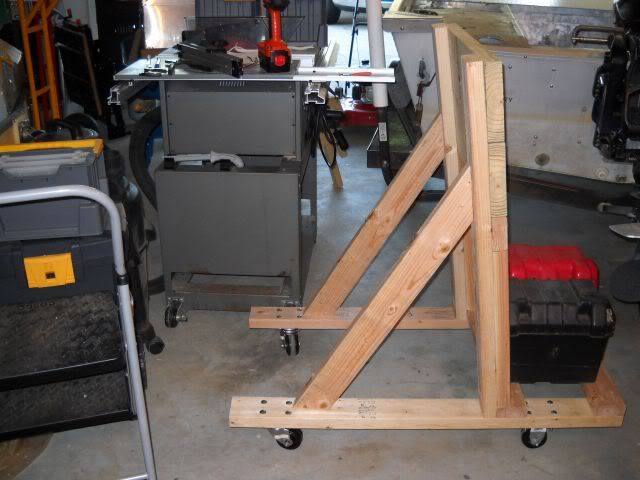
5. Finally, I built a motor stand out of 2 X 4's and 2 X 6's to put the motor on so I can get it off the boat. Had to do a few mods from the original plan I downloaded from a .pdf file from another site, but it turned out to be the perfect size. Here's a pic:

DSCN0758.jpg


Since this was not my plan, I want to give credit to the designer,who posted this on another forum:

https://forums.iboats.com/showthread.php?t=266570
 
It's been a frustrating weekend. I picked up the o-rings, oil and a pump to replace my lower unit oil with, but managed to lose the o-rings somewhere in the garage. Probably hid them from myself for "safe keeping." So no oil fill up. Strike one.

The battery I got with the boat I charged up, but even though it showed a full charge, it wouldn't run the starter, so going to have to get another battery tomorrow if I want to check the compression. Strike two.

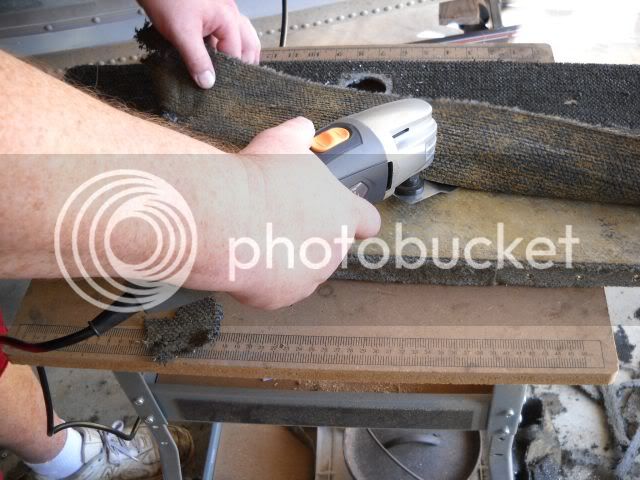
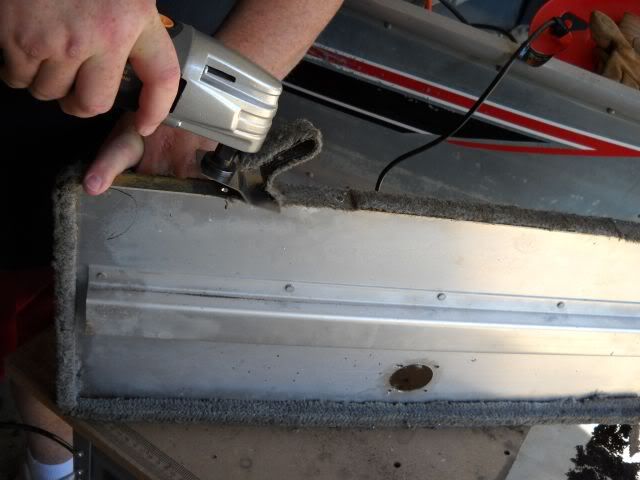
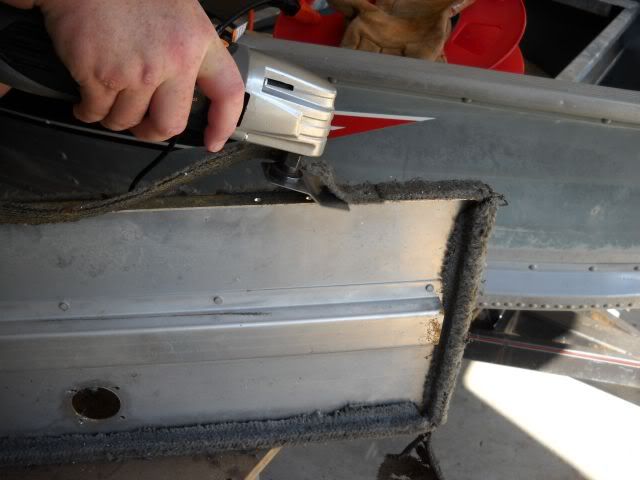
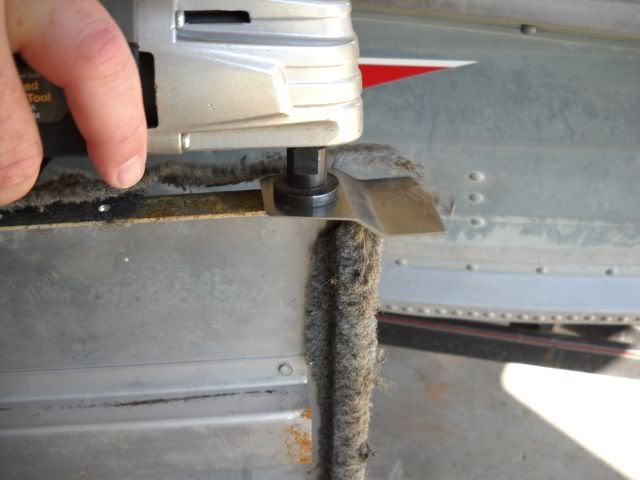
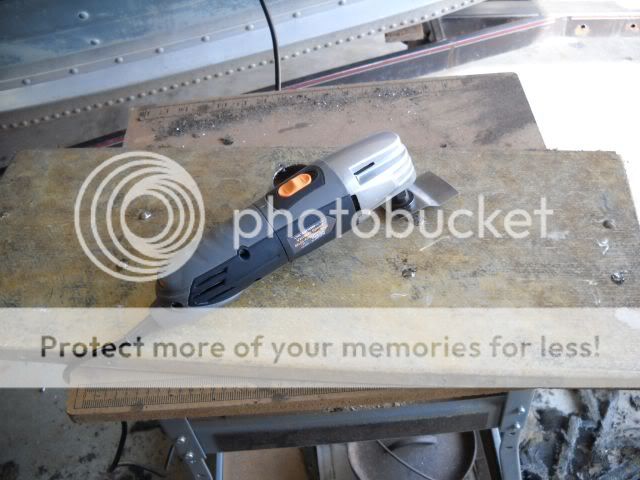
On the plus side of things, I had bought a Harbor Freight variable speed Multi-Tool for cheap on sale and of course with a 20% discount. I'd used it for cutting out the holes for the power outlets for my compressor and it had done well, so I wanted to see how it worked as a scraper. Turns out it works pretty well. Here's some pics I made of me cleaning up a deck hatch lid:


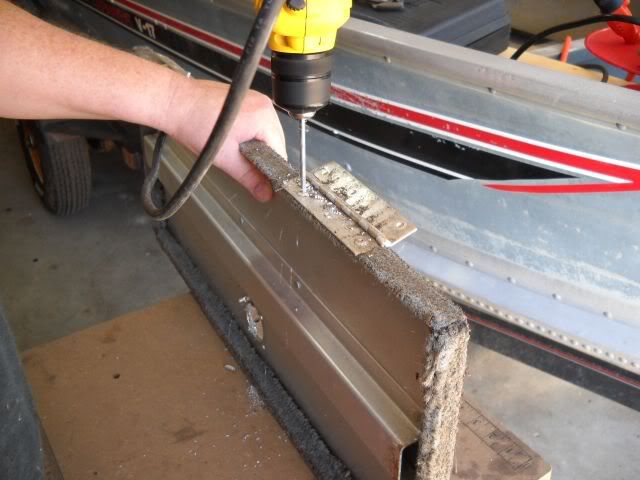
Here, I'm drilling out the rivets to remove the piano hinges.
DSCN0779.jpg


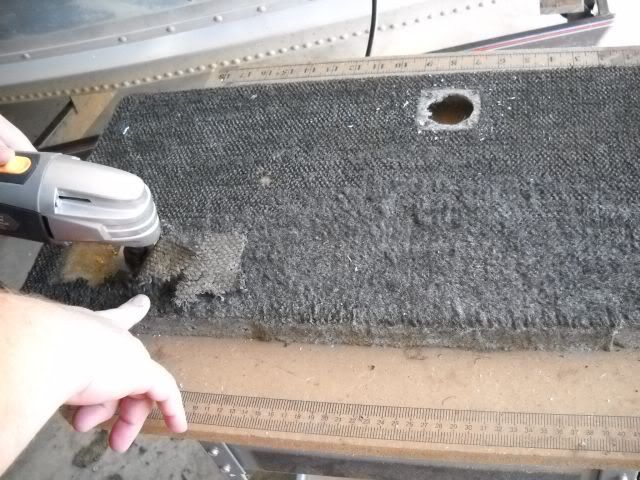
Next, I start cutting into the carpet with the multi tool.
DSCN0780.jpg


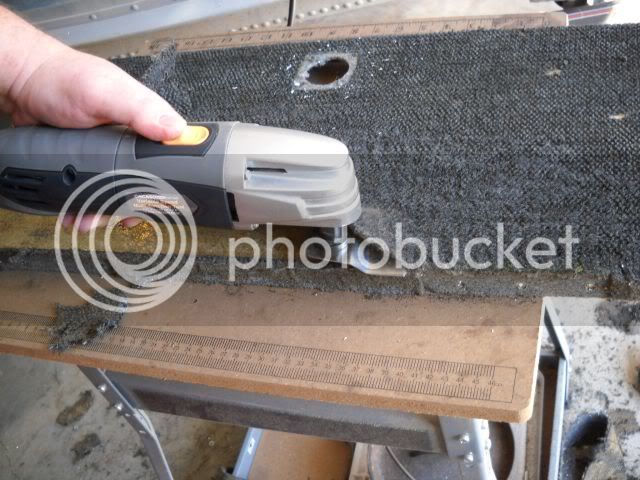
The HF tool moves easily through the old carpet and glue.
DSCN0782.jpg


Peeling back the old carpet. This tool made this task much faster and easier than doing it by hand. Was really controllable as well.
DSCN0784.jpg


Starting down a narrow side.
DSCN0794.jpg


Almost done with a side.
DSCN0796.jpg


Narrow edge done.
DSCN0797.jpg


Carpet stripped hatch.
DSCN0804.jpg


Total elapsed time: About 5 minutes. I was able to finish stripping several hatches and various carpeted sections of sheet metal very quickly and without a lot of physical work. I'm really impressed with this tool.

Going to the dealership tomorrow to pick up another couple of o-rings tomorrow if I can't find the two I hid. Also going to pick up a battery to finish the compression check. Seems like you get into this and you find yourself taking two steps back for every step forward at times. At least most of the carpet is off the sheet metal now. Think I'm going to watch football for the rest of the night.
 
Got the lower unit oil installed today, but the compression check is going to have to wait. See the turkey buzzard story in the Watering Hole forum.
 
If you dont mind me asking, what are you going to use to get the brown glue looking stuff off of the aluminum?

Reason I am asking is I have a tracker tx 17 and I re-did the front deck last year and I am going to rip out the rest of the carpet this year and re-do it.

Also what are you planning to use to glue the carpet down to the bare aluminum?
 
bobothewizard said:
If you dont mind me asking, what are you going to use to get the brown glue looking stuff off of the aluminum?

Reason I am asking is I have a tracker tx 17 and I re-did the front deck last year and I am going to rip out the rest of the carpet this year and re-do it.

Also what are you planning to use to glue the carpet down to the bare aluminum?

Hi Bobo,

The next episode of "As the Bass Tracker Turns" will cover removing the glue and bits of carpet residue and should be out sometime this weekend if all goes well. Had planned on finishing it today, but resting from working at the hospital the past few days (12 hour days and it was busy) and replacing the grill on my truck put it a bit behind.

The glue is a bit down the road yet, but I'm researching that now.
 
Looking like progress Dave.

That little multitool looks pretty handy.

Here is a vid I came across last week on removing carpet/carpet glue. First time I had seen someone do it this way.

[youtube]lZFqz8w-GaE[/youtube]
 
Brine,

Thank you for the link.

Looks like a solution that minimizes physical work. I'm going to have to get some of that and try it out on my panels and such, even though I've already gotten most of the carpet off. One concern I have with using chemicals like that is do they dissolve the two part foam. Going to have to be careful not to ruin my flotation.
 
guys...

I didn't check to see if my vid worked or not before leaving this thread, and realize I'm having a problem with the embed function here. Could someone post the vid above for me? When I put the youtube brackets before and after, it just hangs.
 
Well, made a little progress, but not as much as I would like. A lot of time was eaten up this weekend replacing my pick up truck grill and going over to my Buddy's house to pick up a bandsaw, then assembling it and just doing stuff the wife wanted. But here's pics of what I did get done:

DSCN0806.jpg


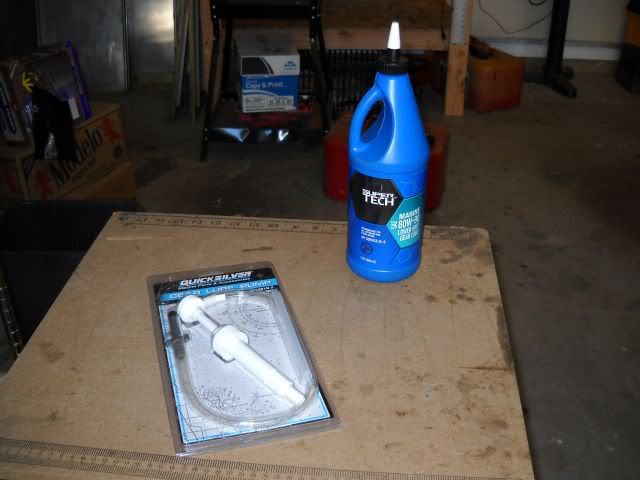
Here's a pic of the pump and oil I used to refill my lower unit. I used the cheap stuff since I plan on changing it again after I complete reworking the upper unit, assuming the compression turns out to be good. Debating on what sort of battery to buy, if any, right now.

DSCN0823.jpg


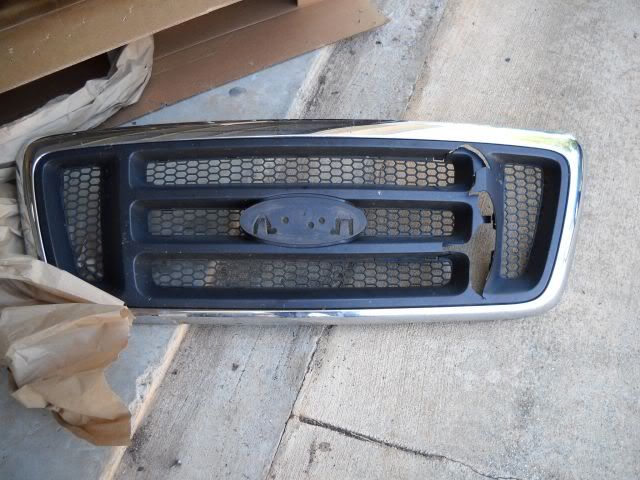
Here's the grill the turkey buzzard busted. Got that replaced.
DSCN0826.jpg


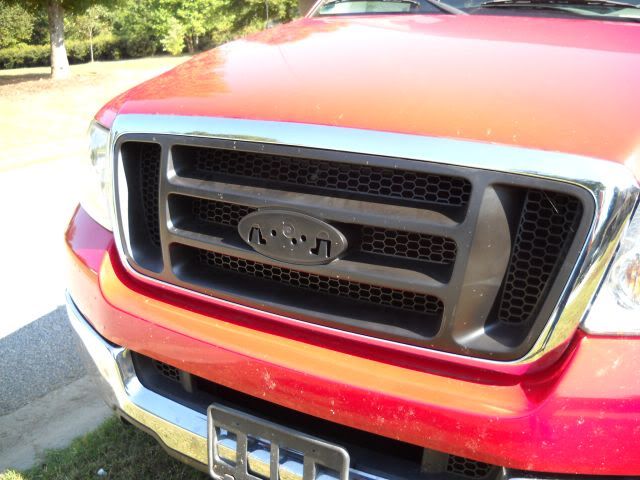
Taiwanese replacement grill bolted right up and was $140.00 cheaper than one from the dealership. I was glad of that. Onto working on the boat.

DSCN0821.jpg


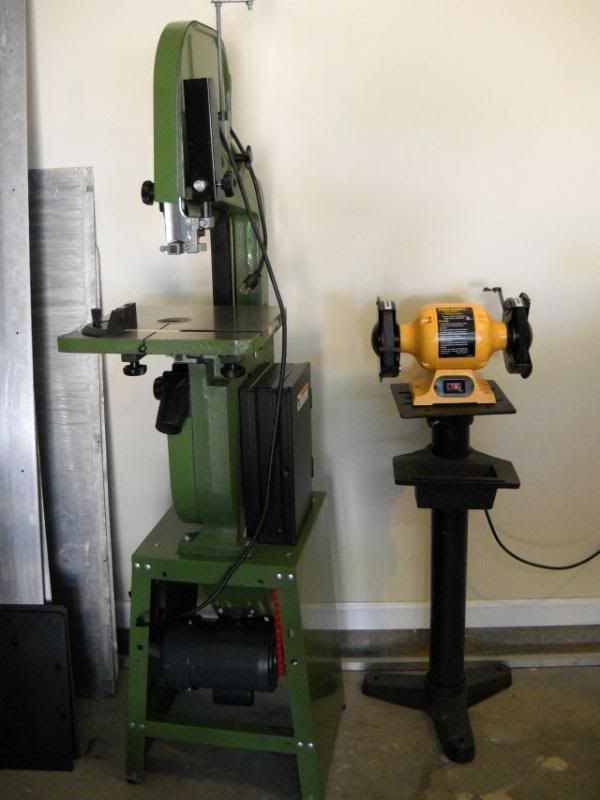
I sold this Harbor Freight (made in Taiwan, not mainland China, so very good motor) woodworking bandsaw to a buddy of mine about 3 years ago. He hasn't used it, so I borrowed it back to use it to cut aluminum with. I'm finished assembling it, but I need to change the pulleys and add a quality metal cutting bandsaw blade before I can use it. This will make cutting the aluminum much easier though, especially since I added the 20A 110V service. The motor will run very efficiently.

DSCN0831.jpg


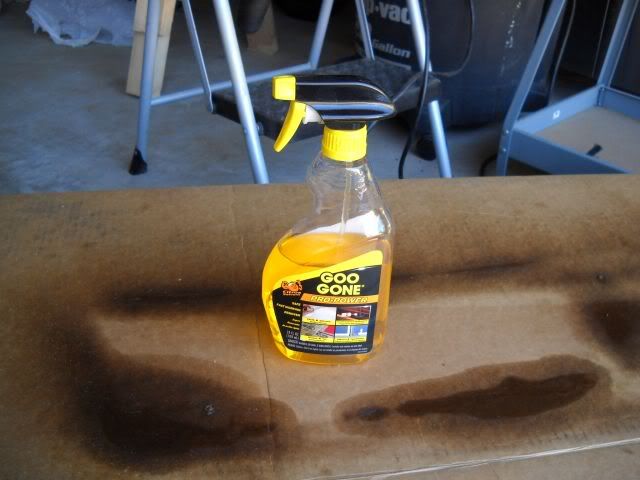
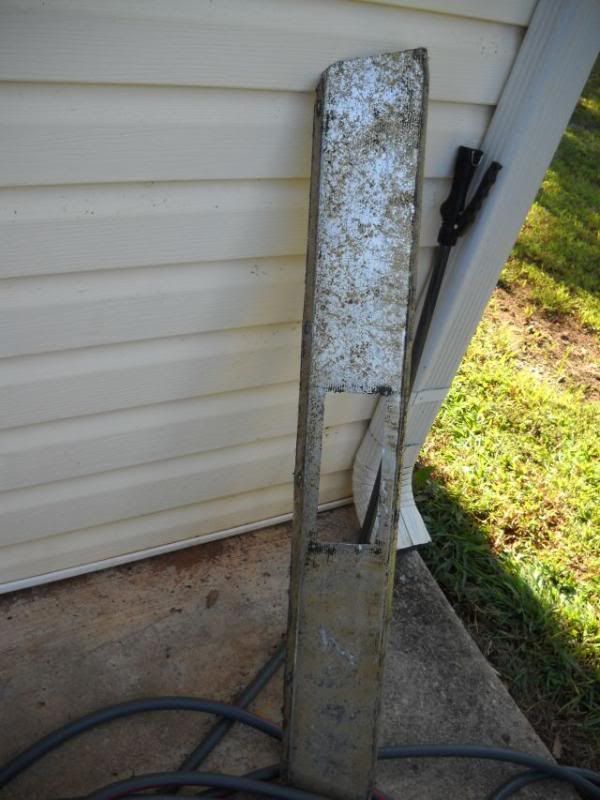
I tried out the Goo Gone spray on one of my aluminum pieces to see if it would work. I was hoping it would, because the lighter weight pieces will be difficult to sand down due to all the odd ankles and some fragility. Unfortunately, here's the effect it had on the 24 year old carpet glue:

DSCN0833.jpg


Didn't phase it. Left it on over night, hosed it with fresh, but using a steel scraper yielded poor results. So I guess it depends on the glue formulation and age as to the effectiveness of this stuff. Looks like I'm stuck with the sanding wheel/grinder combination.

DSCN0829.jpg


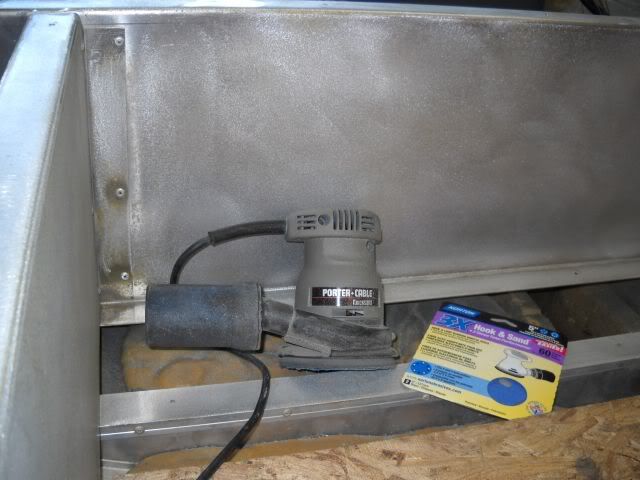
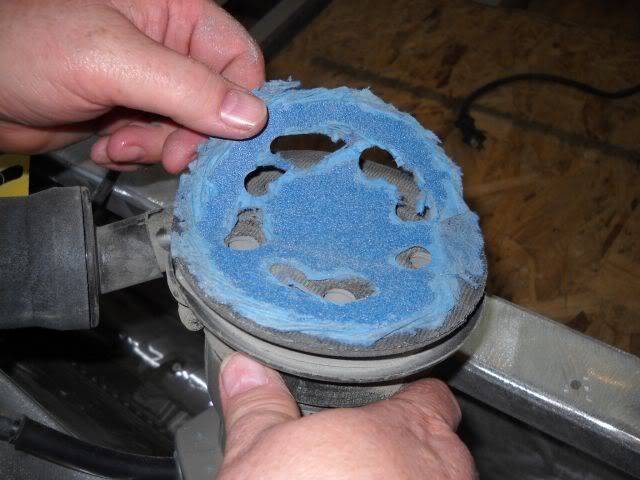
This is a pic of the Porter Cable palm sander I used, along with the Norton 3X 60 grit sanding pads. They proved to be very controllable for me and gave me the results I was looking for. The only problem was the palm sander didn't fit into tight spots well. I liked using this sander the best because of the good control. Not as fast as the grinder combo though.

DSCN0835.jpg


This Norton 3X hook and loop sandpaper lasted through about half the boat, but started getting banged up in the aft sections of the boat where there were lots of rivets and metal edges. Worked very well on larger surfaces.

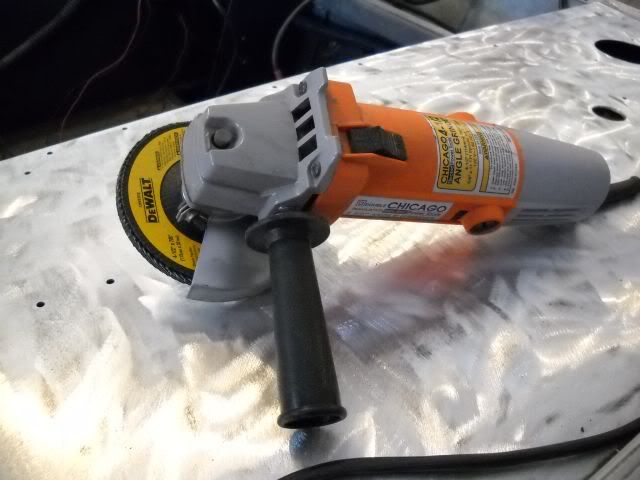
DSCN0828.jpg


Harbor Freight 4 1/2" grinder with Dewalt sanding wheel attached. This combination was fast, but could take off more metal than you wanted. You have to pay attention and use a light touch. Stirs up lots of dust. You'll need a mask and eye protection, even if you have glasses. Slings lots of small metal bits and filth and can damage eye glasses, so use a set of goggles over your glasses if you wear glasses.

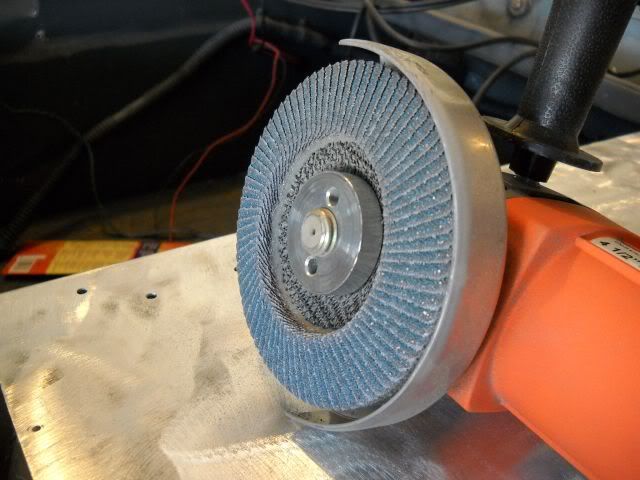
DSCN0838.jpg


Closeup of the bottom of the Dewalt Sanding pad. These are likely made by Norton, but were what the Lowe's in my area carried, so I bought one. Glad I did. Just remember, use a light touch. BTW, the HF grinder is much tougher than it appears. I ran it steady for long periods with no problems. I did remove the cover, clean the cheap grease out of the grinder gears and replaced it with Mobile 1 bearing grease. The chinese tend to leave machining crapola in their work, so replacing the grease gets rid of lots of quality control problems. But since most of the "name brands" are now made in China, I see no reason to pay more for a tool like this that I'll use once in a while than what this one costs. In this case, it's doing a great job for me.

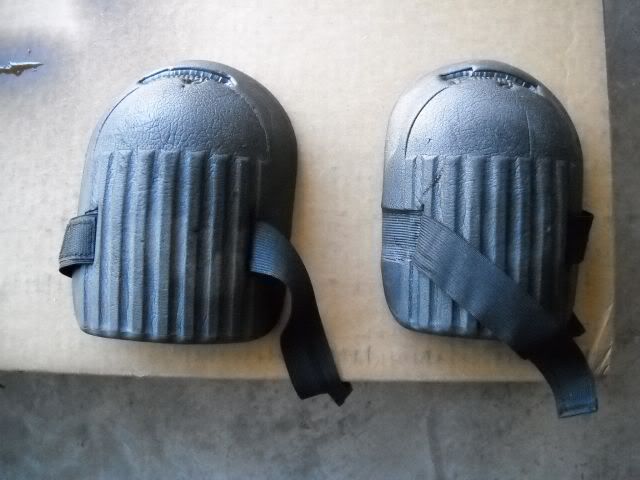
DSCN0839.jpg


I bought these cheapie knee pads many years ago. They have saved my beat up knees from a lot of pain over the years crawling around in attics, on concrete, on roofs and now, in my boat. I highly recommend this to anyone who has or thinks they might get bad knees. Saves a lot of unnecessary pain.
 
A few more pics of the sanding/glue/rust/carpet giblets removal progress:

DSCN0841.jpg


Bow Area - decided to use stripper to remove the paint around the top.

DSCN0846.jpg


Taken from aft.

DSCN0847.jpg


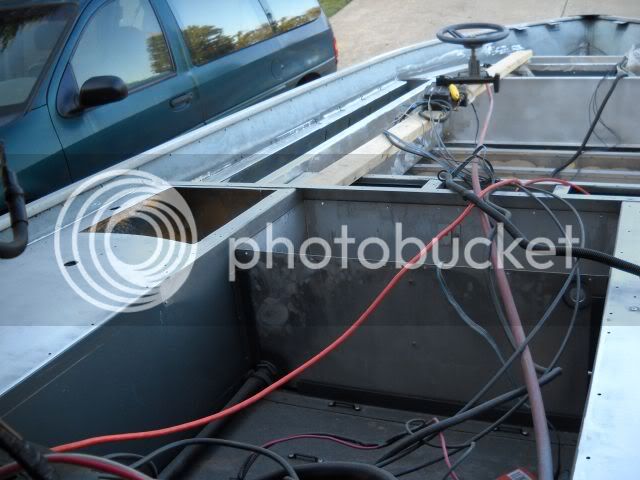
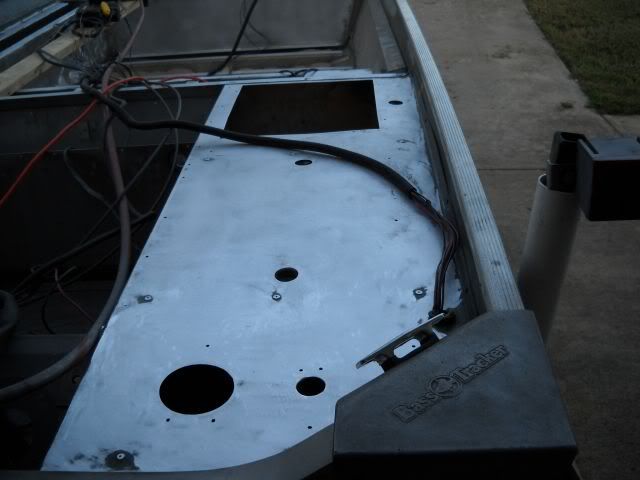
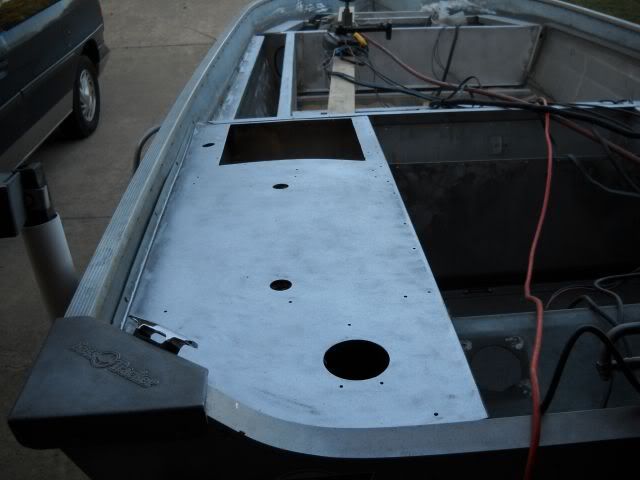
Starboard aft deck

DSCN0848.jpg


Port aft deck

DSCN0850.jpg


Another view, both aft decks

DSCN0852.jpg


A view of the port fore deck area.

DSCN0856.jpg


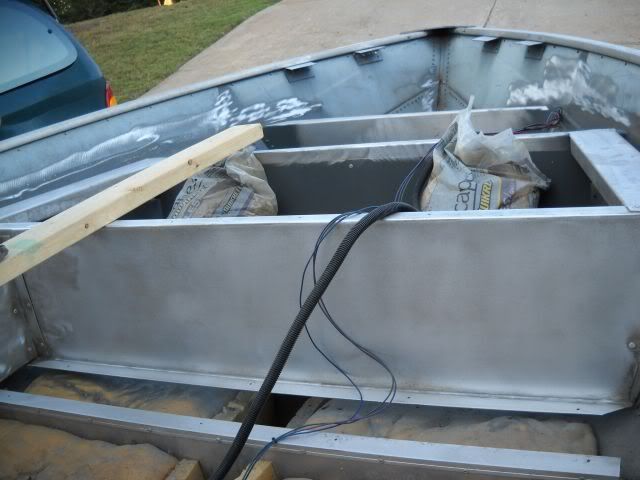
Center Deck area, ready for deck installation.

Most of the glue that would affect carpet installation is gone now, so I think I'm about to a point carpet could be reinstalled in the boat itself. I'll vacuum out the boat and do a basic wipe down for now. I'll work on the removed panels as I run into "fill in" time with other parts of the project as well as cleaning up anything I want to reinstall in the boat.

Next up:

I'm figuring on checking the compression tomorrow if all goes well. I'll use my truck battery to turn the motor over to check compression, then remove the motor and cables and get the boat off the trailer. This will allow me to start on the trailer and get that done.
 

Latest posts

Top