RiverBottomOutdoors
Well-known member
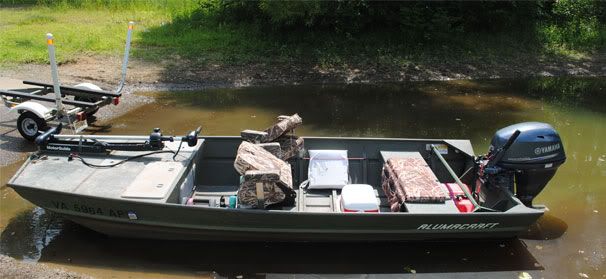
Dave11 said:River, nice job on that deck. I like the hatches. Are you able to stand on them without them giving? I have been tossing around the idea buying those kind of hatches.
Howdy Dave,
The hatches are STOUT and do not leak in the rain. I walk/stand on them all day long...don't even notice them. No buyer's remorse here.
Take care,