Fisher 1860AW... New Boat -- New Construction

TinBoats.net

Help Support TinBoats.net:

This site may earn a commission from merchant affiliate links, including eBay, Amazon, and others.
Country Dave said:
Looks Good Russ, =D>
What are you powering her with?


lol, waaaay underpowered.

This boat is really too big for what I'm doing. I fish mostly electric only reservoirs, and I run a jon boat trail. For the electric lakes, I'll have a Minn Kota Fortrex 101 on the bow, and a Minn Kota Rip Tide 101 on the rear.

When I put it in gas lakes I have 2 motors... when I bought it, it came with a 2006 Mercury Big Foot 9.9 4-stroke (which I'll still use for restricted hp lakes and idle speed only lakes. I also have a (seemingly brand new) 72 Johnson 20hp Sea Horse.

I have no idea what kind of mph I'll be getting.. heck, I haven't even put the boat in the water yet. Right now I'm trying to get it all done before Jan 26 which is when our first tournament of the season is. If I don't have it ready by then, I guess we'll be fishing out of my partners Ranger which we converted to all electric.
 
Ok got cha.

We have some no motor zones where I like fish to and you can’t even enter them if you have a gas motor on your boat. Other ones you can run the channel with your gas motor but it has to be tilted up and you can only push poll or run the troly when you hit the flats.
Nice work the build looks great.
 
Yea, most of our reservoirs are drinking water, so no gas motors or tanks...

which actually got me thinking about the placement of my gas tank. The middle compartment at the back is where I am going to have 7 batteries - along with my gas tank. I'm thinking now I might either want to put my batteries in the rear storage compartments, or maybe even the gas tank in one of the rear storage compartments. I'd hate to be out there and one of the batteries arc and me go KABOOM!
 
russ010 said:
Yea, most of our reservoirs are drinking water, so no gas motors or tanks...

which actually got me thinking about the placement of my gas tank. The middle compartment at the back is where I am going to have 7 batteries - along with my gas tank. I'm thinking now I might either want to put my batteries in the rear storage compartments, or maybe even the gas tank in one of the rear storage compartments. I'd hate to be out there and one of the batteries arc and me go KABOOM!

Wow seven batters, that’s got to be like 300 pounds, a hundred pounds less than my 115 Yamaha. I think I would also be concerned about weight placement. I decided to move my fuel cell in front of the bench. Trying to keep weight of the rear. With the float pods, trolling motor and t/motor battery up front I think I’ll be good.
 
Looks great! The boat will ride better on a plane with the boat more stern heavy, so I would suggest the fuel tank in the back. Is she gonna get any sort of paint job when she is all finished?
 
JonBoatfever said:
Looks great! The boat will ride better on a plane with the boat more stern heavy, so I would suggest the fuel tank in the back. Is she gonna get any sort of paint job when she is all finished?

Oh yea... but it's gonna have to get a little warmer before I do that. Maroon/Burgundy & Black (atleast that's what I'm leaning towards right now). My truck is maroon colored, so it will hopefully match up pretty close
 
Got a little more done over the weekend and through today.

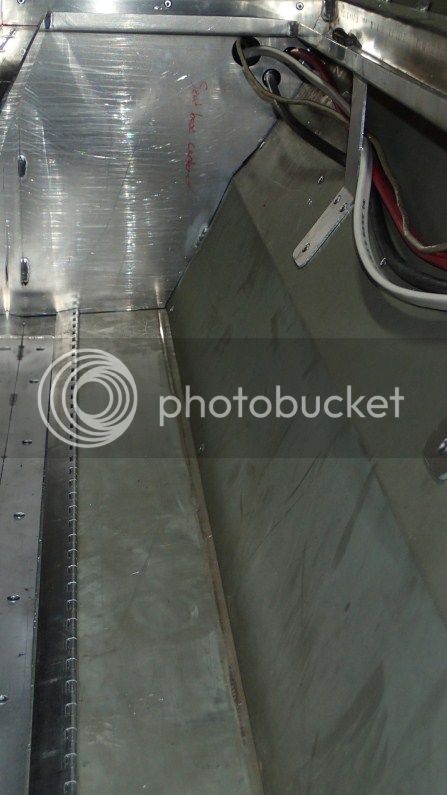
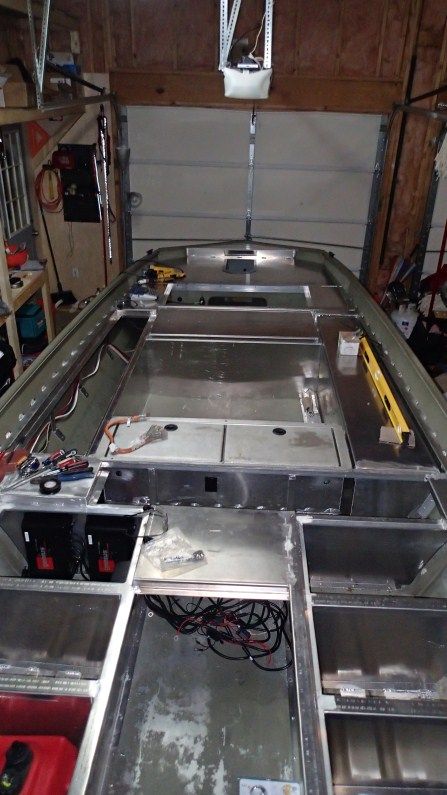
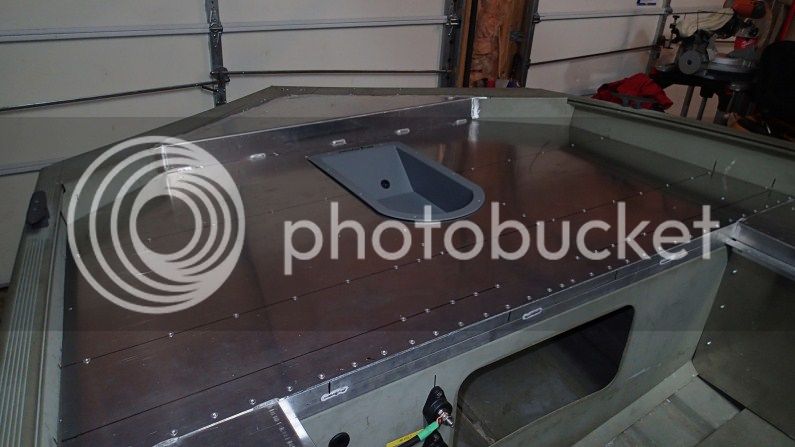
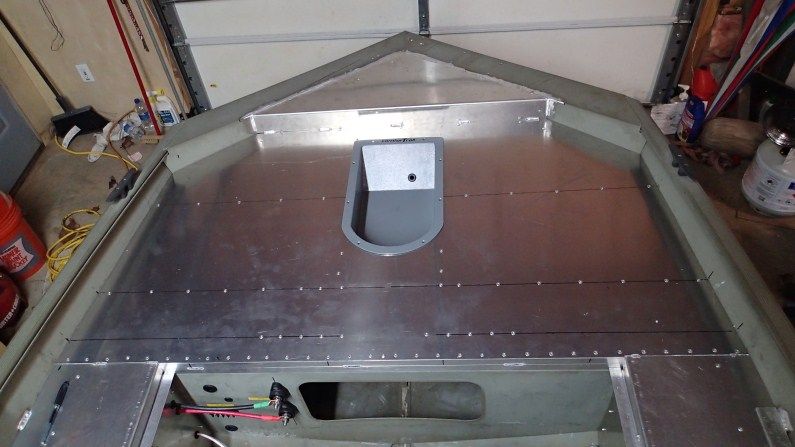
Went back to Dawson and got him to put in the front deck and help with some bends due to some changes we decided to make. Instead of taking the front deck floor all the way to the point of the bow, we decided to put a better place to step in and out of the boat. This also helped the dilema of installing the trolling motor. Dawson had some 1/2 inch solid aluminum stock that the added under the bolt pattern of the trolling motor mount, then used his tap and die set so that all will be needed to mount the TM is to put in the screws. We also got the recessed foot control tray installed.

P1010133_zpsa9012a16.jpg


P1010136_zps2dfeb78c.jpg


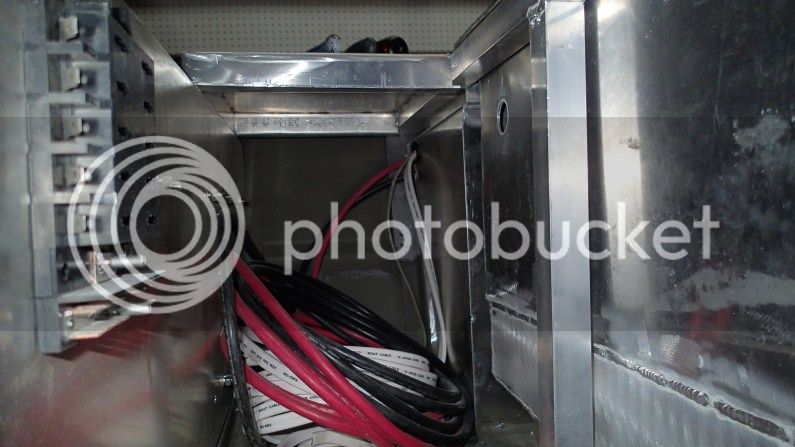
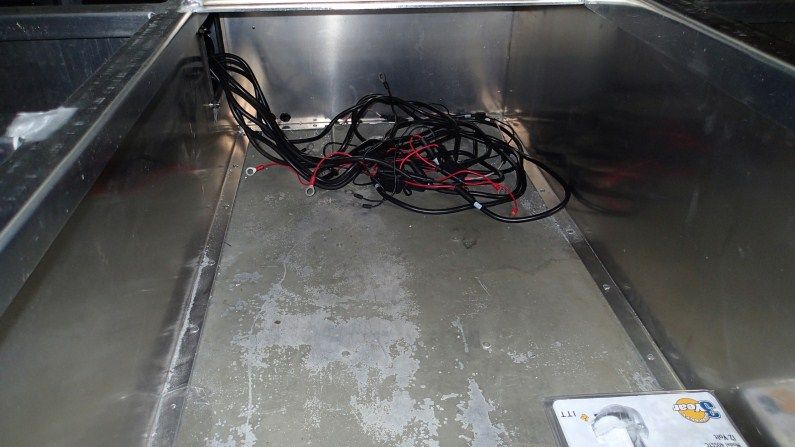
Also ran most of the wires. The 4ga wires will run the TM only. I've also pulled some 14ga primary wire which will go to the bus bar and run the HDS 8, Structure Scan, radio and nav light.

P1010137_zpse1aaa41e.jpg


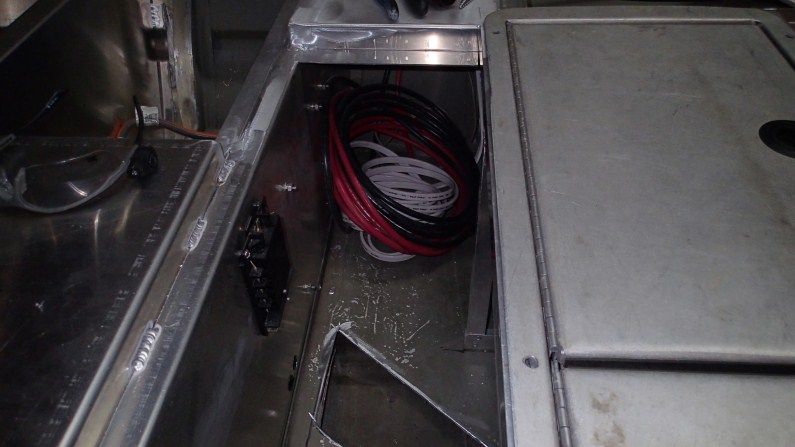
Wires ran through port side rod locker. I've still got a lot of cleaning up to do - but anywhere a wire passes through aluminum has a grommet

P1010139_zps24709a27.jpg


P1010143_zpsad3d58c0.jpg


P1010142_zps088979ac.jpg


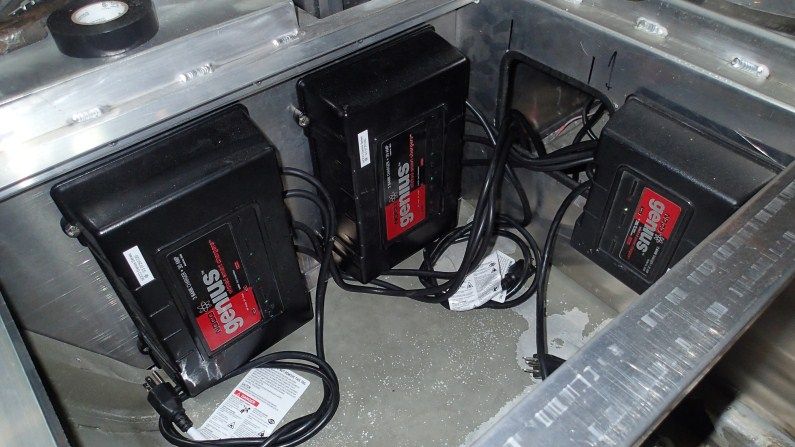
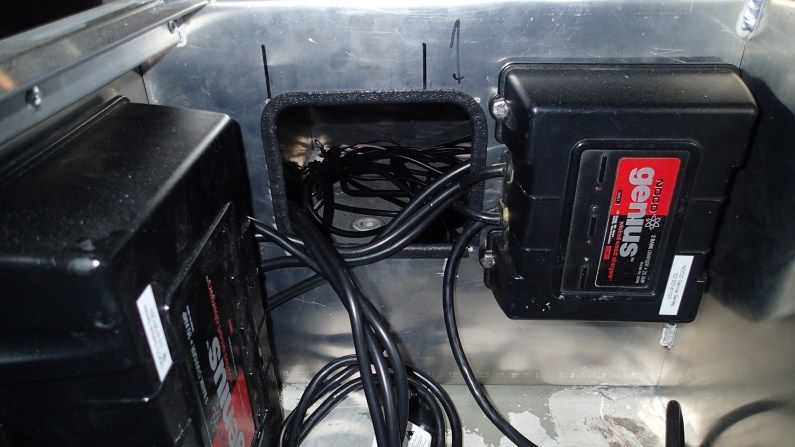
Also got the battery chargers installed. 2 - Noco Genius 3 Banks, and one 2-bank. Cut out a square for all the wires to run through to the battery compartment where the 7 batteries will be.

P1010148_zps51631579.jpg


P1010150_zps44c5dba3.jpg


P1010151_zpsa03cb24a.jpg


can't quite fit the whole boat into the picture... but everything is accessible

P1010159_zps3b035f46.jpg
 
Russ,

Man this looks awesome. I started thinking though you need to take into consideration about the run time during a tournament! What I mean from that is the time you have to run from the front of the boat to the back. That boat is huge and is without a doubt one the best looking rigs I have ever seen! Awesome! =D>

Also to Dawson: You done a great job on this build! =D>
 
Bass n flats said:
Russ where did you get those battery terminals?

From south GA... www.genuinedealz.com.

Here is the link https://shop.genuinedealz.com/Marine%20Electrical%20Supply/Busbars%20and%20Covers/ - they have singe and double bus bars... not cheap, but they work awesome - these are actually 4 years old but still look brand new.

I did see some at Academy the other day; I think they were pretty close to the same price.
 
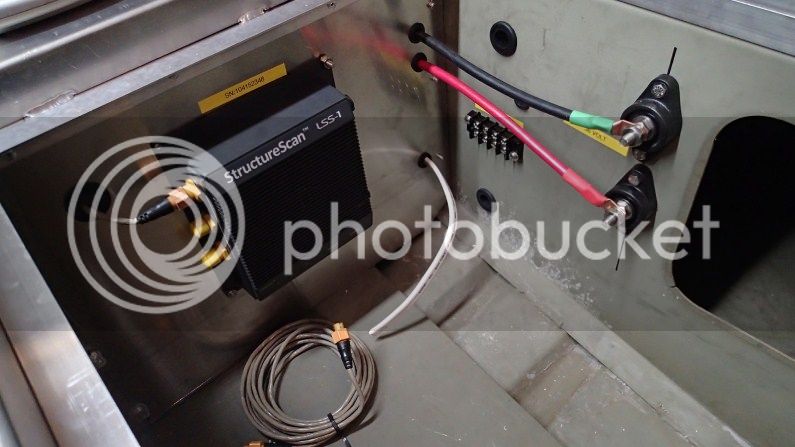
Hey Russ, In the third pic you have the side scan and common and hot posts with a small buss bar below. Is that small buss bar for your ground leads for accessories? When you finish the wiring could you please explain the run. I am at that point and plan on using the same posts, would like your feedback on how the wiring works in that area.
 
bigwave said:
Hey Russ, In the third pic you have the side scan and common and hot posts with a small buss bar below. Is that small buss bar for your ground leads for accessories? When you finish the wiring could you please explain the run. I am at that point and plan on using the same posts, would like your feedback on how the wiring works in that area.

P1010137_zpse1aaa41e.jpg


The small bus bar is actually my postive leads for the accessories that will be in the bow of the boat. There are 4 spots for me to hook up:
1 - fish finder, 2 - structure scan, 3 - radio, 4 - bow nav light. If you look to the bottom right of the Structure Scan, that white wire is my primary wires coming from the accessory battery which will be in the transom area. I will hook it up to the bottom of the black bus bar, then run a jumper wire along the bottom of each screw so that I can just tie in each accessory to the top screws. The large grommet above the bus bar is where each accessory power wires will feed in to the bus.

I still have to put a ground block in to ground each of the accessory units, I just haven't installed it yet.

The small grommet at the top right of the bus bar is where my trolling motor wires will feed to the large, single bus bars for 36volt operation.
 
I got it now, so that will just be a hot spot for all your accessories...I was puzzled as to how they would ground but makes since since you will put another one for the ground.......I plan on doing the same on my boat. I want to see a pic when you get her all buttoned up please.
 
bigwave said:
I got it now, so that will just be a hot spot for all your accessories...I was puzzled as to how they would ground but makes since since you will put another one for the ground.......I plan on doing the same on my boat. I want to see a pic when you get her all buttoned up please.

no problem... I think I just found something that will work better for my grounds and postive - I like it better because it will be covered, not to mention an extra spot if I plan to put something else up front like a 12v outlet for a phone charger or something like that...

https://www.amazon.com/gp/product/B000K2MABA/ref=ox_sc_act_title_2?ie=UTF8&smid=A1UNWS4MSNTF2A
 
1 gallon of Gel Rubber Cement glue and all but 2 of the lids are done - I could have made it go further, but thought I had all but 1 lid completed. Either way - when it rains, it pours. My truck messed up last week, so it's off to be fixed. Then yesterday as I'm laying out the lids on the carpet for cutting - I'M MISSING A LID!!!! how in the world did I lose a lid?!?!? I tore my garage apart, looked outside, called Dawson hoping I left it there, I even thought it might have been left in my truck - but, no luck.

Guess I'll have to get Dawson to make a new one.

For the record, this glue is some pretty good stuff, and very easy to work with. I ended up getting a 4" medium grade brush to put it down with. Best thing to get it out of the container with is a cheap putty knife and then spread it around with the brush. I didn't check the lids this morning, but they were already starting to stick hard after about 2 hours.
 
Bass n flats said:
It's not laying on the side of I-75 is it?

We aren't thinking that is the case - when he got the boat home, he took pictures with all the lids in the boat, so they made it to his house, then when he came back with the boat, he didn't bring any lids with him.
 
Top