bonz_d
Well-known member
I'll be paying attention to your results with this product as I have no knowledge of it. I don't think many others do either. I also think many people are reluctant to try new products over things that they know have worked in the past. But how do we find other products that work if nobody tries it?
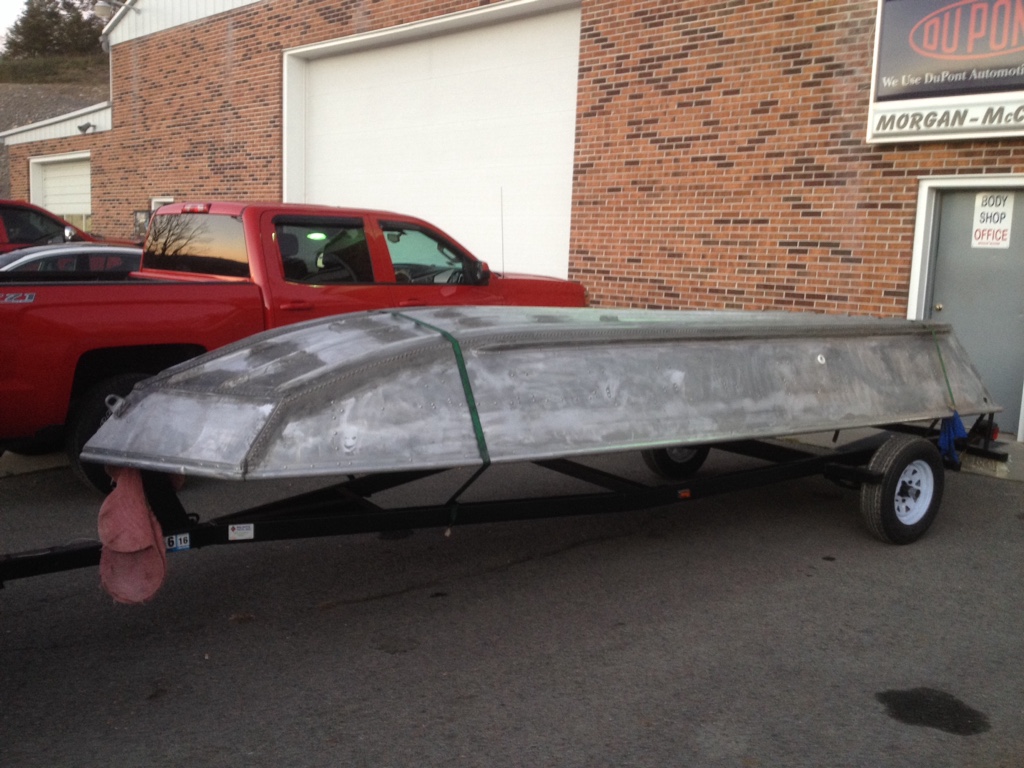
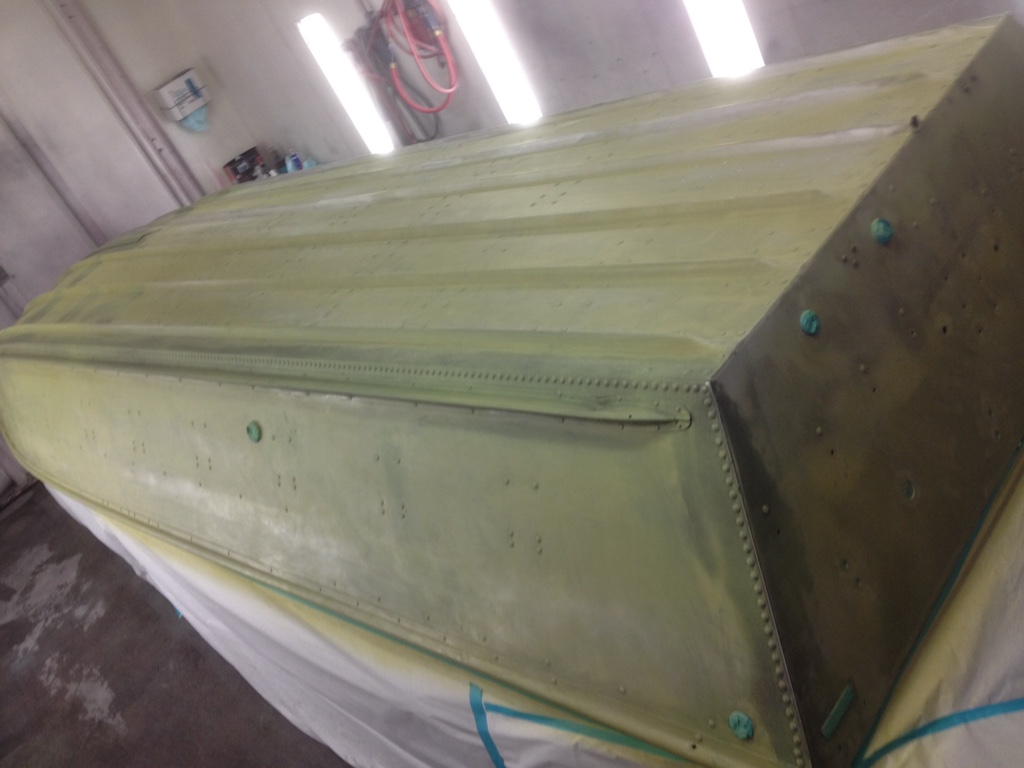
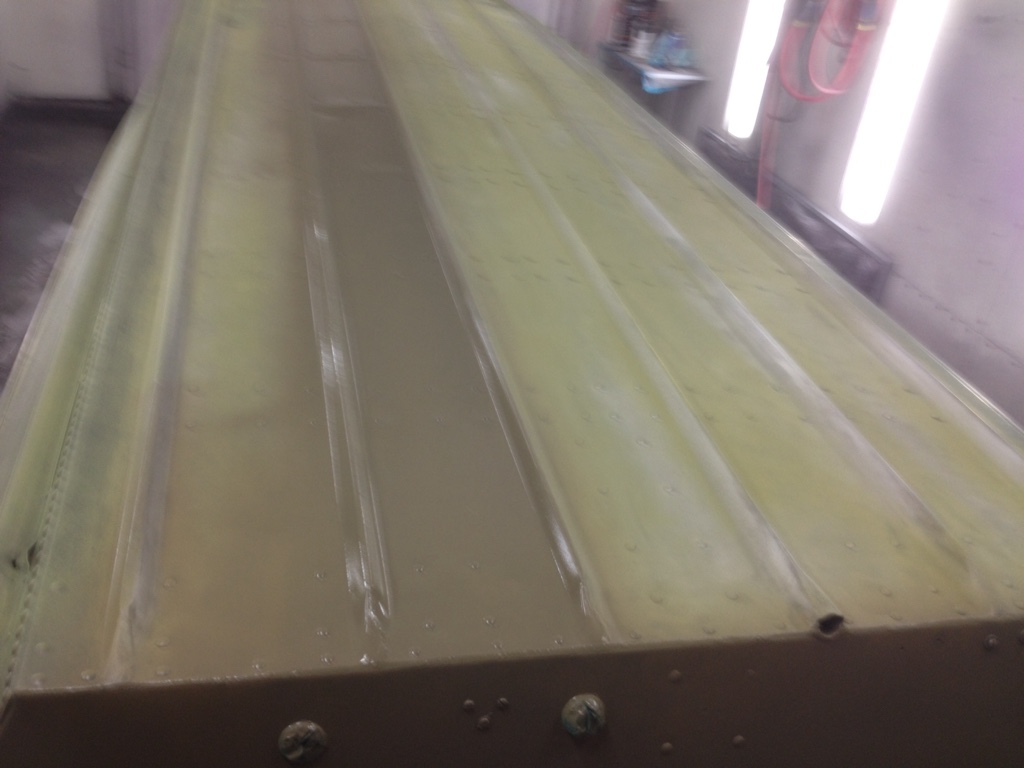
Example, I have taken some heat on another site because I've decided to try something very different for painting the inside of my Sea Nymph. The paint is a Rustoleum DTM acrylic latex enamel. As far as I know no one has yet tried to used a water based latex paint on a boat. Well I'm trying it and will gladly take the heat. No I also have no intention of trying this on the outside.
If this works I will be happy about it. If it doesn't, well then we have all learned something and all I'm out is the time it took to paint it and then the time it will take to remove it. BTW, this paint costs me nothing.
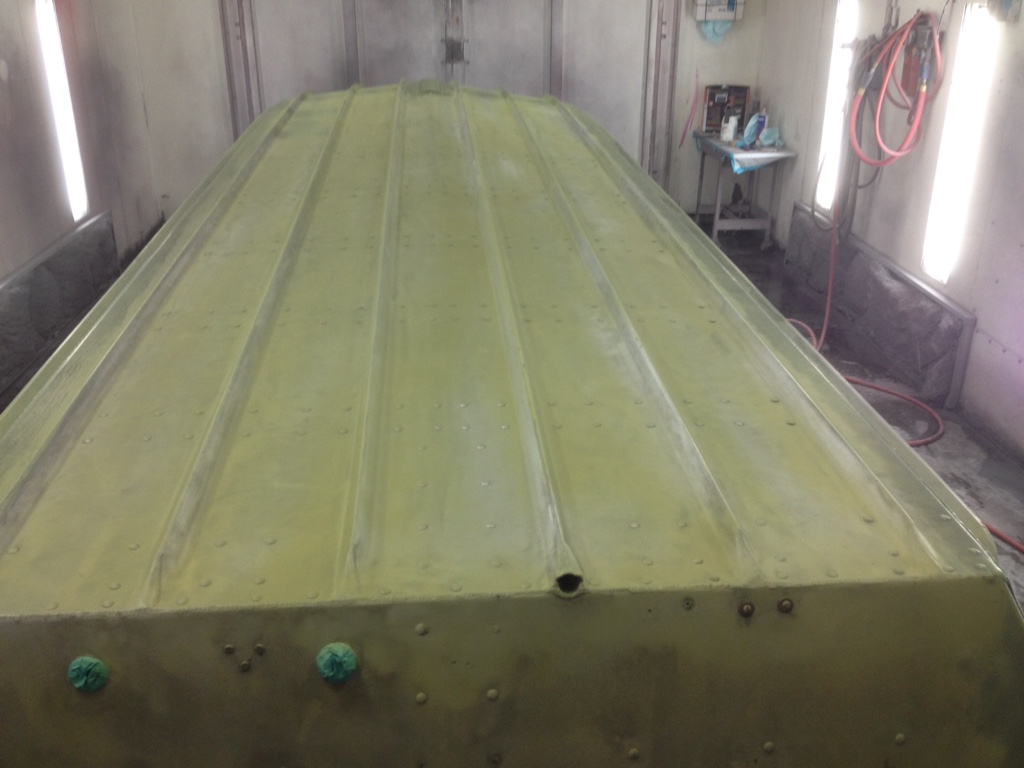
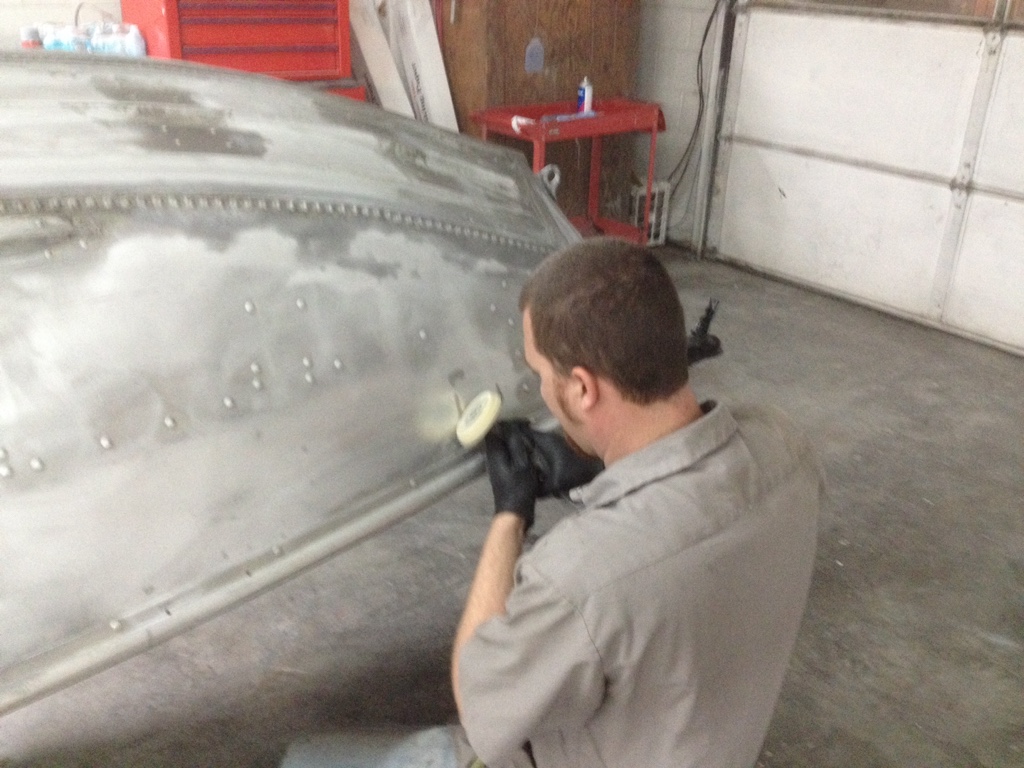
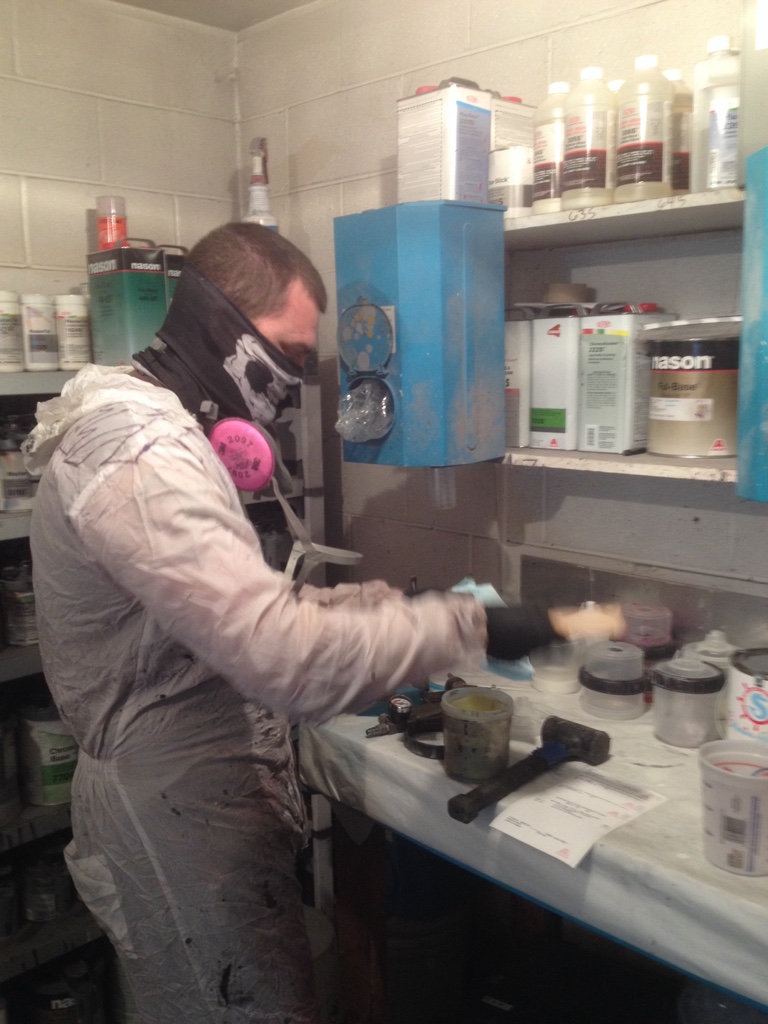
") I have always been taught that surface prep and following the directions exactly is 90% of the battle. Working where I do I have tons of help and lots of FREE stuff that I can experiment with.
I have always been taught that surface prep and following the directions exactly is 90% of the battle. Working where I do I have tons of help and lots of FREE stuff that I can experiment with.