1984 16' Bass Attacker Complete Rebuild

TinBoats.net

Help Support TinBoats.net:

This site may earn a commission from merchant affiliate links, including eBay, Amazon, and others.
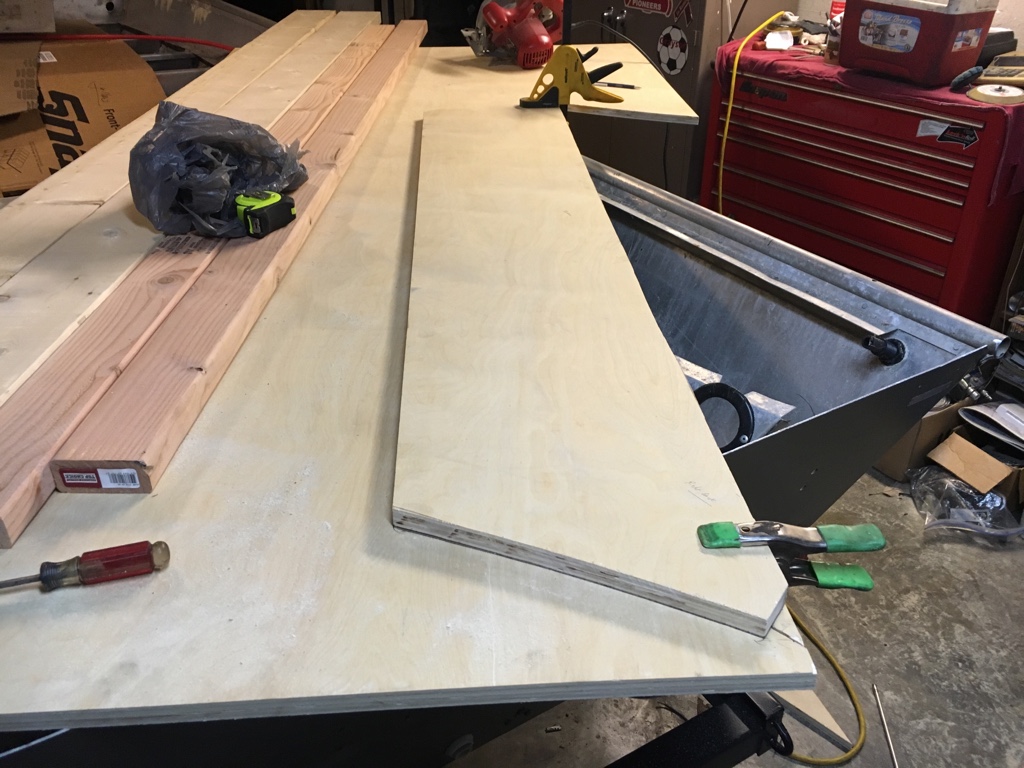
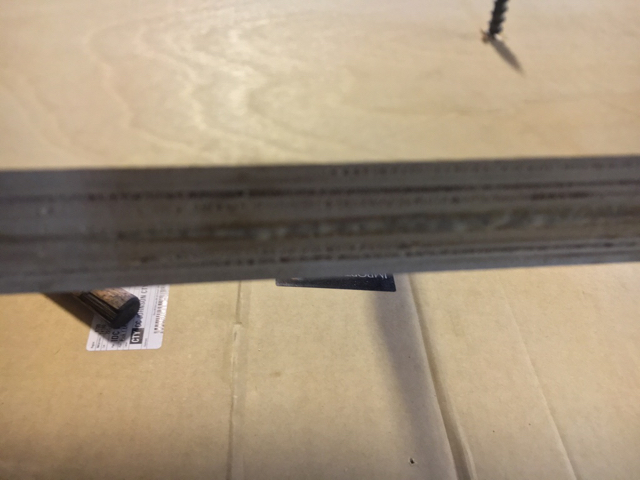
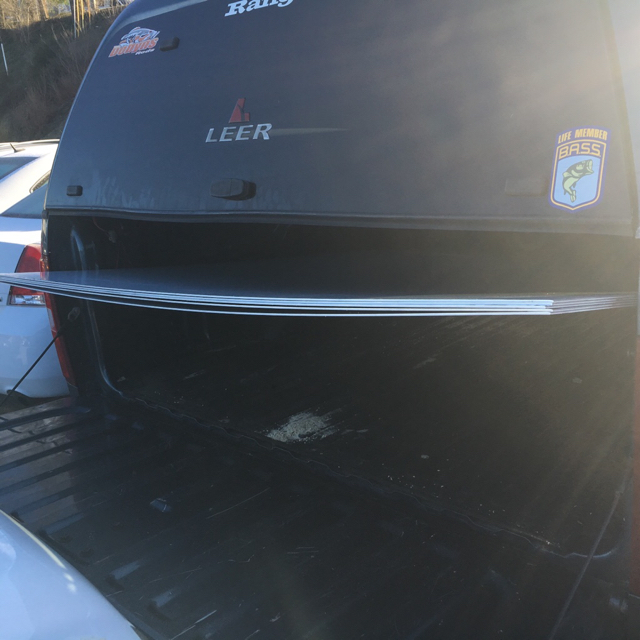
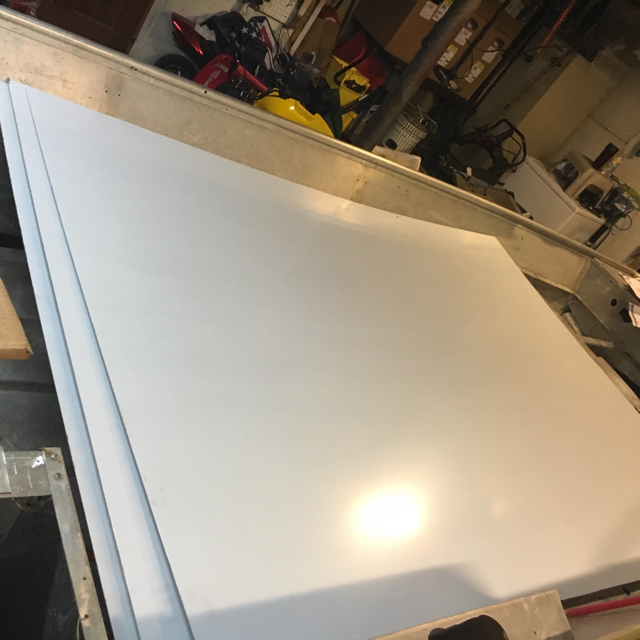
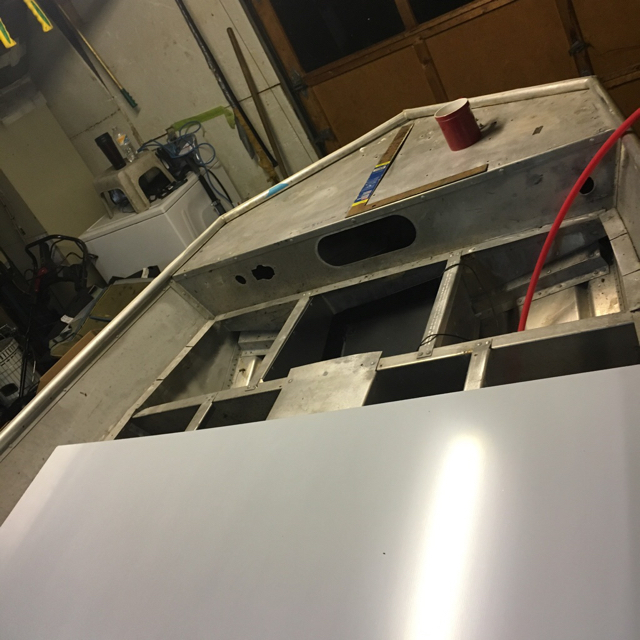
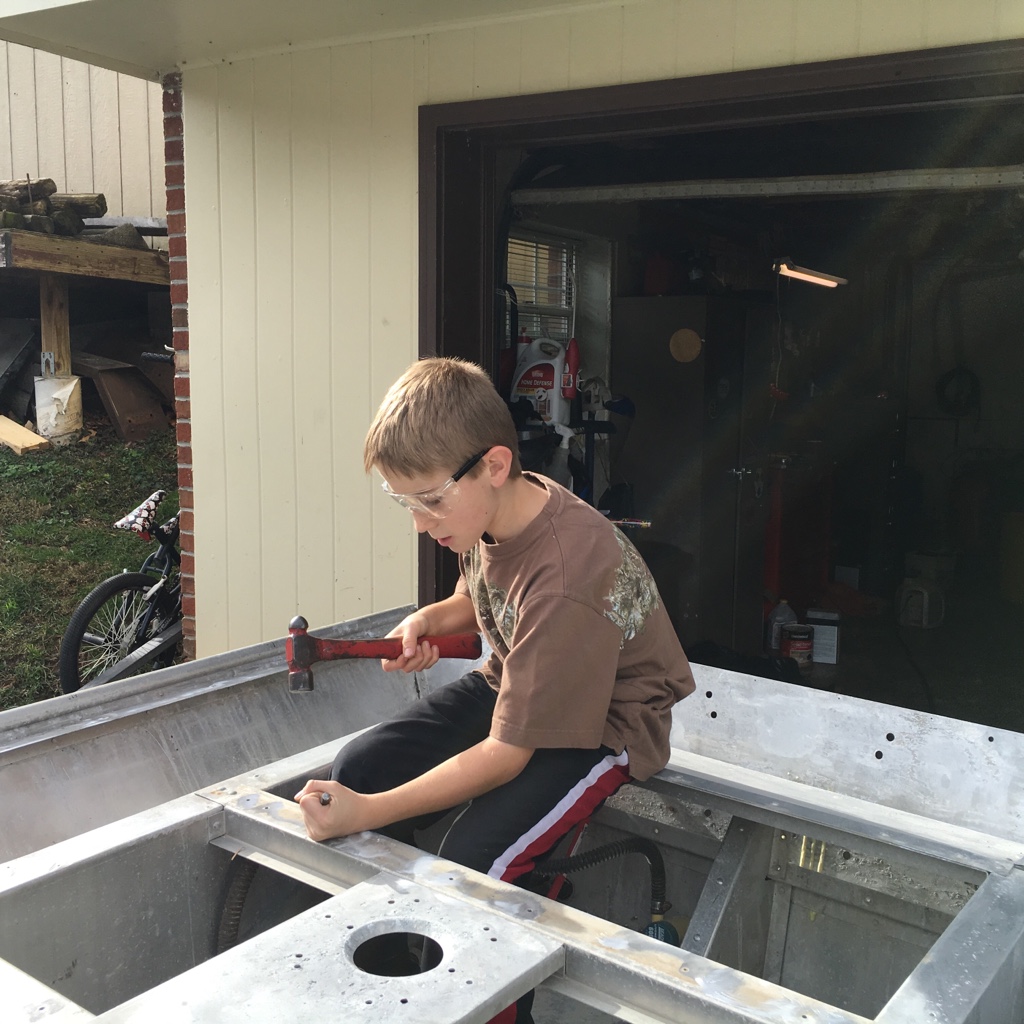
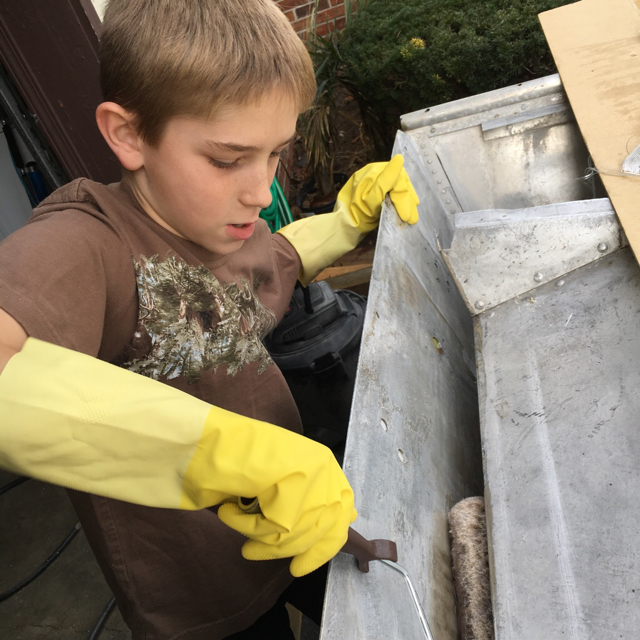
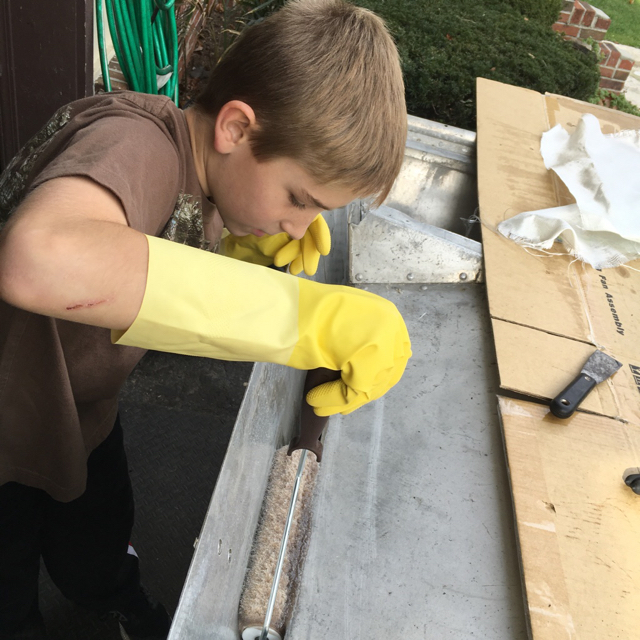
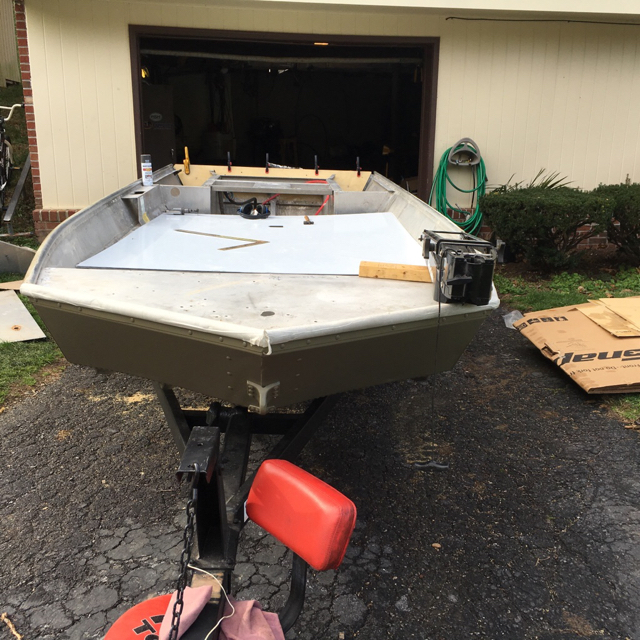
I haven't run into a problem yet with the thickness. The Nymph actually has a transom that's only 1 1/4" so I had to use a sheet of 3/4" and a sheet of 1/2". Luckily I had some 1/2" for another project that I could spare and didn't have to buy another full sheet.

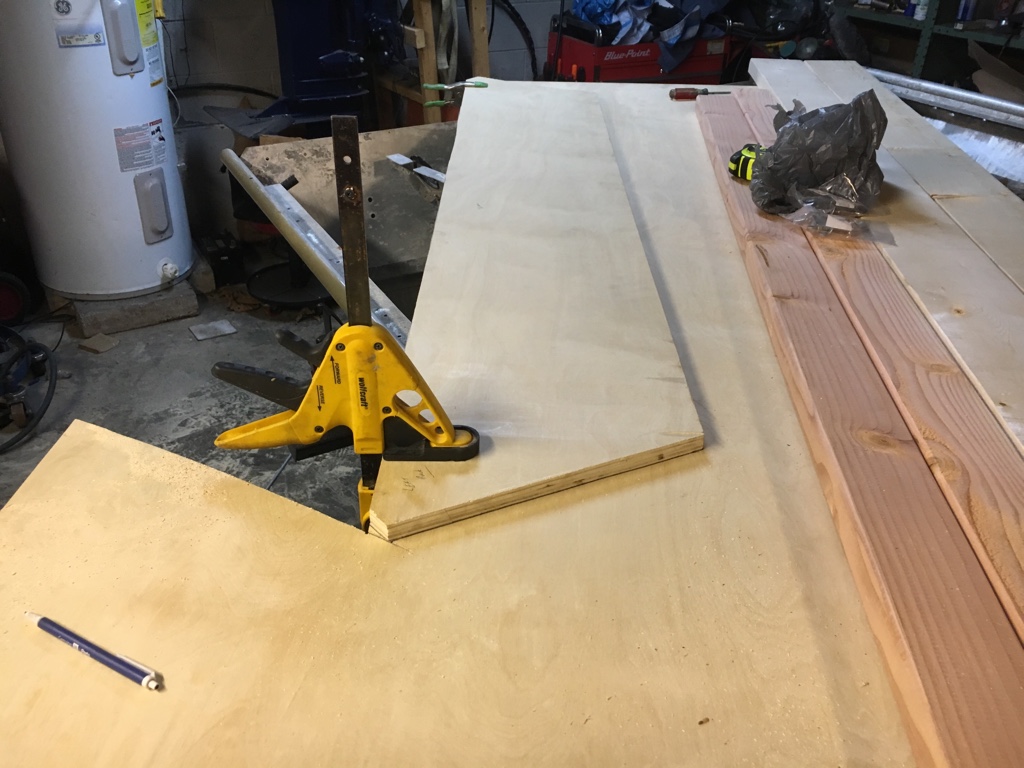
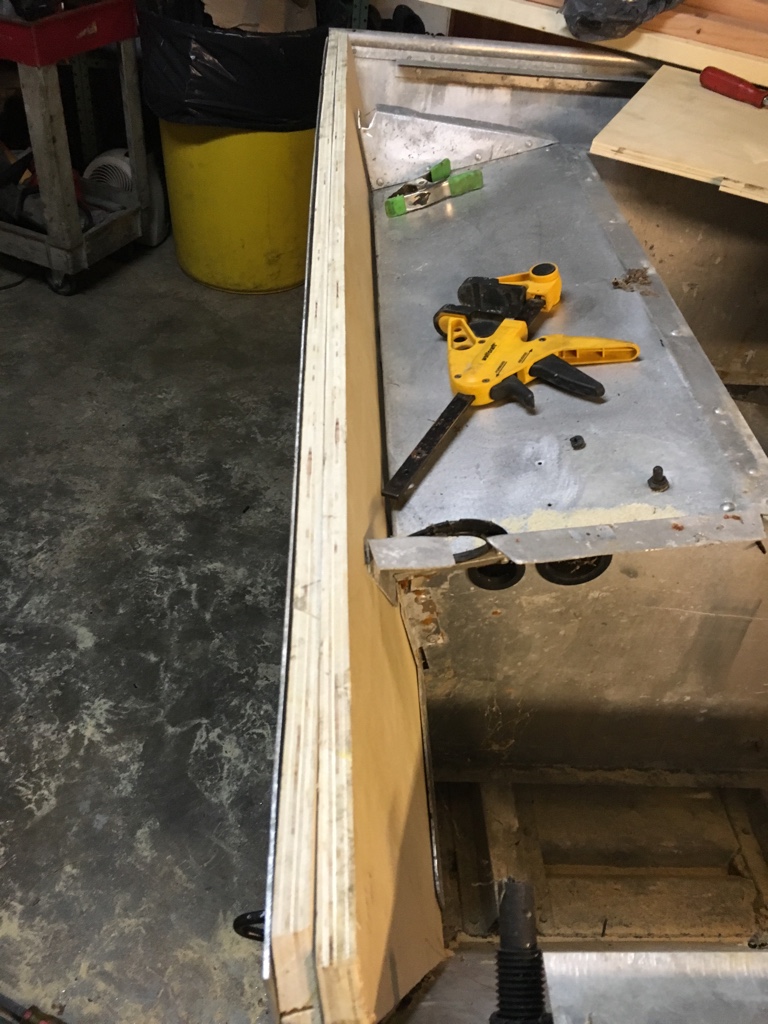
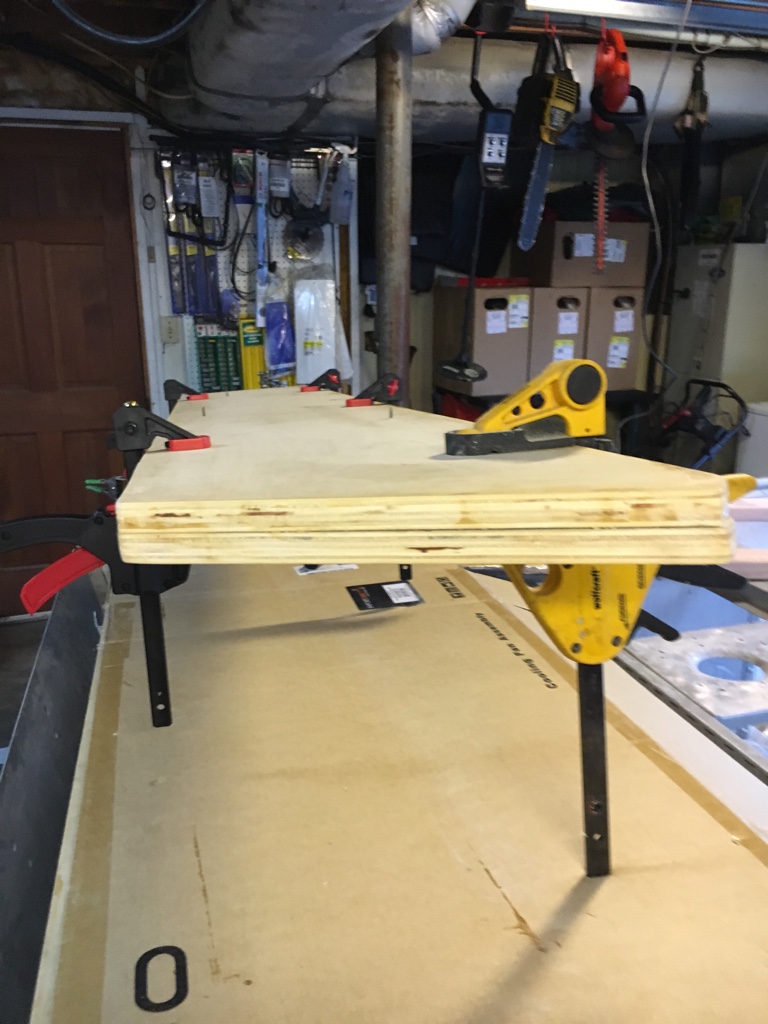
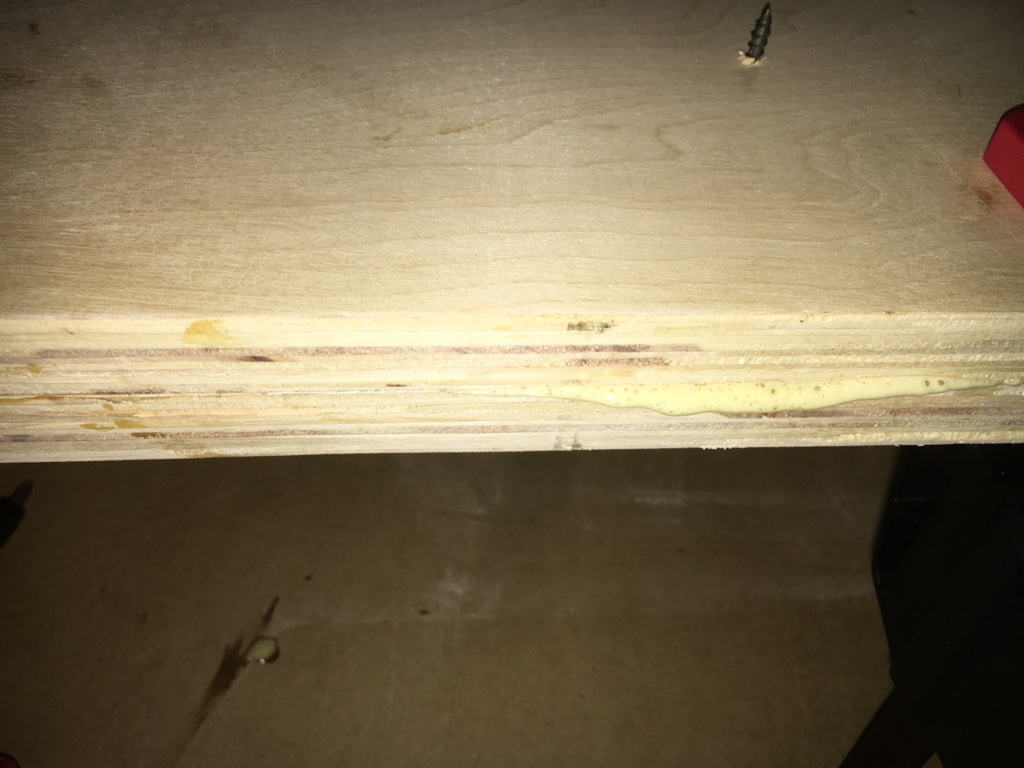
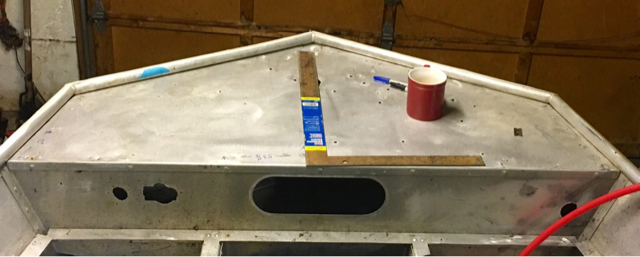
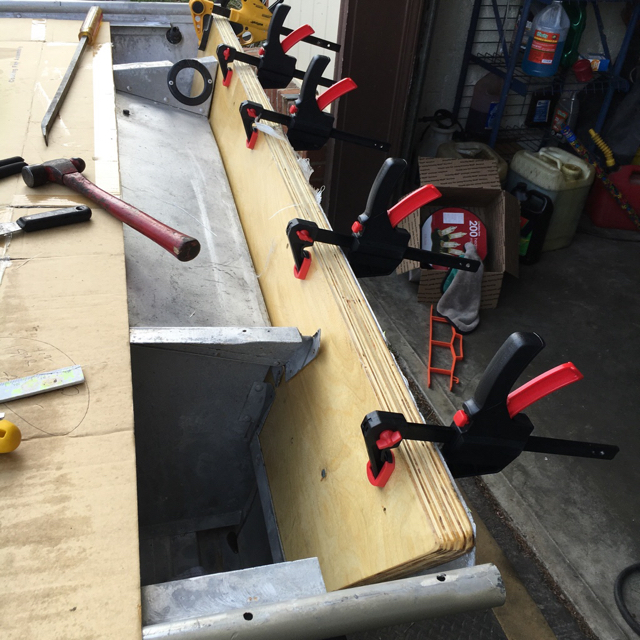
I pour the glue on liberally and then spread it with a fine notched trowel and then kind of slide the 2 pieces around on each other to bed it in before clamping. I also keep a few pieces of heavy angle that I use while clamping to help spread the force of the clamps out a little better.
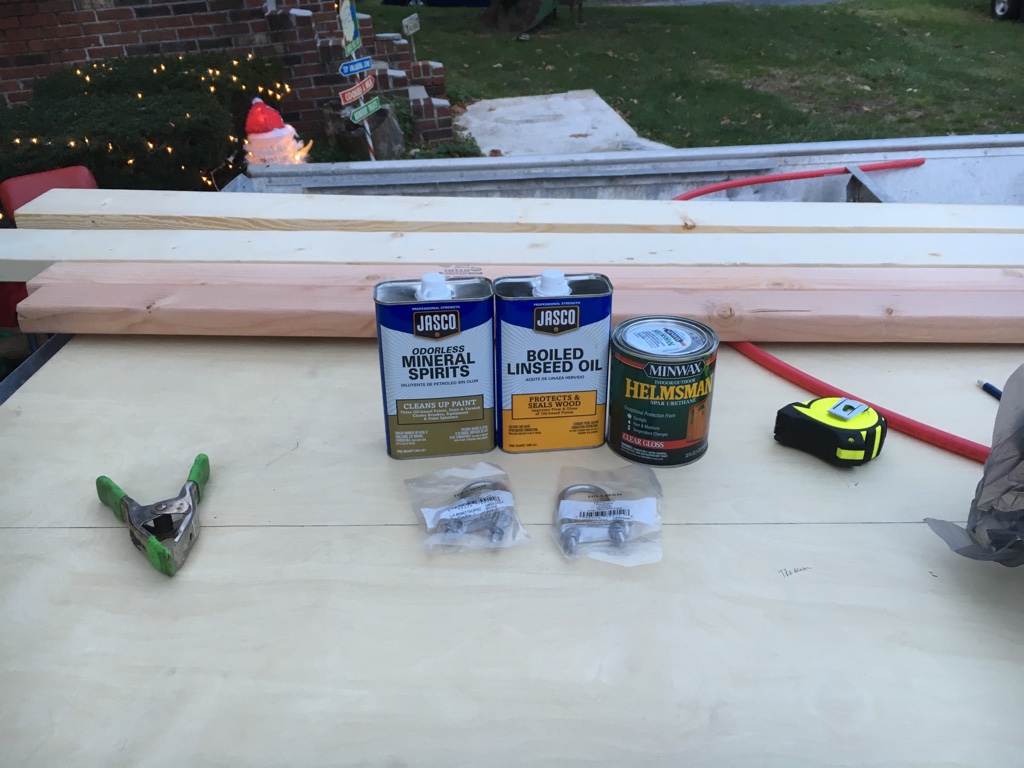
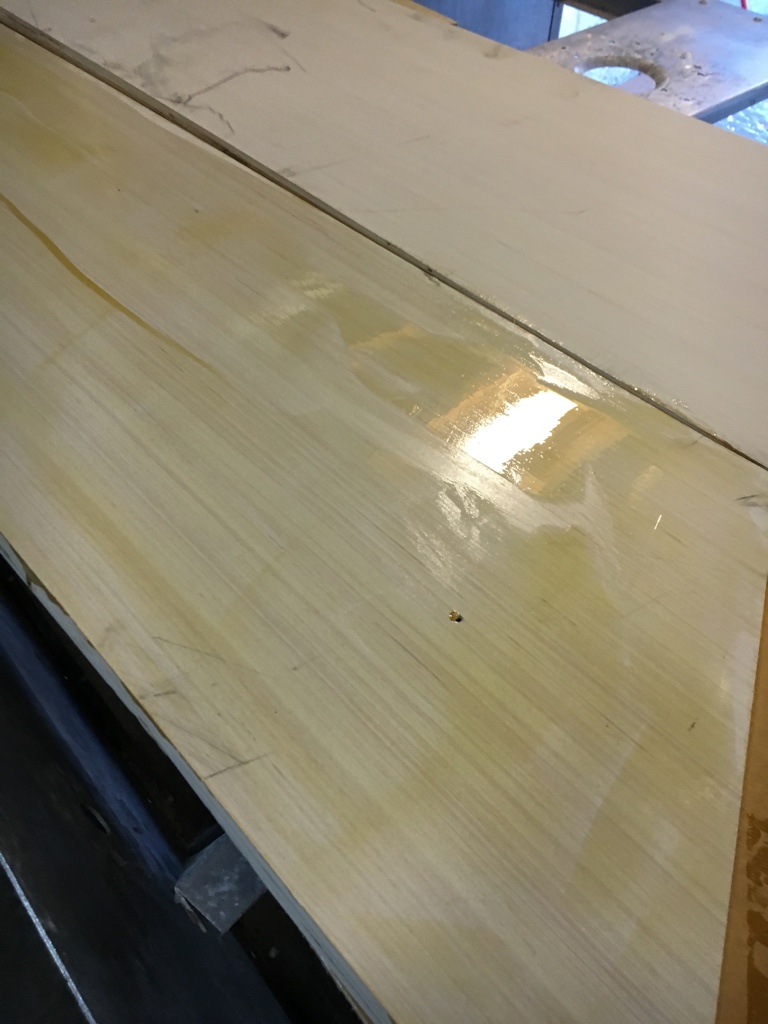
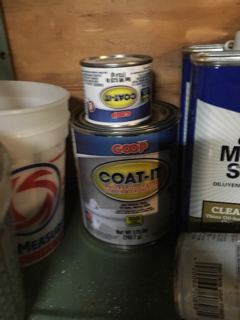
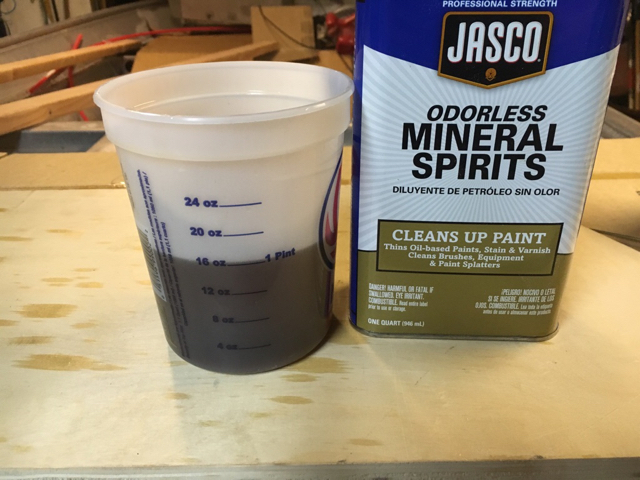
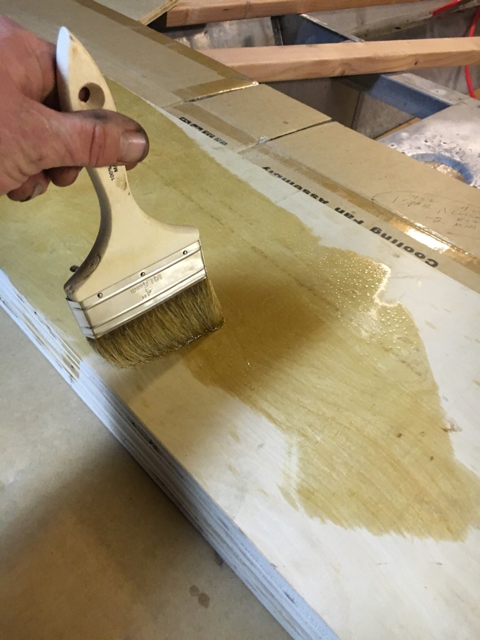
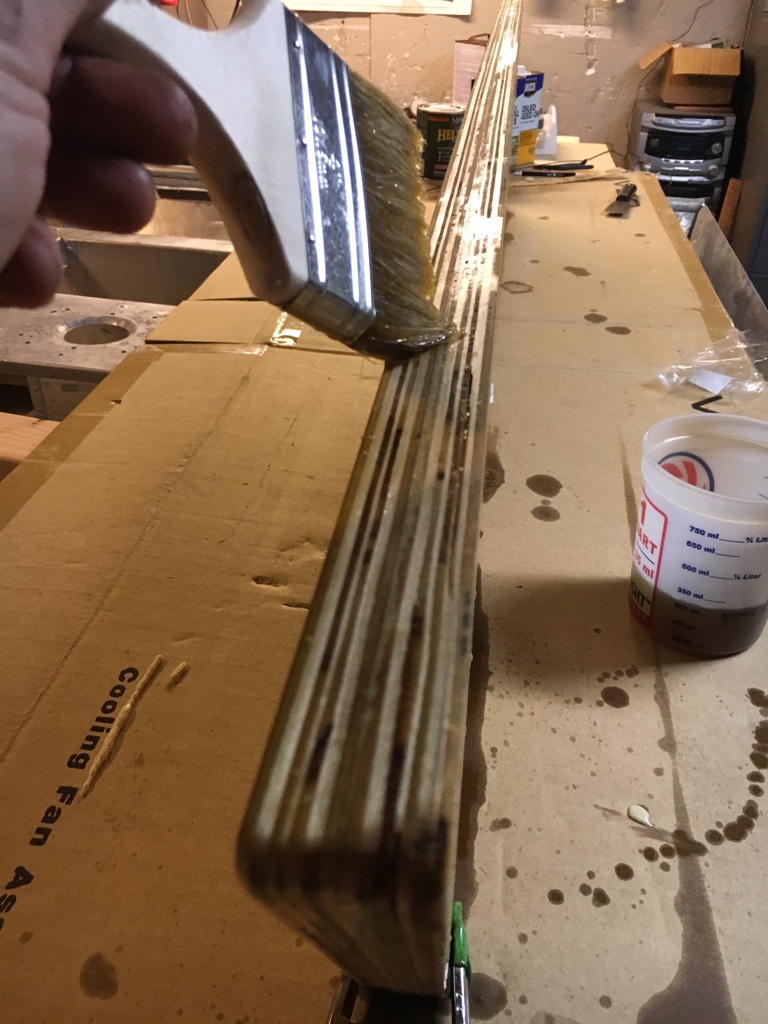
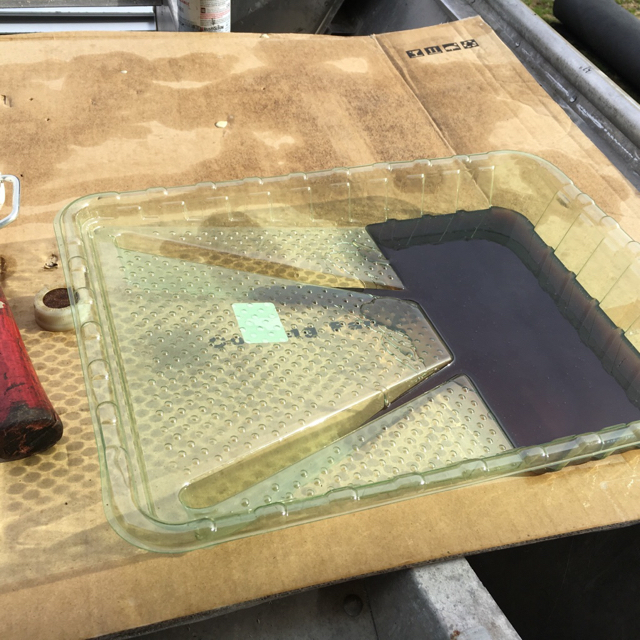
 
Aluminum never showed and still not sure what the deal is with that but to keep moving towards splash day I started working on the transom and bunk boards for the trailer. I decided (I think) to use 2x6's for the two bottom bunks and then the same size as before (2x4's) for the side bunks/guides Leftover Cabelas black carpet to cover them with and I'm going to treat all the lumber with the secret formula :) (mineral spirits, linseed oil and spar urethane) before covering
12e613971a207aa1e81981b7065545d3.jpg

Also picked up 2 stainless U bolts to replace the old transom tie downs.
Made me a template out of cardboard and when I was happy with the fit I laid the pattern out on my plywood.
03e99bae55b76c57bd295d470d65eabb.jpg

bbdef5ac68aeaa4b29f325ff0a700189.jpg

17b218afd380b70276aa9577630bbe3c.jpg

Hopefully I can find something out on the aluminum this week
 
Bigwrench, from the size I see of that transom I would guess that 12oz. of that formula is going to be enough unless that wood is really dry.

Just remember to dispose of whatever rags you might get this on because the rags can self combust once it is mixed just like any solvent can. I store whatever leftover material in as small a glass jar with a screw on lid as possible. 2 reasons, it reduces the chance for combustion and reduces the amount of air and having the liquid start to skim over.

I have yet to have a problem with wet rags but thought I'd throw it out there as a precaution.

That plywood looks really clean with some nice tight grain. What store did you find it at?
 
That was bought at Lowes at the new store in Bristol , VA next to the new Cabelas. It was really nice plywood one side was primed already $47 a sheet IIRC
Thanks for the tips on the rag storage. I'm constantly working with all sorts of chemicals at work and this is definitely a hazard that I often forget. Since I don't usually work with these chemicals I am glad you brought it up because I wouldn't have thought of it otherwise. I'm going to cut 2 of the transom patterns tomorrow evening hopefully , if it's not raining.
Would a mason jar work for storage ?

I may just stick a sheet of Walnut Burl (bought a 4x8 sheet about 10 years ago to redo my dash plate on the old 1990 Ranger 330v ) laminate in between the two pieces of plywood to make up the extra .080" thickness but I'm going to dry fit everything first to see how it fits. Just had that leftover sheet laying around and need to get rid of it somehow lol
Oh and I have gorilla glue and also have a large bottle of titebond II glue do you think these will be sufficient or should I get the titebond III ?
 
What ever jar you can come up with. Small fruit jar, jelly jar. I try to fill it to within an inch or less. I've done that a number of times and have left it for a few weeks and was still good to use.

I've read plenty of times of people using Titebond II w/o issues though I believe the 3 formula is more water resistant from what I've read and the Gorilla glue is questionable.

At one time on another forum I was talked out of using 3 pcs of 1/2" ply because of proper bonding issues when trying to glues 3 pcs together. Unfortunately we cannot generate the same working pressures that the manufacturers can. So keep that in mind also.
 
Stupid question - but one that arises from my own inexperience ordering freight materials - with the aluminum being shipped freight are you sure it was to be delivered to your house and not the local depot for the freight carrier?

I wasn't aware of this arrangement when I ordered a 1/2 cut car and ended up having to drive an hour away to pick it up on my trailer after it showed "delivered" in the tracking.
 
onthewater102 said:
Stupid question - but one that arises from my own inexperience ordering freight materials - with the aluminum being shipped freight are you sure it was to be delivered to your house and not the local depot for the freight carrier?

I wasn't aware of this arrangement when I ordered a 1/2 cut car and ended up having to drive an hour away to pick it up on my trailer after it showed "delivered" in the tracking.
It was ordered from a local company that builds toolboxes, through an employee that is a friend of my boss and he was dropping it off on his way through but the problem seems to be who to make the check out too LOL . We don't understand it either because we were going to provide cash on delivery if needed but then they wanted a business check so we had that all worked out and now they wont let us know the exact total and who to make the check out to........ evidently they buy their aluminum sheets on Consignment if that makes sense ?
 
Cut two panels to laminate together tonight , while not a perfect cut they will work. What I'm going to do now is screw them together, pull them out together and then trim up the edges a little to make them more even with my jointer . I forgot to figure in the angle of the transom in my cuts which saves me some trouble because now I can really smooth them out at the right angle with the jointer and have plenty of meat to cut off. (Phew)
I'll unscrew them long enough to glue up and then screw and clamp them back together to set up
b783f29525925644e886f2d18b8f79d8.jpg


f74dcc08b8837c3c8a08a23a36643319.jpg

e3a6a781f46b218b7dbb3d3bae099e9e.jpg


c3e54a19b3ca817e259fb5894cf28037.jpg

The fit is tight so I don't think I'll have to worry about the .080 lol.
 
Still no aluminum but the show must go on , so I just went ahead and glued up my transom board .
ed48cb954ad3db747ac8c1d4aa720cb9.jpg

I ended up using a 4oz bottle of the waterproof gorilla glue.
c83e33bf2e52bf0349170bb9bef92048.jpg

Spread it out with a inexpensive squeegee
ae811209c7716dc180a1f2f0bd6df76b.jpg


Used 5 clamps and 8 screws , had great squeeze out all around and this is the expanding type so it was easy cleanup with a damp cloth and a razor knife once dried.
0f261a3468dab8b1ad1df0a8ce9cb15e.jpg

I set my transom angle on the jointer and it came out fantastic!
ebbadf81e844cd3709125475fcf4e107.jpg

85be2a85f92fa66b5b643bde90ad899a.jpg

6f45c73fa8b0d13aef9ed2cd922ab8d9.jpg

5d7873e33e2653c79b056af73aac29fa.jpg

In the morning will start the sealing process and hopefully by the end of the week it will be in place permanently. I will also be sealing the bunk boards at the same time.
 
Ok so I have been busier than a one armed piano player trying to hammer out Jerry Lees "Whole Lotta Shakin" but there has been some progress

Last week (maybe week before , days running together) I sealed up the transom and the 4 trailer bunks
"Secret Sauce" lol
41c4860c56f357dac6d59db39646ca13.jpg

Laid it on thick and let it soak in
e247e6d3374dd5609d2631009557ef1b.jpg

Making sure to get all the edges extra heavy
d2f6652aa43f9fae7f8c33c5daa973fb.jpg

7483fe6dae5349b06e53eab88d4bb4d1.jpg

e0c17a7303fbcfef42f9a313ecab6747.jpg

They have been drying all week and almost ready to final seal in paint and install or cover with carpet

The greater news is I FINALLY have Metal!!!
1d244aa02919e1dd2e85a811d92e4b6e.jpg

5 sheets 60X80 with plastic protective covering.

Since I have the decking now I'm itching to get to work so tonight I made my ankle biters help me stack it in the boat
8f0cfdb80d30269d51aff25c77fcc5e0.jpg

and I got to tearing stuff up
I decided to remove this front section
033da78904d9d7d37118f255cd219f70.jpg

12007b6fb04e7d9c2988a097c86b6594.jpg

because I'm not sure what I want to do up here but this aluminum is thinner than my 1/8 and I wanted to get access to the inside hull there to seal it up good with the Goop.
I ground the heads off with a cut off disc
a497c63d90da6c8a6add3e1a9cc31822.jpg

and punched the rivet shanks through with a pin punch
72557098e92b0d4070945f96a8872692.jpg

001c5fb2b168ff0293e6cd3184079b93.jpg


It is now off
590c4ecb037c500eafd6eb98ff9def3d.jpg

And there's a ton of space up here that I need to design up into a sweet Bow control panel
fa7a1f64600c380d22833cbbe5af8b68.jpg

I'll probably cut this panel off flush with the deck stringers
ca7f8ba6086416a3d3ed3f83919c3434.jpg


I'm thinking of coming out 4-6" and then putting a panel down to the deck level (which is a 7" drop) to mount switches and graph into flush.
Ideas and suggestions always welcome so put your thinking caps on and let's build this baby lol
 
Coming along nicely there Bigwrench. So about how much sealer did it take you to do that?

The plywood panel that I used for the decking in my Sea Nymph had been sitting in my garage for about 5 years and I'll tell you that it was dry. It was about 3/4 of a sheet and it took about a 1.5 qt. to do each side. It was soaking it up about as fast as I could put it down.
 
I ended up using 32oz so far , wasn't sure if I should mix another batch and see if it will soak up more. Seems like the 2x6's soaked up the most , they were like that also. I started out just pouring it on and then spreading it with the brush at first . The plywood of the transom took about 18oz of that 32 .
I still plan on painting the bunks before covering with carpet and have halfway considered using fiberglass resin on the transom and sliding it in place while wet (basically glueing it in the transom slot of the boat) there was some corrosion and pitting of the aluminum transom piece and I thought that this might help seal that up as well. Although once its in and set it would never be able to be removed again lol.
 
That sounds about right for coverage. From my experience I don't think you'll have to worry about that transom again for another 25 years.
 
I want to do this type of layout up front
These are from a RT188
786b1e09b1ea34aaf7aefa44dab0ccc5.jpg

2a149c334e6bef0b13bcd4c0a0dda870.jpg

From the top of the round tube its 7" to the upper deck area so I'm pretty sure I'll have a wider front panel than these do to mount switches and maybe flush mount a graph or Hydrowave in there.

If I use the existing floor framing there are rivets sticking up that my aluminum sheets will sit on top of. Basically holding the entire sheet up about 1/8" off the stringers. I'm thinking this would cause a lot of rattle noises . Do you guys have a suggestion for an "underlayment" before I lay the aluminum decking down ? Or should I just take whatever's in there out and put flat angle or tubing in for framing ?
I thought about some sort of liquid nails lol but that might be a dumb idea, and would defeat me wanting the deck to be removable. Maybe a thin rubber mat ?
I'm going to have to get someone to weld flat stock to the round tubes to have that flat area to mount the TM to. Hopefully I can get a lot more done this weekend since we won't be lake bound due to weather :(
 
Anyways no matter how I design the front deck the show must go on.
So today started out beautiful and my son wanted to "work on the boat" and work we did !

We started out by removing the old wood hatch hinges that were too high for the Aluminum.
I ground them off and he punched the shanks through
5da6badc9fcc4ca2303ac2a4dba17c42.jpg

I had about 3/4 of a gallon of Fiberglas resin and had these spots on the transom aluminum that I wasn't too happy with
4efbc8951292a9ca0c35479bf391d990.jpg

so I made the decision to glass my transom in , don't know if that's right or wrong but it's in there now and I highly doubt it will ever rot or absorb water.
I hand sanded the aluminum , cleaned it with acetone and then I mixed up 24oz of resin and catalyst.
9624e23e338c9dd57316d15e1244e870.jpg

We taped all the holes to prevent the resin from running out on the painted surface
cbff5c18fc659fb436443d24694aeb93.jpg

and then my boy applied it with a roller to the inside
2282696fdef714659fafb75a7fc82a5a.jpg

9ec2ebf275e8a89c3e2de53dd1d998e2.jpg

Once he got the initial coat on the boat , I laid a sheet of glass in and saturated it in place
We coated the treated transom wood surfaces and slid it into the slot.
f06d0918dfd9f4d84ab070921890034e.jpg

b73bf6825219ba2f17f418426177b37a.jpg

Once everything was centered and square with the aluminum we clamped it in place.
 
At this point my helper had had enough work lol so while it was still warm I decided to seal the inside seams with the Goop Coat It
I wire brushed all the seams and then cleaned with acetone
Once the surface was clean I mixed up a 2lb kit and started laying it on thick. Unlike the outside the inside doesn't have to be pretty cause it won't be seen when done but it had to seal
9d4329cd9b9e965d459e6a1f4d0782a7.jpg

The red tube is for wiring from the starting battery
5315c9004434d7db03afca14c29e9075.jpg

16c71fbcd7cba15c6d437e9ac2b8820b.jpg

Used the whole 2lbs on all the seams and had just enough.
If this thing ever leaks it's gonna have to be a hull breach lol
I also played around with mounting a TM and still undecided about the front deck but here's a few pics of just putting a mount on and moving it around to get an idea
23fc046933b16a0f97348cef7c62d4c3.jpg

b2ec756dcdb42d99cb0f969f1a12c341.jpg

e081a779bf6b593c6f6bb833c90a3b22.jpg
 

Latest posts

Top