Alumacraft 1236 Makeover- livewell pg 11 - update front deck

TinBoats.net

Help Support TinBoats.net:

This site may earn a commission from merchant affiliate links, including eBay, Amazon, and others.

russ010

Well-known member
Joined
Jul 29, 2008
Messages
4,122
Reaction score
0
Location
Roswell, GA
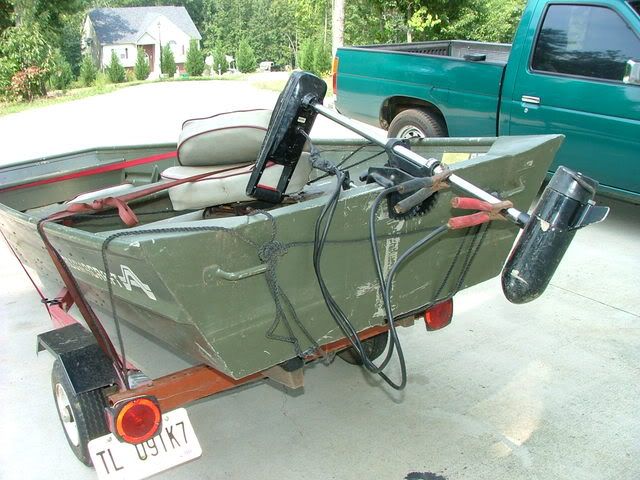
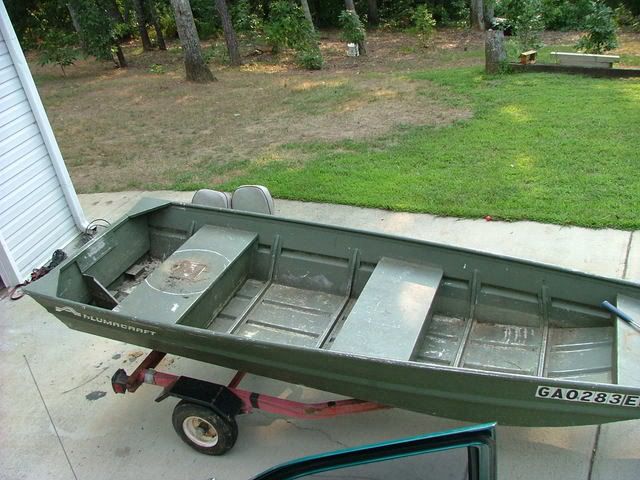
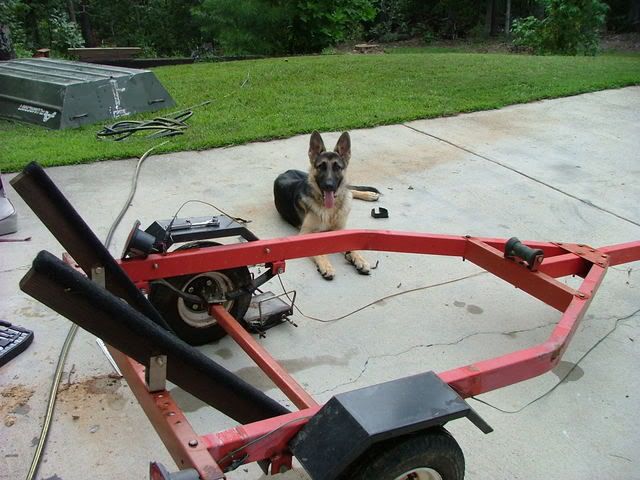
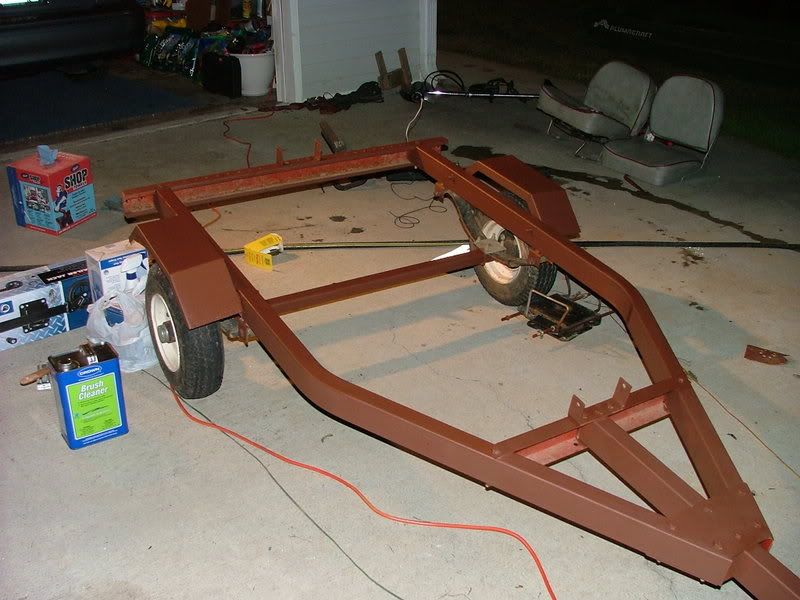
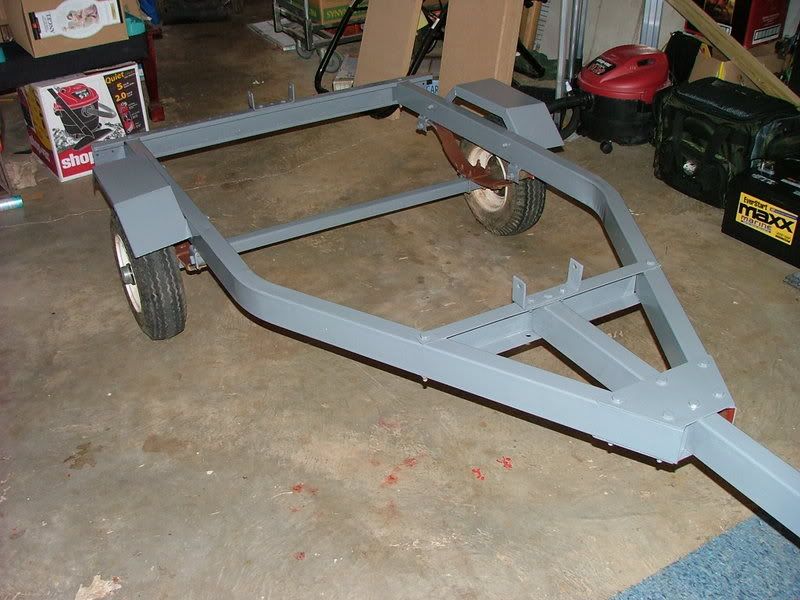
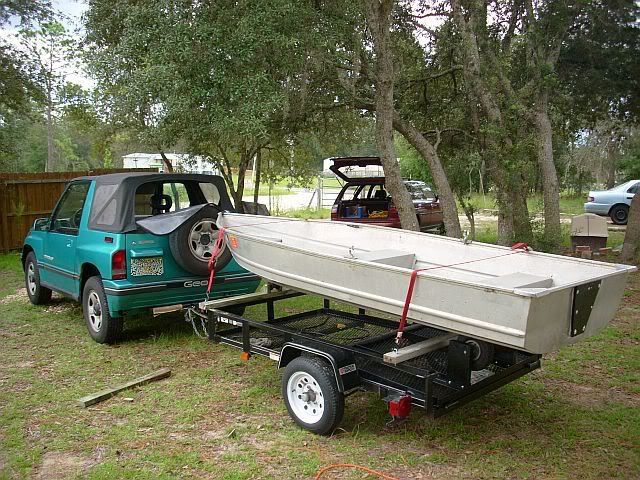
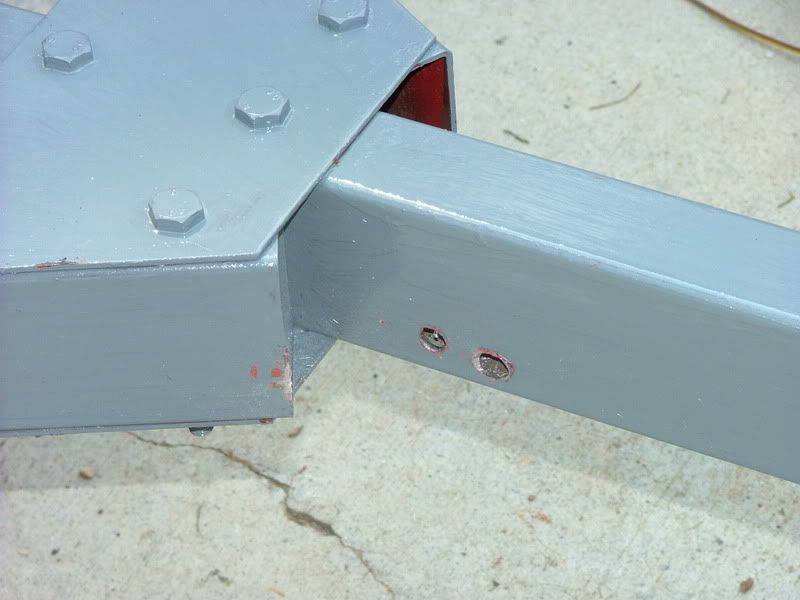
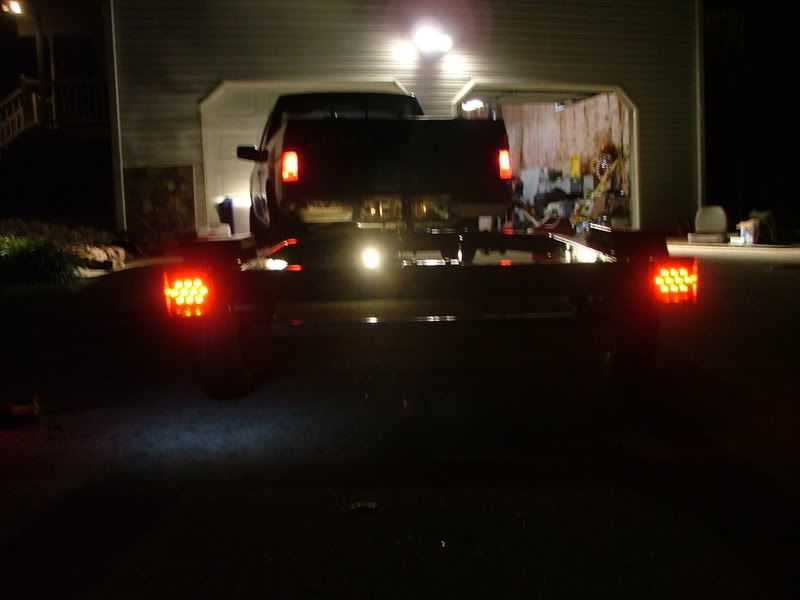
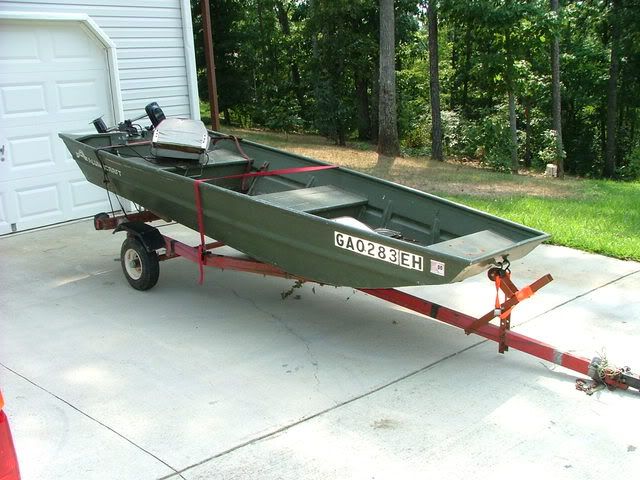
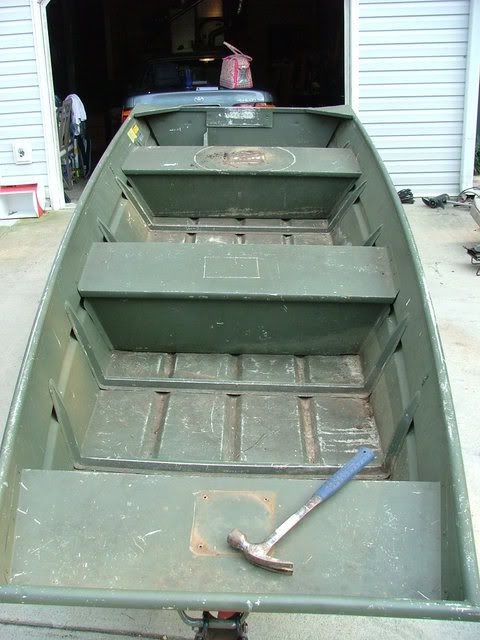
Well, I finally found a boat and a trailer with trolling motor. I was looking for a 1448, but this will do for now. Picked this set-up up for $350 off Craigslist. The boat is in pretty decent shape, other than all the nicks and scratches, nothing a little elbow grease can't take care of. The trailer on the other hand is one of those from Harbor Freight. I don't like the short bunks, so I plan on extending it up to the A frame with 6' bunks. I sanded it down and primed it Friday, another coat of primer on Saturday, and today I put one coat of paint. I plan on putting atleast 2 more coats before I'm done with it. I picked up some LED tail lights to replace the mess wiring they had, plus the lights didn't work. Might as well pay more the first time and do it right, than to keep paying more in the long run. The trolling motor had some kind of jerry rigged contraption for the motor mount, but luckily I had one laying around that I took off an old trolling motor I had that no longer worked.

While the enamel was drying this evening, I decided to take all the stickers off the boat. Not something I want to do everyday.... I finally got most of the glue off with mineral spirits and some finger skin (literally). I'm going to sand it down and prime it with zinc chromate and then a few coats of Brightside. I think I'm going to paint the inside as well. I'm planning on putting floors in, as well as cutting out 2 holes in the middle seat for 2 batteries for my trolling motors.

I'll try to post as I go along, but with the way work has been, it might be a slow process. Considering I've only worked about 10 hours so far, it might not take as long. I wanted the trailer to be right the first time with the paint, so I didn't skip too many steps. I painted what I could get to with the brush.... I even found a nest of angry wasps when I took the coupler off. Good thing their bites don't bother me, otherwise I'd be in a world of hurt. 14 stings! The only one that really hurts is the little F@$% who found his way up my shorts leg....

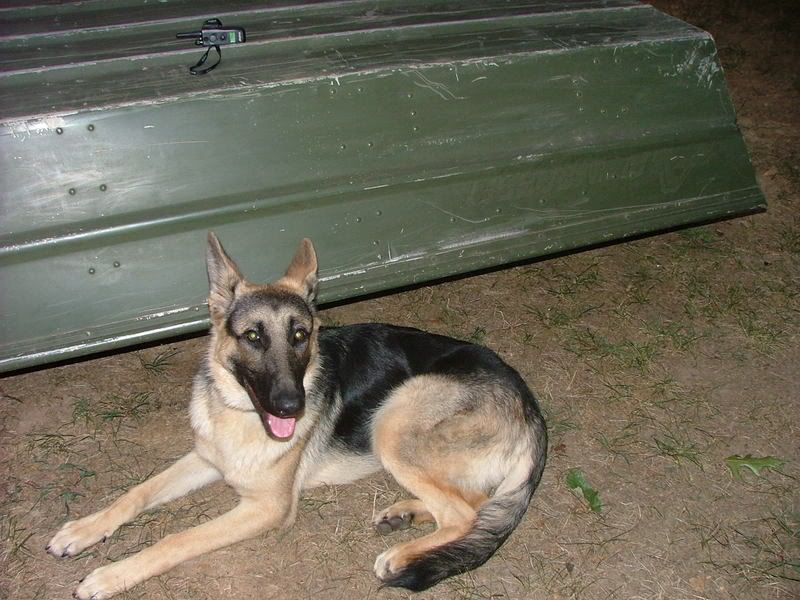
Anyways, here's some pics. My bodyguard even found his way into a few of them - 80lbs and 8 months old.. and still growing.
DSCF0035.jpg

DSCF0040.jpg

DSCF0038.jpg

DSCF0045.jpg

DSCF0061.jpg

DSCF0066.jpg

DSCF0073.jpg

DSCF0081.jpg


If you want to see more pics, you can see the album HERE
 
I do have a question... I have the 8" wheels/tires on here... but would it make any difference to put the 12" ones on there. I don't know what the advantages/disadvantages would be, and I don't see any reason I can't put them on there unless there's not enough clearance.
 
russ010 said:
I do have a question... I have the 8" wheels/tires on here... but would it make any difference to put the 12" ones on there. I don't know what the advantages/disadvantages would be, and I don't see any reason I can't put them on there unless there's not enough clearance.

I don't know of any reason why larger tires wouldn't work.
 
Nice boat, congrats on finding it! And YES, step up to the 12" set-up (as long as they'll fit, less rotation = less wear on the wheel bearings.

ST
 
What kind of paint did you use on your trailor and how did you prep it?
 
I sanded it down with 80 grit sandpaper on my mouse sander. I'm trying my best to conserve money where I can - so I used what I had laying around the house. You don't have to go out and buy what someone else uses because it works, try to improvise... I didn't care if it left some paint on, I really wanted to hit the rusted areas and the parts that were chipping. I just went to Home Depot and got the Rustoleum Rusty Surface Primer and Gloss Smoke Gray - both are for Metal surfaces. I have used these for trailers in the past and hold up well... I've noticed on different trailers I've painted, the more coats of primer I put on, the better the top coat looks.. I brushed the whole thing. I finished painting it 4 hours ago and just checked it.. it's still tacky, so thats a good sign that the first coat of top coat is on thick!
 
Good job on the trailer and nice rig. My 2 cents on changing to 12" wheels I would think that depends on how far you are going to pull the trailer. If it is not long distances I would think the 8" would be OK but if I were going to pull it 30 or more miles one way at highway speeds I would want to go with the larger diameter. The larger circumference will produce less friction on tires and bearings. More friction...more heat.
 
Well, looking at your trailer at apart is giving some ideal for my inventions, but I need to further understand how your trailer works.

DSCF0061.jpg


What holds those to bunks on the front end, or the only thing that supports them is the bracket at the rear end ?

If that is the case, which make sense, are they always facing down at the time of loading the boat ?

How about the very top corner of the bunk, never harm the bottom of the boat ? Maybe because of the rug...

Can someone explain to me how the real bunk of a boat works, it could help me on creating my own bunk.

Thank you.
 
Those bunks will actually sit straight.. my dog just went over and pushed them like that. When they go into the water they float back, and when the front of your boat hits the ends, they pivot and allow the boat to keep going foward. That bracket on the rear is the only one there for now.

I plan on extending the front of the trailer, and I just ordered these bunks to replace them https://www.ultimatebunkboards.com.
 
russ010 said:
Those bunks will actually sit straight.. my dog just went over and pushed them like that. When they go into the water they float back, and when the front of your boat hits the ends, they pivot and allow the boat to keep going foward. That bracket on the rear is the only one there for now.

I plan on extending the front of the trailer, and I just ordered these bunks to replace them https://www.ultimatebunkboards.com.

How are those new bunks going to be any better ?

I gues I am just all confused about this whole things works.

I guess the magic happens when the trailer sink deep into the watter while the bow of the boat is till floading high enough, at that point the boat hits the bunks and misses the front frame of the trailer.

Looking at your picture here, that trailer has to be very deep in order for that boat to float straight into those bunks and still, I will be very worry about that boat hiting the corner/front of the bunks head on, it could plug a hole on the boat. I guess I will actuall have to take my boat and trailer to boat ramp to see how the whole thing works because at this point I am just all worry and full confusion...

DSCF0038.jpg


Look at my situation, my trailer will have to be completely inside the water for that front bow not to hit the frame...

loadingBoat5.jpg
 
the trailer is completely submerged in the water when loading or unloading. It's not at all like your trailer, you have a utility trailer. There is a stop up at the front of the trailer that will not let the boat go any farther. I don't drive up on the trailer, I use a 15' rope which is attached to the bow and I pull it up by that onto the trailer, so I have full control over the boat.
 
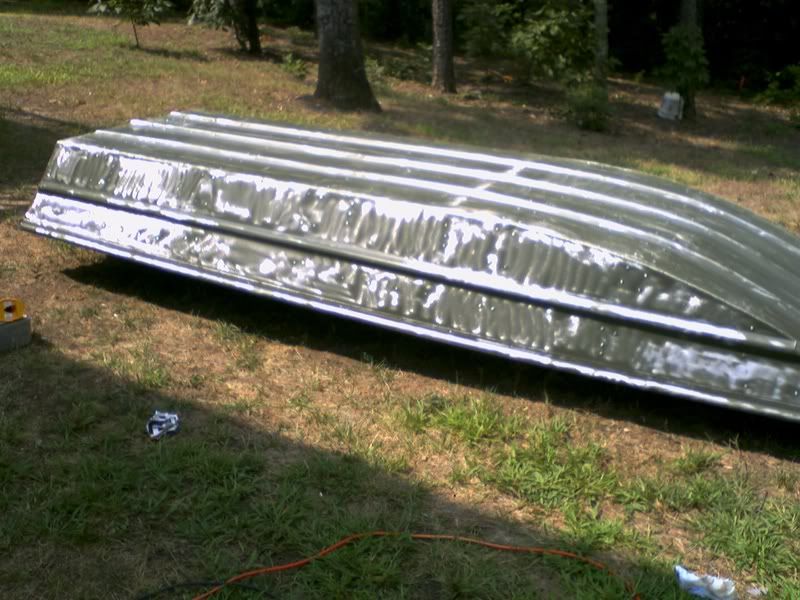
OK so here's where we are today... I went to walmart and got a paint remover disc that fits into the end of my power drill (instead of buying an angle grinder) - worked nicely for only $5. I really worked on a few areas where there was a lot of dings to get the burrs off so I wouldn't nick myself while walking around the boat.
0818081236.jpg


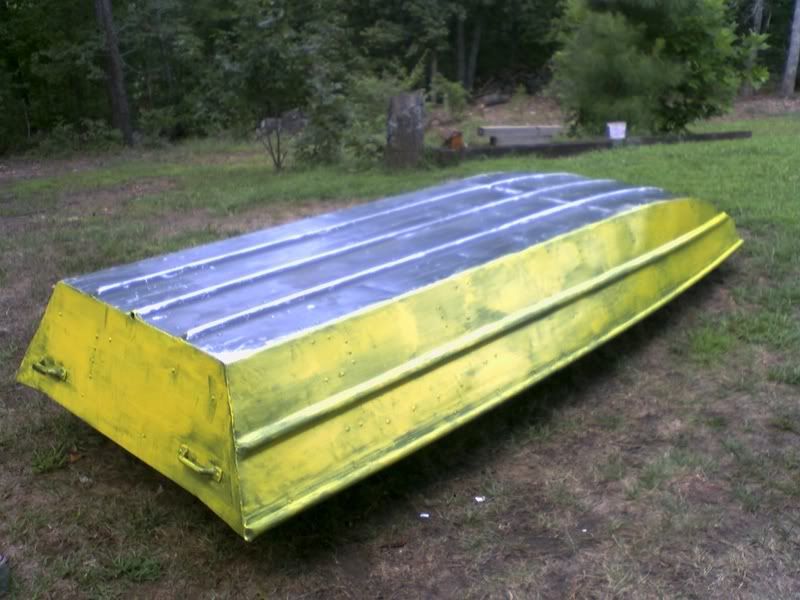
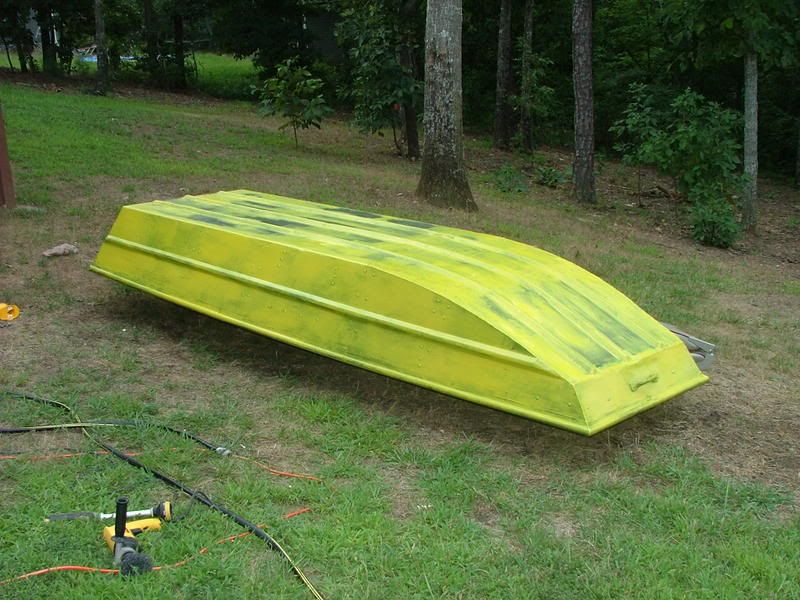
Then I used this zinc chromate primer. I got an eye shock when I opened it up and it was colored school bus yellow. I started putting this stuff on with my paint brush... but it was not working well at all. I never even though about why this stuff was drying so fast - it's 12pm and the boat is sitting in full sun! Doh! ](*,) Well I went ahead and put it on pretty thick, I'll probably wait until this afternoon when it cools off a little bit after being in the shade and put another coat on it.

0818081337.jpg


I'll take better pics in a little while and post them tonight, my camera battery died and I took these with my cell phone.
 
now you might be on to a boat name... the kick'n chick'n.... then again, maybe not!

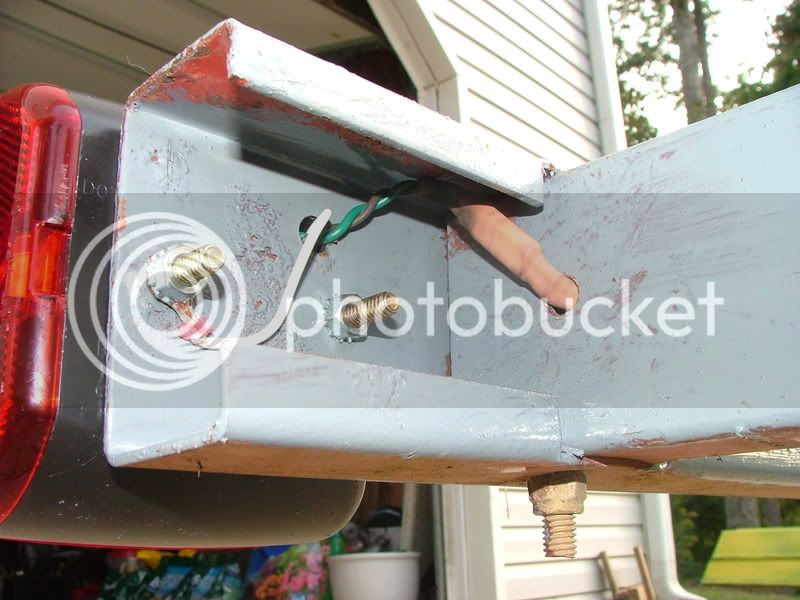
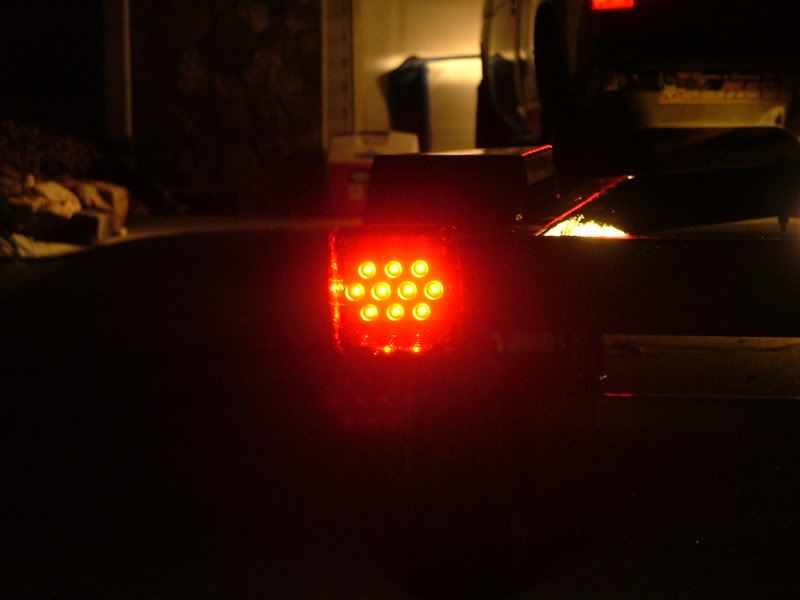
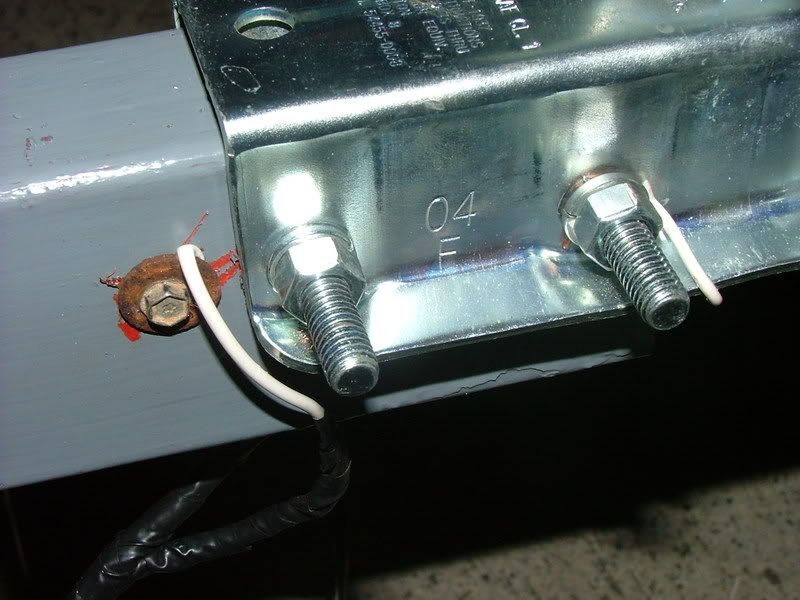
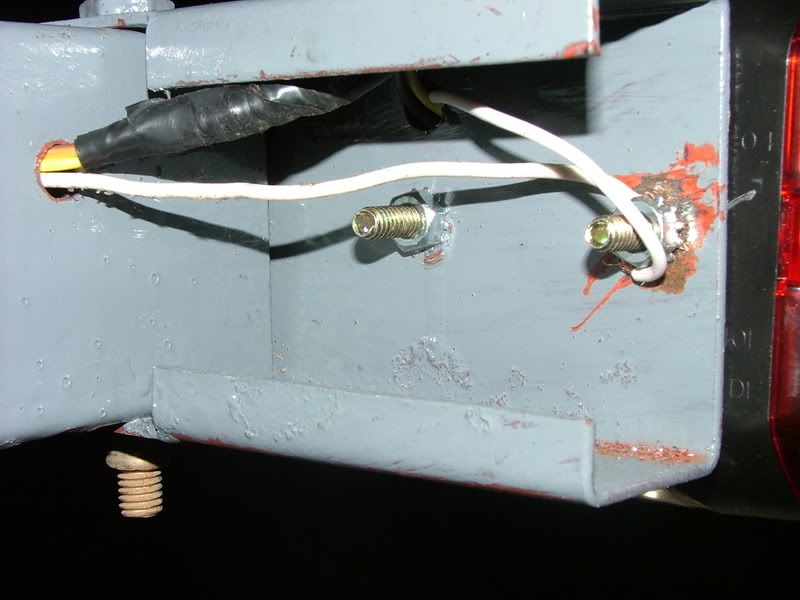
Anyways, finally after 5 hours I got the trailer lights working. The previous owner had the wiring harness duck taped and electrical taped all the way down the sides of the trailer. I decided I could just drill a few holes and run the wire through the channels. That worked out once I found my fish tape. Well after 20 minutes of fishing lines and hooking up the lights, I turned them on to see just how bright they were and guess what... NOTHING! I checked the voltage at the harness on the truck and it was right on. Then I started thinking I screwed up with the heat shrink and must have melted some of the wires together. I came to that conclusion based on the fact that I was getting the same voltage at the trailer lights right before I made the connection. It ended up being no ground on the trailer - at all. I could get the lights to come on by touching the bumper with the ground, and by touching the coupler. So I decided to run a ground wire directly from the coupler to the road side light, and connect it on the stud of the light and the bumper, and put the ground wire from the light right on top of it. VOILA!! The lights work!

Anyways... here the pre-drilling of chase holes and then the end result.... I'm also putting some more pics of the school boat. As always, to view more pics, click HERE.

DSCF0099.jpg

DSCF0106.jpg

DSCF0110.jpg

DSCF0113.jpg


Here's the redo wiring I had to do with the grounds.. you'll also see that I scraped some of the paint away thinking that would help - but it made no difference.

DSCF0119.jpg

DSCF0121.jpg


and the school boat....

DSCF0086.jpg
 
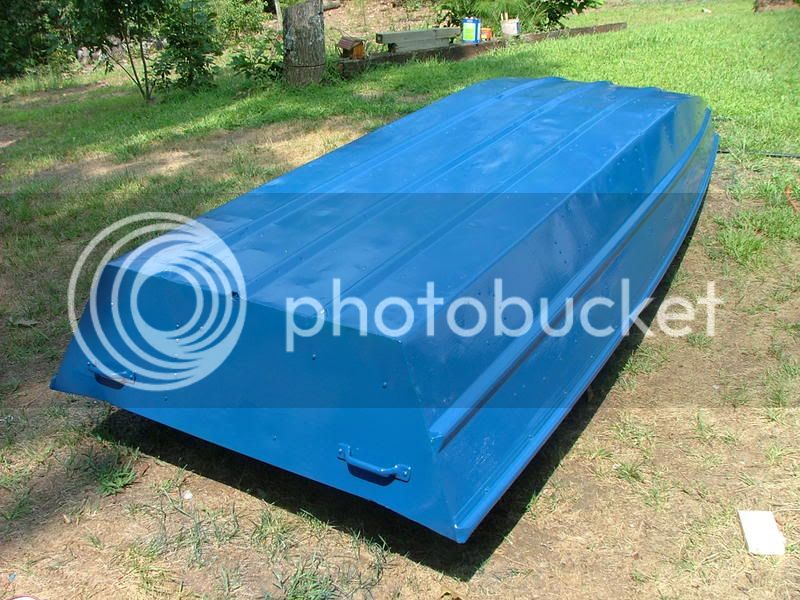
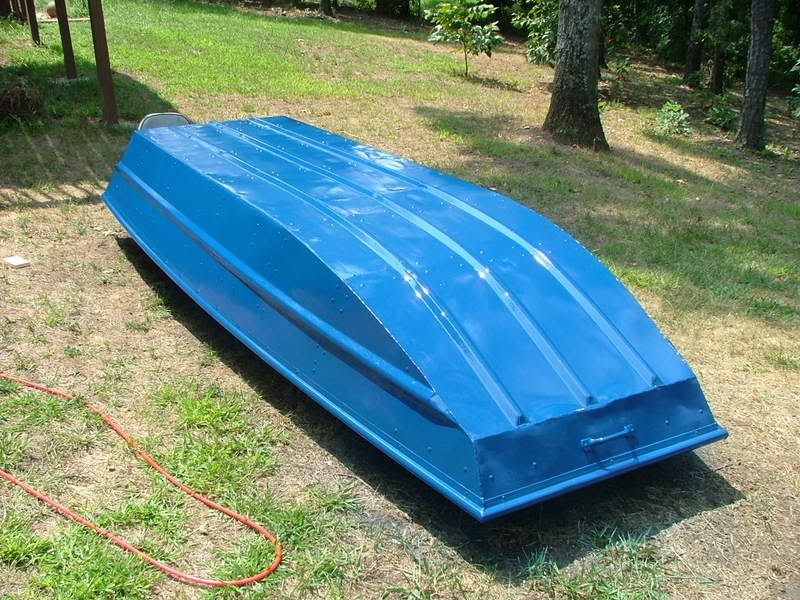
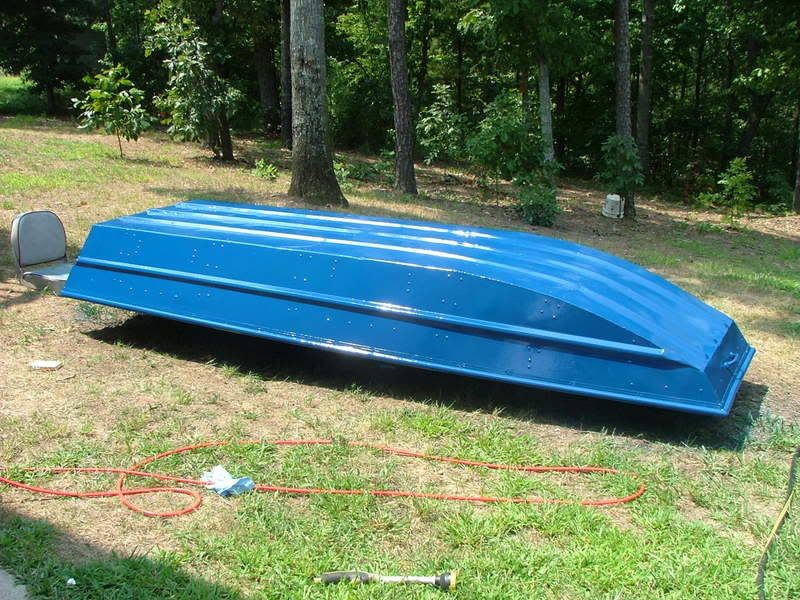
1st coat of top paint on... Electric Blue - definitely electric! I don't know what I was thinking when I picked this color out. I wanted burgundy, but they didn't have it. Oh well, I'll make it work. Probably will put some custom lettering or something on it to make it blend in more. Doesn't look too bad sprayed either, not to mention it only took about 5 minutes.

DSCF0147.jpg


DSCF0144.jpg


DSCF0143.jpg


(forgot to fix the links when I moved them in Photobucket... here they are again)
 
So you painted this outdoors, under trees and a spray paint can....

You must be very good at painting....

Looks good.

Manny.
 

Latest posts

Top