Bugpac
Well-known member
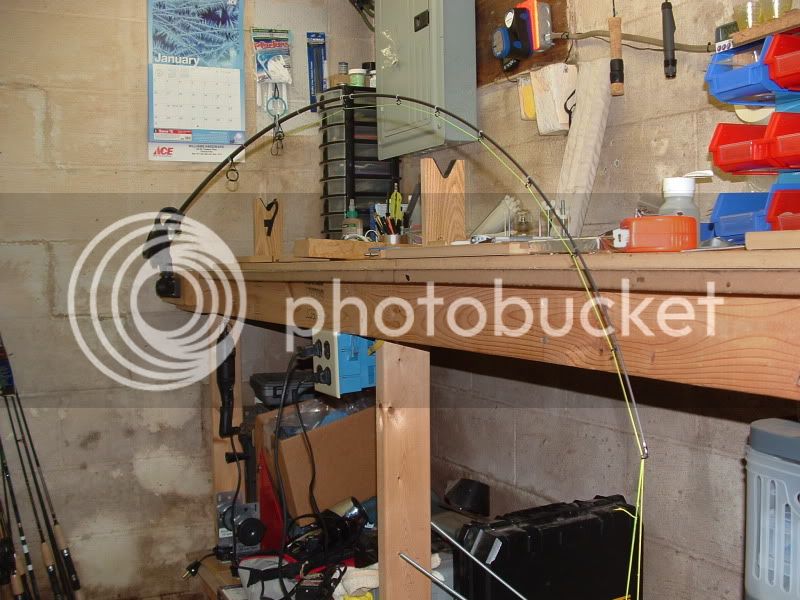
Heck, I am jealous as well, That is looking to be one fine piece.. :mrgreen:


shfishinsticks said:I apologize for the lack of progress. I got called back to work last week and have not felt like doing any rod work when I get home. Staring at a computer all day really fatigues the eyes. Should resume work tonight.
 .......JIGGY