Rhyan Craft: Now BRINE CRAFT

TinBoats.net

Help Support TinBoats.net:

This site may earn a commission from merchant affiliate links, including eBay, Amazon, and others.
I like the idea of moving it forward a foot and using that space for pumps. You could also store other things in there that wouldn't be used that often, and wouldn't run interference with your pumps... life jackets, oars, ropes, etc..

I'm not sure on your plumbing.. Everything I've done is removable, so... I would figure out a way to have it drain to the transom, but without seeing it, I can't get the wheels rolling in my brain enough to help you out.
 
Boat's looking nice. I look forward to watching the progress. I can tell it's going to be a looker when finished.

-- Poolie
 
russ010 said:
I like the idea of moving it forward a foot and using that space for pumps. You could also store other things in there that wouldn't be used that often, and wouldn't run interference with your pumps... life jackets, oars, ropes, etc..

I'm not sure on your plumbing.. Everything I've done is removable, so... I would figure out a way to have it drain to the transom, but without seeing it, I can't get the wheels rolling in my brain enough to help you out.

Russ, take a look at the livewell builders guide I posted. Play around with that for a minute, and it should come to ya.... :wink:
 
Quick update. No pics, but I filled some holes in the livewell, and found some storage totes (Cambro) from a restaurant supply for $12.95 that I think will work good where I cut out the seats. Didn't buy them, but now I know where to get them when the time comes if I don't come up with a better solution. Haven't tested the livewell for leaks yet, so I'll do that in the next couple days and I ordered the Steelflex on Friday. Picked up 4 sticks of 1.5 x 1.5 x .125 angle aluminum, but I need some aluminum sheet before I can go much further. Gonna go by the scrap yard this week and see what they got. If I don't see something there, I'm gunna have to bite the bullet and buy a sheet of 4 x 8 form Metal Supermarkets.

The more I work on the livewell, the more I question using it. It seems a touch on the small side. God forbid I ever have a 20+# sack to weigh in someday. It looks like it will be fairly tight. I haven't bothered to figure out how much water it holds yet, but if it's less than my 120qt cooler that I currently use, I may use the cooler instead and turn the livewell into storage. Hope to have some pics soon of some progress!
 
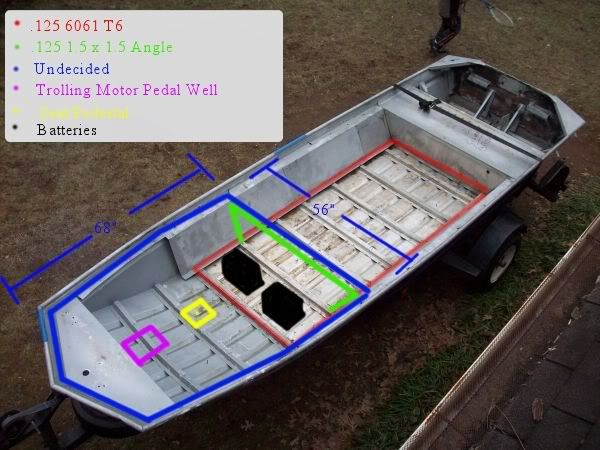
Ok, got the Steelflex in last week. Haven't considered applying yet, cuz it's been too cold! I was told that I needed to have air temps above 70, so It may be a while. In the meantime, I'm still trying to figure out how to layout the bow deck. The picture shows what I am trying to accomplish. I would like to have a couple hatches (or one big one) for the 2 batteries up front, but don't think I want any in front or to the side of the pedastal. I'm 270# and am nervous about standing around lids all day. So, with that in mind, let me know what you guys think about the best way to support the deck. Not sure yet if it will be plywood or aluminum yet, but the framing will be aluminum angle. Would also like to install a well for the trolling motor pedal as shown. Still waiting on the funds for the 6061 on the floor before I frame anything. That red piece of aluminum will be close to a 4 x 8. #-o The ribs are approximately 14" off center and the floor is about 42" wide at the green framing.

Here's a pic of what I had in mind
Layout.jpg


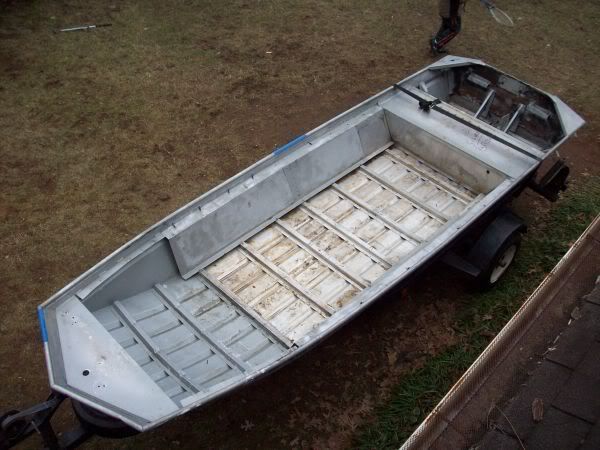
And here is an orginal if anyone wants to play with the layout. hint...hint....
OverheadPostDemo.jpg
 
Looks good.

couple of questions.

Where is the livewell?
What are you using for the deck material on the front deck?
Any thoguht to rod storage or gear storage (wet weather gear, life jackets, etc.)?

Looks like you have the space on the front deck for gear storage.
 
Hanr3 said:
Looks good.

couple of questions.

Where is the livewell?
What are you using for the deck material on the front deck?
Any thoguht to rod storage or gear storage (wet weather gear, life jackets, etc.)?

Looks like you have the space on the front deck for gear storage.

Thanks.

The livewell is removed from the pic, but it will be installed approximately 12" in front of the rear bench. There is a picture of it installed against the rear bench at the beginning of this thread. Moving it 12" forward, I plan to use that space to house the pumps for the livewell, a battery to run all the accessories minus the front trolling motor and depth finder, an oar, life jackets, etc.... and will probably mount my switch panel inside that space on the outside of the bench. I made two cut outs on the top of the bench which should make for easy access to my wiring when needed.

I'm still undecided about the deck material, other than the pieces at the floor that I will wait until i can afford the approximate 40 sq. ft of 6061 that I need. If I can afford aluminum for the bow and stern casting decks when it's time to do it, I will use it; however, it will probably be plywood until I can afford aluminum, so I would lke to frame it out to be able to transition to an aluminum deck with minimal extra labor involved.

As far as rod storage, I tried a couple times to design a box, but I felt like I would rather have the sides of the boat unobstructed between the bow and stern decks. I will put a couple of the bungee hold downs on the front and rear deck to hold the rods for when I trailer the boat. I guess becuase I haven't had one, I don't see the value in one yet. When I get home from the lake, I always take my rods out of the boat.

I've also considered that I may someday deck the entire boat level with the bow and stern, and would proabably incorporate a rod locker at that time. For now, I think I like the idea of having the low spot in the boat mainly because of my kids and I also think it makes a good area to put things if it's windy.
 
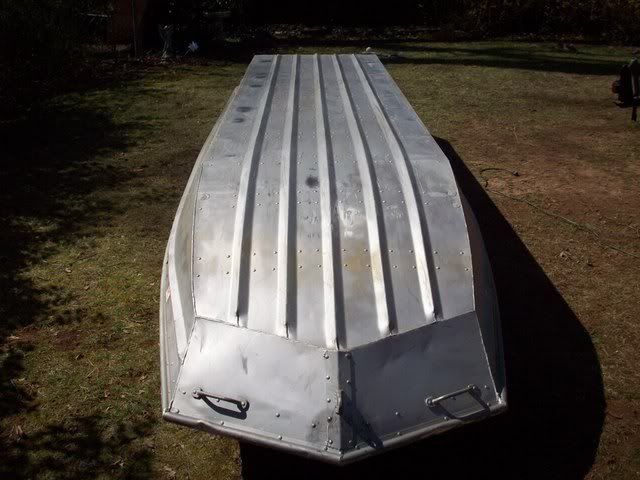
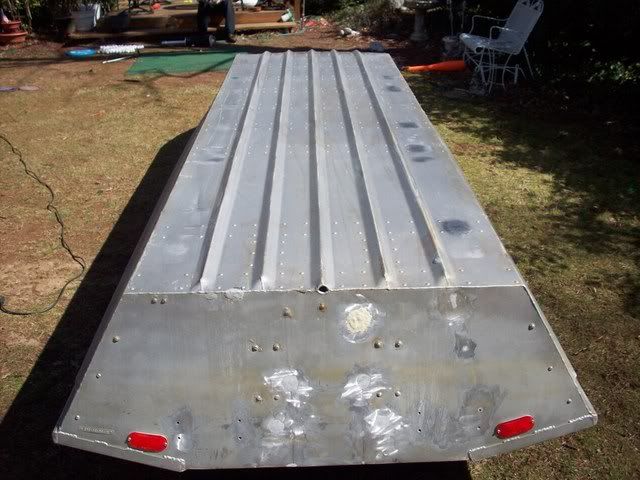
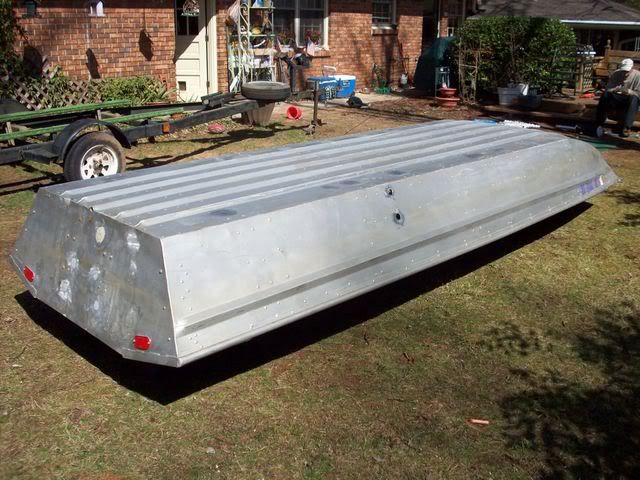
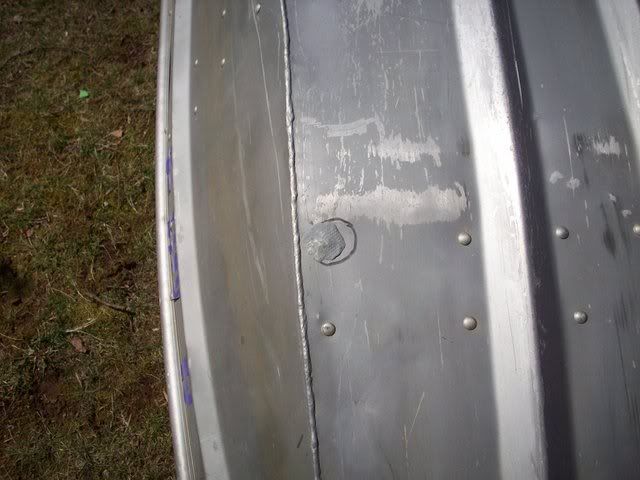
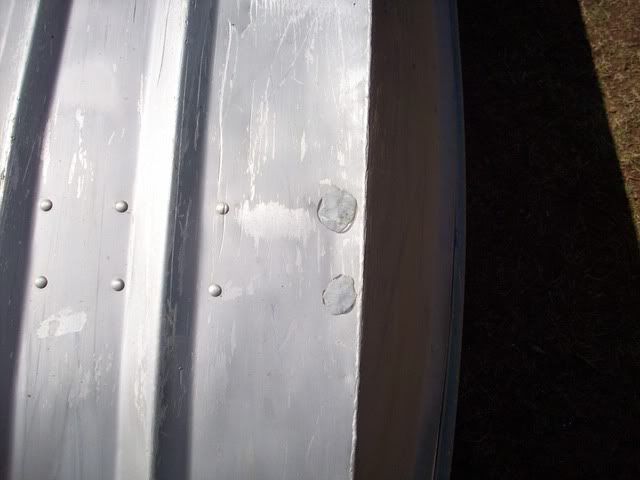
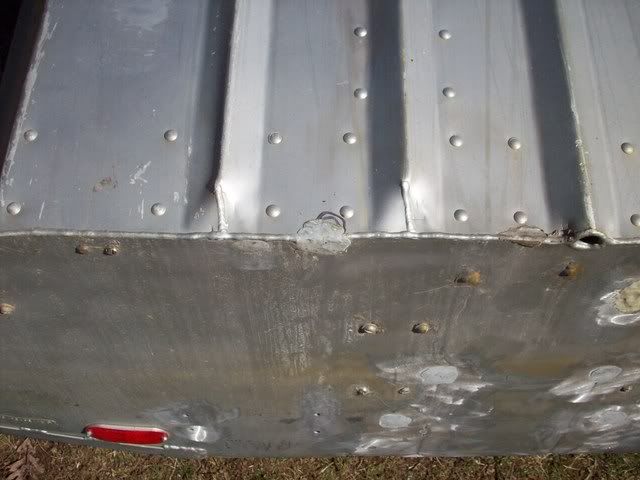
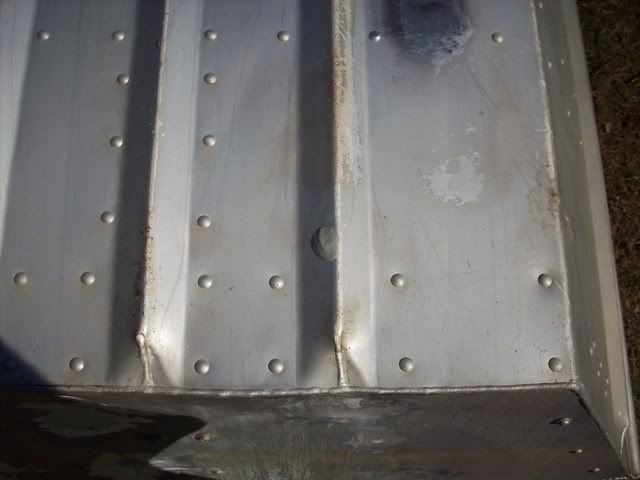
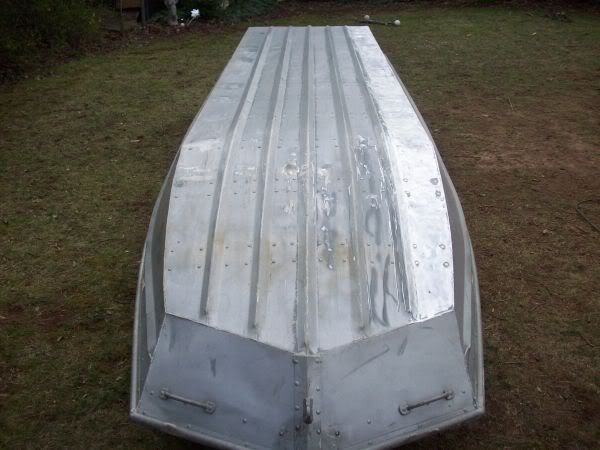
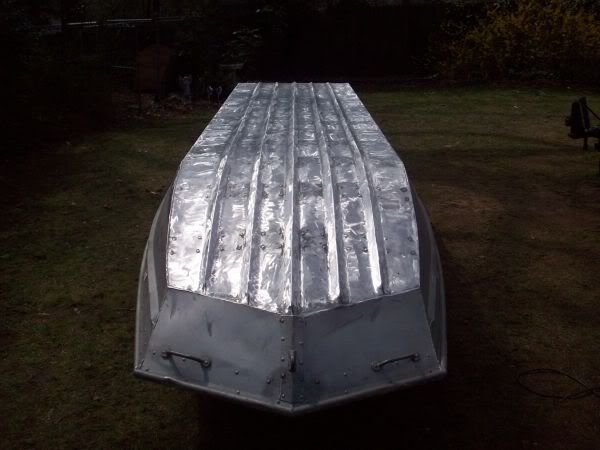
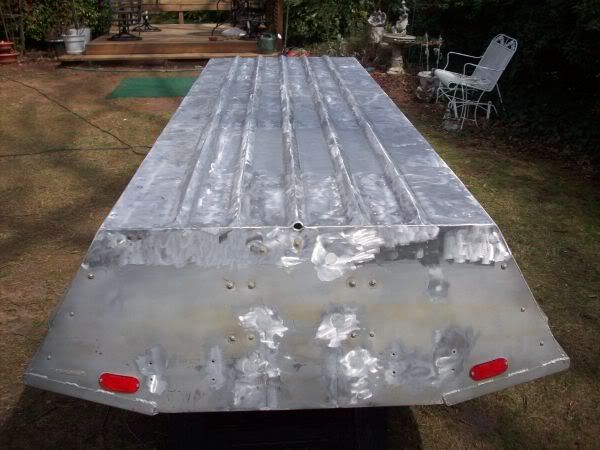
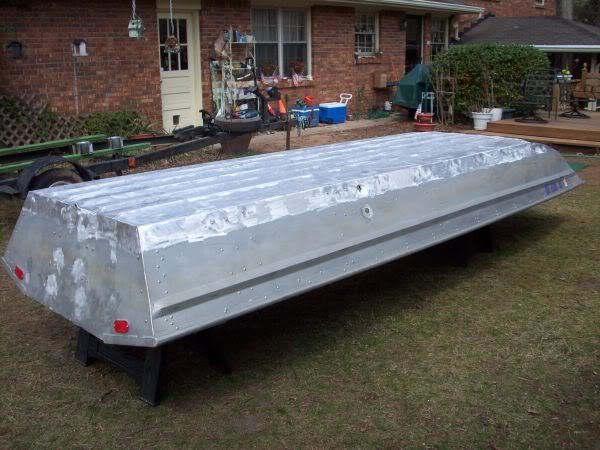
Well, haven't had much time or the weather to do much to the boat until today. It's a beautiful day here in GA today. I took the boat off the trailer to start doing some prep work for the steelflex. I had already done a leak test, and used the aluminum epoxy to patch a coulple rivets, a small hole, and a seam in the transom. The boat has a factory paint job on it, and despite being beat up (presumably in the river) the paint is on good. REAL GOOD :evil: .

Prior to sanding
104_1285.jpg


104_1290.jpg


104_1291.jpg


Here are the areas that got patched prior to sanding
104_1286.jpg


104_1287.jpg


104_1288.jpg


104_1289.jpg


More to follow in a minute. Photobucket is being a pain in the neck :evil:
 
What I thought would be an hour or so process with the angle grinder and a 40 grit flapper disk is going to take closer to 7 hours unless someone can tell me a better way of doing this. HELP! Just this part took about 1 hour!
104_1292.jpg


Should this process take this long??? If I continue the same way, prep work will take approximately 7 hours worth of the angle grinder :shock:

Also, I noticed this area back by the transom that I assume the river has added "character" to.
104_1293.jpg


104_1294.jpg


Is it worth trying to pound these dents out, or should I just fill the low spots with a little more steelflex
 
great looking boat...and great work on it so far...mine looks about the same minus the back bench...where are you in GA...im near valdosta GA...maybe we can get together and help each other out if needed
 
2007NNBS said:
great looking boat...and great work on it so far...mine looks about the same minus the back bench...where are you in GA...im near valdosta GA...maybe we can get together and help each other out if needed

Well, thanks for the compliment. I'm up in Gwinnett County near the Bass Pro Shops in Lawrencville, so the commute would be pretty tough. Thanks for the offer tho!
 
I don't know if you really need to take this thing all the way down sanding like you're doing - I mean it's good... but I'm just not sure it's required. As long as you etch it a little that steelflex should adhere.

As far as the dents - it's on the bottom.... and unless it has thinned out the aluminum, I honestly wouldn't worry about it. You can put a little more steelflex there, but doubt it would make that much of a difference.
 
I'm with Russ, just etch it. I used the wire wheel that attaches to a drill and did my whole boat in an hour? couldn't have been much more. Your boat's hull is in good shape, and its not got layers of paint caked on, don't make it too hard on yourself.
 
Well, I etched it alright. Actually, this morning I called and spoke with Fasco and Jerry said to just scuff it up if I wanted to. As I wasn't so intent on removing every piece of paint, it took me about 3 1/2 more hours with the angle grinder (alot better than 7!) to get the boat ready for the first coat of Stellflex. After the sanding was done, I used the leaf blower to "dust" it off, then used a rag and acetone to wipe it down, and lastly a tack cloth for one final wipe.

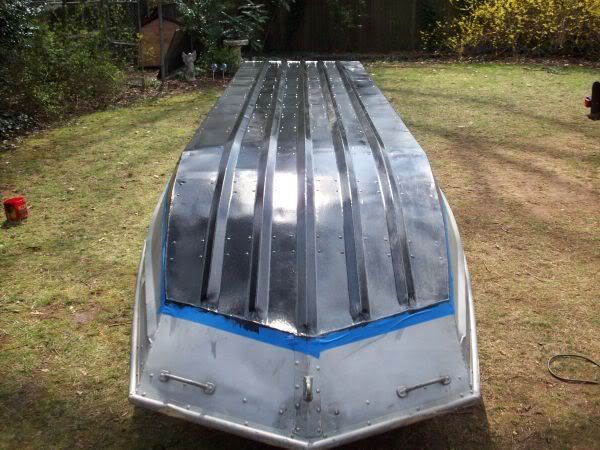
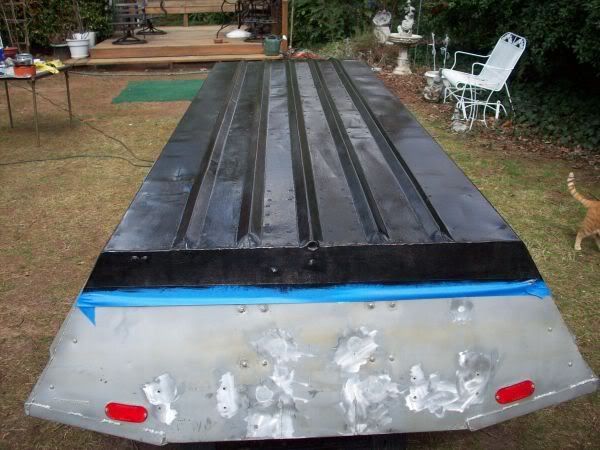
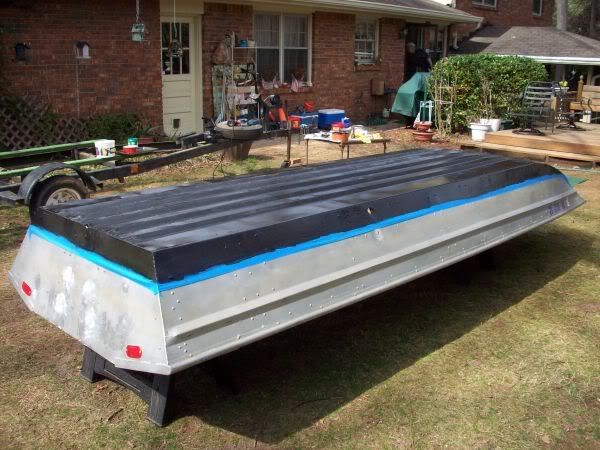
Today was a great day to do this outside. The temperature was about 75 for the majority of the day, with little wind which made this process tolerable. Otherwise, this part of the project has the possibility of looking like you've been tarred and feathered. At least with mine, because I used black colorant :lol: . Anyway, here are the pics. I only have pics of the first coat. After the second coat was put on, I moved the boat into the garage to cure and I have just pulled the tape off right before writing this. It looks good! I'll take some pics once it's dry and post up within the next couple of days.

104_1296.jpg


104_1297.jpg


104_1298.jpg


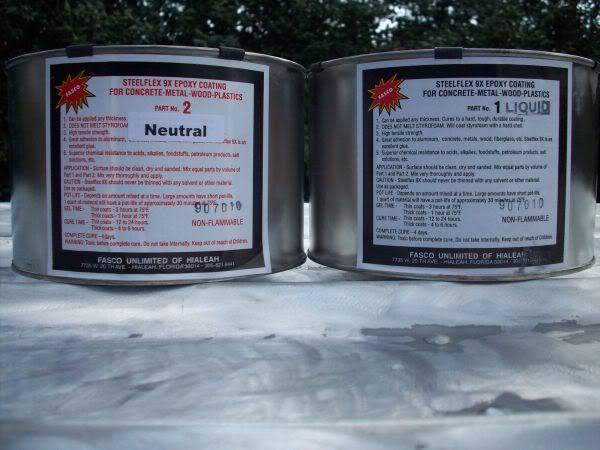
Here is Steelflex. Not pictured is the small container of black colorant that came with it
104_1300.jpg


First Coat
104_1301.jpg


104_1302.jpg


104_1303.jpg


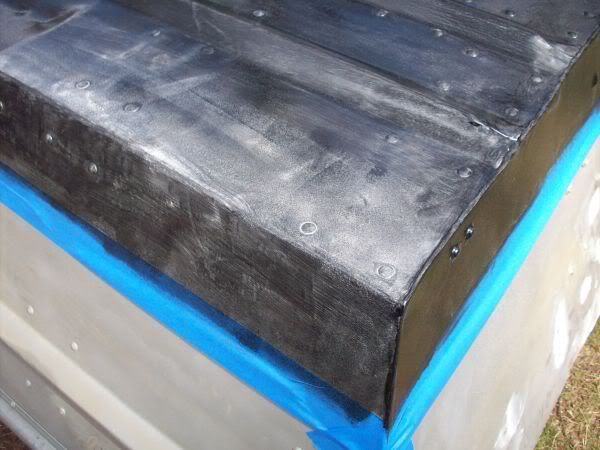
Close up
104_1304.jpg


BTW, I realized why no one has action shots of applying Steelflex....Once you start applying it, the last thing on your mind should be messing with a camera. [-X Unless you've applied it, it's hard to convey. I'm thankfull to have gotten some feeback on a few mods from folks who had previously worked with this stuff. Otherwise, this could have been a disaster. I wish someone could have taken some pics of the process tho, cuz there were some funny scenes. Glad this part is done.
 
2007NNBS said:
great looking boat...and great work on it so far...mine looks about the same minus the back bench...where are you in GA...im near valdosta GA...maybe we can get together and help each other out if needed
i hunt near valdosta in echols county :lol:
 
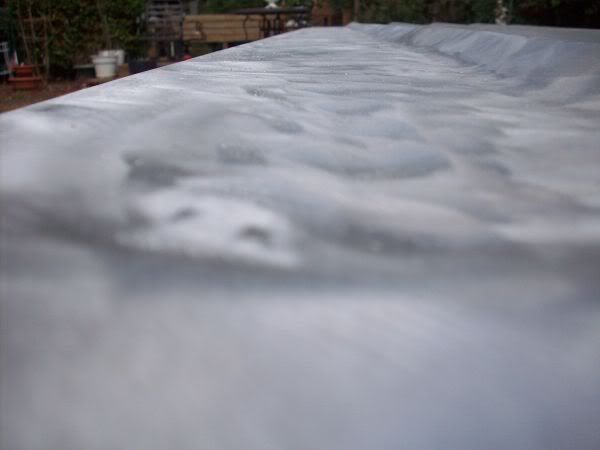
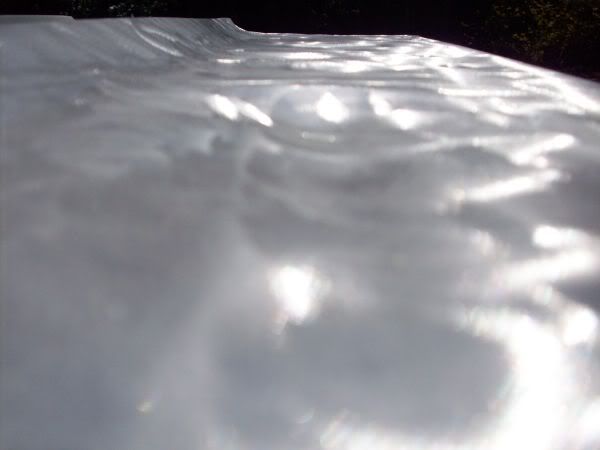
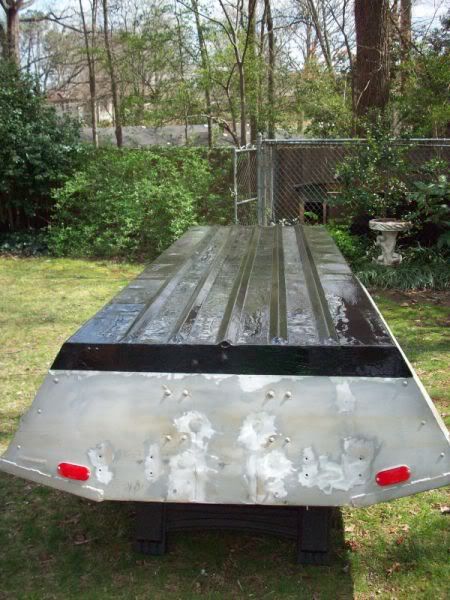
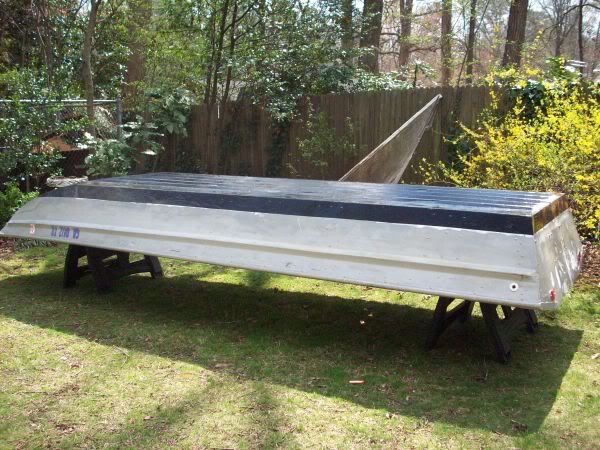
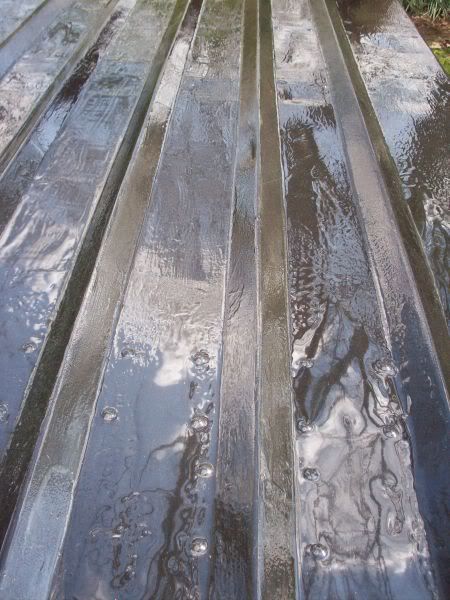
Couple pics now that the Steelflex is good and cured.

Looks messy, but it is super slick, and I don't have to worry about any leaky rivets.

104_1307.jpg


104_1306.jpg


This pic shows where some dents were that I went heavy on the 2nd coat with. Still looks wet, but this is about 2 weeks old now.

104_1308.jpg


The trailer is next! Woo Hoo!
 
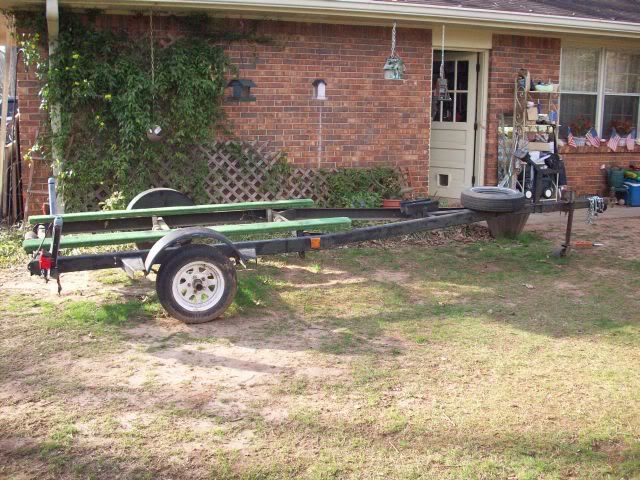
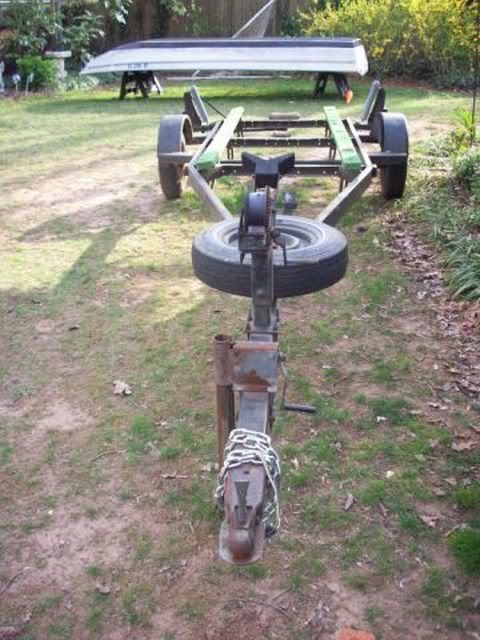
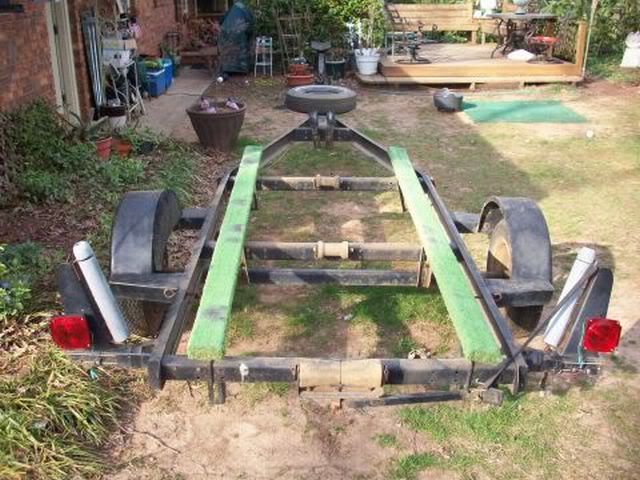
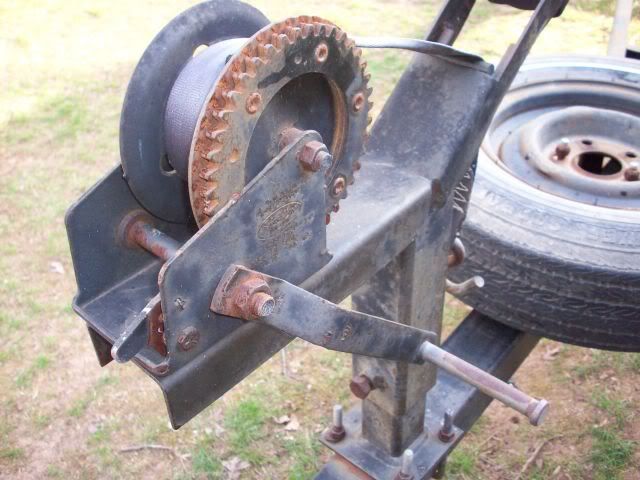
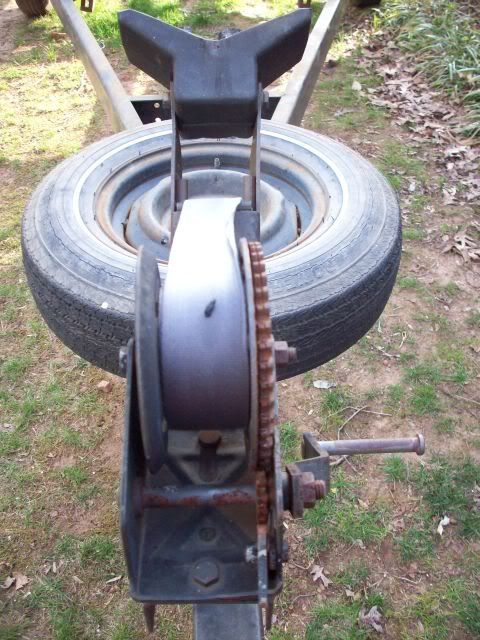
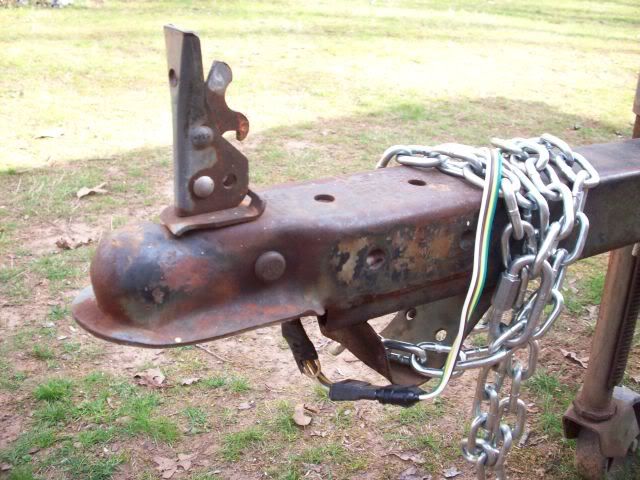
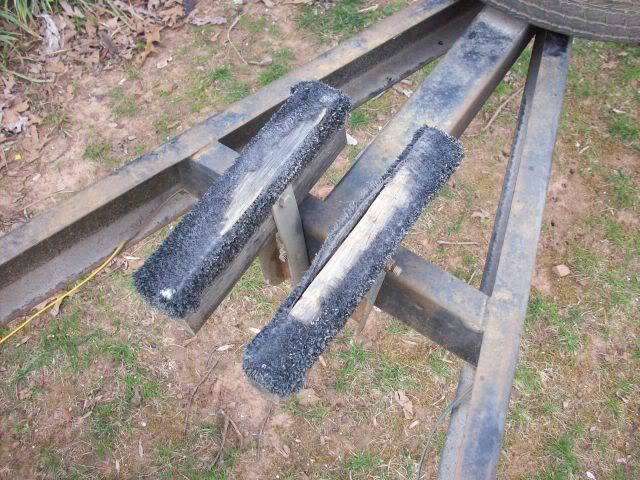
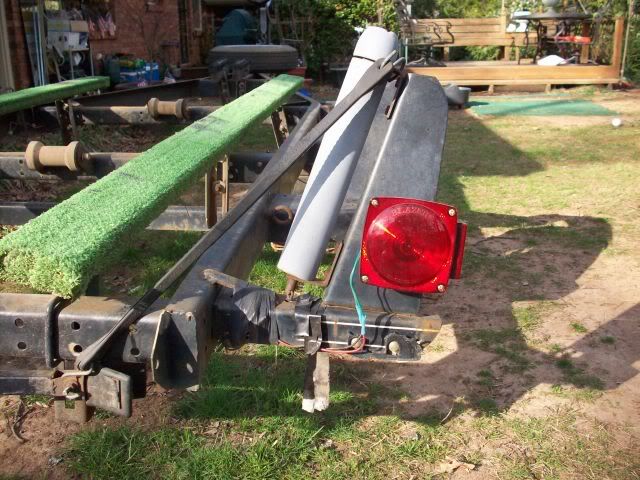
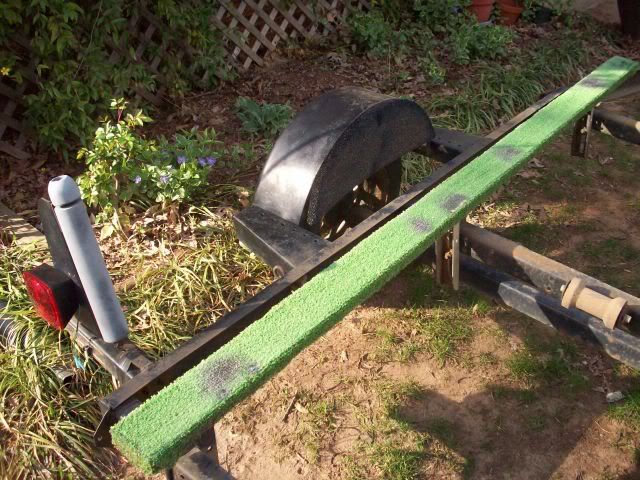
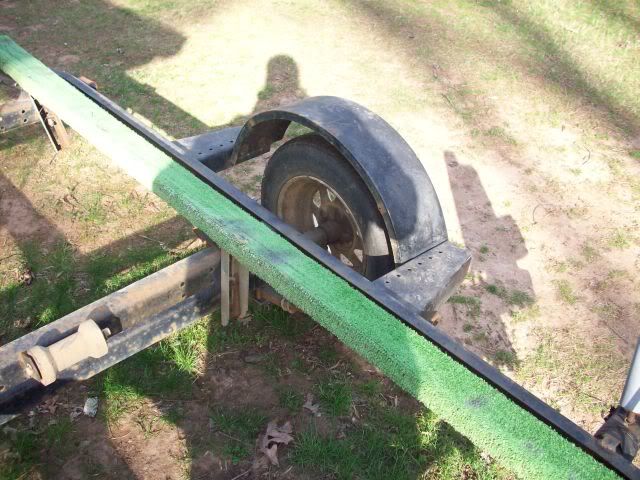
pics of trailer

104_1319.jpg


104_1309.jpg


104_1310.jpg


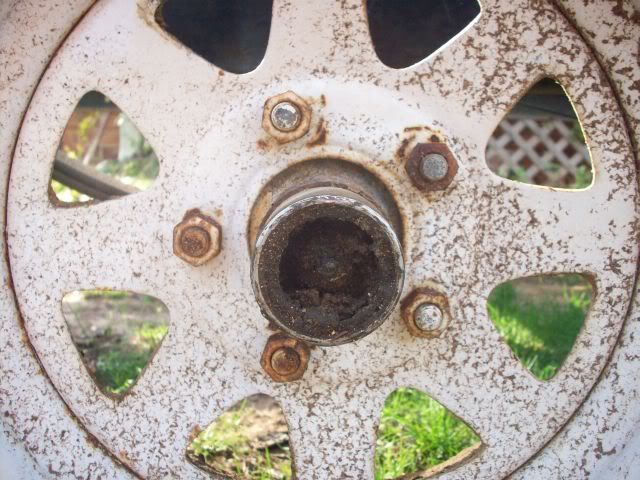
Wheels

104_1322.jpg


104_1320.jpg


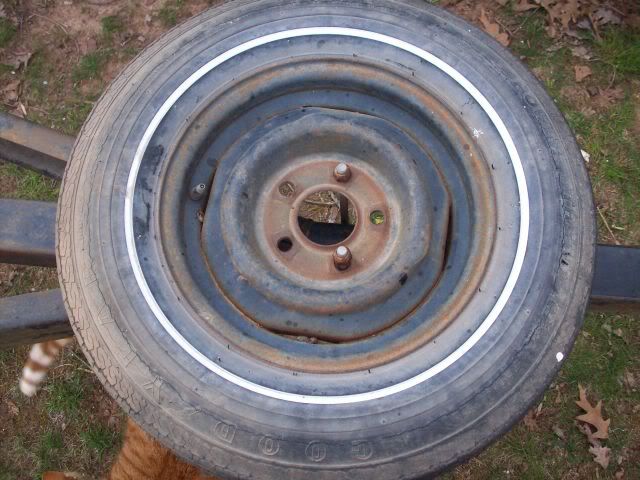
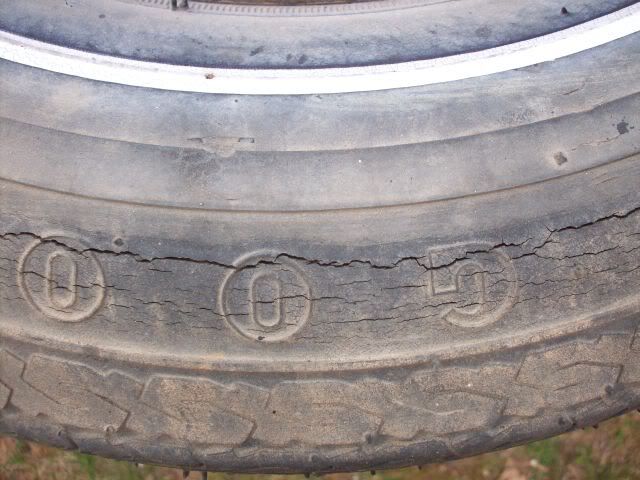
Spare

104_1315.jpg


104_1316.jpg


Misc

104_1324.jpg


104_1323.jpg


104_1318.jpg


104_1318.jpg


104_1314.jpg


104_1313.jpg


Carpeted Fender

104_1311.jpg


Missing Carpet

104_1312.jpg


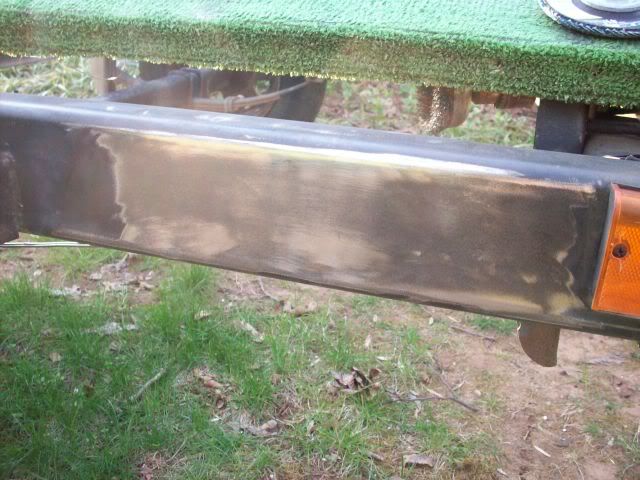
Sanded this down just to see the metal.

104_1325.jpg
 
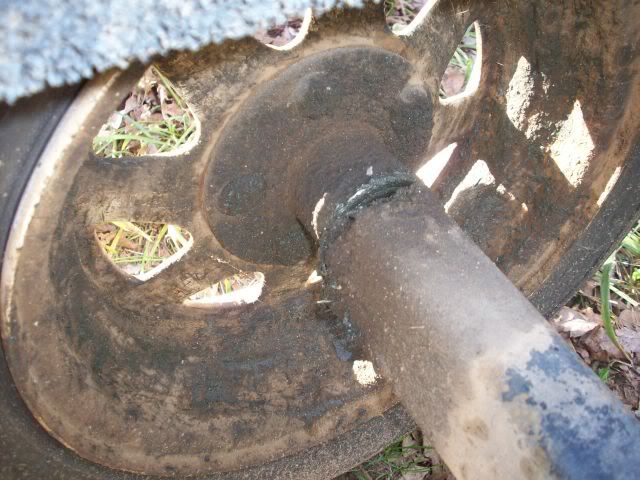
Since the pics of the trailer were taken, I have removed the bunks and rollers and the accompanying mounting brackets. I then took the trailer to the carwash and sprayed the whole thing with engine degreaser, let it soak for a few minutes, then sprayed it off.

The pictures above this post show what the inside of the wheels look like. The carwash didn't do diddly to get the built up grease off. It literally looks like they weren't even touched. So...........A couple questions.

1. Why would the wheels have so much grease on them in the first place?

2. What's the best way to clean them?

3. What do I need to do to stop them from getting this way again?
 

Latest posts

Top