Alumacraft 1236 Makeover- livewell pg 11 - update front deck

TinBoats.net

Help Support TinBoats.net:

This site may earn a commission from merchant affiliate links, including eBay, Amazon, and others.
I don't know if you noticed, but my boat has battery boxes in it. The reason for this is not to hold the battery in place, but to save the boat if the battery leaks. If a battery splits, or if for some reason the water fill lid comes off, it doesn't take much acid to burn a nice hole in an aluminum hull. Now, I think you said your boat will spend all its time in electric only, so it won't take the pounding that mine has, and is less likely to pop a battery case, but in any case, it may be something worth pondering. If you ever split a case, you will be glad you spent the money.

If that were mine, I may not put a battery tray in it, but I would probably find some sort of plastic tray or plastic container around the house to put the battery under.

Just my 2 pennies worth.
 
Well I got the decks carpeted.. then it started raining a little, so I said to heck with it and went fishing in my ponds... not in the boat though.

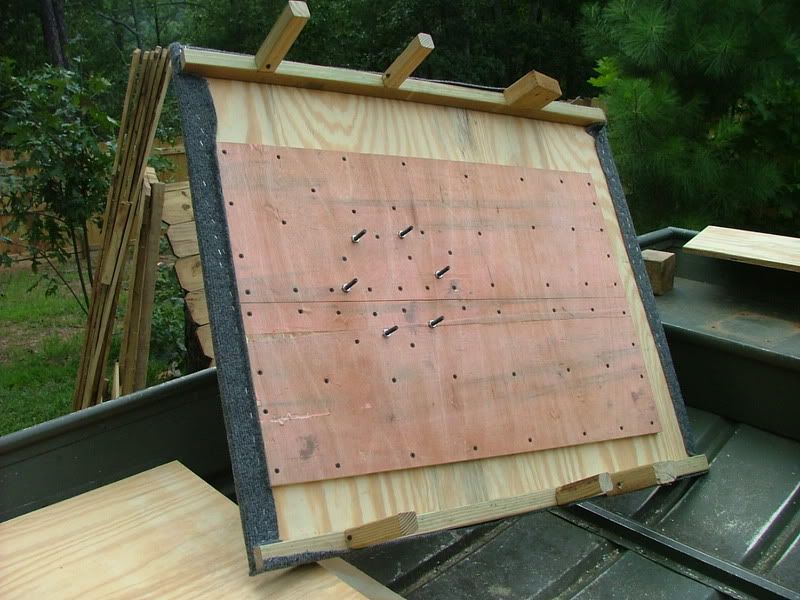
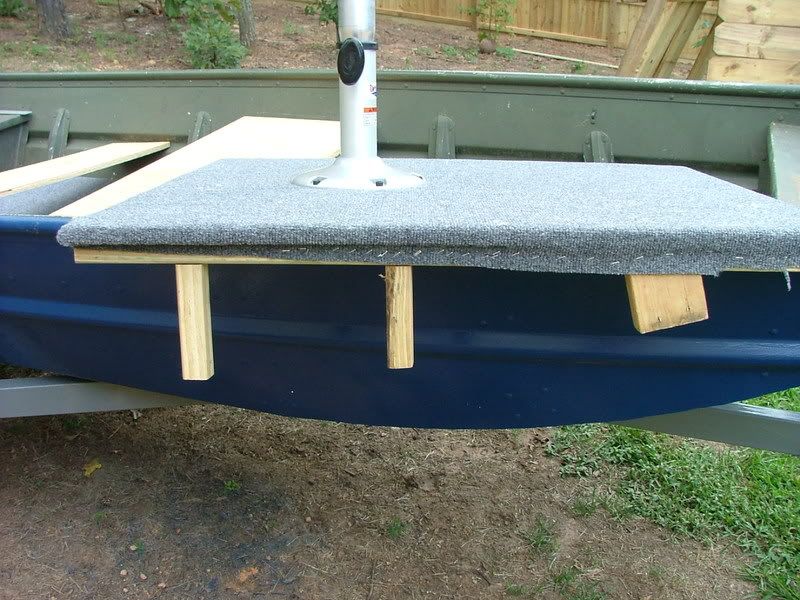
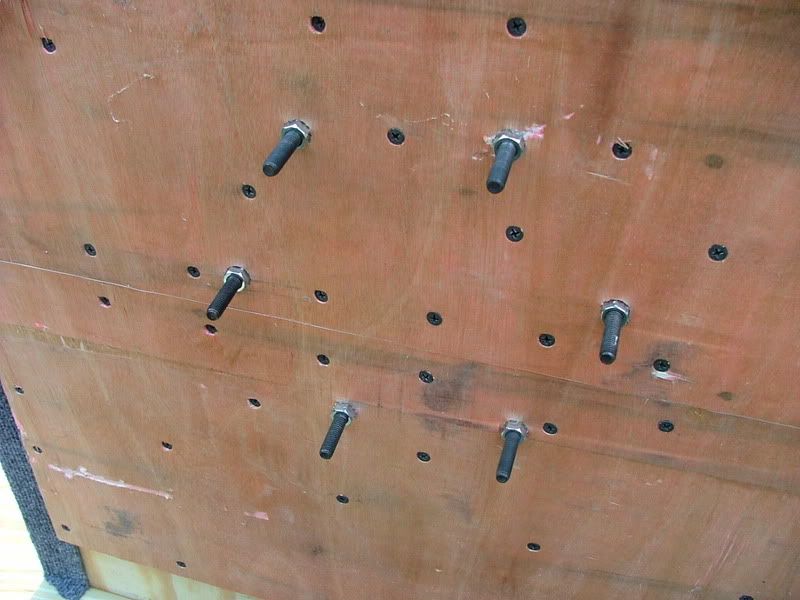
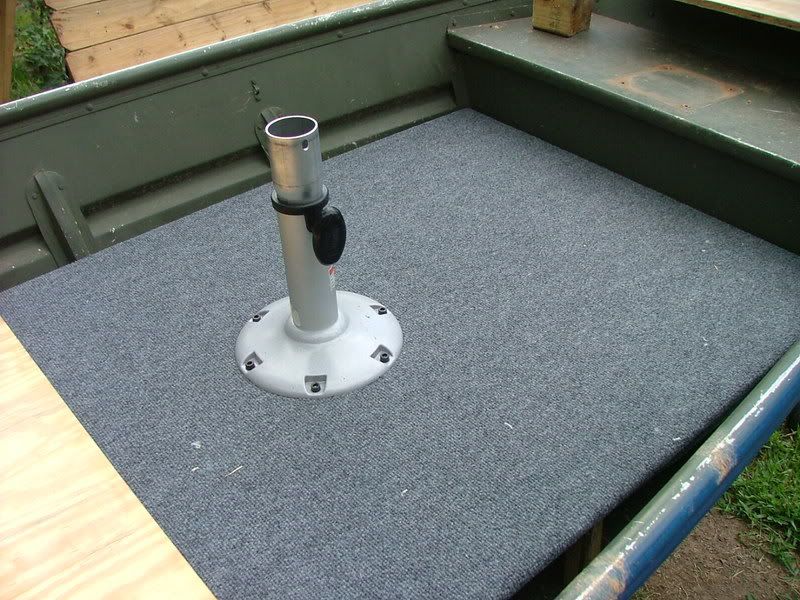
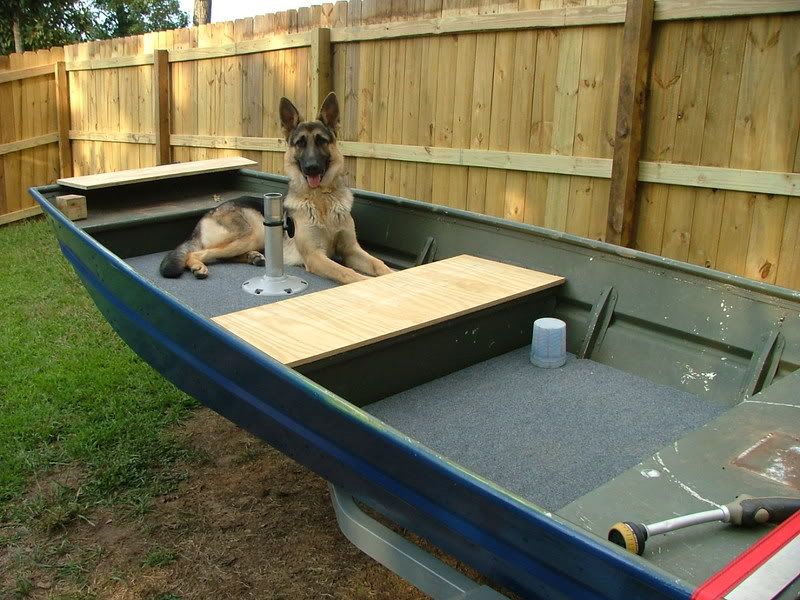
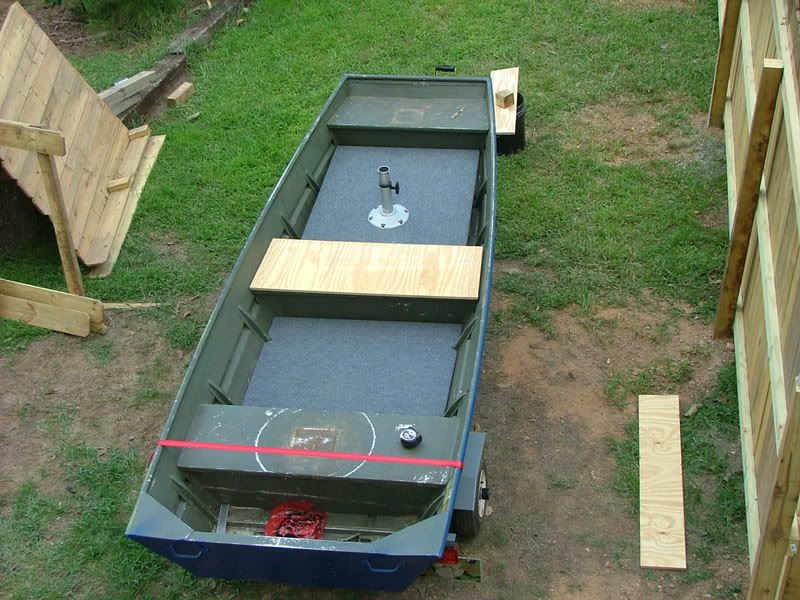
Here are the pics of the front deck framing. These decks are 5/8", and under the main deck I screwed in 2 more scrap pieces of 5/8" boards to strengthen it up even more. I'm trying to keep everything light weight, so with the 2x2 bracing down the sides, and the scrap pieces in the middle, it's pretty strong. I got on it and jumped up and down just to make sure. I'd rather fall out of the boat before I get it in the water and find out the hard way.

DSCF0195.jpg

DSCF0198.jpg

DSCF0197.jpg

DSCF0191.jpg

DSCF0193.jpg


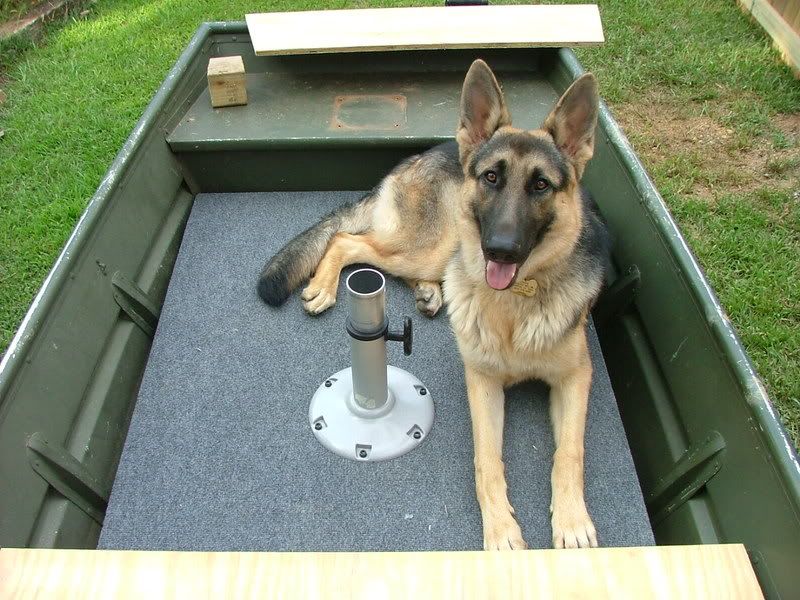
I think Kodiak has decided he is going to go with me too. I had to put the boat off for a few days while I built a fence in my backyard... he's getting too big to keep in the house. Not to mention we're going on a cruise week after next and he can't stay locked up inside.

DSCF0206.jpg

DSCF0220-1.jpg

DSCF0202.jpg


As always, I don't post all of the pictures, so you can click HERE to see all of them.
 
Waterwings said:
Progress looks good! Can you fit a battery tray in there so the batts don't slide around? Checkout the link for some tackle storage ideas: https://www.cooksgoto.com/, and here's their photo gallery with lots of pics of their systems mounted: https://www.cooksgoto.com/Photo_Gallery.cfm 8)

Thanks for sending those links... Now I know how to jerry rig the middle bench lid to hold my plastics... I'll probably take a piece of 3/4" or 1" pvc, cut it down the middle and drill small holes through it. The holes will have to be close enough to allow those cheap shower curtain hangers to pass though... I think that should work.
 
ben2go said:
Good werk!I can't figure and cut angles to save my life.Anyone care to come teach me? :mrgreen:

If you're talking about the angles of the braces, all I did was make the top brace level from the front of the middle bench seat, and then the part of the 2x2 nearest the front of the boat rests on the floor. The way I got the angles was to use small scraps of the 2x2, place it beside the top brace and run my pencil to show what the angle needed to be cut. I've got a chop saw, so it makes it a little bit easier - and cleaner.

If what I just said makes no sense, let me know and I'll take a picture explaining how I actually did it tomorrow
 
russ010 said:
Waterwings said:
Progress looks good! Can you fit a battery tray in there so the batts don't slide around? Checkout the link for some tackle storage ideas: https://www.cooksgoto.com/, and here's their photo gallery with lots of pics of their systems mounted: https://www.cooksgoto.com/Photo_Gallery.cfm 8)

Thanks for sending those links... Now I know how to jerry rig the middle bench lid to hold my plastics... I'll probably take a piece of 3/4" or 1" pvc, cut it down the middle and drill small holes through it. The holes will have to be close enough to allow those cheap shower curtain hangers to pass though... I think that should work.

Russ0101,I don't quite follow what you described.Could you do a write up on it?If have done one, do you have a link?


Sorry for the thread jack.
 
russ010 said:
ben2go said:
Good werk!I can't figure and cut angles to save my life.Anyone care to come teach me? :mrgreen:

If you're talking about the angles of the braces, all I did was make the top brace level from the front of the middle bench seat, and then the part of the 2x2 nearest the front of the boat rests on the floor. The way I got the angles was to use small scraps of the 2x2, place it beside the top brace and run my pencil to show what the angle needed to be cut. I've got a chop saw, so it makes it a little bit easier - and cleaner.

If what I just said makes no sense, let me know and I'll take a picture explaining how I actually did it tomorrow

Yea it does.I just have problems with making the deck supports for the front where the bottom curves up to the bow.I may make cardboard templates on my up coming project.
 
well... once I make the mark with the pencil and cut it out... when I go to attach it to the brace, I turn it upside down - so the angle cut is sitting on the floor. Then I move it up and down the brace to figure out exactly where it's best fit is. Worked pretty good for this - it only took me about 20 min to frame the front using this method.
 
russ010 said:
Waterwings said:
Progress looks good! Can you fit a battery tray in there so the batts don't slide around? Checkout the link for some tackle storage ideas: https://www.cooksgoto.com/, and here's their photo gallery with lots of pics of their systems mounted: https://www.cooksgoto.com/Photo_Gallery.cfm 8)

Thanks for sending those links... Now I know how to jerry rig the middle bench lid to hold my plastics... I'll probably take a piece of 3/4" or 1" pvc, cut it down the middle and drill small holes through it. The holes will have to be close enough to allow those cheap shower curtain hangers to pass though... I think that should work.

No problem!
thumb_thumbsup_smilie.gif
 
Looks good. I'd add diagonal bracing to the taller 2X2 legs for additional support, maybe one on the outside & a horizontal between the legs? And maybe some large flat washers under the nuts on the seat base.

lol, and I believe you're right about your dog, he's ready to go.

ST
 
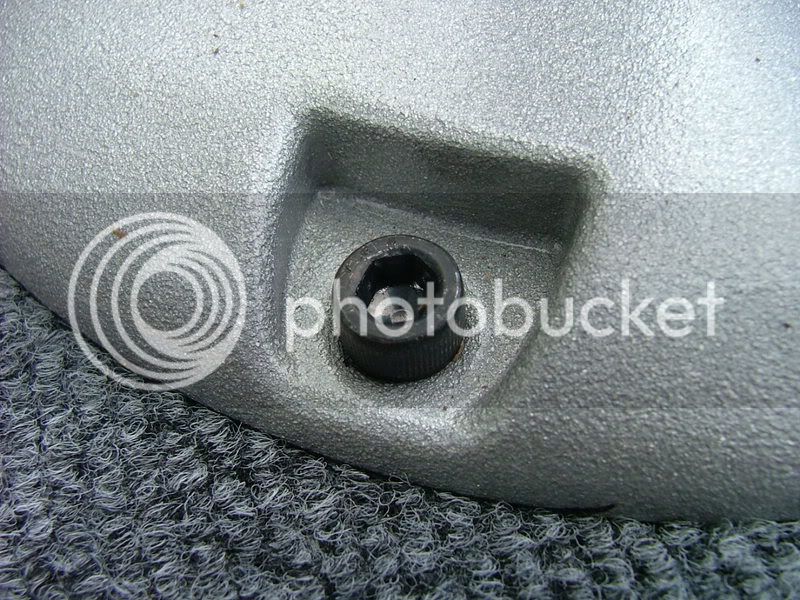
I've got lock washers underneath those nuts - and those nuts are self locking.

Slimetime - Thanks for the idea about the diagonal bracing - it never crossed my mind, but it makes perfect sense and I should have done that to start off with. I was contemplating taking the 2x2 off, and replacing with 2x4... the 2x2 -- well, you can only put so many screws in for attachment, and I used my pocket hole jig.
 
I've got lock washers underneath those nuts - and those nuts are self locking.


The large flat washers would be more so that the existing nuts, and lock washers, don't wobble-out and pull through the wood. Not that it could happen considering the amount of bolts around the perimeter of the seat base, however, better safe than sorry. Probably wouldn't need a large washer for every bolt, maybe a minimum of 4 spaced across from each other. The large flat washers are sometimes referered to as "Fender Washers".
 
Waterwings said:
I've got lock washers underneath those nuts - and those nuts are self locking.


The large flat washers would be more so that the existing nuts, and lock washers, don't wobble-out and pull through the wood. Not that it could happen considering the amount of bolts around the perimeter of the seat base, however, better safe than sorry. Probably wouldn't need a large washer for every bolt, maybe a minimum of 4 spaced across from each other. The large flat washers are sometimes referered to as "Fender Washers".

This maybe overkill but on pontoons we put aluminum plates under the wood.We rounded the corners and edges so the plates wouldn't dig thru the wood.I worked for an auto an marine upholster, so everything had to be just so, or it was redone. :roll:
 
Waterwings said:
...I worked for an auto an marine upholster, so everything had to be just so, or it was redone.


That used to be called quality workmanship and pride in a job well done :wink: . Hard to find these days.


I completely agree and we stayed covered up in work.But some stuff was just grossly over done.I believe in doing quality work hands down.
 
Well... it's been a while. Last month was H E Double Hockey Sticks!

1 - full week of jury duty
2 - second week was vaction which was awesome - but while I was cruising the Caribbean, I happend to turn on the news to see AIG was in trouble (remember I'm an underwriter... well here's the great company I work for...) So for 6 days I was pooping bricking wondering if I was going to have a job when I got back home. And I do still have the job, and will have for some time - we are now becoming the backbone for AIG
3 - brokers going nuts asking tons of questions for their insureds, and us having to go through all the details of how it was the parent company in trouble, not my division which is pretty much financially set
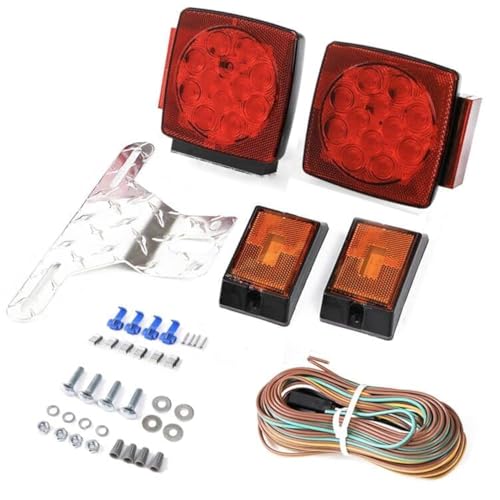
4 - my wonderful 80lb 9 month old German Shepherd must have got hungry because he ate.. and I mean ATE my wiring harness on the trailer (don't ask how I know he actually ate it... it wasn't pretty, but he sure had a bright tail light when he hit the brakes).. anyways, he left me 1/2" to connect a new harness to... needless to say I wasn't happy

anyways, enough bickering.... on to the good stuff!

I am now about 3/4 of the way finished with my boat. I still need to paint the insides and move the bunks on the trailer. But after the shotty month I've had, I needed to get it in the water for the maiden voyage. I got to the ramp at 8 (when the gate opens) and left at 5 (when gate closes). All in all it was a good day, but I did see a few things that would have to be fixed.

No leaks (thank God) and it is very stable - much more stable on the water than it was on the trailer with me walking around trying it out.

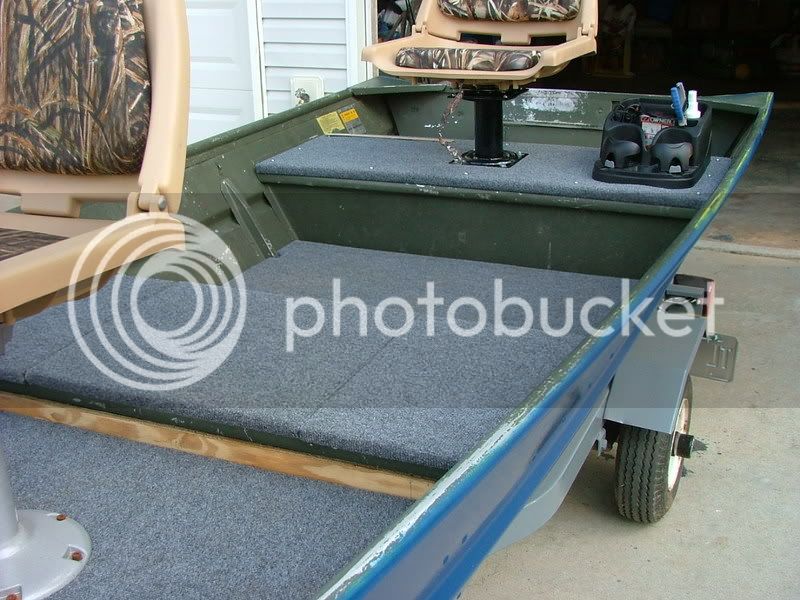
1 - on the way to the gate, I get on the interstate and right when I get up to 55mph, I happen to look in the rear view to see my middle bench seat doors fly up - I had 3 EXPENSIVE rod/reels laying across them... luckily they only lifted up with the door, but I still bout busted a nut trying to get on the shoulder. I fixed it for the rest of the trip with a long tie strap I had behind the seat. So the first thing I gotta do is rig a bungee cord from one side to the other to hold the seats down. You'll notice in the pictures that they open front to back. I did it like this because I didn't want them to open to the front seat, I wanted to be able to sit there and get into the middle console to change baits. I also mounted a center console I got from WalMart for $3... that was great. I wasn't looking for my scissors, needle nose pliers, cell phone, scents, camera... and most of all my Mountain Dew!
DSCF0223.jpg


DSCF0226.jpg


DSCF0227.jpg


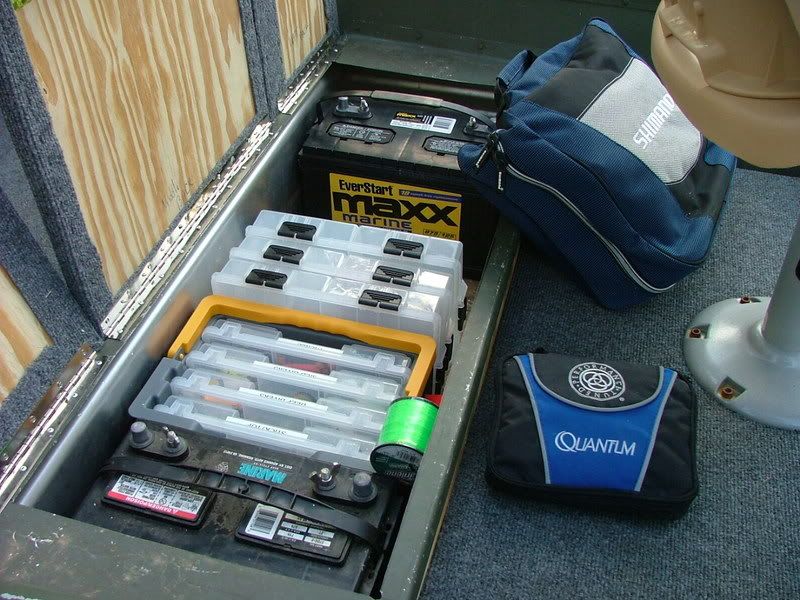
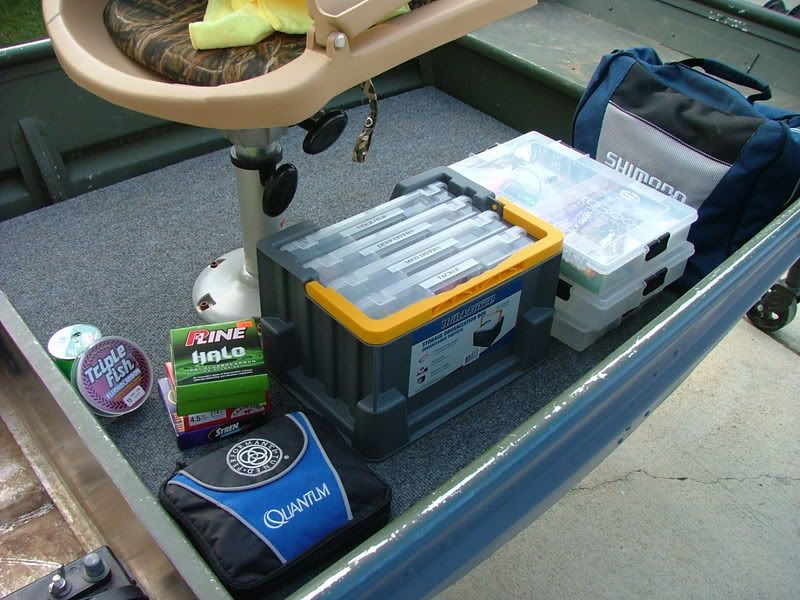
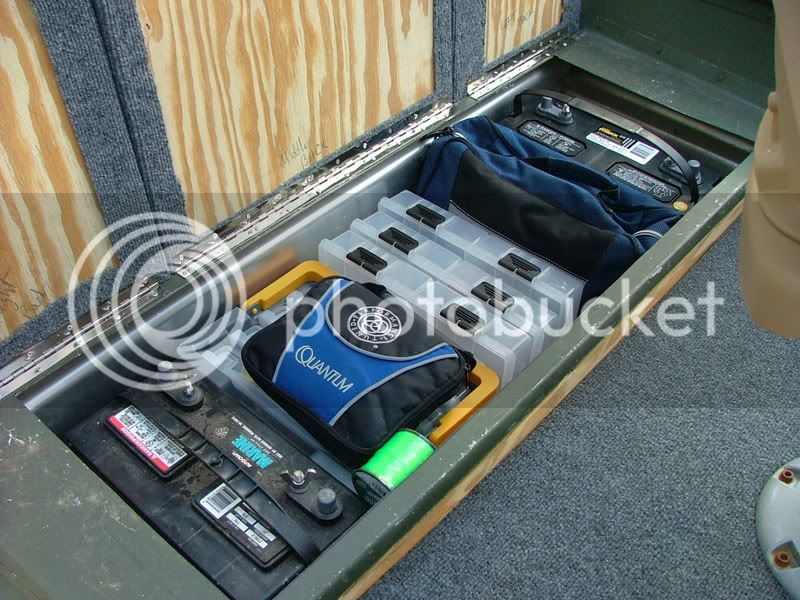
And here is everything that fits in it... that's almost all of my tackle, line, 2 batteries... Awesome storage - and it's functional

DSCF0228.jpg


2. Batteries

I only decided to go fishing yesterday, so I had to run power lines - at 11pm there's not too many places that are open, but luckily WalMart had 6' 4ga wire (10bucks) with connections on both ends. I couldn't find any type of junction box, so I just attached the trolling motor wires directly to the 4ga. I had both batteries charged, but I didn't run them in parallel like I plan on doing. I figured that I would carry both, and if one battery ran out, then I could just switch places with them. Turns out - that walmart battery ran me ALL day, and I mean ALL day. No anchor, and it was windy. I hooked it up when I got home, and it still had 75% remaining. I'll be buying another so that both batteries hooked in parallel will be the same.

3. Front Stop... ok, I don't know what it's called

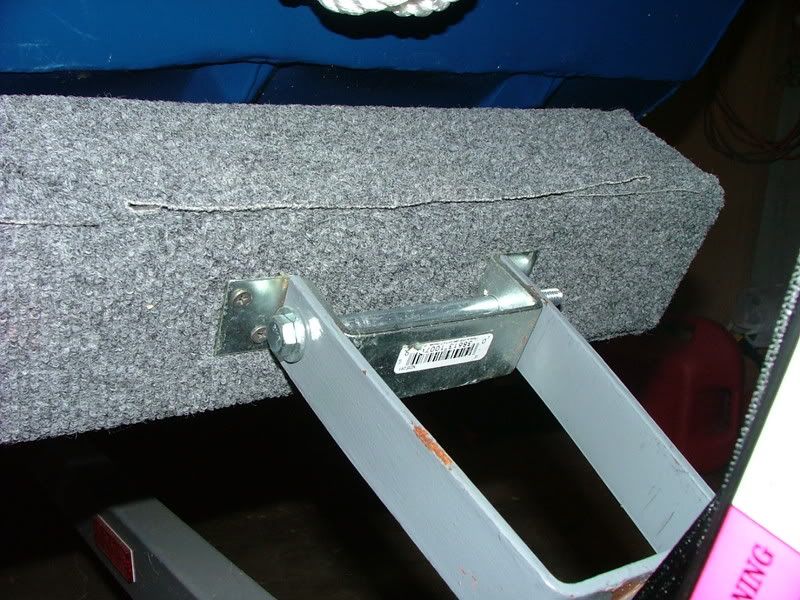
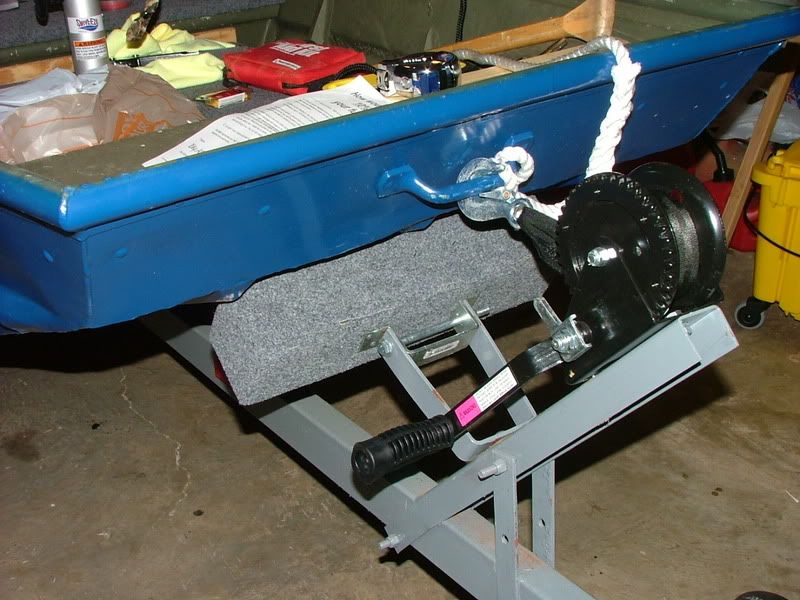
This was my biggest problem on the whole stinking boat. The handle on the winch was too long, so I could only make a half turn to let the strap out, or bring it back in. I moved the bracket down, fabricated a piece of steel to fit between the bracket, then screwed 4 - 3" screws into a 4x4 block of wood that I carpeted. It only took me about 15 million ideas before I came up with that one. Works pretty good too - it just needs to be about 5" longer.

DSCF0243.jpg

DSCF0244.jpg


4. Stickers

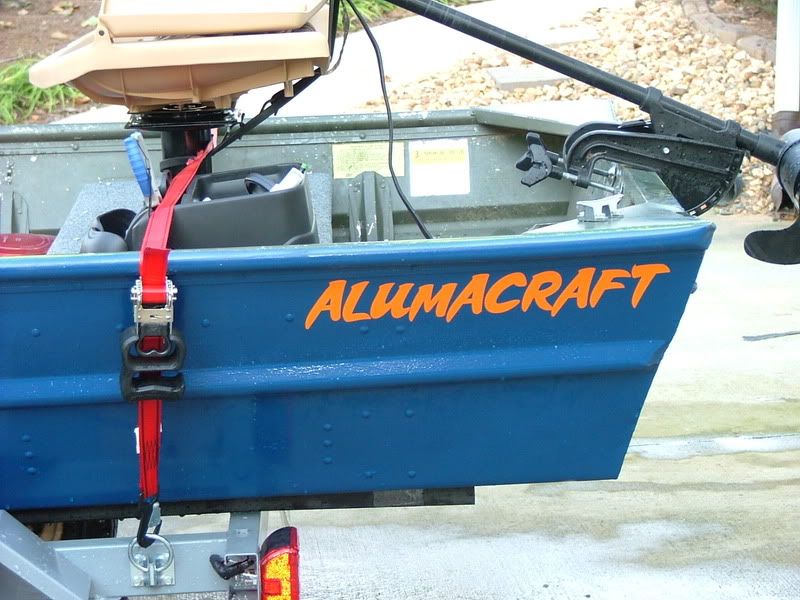
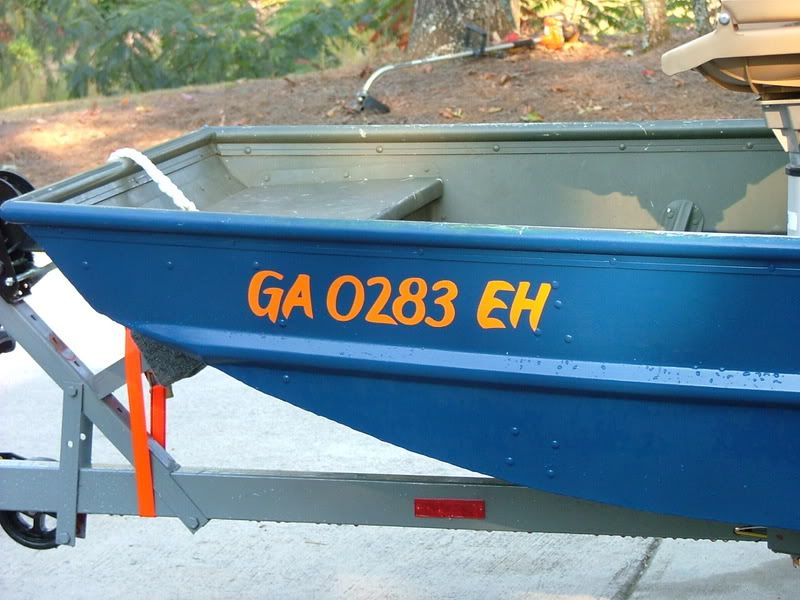
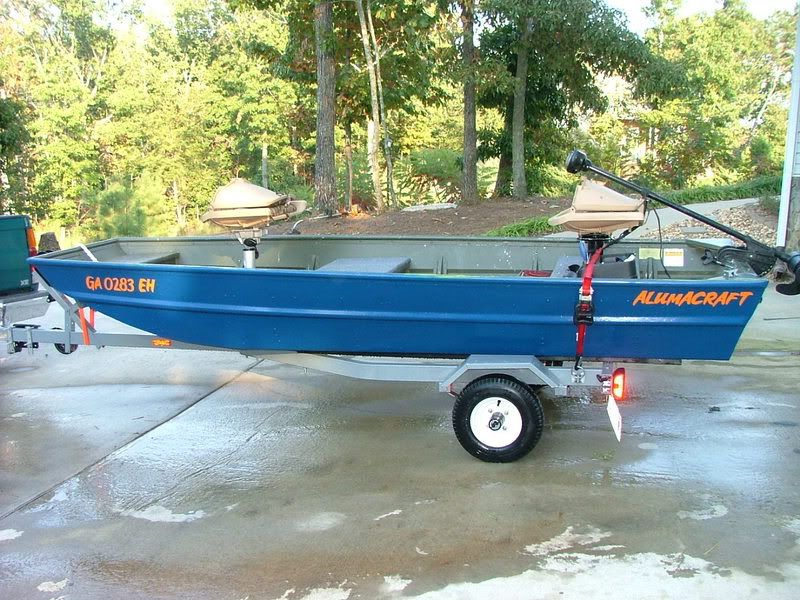
OK, so I finally got around to putting my new stickers on (check out https://www.namemyboat.com.. they have a ton of different fonts and other variations you can create... not to mention cheap prices. While I was putting them on, my wife (who wasn't helping, but was reading the directions to tell me what I was doing wrong) told me that they aren't supposed to get wet for a couple of days after putting it on. I hope that only means washing it - I don't think it got that wet while it was in the water. Either way, these went on better than any I have ever done before... and I've done a lot (I used to tint windows, so when vinyl stickers for the windshield were popular, I was the one doing them)

DSCF0261.jpg

DSCF0262.jpg

DSCF0260.jpg


Well... I guess that's about it. I've still got to paint the inside. A friend of mine gave me some Herculiner, but I'm still undecided if I want to use it. This boat makes almost no noise which I found odd, but not I'm fussing. I'll try to update some more later this week.
 
Awsome, your ideas are cool

1. I like how the battery's turned out.
2. I would've never thought about the car console thingy-sweet :)
3. The sticker decals makes me want to do that too :wink:

It turned out great, it looks it from here but was everything comfy and easy to get too?

Oh, cool on still haven a job there =D> Guess we kinda need them :lol:

Is your dog OK? wonder if he passed the wire harness, that could get bad for him :( they will eat anything #-o
 
Top